Custom File Downloader with Controls and Progress Bar
You can add your own downloaders with custom controls and progress bars on your pages, using the App Connect Download Component. We created a simple page layout, containing a regular button. We will u
Step 1
Section titled “Step 1”You can add your own downloaders with custom controls and progress bars on your pages, using the App Connect Download Component.
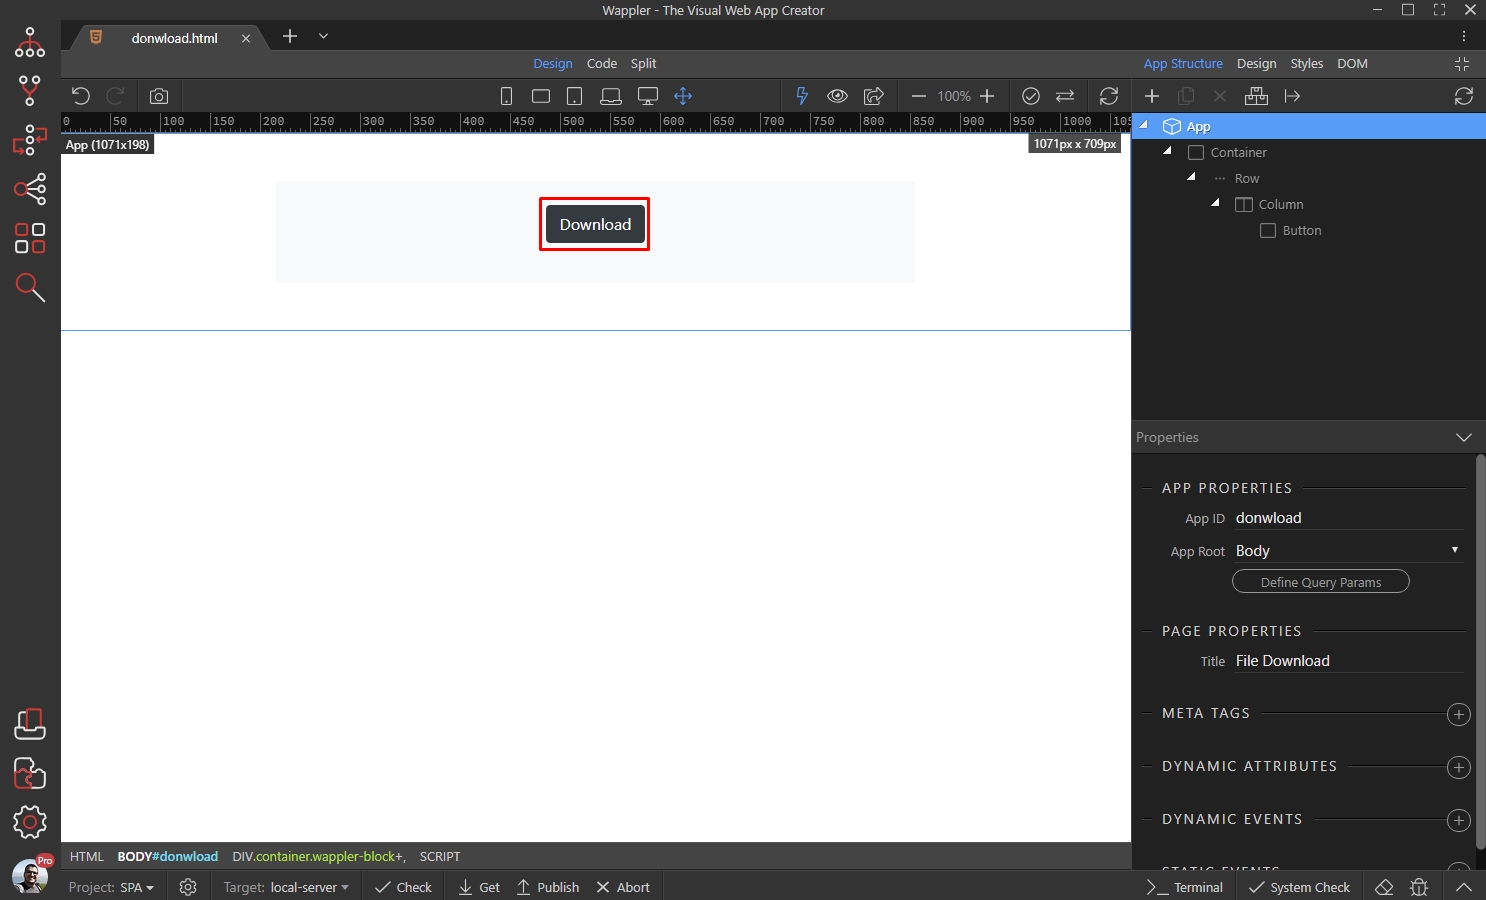
We created a simple page layout, containing a regular button. We will use this button to trigger the download:
Setting up the Download Component
Section titled “Setting up the Download Component”First we need to add the Download Component on the page. Select App in App Structure and add new component:

Open Components and select Download:
Section titled “Open Components and select Download:”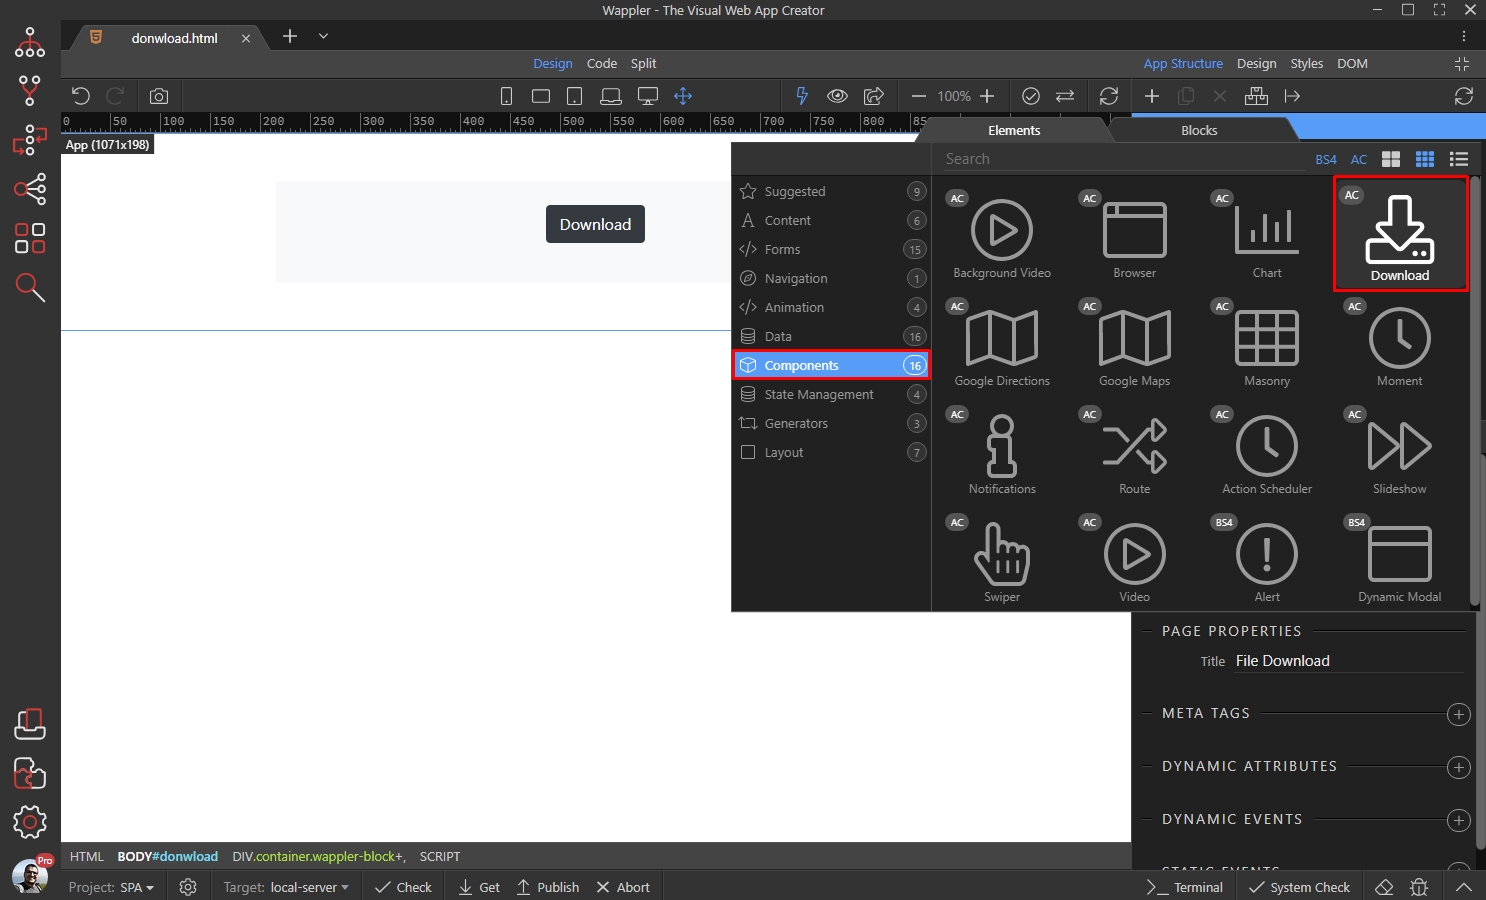
Step 5
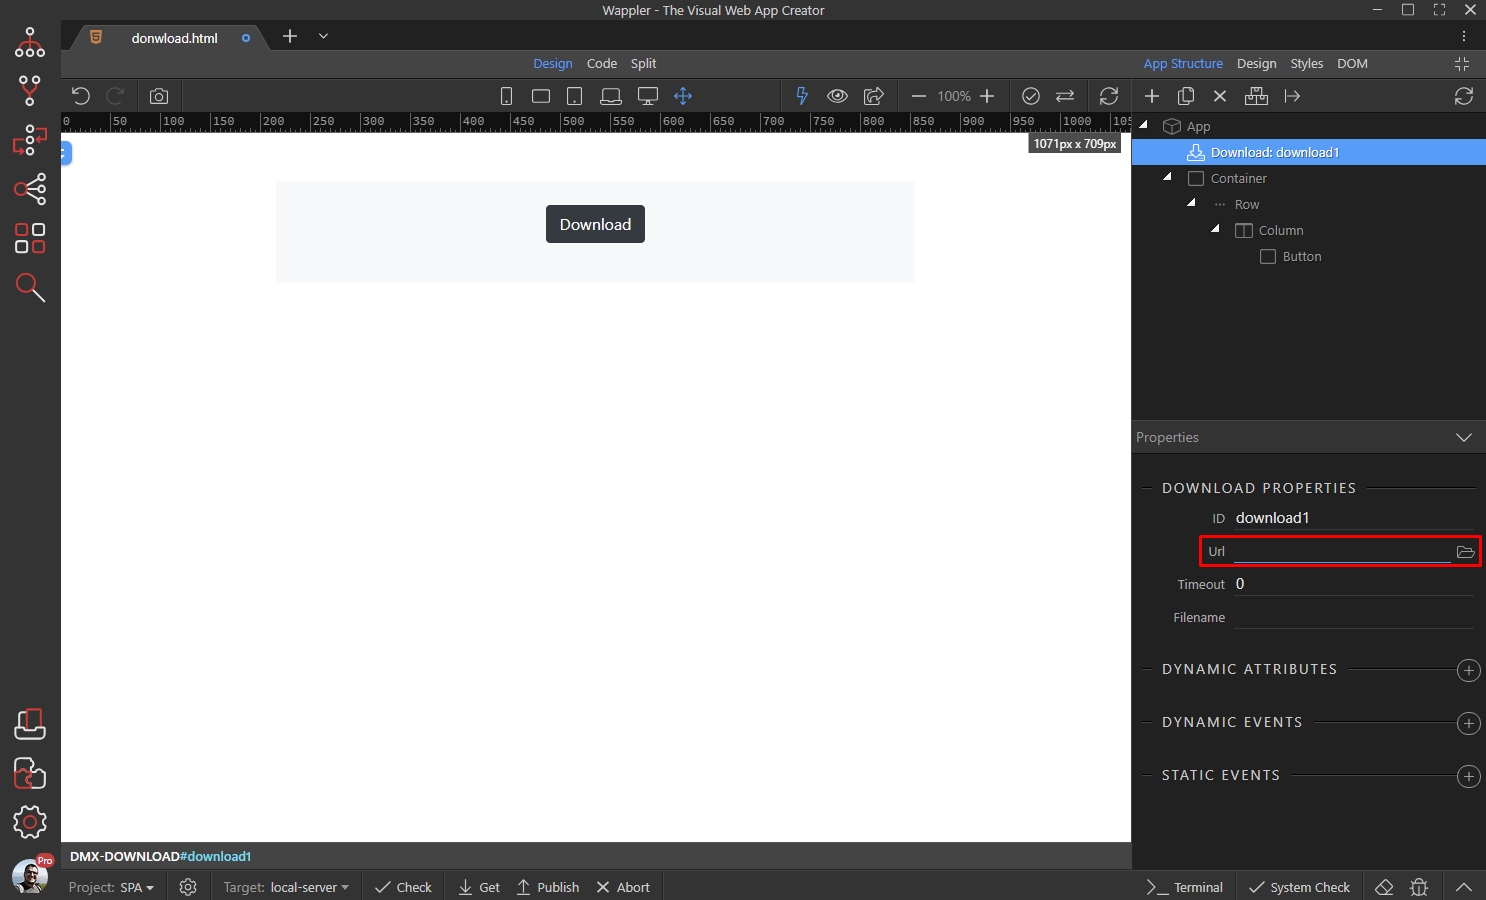
Section titled “Step 5”You will find its properties in the Properties panel. Select your file in the Url input. Note, that this option is for static files. If you want to use a dynamic file path, use the dynamic attributes and add it from there:
Step 6
Section titled “Step 6”Browse to your file, select it and click Open. Note, that the file must be located in your project folder and not just in some random folder on your disk:
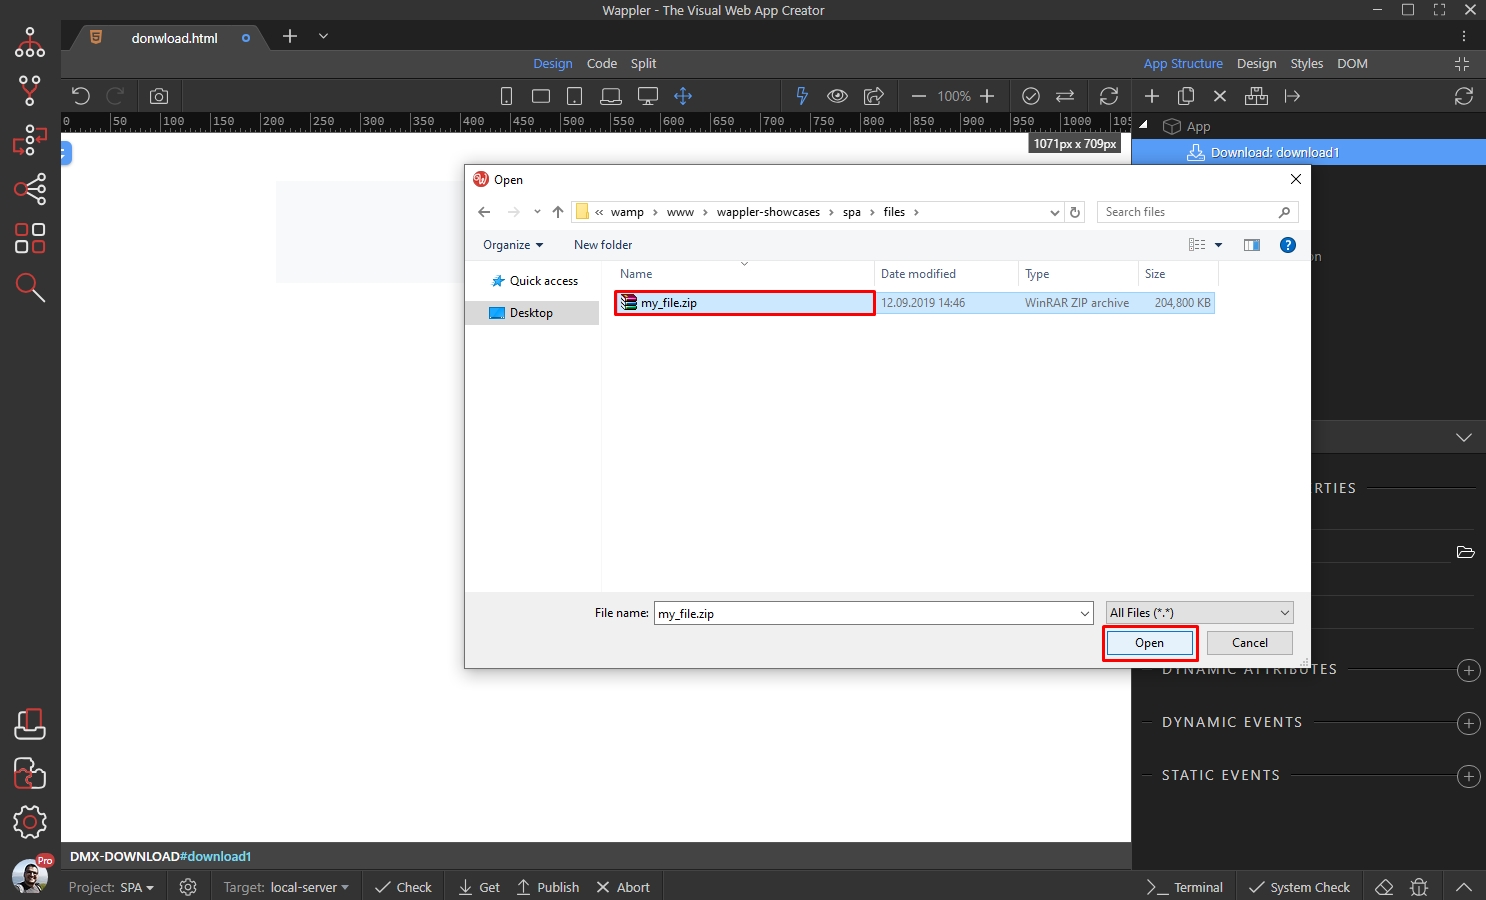
Step 7
Section titled “Step 7”Then you can add a custom filename to be displayed to the users. If you leave this field empty, the users will see the original filename. Note, that this option is for static filenames. If you want to use a dynamic filename, use the dynamic attributes and add it from there:

Custom Controls - Download
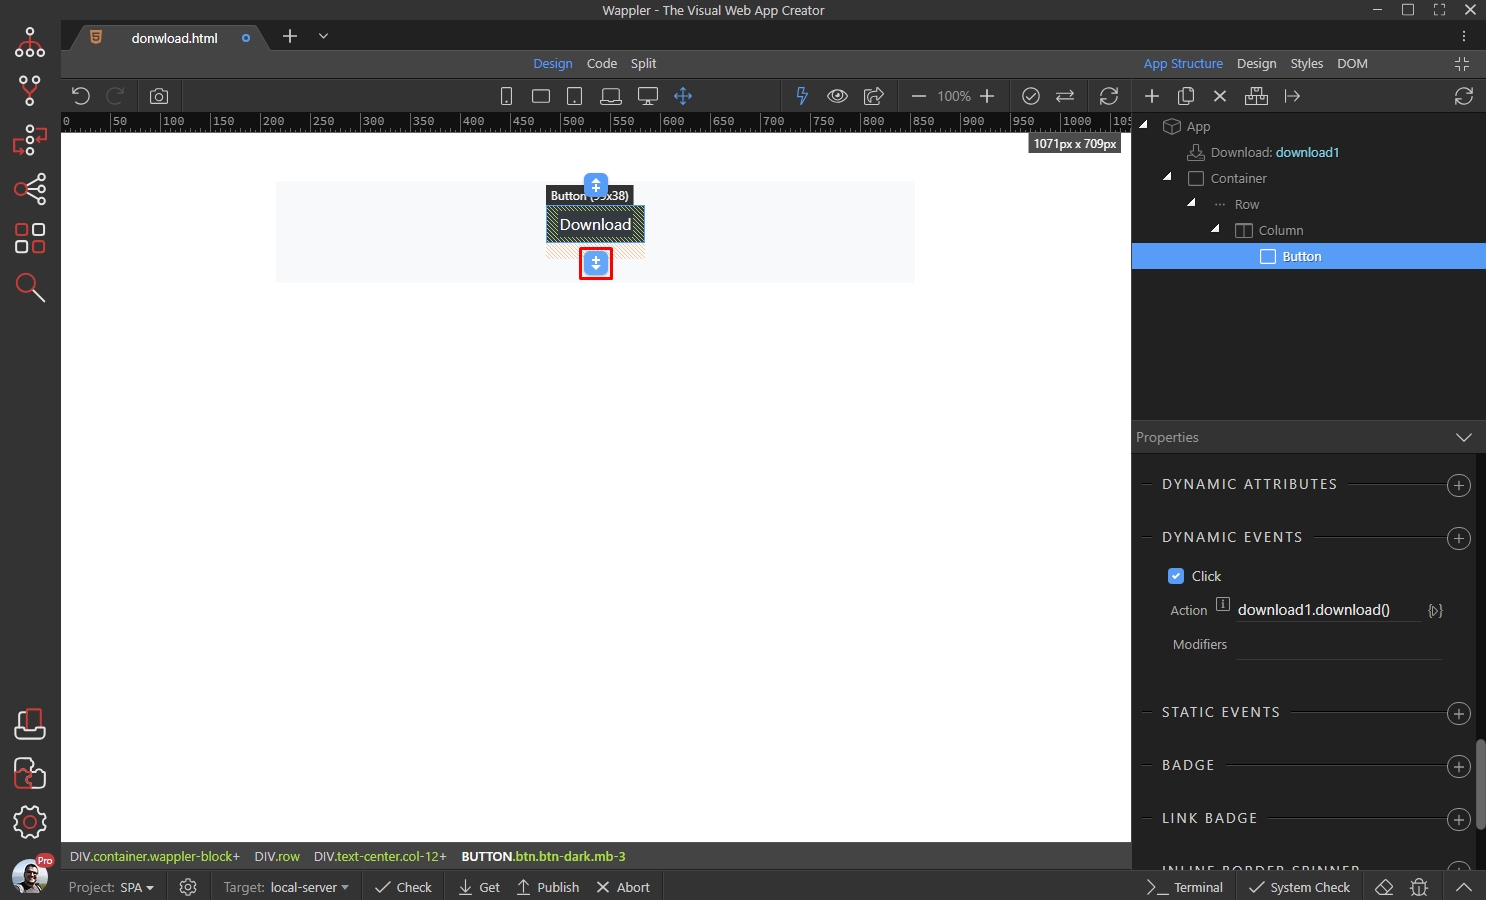
Section titled “Custom Controls - Download”Add your button, which will be used to trigger the download and select it. Then add new dynamic event:
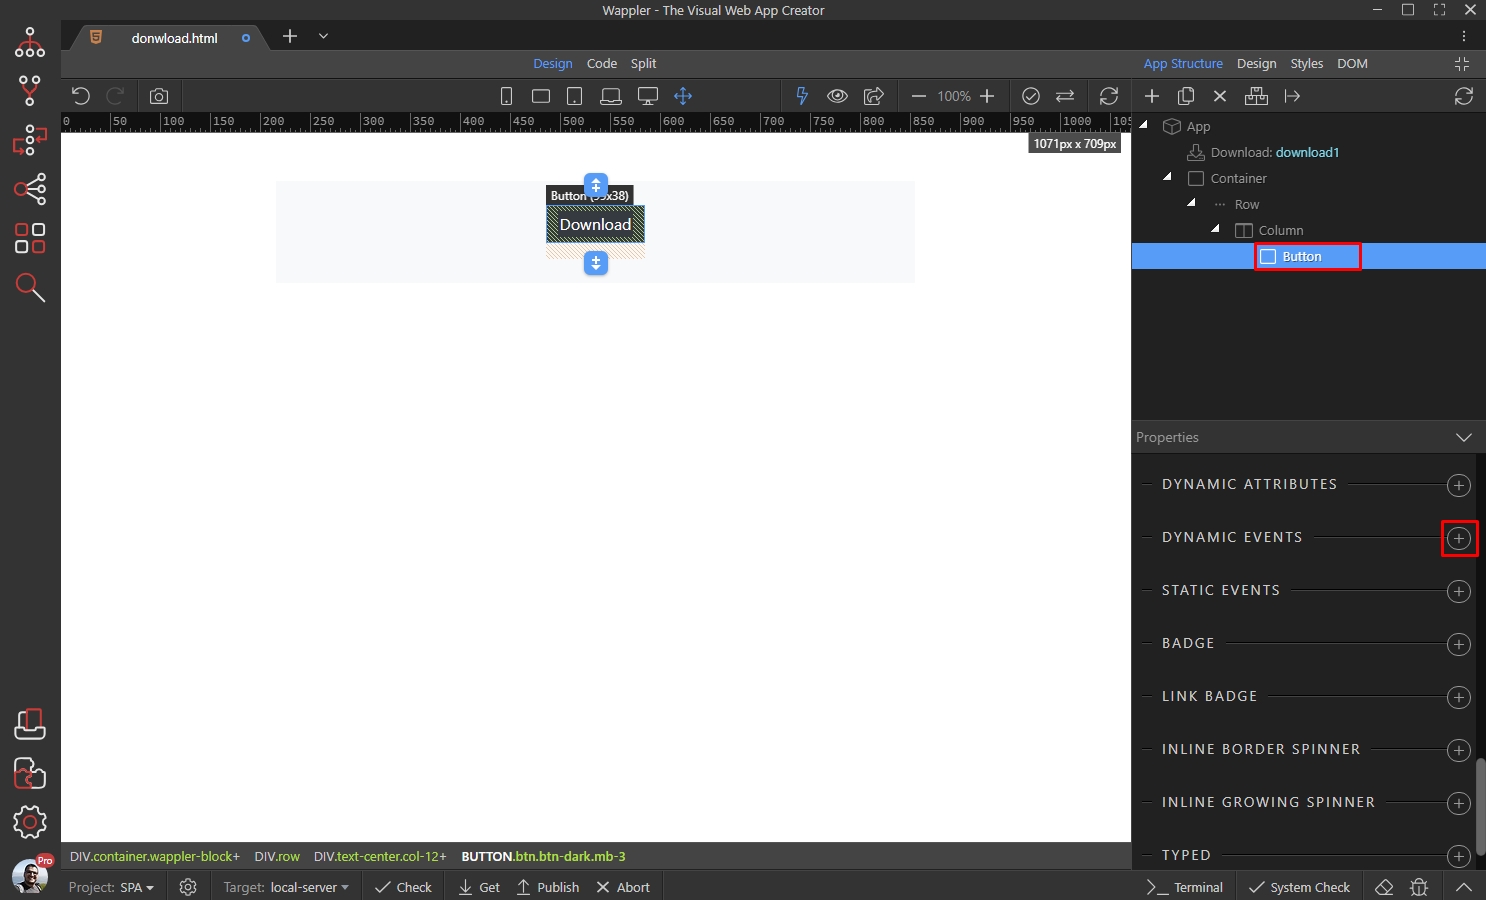
Select Mouse > Click:
Section titled “Select Mouse > Click:”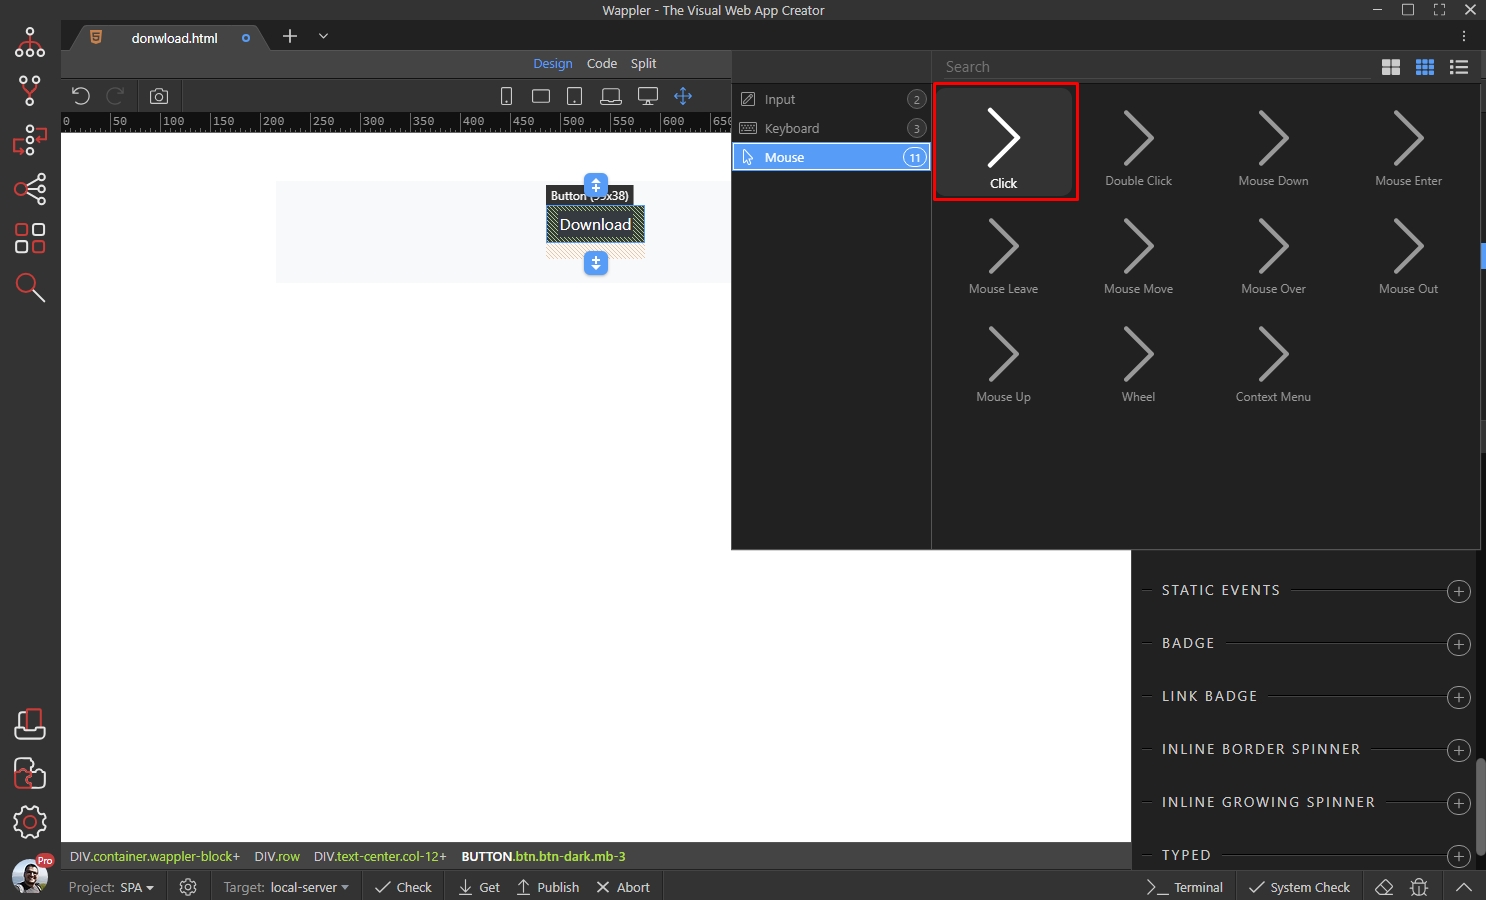
And click the action picker button:
Section titled “And click the action picker button:”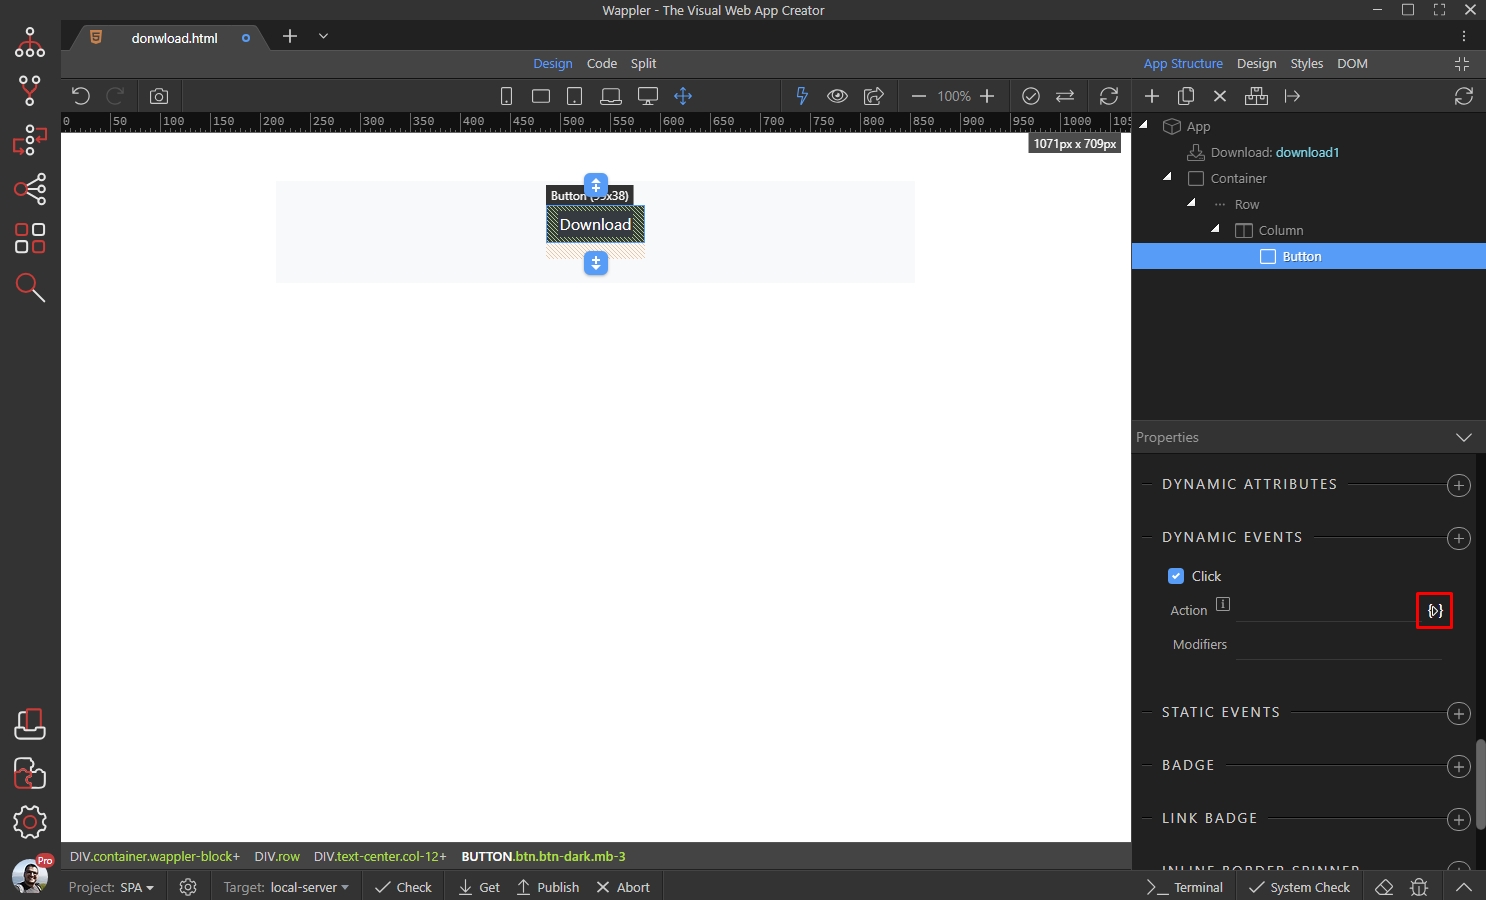
Under the Download component, select Download and add it to the actions list. Click the select button:
Section titled “Under the Download component, select Download and add it to the actions list. Click the select button:”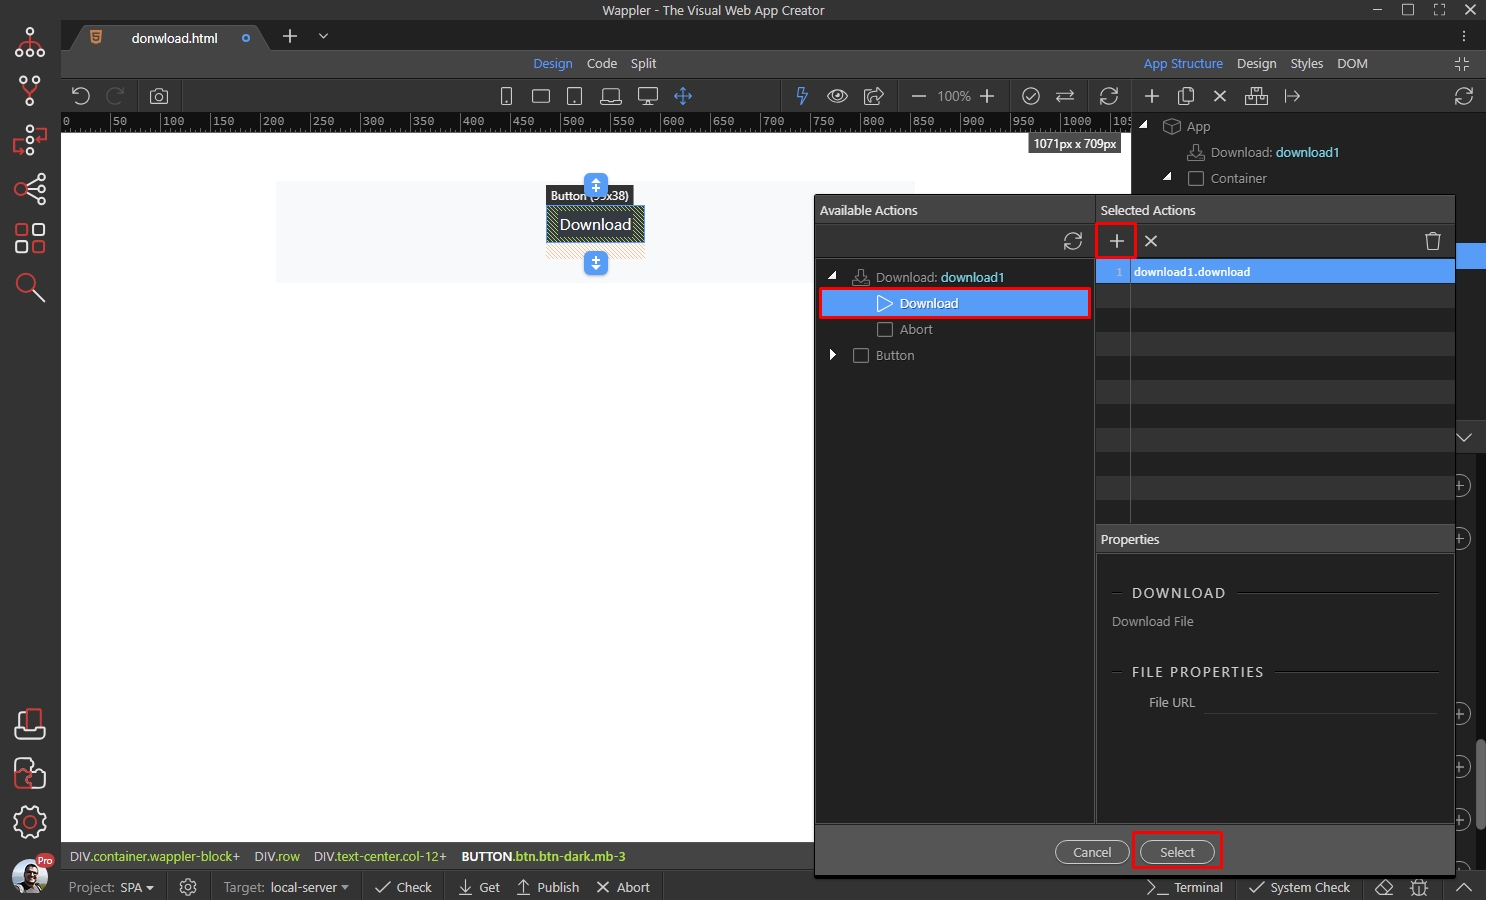
Custom Progress bar
Section titled “Custom Progress bar”Now, let’s add a progress bar which will show the download progress. Let’s add it below the button:
Select Content > Progress:
Section titled “Select Content > Progress:”
Then select the inner part of the progress component - the progress bar and add new dynamic attribute:
Section titled “Then select the inner part of the progress component - the progress bar and add new dynamic attribute:”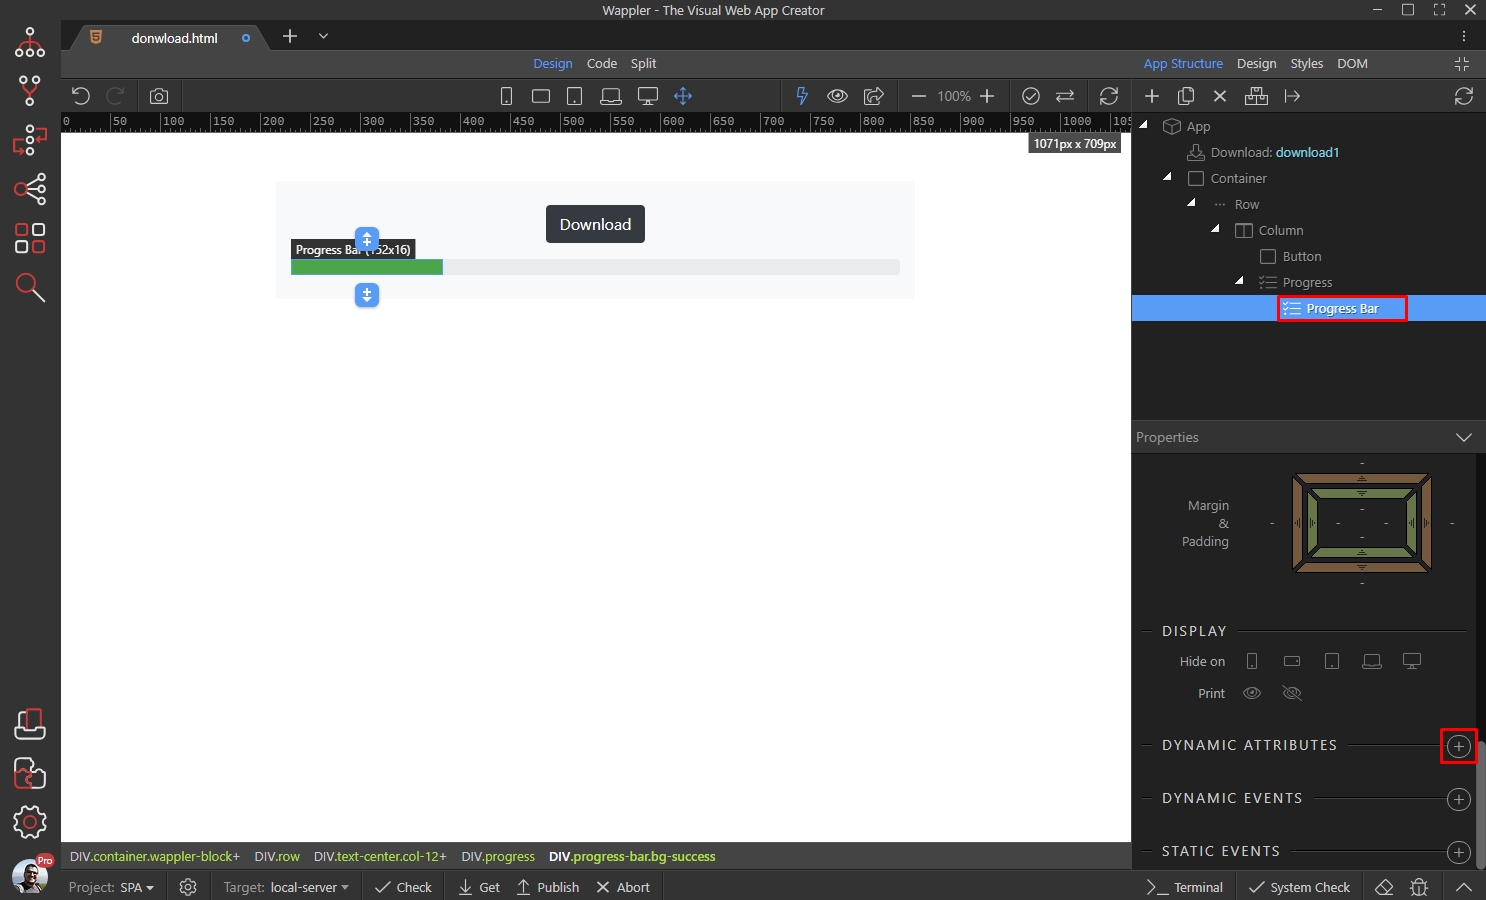
Select Styling > Style:
Section titled “Select Styling > Style:”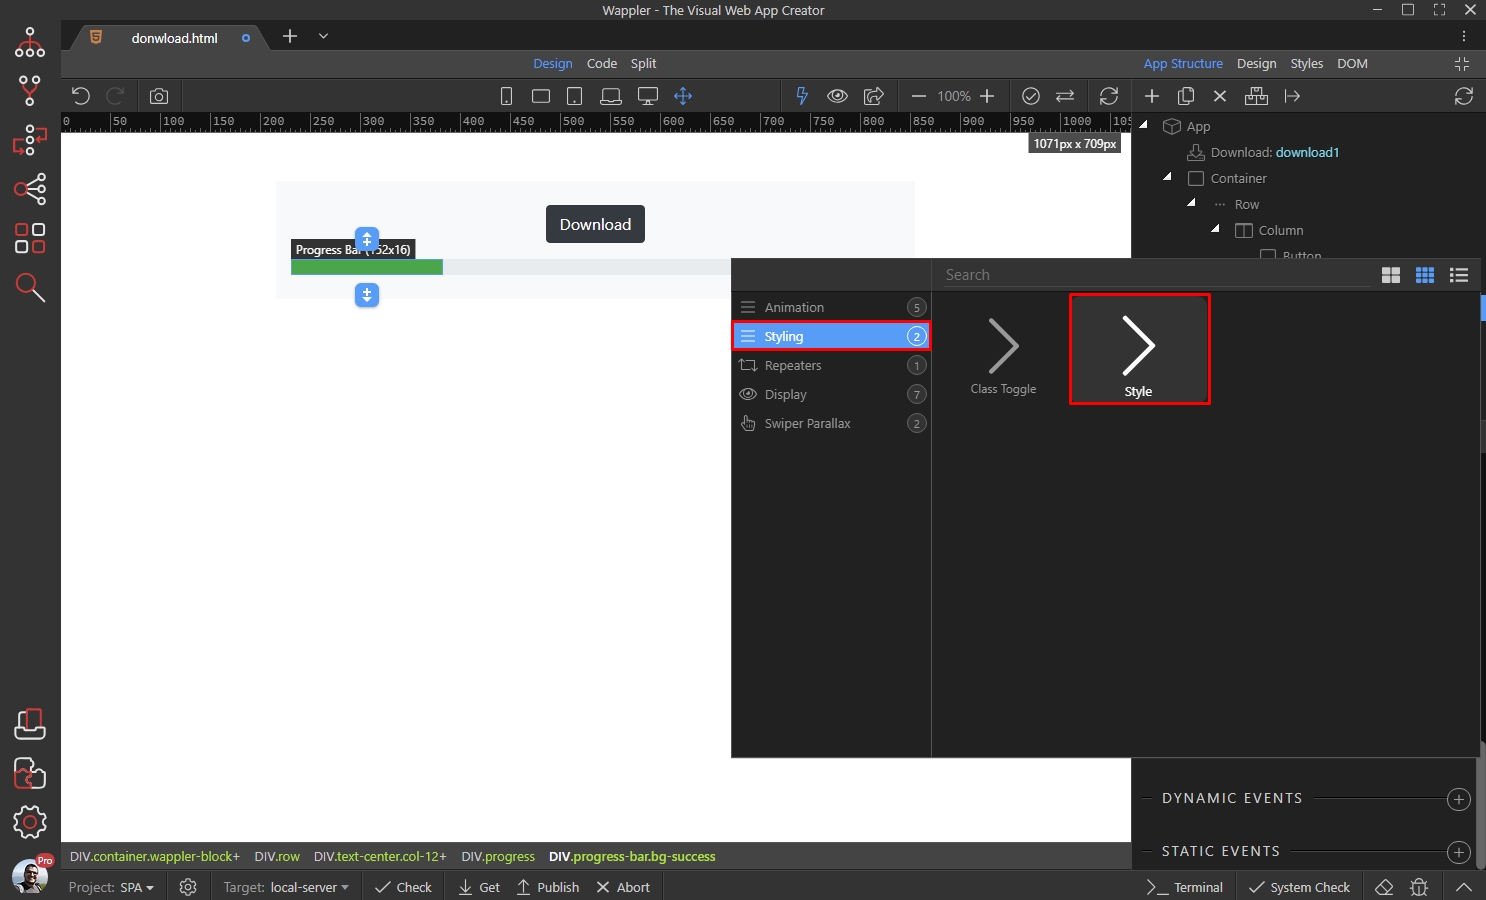
Enter width for name:
Section titled “Enter width for name:”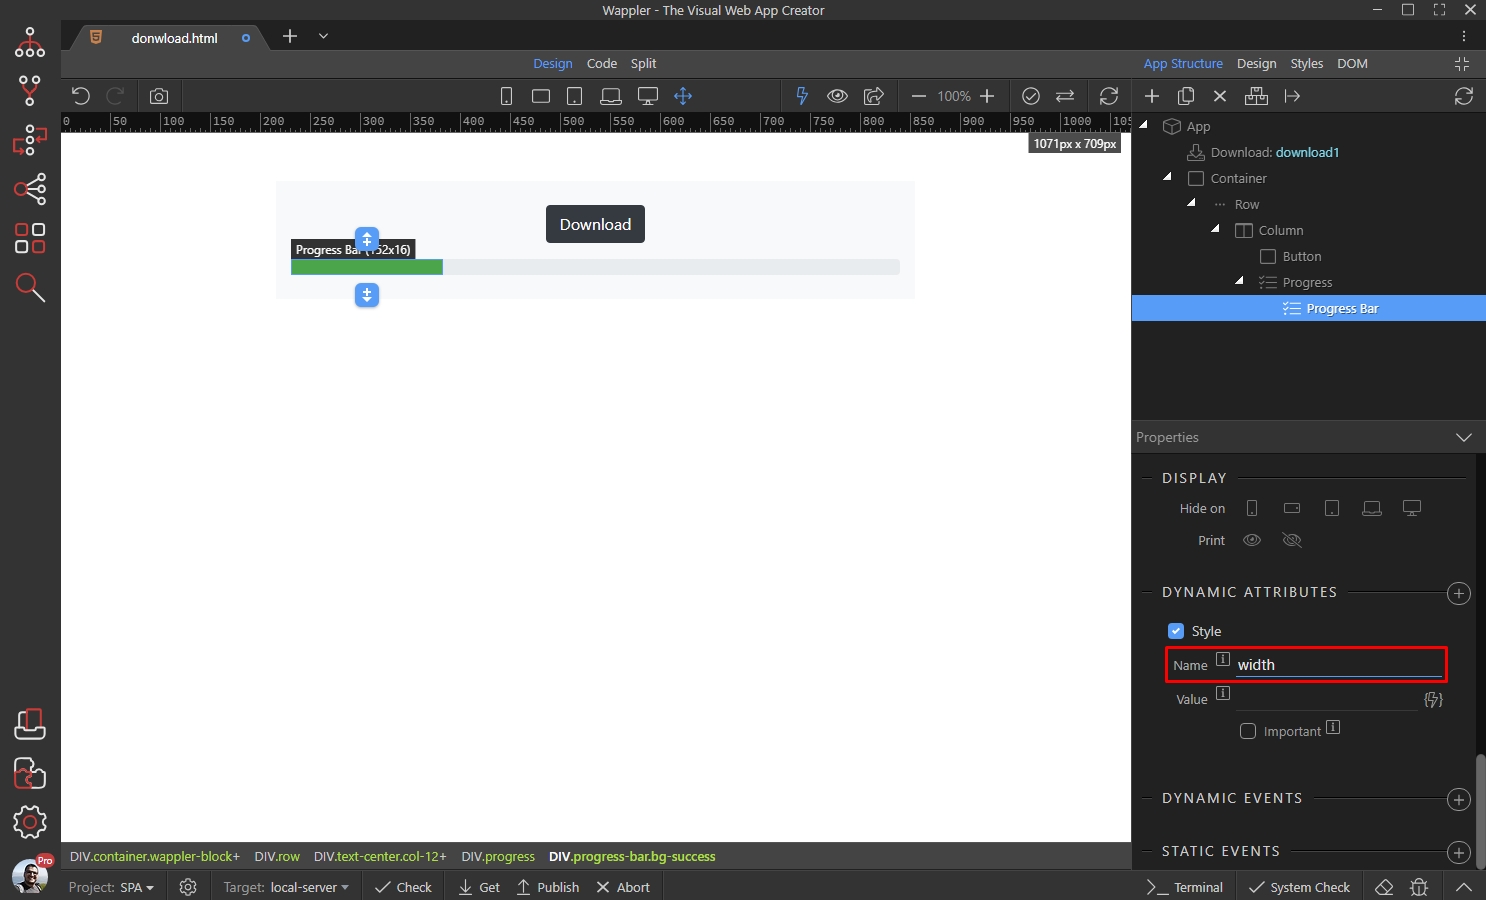
Then select the dynamic data picker button for the value:
Section titled “Then select the dynamic data picker button for the value:”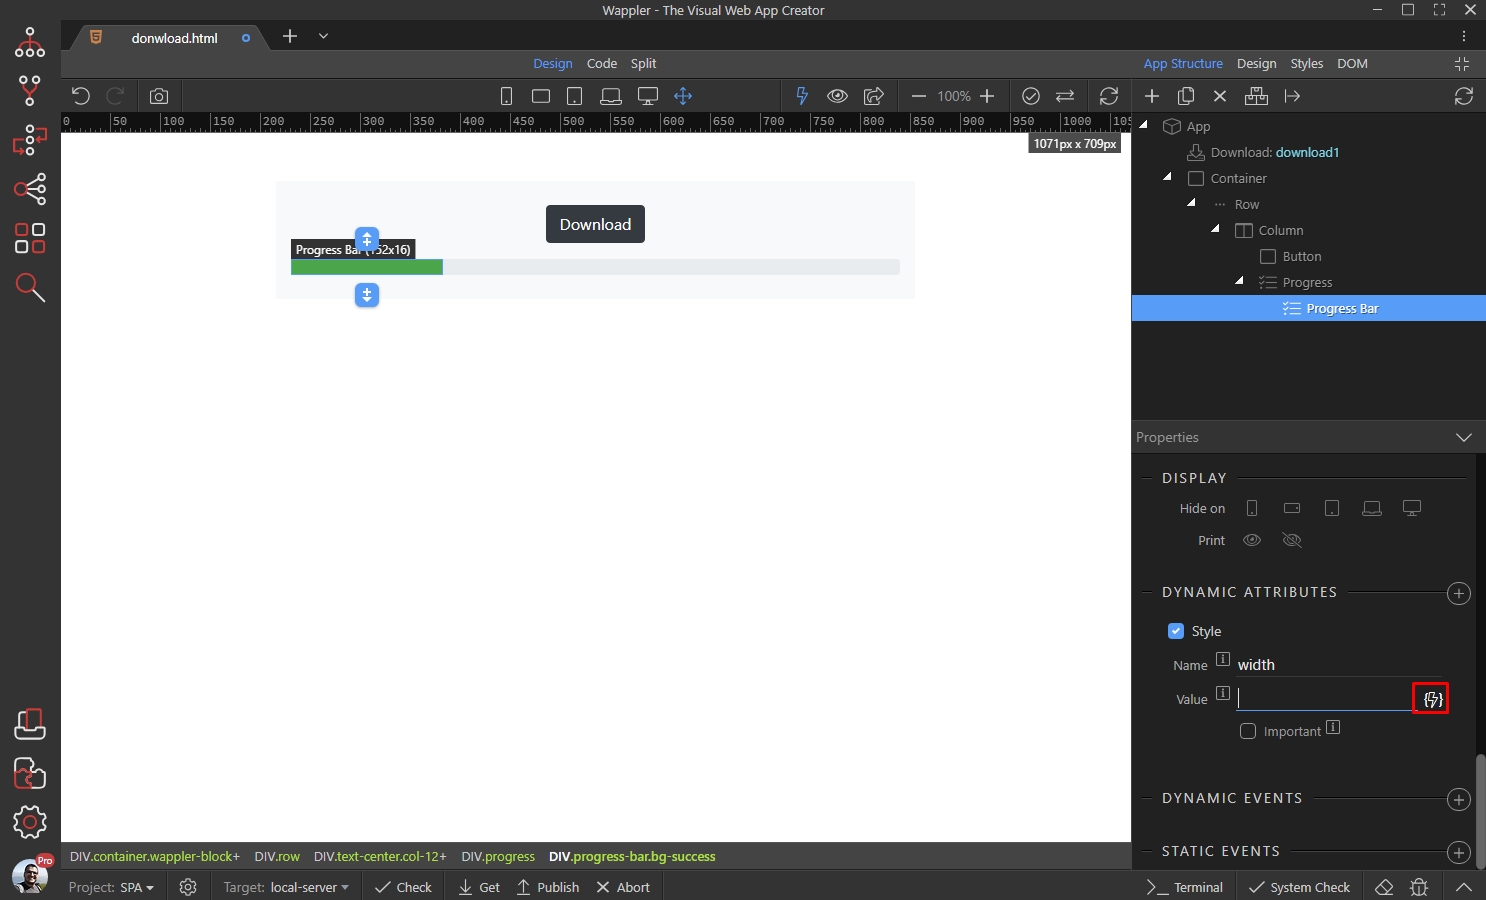
Step 20
Section titled “Step 20”Under the Download Component > progress select percent and add manually + '%', so your expression will look like: download1.progress.percent + '%':
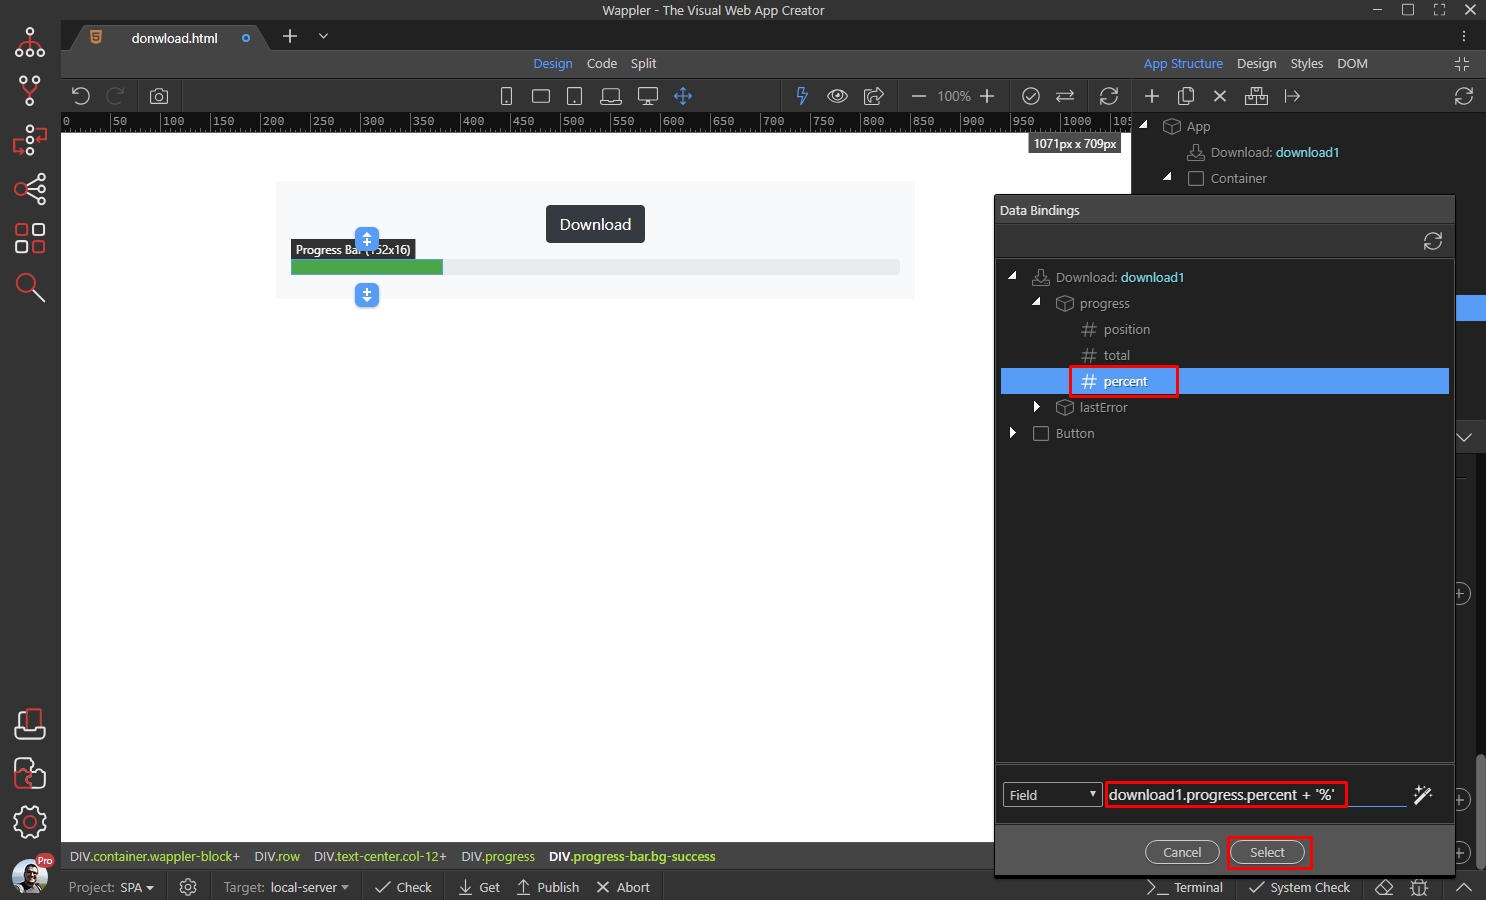
Step 21
Section titled “Step 21”Now the progress bar will advance depending on the download progress.
We want to show the download progress bar, only when the download runs. So select the Progress component and add new dynamic attribute:

Select Display > Show:
Section titled “Select Display > Show:”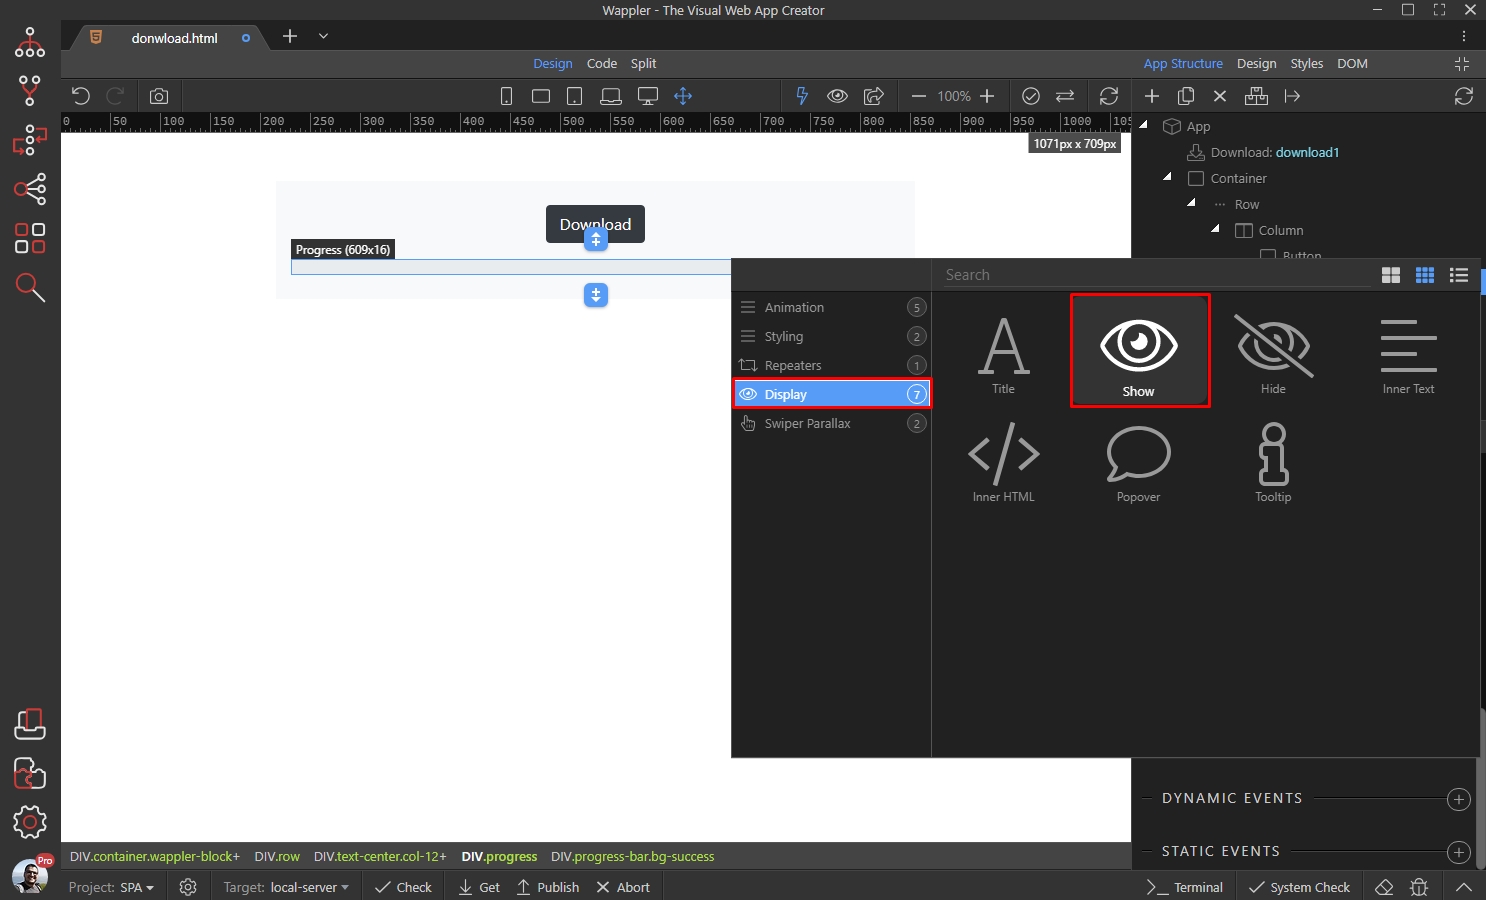
And select the dynamic data picker to select when to show it:
Section titled “And select the dynamic data picker to select when to show it:”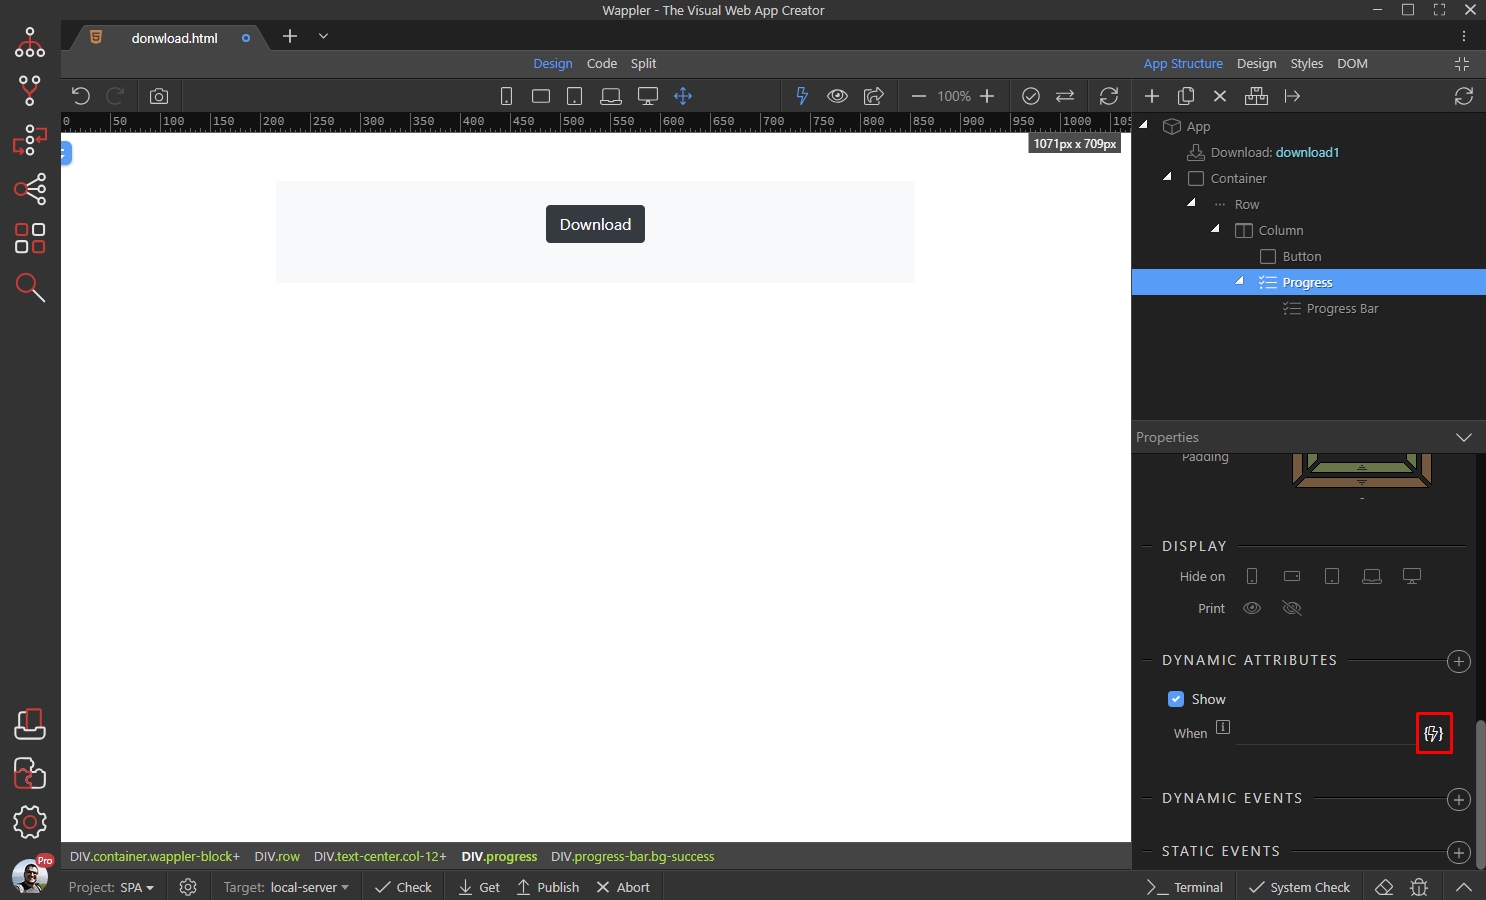
Step 24
Section titled “Step 24”We want to show the progress, only when the download runs, so under the download component > progress select percent and manually add > 0:

Custom Controls - Abort Download
Section titled “Custom Controls - Abort Download”You can add one more button, which cancels the download. Add a regular button and select it. Then add new dynamic event:
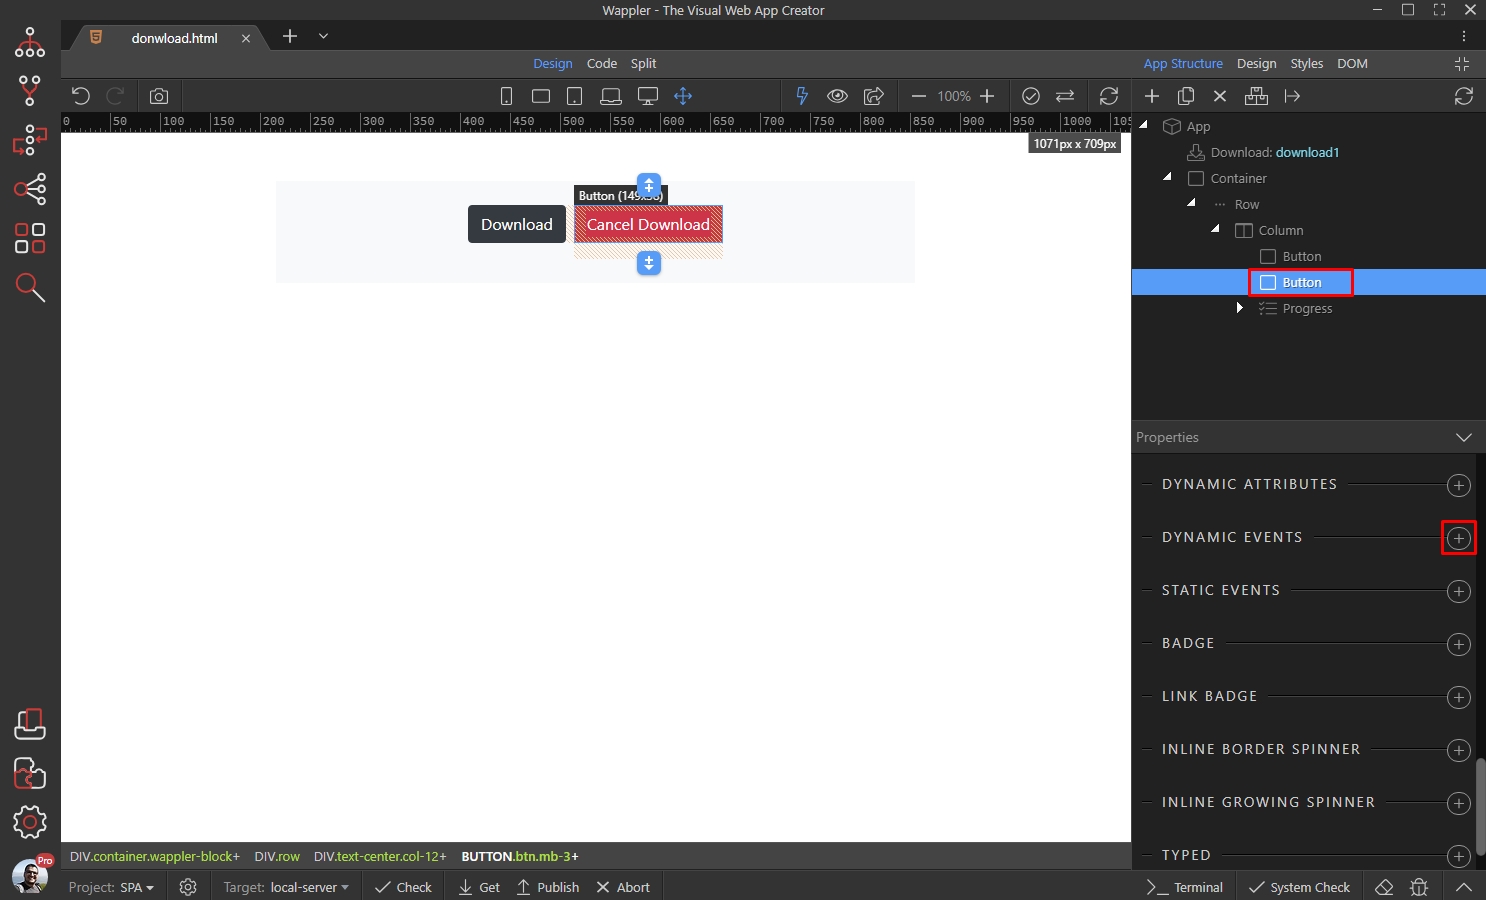
Select Mouse > Click:
Section titled “Select Mouse > Click:”
And click the action picker button:
Section titled “And click the action picker button:”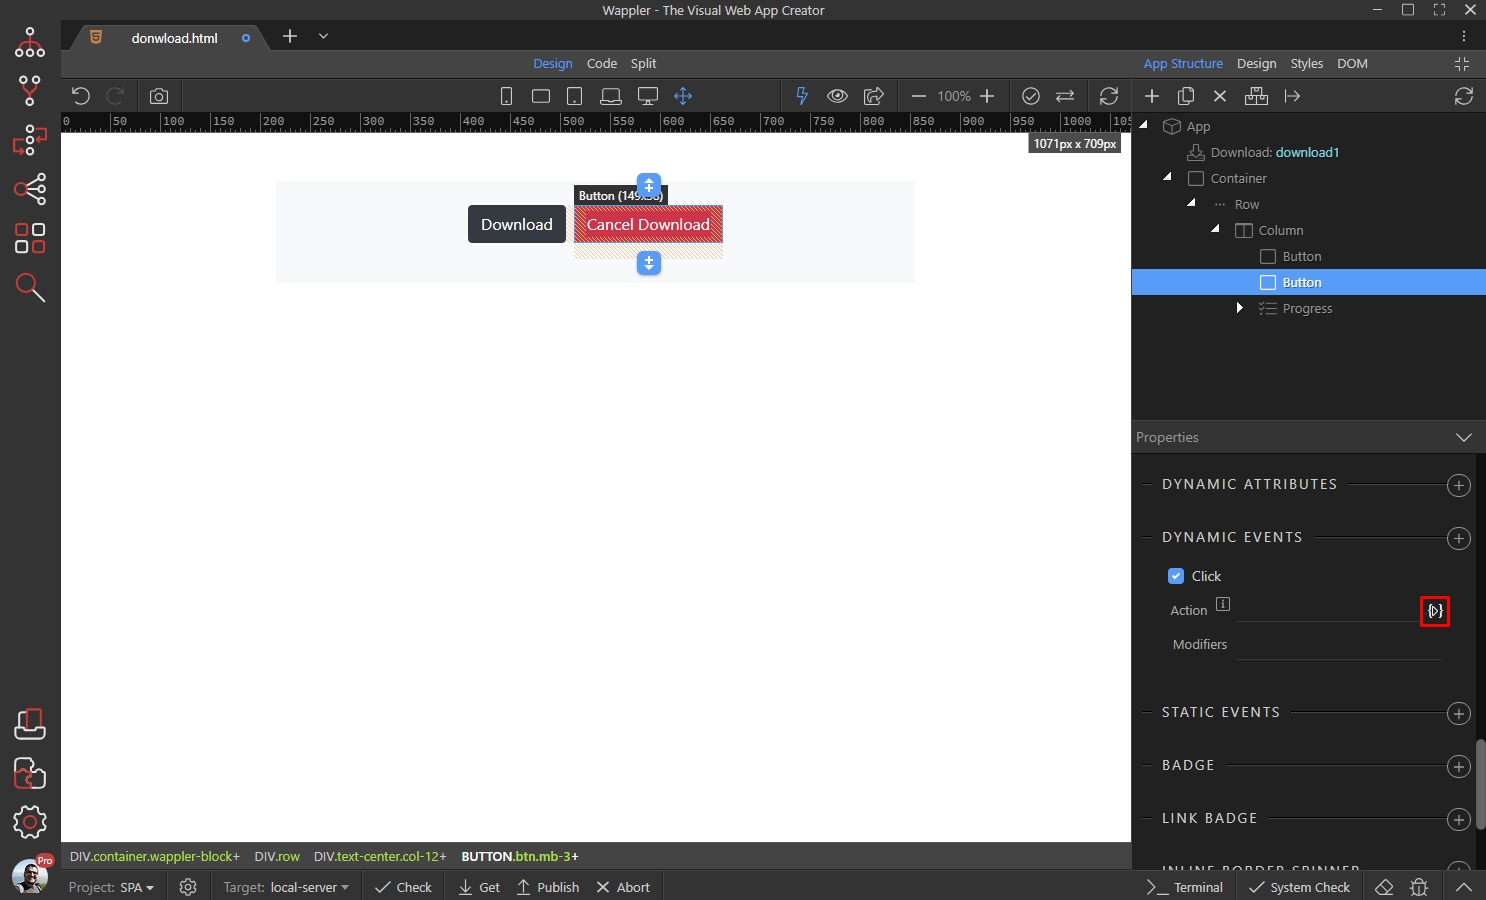
Under the Download Component, select Abort and add it to the selected actions list. Click the select button:
Section titled “Under the Download Component, select Abort and add it to the selected actions list. Click the select button:”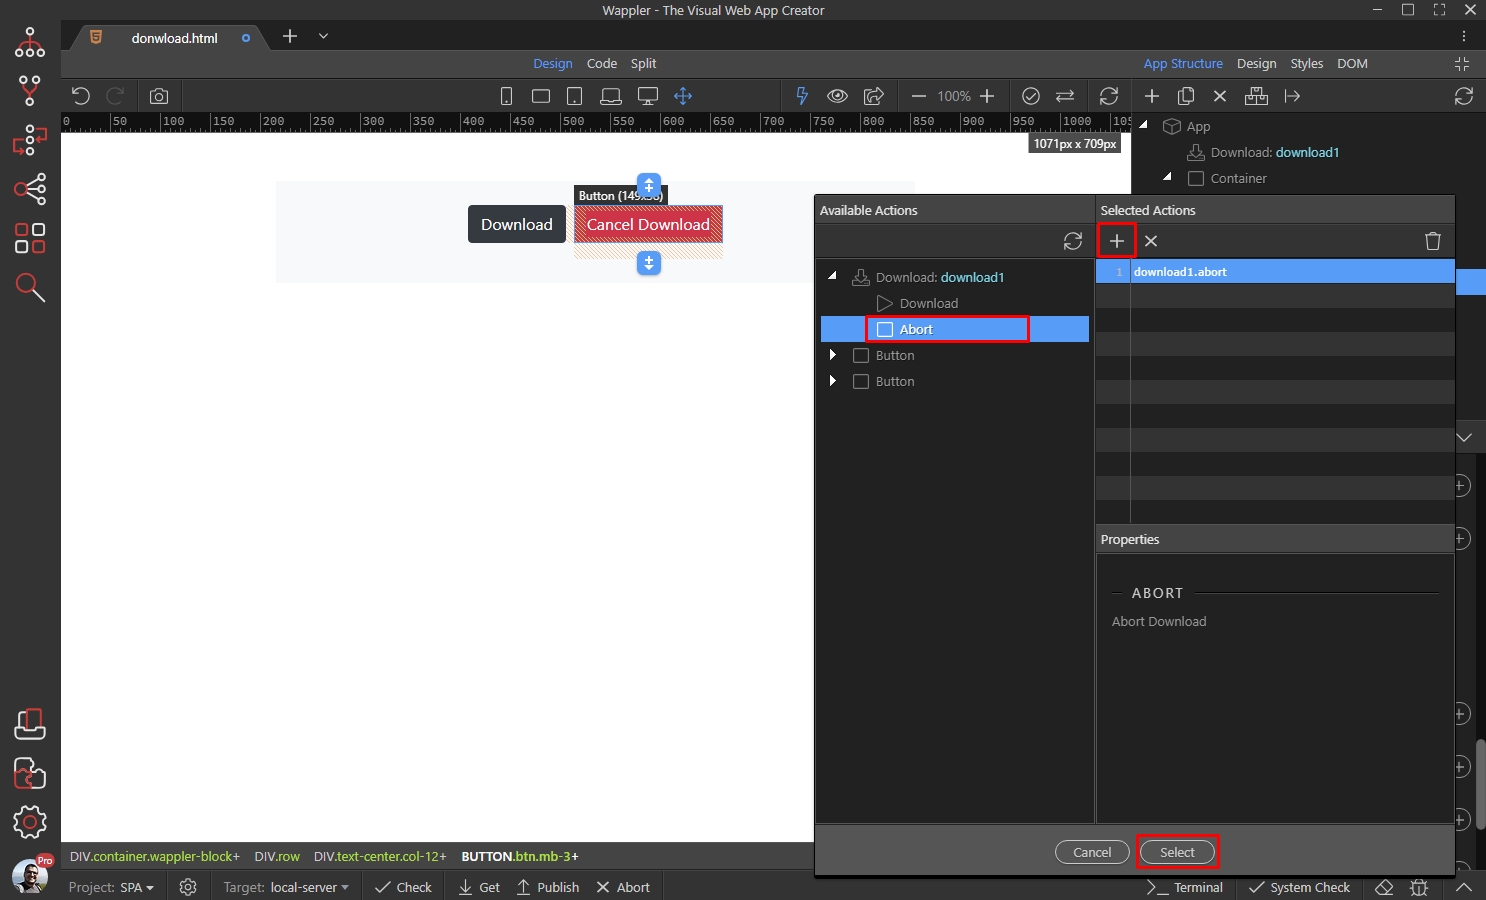
Step 30
Section titled “Step 30”Additionally you can hide or disable the cancel download button, so it is only available during the download process. Select the button and add a new dynamic attribute:

Select Input > Disabled:
Section titled “Select Input > Disabled:”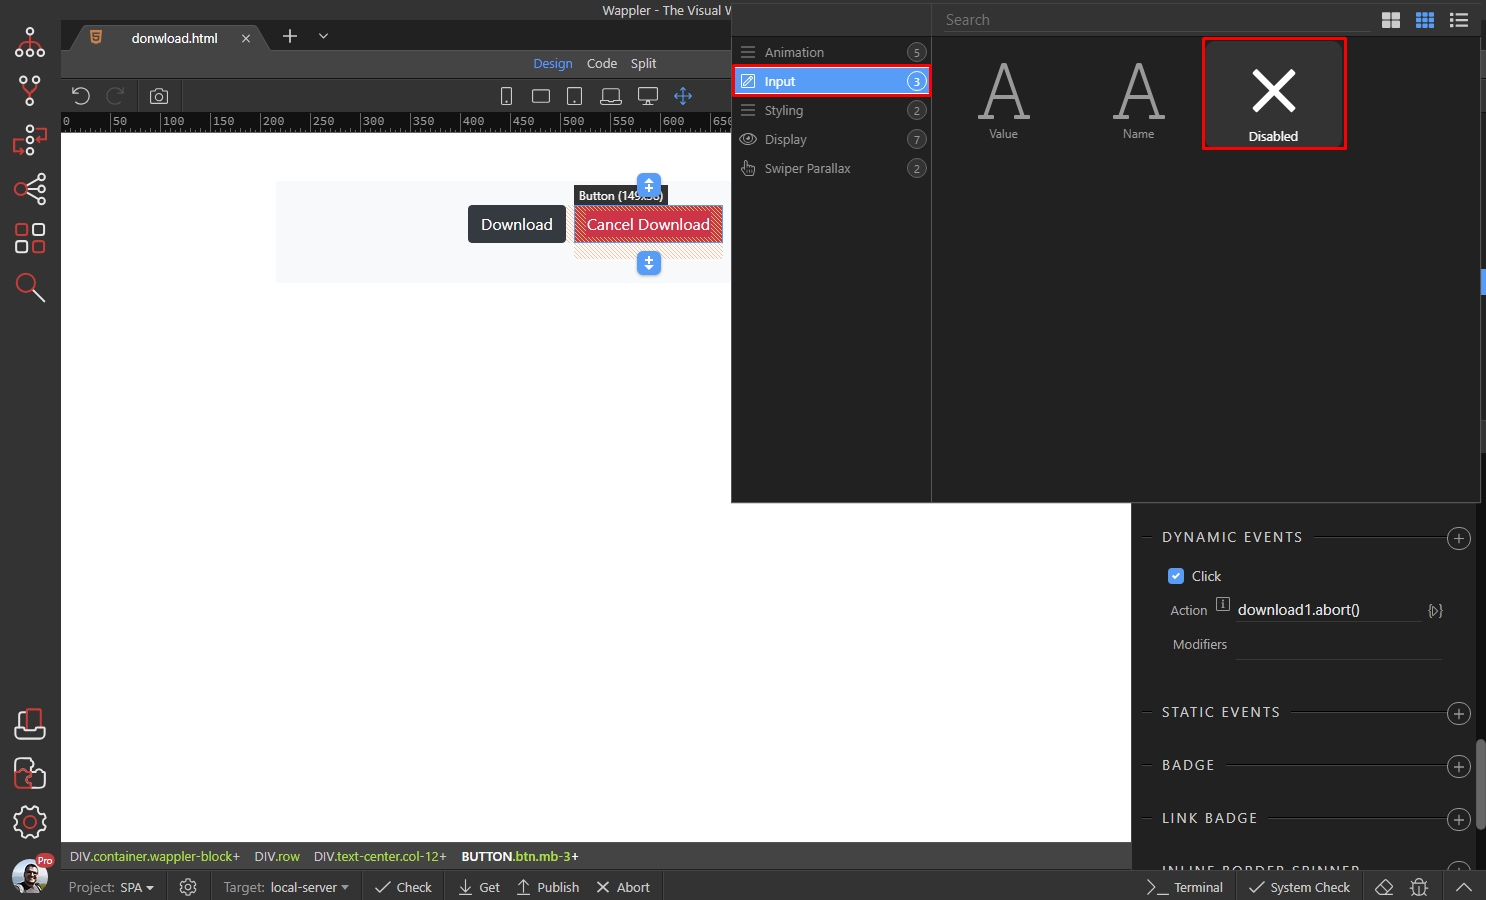
And select the dynamic data picker to select when to disable it:
Section titled “And select the dynamic data picker to select when to disable it:”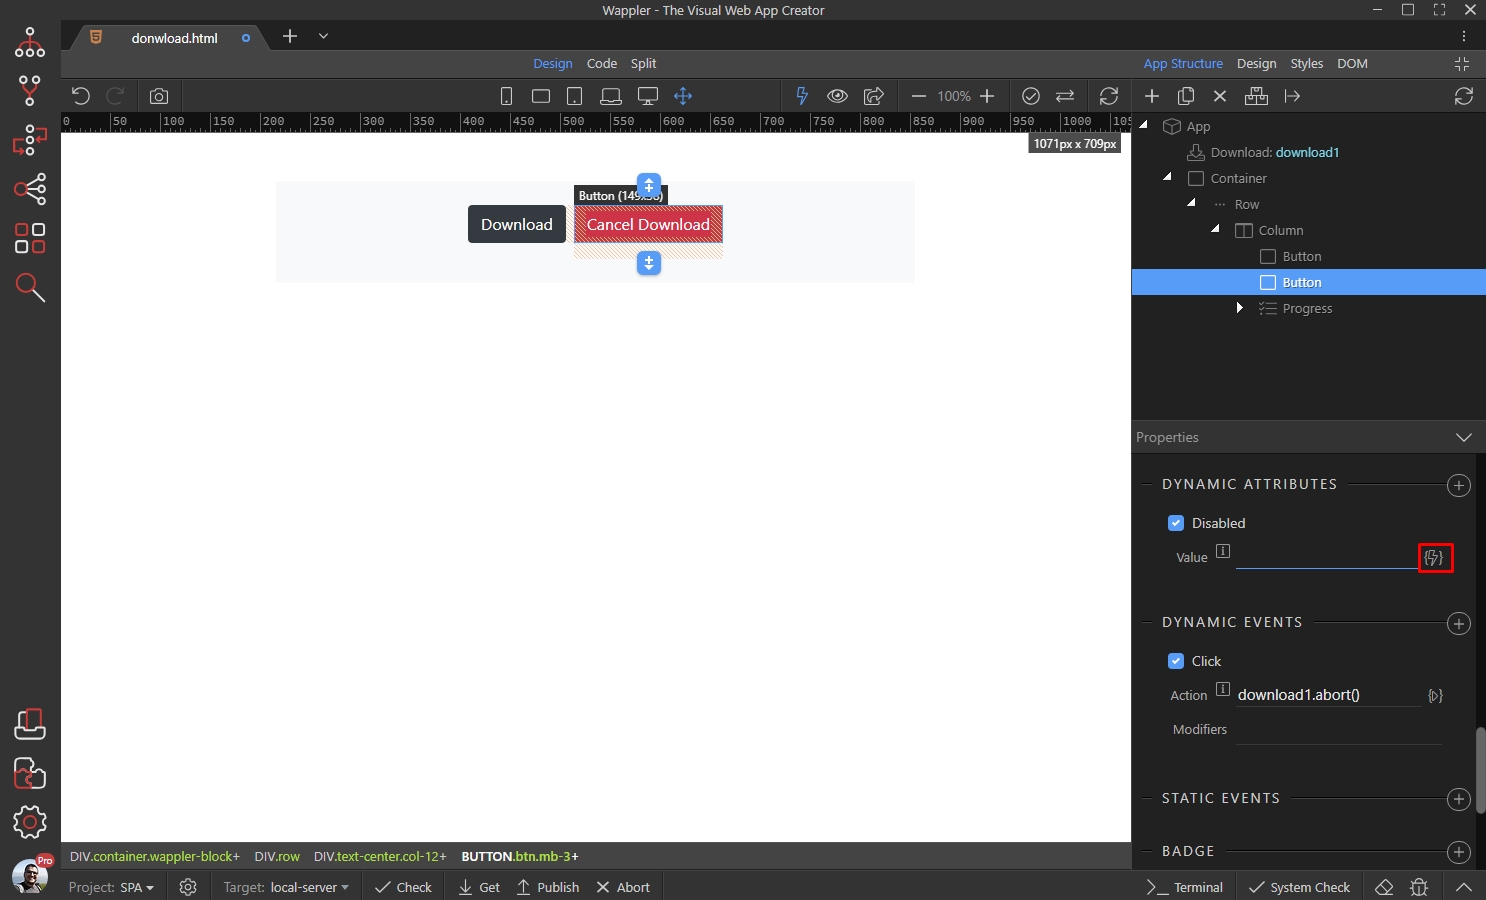
Step 33
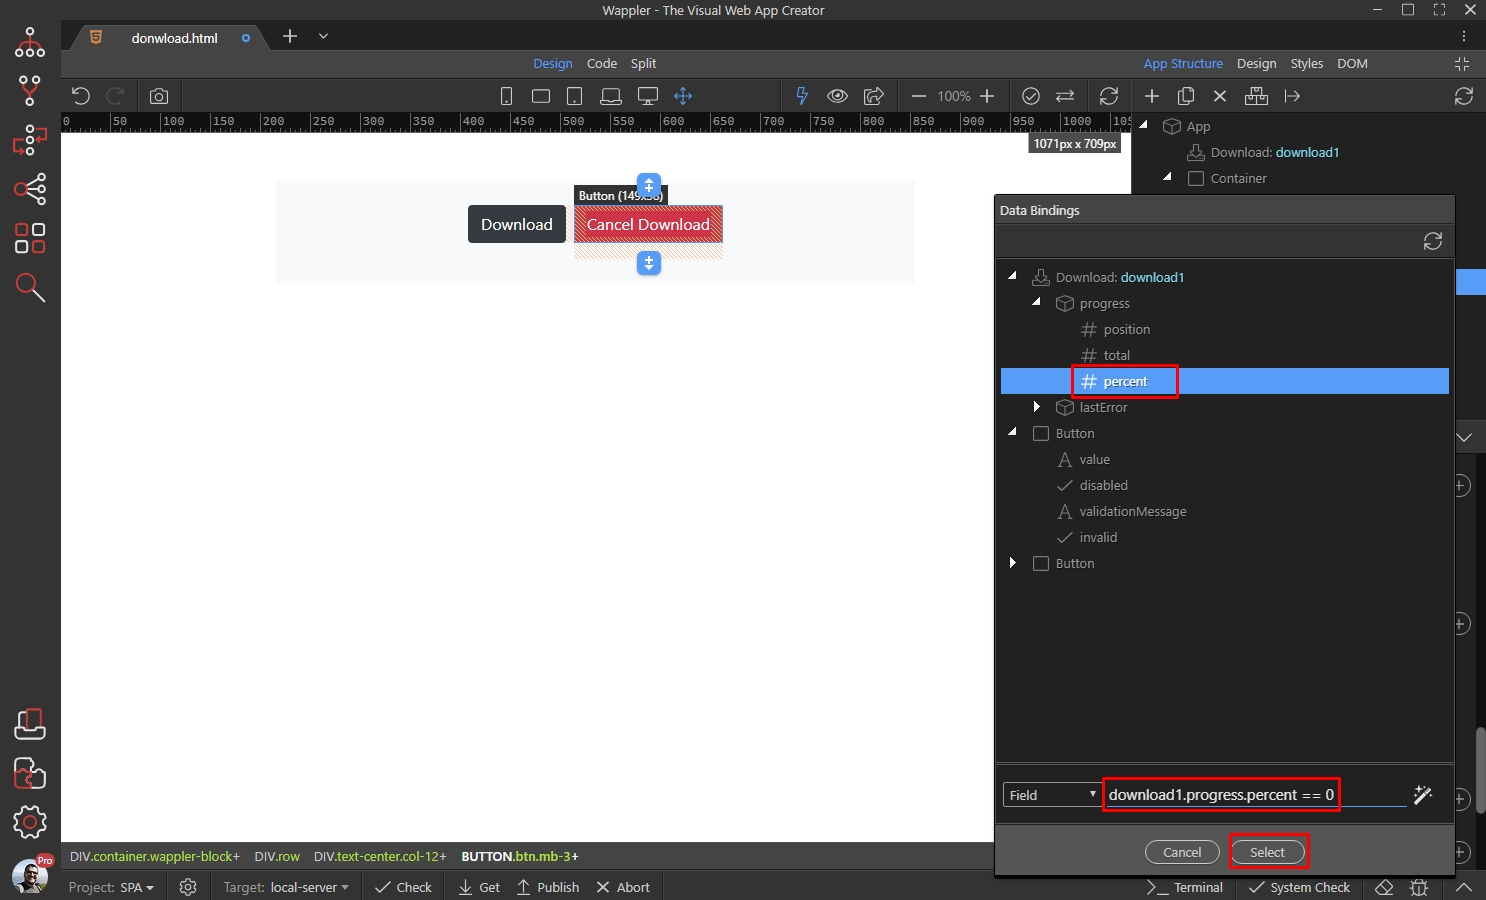
Section titled “Step 33”We need this button disabled, when the download process is not running. So under the Download Component > progress select percent and manually add == 0. Then click the Select button:
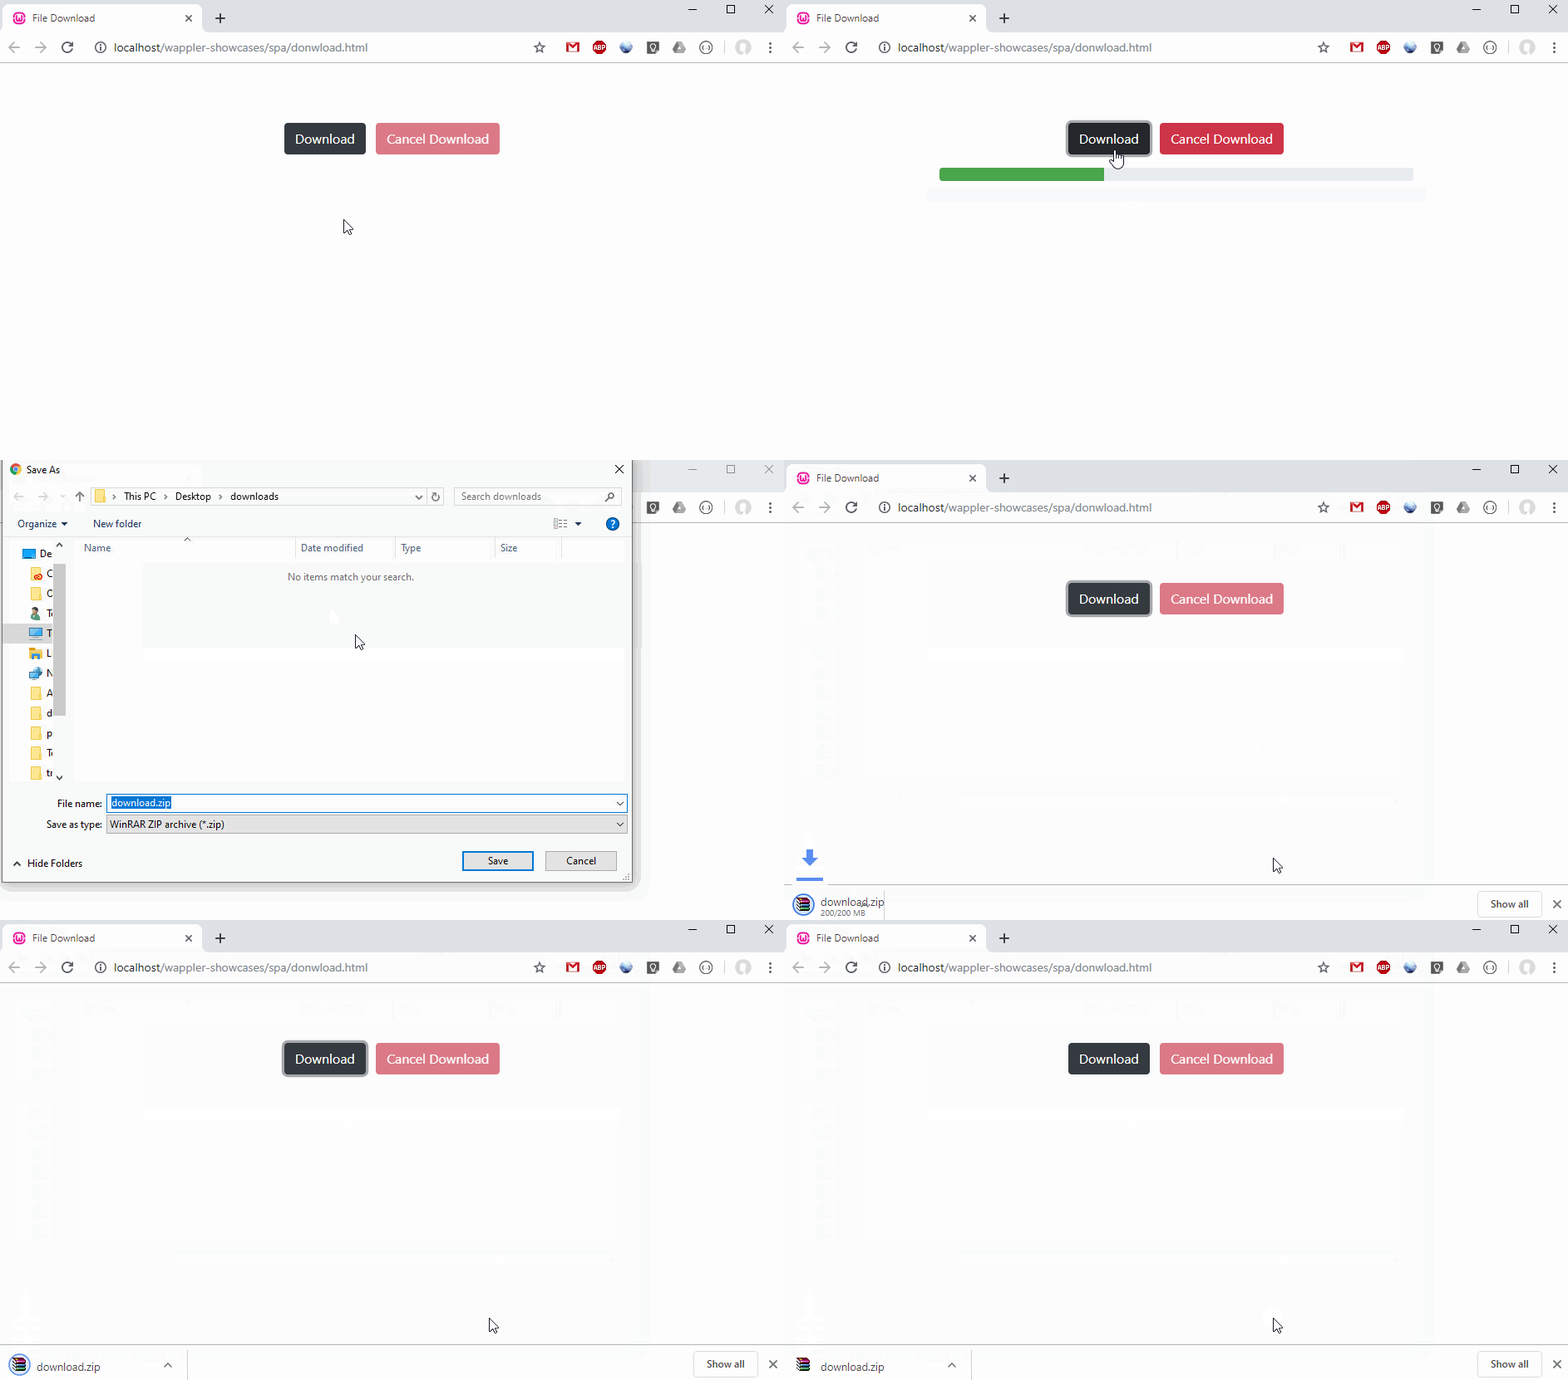
Save your page and you are done. Here are the results:
Section titled “Save your page and you are done. Here are the results:”