File Downloads with Server Connect
You can create a file download action in Server Connect, which allows you to download files from your server. You can use static or dynamic file names for the download action, so it can easily be used
Step 1
Section titled “Step 1”You can create a file download action in Server Connect, which allows you to download files from your server. You can use static or dynamic file names for the download action, so it can easily be used in cases where you need to export data (csv/xml) and download the exported file, download zip archives or any other file.
In this tutorial we will show you the basics of file download action.
Download File Server Action
Section titled “Download File Server Action”First, open the Server Connect panel:
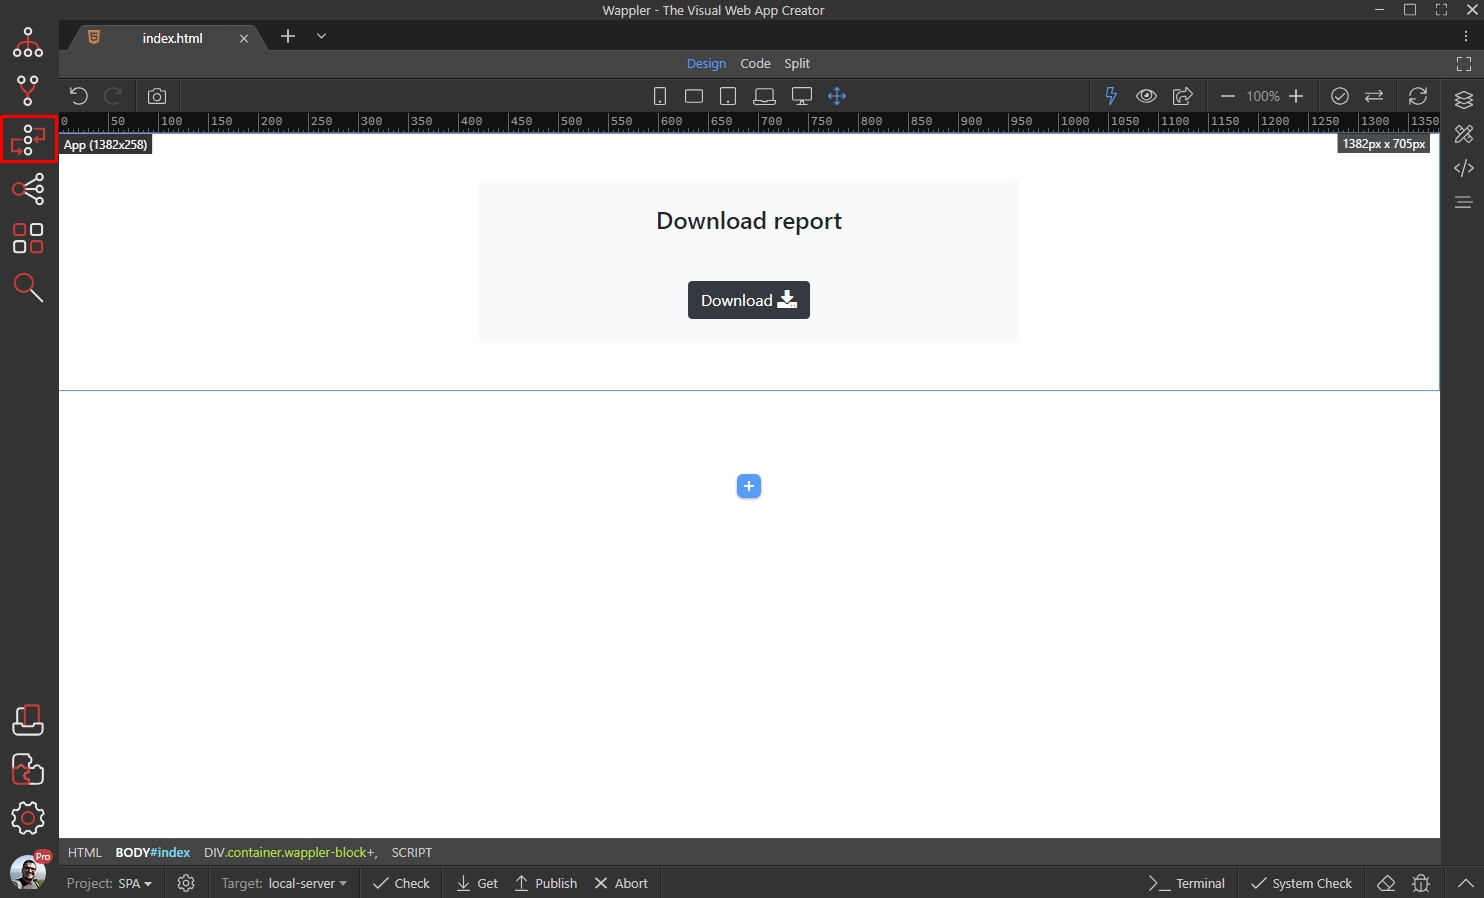
Create new server action:
Section titled “Create new server action:”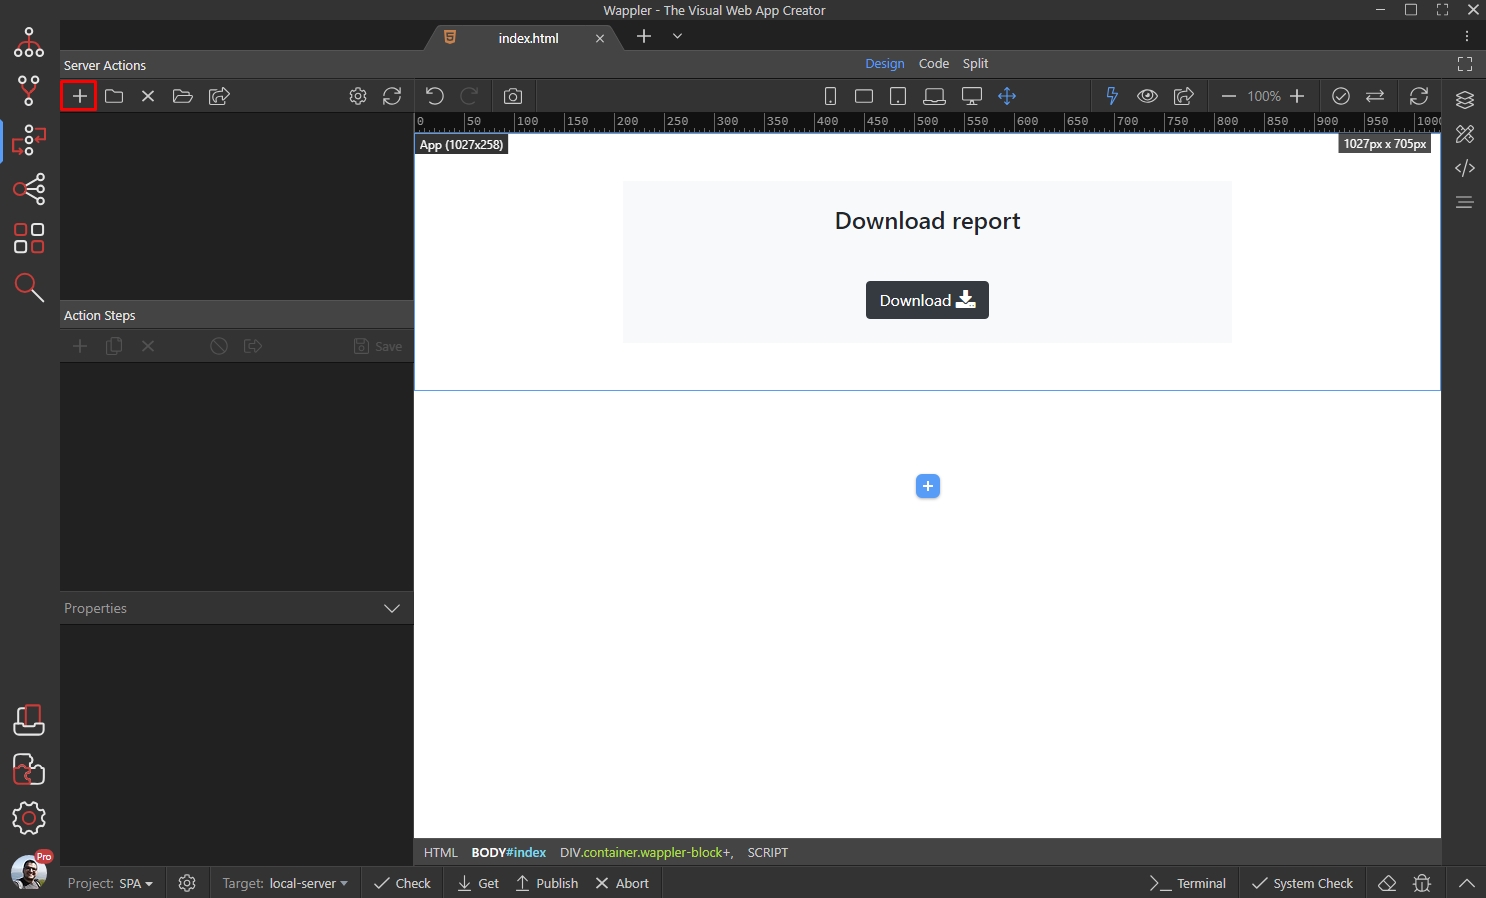
We call it download. Right click Steps:
Section titled “We call it download. Right click Steps:”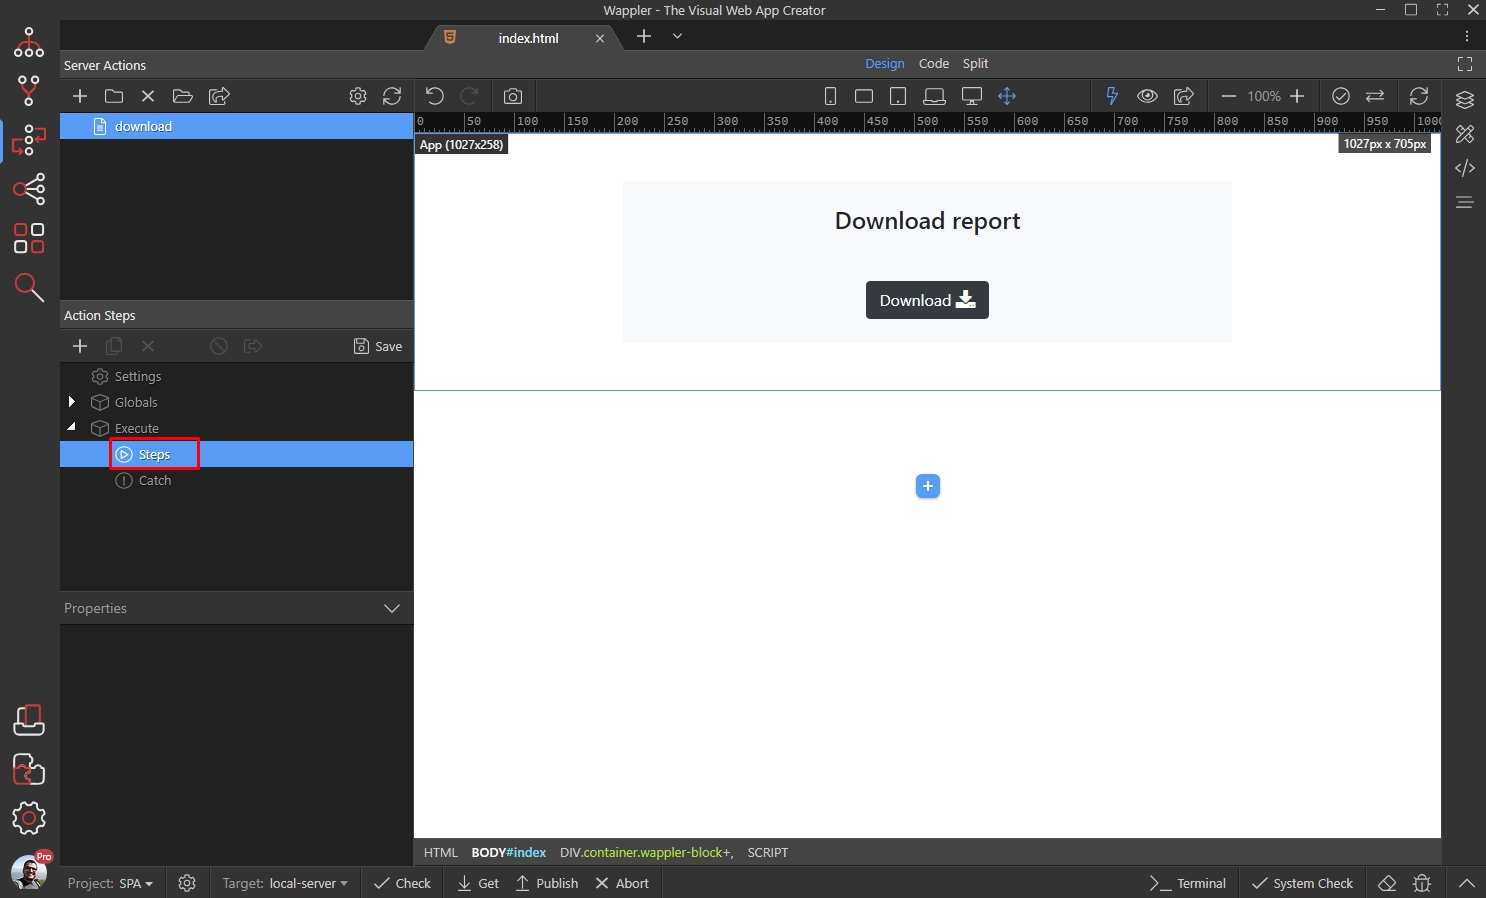
Open File Management and select File Download:
Section titled “Open File Management and select File Download:”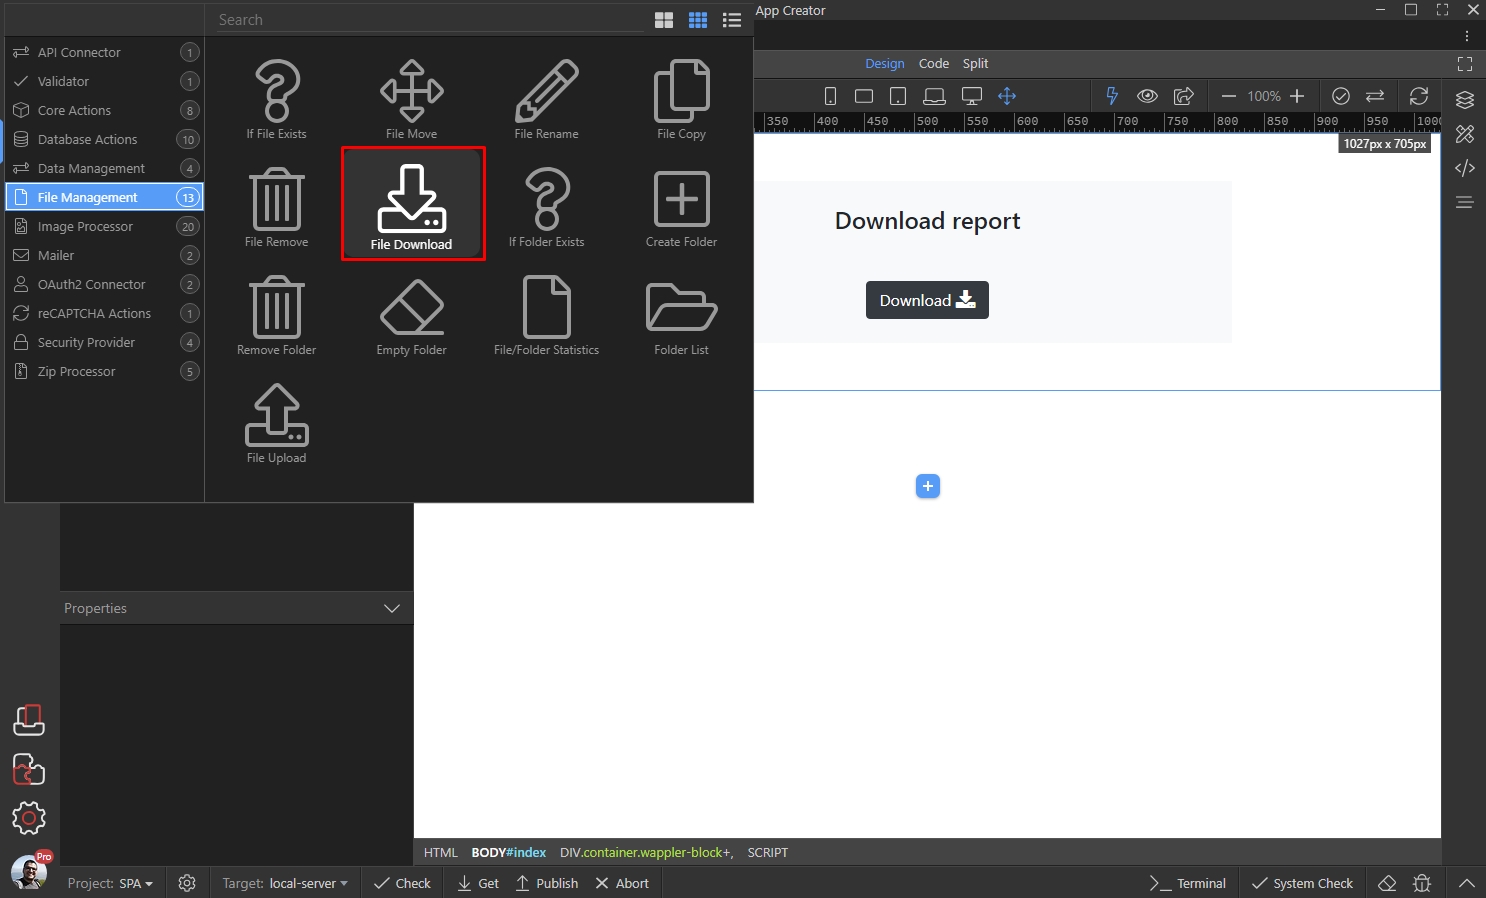
Step 6
Section titled “Step 6”Select the path to your file. This can be dynamic or static, so if you have some dynamic action returning the path to your file, select it here:
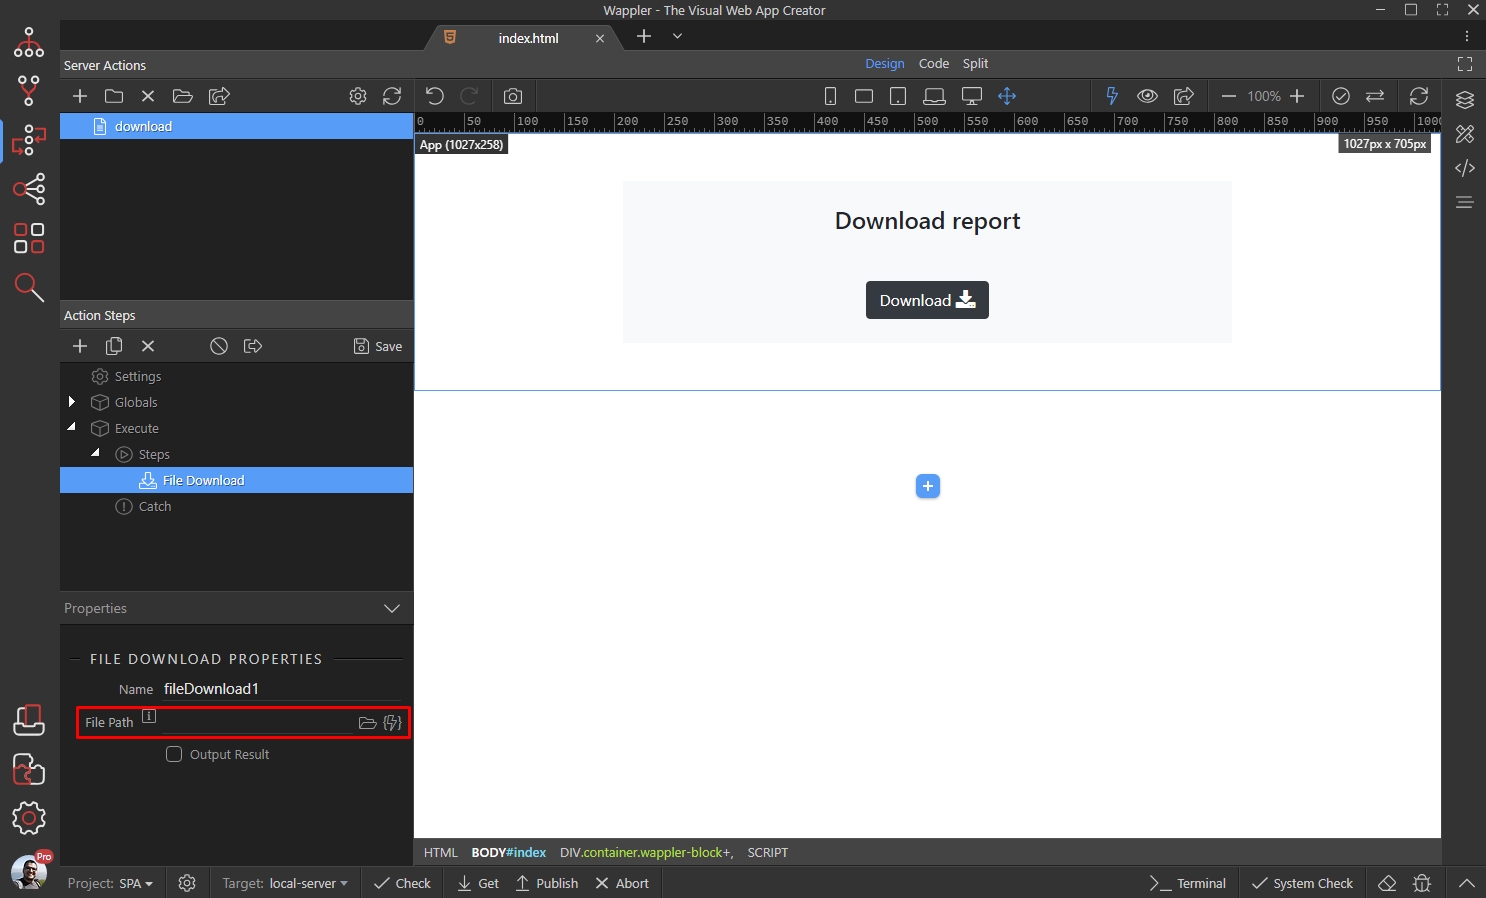
In our case this is a static path, so we just browse to the file and select it:
Section titled “In our case this is a static path, so we just browse to the file and select it:”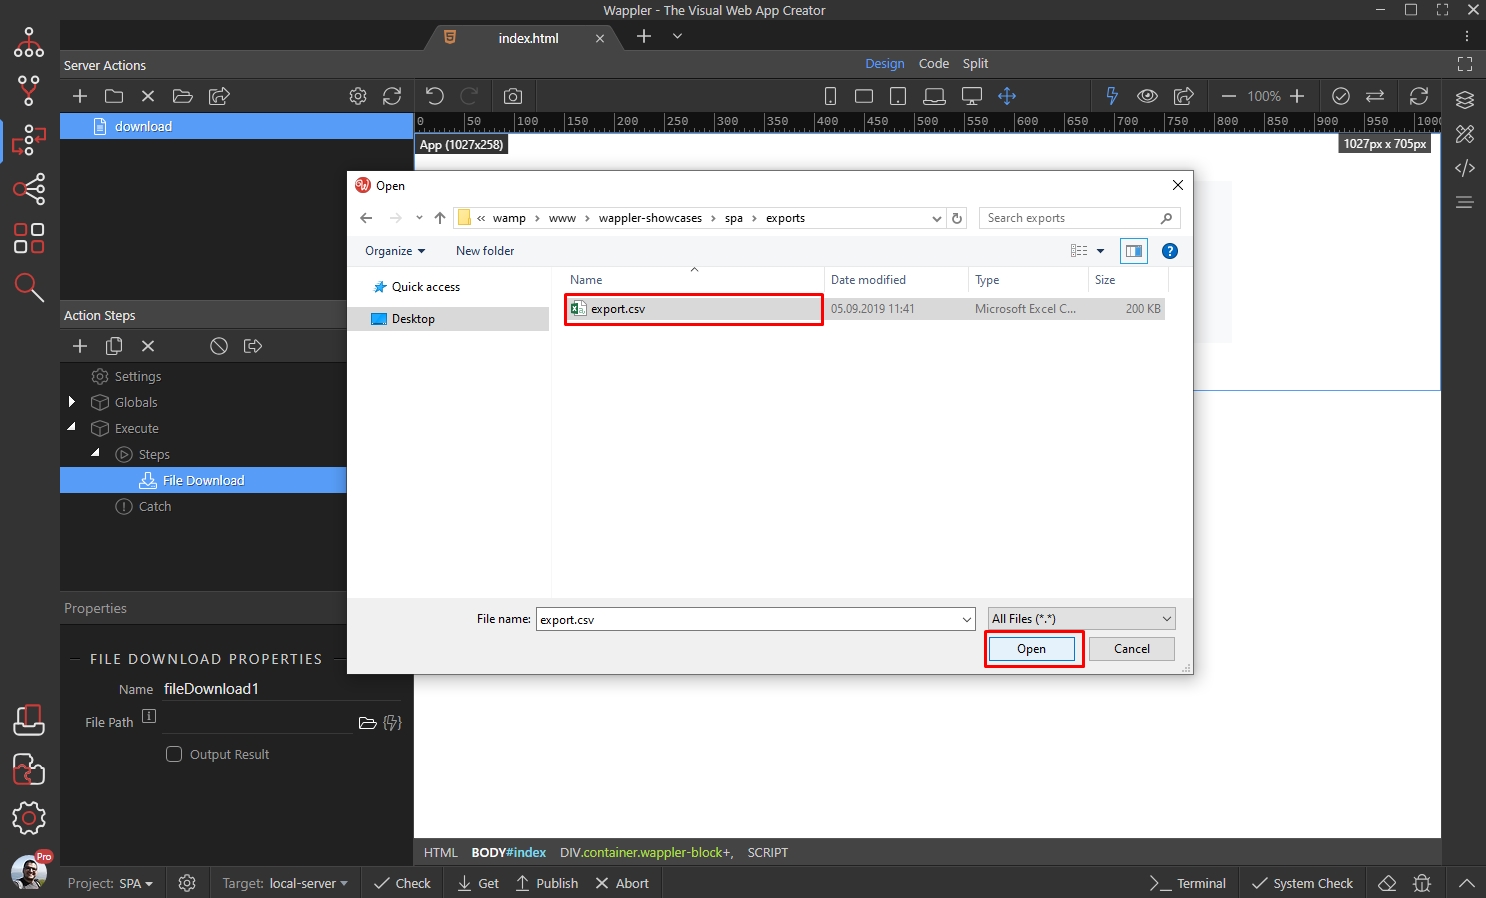
Save your server action:
Section titled “Save your server action:”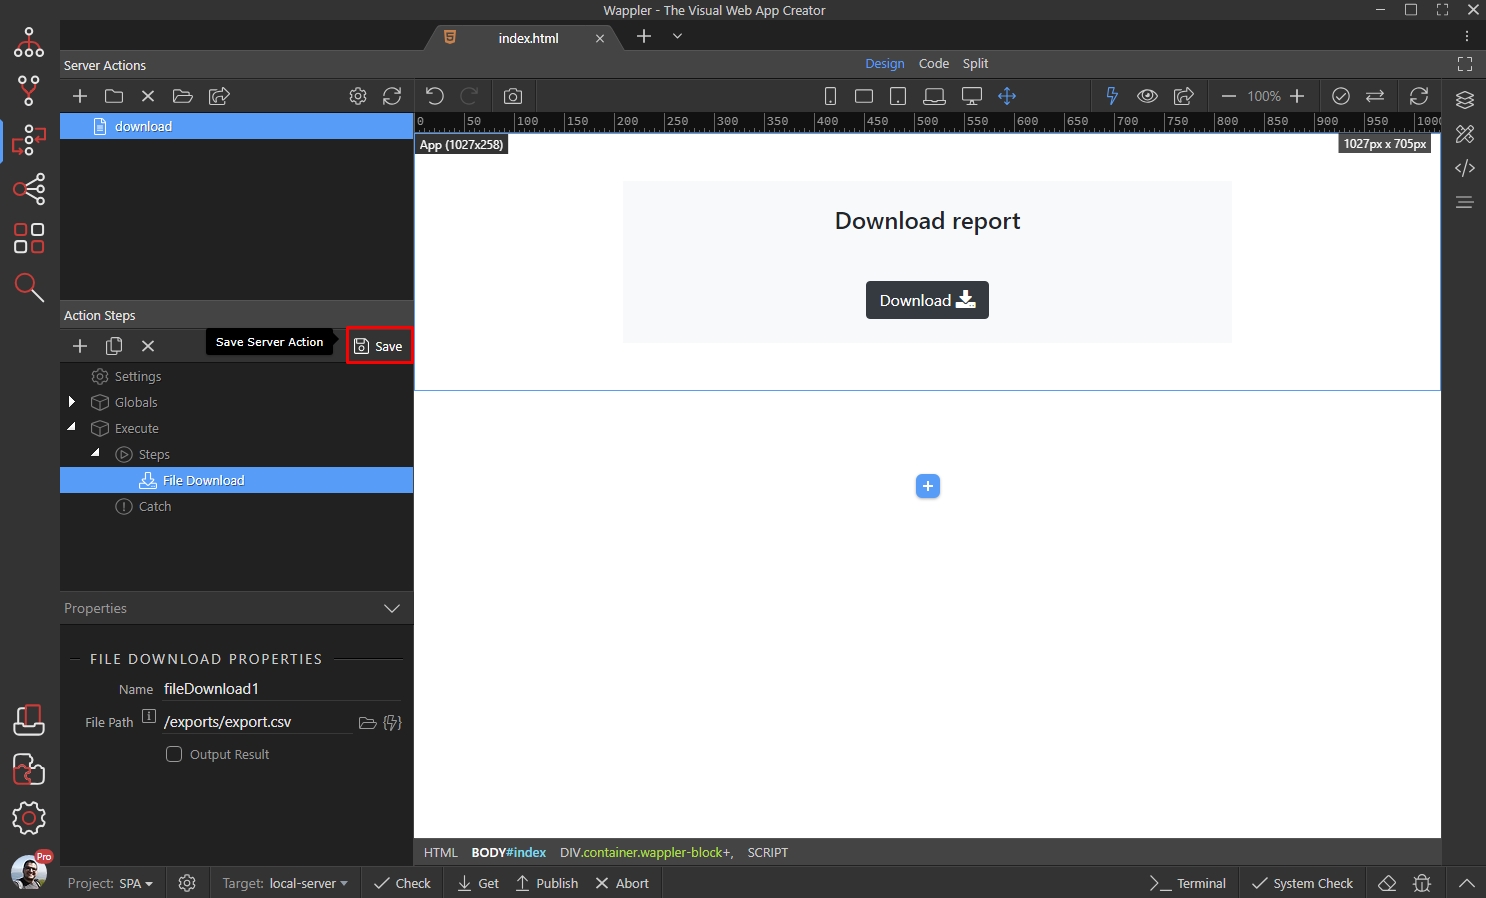
Server Connect Routing
Section titled “Server Connect Routing”You can directly link to your server action, browsing to the file in the dmxConnect/api/.. folder, but we suggest using routing instead. It’s easier to add the link to the server action on the page later and does not directly expose the link to the server action.
Open the Routing panel:
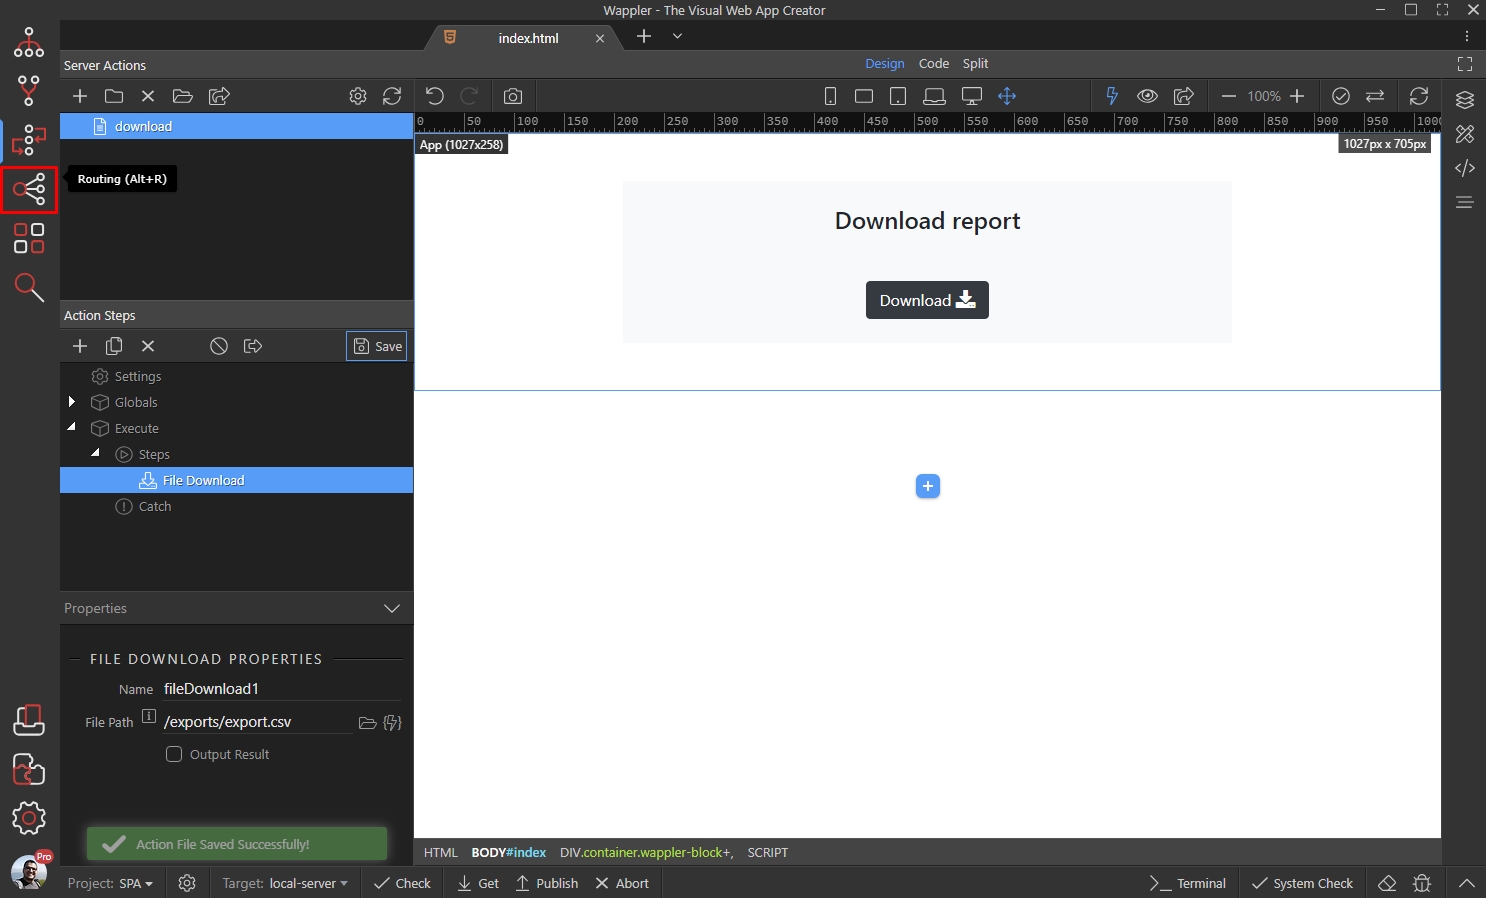
Create a new Server Connect Route:
Section titled “Create a new Server Connect Route:”
Select your download action and click the Select button:
Section titled “Select your download action and click the Select button:”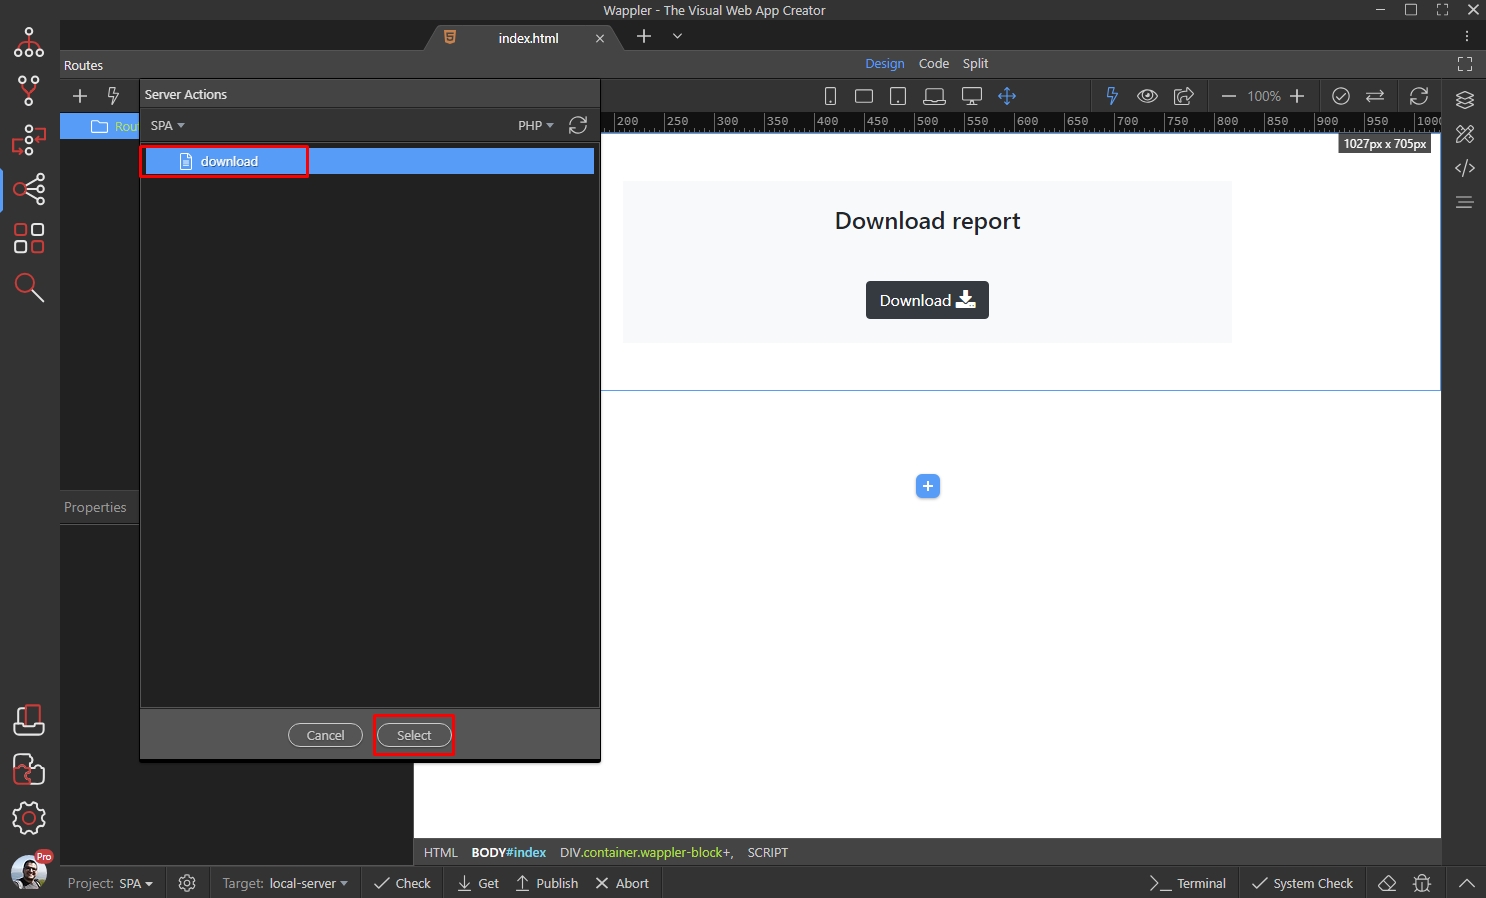
Step 13
Section titled “Step 13”It automatically sets the routing path to /api/server_action_name but you can change it to whatever you like. We are just fine with this path, so we leave it as it is:
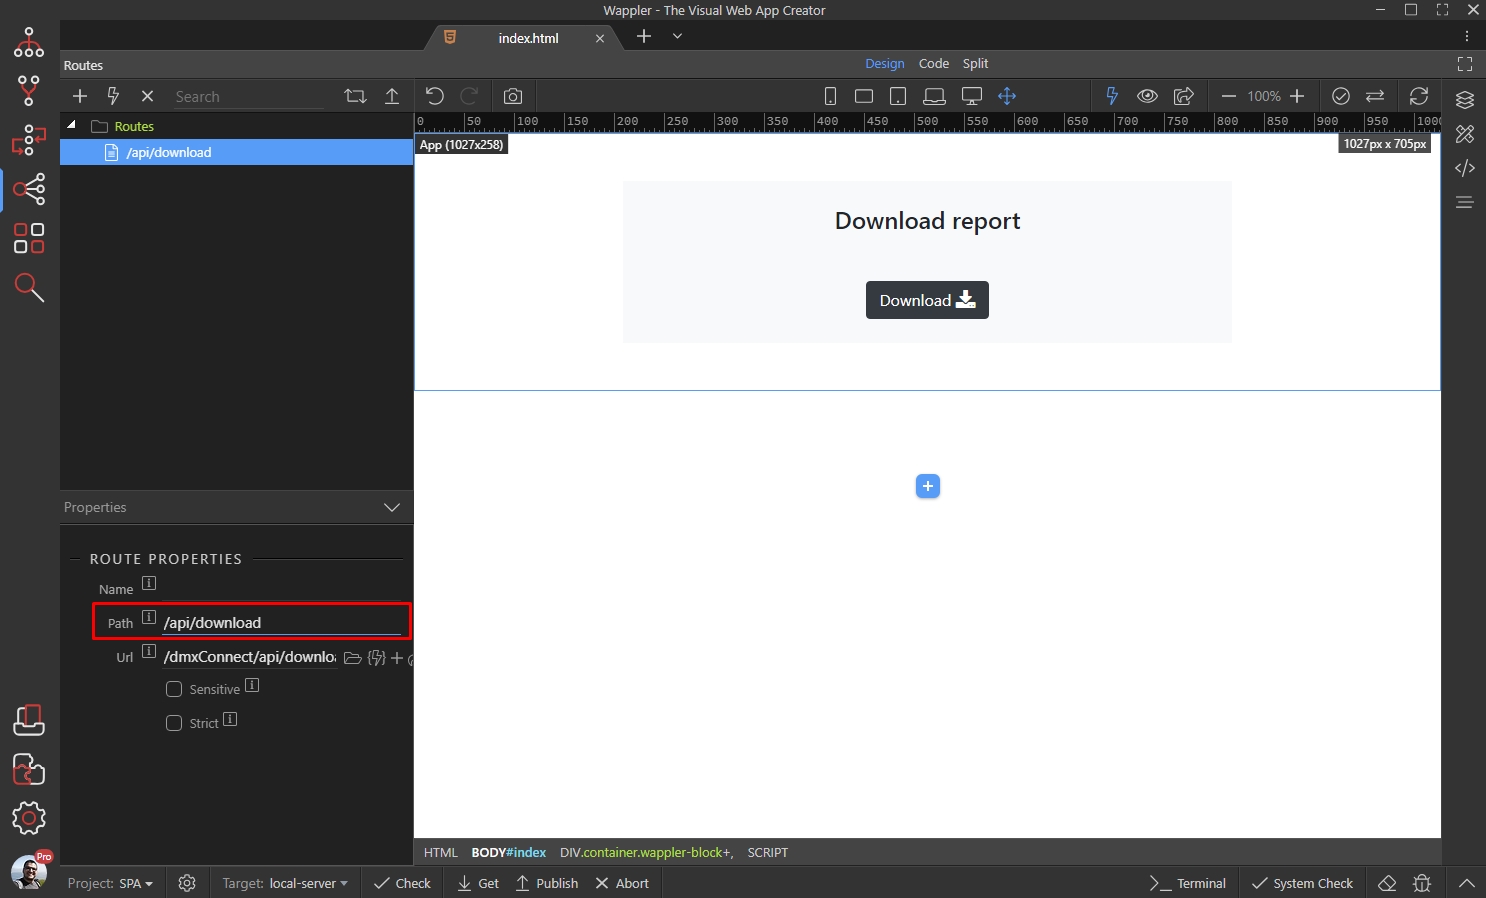
We are done with this part.
Section titled “We are done with this part.”Adding Download Link to Your Page
Section titled “Adding Download Link to Your Page”Close the routing panel and open the App Connect Panel:
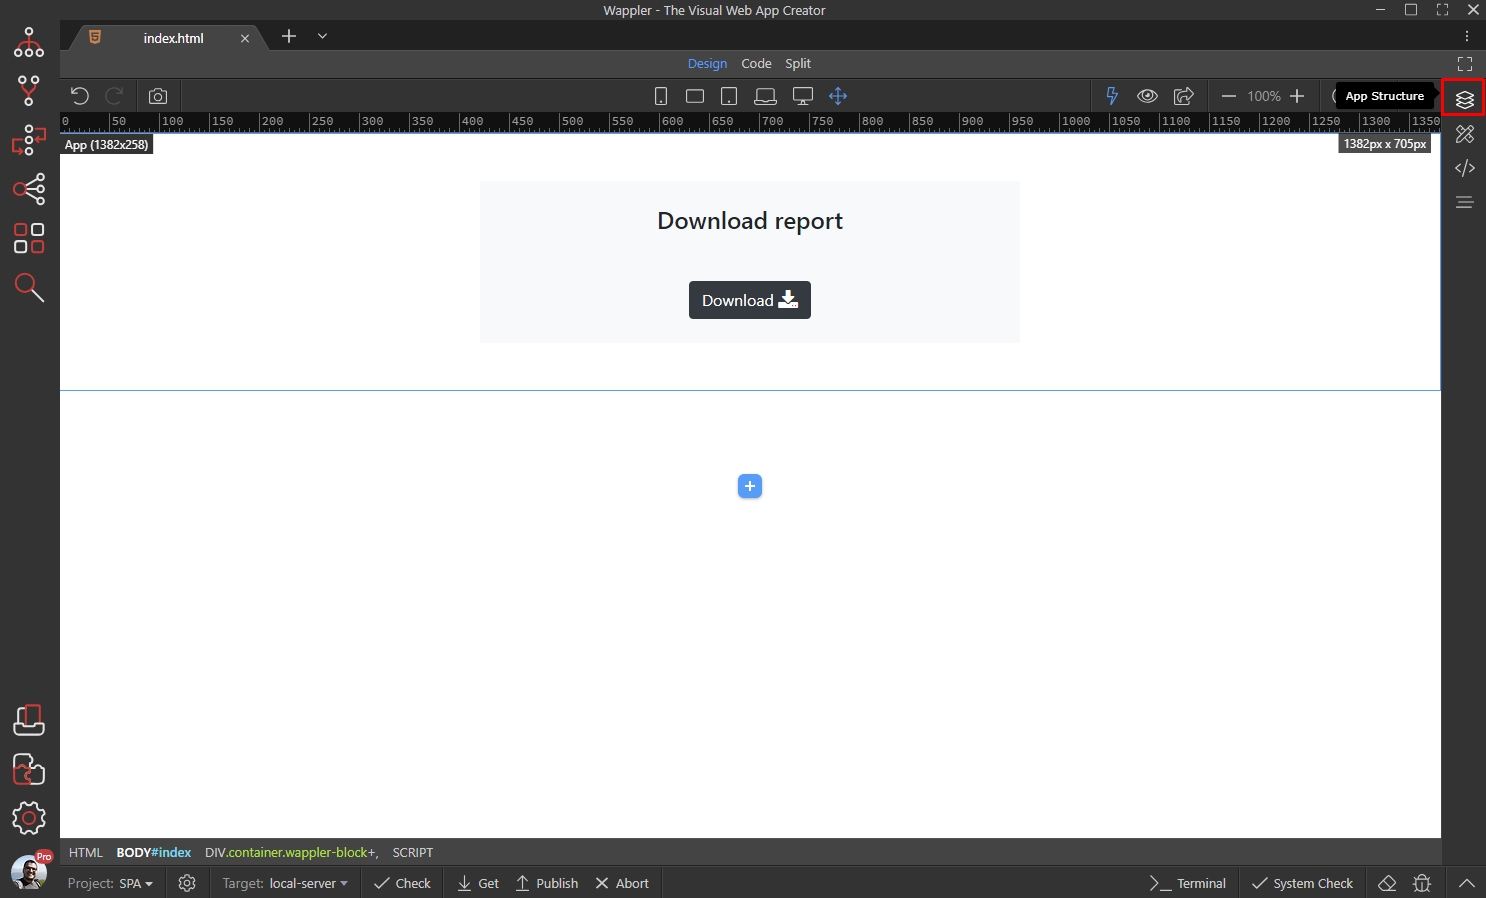
Step 16
Section titled “Step 16”On our page you can see an anchor button, but this also works with a regular link. Select your link/anchor button and click the Route Picker icon for the link:
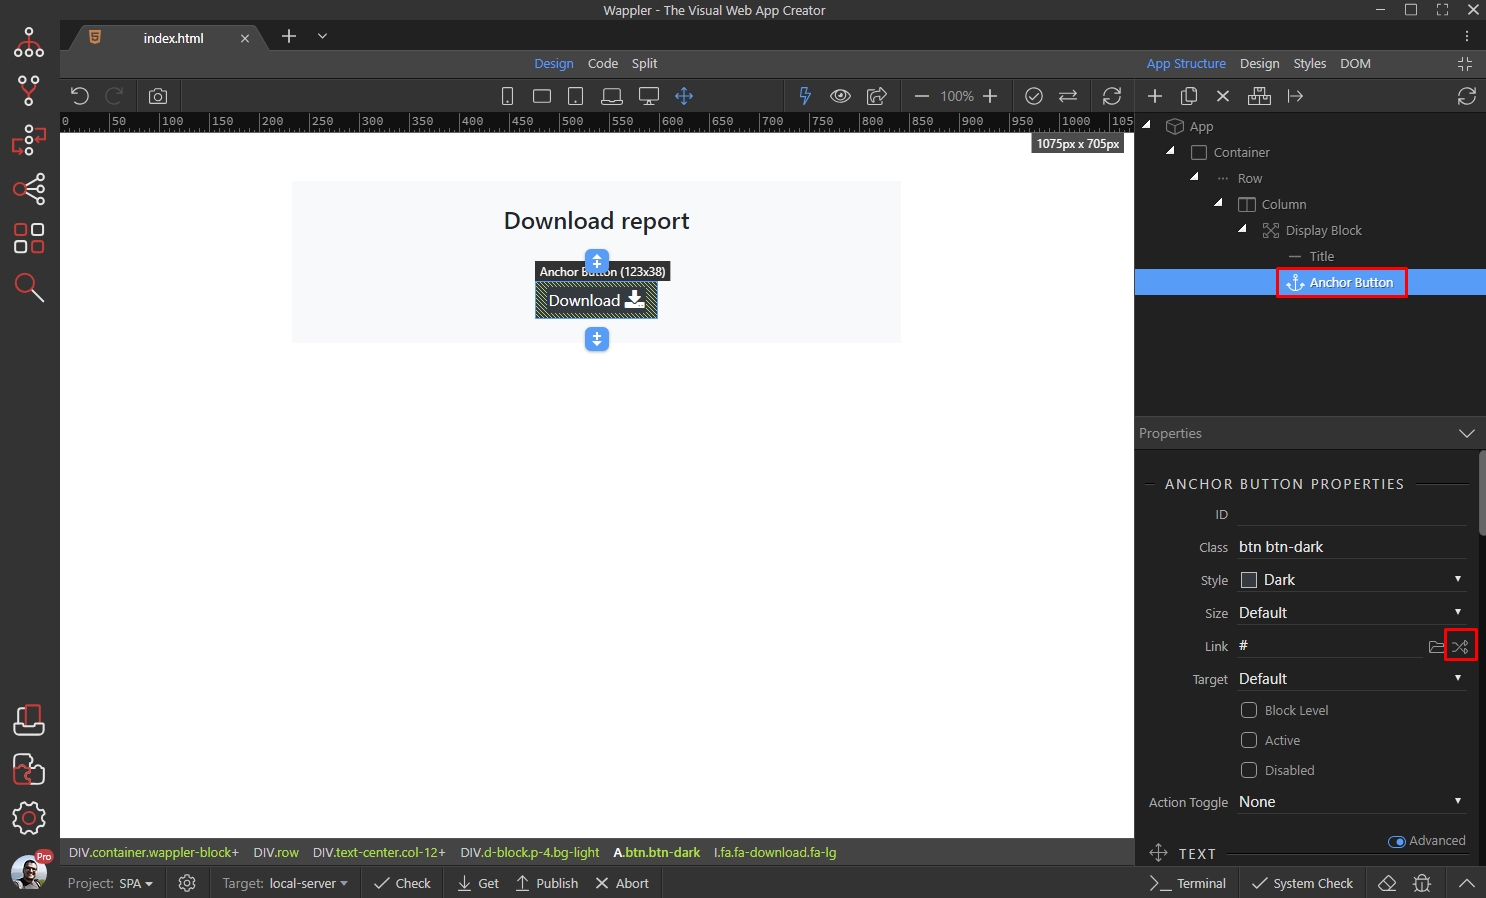
Select the route to the download server action and click the Select button:
Section titled “Select the route to the download server action and click the Select button:”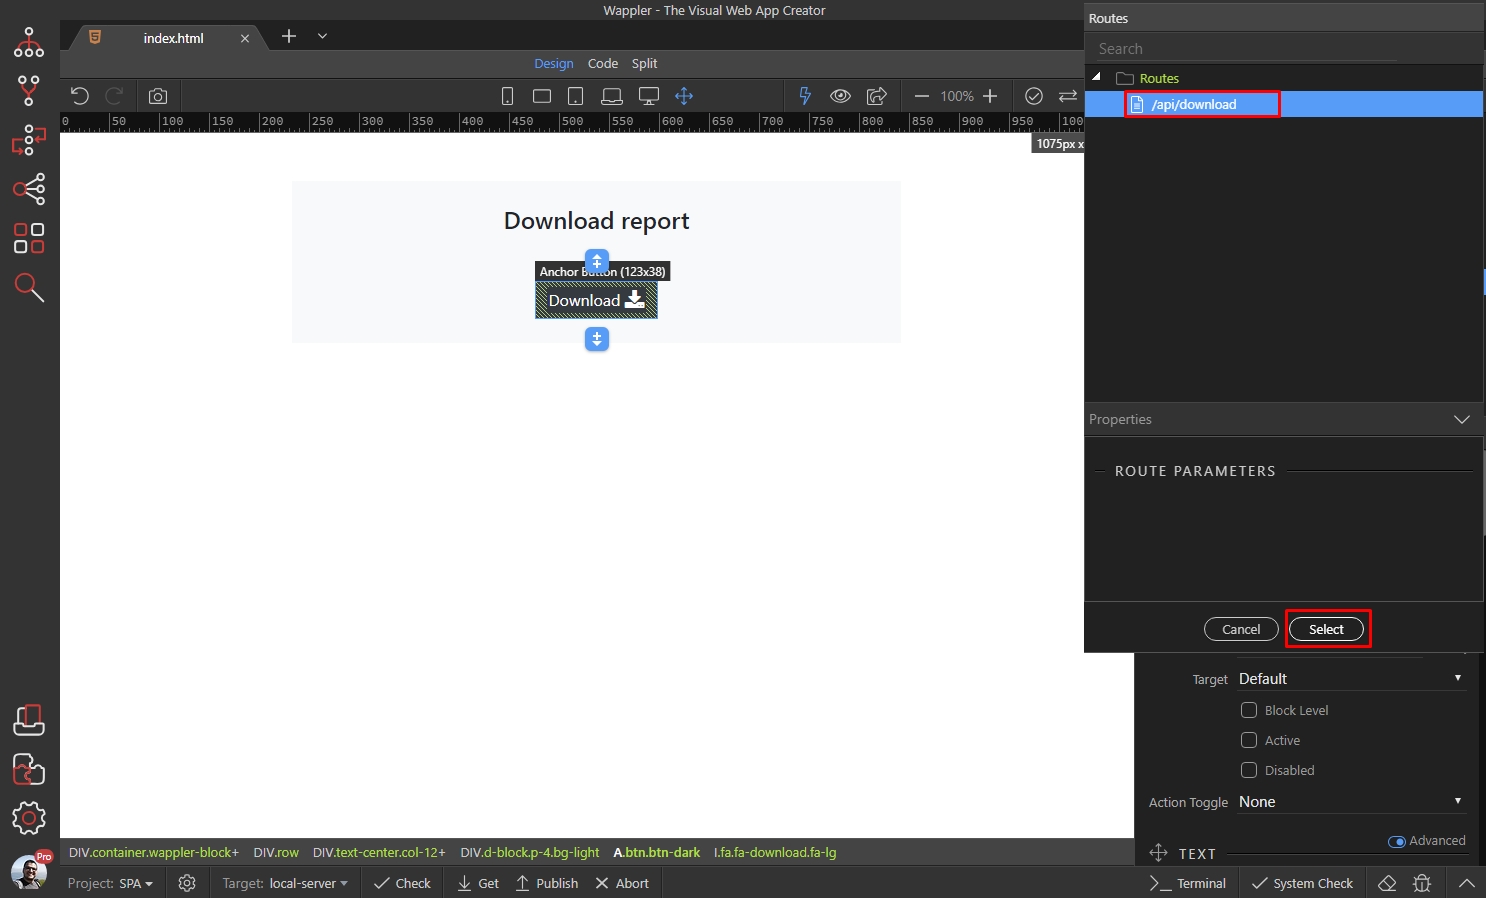
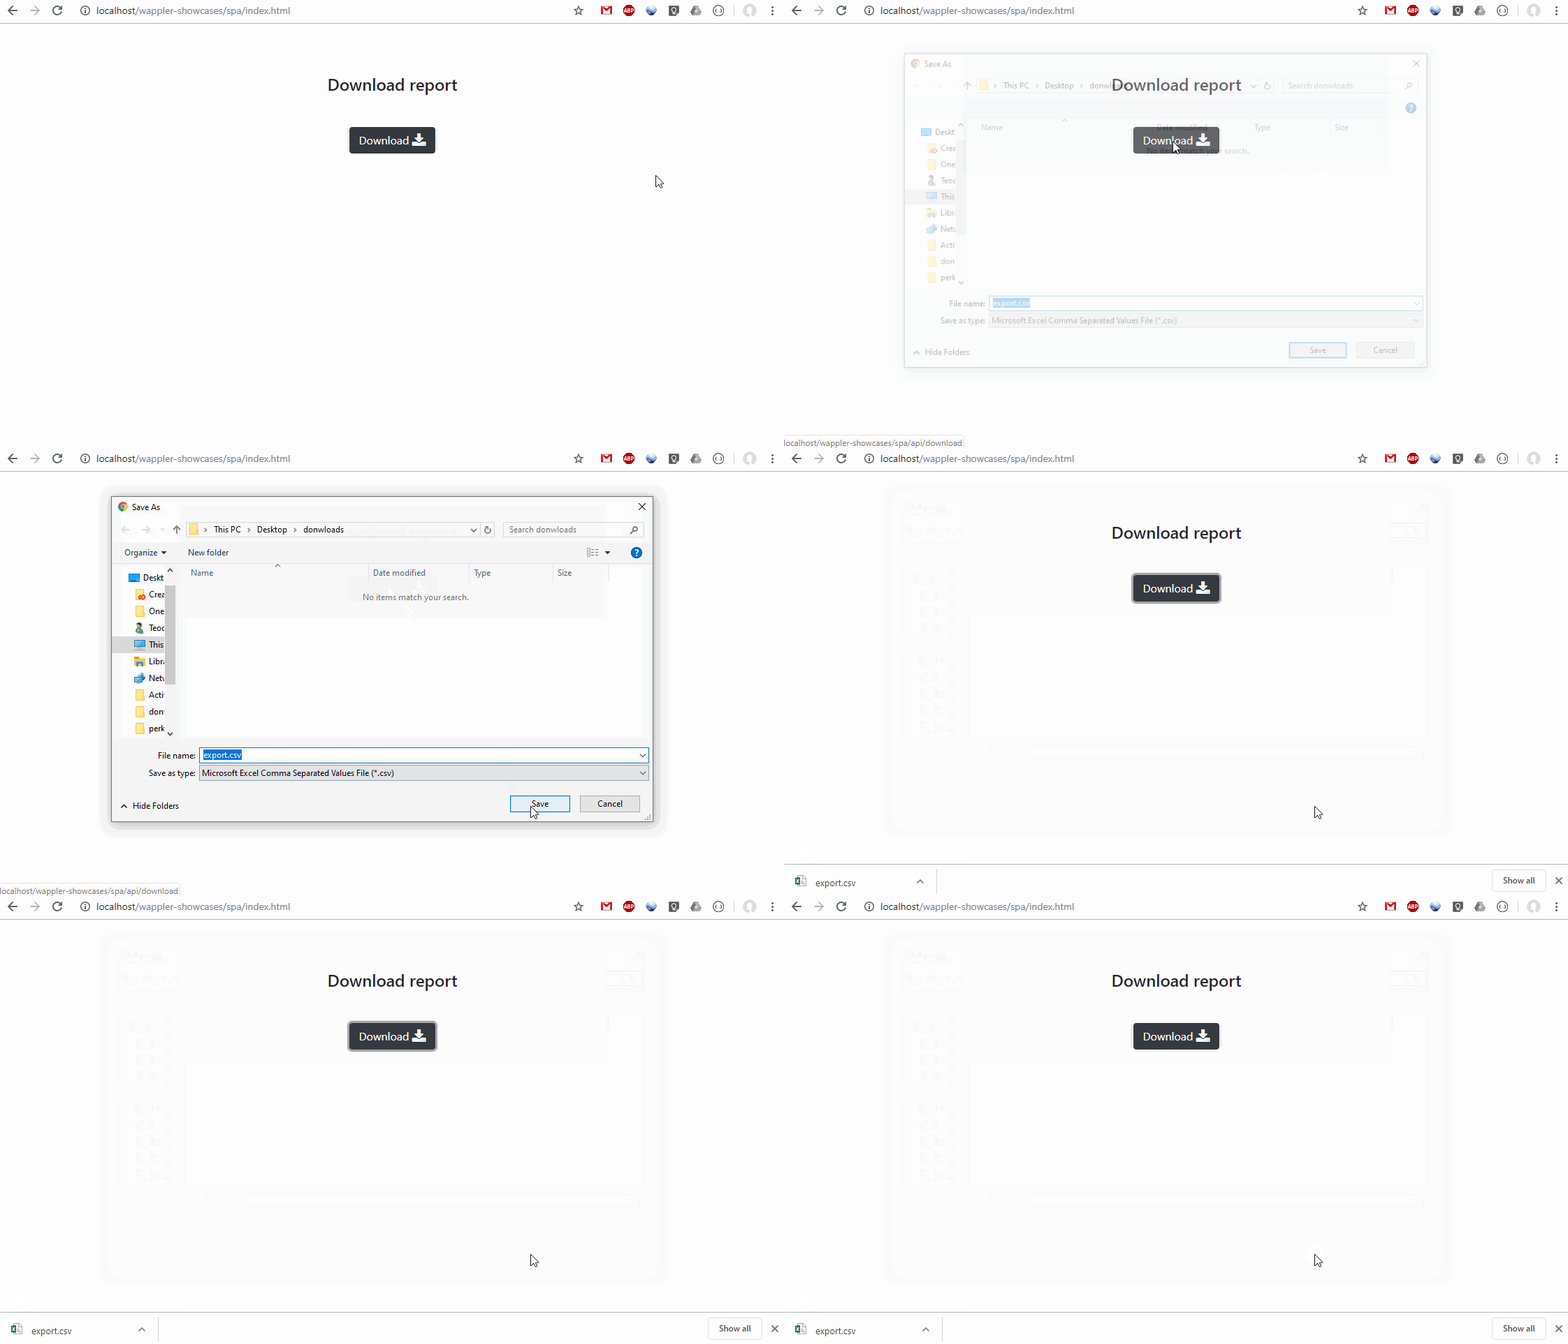
Save your page and we are done. Here’s the result:
Section titled “Save your page and we are done. Here’s the result:”