Applying Security to your NodeJS pages
You can apply security to your pages and redirect users who are not logged in or have no permissions to view a specific page. Security Protection with NodeJS Security Provider setup with NodeJS is sim
Step 1
Section titled “Step 1”You can apply security to your pages and redirect users who are not logged in or have no permissions to view a specific page.
Security Protection with NodeJS
Section titled “Security Protection with NodeJS”Security Provider setup with NodeJS is similar to what you are used to do for the other server models (PHP / ASP / ASP.NET), the different in the workflow is the way you restrict access on the pages. For PHP, ASP and ASP.NET you would do this using the Security Enforcer on the page, while with NodeJS you apply the restrictions on the Server Side, in a Server Action.
Server Side
Section titled “Server Side”First we need to setup the Server Side part.
We already created the normal server action required for a login system like login and logout. We also crated a server action called user which will be used to restrict our pages. It contains a database connection and a database query, so nothing unusual:
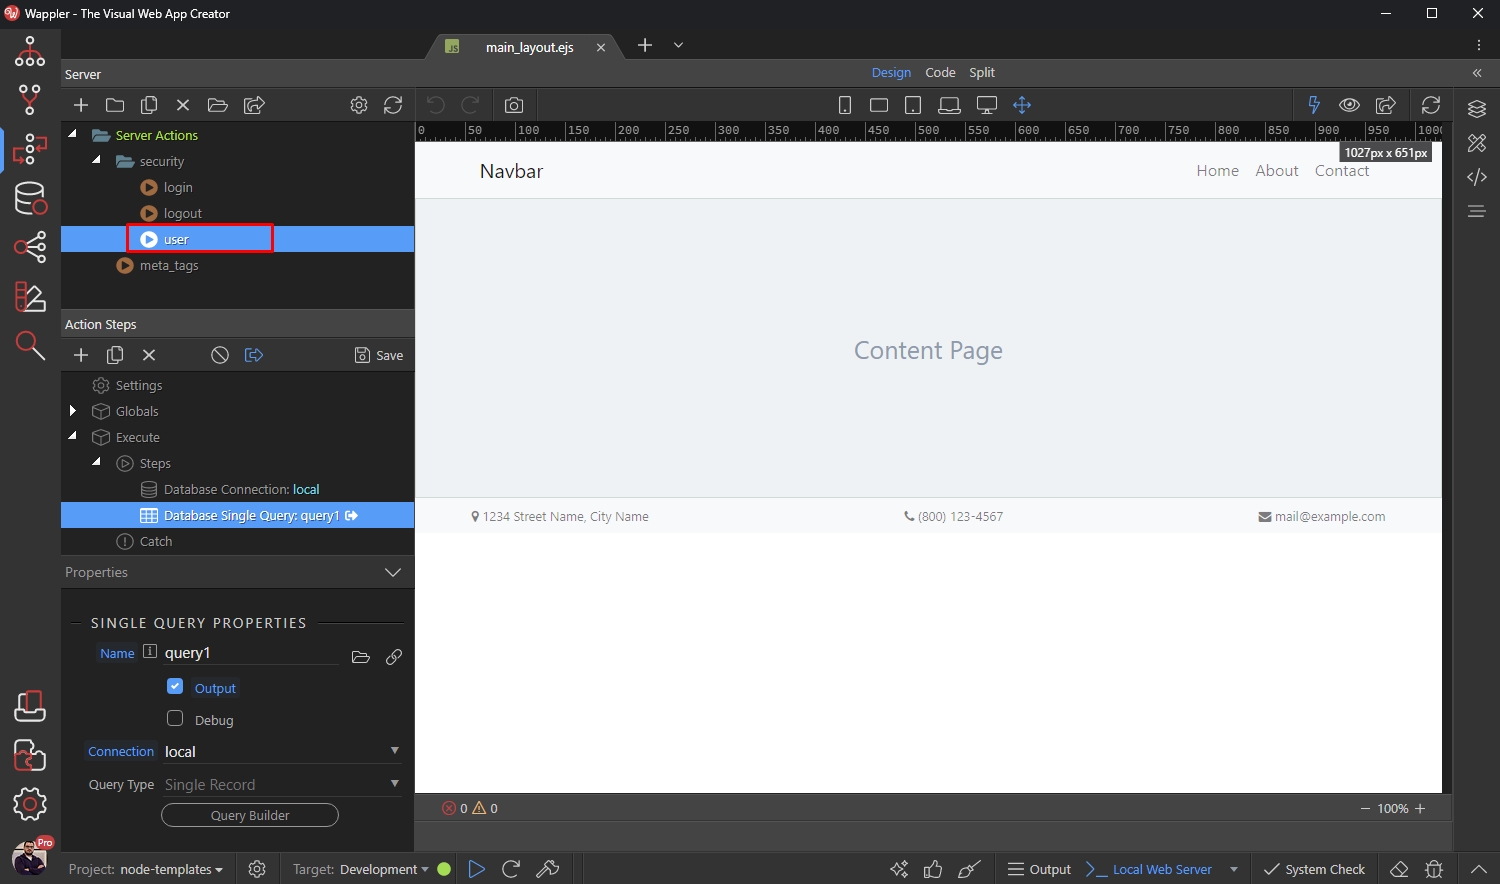
First let’s add the Security Provider to our server action. Right click the database connection step:
Section titled “First let’s add the Security Provider to our server action. Right click the database connection step:”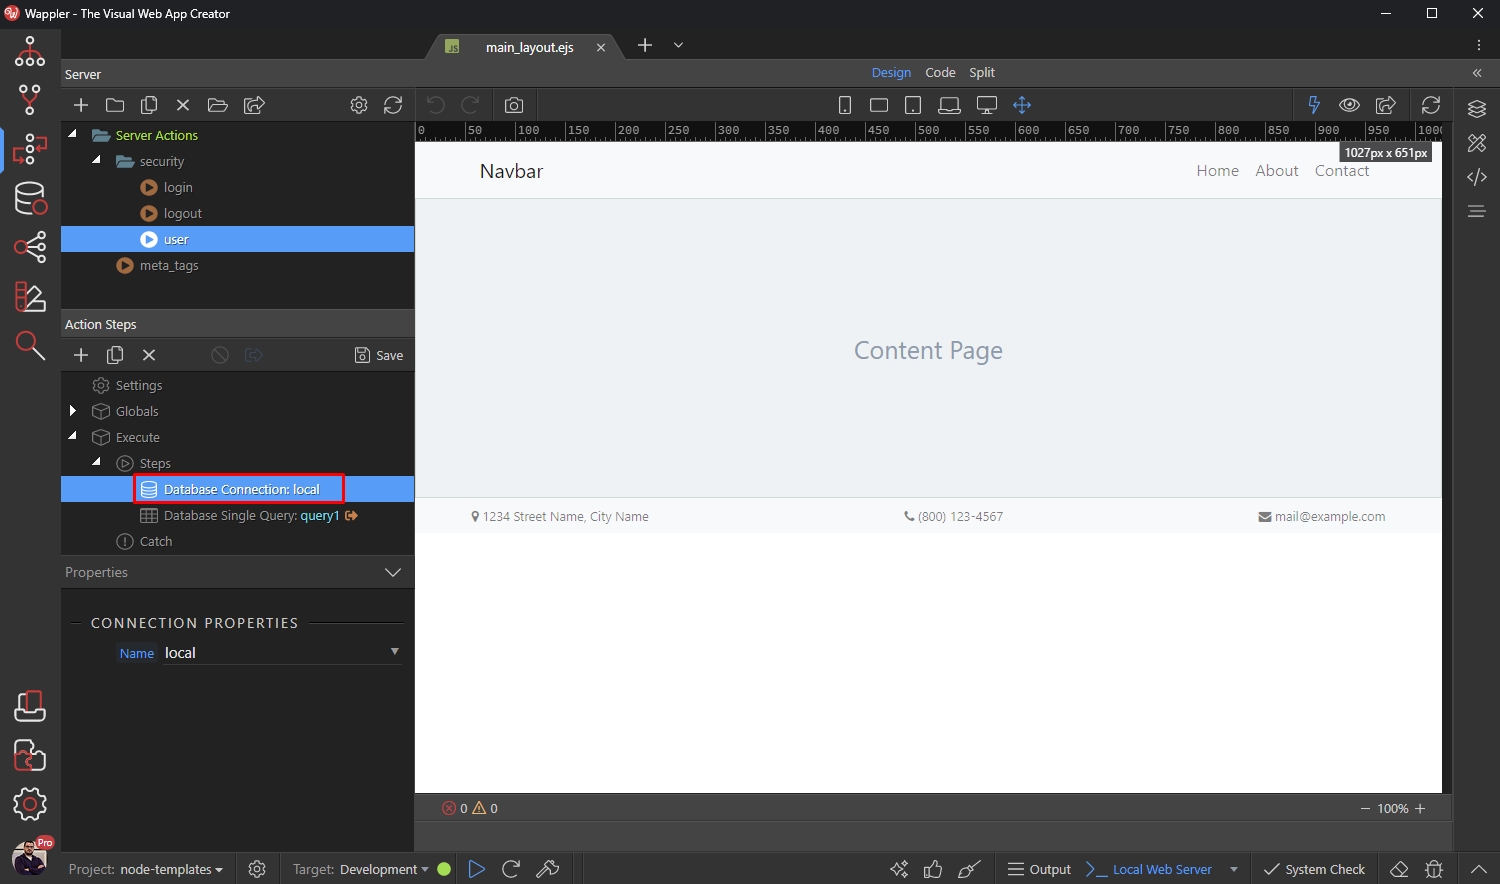
And add the Security Provider:
Section titled “And add the Security Provider:”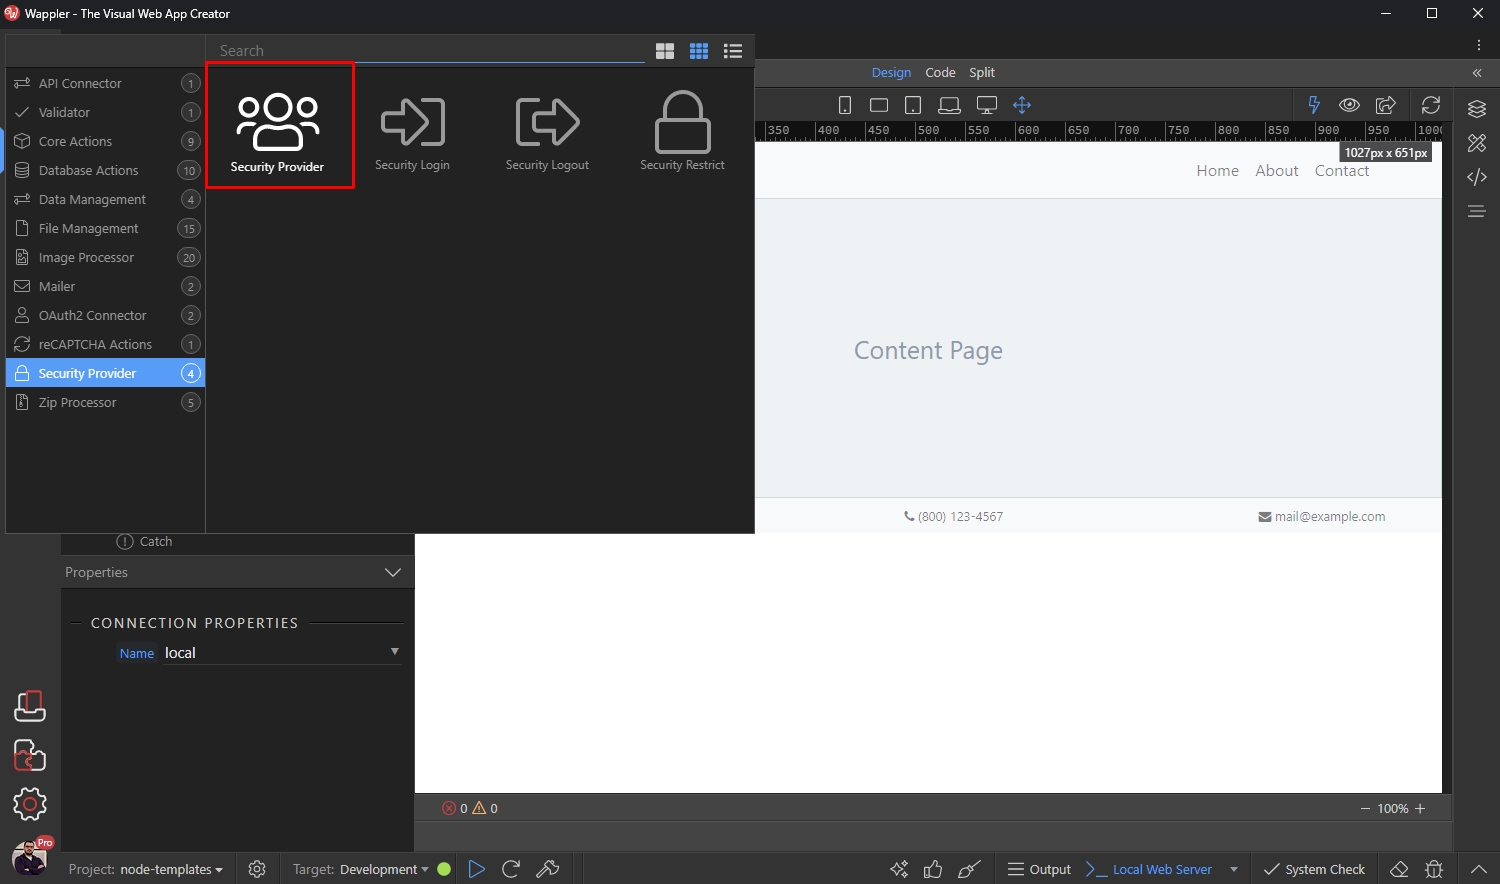
Set up your security provider as you usually do. We are using a database security provider in our example:
Section titled “Set up your security provider as you usually do. We are using a database security provider in our example:”
That’s how we set it up:
Section titled “That’s how we set it up:”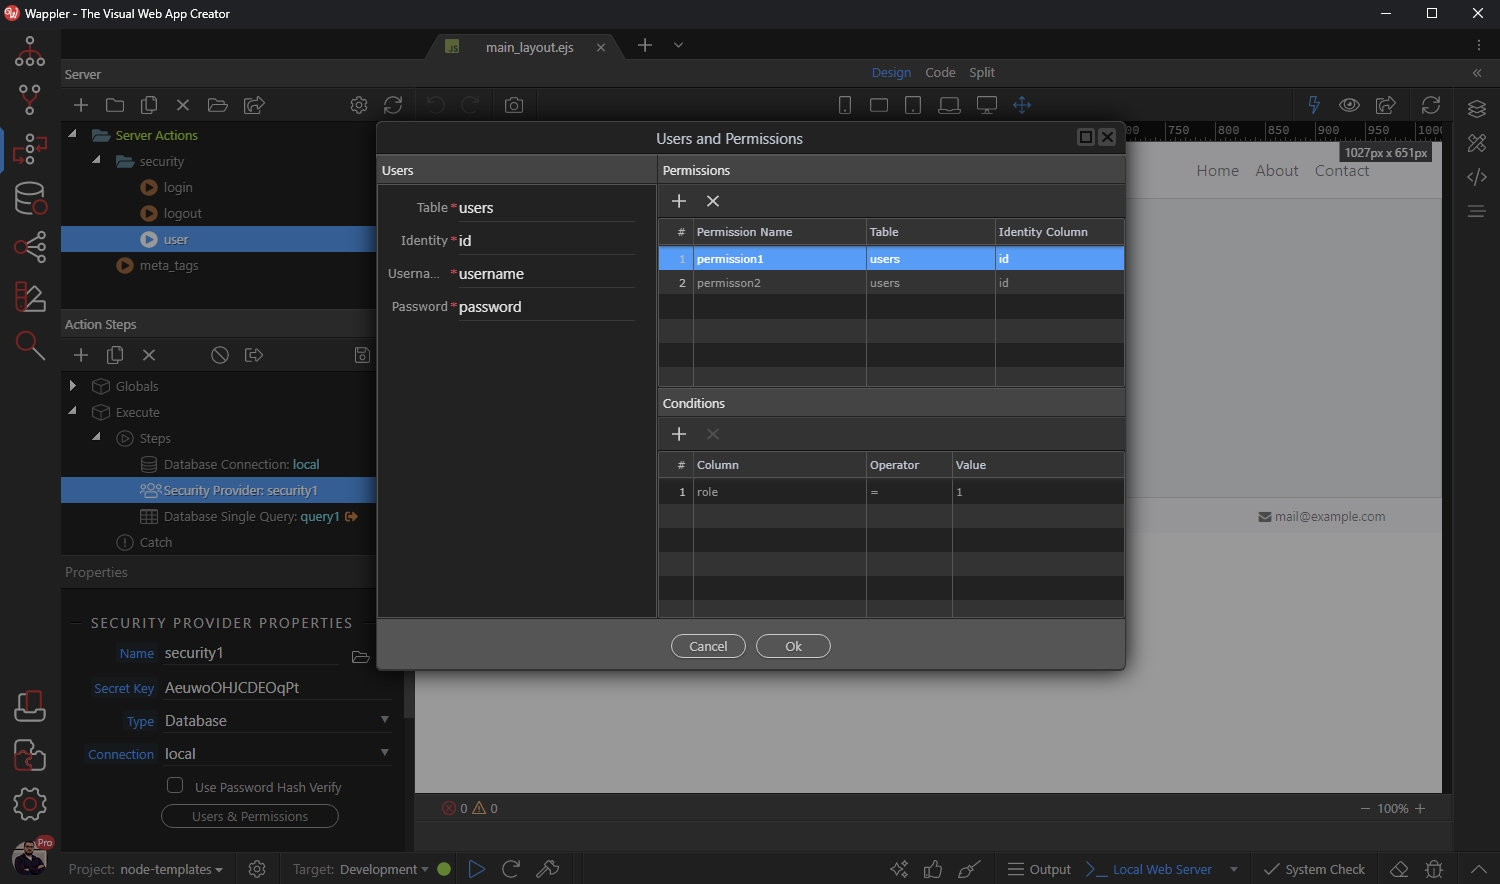
So just setup your security provider as you need it.
Section titled “So just setup your security provider as you need it.”Right click the Security Provider step:

And add Security Restrict:
Section titled “And add Security Restrict:”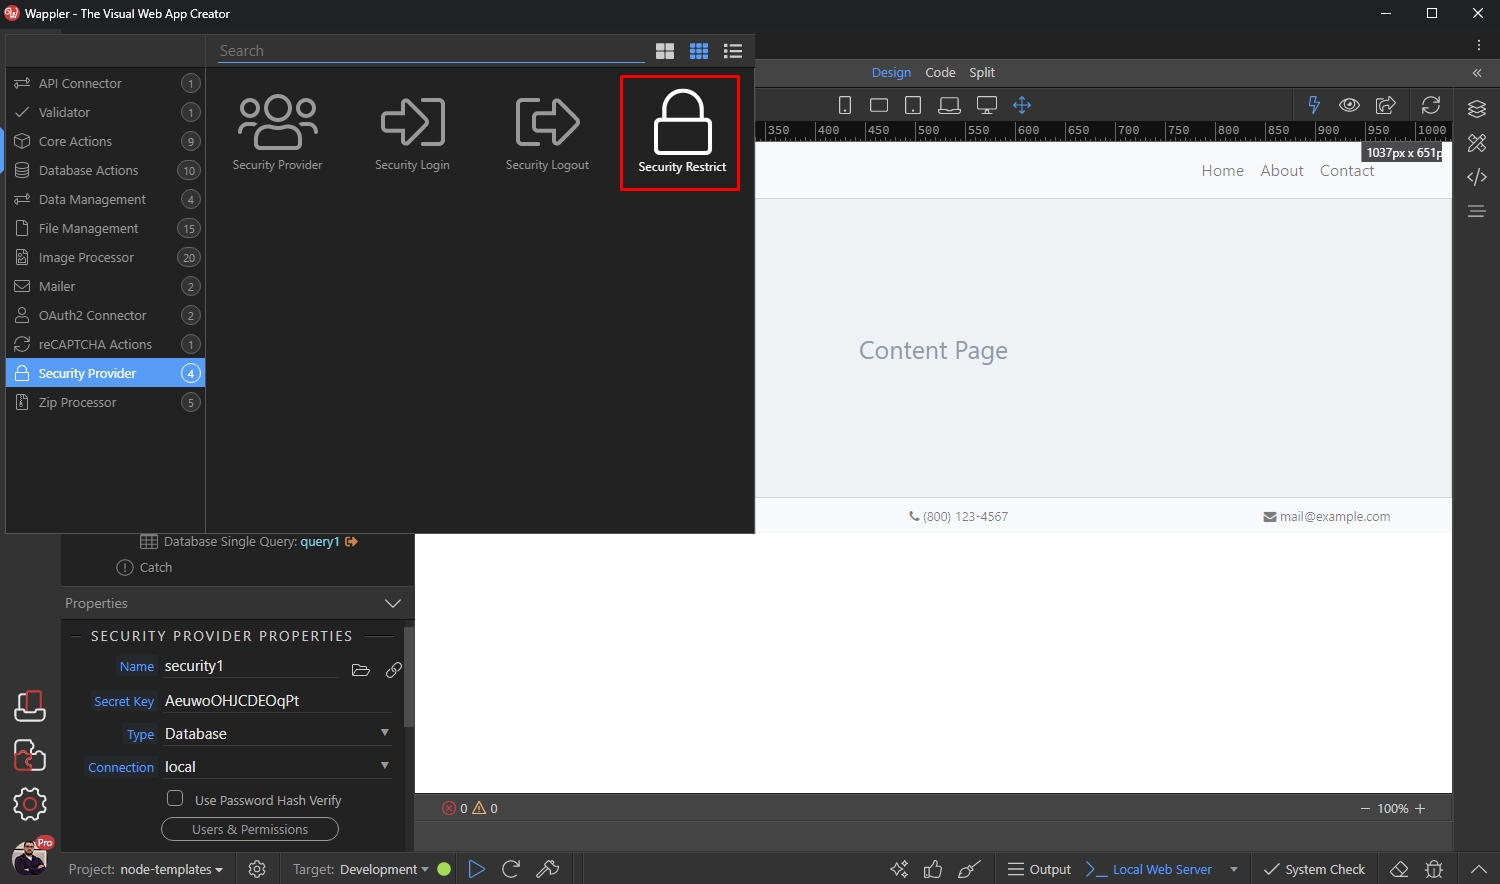
Select any permission if needed / if you created some, or just leave this field empty:
Section titled “Select any permission if needed / if you created some, or just leave this field empty:”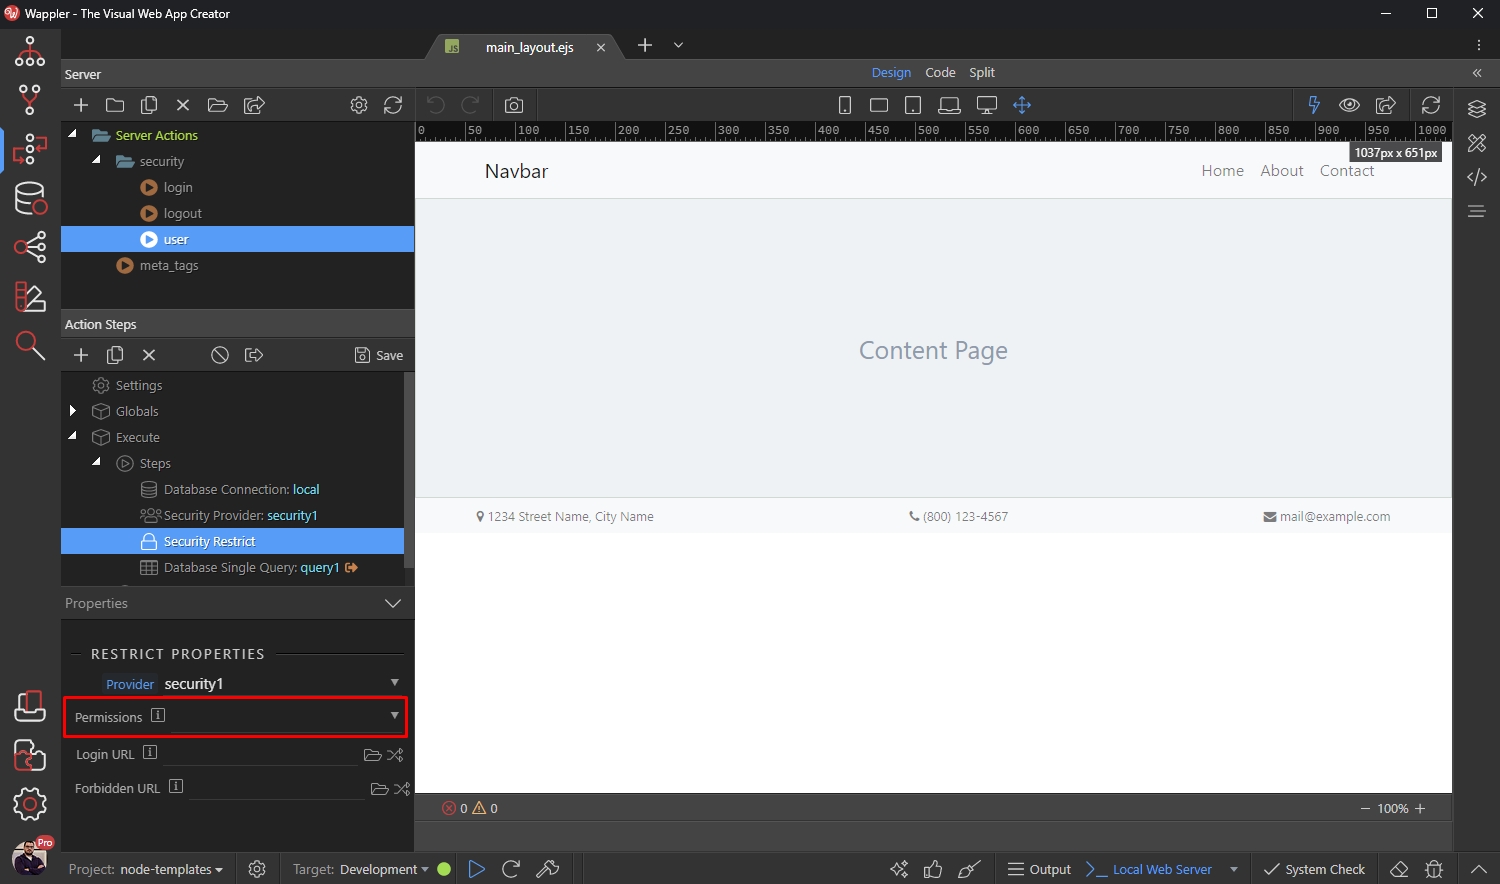
Then select the URL where the users who are not logged in should be redirected to:
Section titled “Then select the URL where the users who are not logged in should be redirected to:”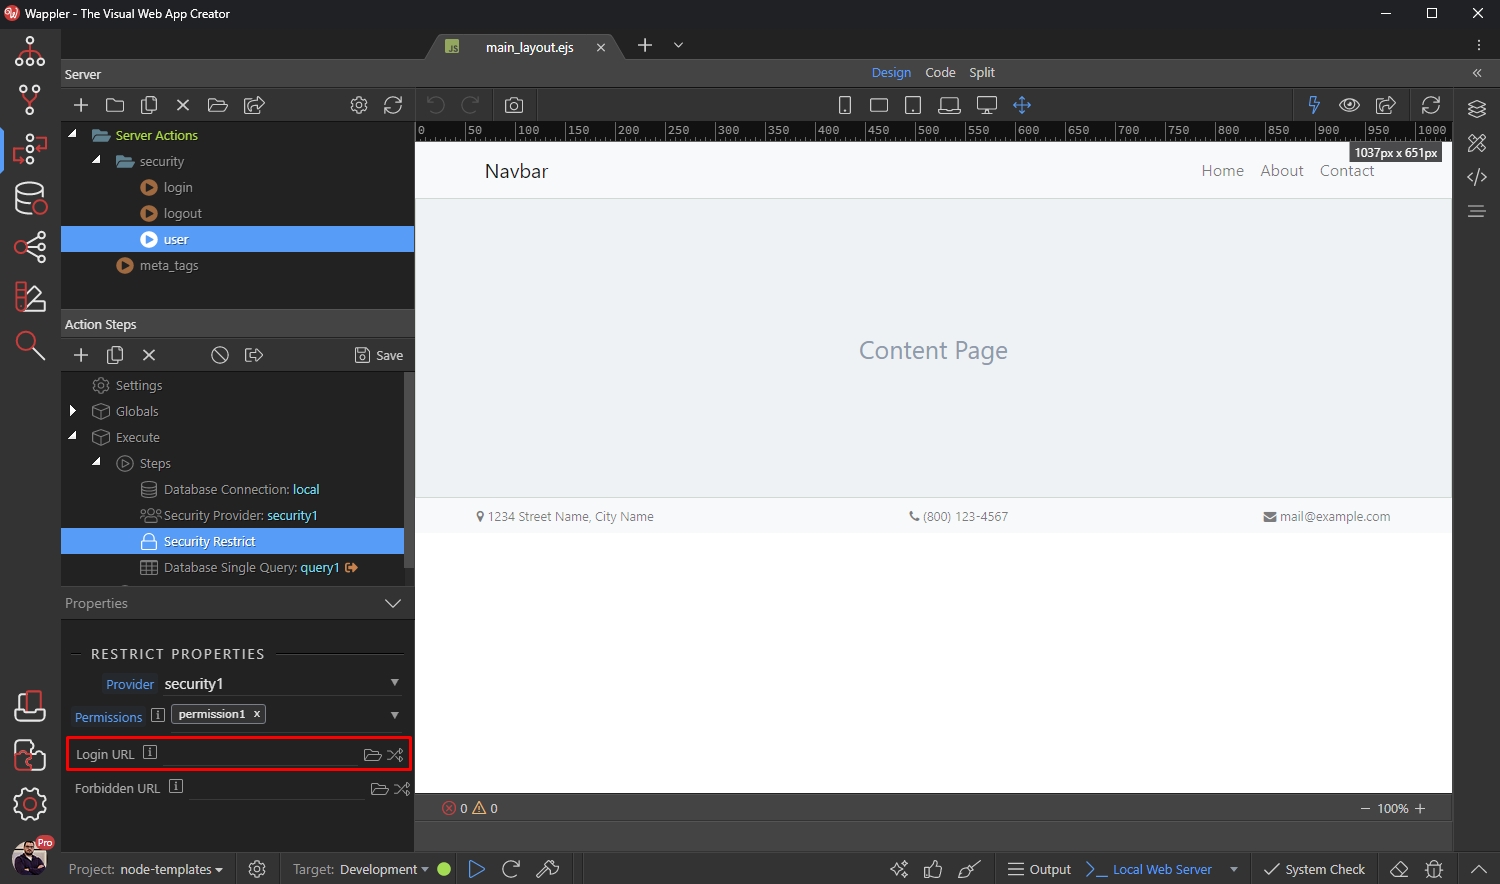
We click the routes picker and select the login page, which we have already created:
Section titled “We click the routes picker and select the login page, which we have already created:”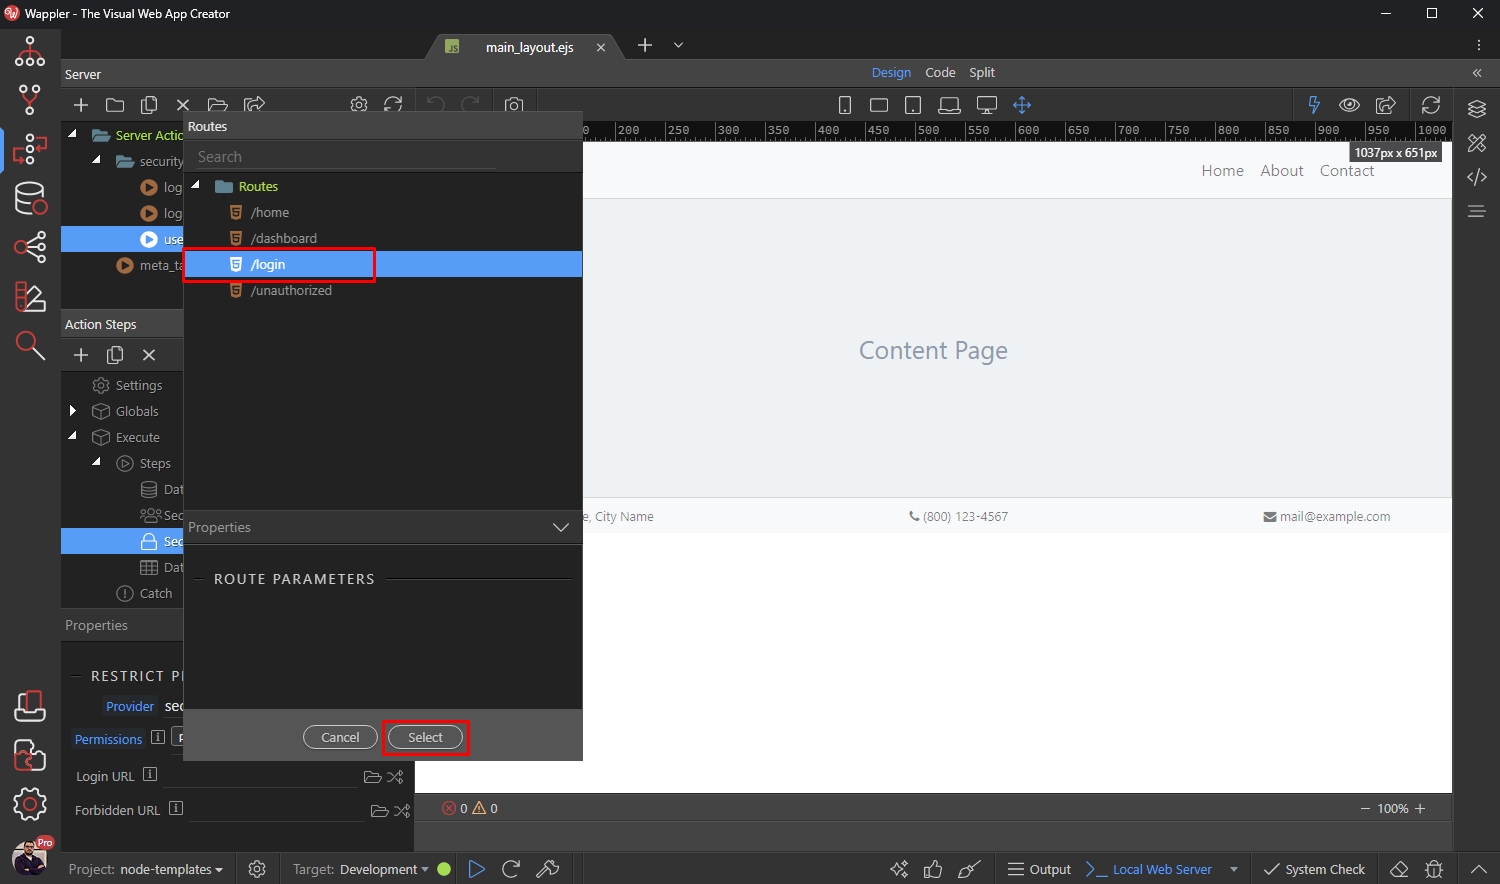
Then select the URL where the users who are not authorized should be redirected to:
Section titled “Then select the URL where the users who are not authorized should be redirected to:”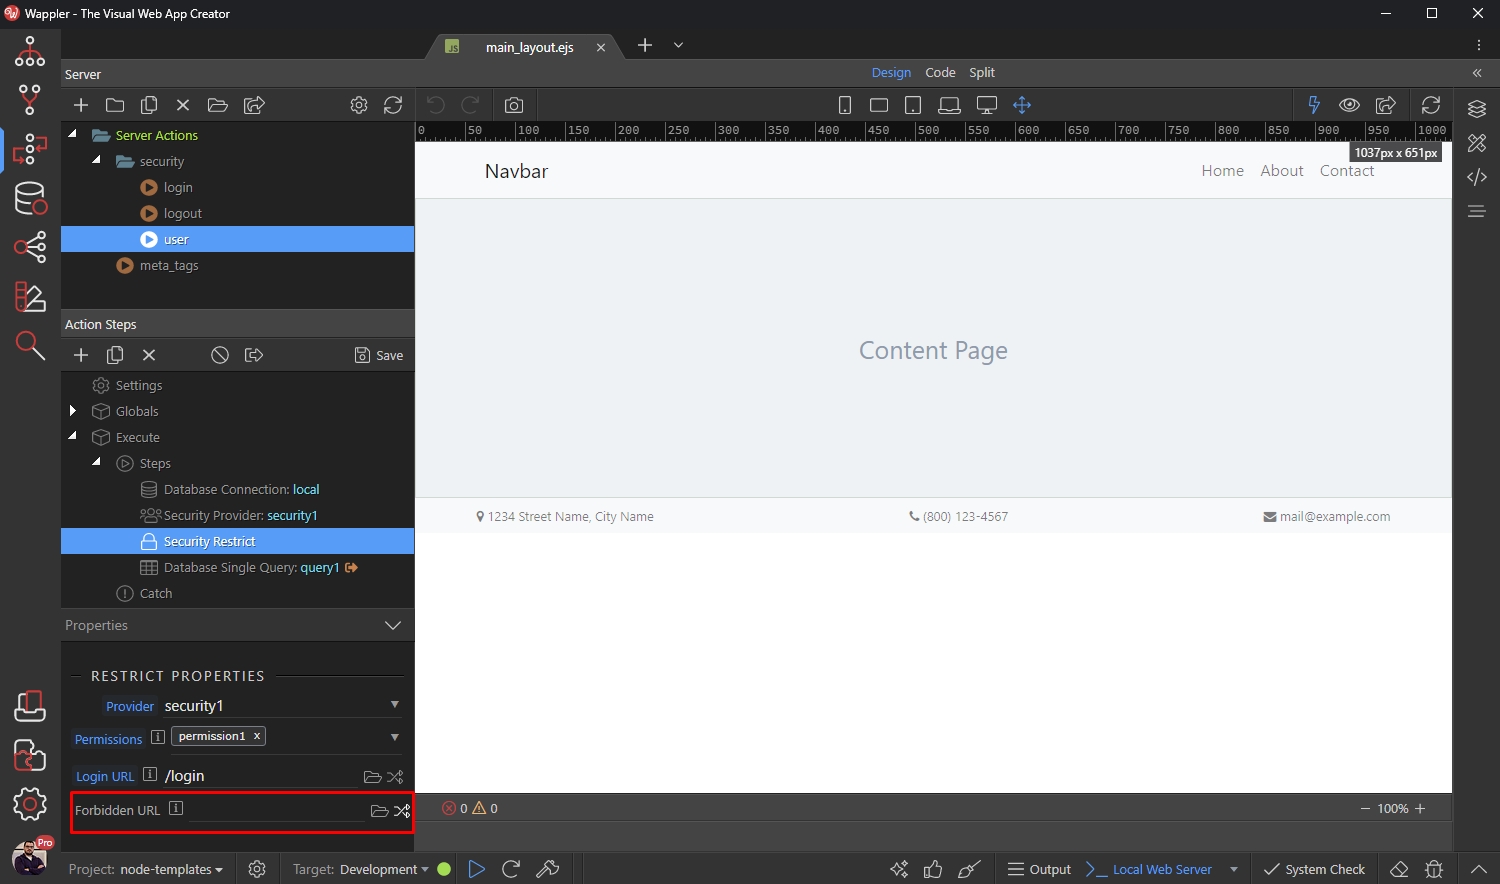
We click the routes picker and select the unauthorized page, which we have already created:
Section titled “We click the routes picker and select the unauthorized page, which we have already created:”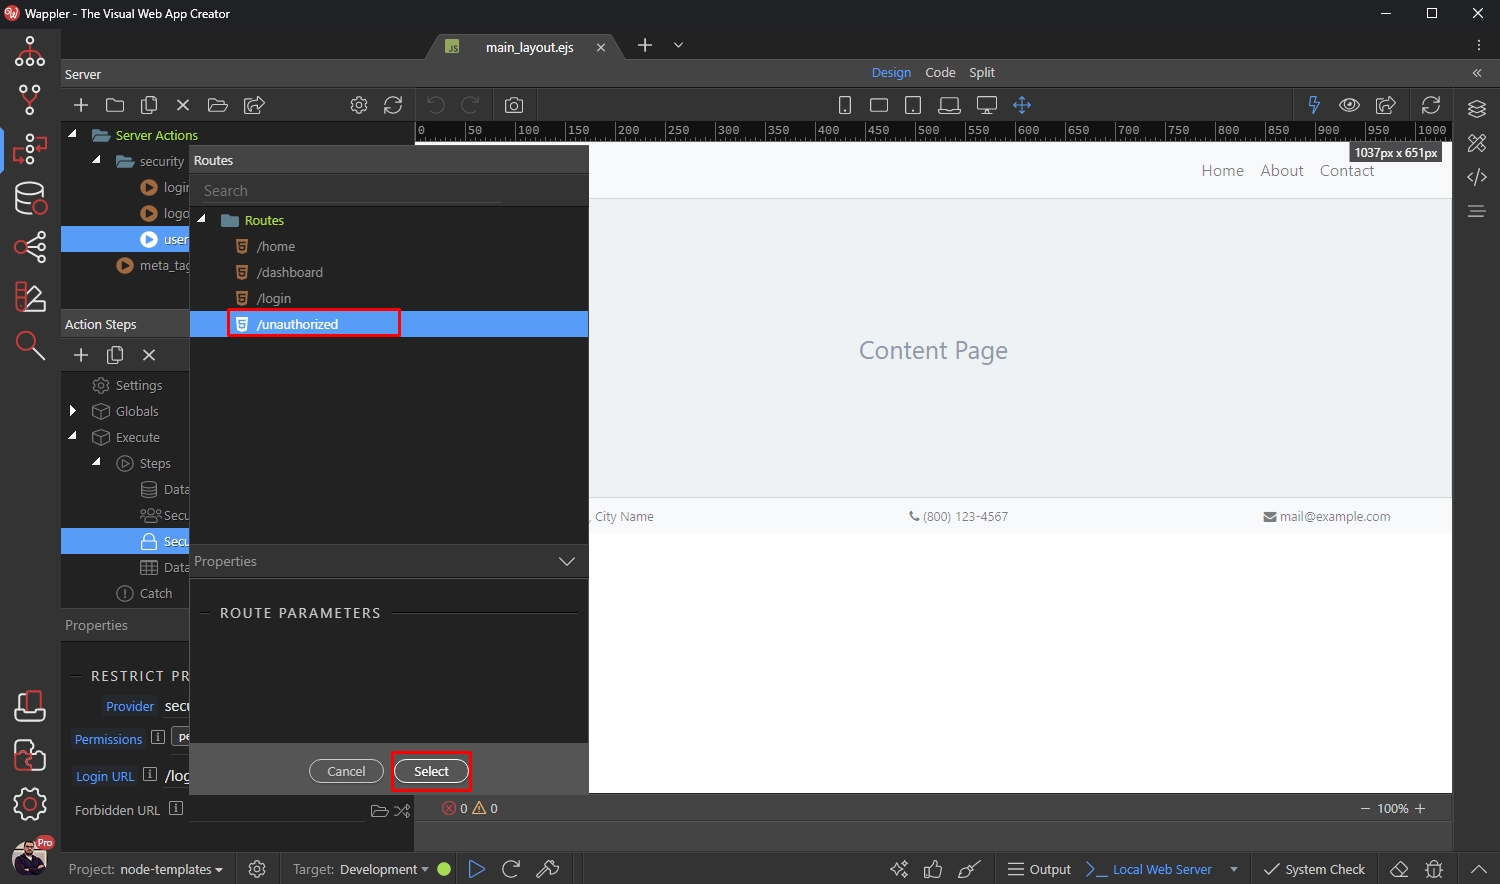
Save your server action:
Section titled “Save your server action:”
Page Setup
Section titled “Page Setup”Now open the Pages Manager and select the page which you want to protect:
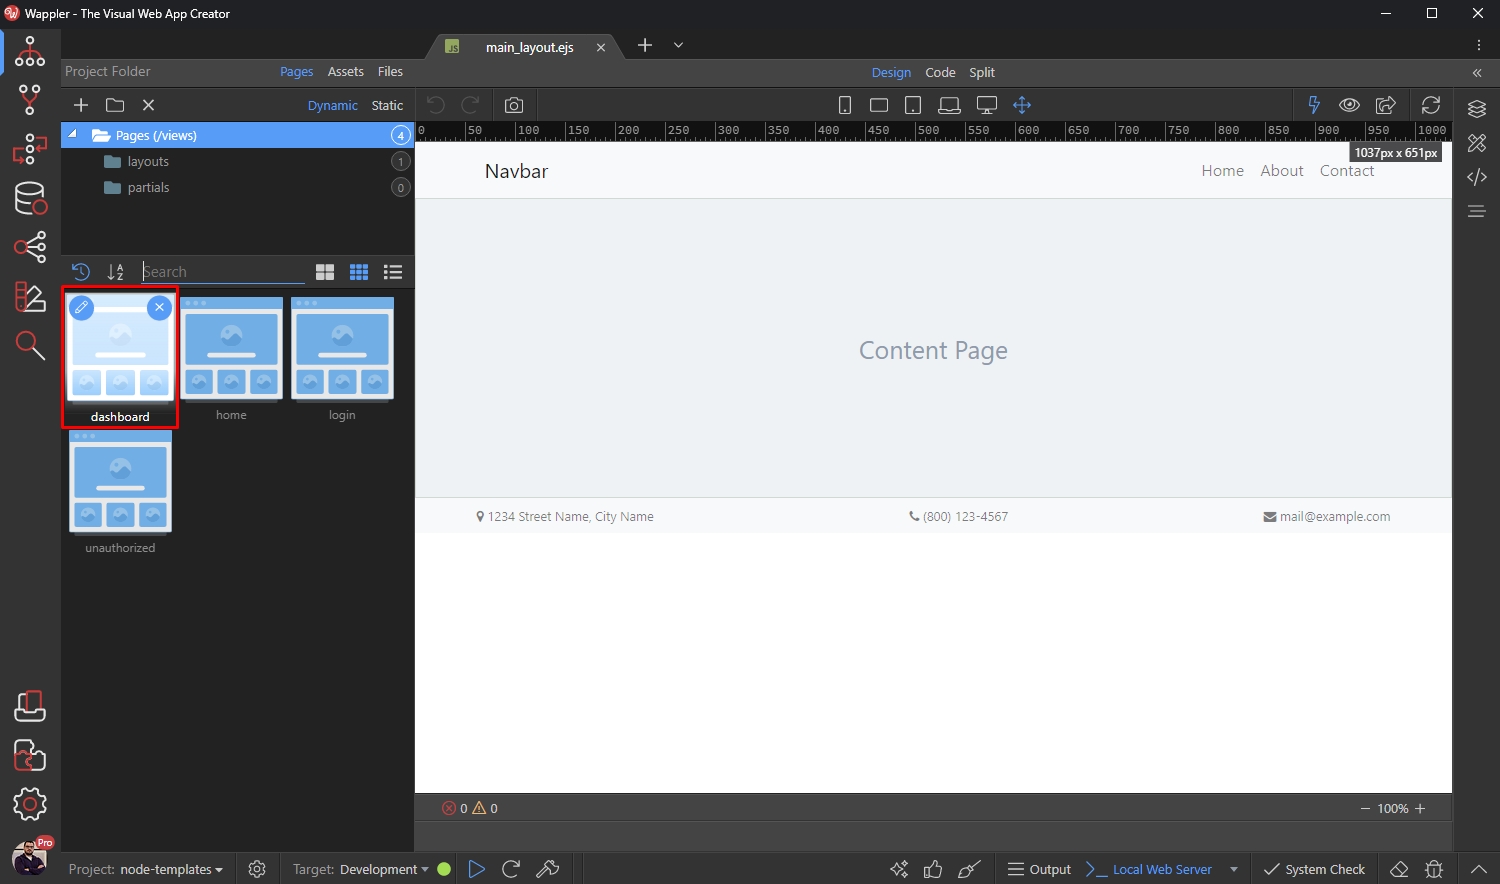
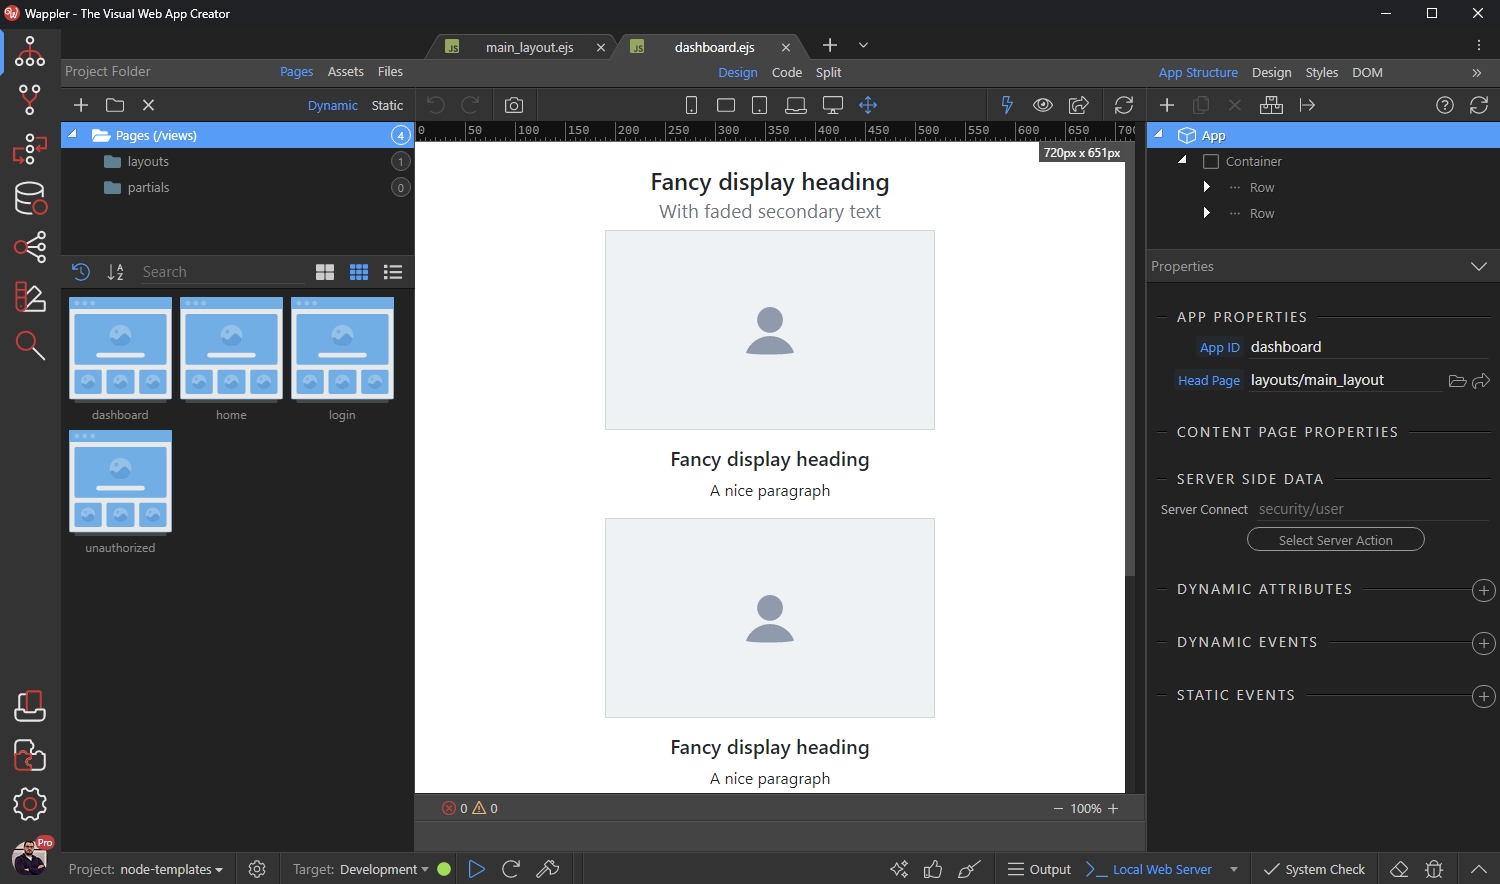
Select App and click the Select Server Action in the Server Side Data options:
Section titled “Select App and click the Select Server Action in the Server Side Data options:”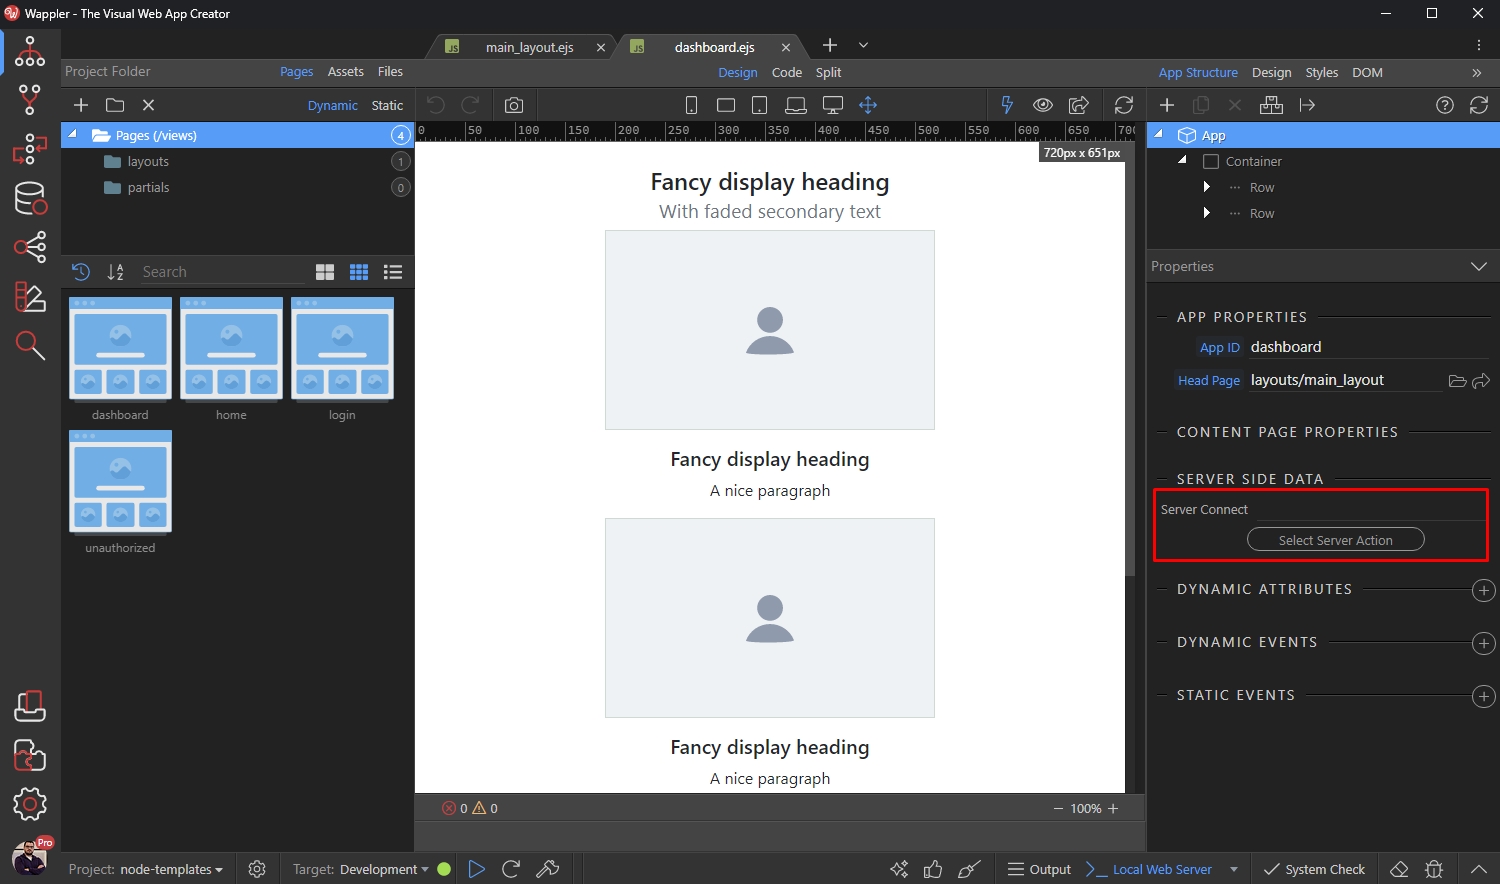
Select the server action called user which we just created:
Section titled “Select the server action called user which we just created:”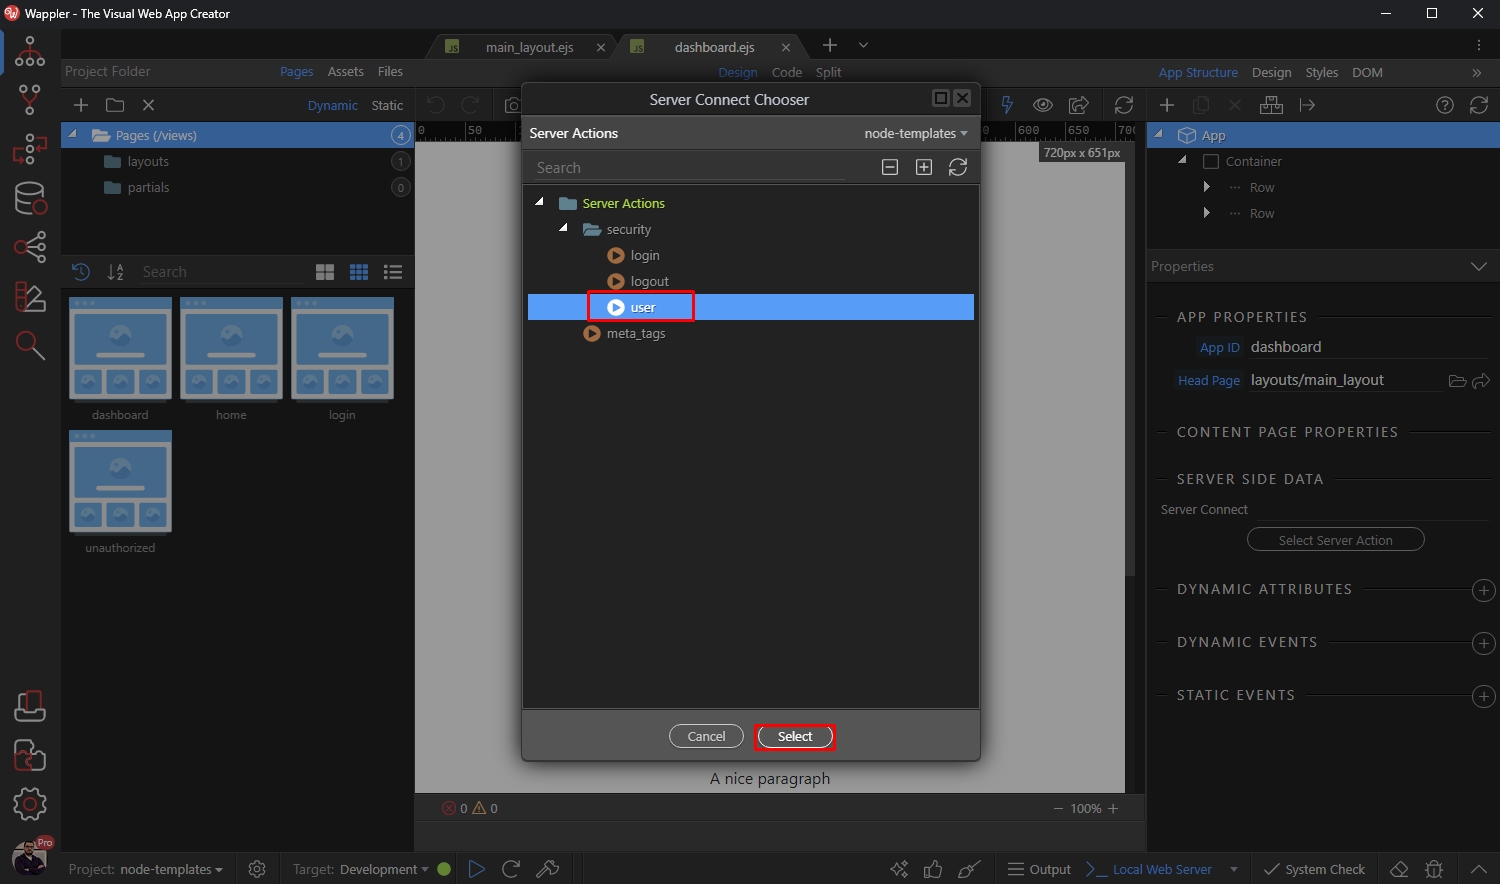
Save your page and you are done:
Section titled “Save your page and you are done:”