Focused
Bigger workspace Less UI
Tour the Server Connect Actions Editor: build action flows, configure step properties, and test outputs quickly.
This tour opens a sample Server Connect Action in the dedicated editor so you can explore the editor workspace, view modes, and panels in context.
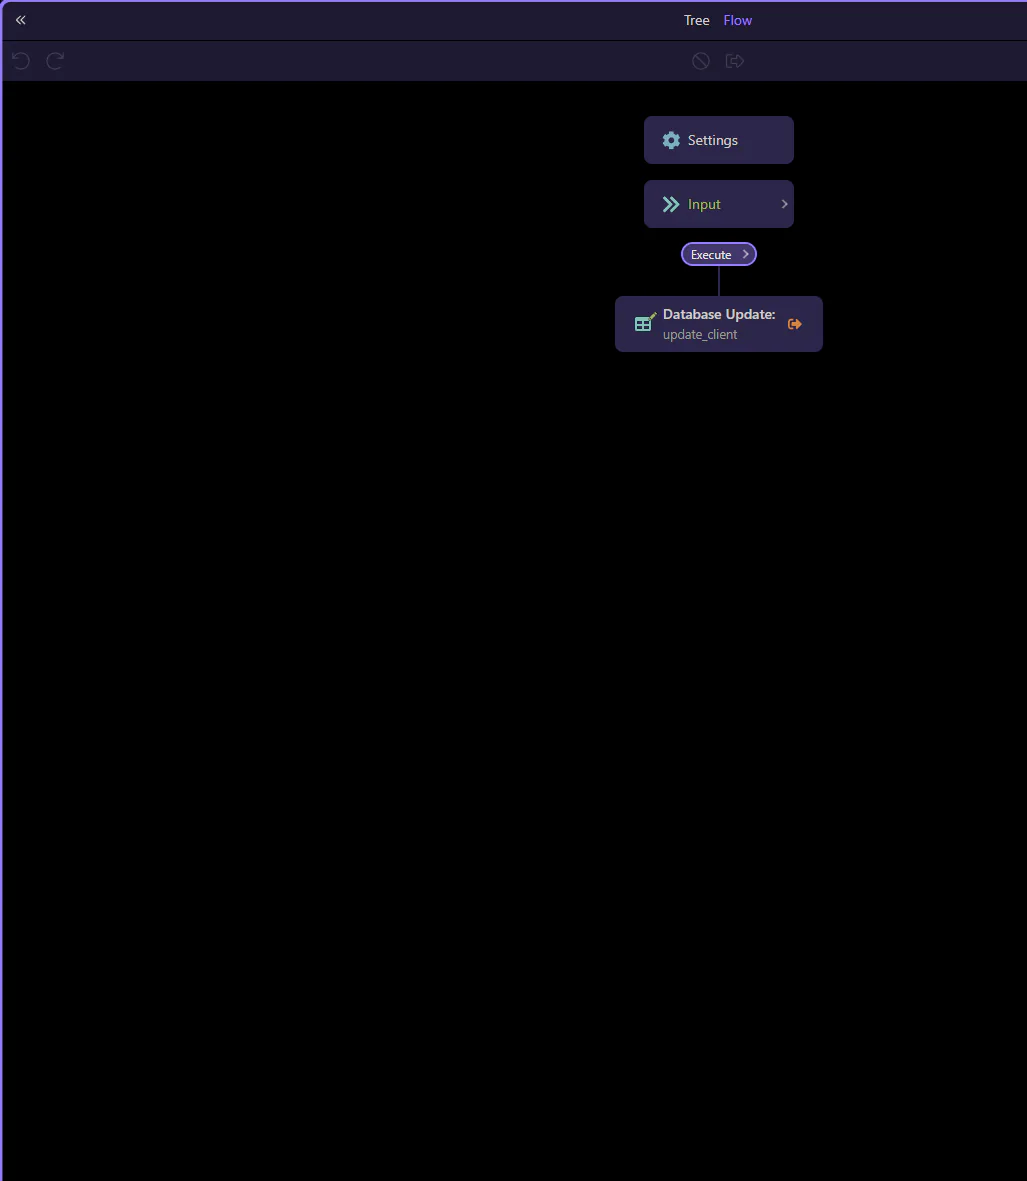
This is the dedicated Server Connect Actions editor. This workspace is optimized for editing a single action: steps on the left/center, properties on the side, and quick toggles in the header toolbars.
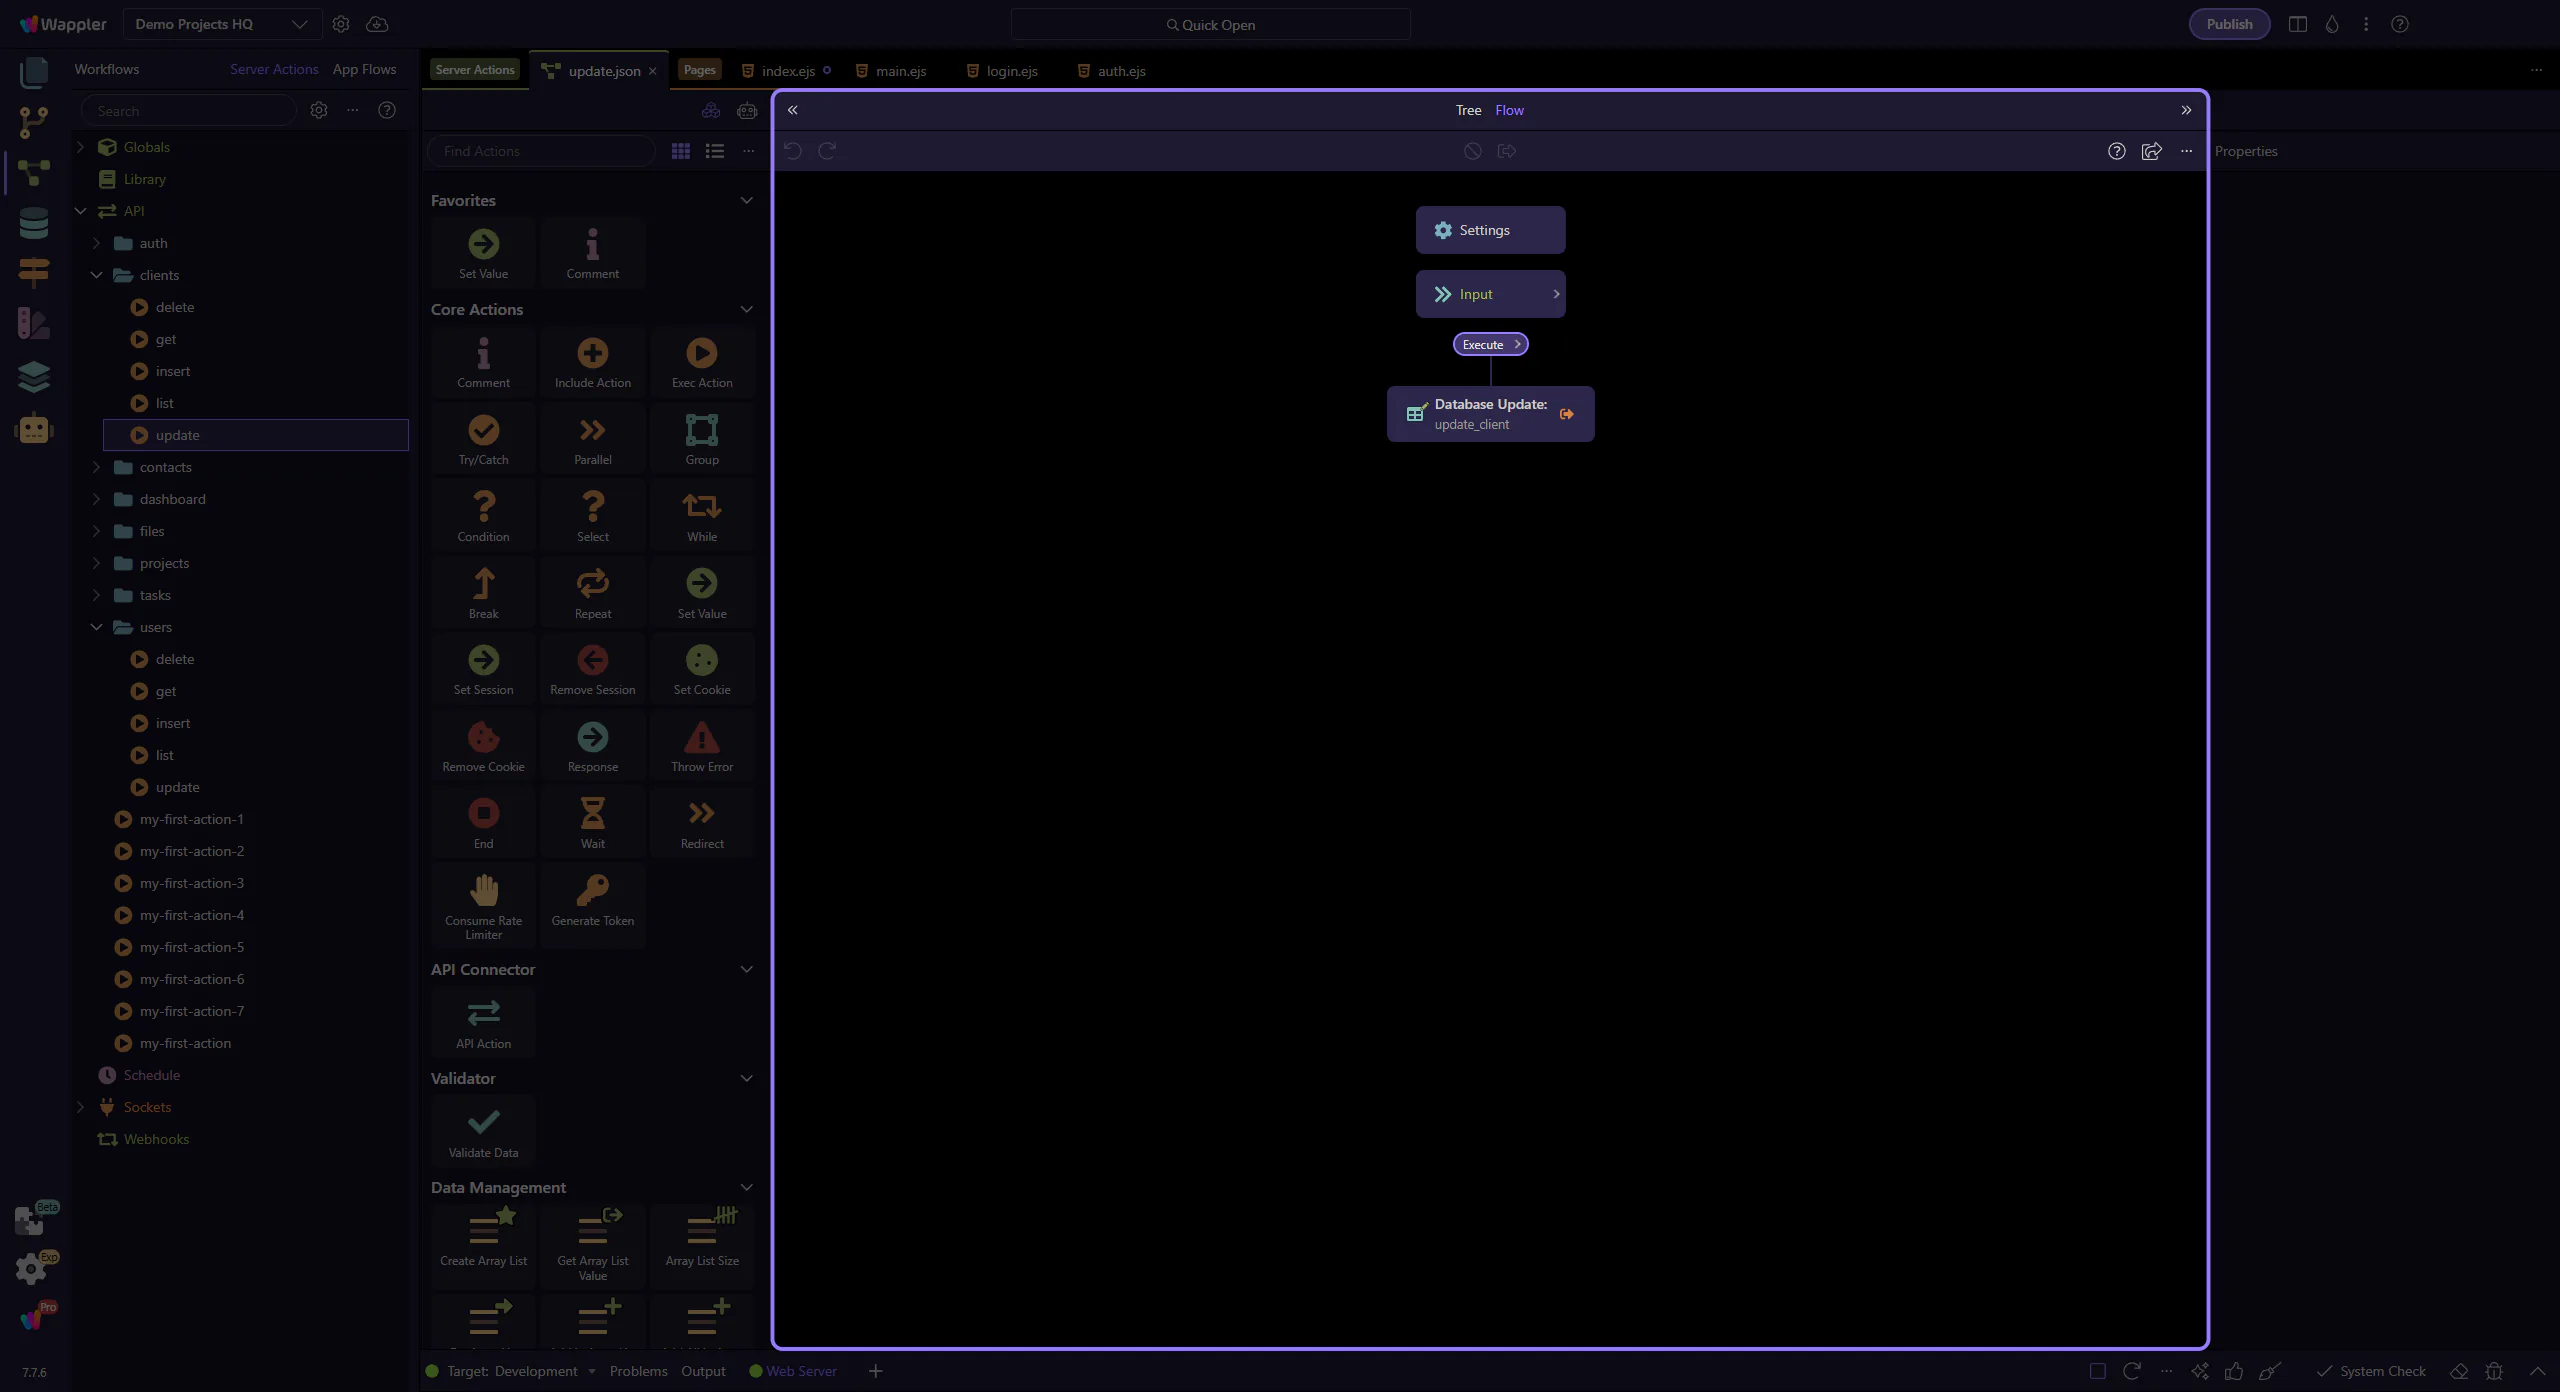
In the steps header area you can:
These controls help you focus when actions get large.

Select a step in the tree, then use the Properties panel to configure its inputs and options.
Tip: if you don’t see Properties, use the header toggle to show it.

On smaller windows or compact layouts, Properties may appear in a different panel.
If you don’t see it on the right, look for it in the secondary panel area.
When the Actions panel is available, it’s your catalog of step types.
Typical workflow:
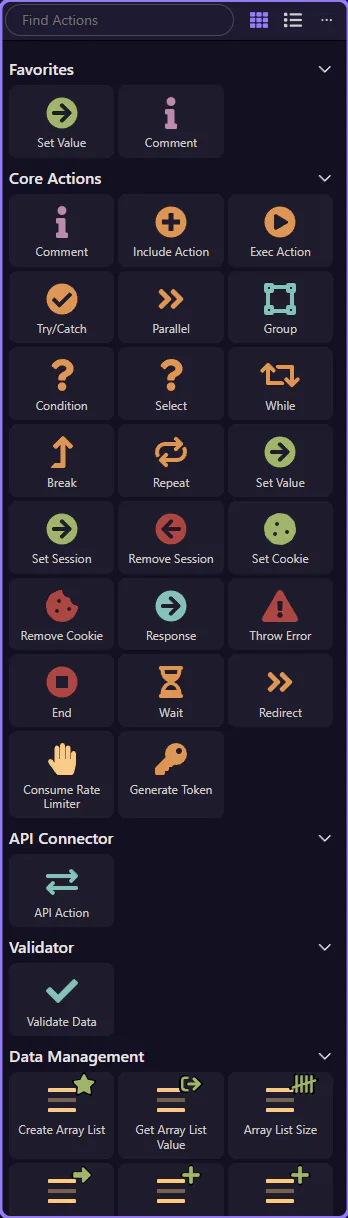
There are a few common ways to add steps: via the Actions panel (when available), via the tree context menu (right‑click), or by duplicating an existing step and tweaking it.
Next, continue with the Server Connect Actions hub for a guided path and practical recipes.
Next: continue with the deep dives for adding steps, understanding action structure, and working with properties.