Demo walkthrough: Client forms (Create/Edit/Delete)
Learn how Server Connect Actions power forms: POST validation, dbupdater INSERT/UPDATE/DELETE, and client-side error/success states.
Open the demo page
Section titled “Open the demo page”This walkthrough starts from a real demo page so the frontend form and backend action can be understood as one connected workflow. Opening the Add Client page first gives you the practical context for every later step, from form submission to validation to database changes in the action file.
The Add Client page opens
Section titled “The Add Client page opens”We start with the new-client form. It POSTs to a Server Connect action that validates input and inserts a row in the database.
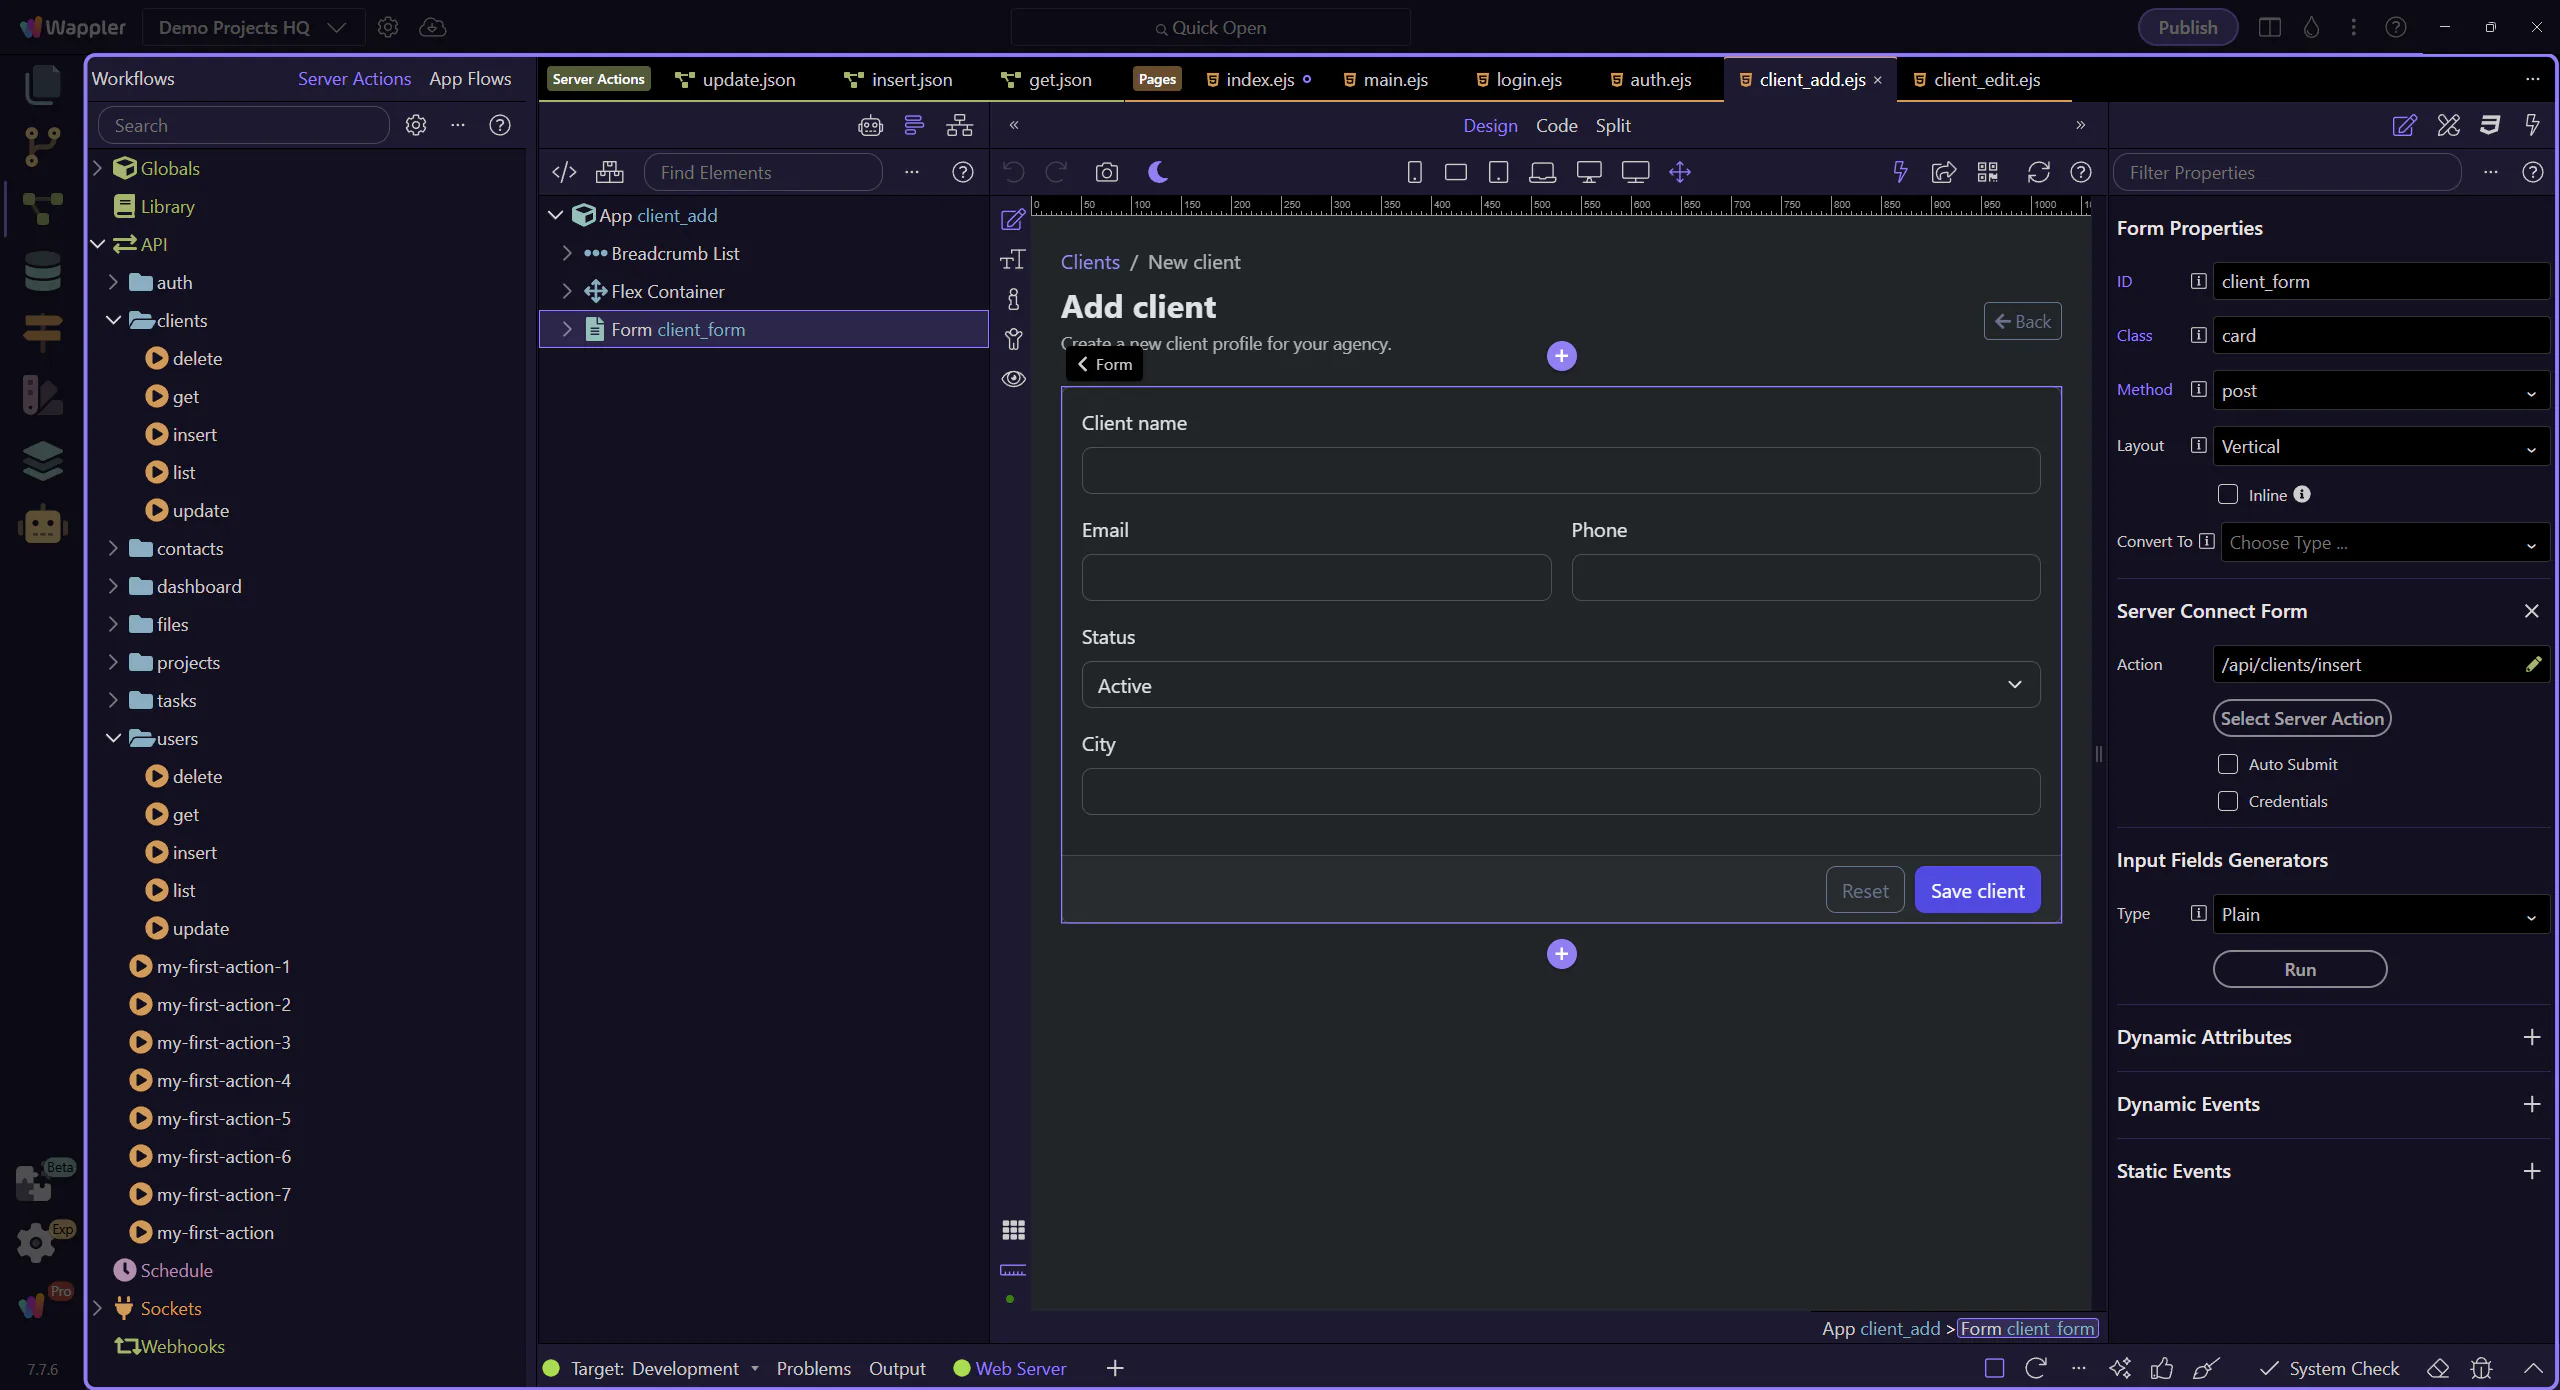
The add form is ready for inspection
Section titled “The add form is ready for inspection”With the Add Client page open, the next steps can focus on the form element and the backend action it posts to.

Frontend: a Server Connect Form (POST)
Section titled “Frontend: a Server Connect Form (POST)”A Server Connect Form is an HTML form wired to a Server Connect endpoint. App Connect tracks state (executing/data/lastError) so you can show success/error UI.
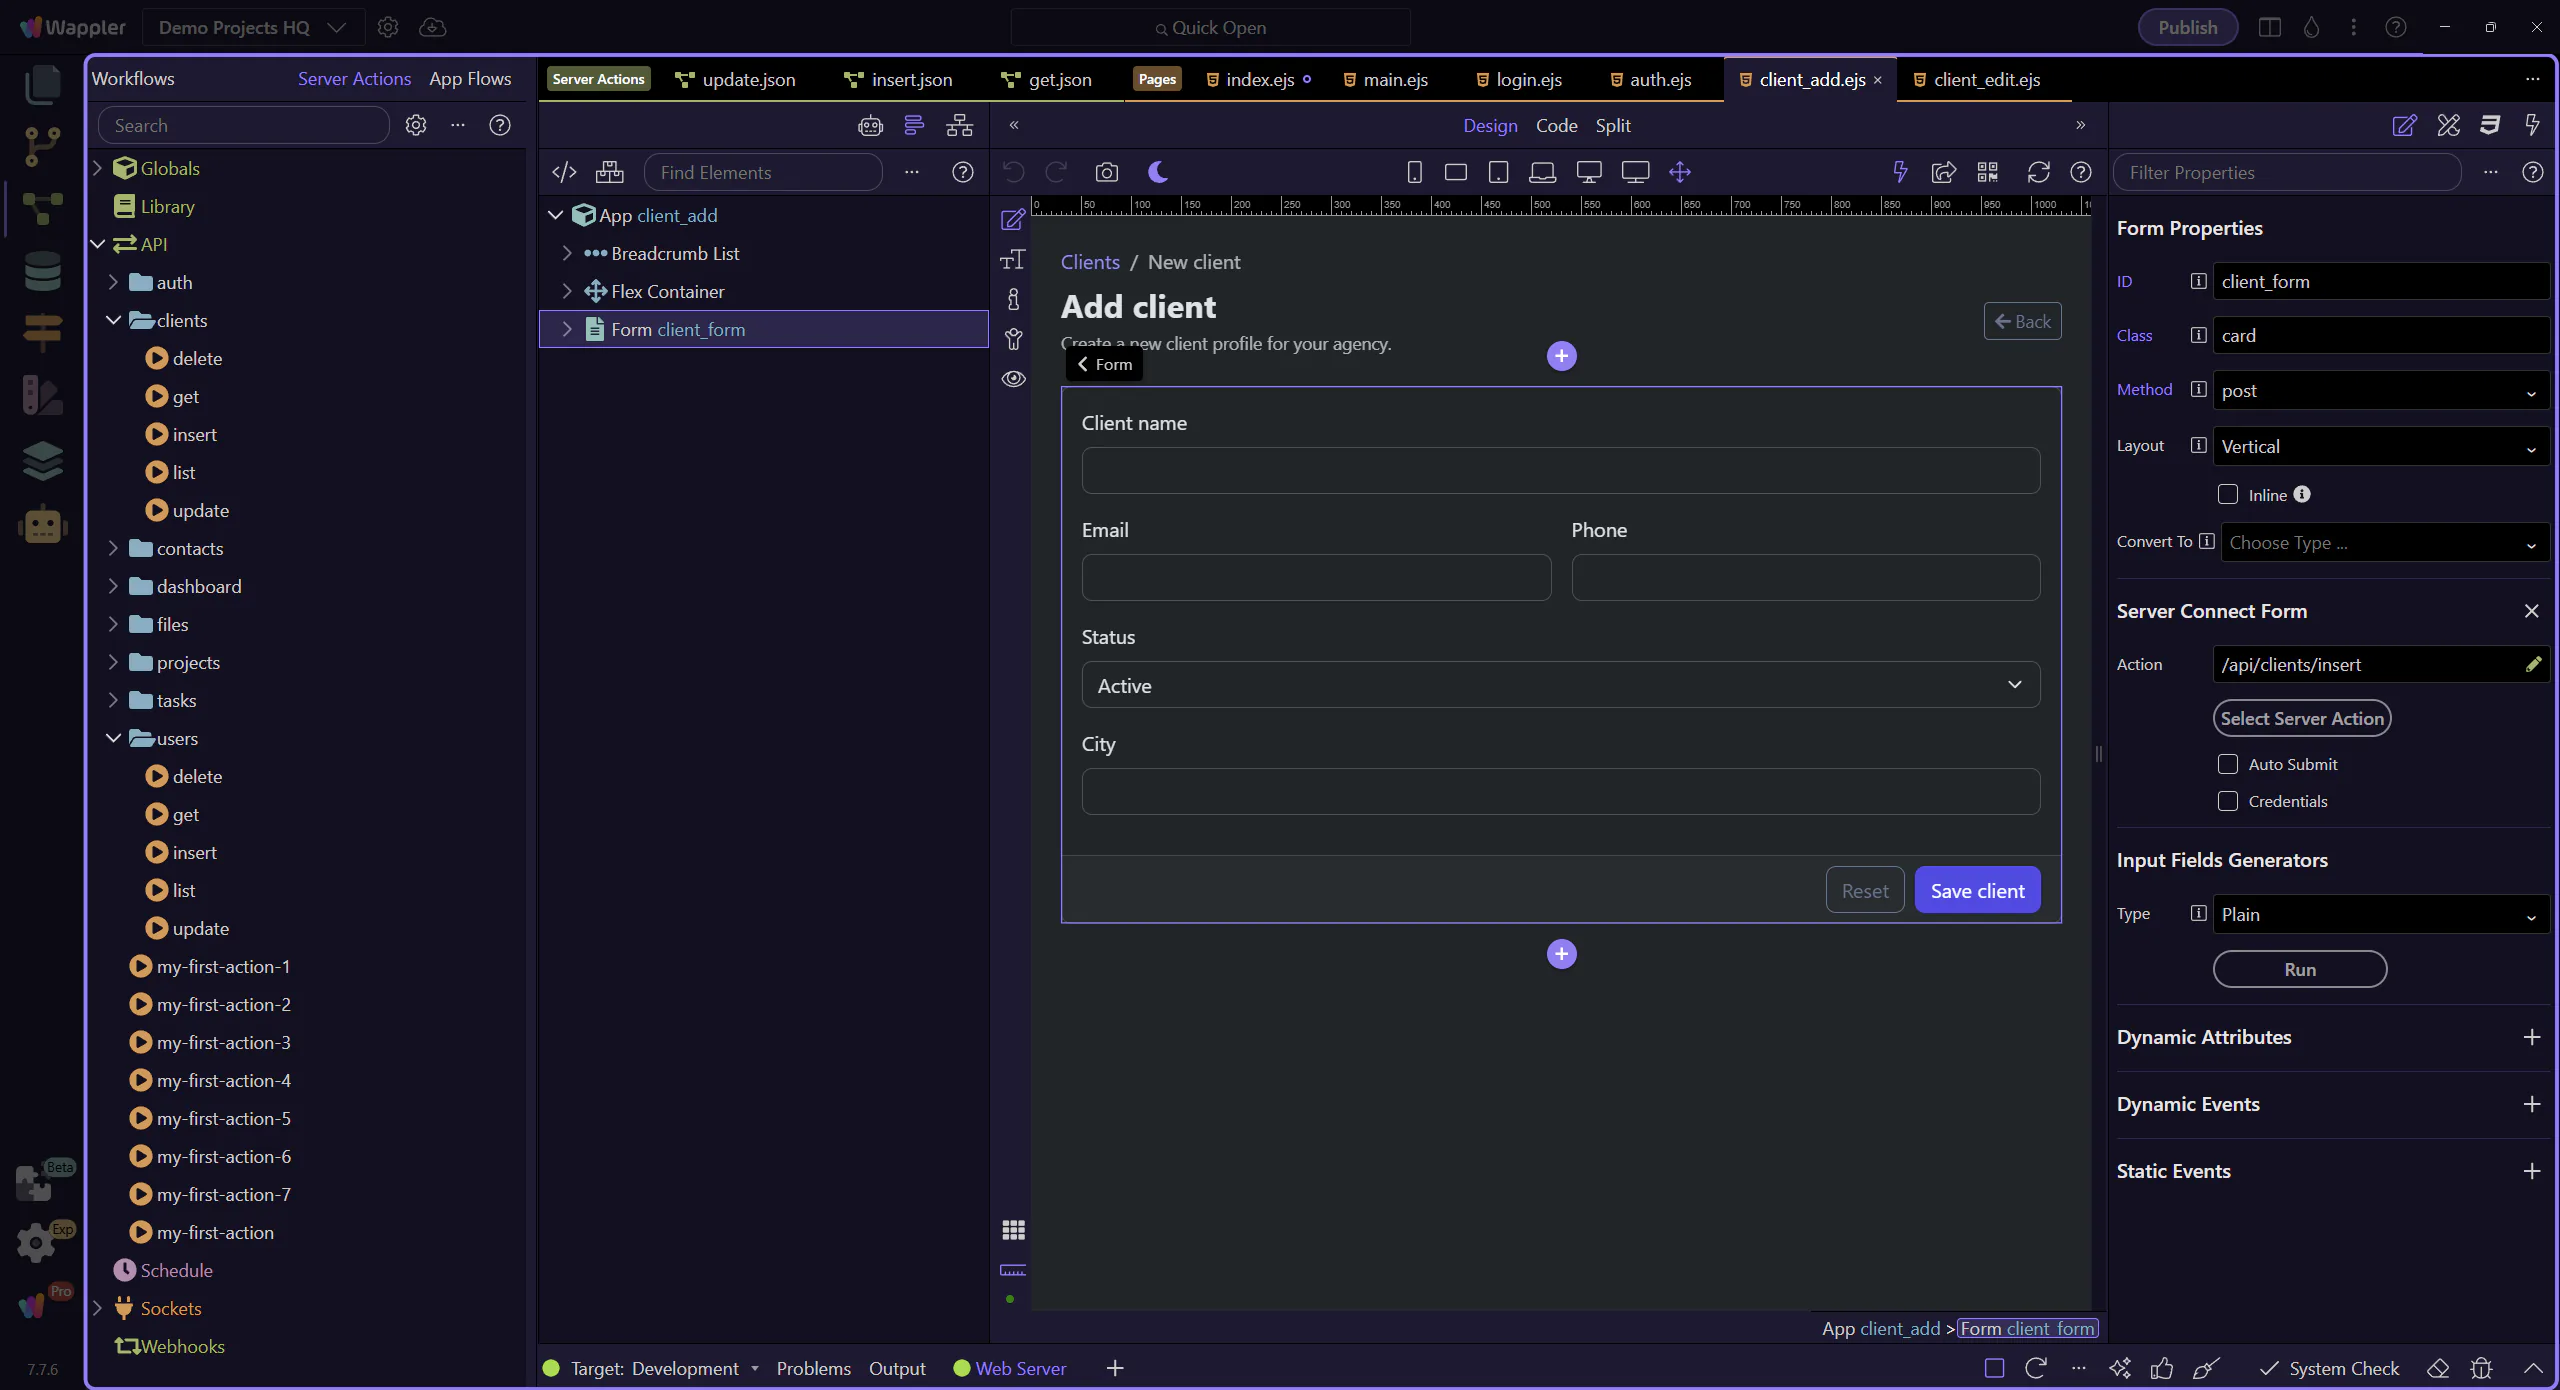
The Add Client page opens in the HTML editor
Section titled “The Add Client page opens in the HTML editor”This step opens the Add Client page in the HTML editor so the form can be selected cleanly afterward.

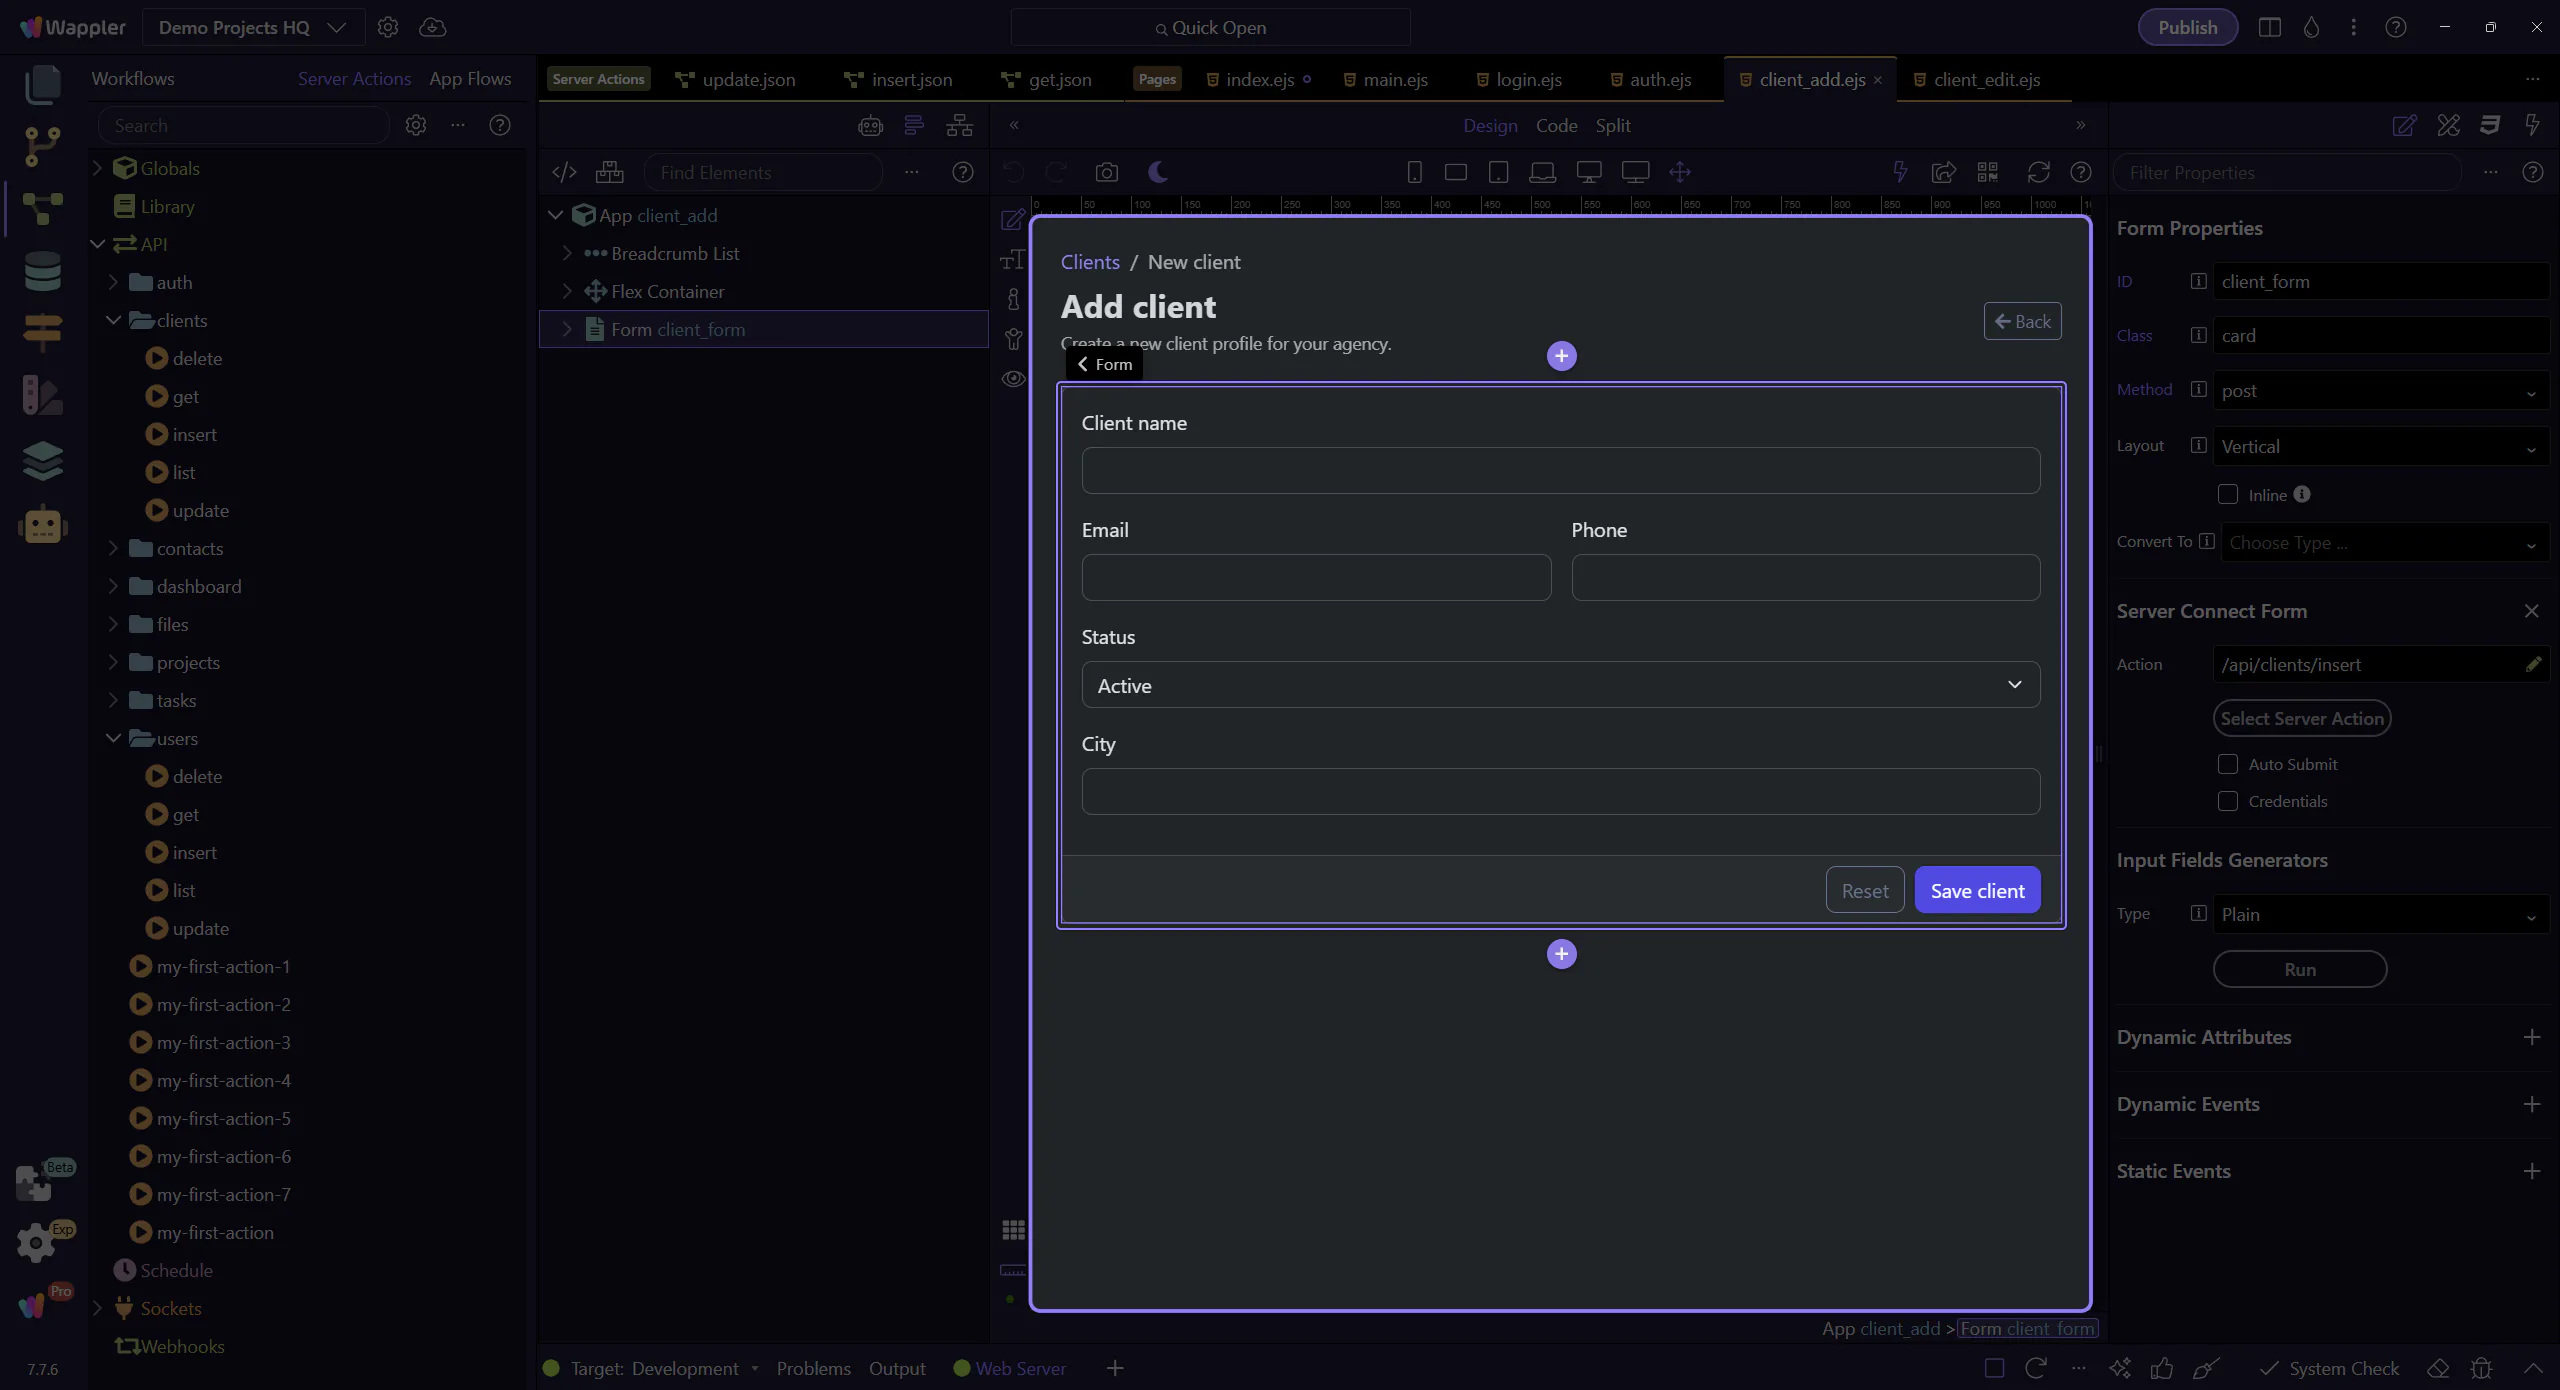
The add-form canvas is ready
Section titled “The add-form canvas is ready”The design surface is ready, so the form can be selected without mixing file-open and selection actions in the same step.
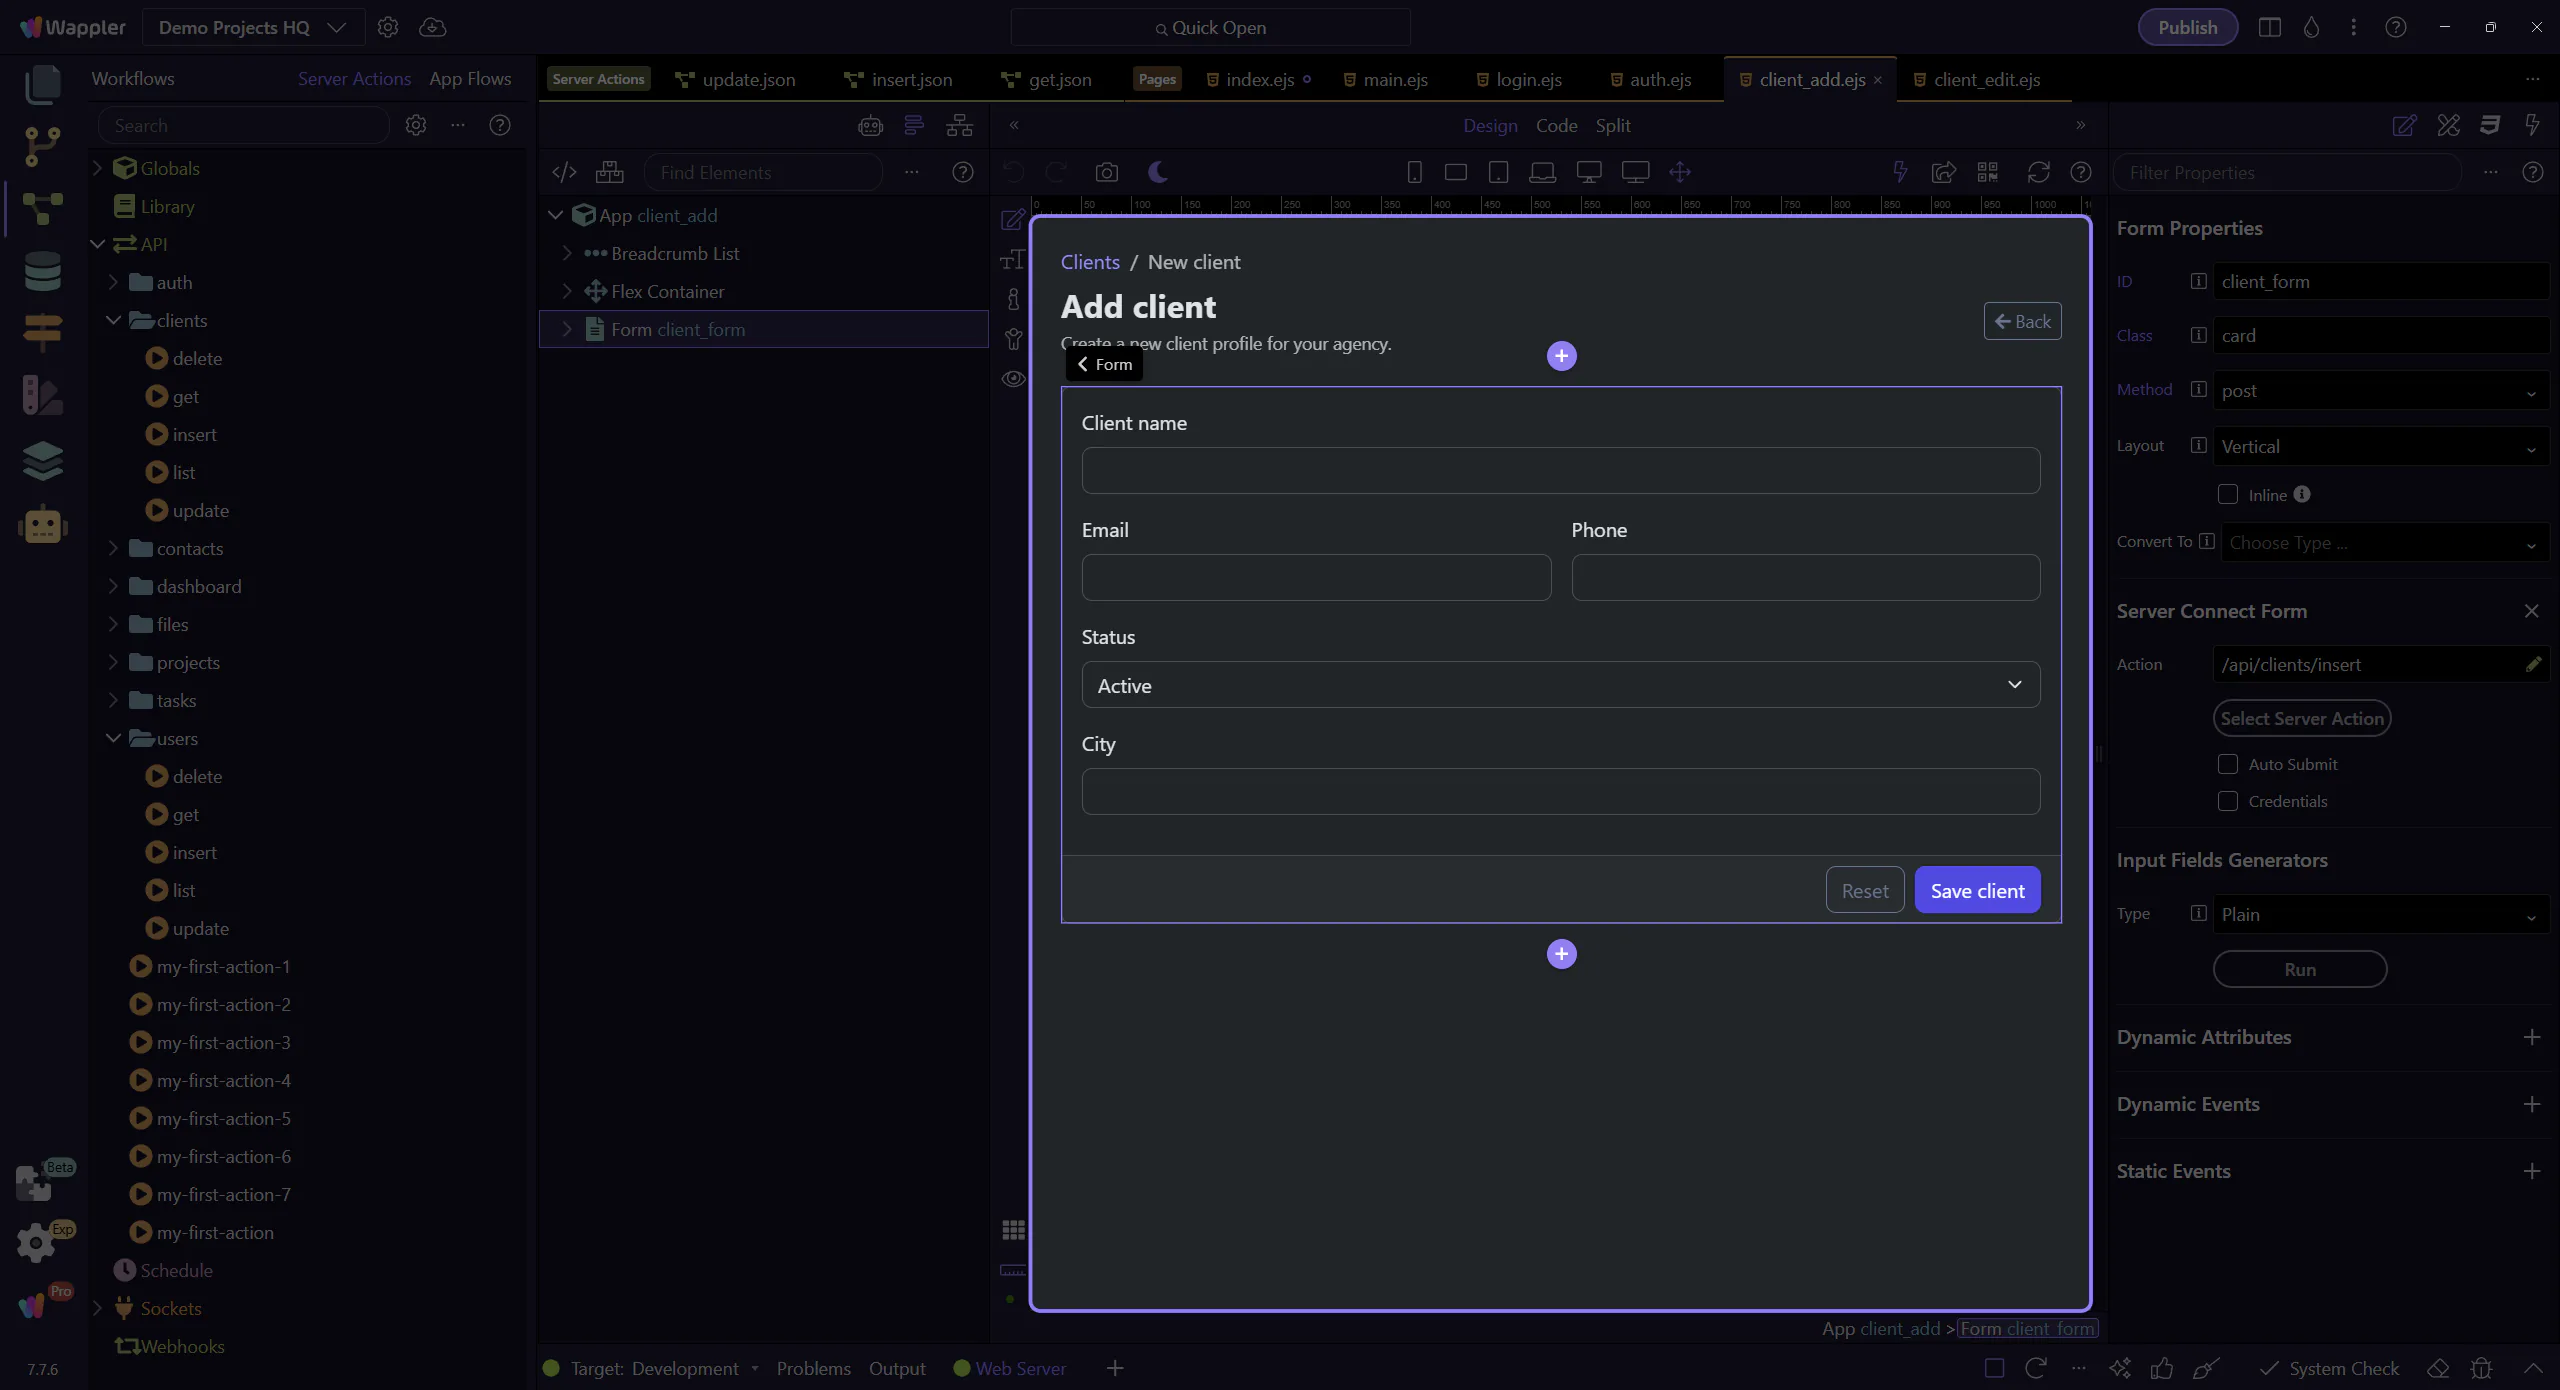
The form element
Section titled “The form element”This form uses is=“dmx-serverconnect-form” and action=“/api/clients/insert”. When submitted, it posts form fields to the backend action.
Success + error states
Section titled “Success + error states”Notice the UI binds to client_form.data and client_form.lastError. That’s the same pattern you’ll reuse across all forms: show success when data exists, show errors when lastError is set.
Backend: validate inputs and INSERT
Section titled “Backend: validate inputs and INSERT”Now we open the /api/clients/insert action. This is where you validate input and write to the database safely.
The /api/clients/insert action opens
Section titled “The /api/clients/insert action opens”We open the action and select the insert step so you can inspect the real validation and INSERT flow.
$_POST inputs (validation)
Section titled “$_POST inputs (validation)”At the top of the action are $_POST inputs. These define expected fields and validation rules (required, min/max length, email, etc.). The goal is to reject bad data before it reaches the database.
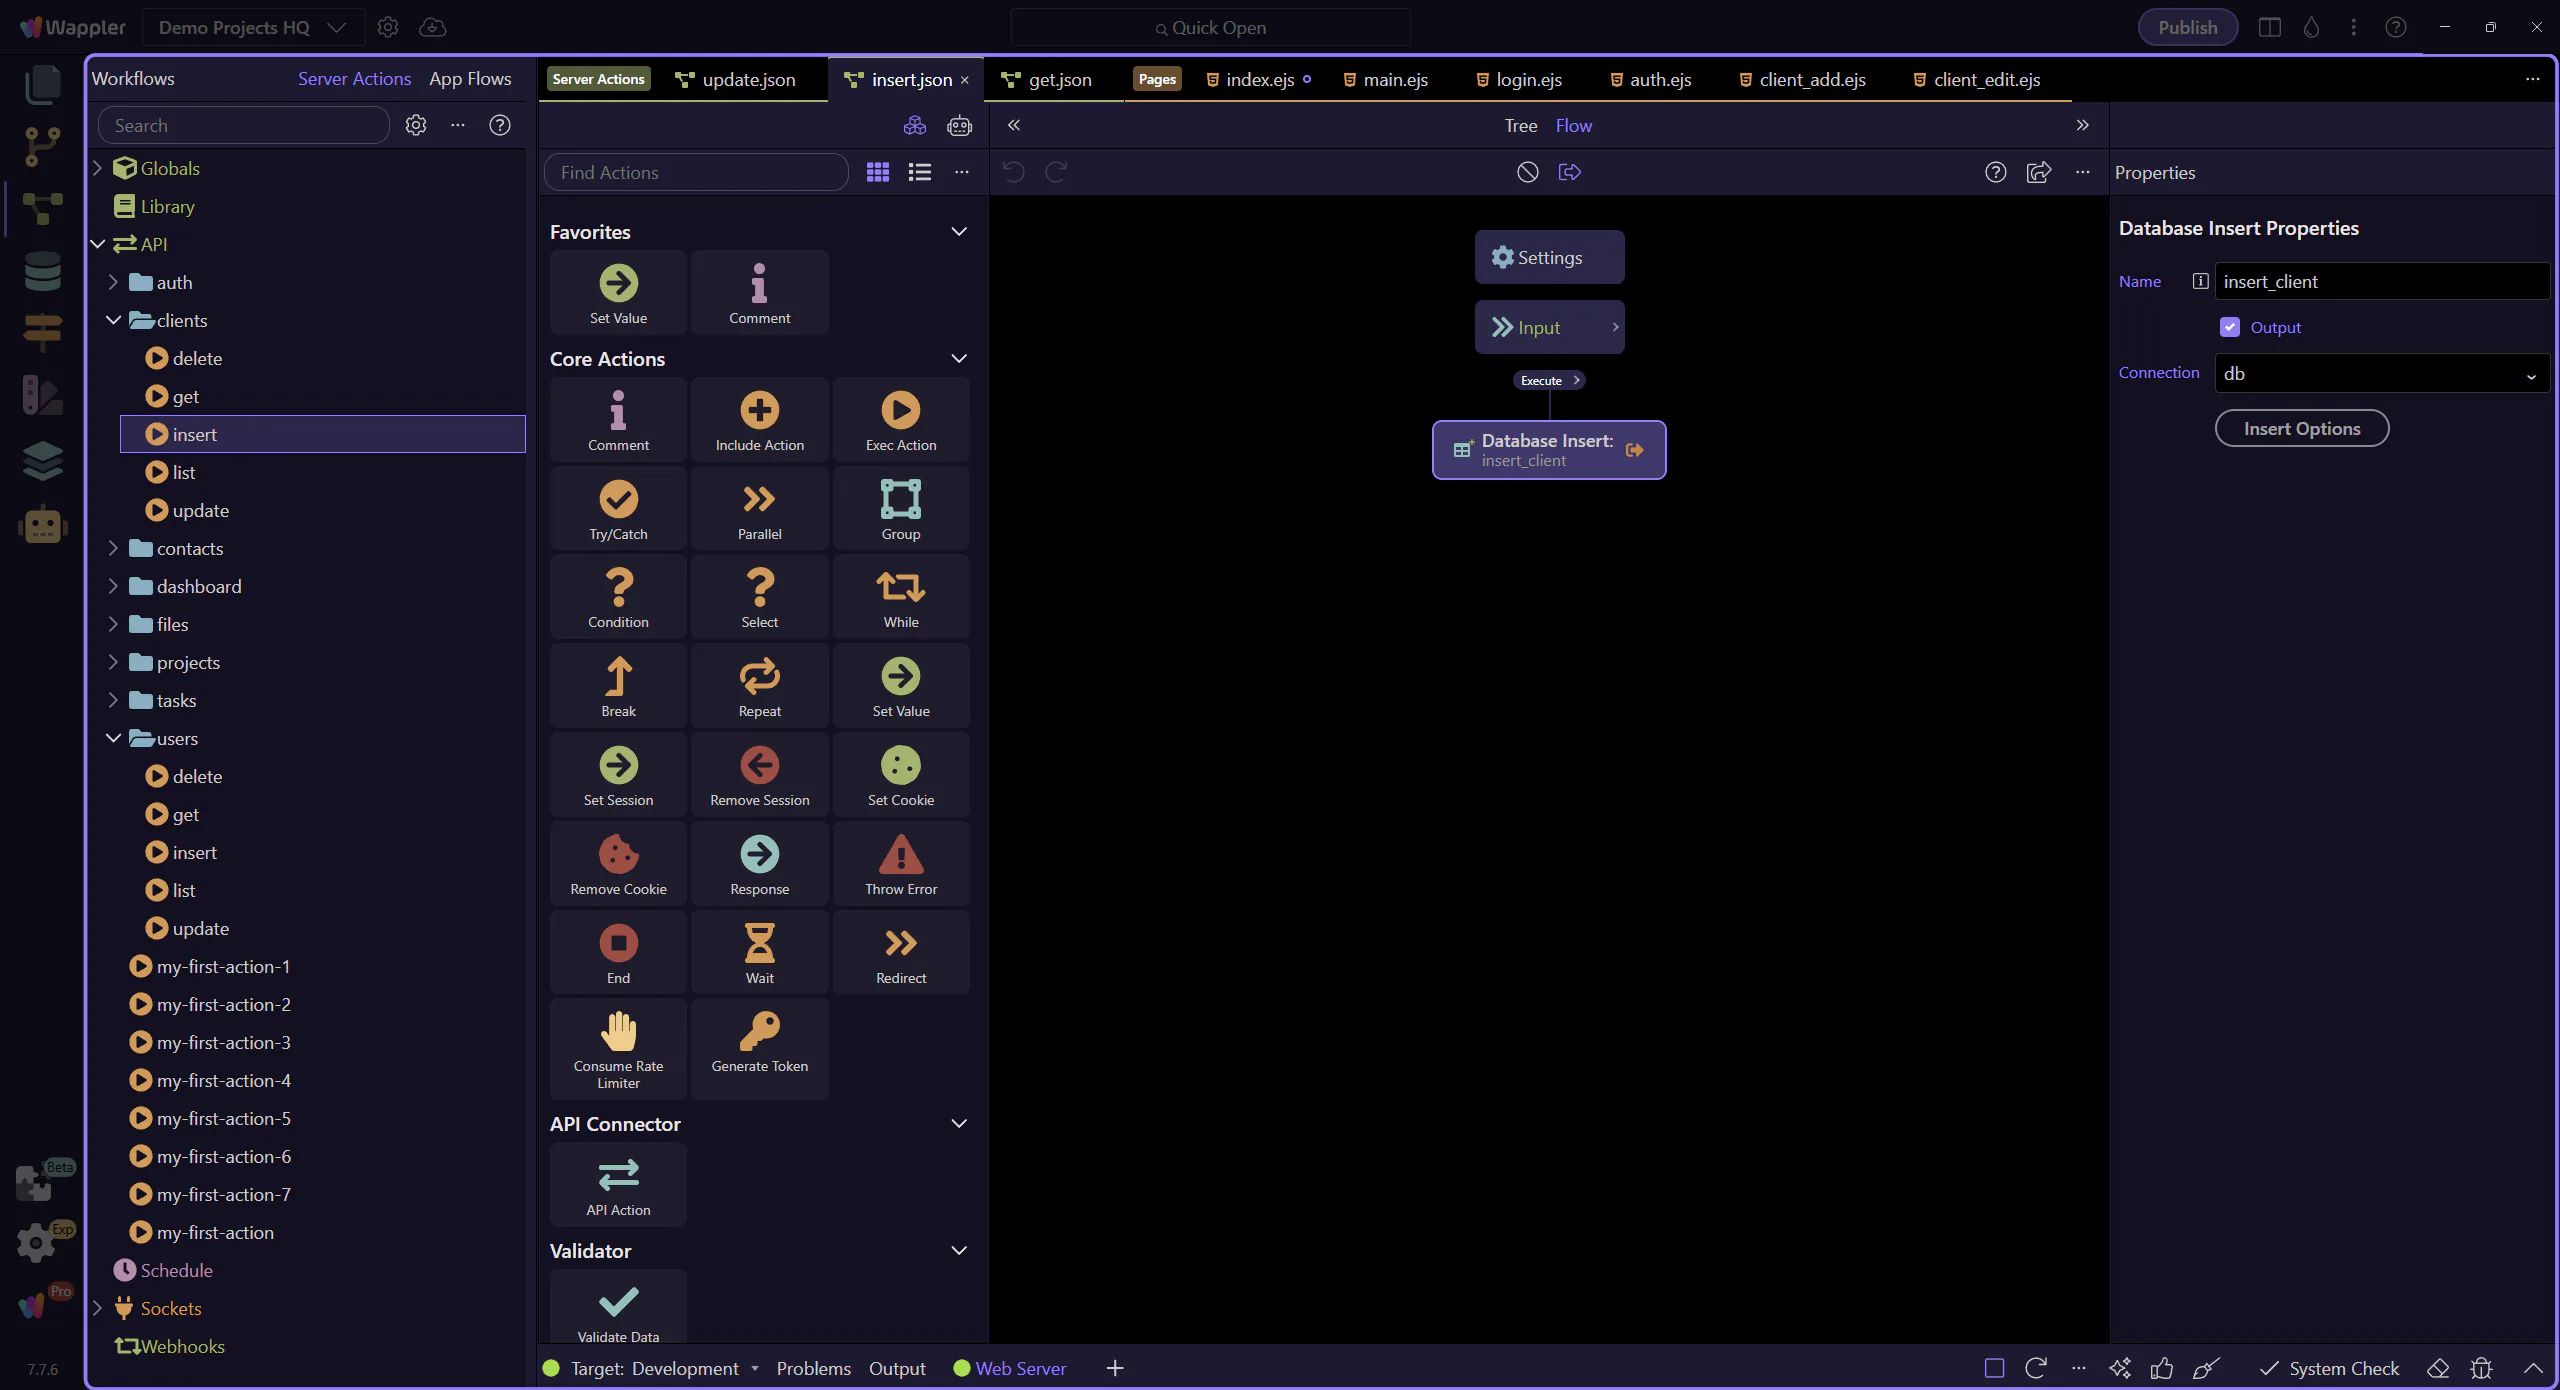
The INSERT step is selected
Section titled “The INSERT step is selected”This step selects the insert_client workflow step so the “Insert Options” button is available in the Properties panel.

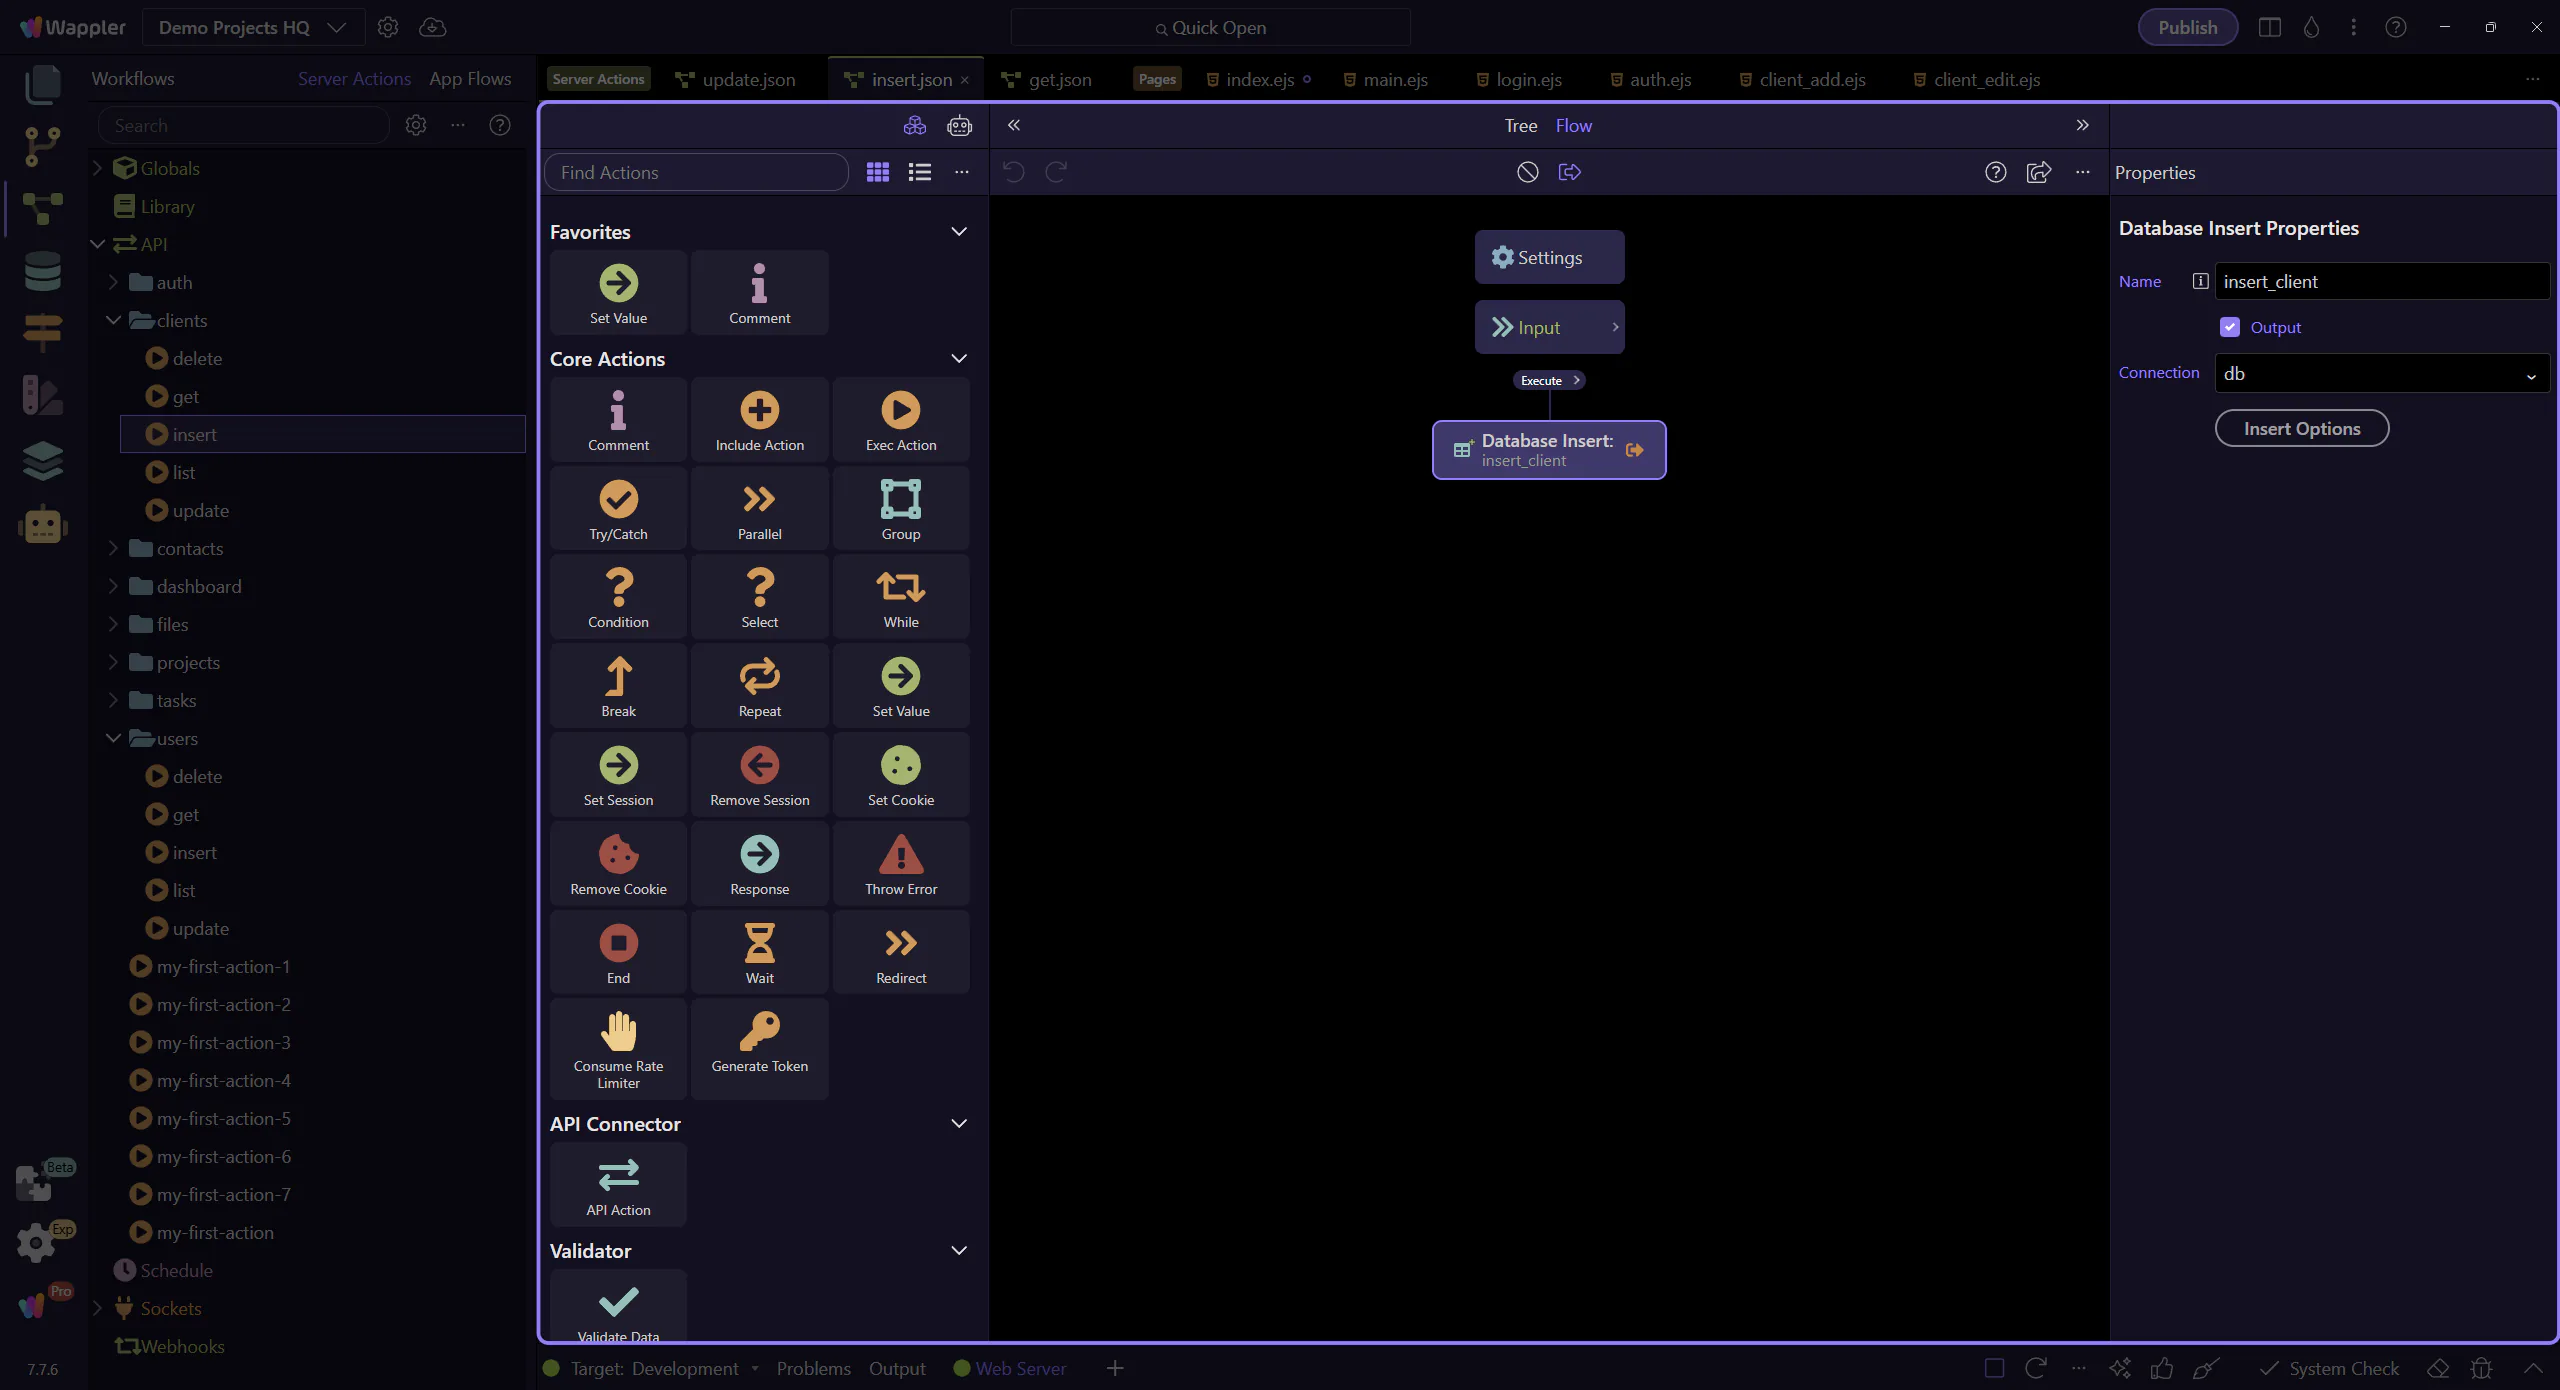
Locate the “Insert Options” button
Section titled “Locate the “Insert Options” button”In the Properties panel, locate the “Insert Options” button for the selected INSERT step. This step matters because Locate the “Insert Options” button is part of Serverconnecteditor Properties Control Sql, and understanding that context makes the next action easier to repeat in your own project.
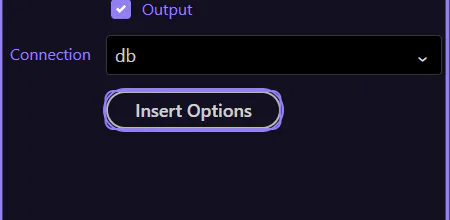
The Updater dialog (INSERT) opens
Section titled “The Updater dialog (INSERT) opens”The Database Updater dialog opens for this INSERT step. This step matters because The Updater dialog (INSERT) opens is part of Serverconnecteditor Properties Control Sql, and understanding that context makes the next action easier to repeat in your own project.

Preview + parameters (advanced)
Section titled “Preview + parameters (advanced)”Preview shows the generated SQL and parameters. This helps you verify you’re using parameterized queries (safe) instead of string concatenation (unsafe).
Close the Updater dialog
Section titled “Close the Updater dialog”Close the Database Updater dialog to return to the Server Connect editor. This step matters because Close the Updater dialog is part of the Database Updater dialog, and understanding that context makes the next action easier to repeat in your own project.

Frontend: edit + delete flows
Section titled “Frontend: edit + delete flows”The Edit page shows three typical backend patterns: GET a record by id, POST updates, and POST deletes.
The Edit Client page opens
Section titled “The Edit Client page opens”This page loads one client (GET) and provides update + delete forms (POST).
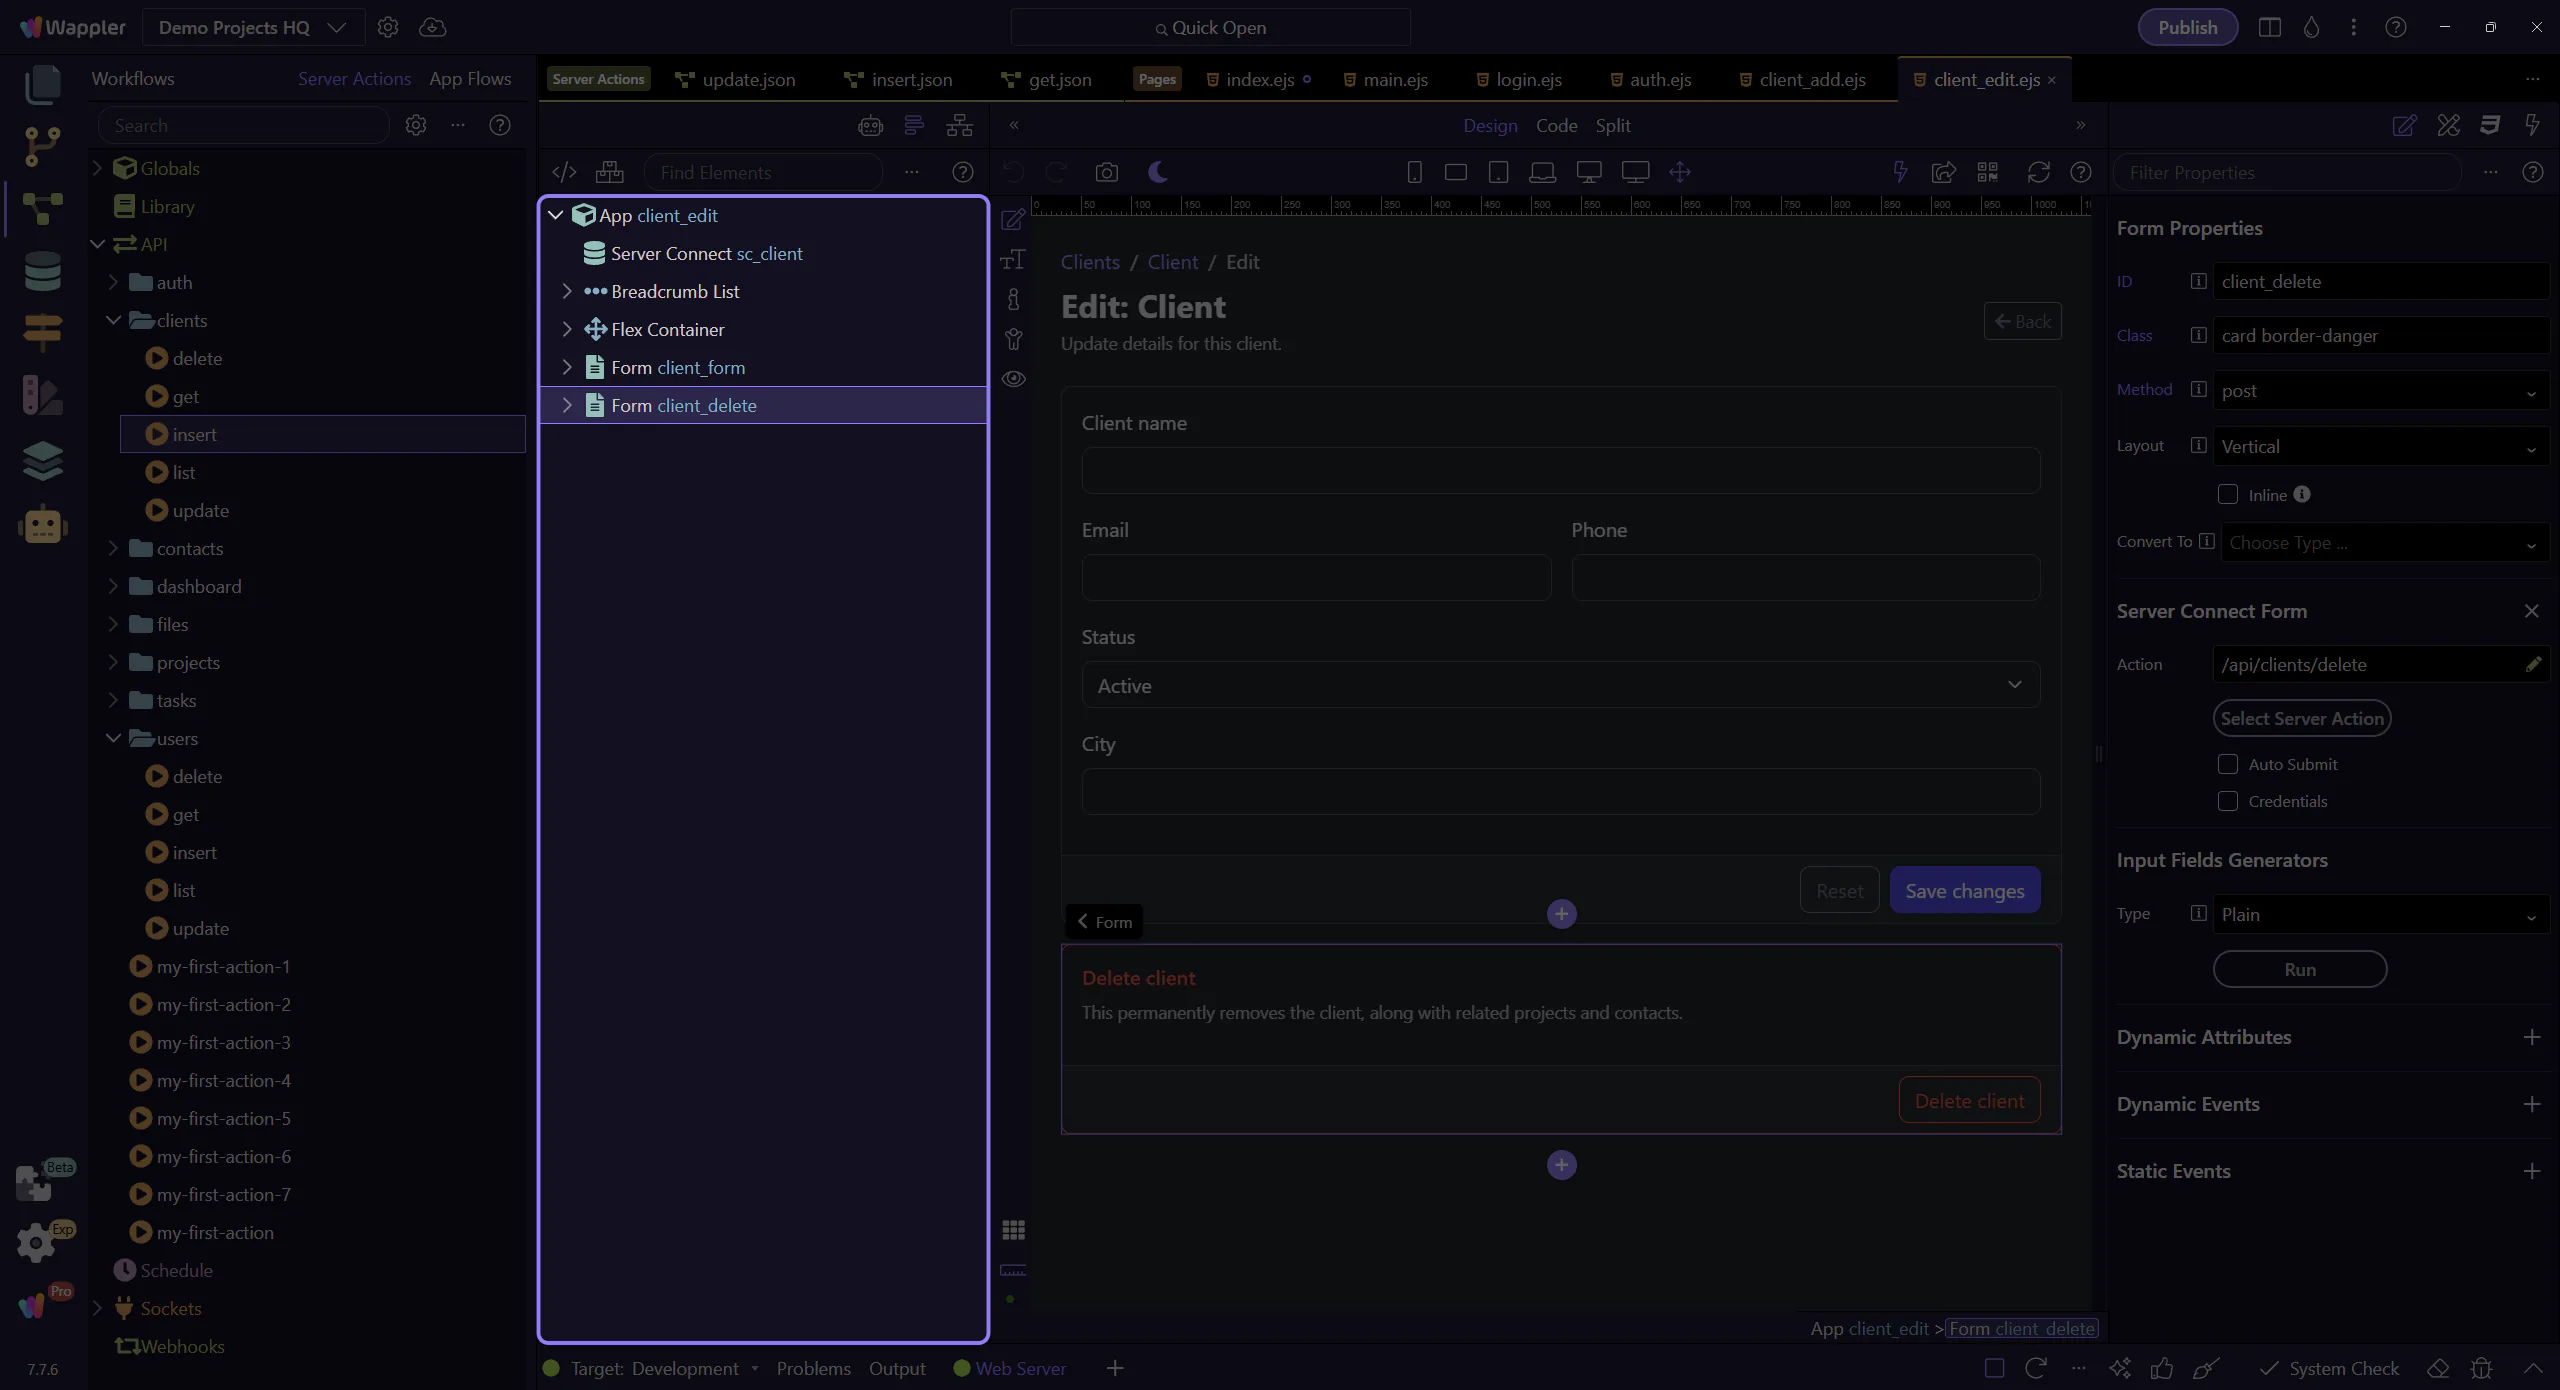
The edit-page Structure panel is ready
Section titled “The edit-page Structure panel is ready”The Structure panel is ready, so the data-loading component can be selected without mixing file-open and selection actions in one step.
Server Connect GET component
Section titled “Server Connect GET component”This dmx-serverconnect loads a single client via /api/clients/get and passes a parameter (id) from the route/query.
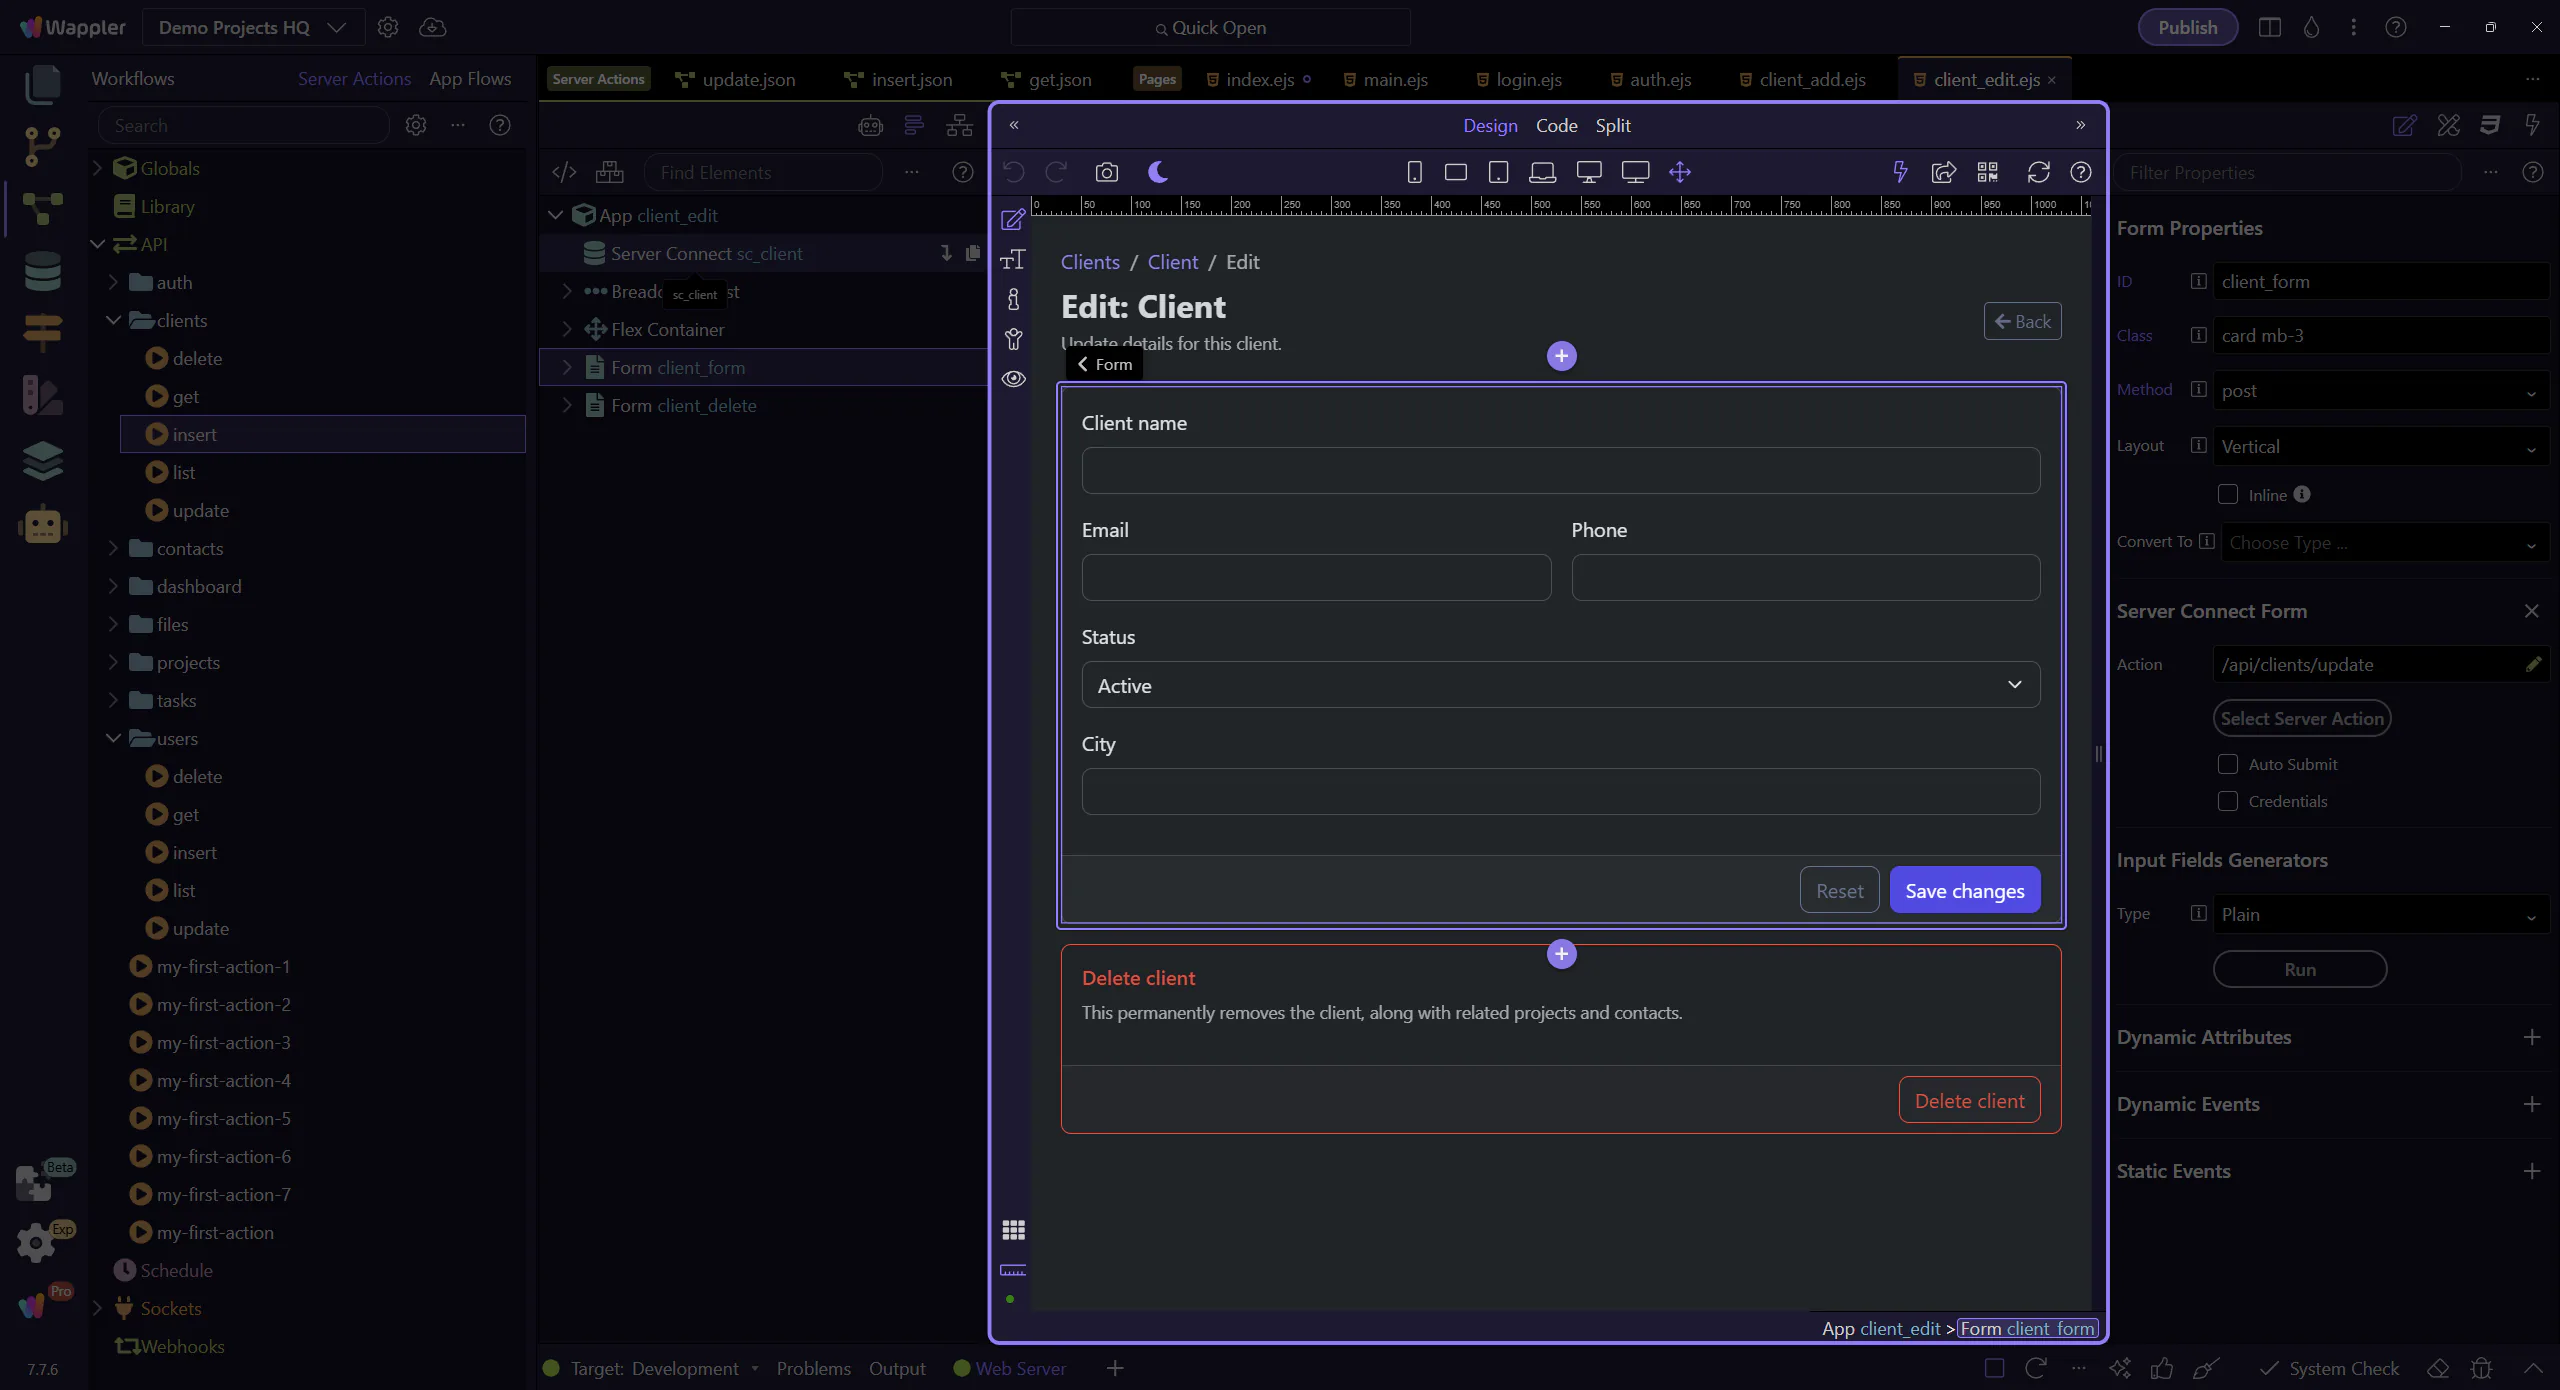
Update form (POST)
Section titled “Update form (POST)”This form posts to /api/clients/update. It includes a hidden id plus editable fields, and binds values from the GET response.
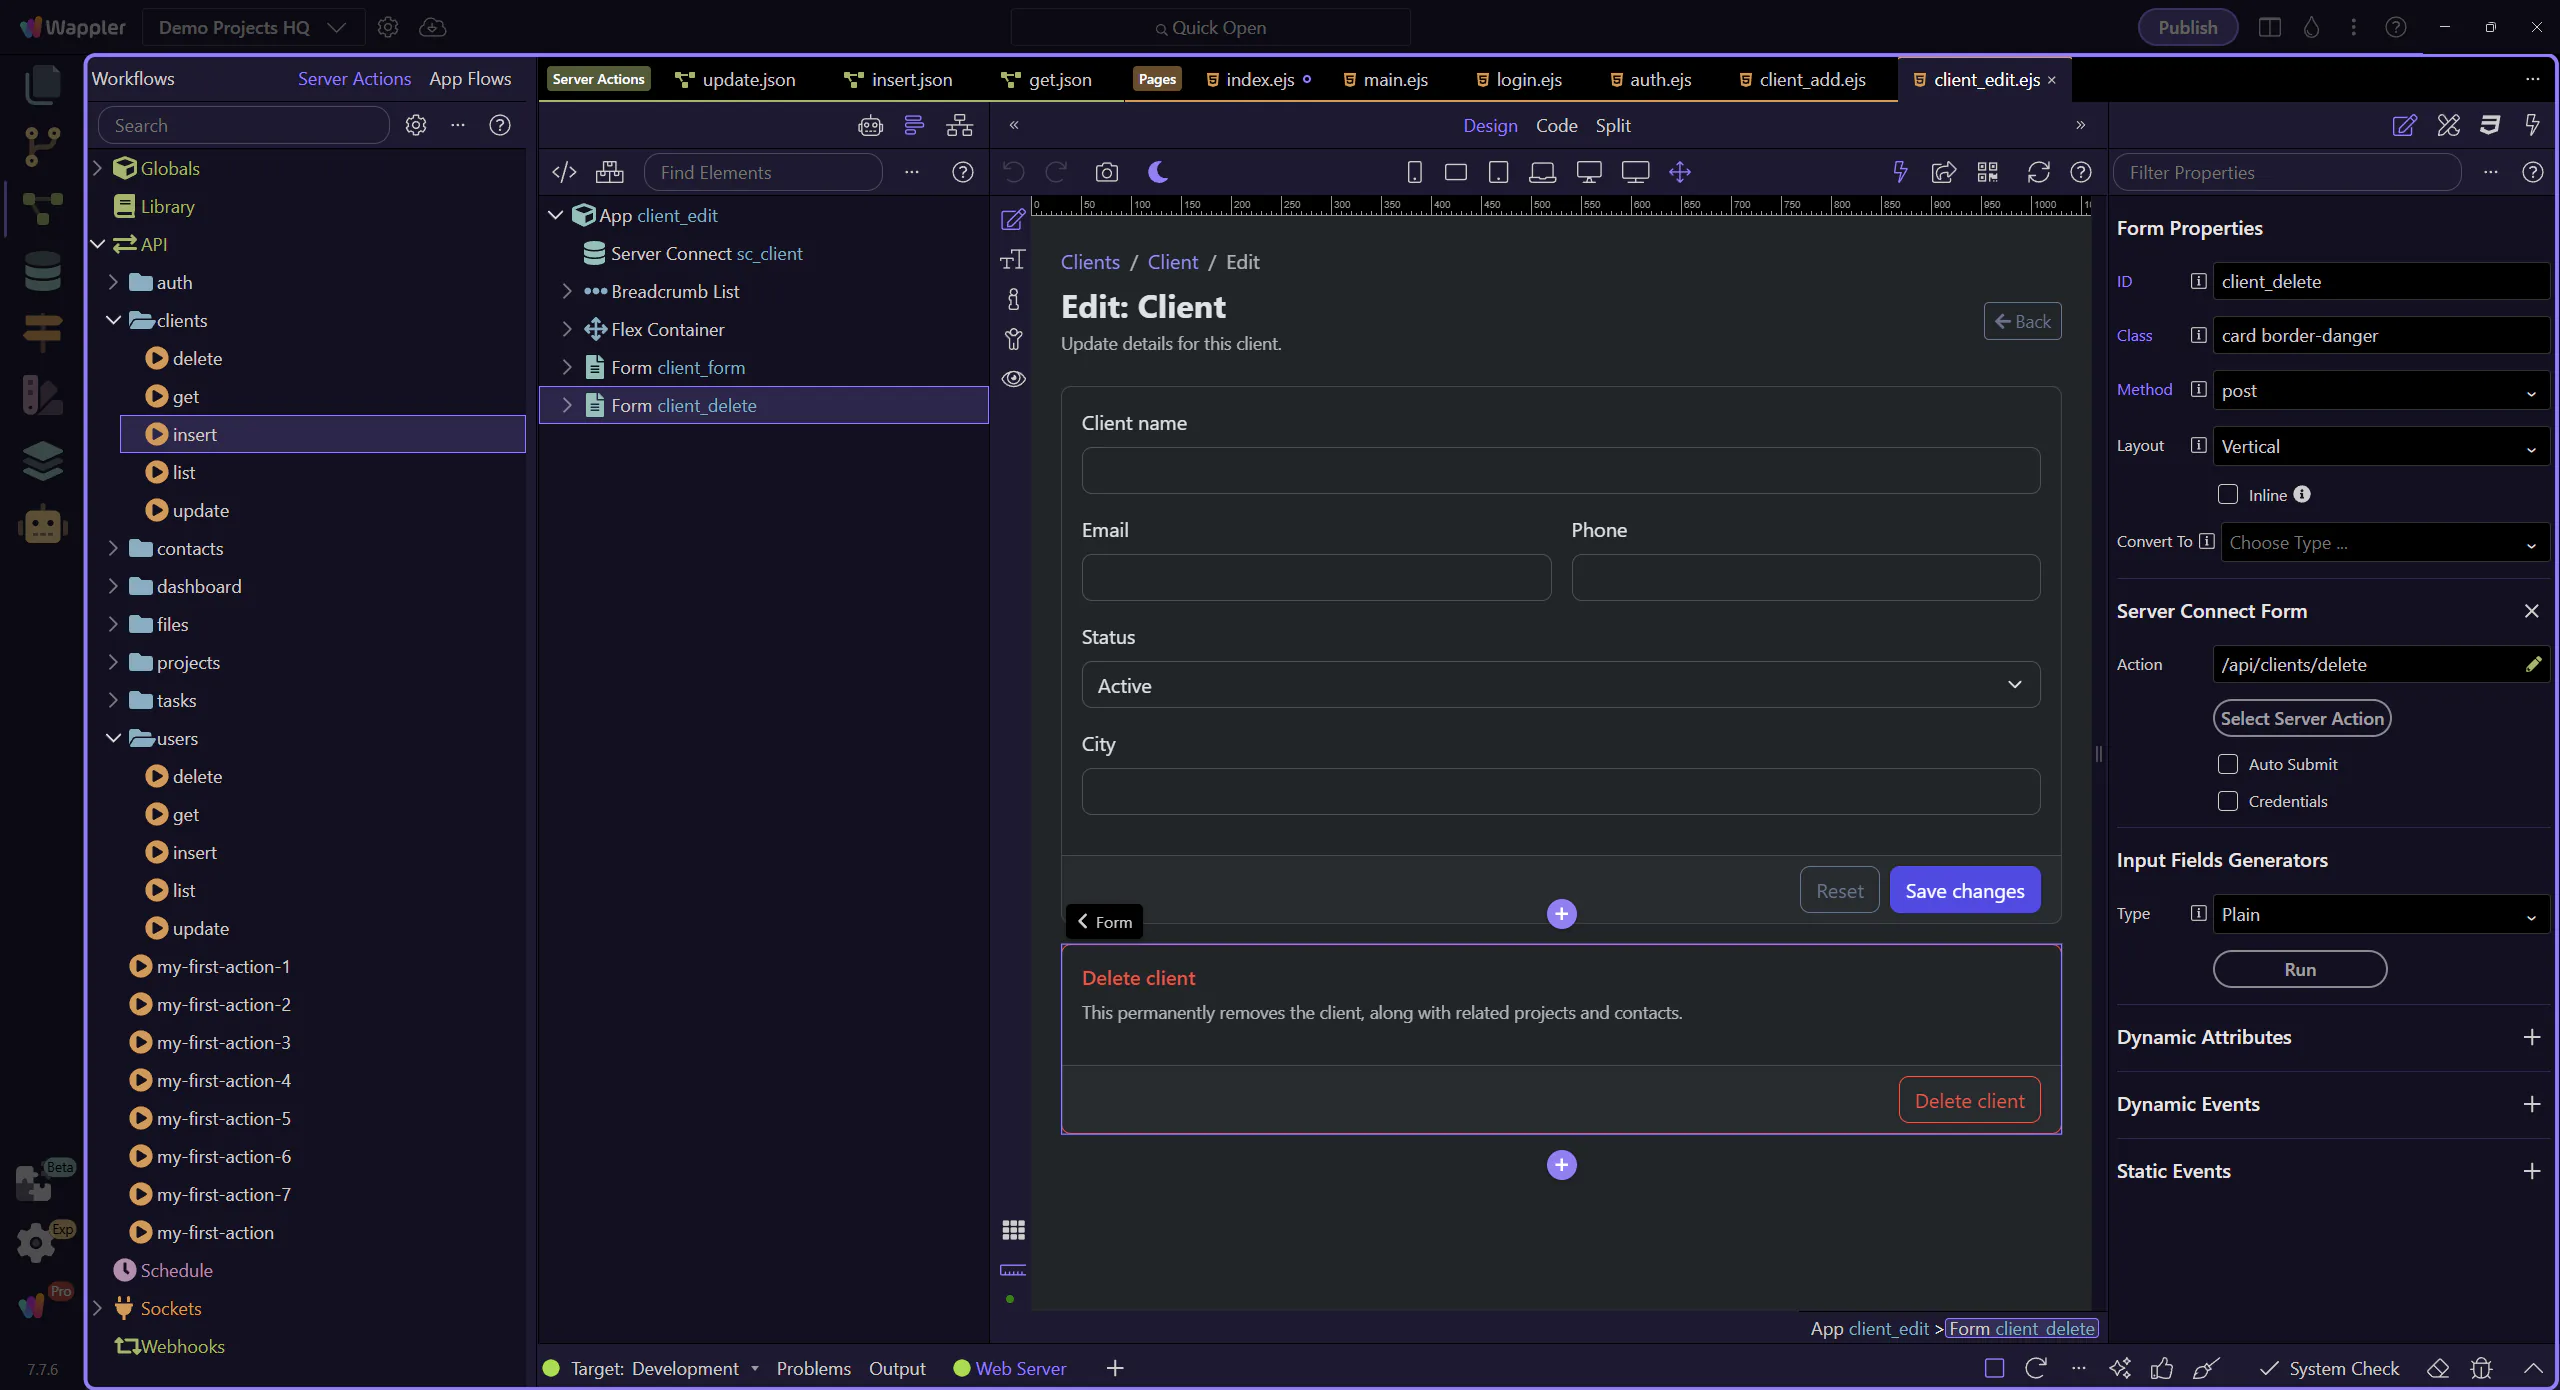
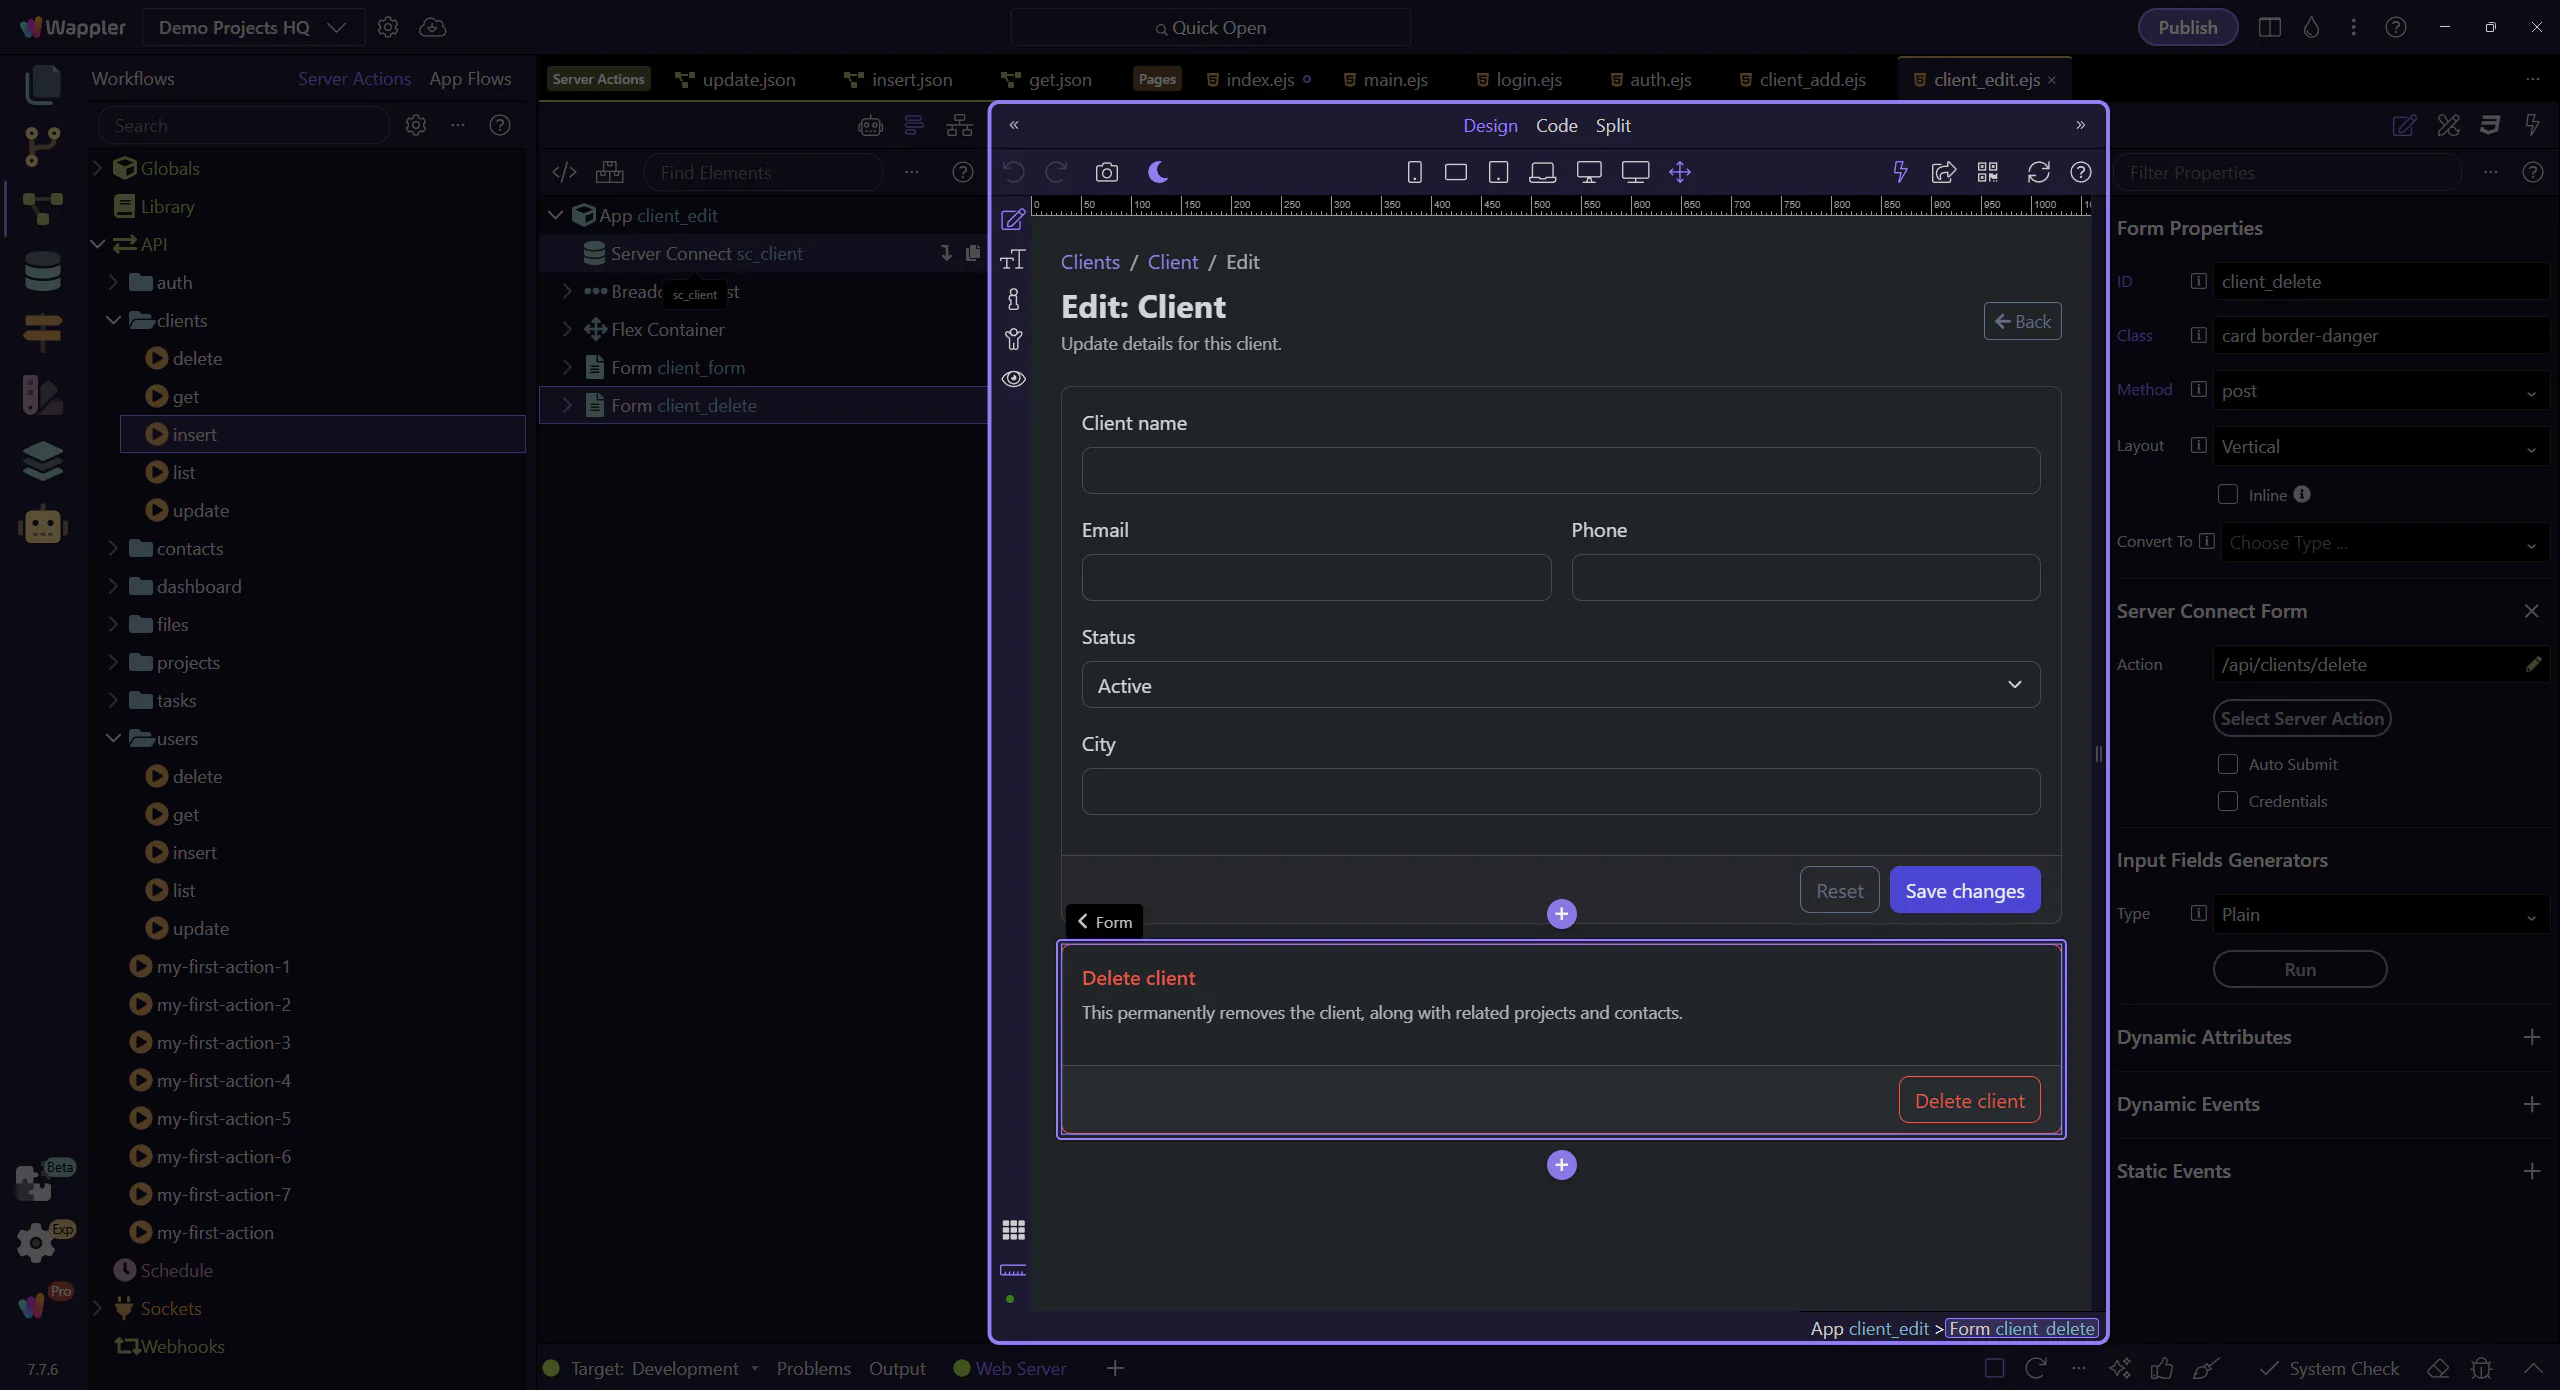
Delete form (POST)
Section titled “Delete form (POST)”This second form posts to /api/clients/delete. Keeping delete separate makes intent clear and simplifies server-side validation.
Backend: GET a record by id
Section titled “Backend: GET a record by id”The GET action uses a SELECT with a WHERE rule using the incoming id. This is the pattern behind details/edit pages.
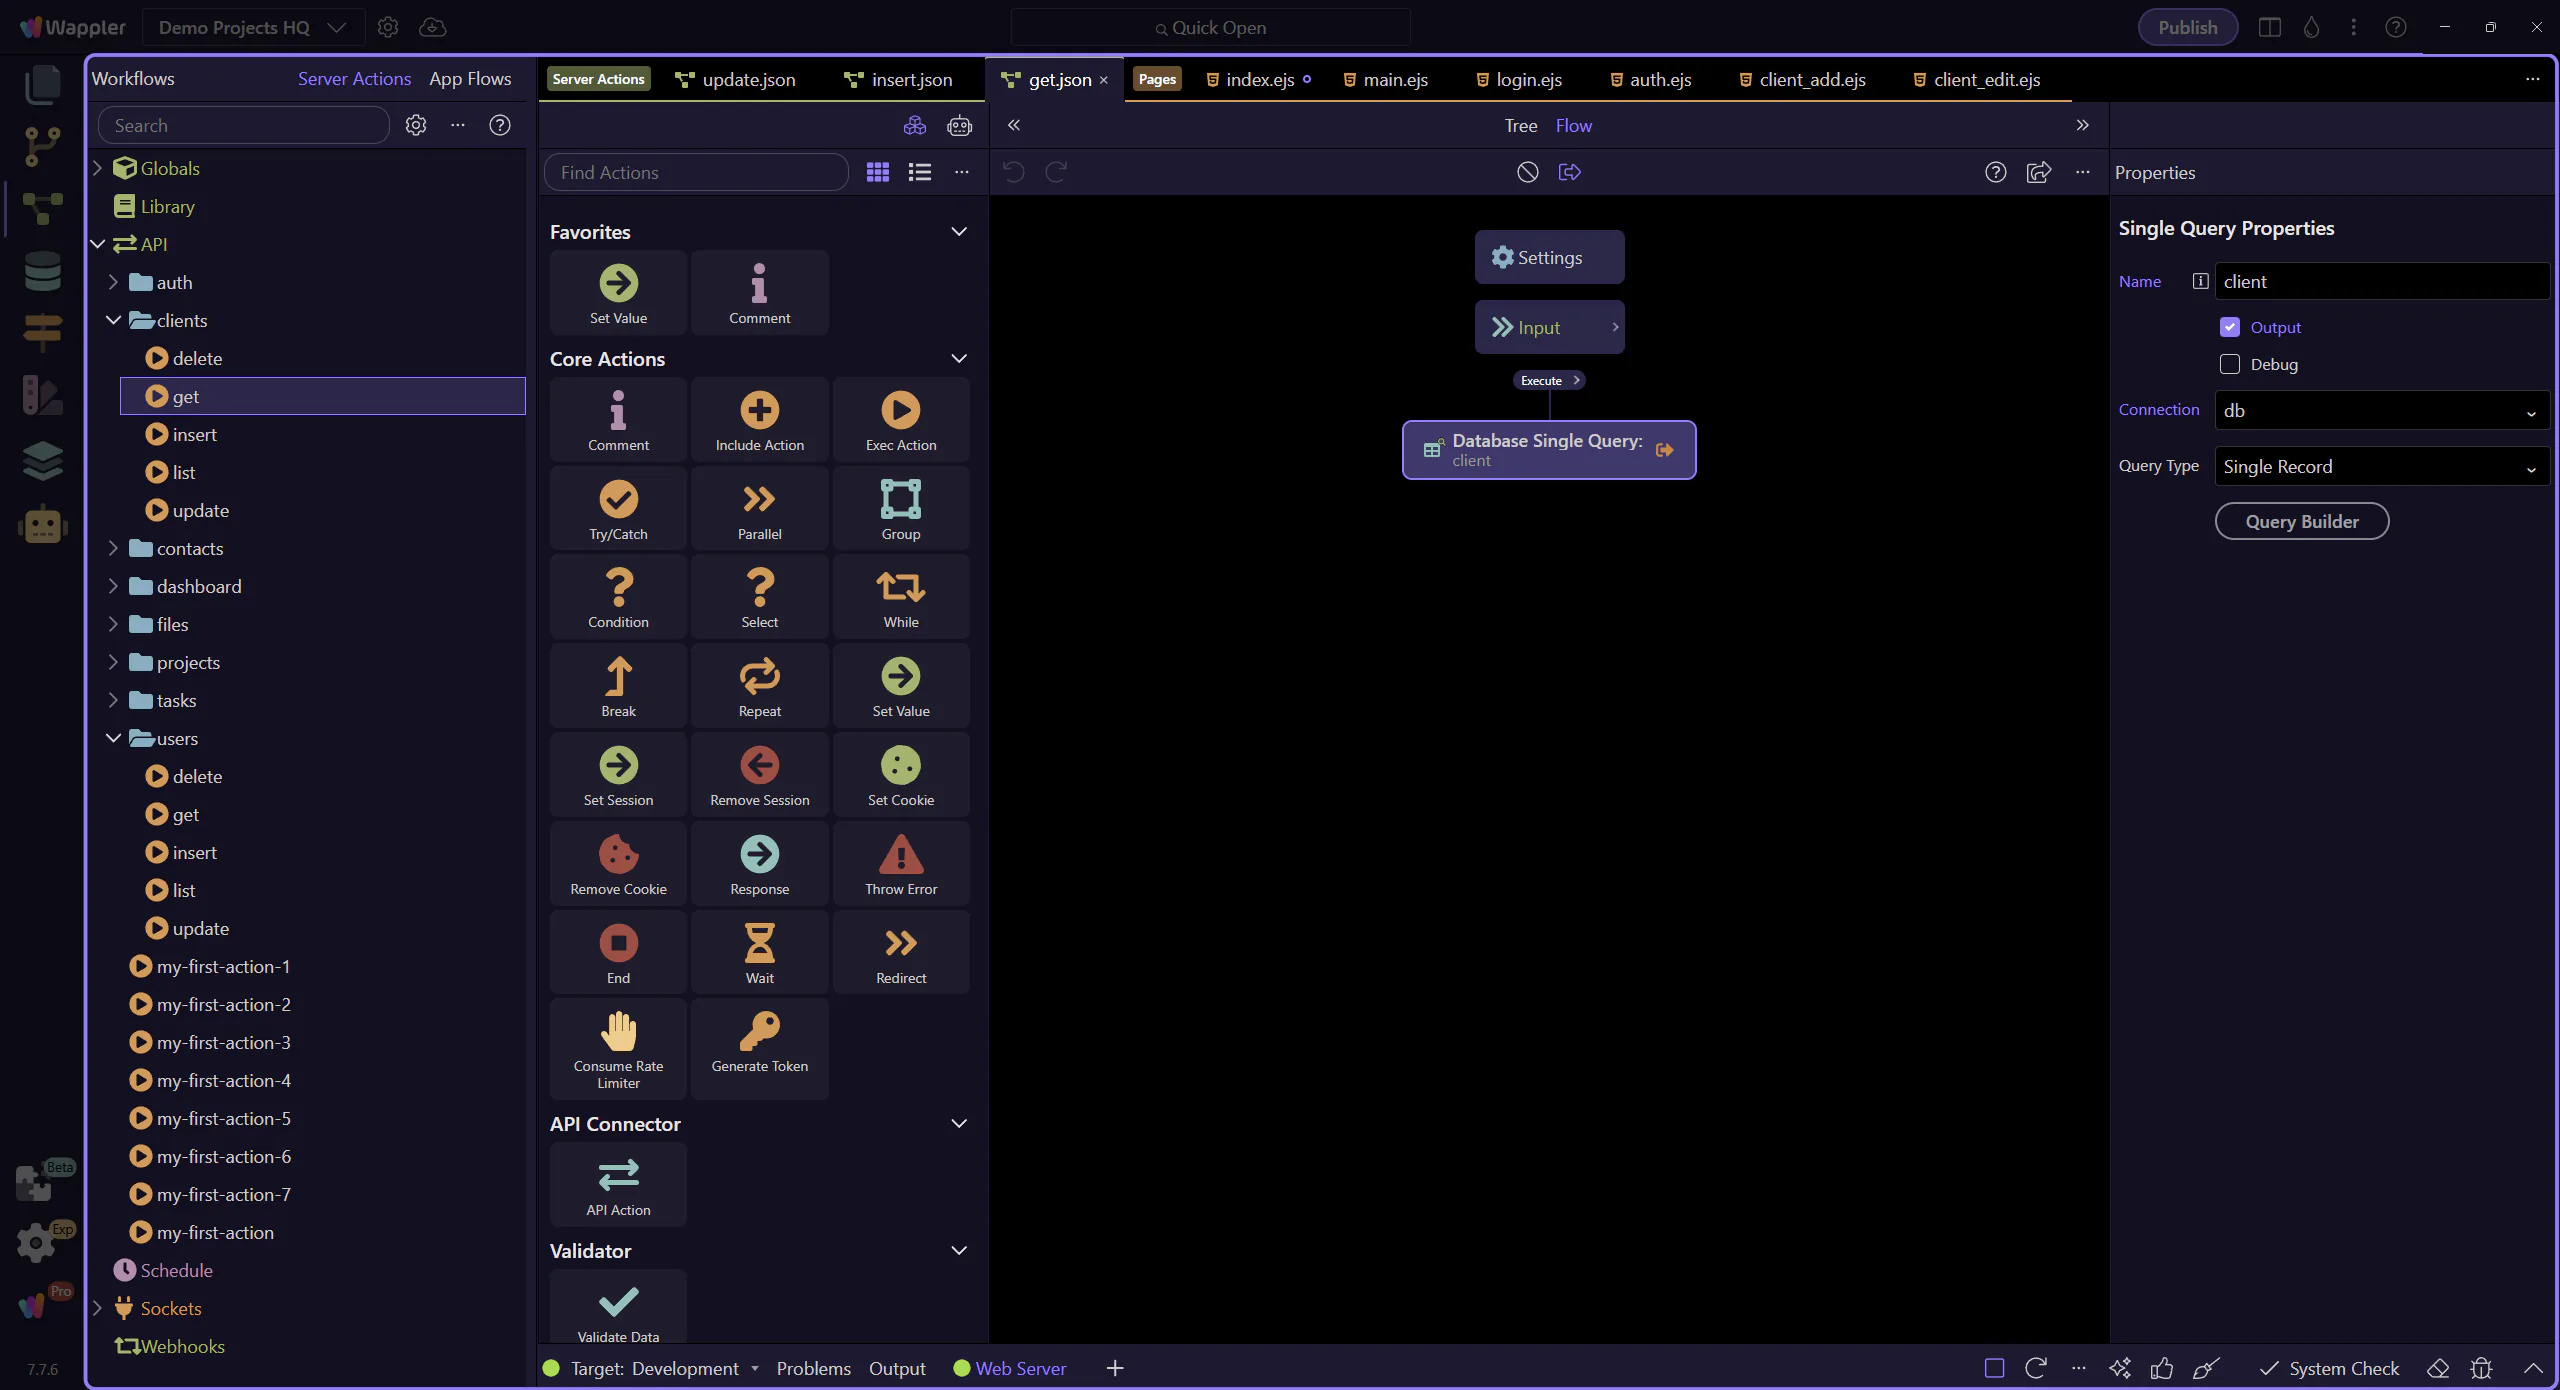
The /api/clients/get action opens
Section titled “The /api/clients/get action opens”We open the GET action and select the client step. The WHERE clause uses {{$_GET.id}}.
WHERE rule uses $_GET.id
Section titled “WHERE rule uses $_GET.id”The important idea: the id is an input, validated as a number, then used in the WHERE rule as a parameterized expression.
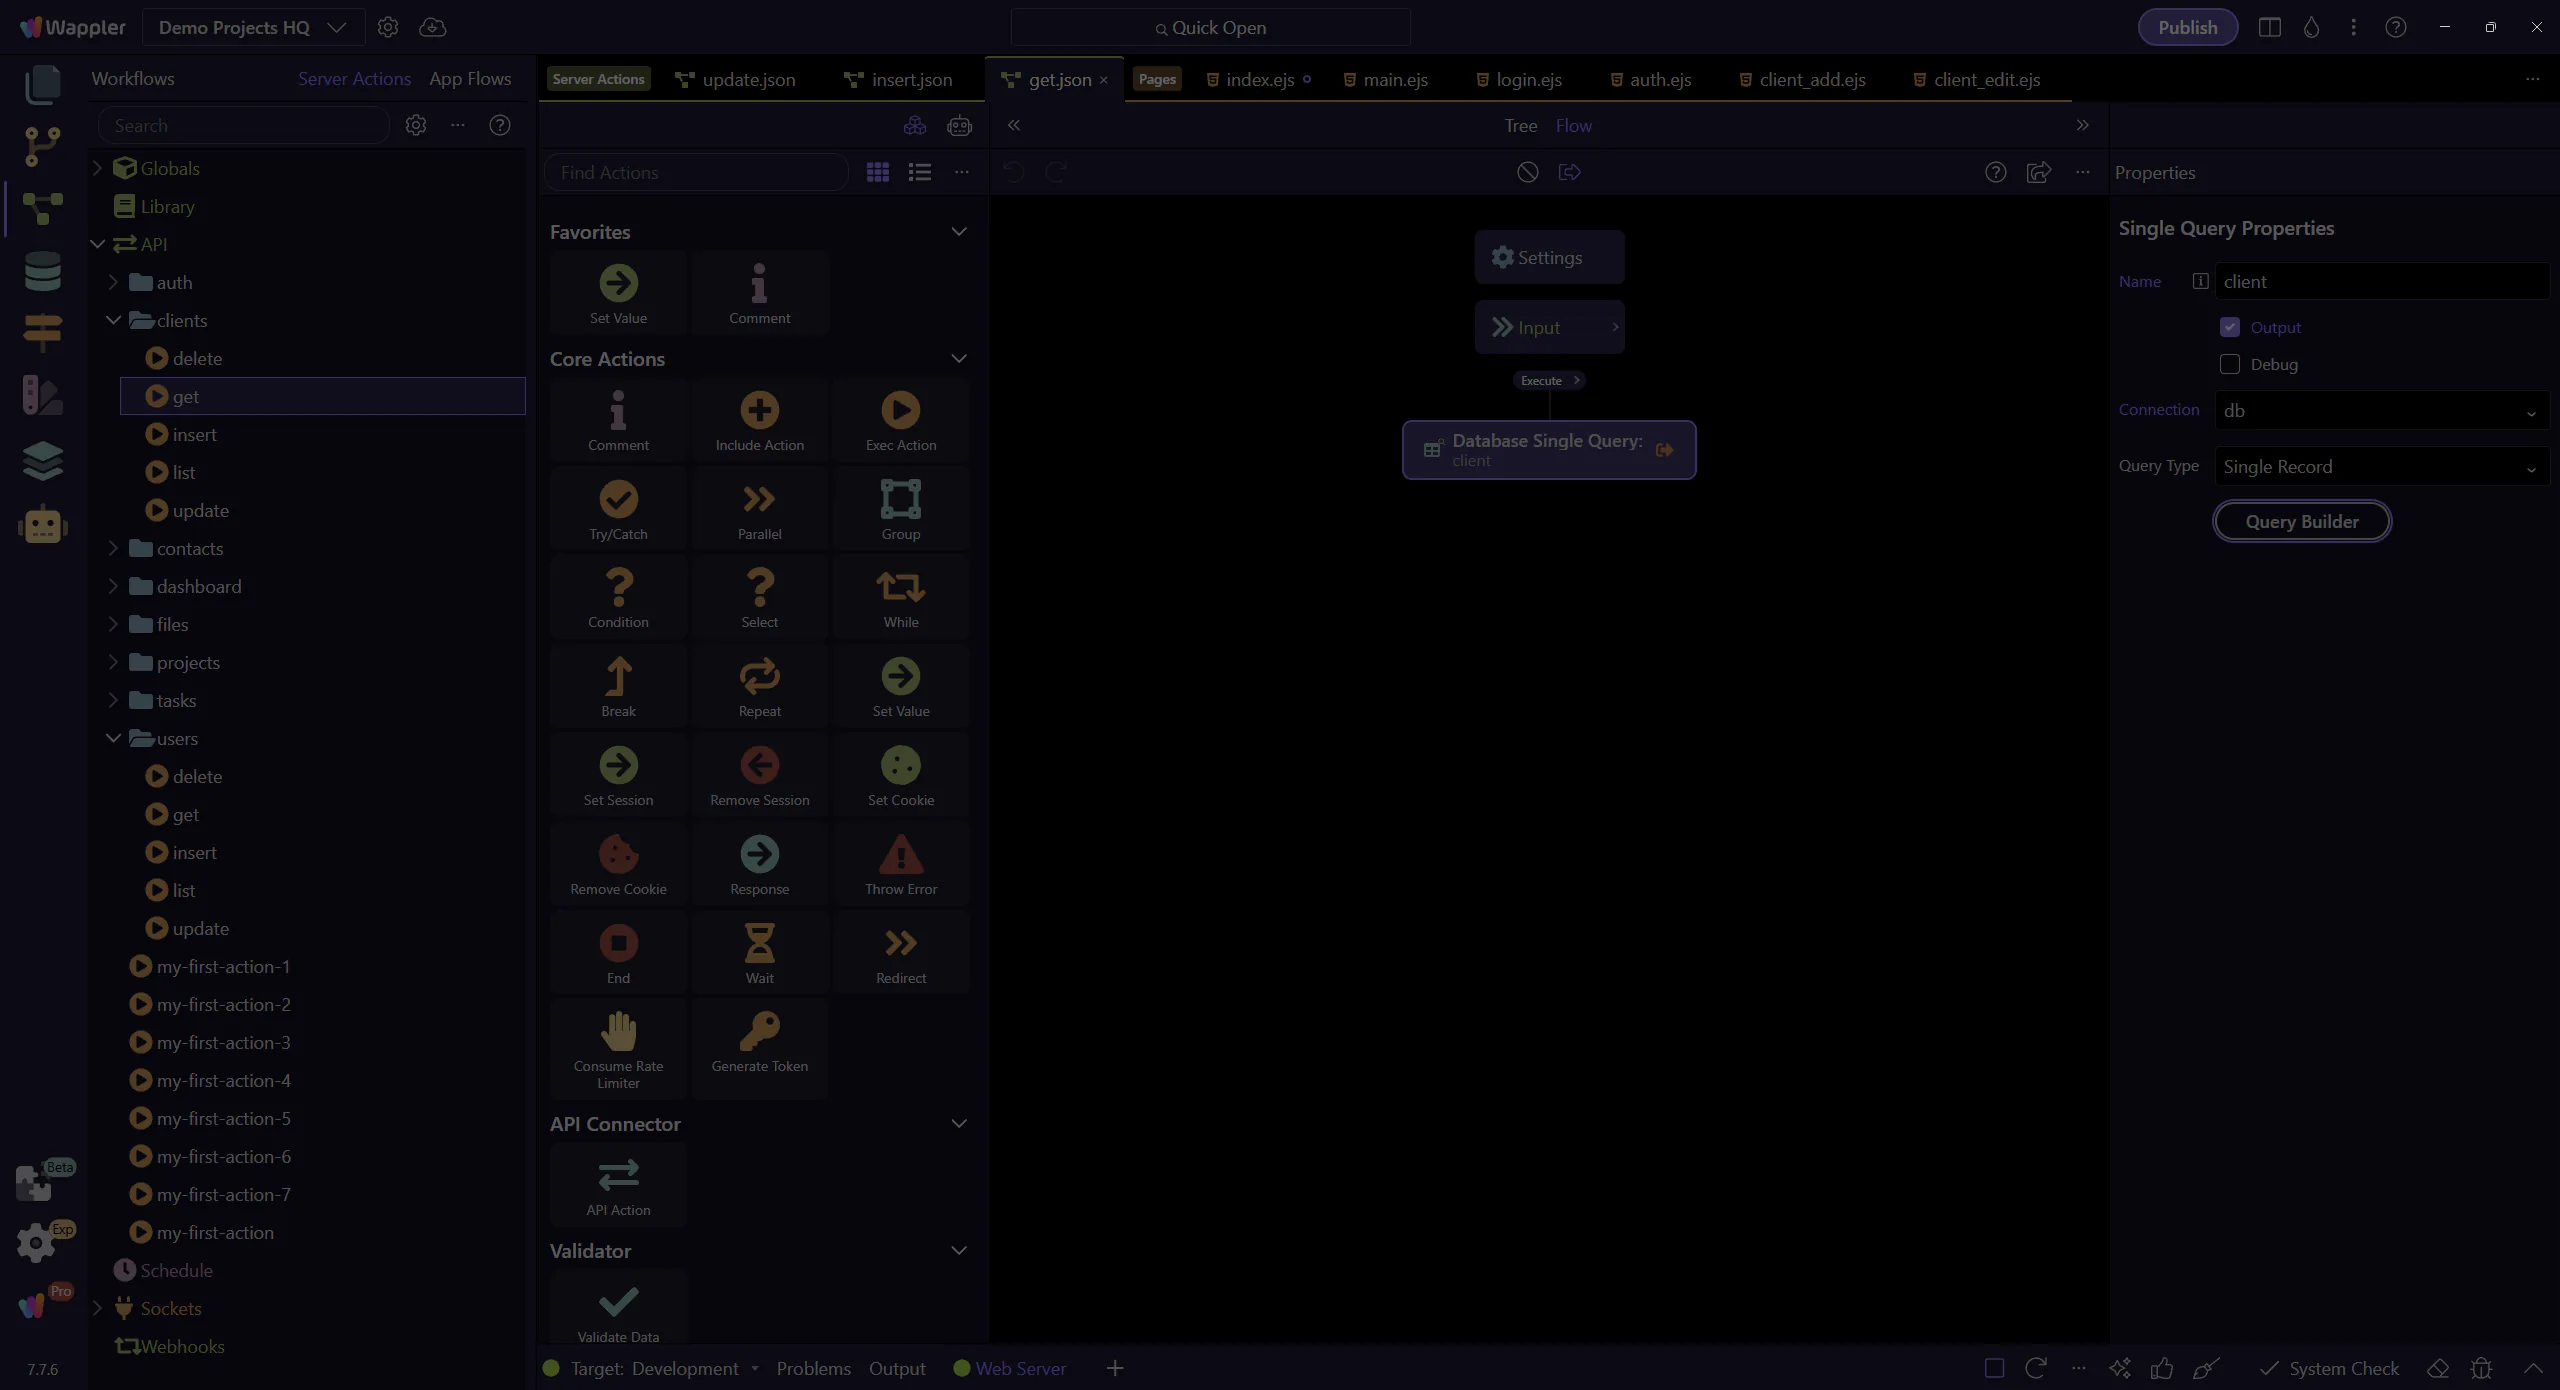
The SELECT step is selected
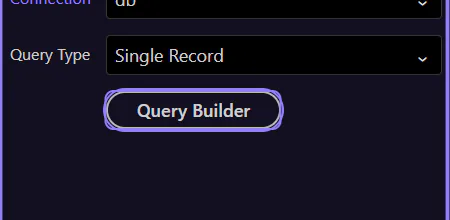
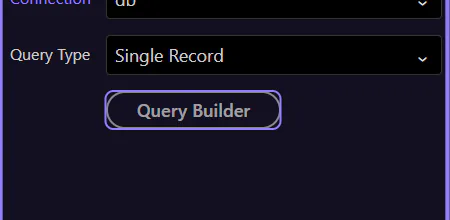
Section titled “The SELECT step is selected”This step selects the client workflow step so the “Query Builder” button is available in the Properties panel.
Locate the “Query Builder” button
Section titled “Locate the “Query Builder” button”In the Properties panel, locate the “Query Builder” button for the selected SELECT step. This step matters because Locate the “Query Builder” button is part of Serverconnecteditor Properties Control Sql, and understanding that context makes the next action easier to repeat in your own project.
The Query Builder dialog opens
Section titled “The Query Builder dialog opens”The Query Builder dialog opens so you can inspect the SELECT, including the WHERE rule and any sub-queries for related data.
Close Query Builder
Section titled “Close Query Builder”Close Query Builder to return to the Server Connect editor.
Backend: UPDATE and DELETE (dbupdater)
Section titled “Backend: UPDATE and DELETE (dbupdater)”Update and delete actions follow the same safety rule: always validate inputs and always verify the WHERE clause.
The /api/clients/update action opens
Section titled “The /api/clients/update action opens”UPDATE typically sets values and uses WHERE id = {{$_POST.id}} to target one row.
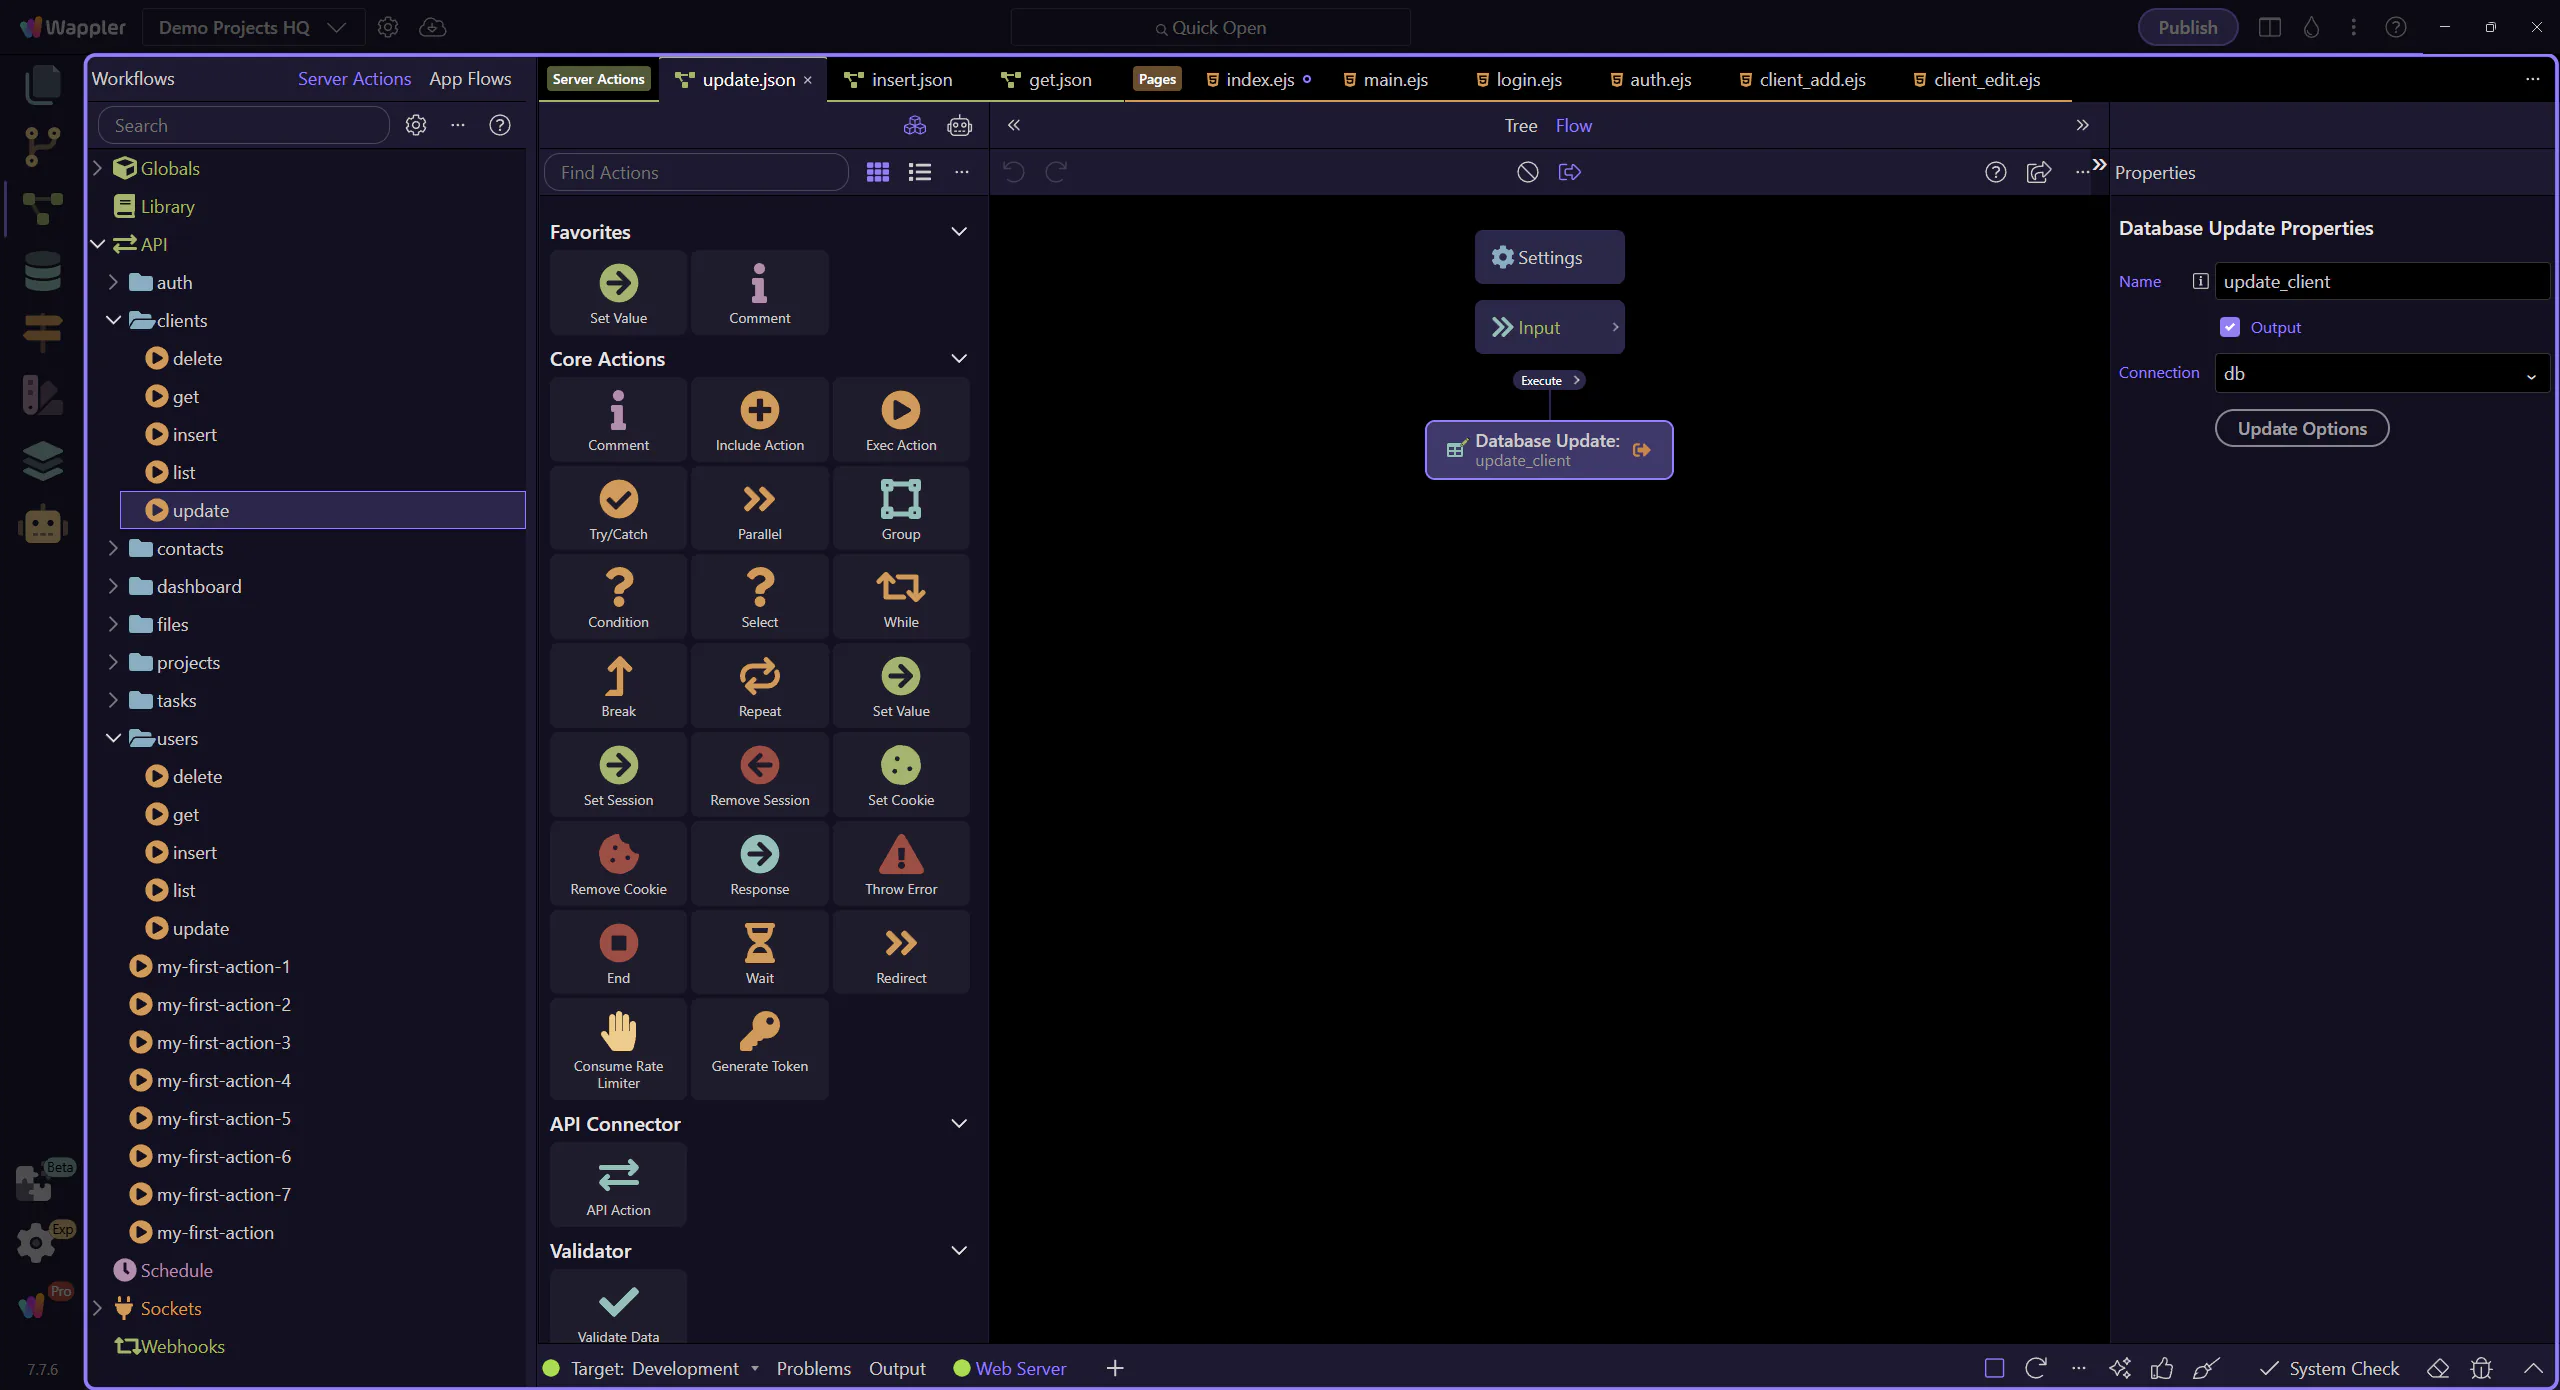
The UPDATE step is selected
Section titled “The UPDATE step is selected”This step selects the update_client workflow step so the “Update Options” button is available in the Properties panel.

Locate the “Update Options” button
Section titled “Locate the “Update Options” button”In the Properties panel, locate the “Update Options” button for the selected UPDATE step. This step matters because Locate the “Update Options” button is part of Serverconnecteditor Properties Control Sql, and understanding that context makes the next action easier to repeat in your own project.
The Updater dialog (UPDATE) opens
Section titled “The Updater dialog (UPDATE) opens”The Database Updater dialog opens so you can inspect the SET values and WHERE rules for the UPDATE step.
Close the Updater dialog
Section titled “Close the Updater dialog”Close the Database Updater dialog before continuing to the DELETE action. This step matters because Close the Updater dialog is part of the Database Updater dialog, and understanding that context makes the next action easier to repeat in your own project.

The /api/clients/delete action opens
Section titled “The /api/clients/delete action opens”DELETE is the most destructive action. The WHERE rule is non-negotiable — it must precisely target the intended row(s).
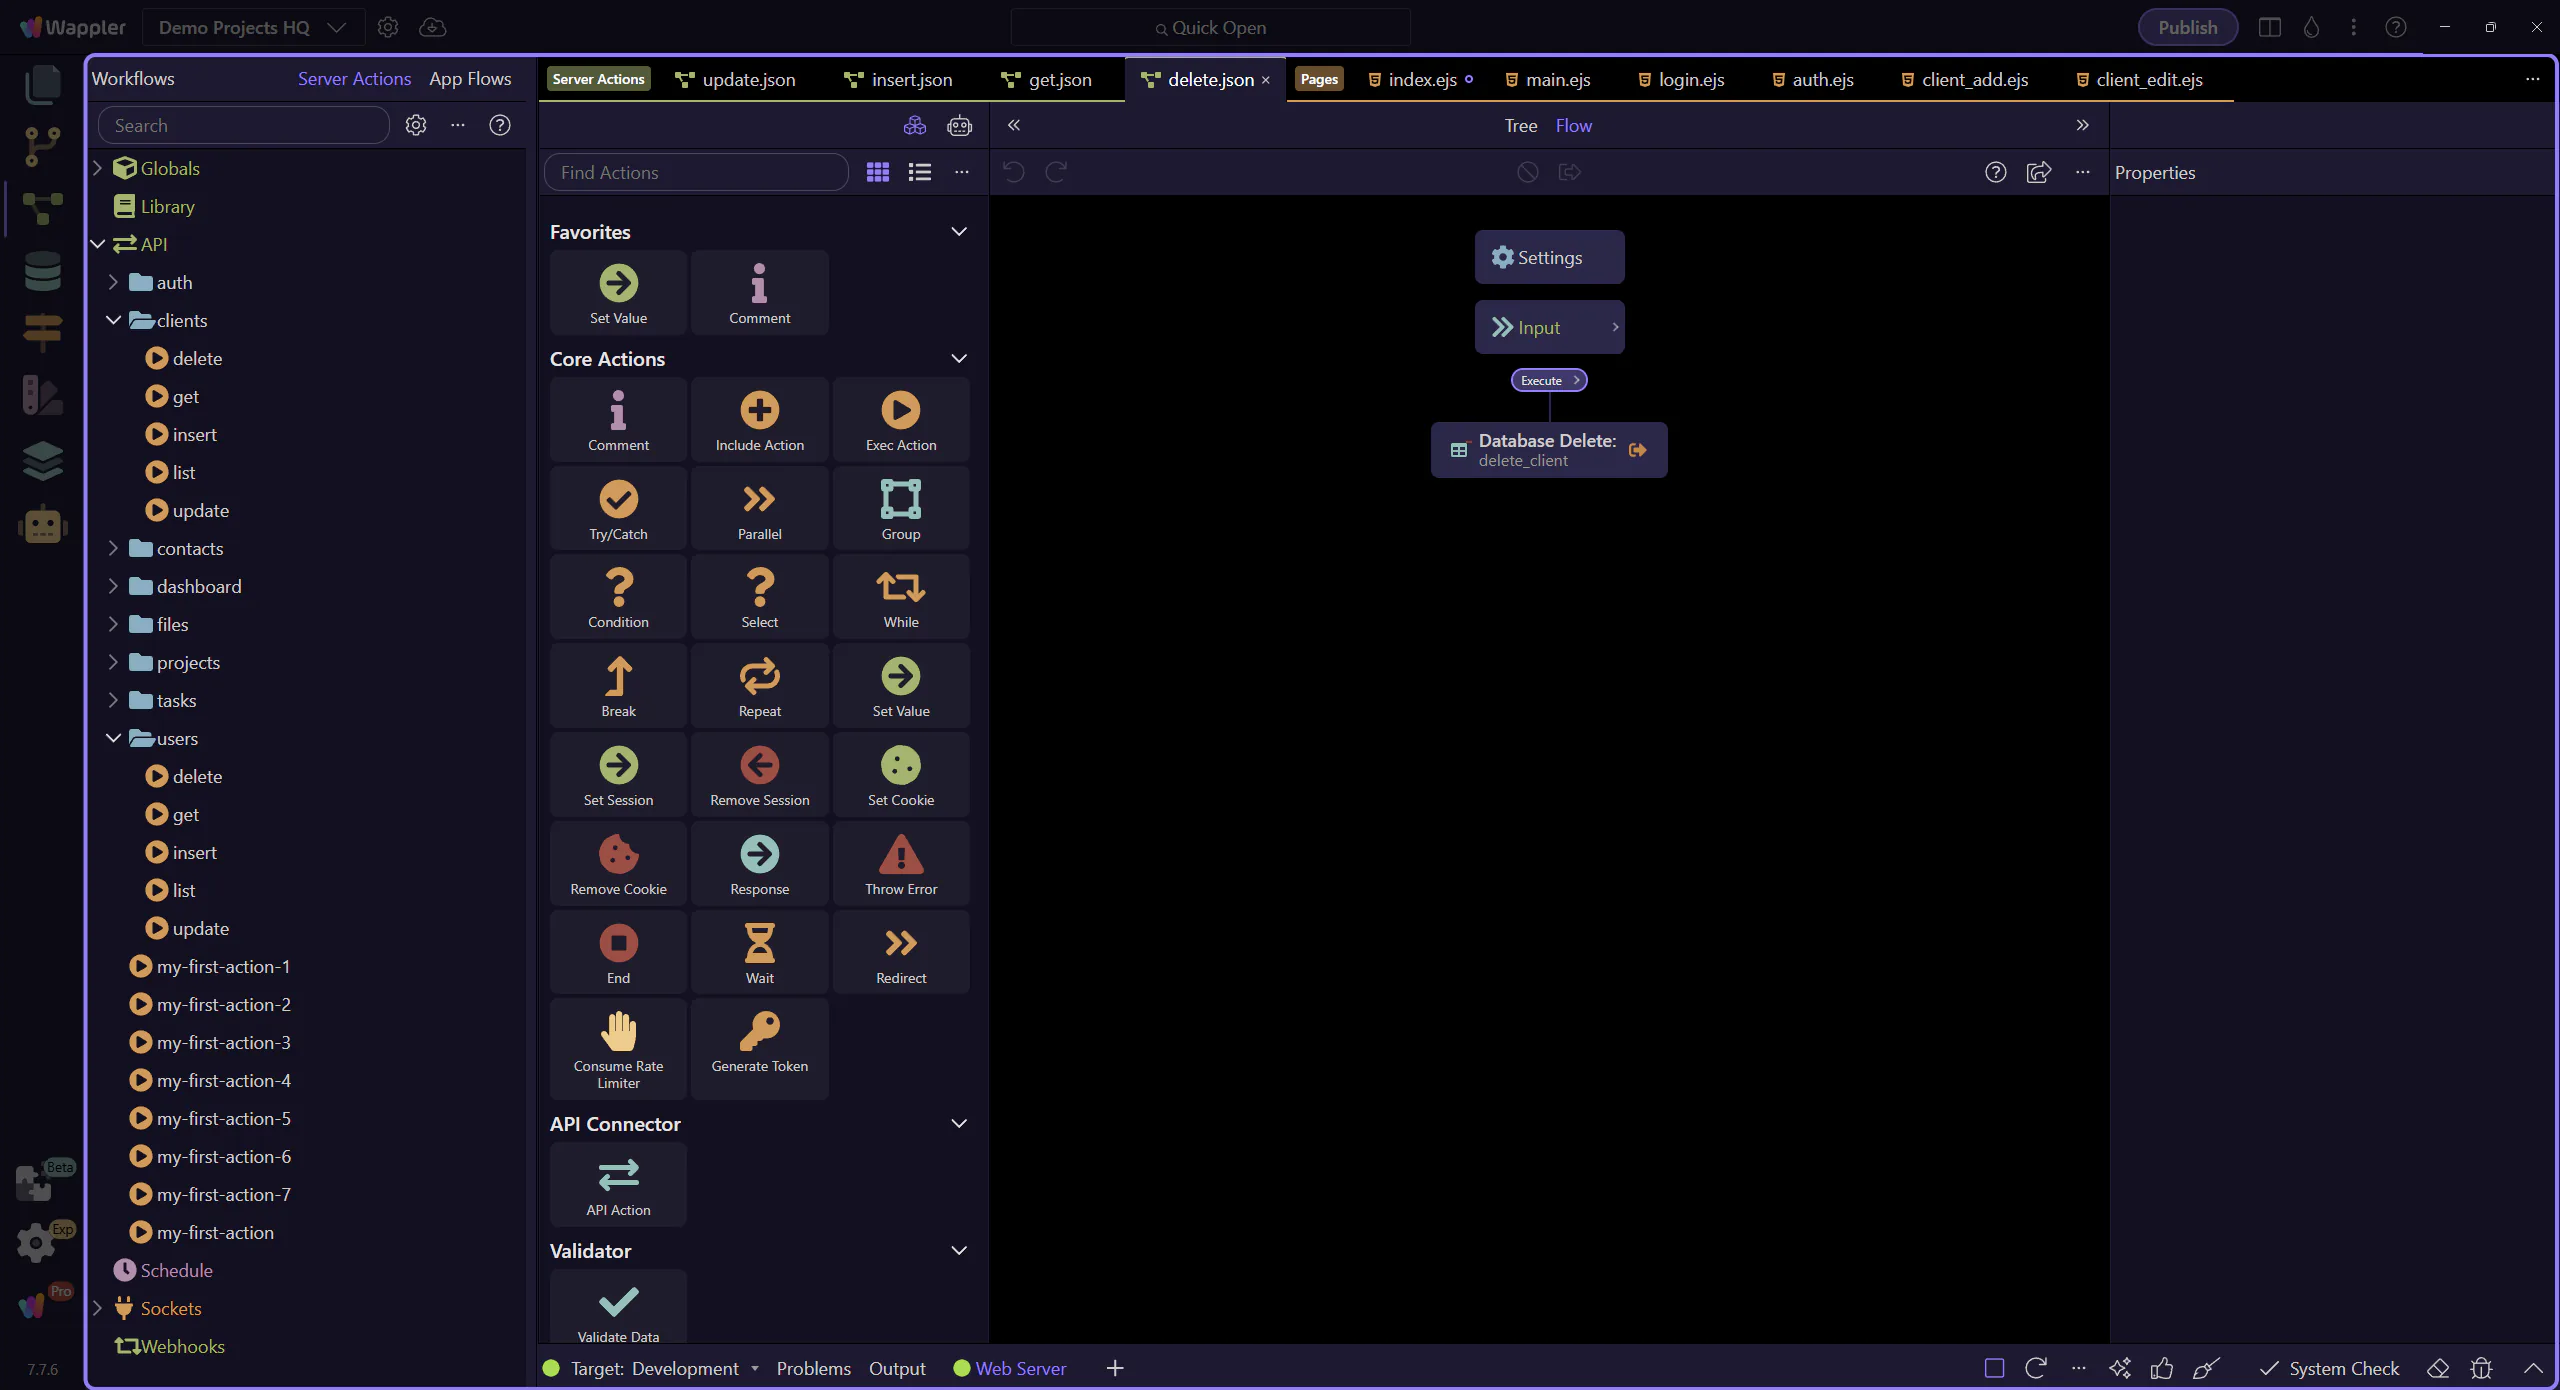
The DELETE step is selected
Section titled “The DELETE step is selected”This step selects the delete_client workflow step so the “Delete Options” button is available in the Properties panel.
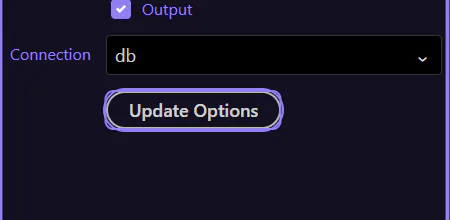
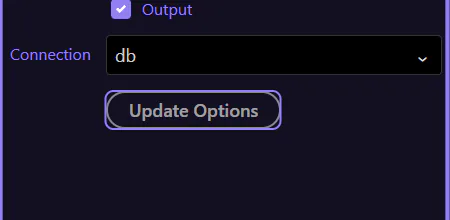
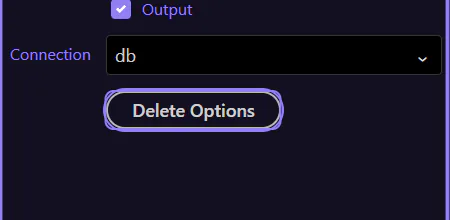
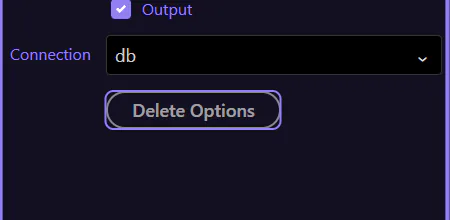
Locate the “Delete Options” button
Section titled “Locate the “Delete Options” button”In the Properties panel, locate the “Delete Options” button for the selected DELETE step. This step matters because Locate the “Delete Options” button is part of Serverconnecteditor Properties Control Sql, and understanding that context makes the next action easier to repeat in your own project.
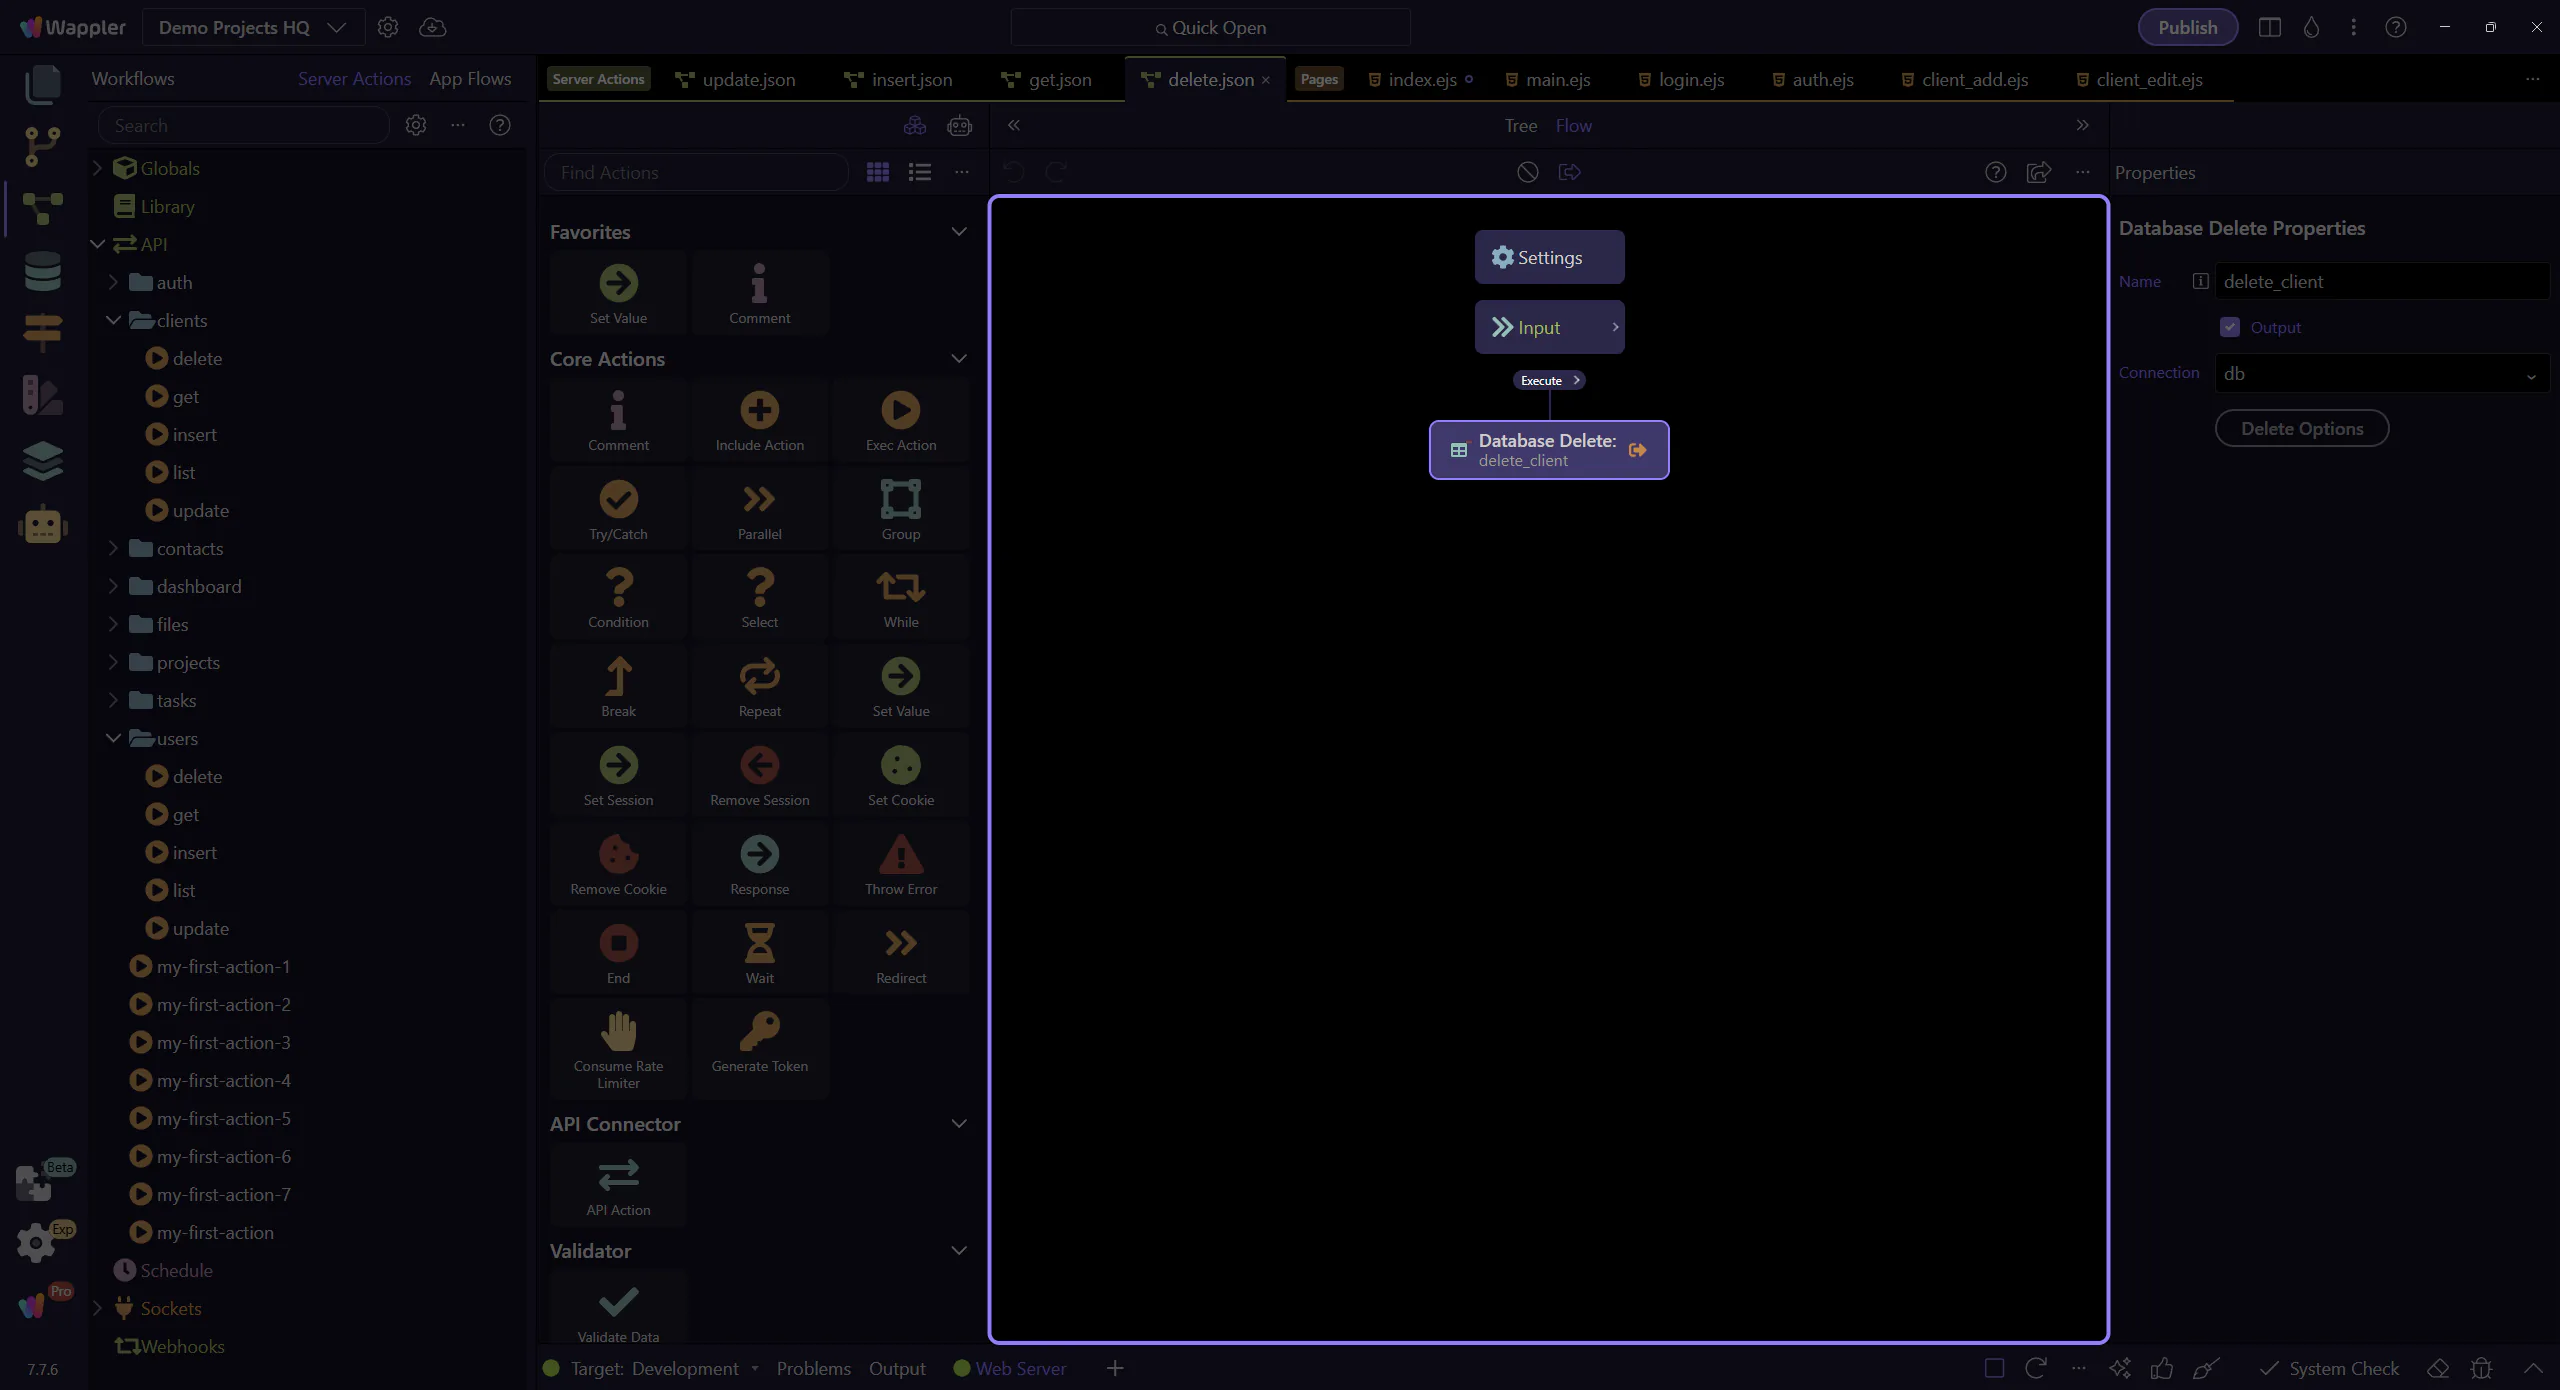
The Updater dialog (DELETE) opens
Section titled “The Updater dialog (DELETE) opens”The Database Updater dialog opens so you can verify the WHERE rules before any delete runs.
Close the Updater dialog
Section titled “Close the Updater dialog”Close the Database Updater dialog when you are done reviewing the DELETE configuration. This step matters because Close the Updater dialog is part of the Database Updater dialog, and understanding that context makes the next action easier to repeat in your own project.

Wrap-up
Section titled “Wrap-up”You saw how pages use GET for loading and POST for create/update/delete — and how Server Connect Actions validate and perform safe database operations.
Continue learning
Section titled “Continue learning”Pick a related tour to go deeper.