Demo walkthrough: Task edit (update + delete)
Use the real task edit page and its update/delete actions to connect edit-form state, dbupdater steps, and result handling.
Introduction
Section titled “Introduction”The Demo Projects HQ task edit flow is useful because it keeps the full edit lifecycle visible in one place. The page loads the current record, posts updates to one Server Connect action, posts deletes to another, and shows the result of each request back on the same screen.
Frontend: one edit page, two submit paths
Section titled “Frontend: one edit page, two submit paths”The task edit page makes the user-facing contract explicit before you even open the backend files. One form updates the record, a second form deletes it, and each one keeps its own result state instead of blurring everything into one request.
The task edit page opens
Section titled “The task edit page opens”Start on the real task_edit.ejs page so the update and delete forms are not abstract. This is the page that collects the current task state, exposes the success/error feedback, and decides which action each form posts to.

Design view is active for the edit page
Section titled “Design view is active for the edit page”Switch to Design view before selecting the update and delete forms so the next steps can inspect the live page structure instead of spending time on editor setup.
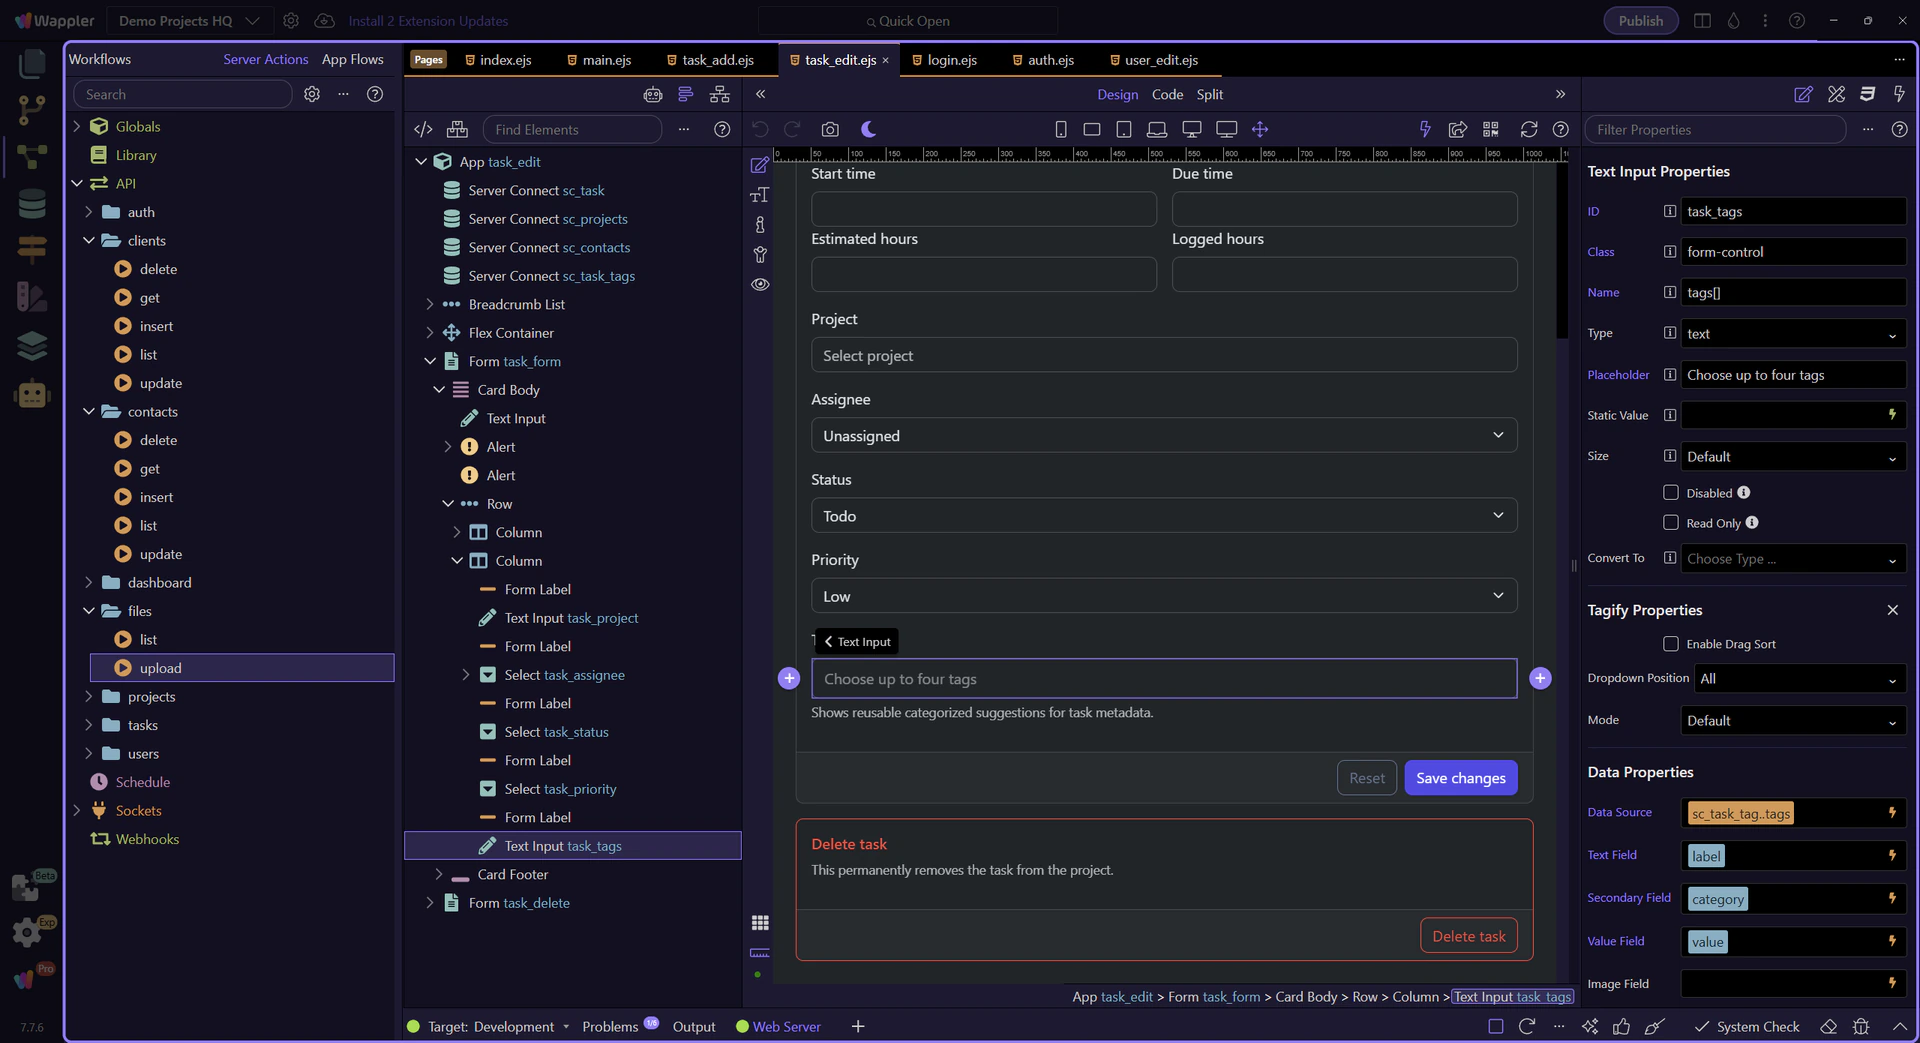
The update form owns the editable task state
Section titled “The update form owns the editable task state”#task_form is the main edit contract on the page. It posts to /api/tasks/update, carries the current task values, and exposes update success or failure back into the same form area through task_form.data and task_form.lastError.
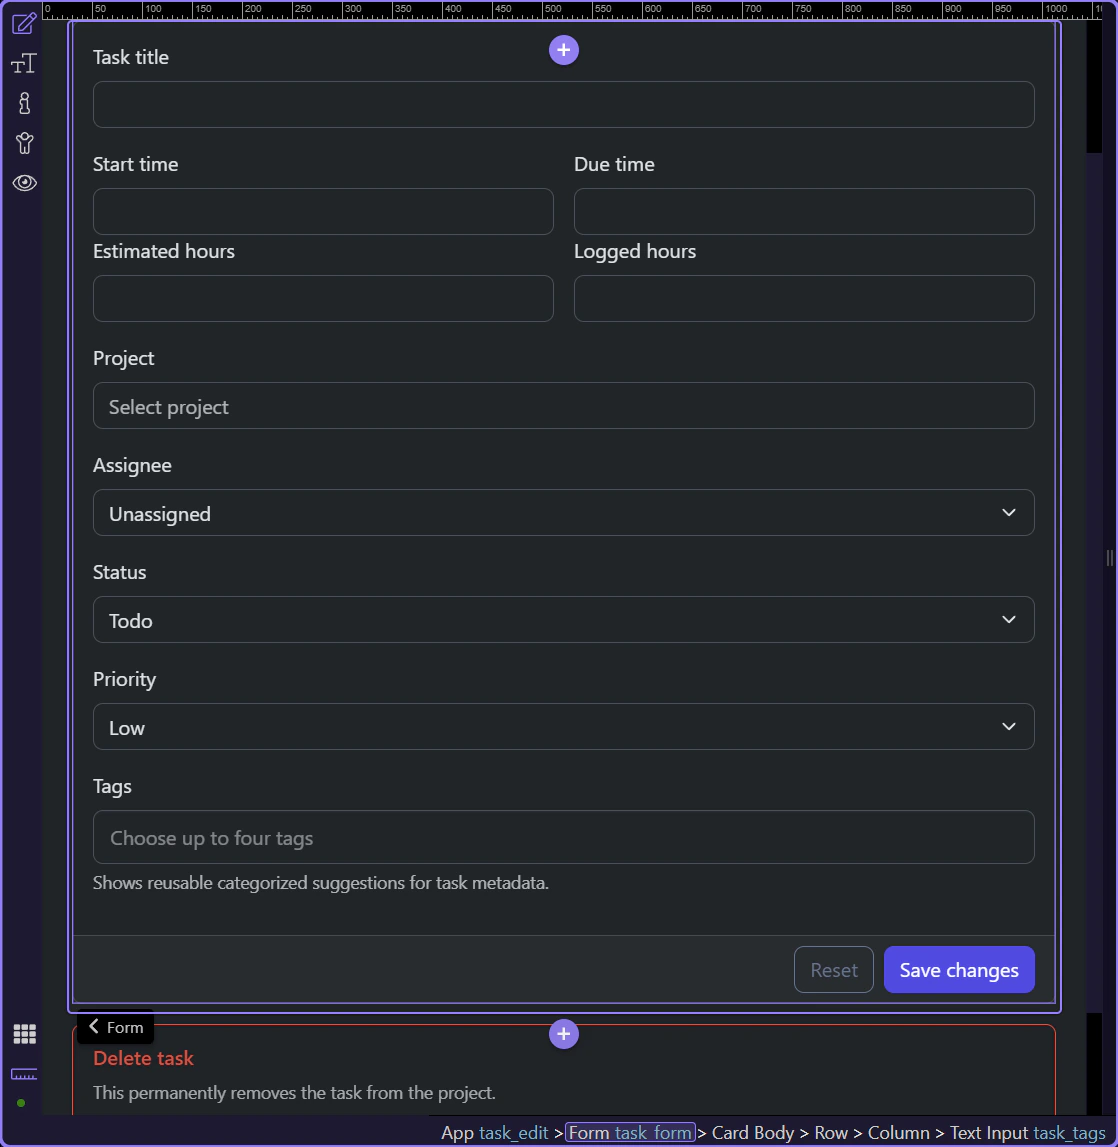
The delete form is separate because the outcome is different
Section titled “The delete form is separate because the outcome is different”#task_delete is not just another submit button inside the update form. It has its own action, confirmation step, executing state, and success/error message because deleting a task is a different contract from editing one.
Backend: the update action
Section titled “Backend: the update action”Once the page contract is clear, the update action becomes easier to reason about. The action defines its accepted fields first, then maps those fields into one dbupdater UPDATE step for the task record.
The update action in the Server Connect editor
Section titled “The update action in the Server Connect editor”The real update action is now visible in the editor, so the page contract has turned into concrete server logic. This is where the edit form stops being browser state and becomes validated input plus one database update step.
$_POST defines the fields the action is willing to accept
Section titled “$_POST defines the fields the action is willing to accept”At the top of the update action, $_POST describes the allowed edit fields and their validation rules. That contract is what keeps the backend explicit about dates, numbers, required values, and the tag array before the database step runs.
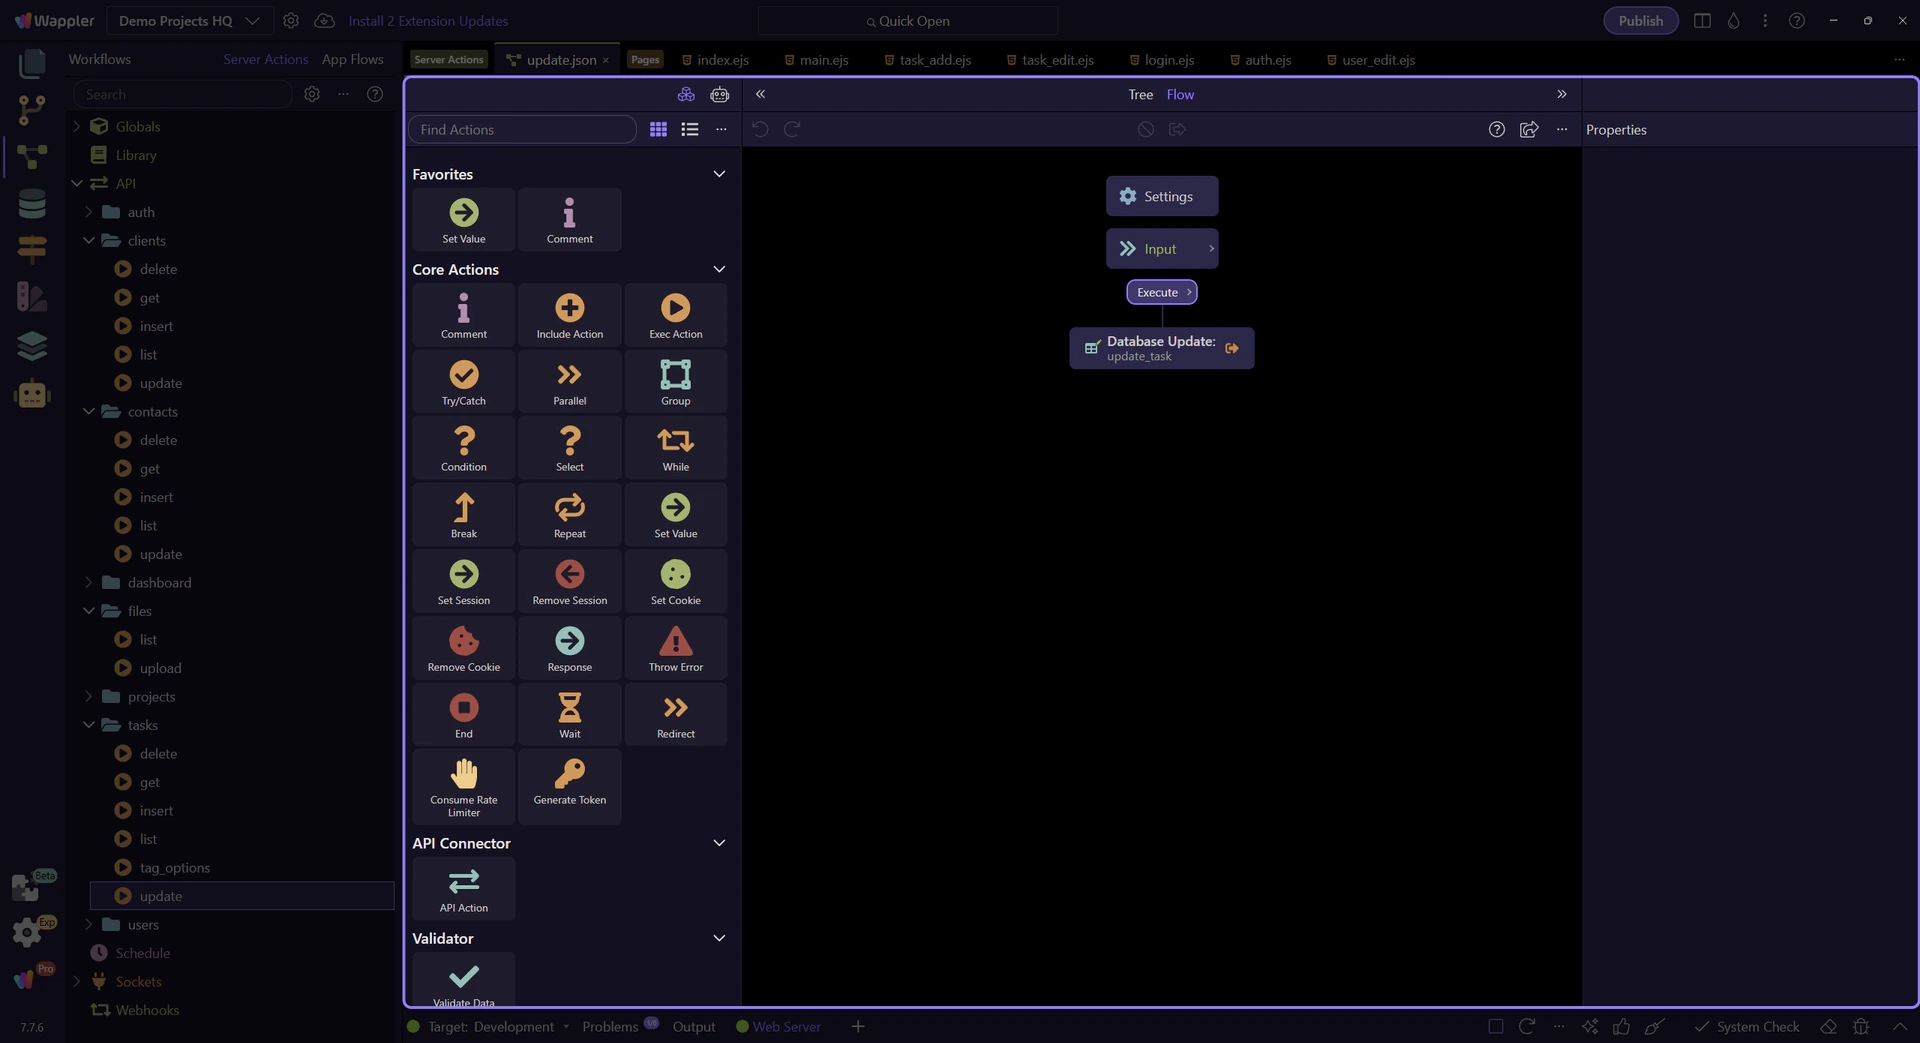
The update step is selected in the workflow tree
Section titled “The update step is selected in the workflow tree”update_task is the step that turns the accepted form values into column updates on projects_tasks. Selecting it makes the database-oriented properties visible instead of leaving the workflow as a black box.
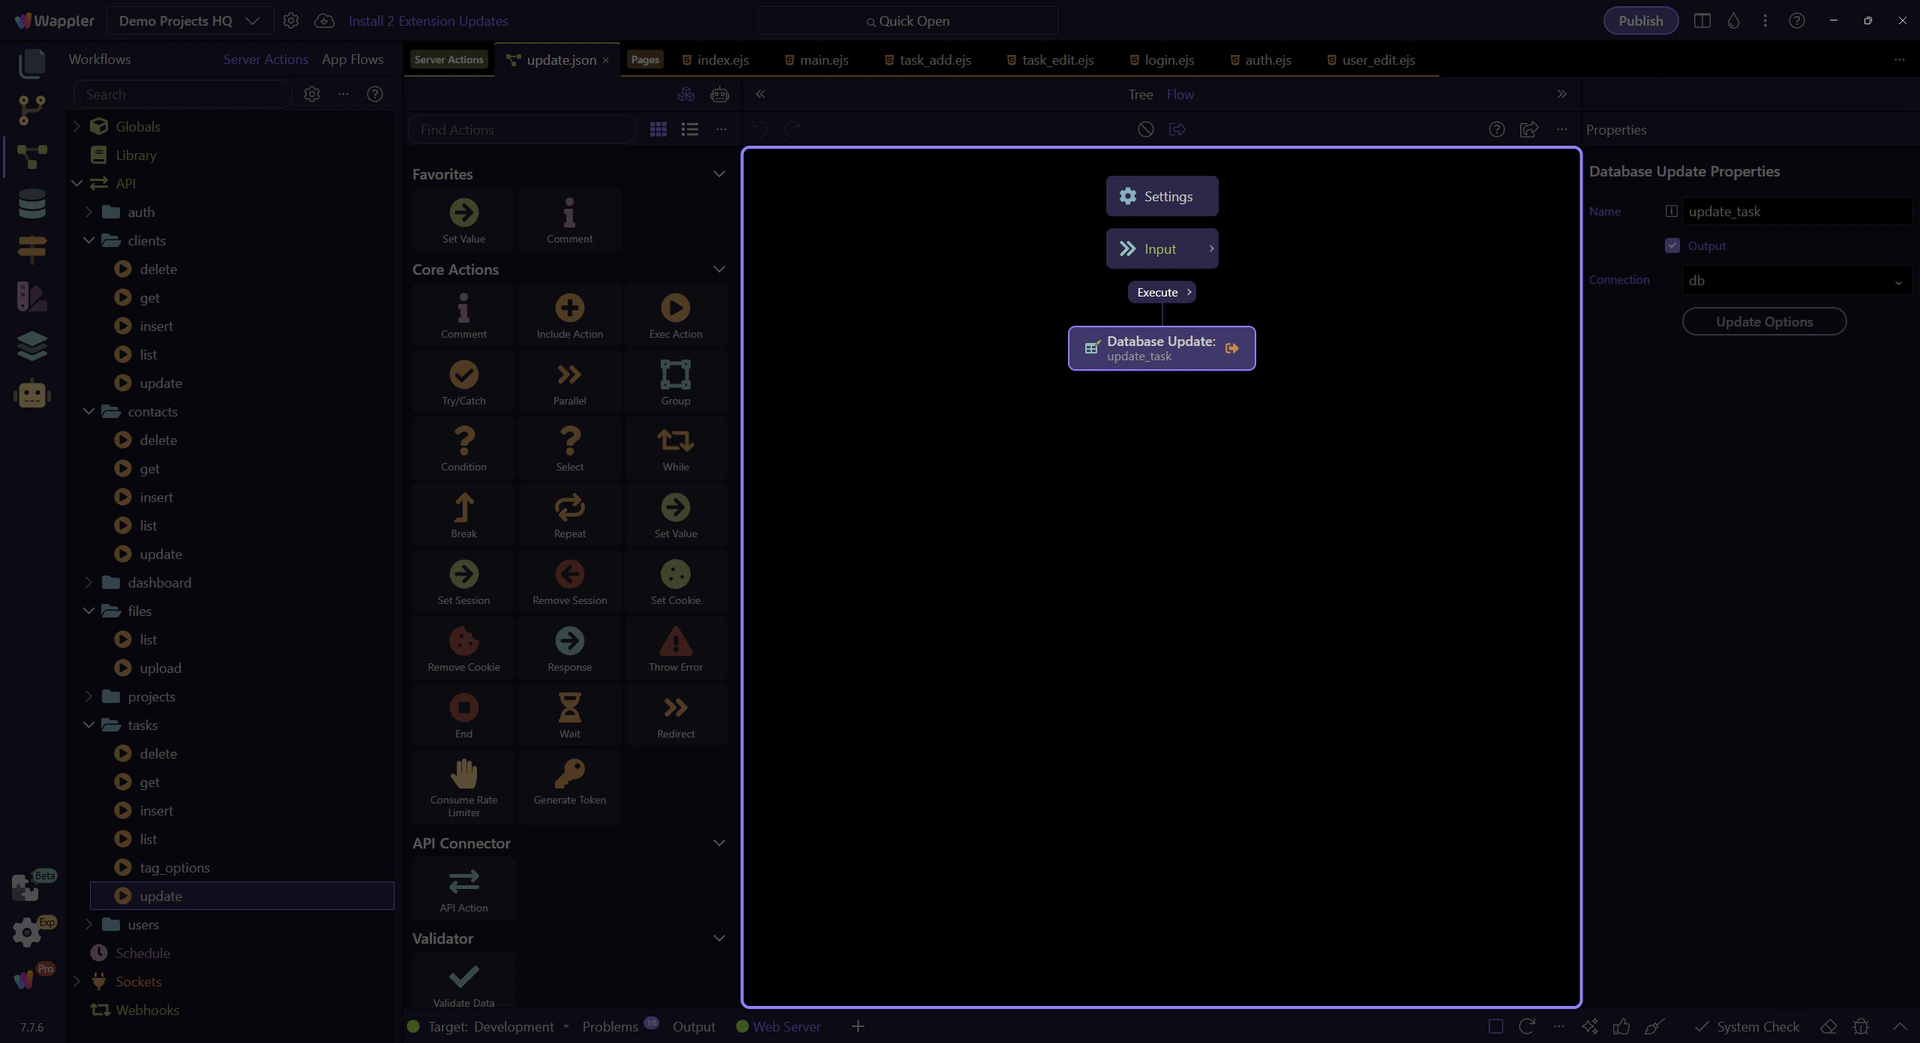
The updater settings map page fields into one UPDATE query
Section titled “The updater settings map page fields into one UPDATE query”The SQL control on this step is where the page fields become column assignments on projects_tasks. This action keeps the edit workflow readable because the update logic stays concentrated in one dbupdater step instead of being scattered across custom code.

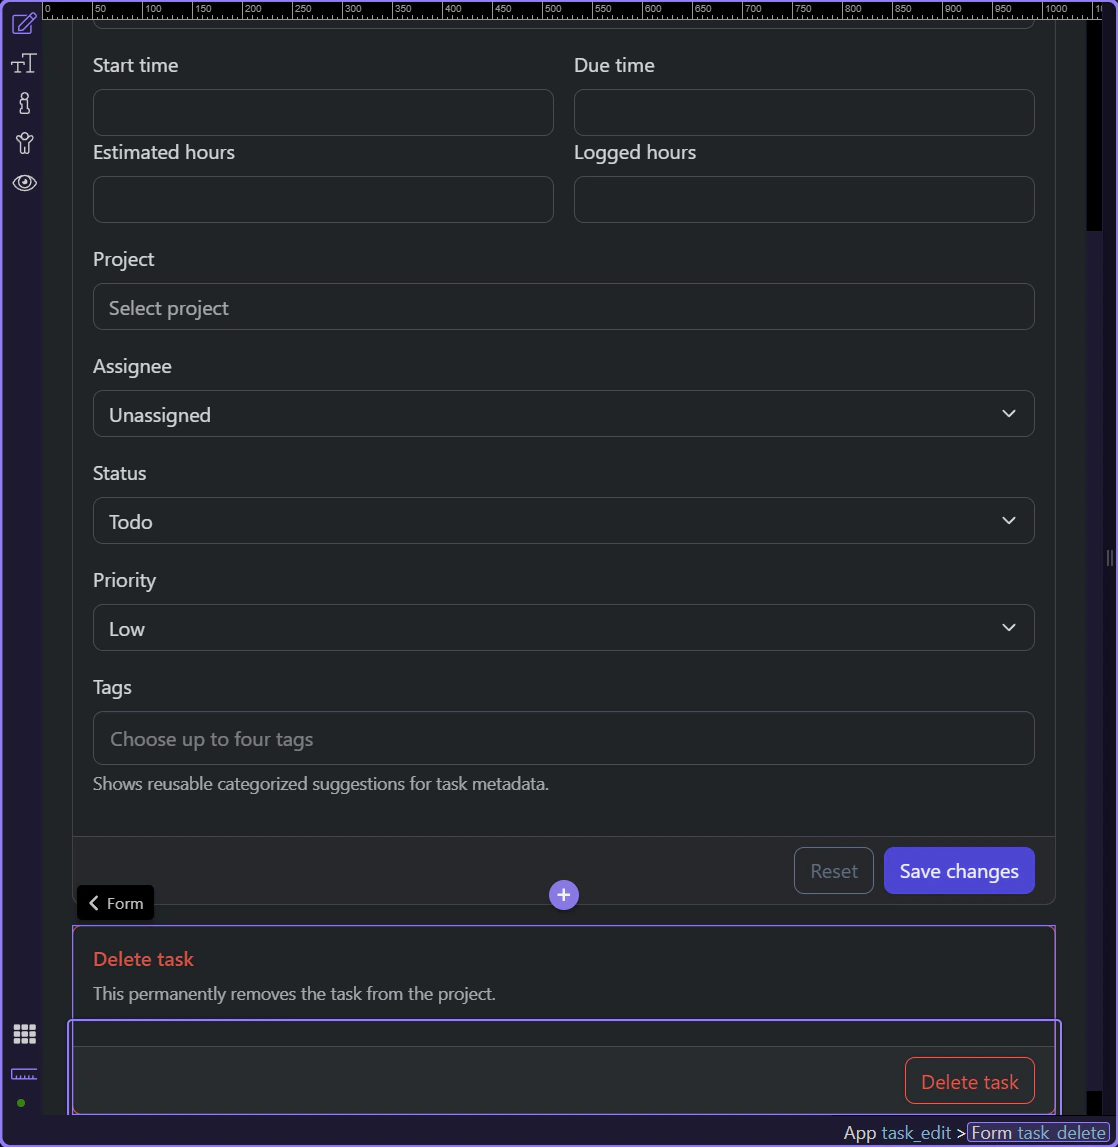
Backend: the delete action
Section titled “Backend: the delete action”The delete action is intentionally simpler than the update action, but that simplicity is the lesson. It takes one required identifier, runs one dbupdater DELETE step, and hands control back to a dedicated delete form on the page.
The delete action in the Server Connect editor
Section titled “The delete action in the Server Connect editor”The real delete action is now visible in the editor. This one is shorter because the delete form has a narrower contract: identify the task, remove it, and return control to the page so the delete result can be shown clearly.
The delete action accepts only the record identifier
Section titled “The delete action accepts only the record identifier”Unlike the update action, the delete action needs just one required input: the task id. That smaller contract is a useful reminder that actions should accept only the data they actually need for the operation.
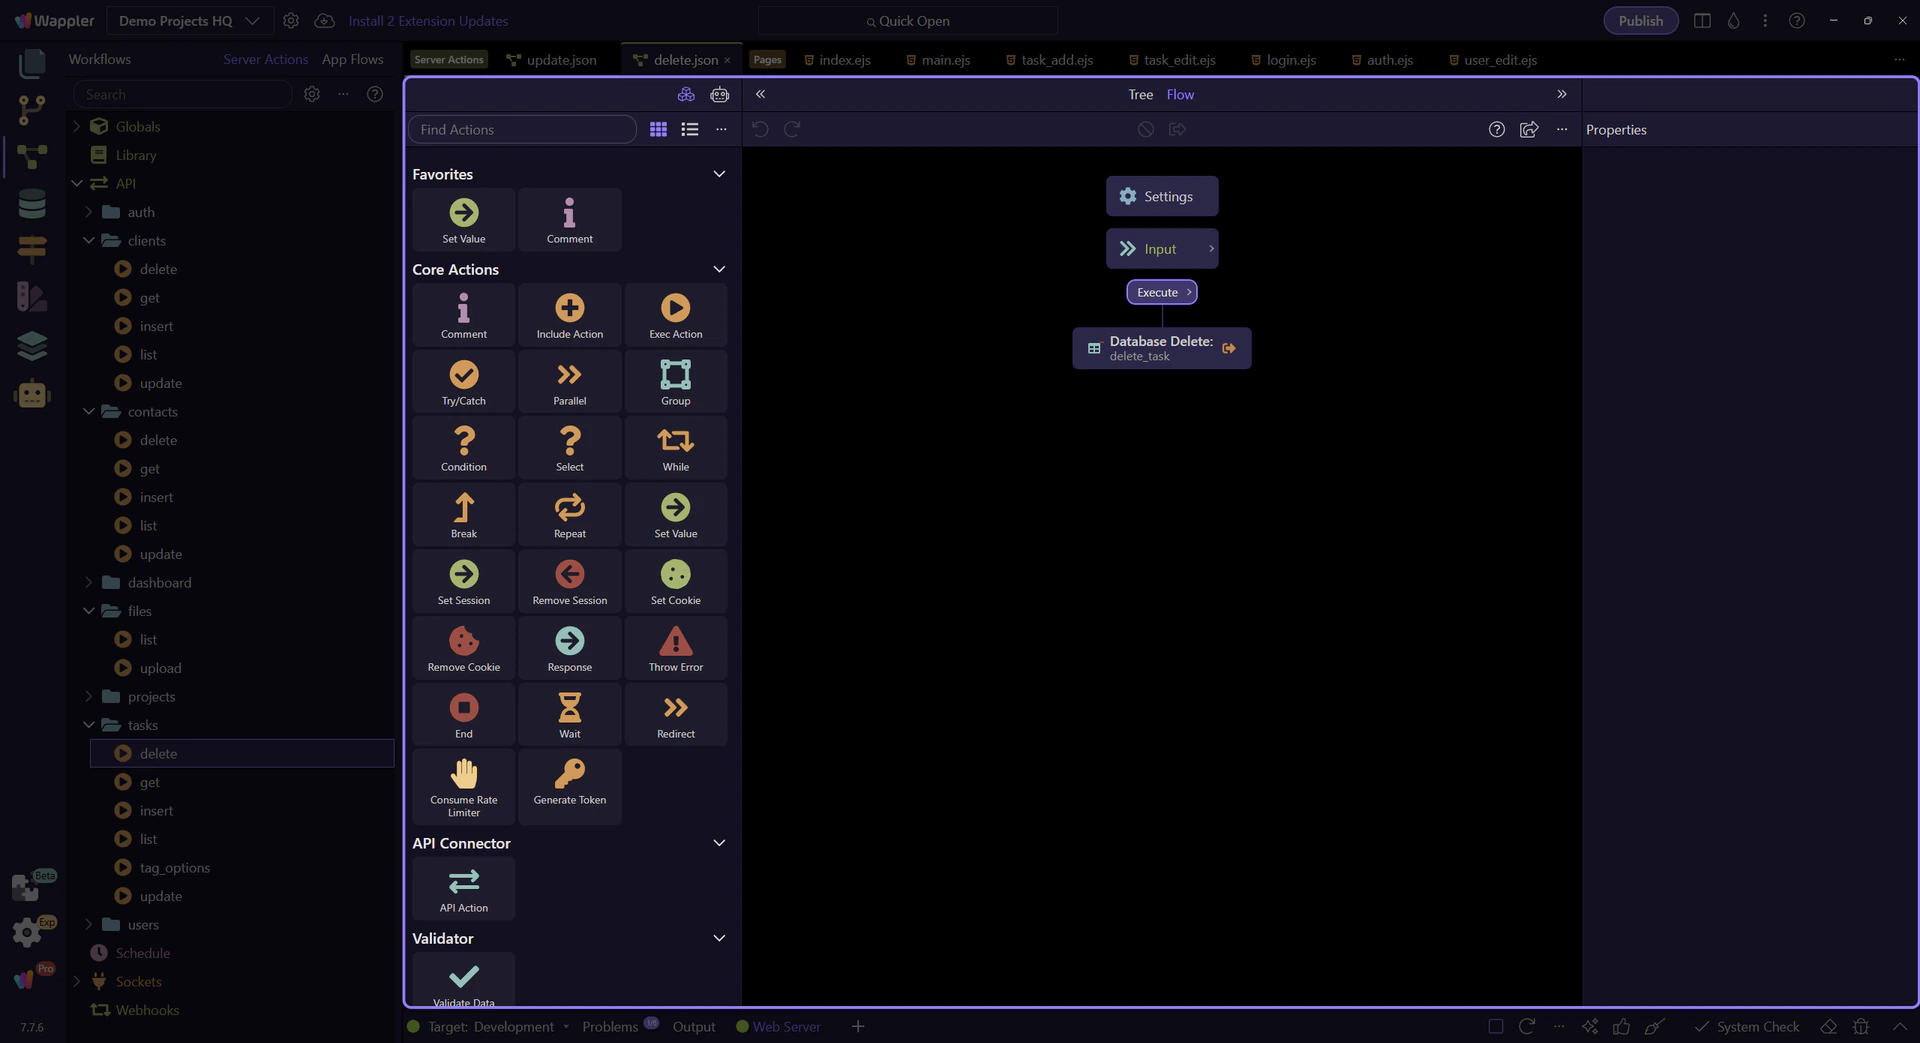
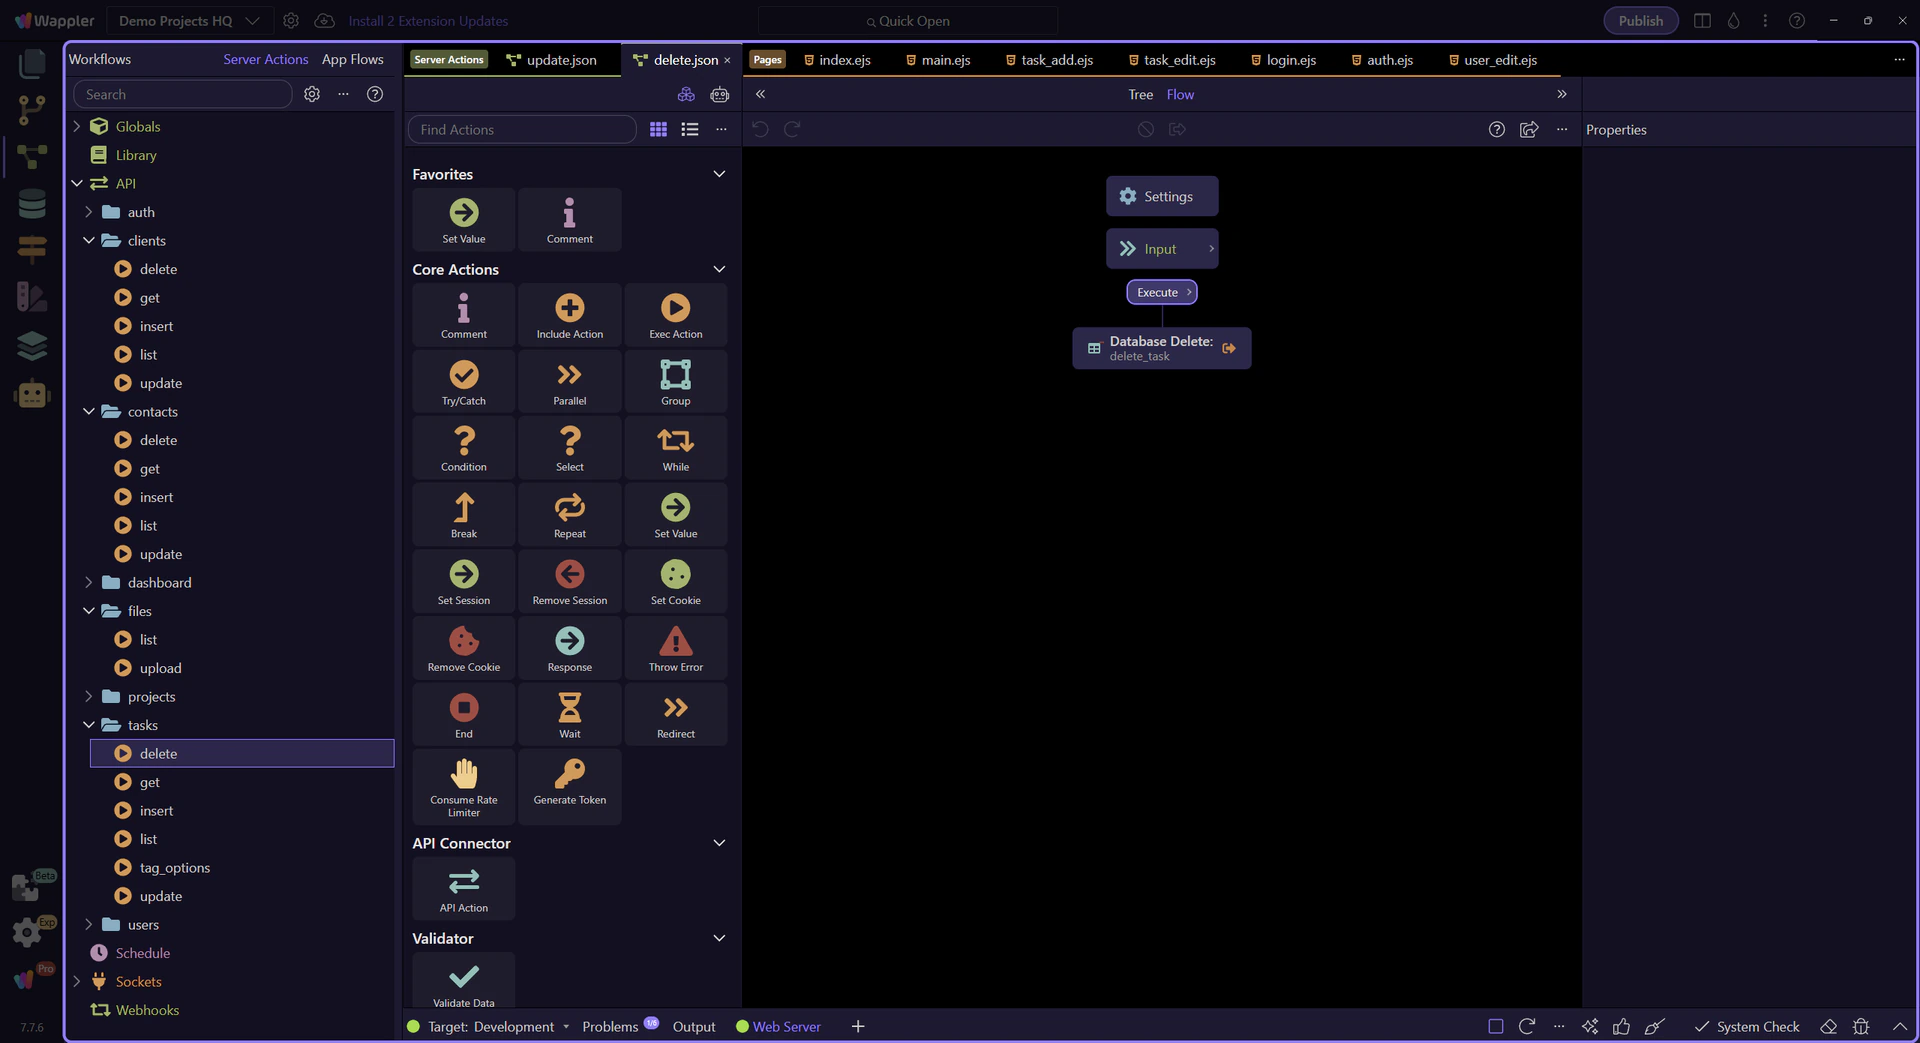
The delete step is selected in the workflow tree
Section titled “The delete step is selected in the workflow tree”delete_task is the one step that performs the removal. Selecting it makes the delete-specific updater configuration visible and keeps the workflow easy to audit.

The delete step resolves to one DELETE query
Section titled “The delete step resolves to one DELETE query”The SQL control for this step shows the delete action in its simplest useful form: one required id and one DELETE against projects_tasks. That makes it easy to compare with the more detailed update workflow you just inspected.

Conclusion
Section titled “Conclusion”The task edit workflow stays understandable because the page and the action files agree about responsibility. The page owns the user-facing state, while the Server Connect actions own the validated update and delete operations behind it.