UI map
Learn the layout
fast
fast
A quick orientation to Wappler: main panels, editors, and the core workflow for building and previewing apps.
This tour is a quick, beginner-friendly map of the Wappler UI.
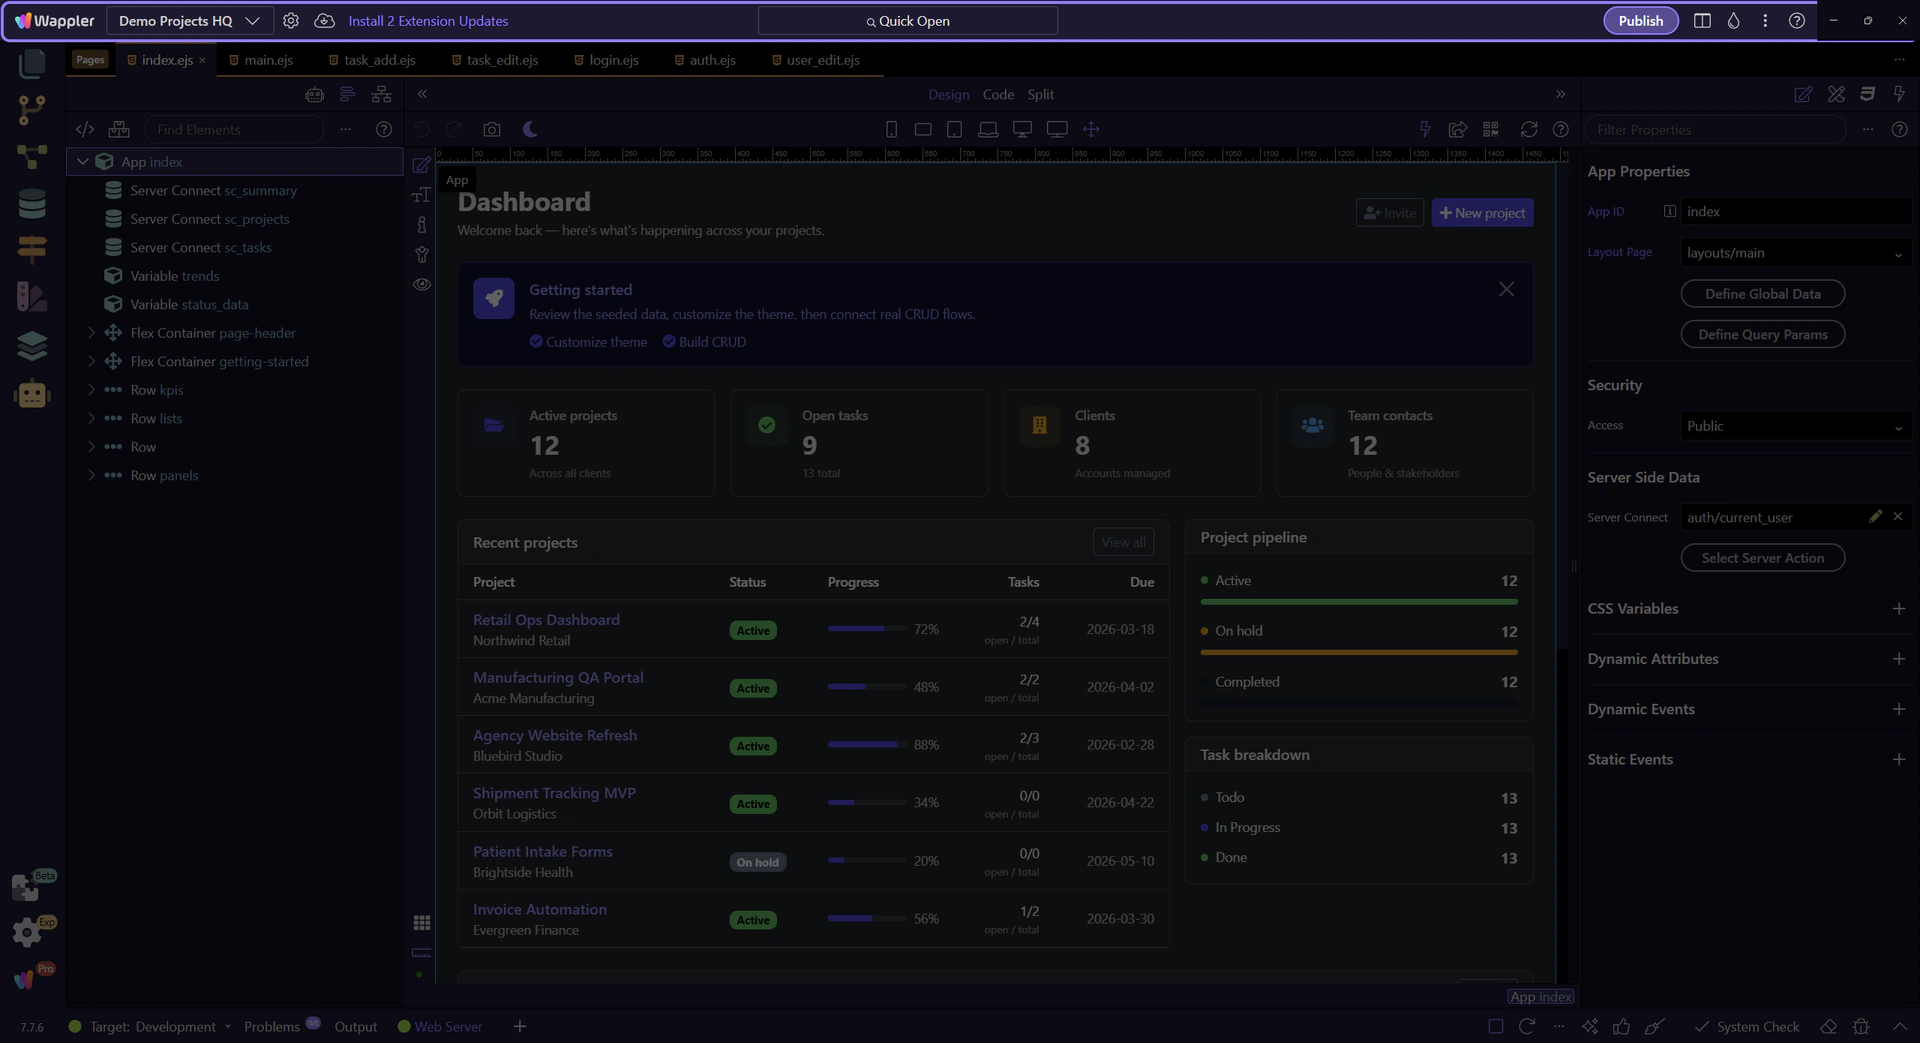
Welcome. Wappler is a full workspace: project actions, editors, visual panels, and output — all in one place.
Next step: the UI concept map — then we’ll point at the real UI.
Use this map as a mental model. Watch one line at a time — the matching block in the diagram will highlight.

Where to find: project actions (top bar), managers (left), your editors (center), page/selection panels (when editing a page), and the terminal/output area (bottom).
TIP: If a step mentions ‘HTML editor’ and you don’t currently have a page open, just skip it — those steps are optional.
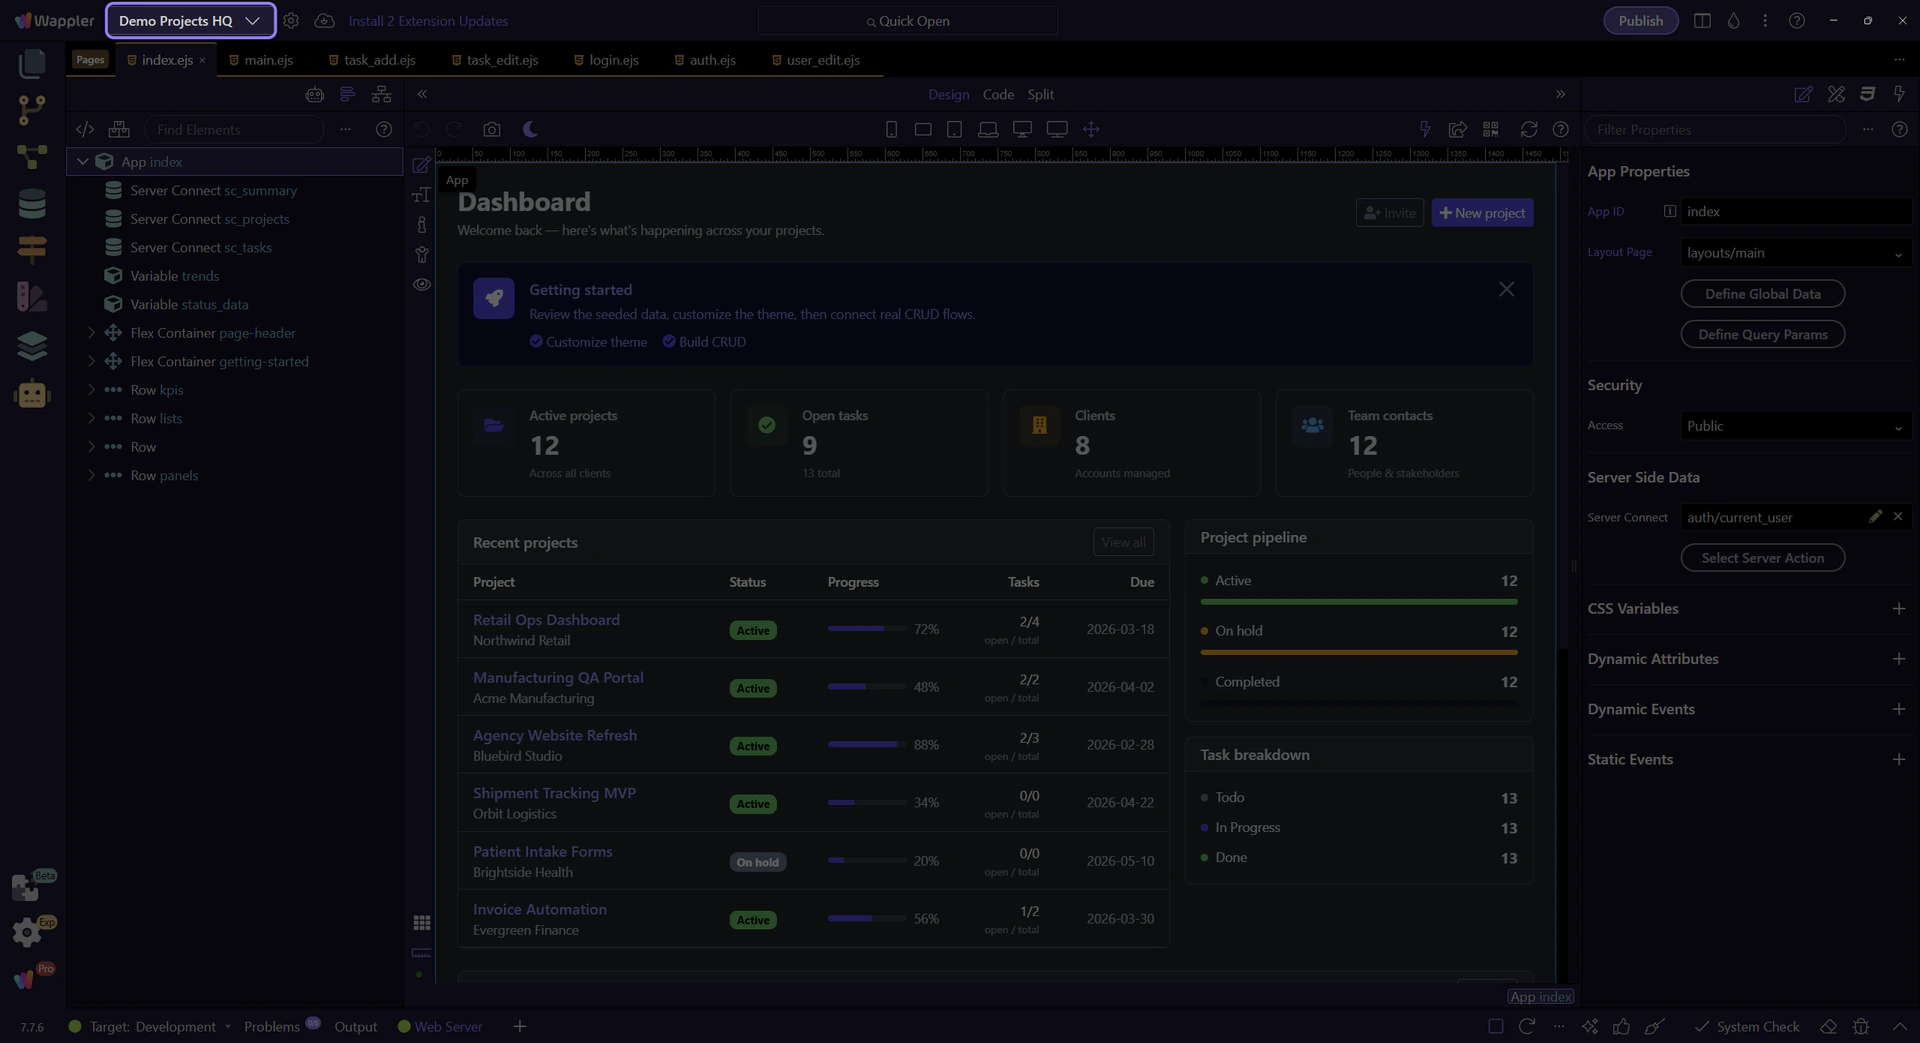
The top bar is your ‘command center’ for project-level actions and global commands.
Start with the wider context in the top toolbar so the next control makes sense in the full workflow. In the next step, you will focus on Project Manager and see how it fits into this area.
Create, open, and manage projects. If you’re ever unsure which project is open, start here.
Configure frameworks, deployment targets, and project options. You’ll visit this a lot when setting up a new project.

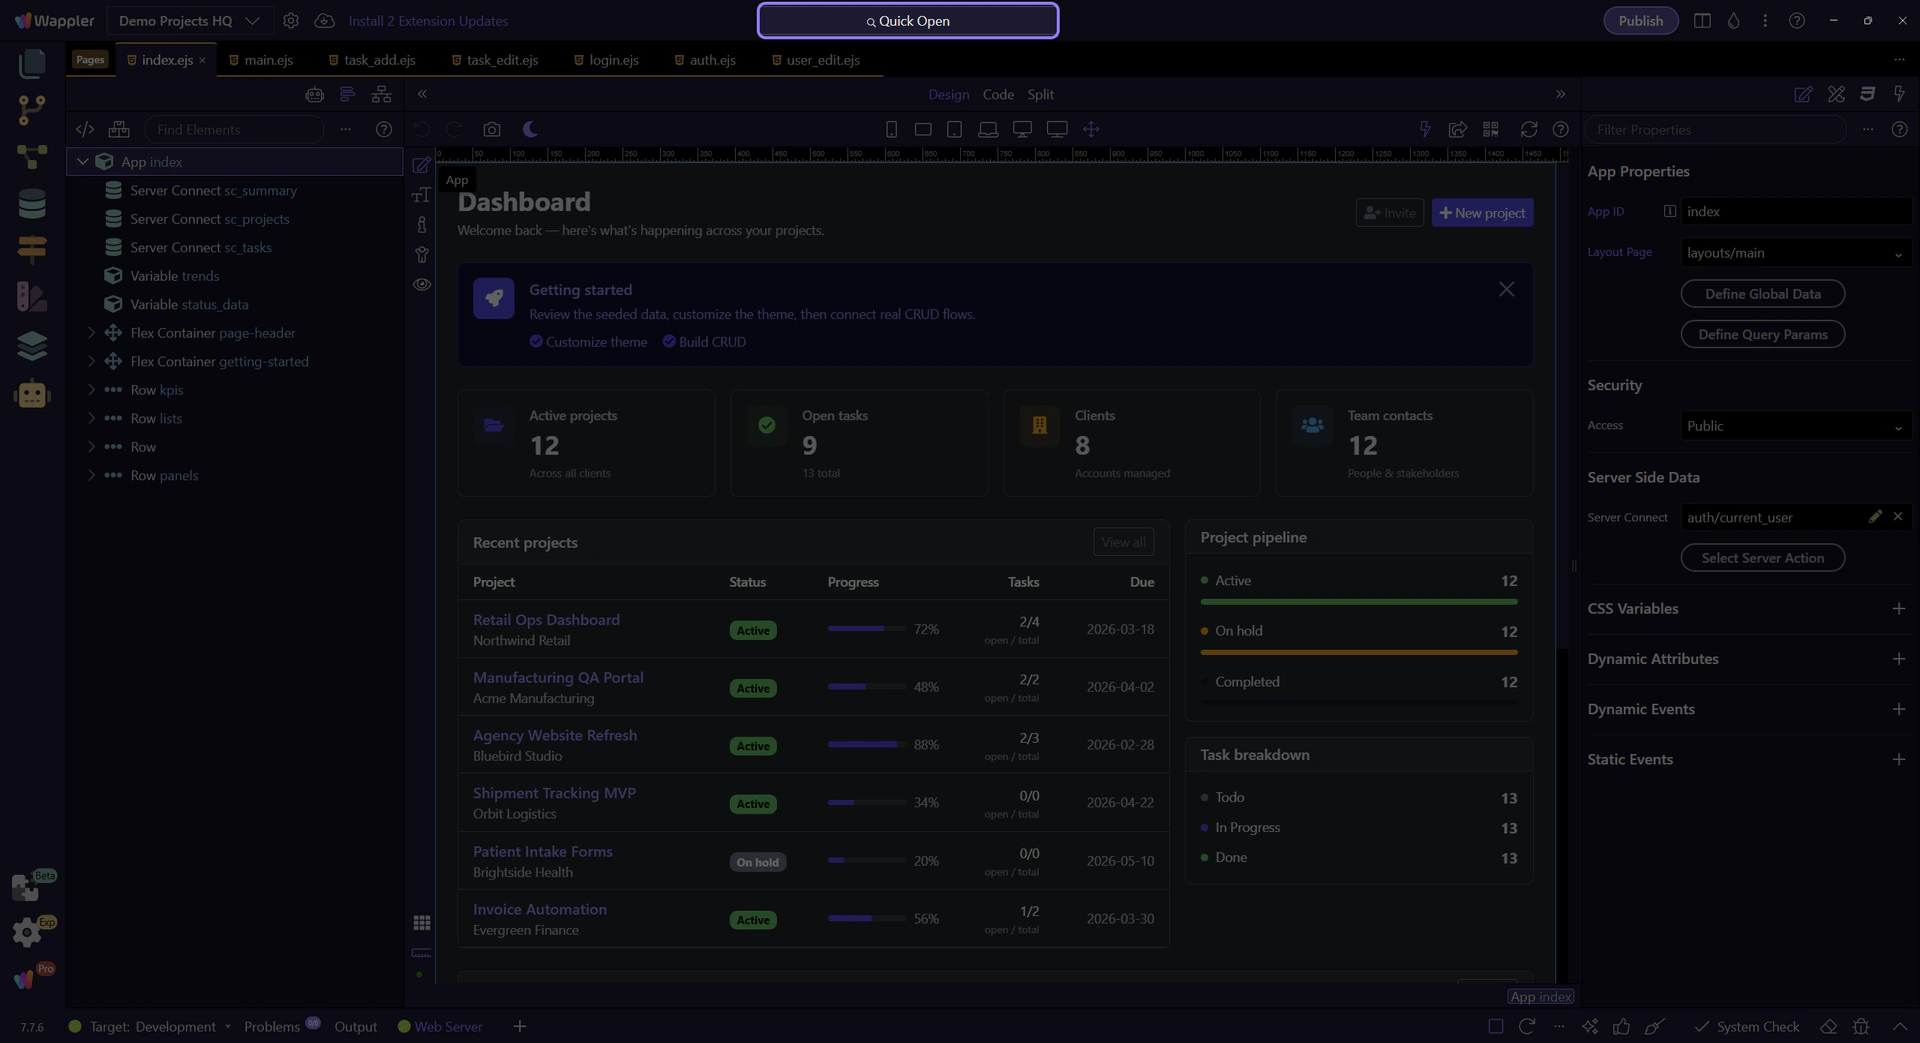
Jump to any file quickly. Great when you know the name and just want to start editing. This step matters because Quick Open is part of App Toolbar Quick Open, and understanding that context makes the next action easier to repeat in your own project.
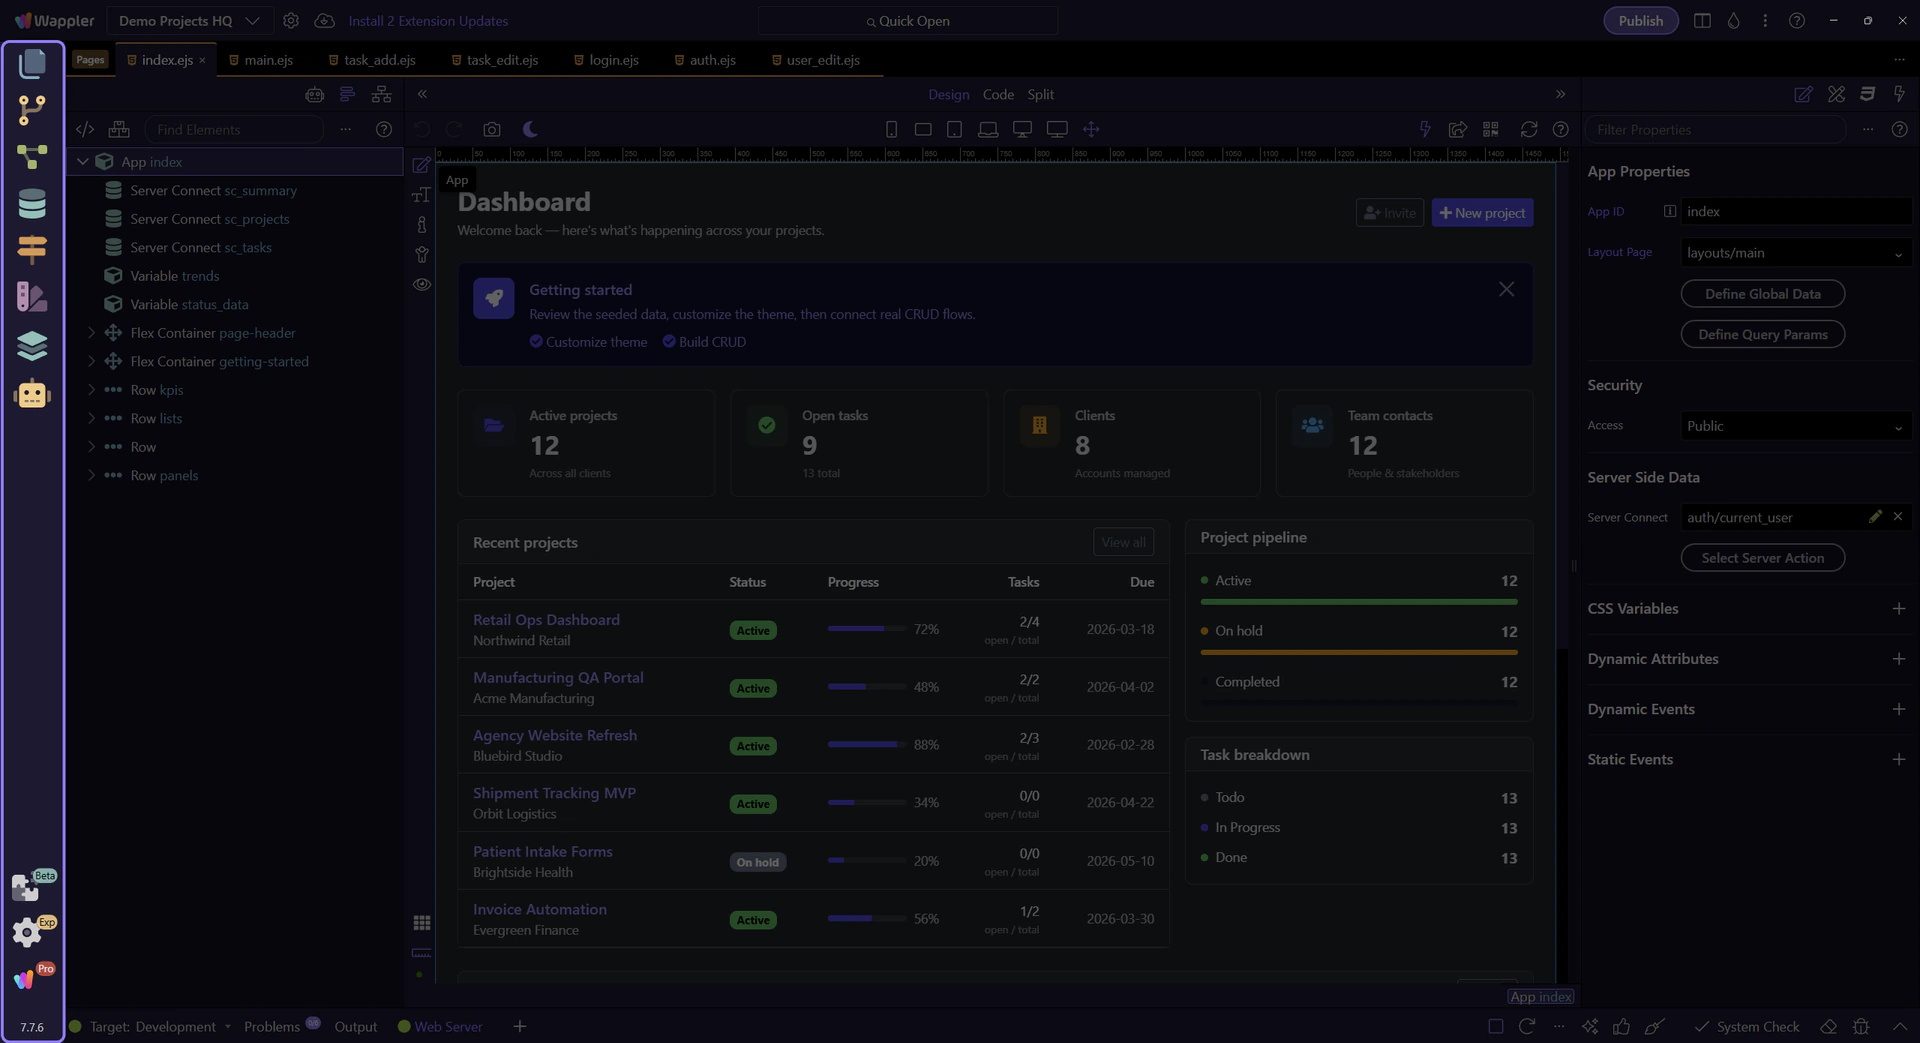
The left sidebar is where you switch between managers: Project, Git, Server Connect workflows, Databases, Files, and more.
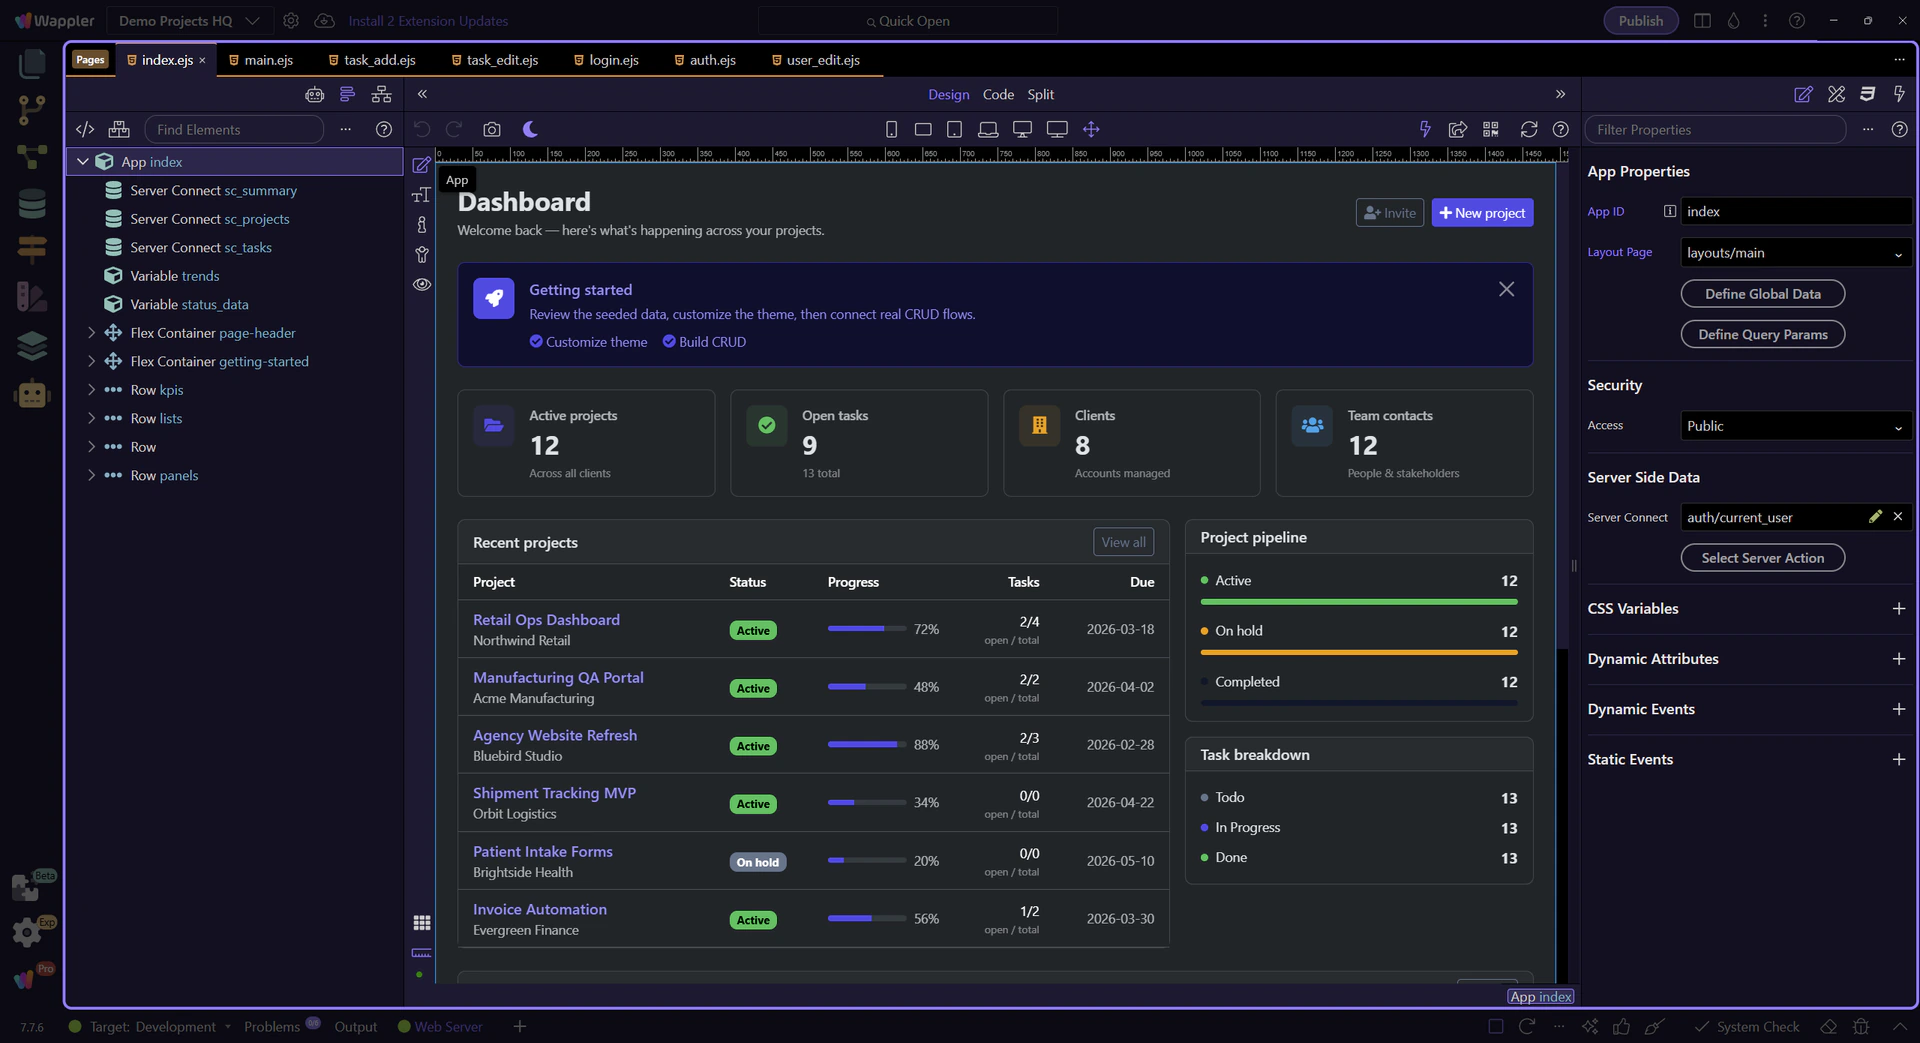
The center area is your editor workspace: open files in tabs, switch between Design/Code, and work across multiple files without leaving Wappler.
As you open files, they appear as tabs. You can keep multiple pages, scripts, and workflows open at once.
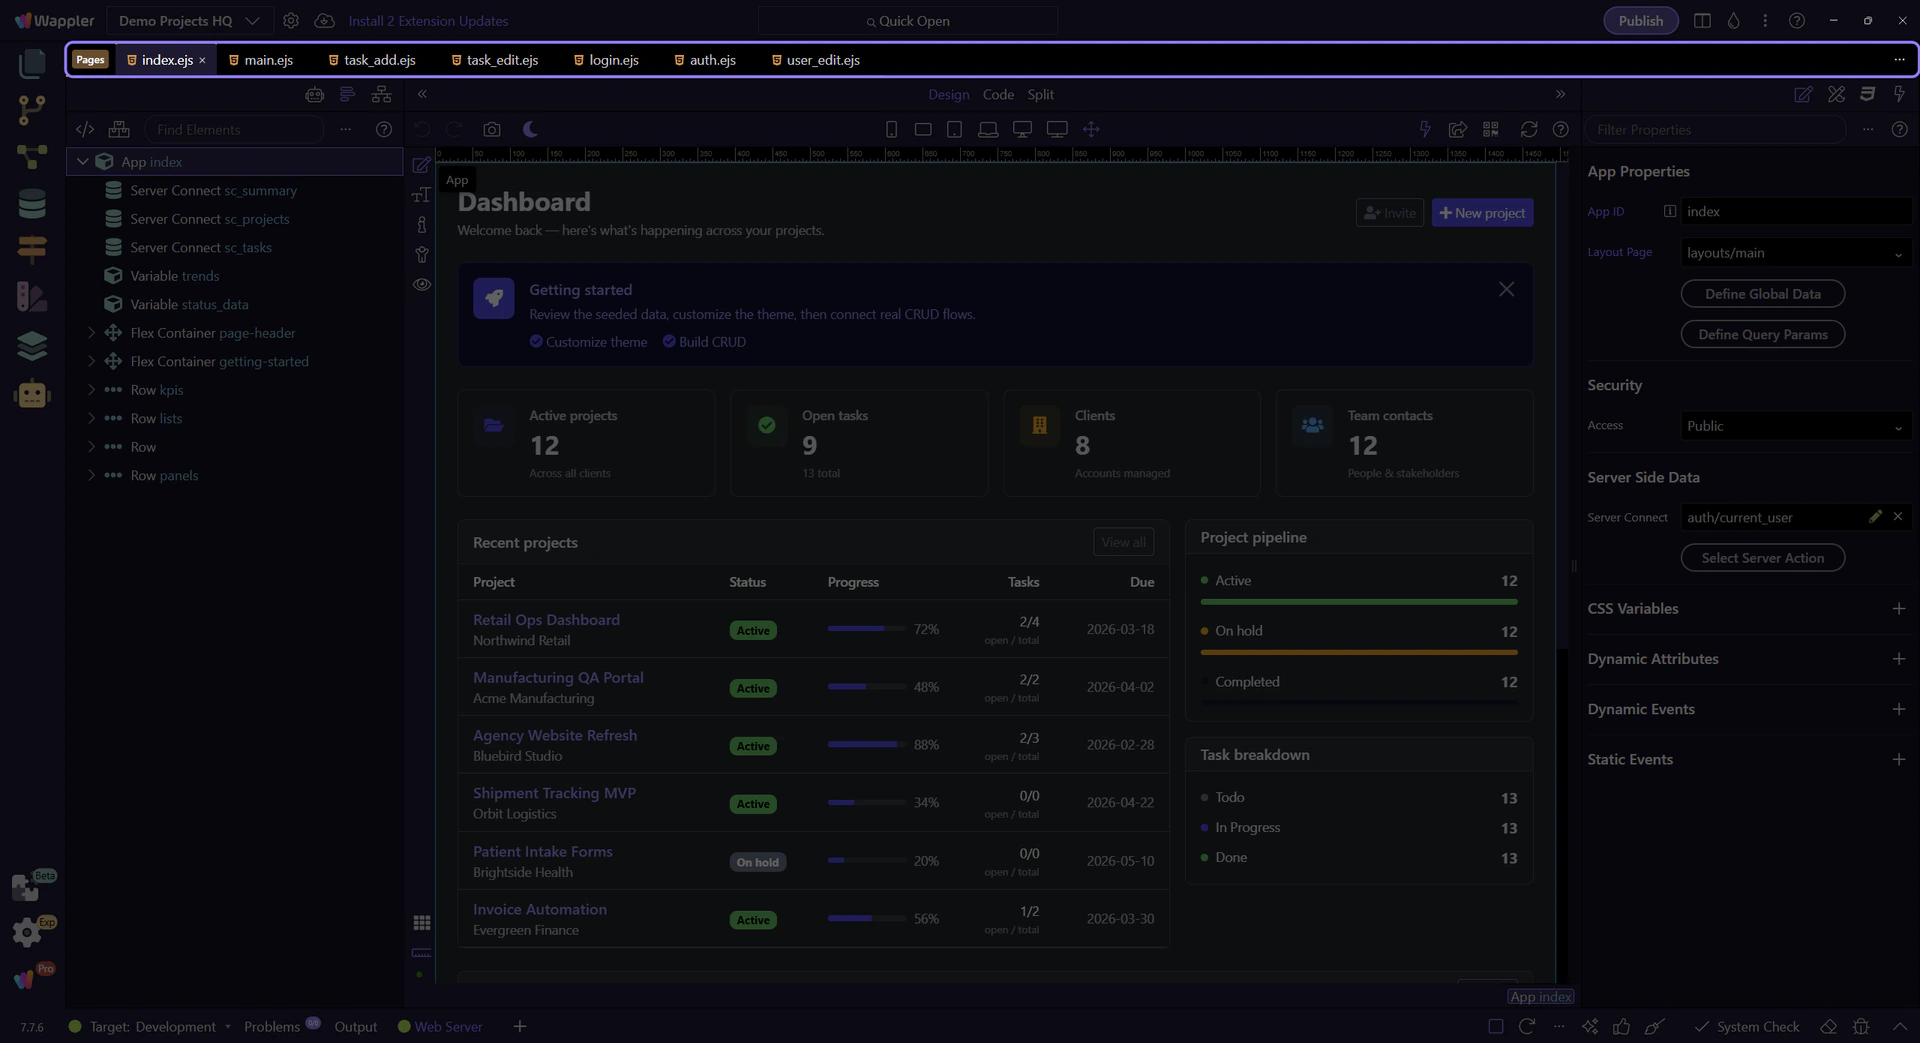
Use tabs to switch files quickly. Each editor keeps its own state, so you can jump between tasks without losing your place.
If you have an HTML page open, Wappler shows extra panels to help you design and bind data visually.
The next steps open a simple page layout so Page Panels and Selection Panels are visible in a consistent state. If you prefer, you can still skip this section.
This setup step prepares the Selection Panels for the next steps by selecting the page root automatically.
This is the HTML editor. It can switch between Design, Code, or Split view.
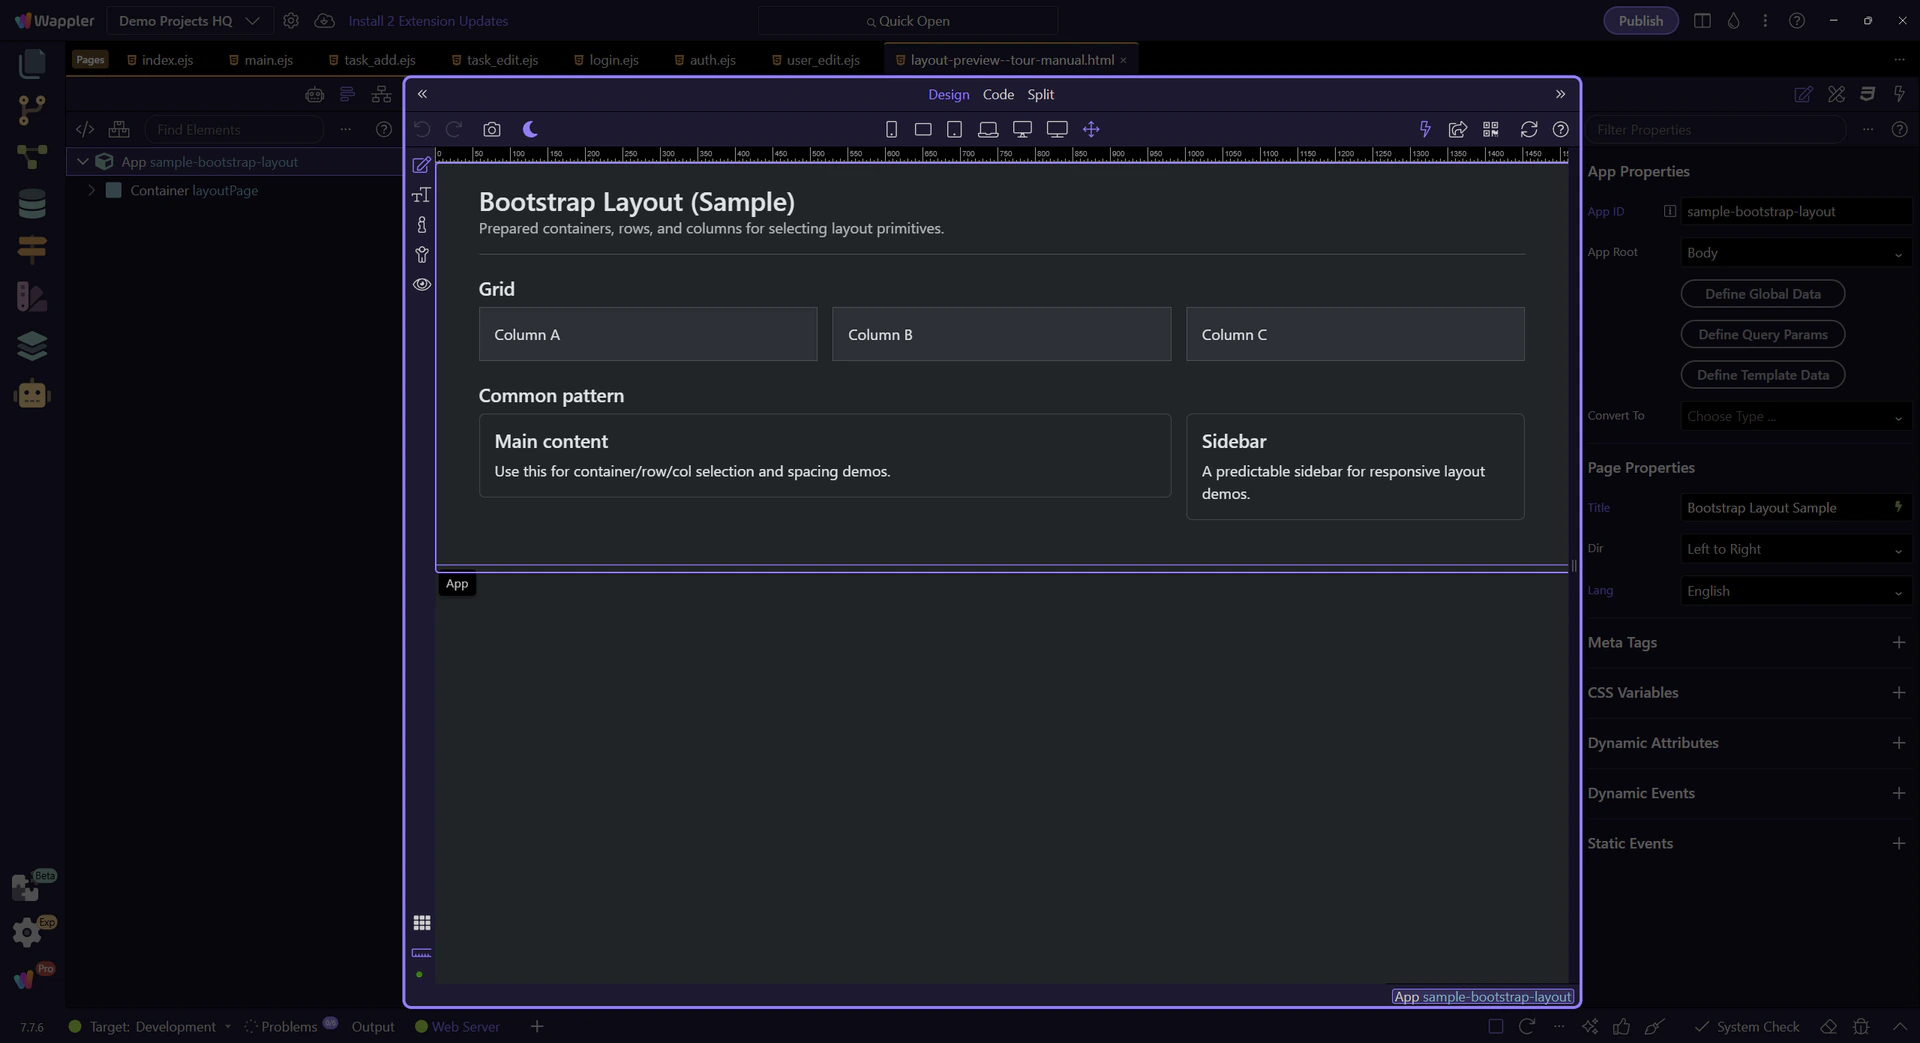
These panels help you navigate the page: Structure (DOM tree), plus other page-level tools.
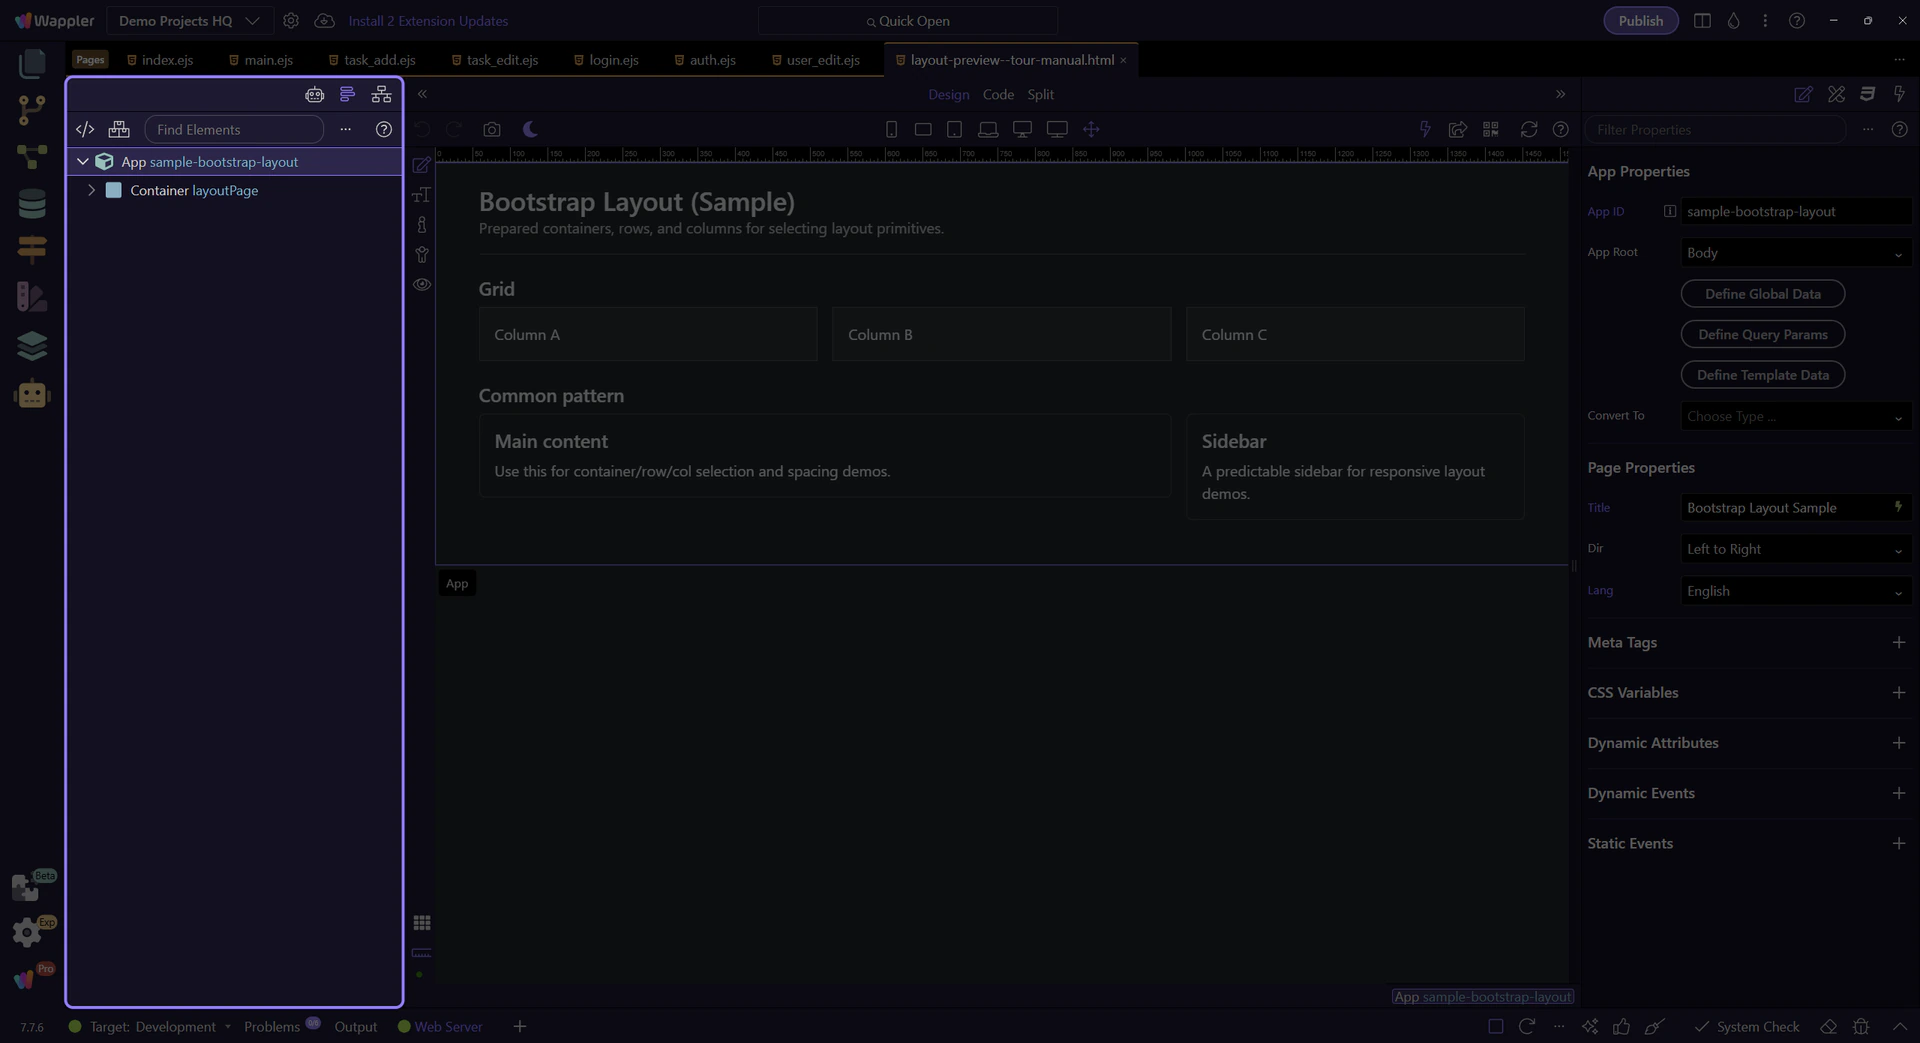
When you select an element on the page, these panels show its Properties, Styles, Data bindings, and more.
The bottom area is where you’ll find status, build/run feedback, and a collapsible terminal/output pane.
TIP: If something is running or building, check the bottom area first — it often contains the most useful output.
Pick a tour to go deeper into a specific part of Wappler.
If you want a structured starting point, follow the Learning Basics tour path next.
Select one of the related tours to continue learning.