Skip to content

Using Animations

Use animations, parallax, background video, and timed reveals with a performance-first decision process that fits real Wappler projects.

Motion and Media Effects

Introduction

Start with the live motion first, then separate the two Wappler surfaces that create it. This pattern is best when motion supports a strong message quickly, use background video when a looping scene can stay behind readable content, and use image parallax when a still image only needs a subtle depth cue.

Preview mode starts the motion clip

The tour begins in Preview mode so the moving background can behave like a real page element instead of a static editor selection.

Preview mode settles before inspection

Give the page a moment to switch modes so the motion section can be read as live content.

The background loop stays behind the message

In the live page, the motion layer stays behind the copy instead of competing with it. That is the actual reason to use this pattern at all.

Edit mode returns for setup inspection

The tour moves back to Edit mode now so the component insertion path and the image-level parallax controls can be inspected directly.

Background video only works when it stays behind the message

This hero section works because the motion stays in the background and the overlay copy remains readable. In practice, that is the first decision to make before adding the component in Wappler: if the motion competes with the text, it should not be a background video at all.

The motion section becomes the component parent

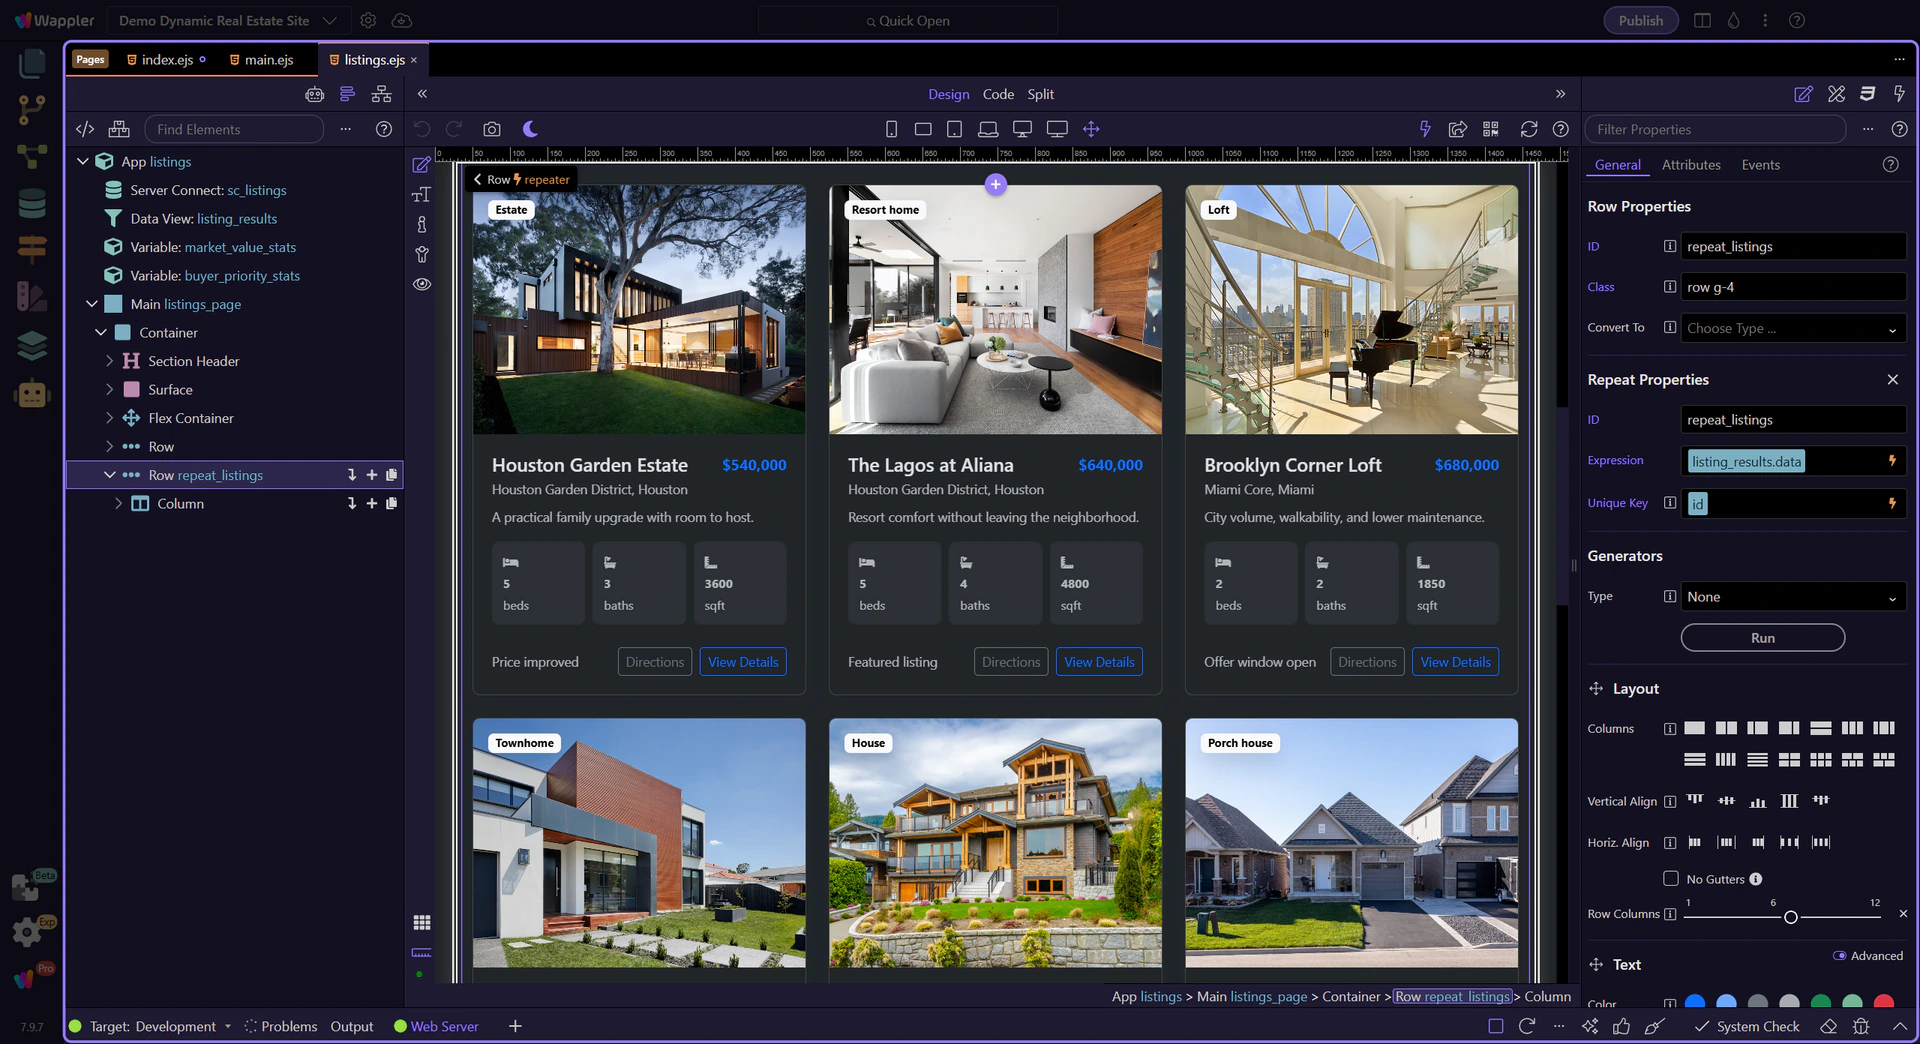
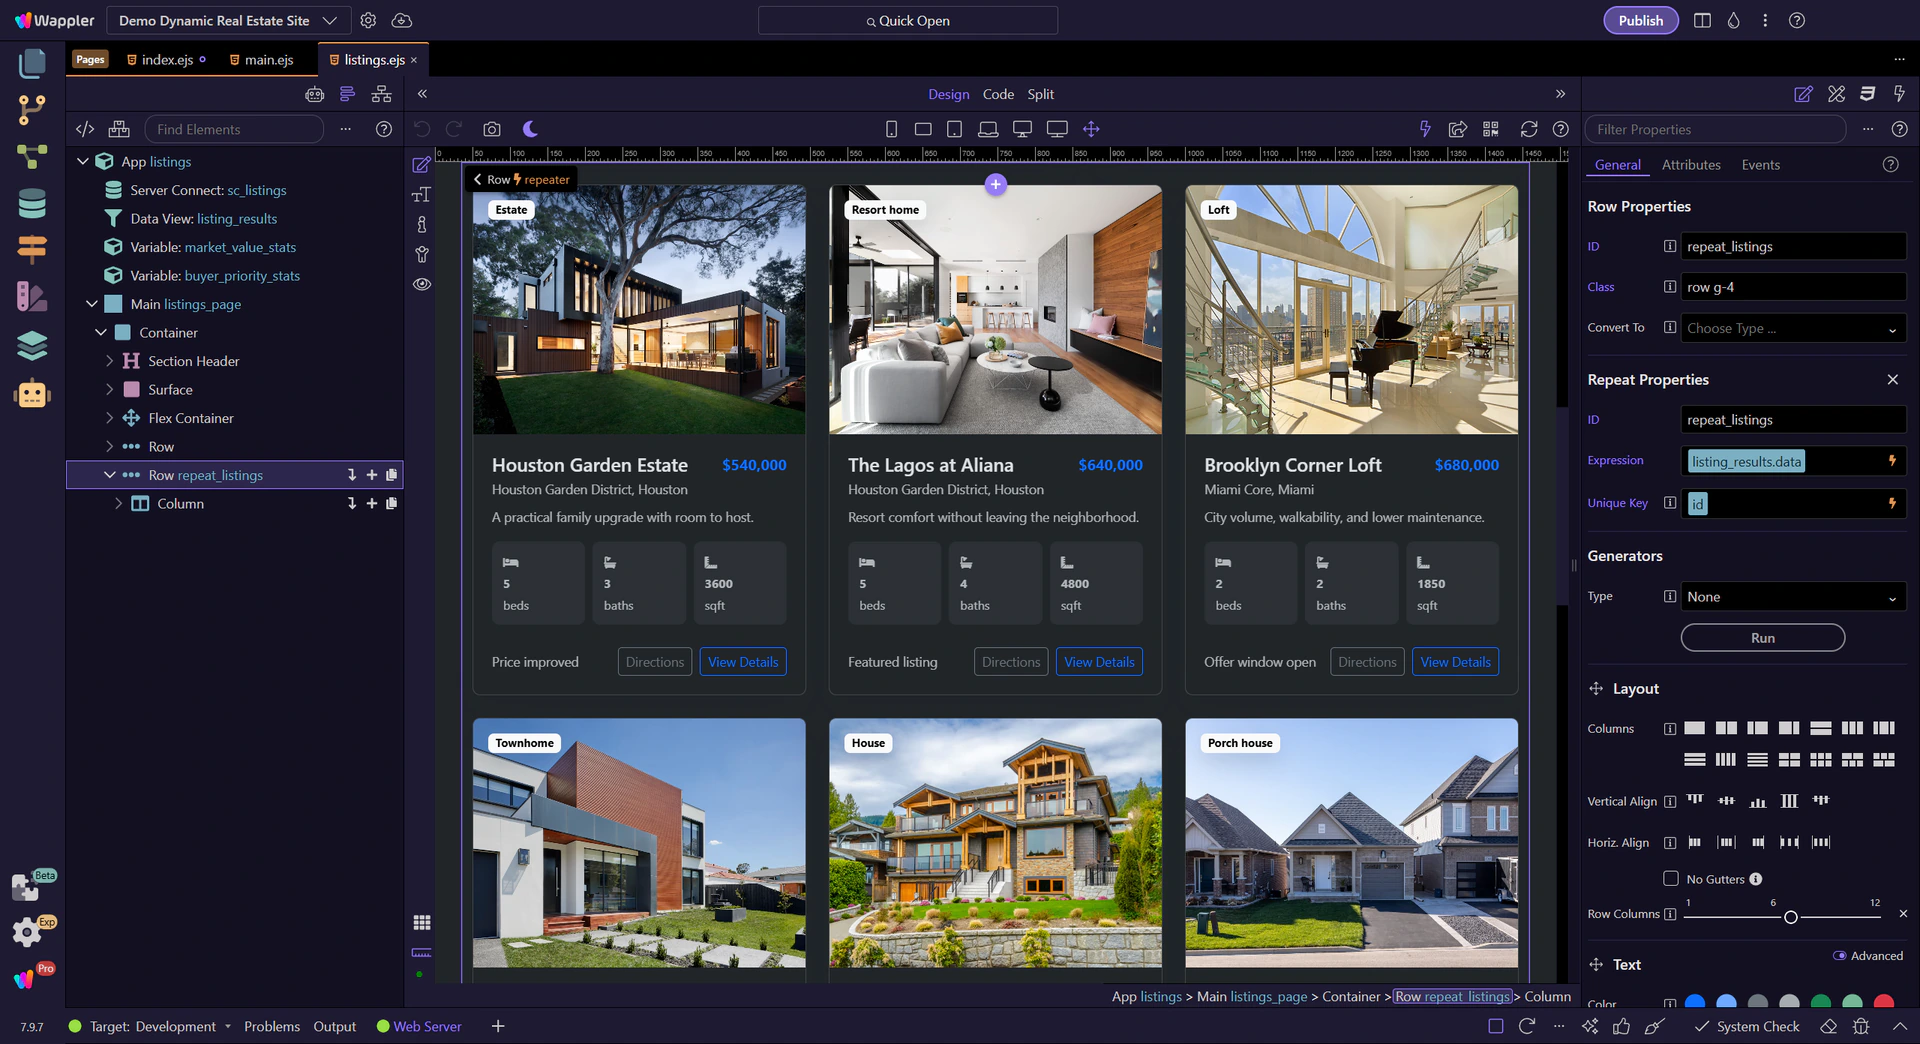
Background Video is a real component, so the parent container is chosen first. This demo uses the motion section as the host because the video needs to sit behind the rest of the content.

The matching Structure row stays ready for insertion

After the motion section is chosen in Design View, the matching Structure row is the place where the inline insert action appears.

The inline plus action opens the component picker

The selected row now opens its inline Insert Inside picker. This is the quicker path for adding a real component than the old context-menu flow.

The picker narrows to Background Video

The inline picker search narrows the list to the Background Video component without leaving the current insertion flow.

Background Video is the container-level motion component

After filtering, the picker result shows Background Video as the container-level motion component. That is the entry to use when a section or container needs a video-backed surface behind readable content.

The picker closes and the section returns to focus

The inline picker closes now so the rest of the tour can inspect the component already on the page and then move to the image-level parallax behavior.

The Background Video component keeps the core setup small

When the component is selected, the Properties panel exposes the essentials: the component ID and the video Src. That is the real Wappler workflow here. The motion layer is configured on the component, while the readable overlay content remains ordinary page markup inside the section.

A real image becomes the parallax example

Image Parallax is not a separate component. It starts from the selected image itself, so the honest insertion surface is the image in Properties.

Properties shows where the image-level behavior is added

With the image selected, stay on the wider Properties panel for one step. The next control is the Dynamic Attributes (+) menu where Image Parallax is attached to the image.

Image Parallax is available from Dynamic Attributes (+)

For an image, parallax starts here. The Dynamic Attributes (+) menu exposes Image Parallax on images, so this is the real insertion path before scale, delay, direction, and overflow are tuned below.

Working in Wappler

After the video layer is clear, the next motion choice is whether a still image should gain depth through parallax and how strong that movement should be.

Image Parallax exposes direction, scale, delay, and overflow

This image uses Wappler’s Image Parallax controls to define orientation, scale, delay, and overflow. Those are the real knobs that decide whether the effect feels subtle and supportive or exaggerated and distracting. Start with a light orientation change and only increase scale or delay when the section still reads cleanly while scrolling.

The combined section still has to read like content, not a demo

This motion section works because the moving parts stay subordinate to the message. That is the practical test inside Wappler too: if the user notices the effect before they understand the section, the motion settings need to come back down.

Conclusion

You now have the practical motion workflow in Wappler: keep background video setup minimal, use image parallax through its scale and direction controls, and let the content stay in charge of the section.

Continue into the adjacent media decisions

Return to the media hub for the broader component map, or continue into lazy loading when the same page also needs heavier images to stay fast.