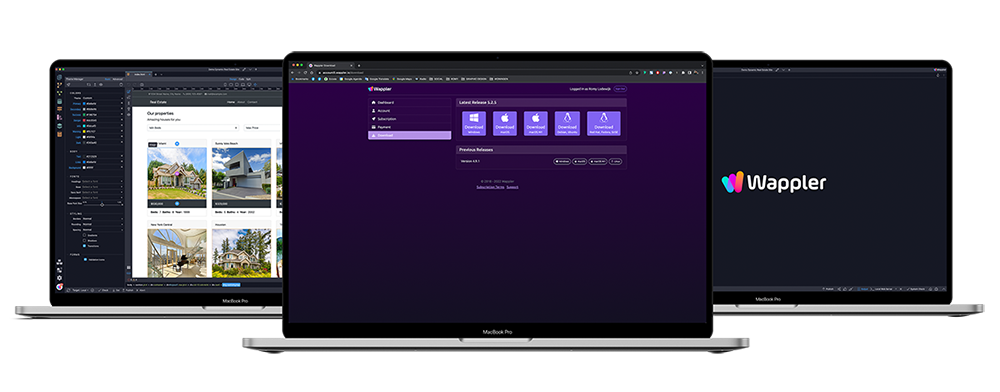
Concrete walkthrough of the Wappler account download page: where to get the installer, how to choose the right platform build, and what login path to expect on first launch.
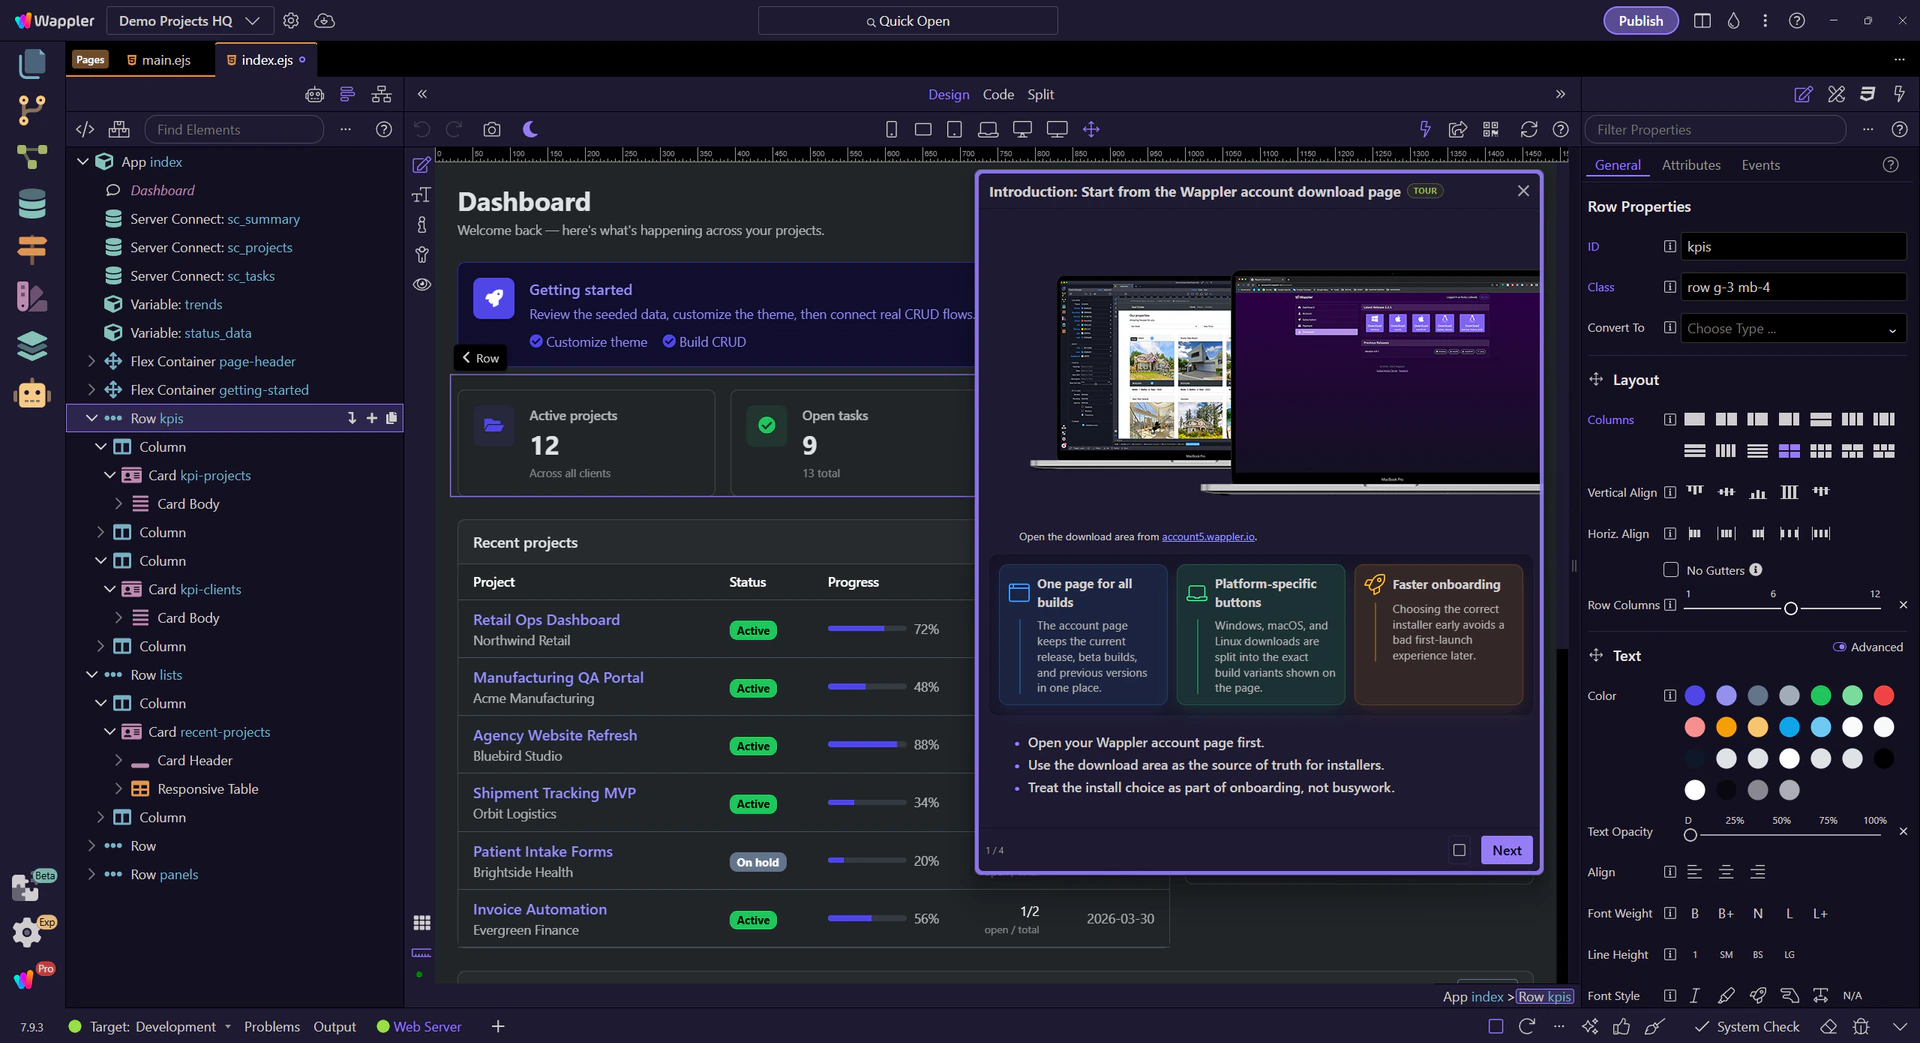
Introduction: Start from the Wappler account download page
The account page keeps the current release, beta builds, and previous versions in one place.
Platform-specific buttons
Windows, macOS, and Linux downloads are split into the exact build variants shown on the page.
Faster onboarding
Choosing the correct installer early avoids a bad first-launch experience later.
Open your Wappler account page first.
Use the download area as the source of truth for installers.
Treat the install choice as part of onboarding, not busywork.
Screenshot: Introduction: Start from the Wappler account download pageClick to open the larger image
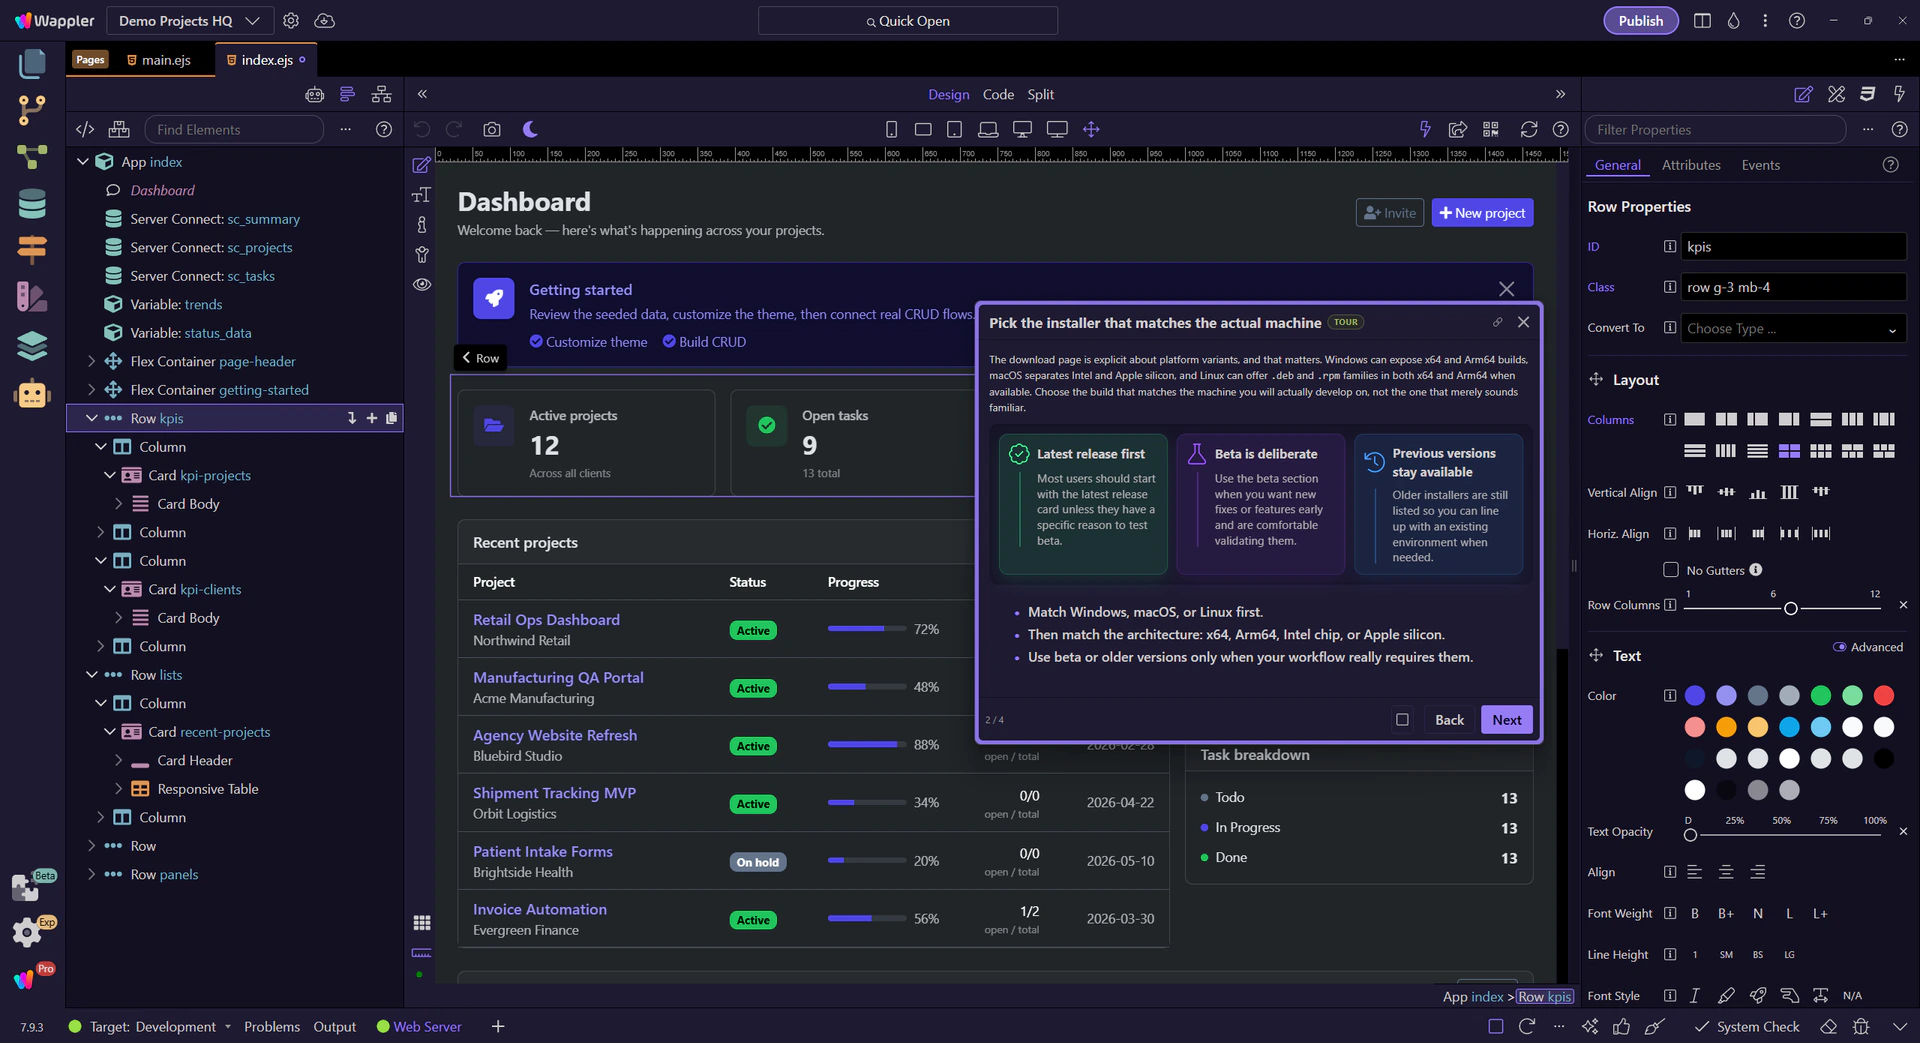
Pick the installer that matches the actual machine
The download page is explicit about platform variants, and that matters. Windows can expose x64 and Arm64 builds, macOS separates Intel and Apple silicon, and Linux can offer .deb and .rpm families in both x64 and Arm64 when available. Choose the build that matches the machine you will actually develop on, not the one that merely sounds familiar.
Latest release first
Most users should start with the latest release card unless they have a specific reason to test beta.
Beta is deliberate
Use the beta section when you want new fixes or features early and are comfortable validating them.
Previous versions stay available
Older installers are still listed so you can line up with an existing environment when needed.
Match Windows, macOS, or Linux first.
Then match the architecture: x64, Arm64, Intel chip, or Apple silicon.
Use beta or older versions only when your workflow really requires them.
Screenshot: Pick the installer that matches the actual machineClick to open the larger image
Finish the first launch with the right login route
Once the installer finishes and the app opens, the next real checkpoint is the login dialog. The practical path is to use Login with browser, then choose the identity source that matches how your access was activated. If your purchase or trial used your email, use the email route so the login code reaches the right inbox. If you linked your access to the Wappler community account, use the community login route instead.
TIP: If login fails, verify that you chose the same identity source you used when activating access before assuming the installer is broken.
Browser handoff
The first launch does not end at install; it continues through the login flow.
Email login
Use the same email address that was used for the license or free trial so the verification code arrives where expected.
Community login
Use this only when the purchase or access was already connected to your Wappler community account.
Install Wappler with the correct platform build.
Click Login with browser on first launch.
Choose email or community login based on how your access was activated.
Screenshot: Finish the first launch with the right login routeClick to open the larger image
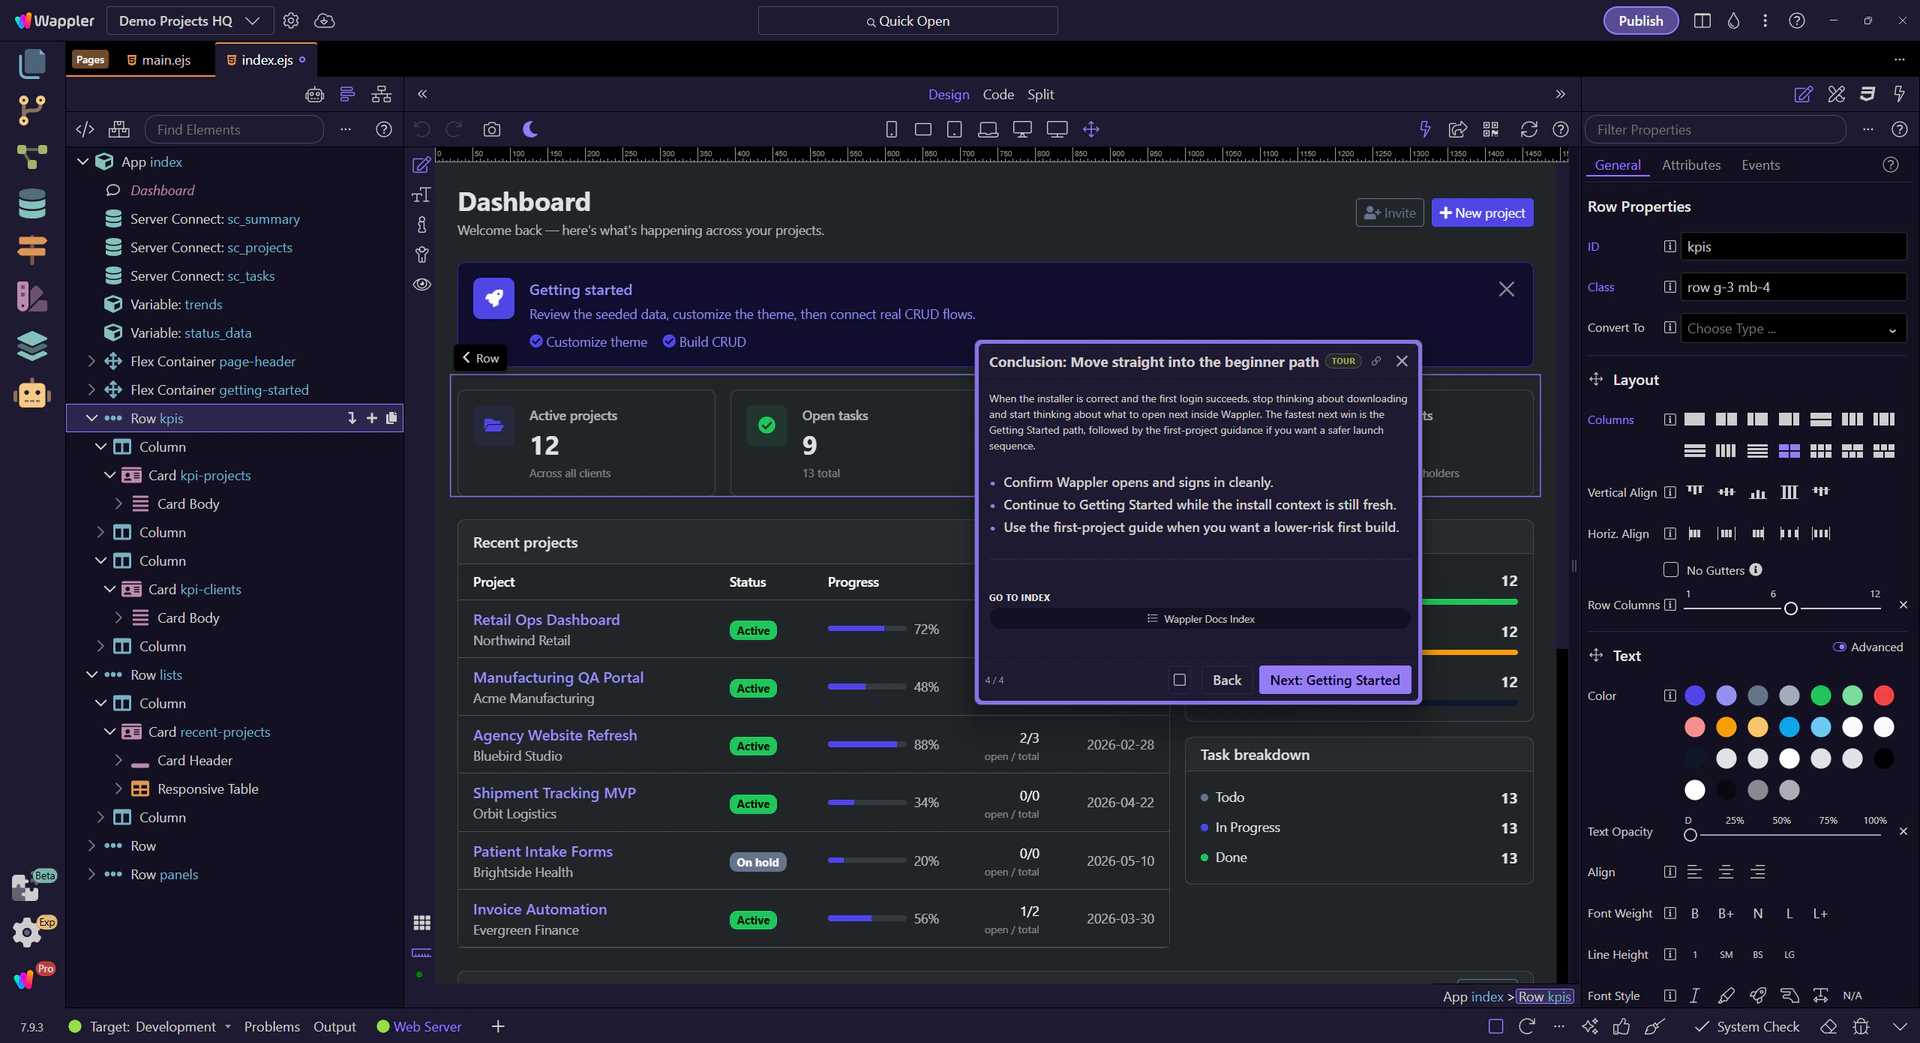
Conclusion: Move straight into the beginner path
When the installer is correct and the first login succeeds, stop thinking about downloading and start thinking about what to open next inside Wappler. The fastest next win is the Getting Started path, followed by the first-project guidance if you want a safer launch sequence.
Confirm Wappler opens and signs in cleanly.
Continue to Getting Started while the install context is still fresh.
Use the first-project guide when you want a lower-risk first build.
Screenshot: Conclusion: Move straight into the beginner pathClick to open the larger image