Show Image Preview Before Upload
When uploading images you can display a small preview thumbnail of the selected image. You can use this in two cases: 1. For single image upload You already know how to UPLOAD SINGLE IMAGE TO YOUR SER
Step 1
Section titled “Step 1”When uploading images you can display a small preview thumbnail of the selected image. You can use this in two cases:
1. For single image upload
Section titled “1. For single image upload”You already know how to UPLOAD SINGLE IMAGE TO YOUR SERVER so we will just extend your existing form/layout.
Select your upload field form group, and click Insert After:

Add a row:
Section titled “Add a row:”
Click insert inside:
Section titled “Click insert inside:”
And add a column:
Section titled “And add a column:”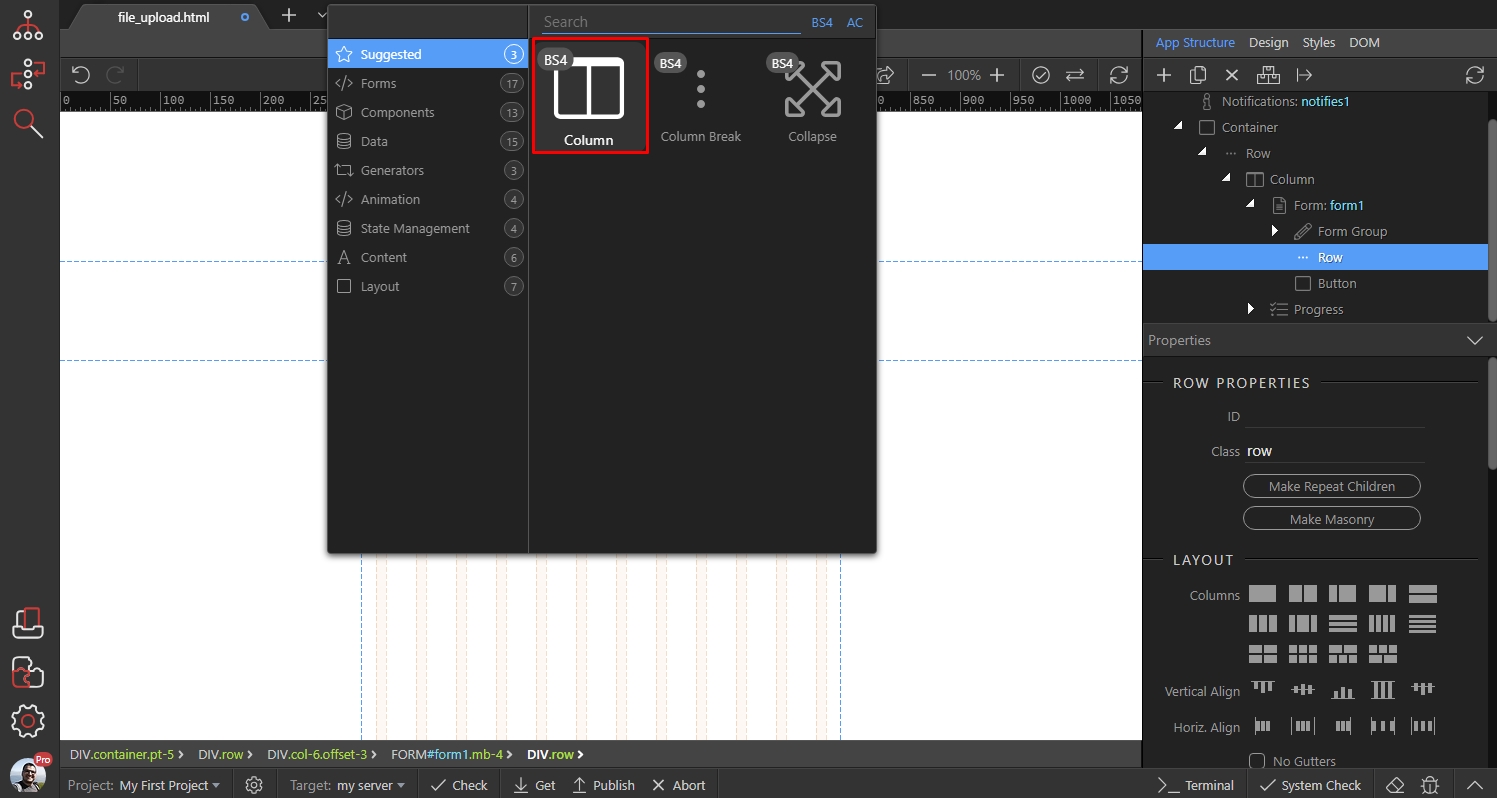
That’s where our image will be placed. Click insert inside:
Section titled “That’s where our image will be placed. Click insert inside:”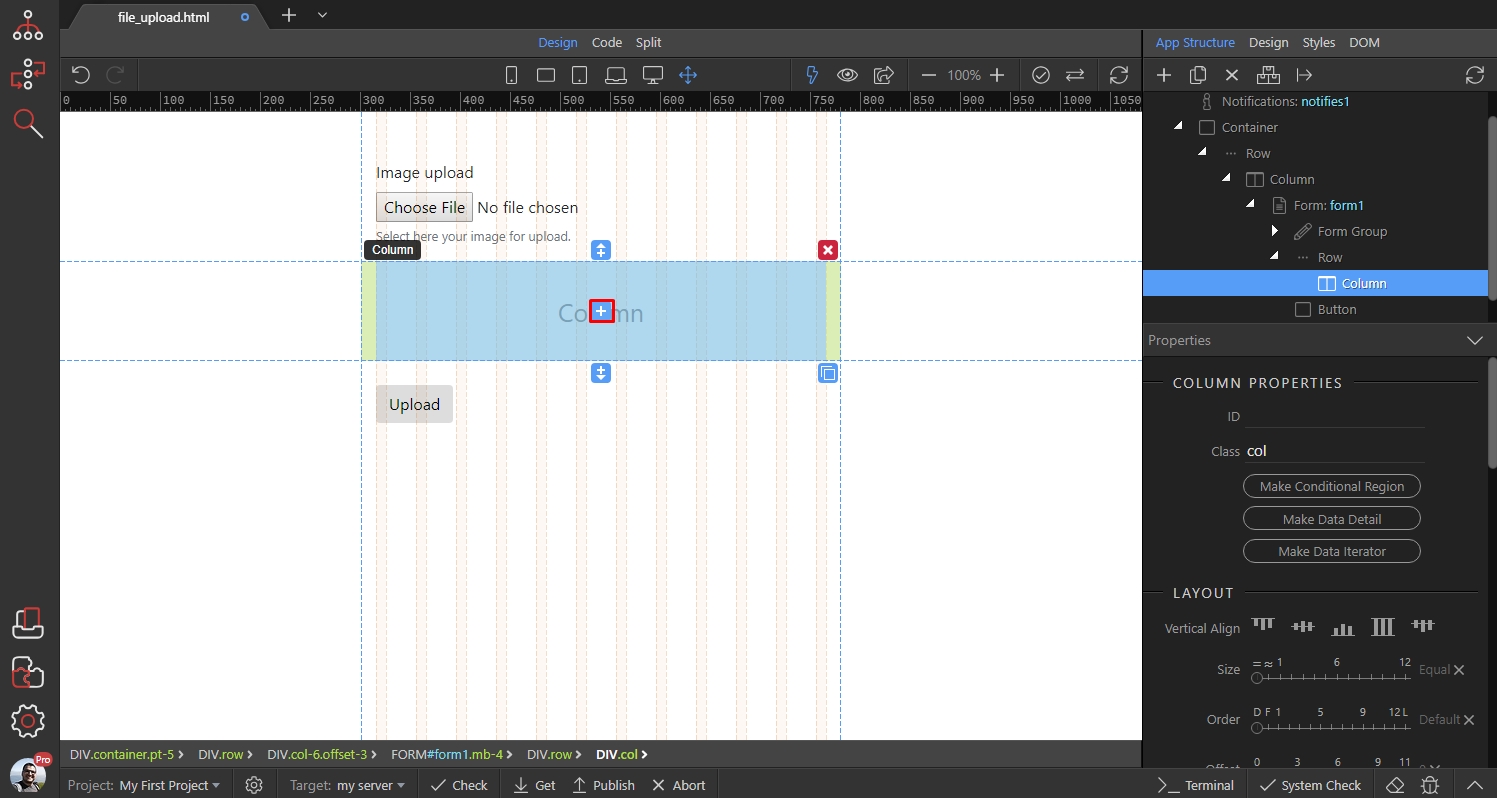
Open the Content Category and insert an image:
Section titled “Open the Content Category and insert an image:”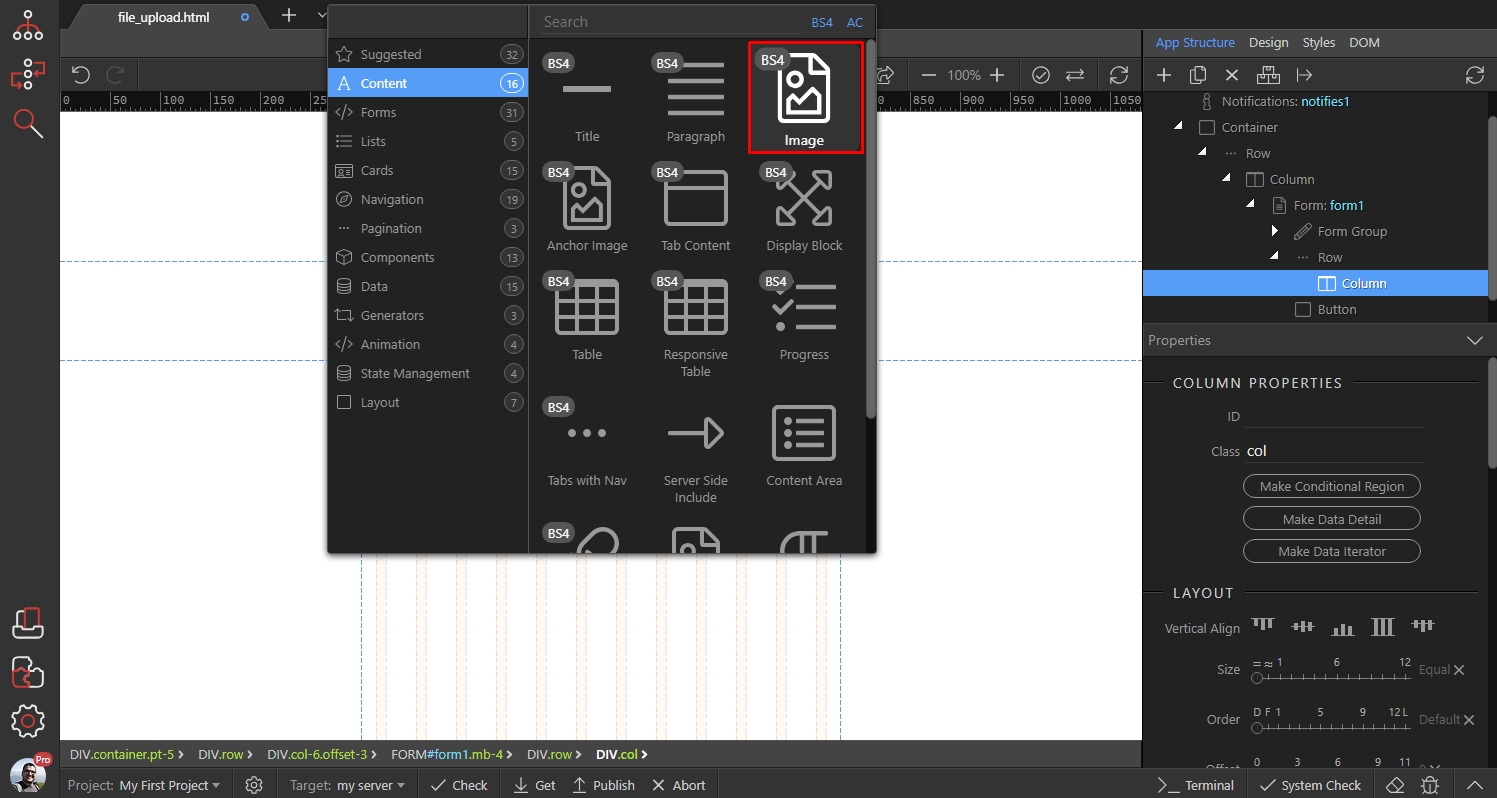
Enter the width for your thumbnail. We enter 120 pixels:
Section titled “Enter the width for your thumbnail. We enter 120 pixels:”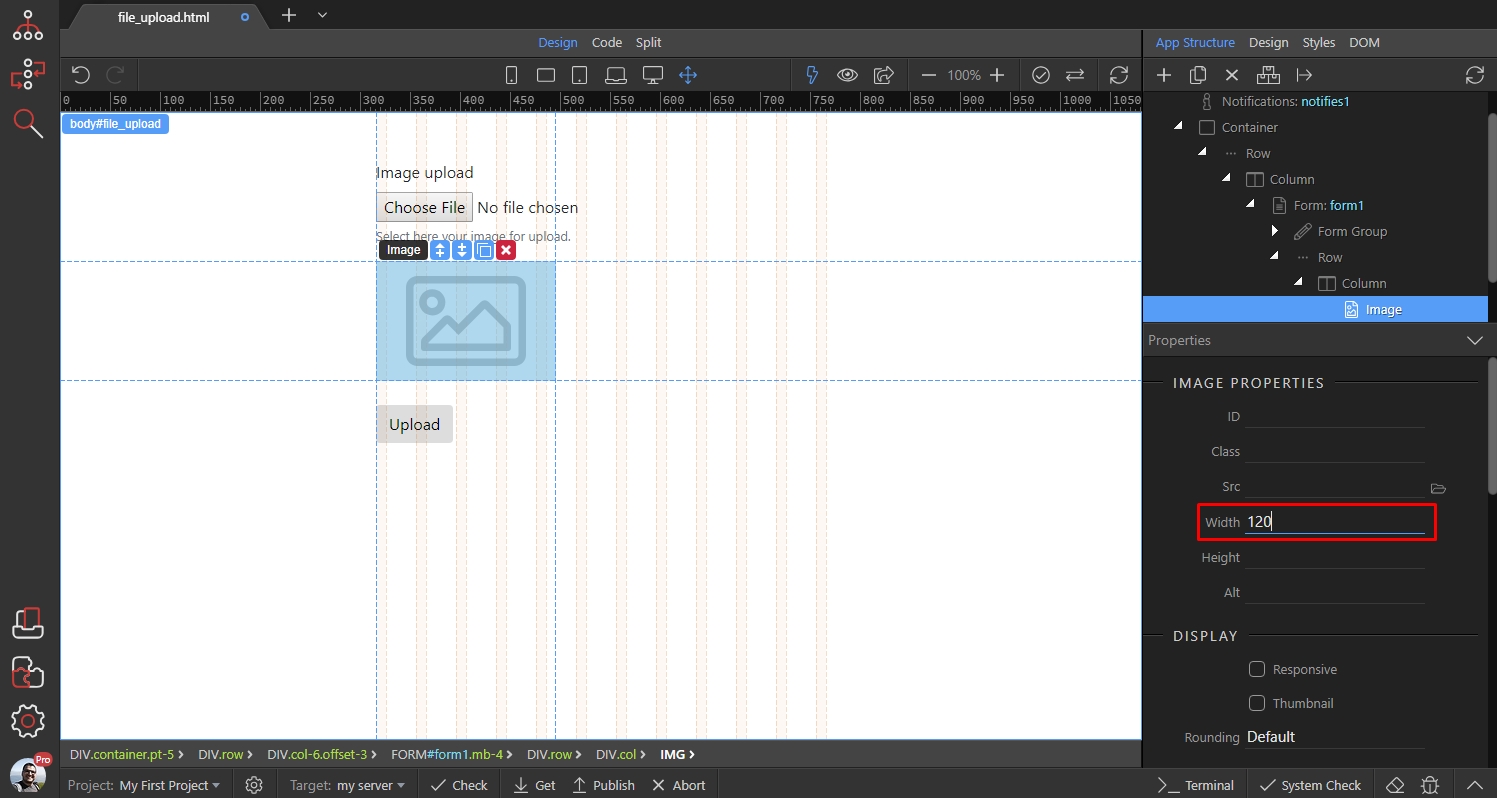
Then add new dynamic attribute:
Section titled “Then add new dynamic attribute:”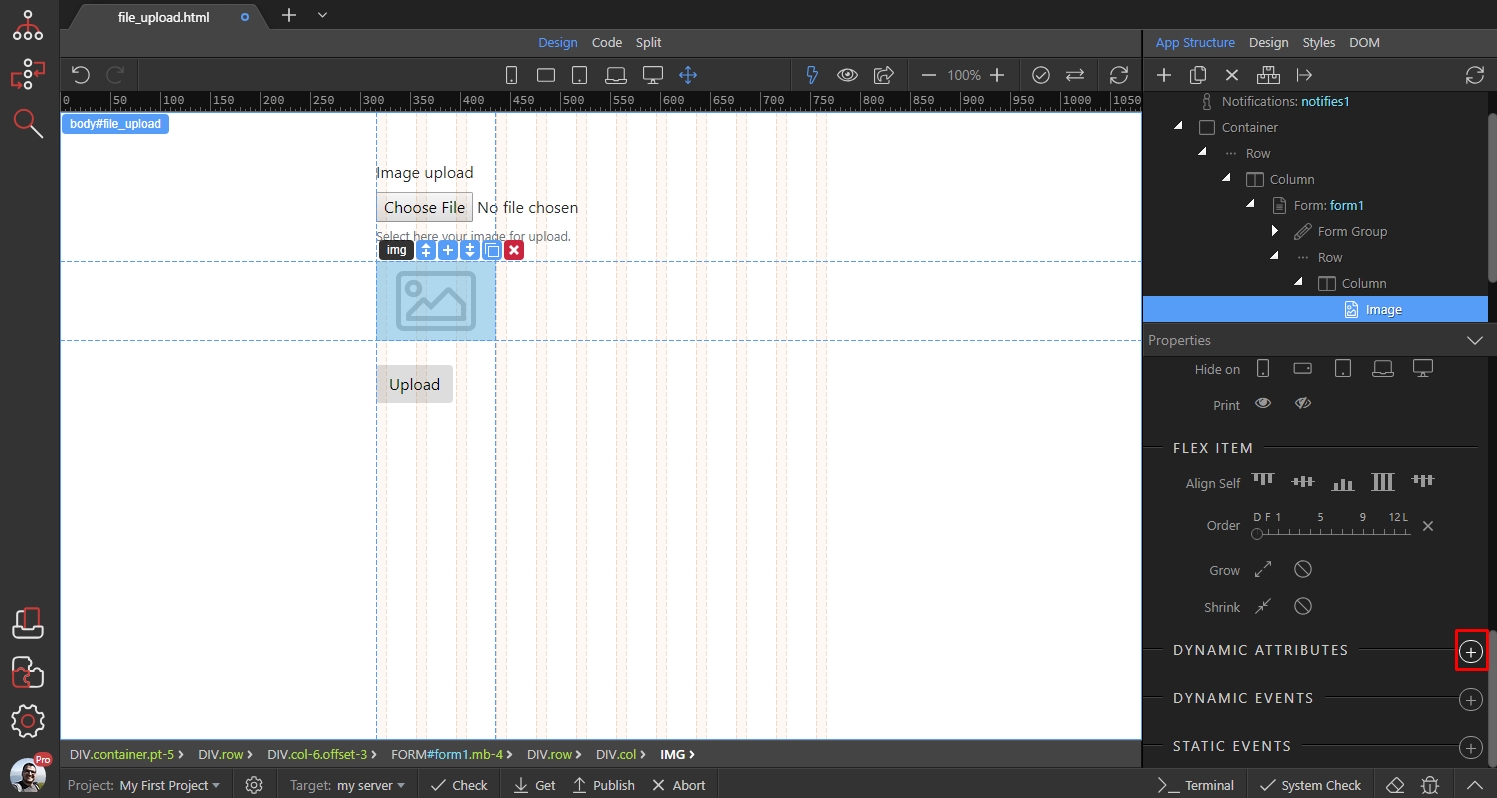
Open Images and select Image Source:
Section titled “Open Images and select Image Source:”
Then, click the dynamic data picker button:
Section titled “Then, click the dynamic data picker button:”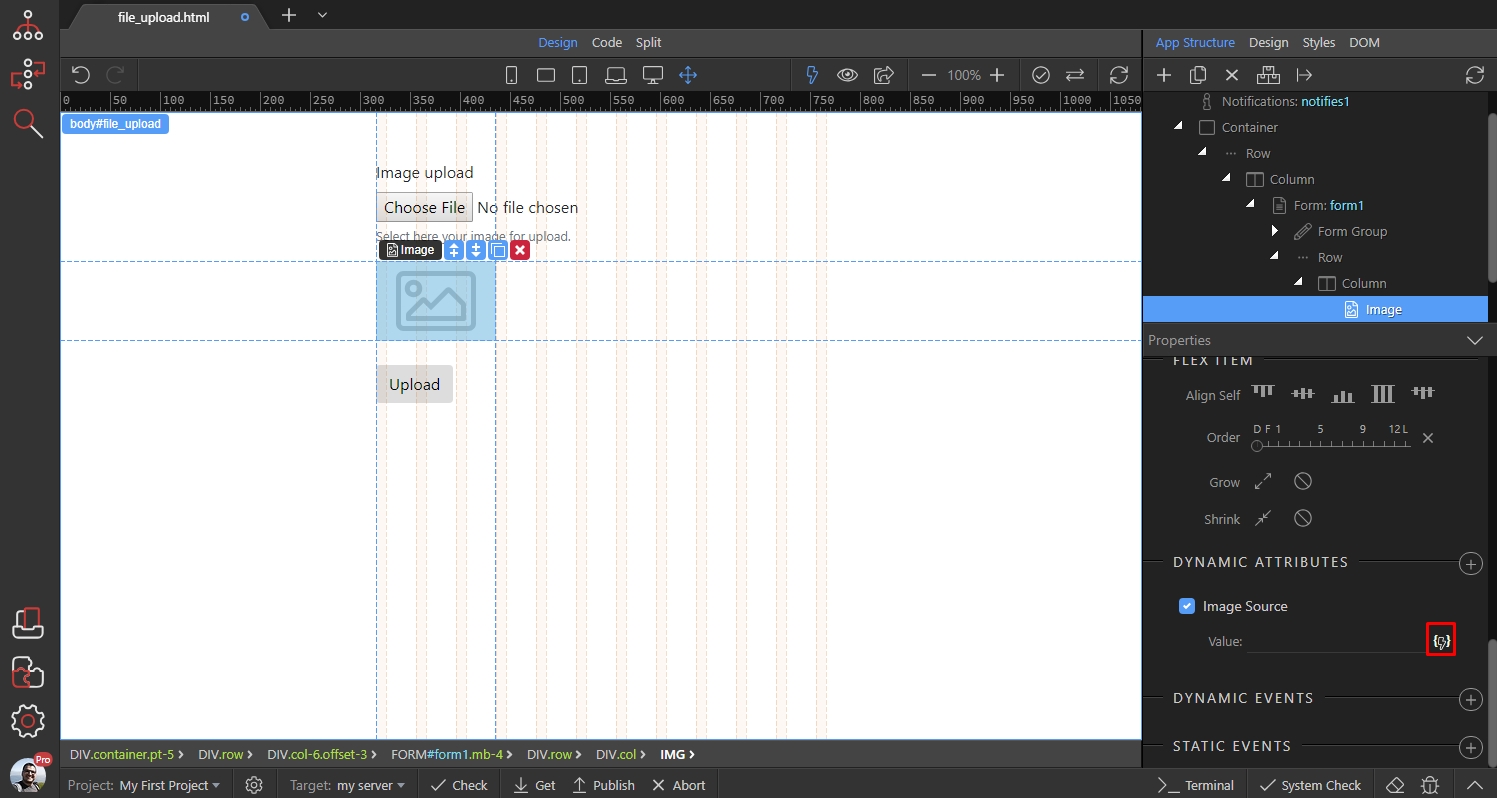
Expand your file field (1), then the file group (2) and select the dataUrl (3) binding:
Section titled “Expand your file field (1), then the file group (2) and select the dataUrl (3) binding:”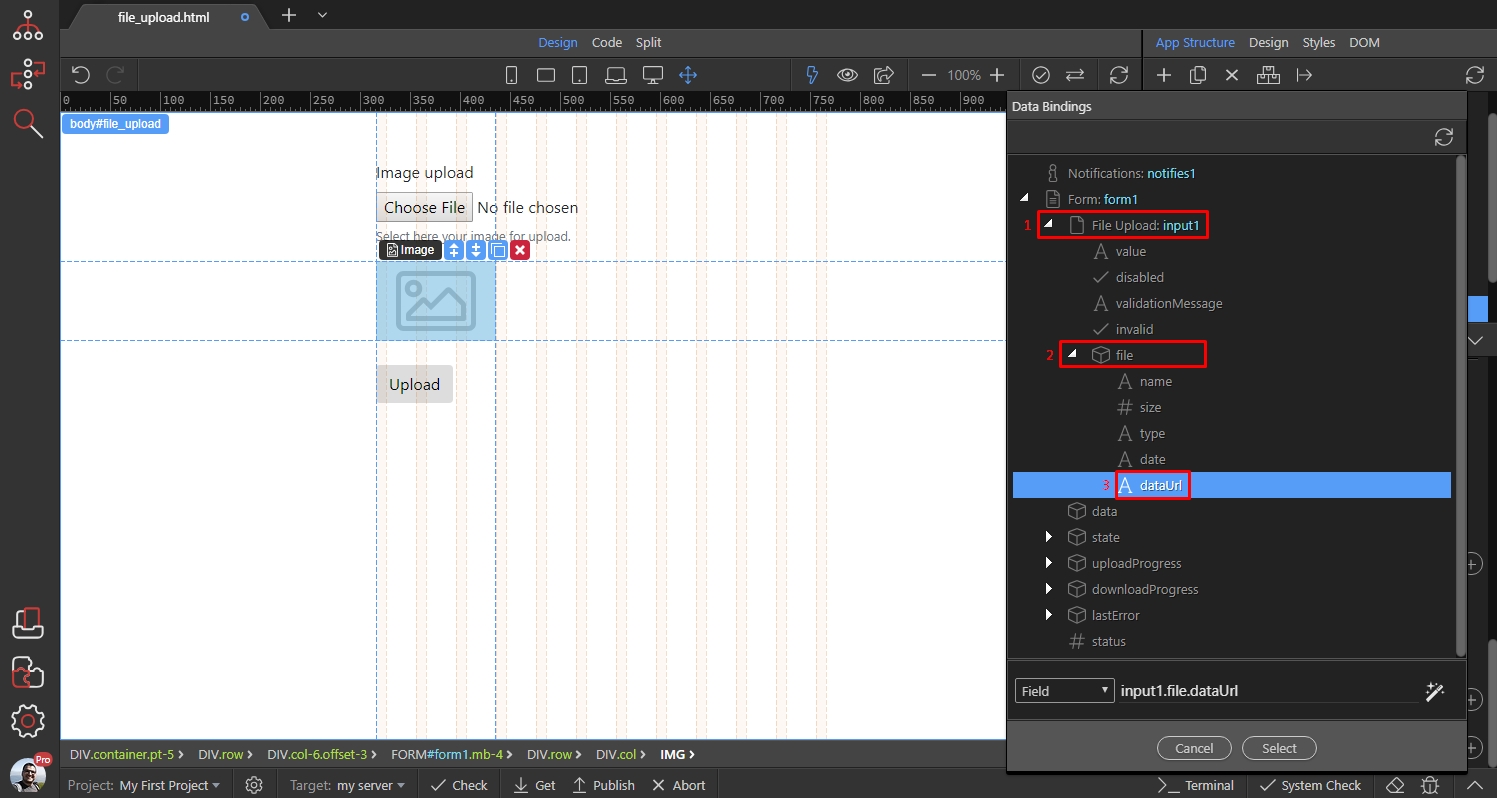
Then add another dynamic attribute:
Section titled “Then add another dynamic attribute:”
Open Display and select Show:
Section titled “Open Display and select Show:”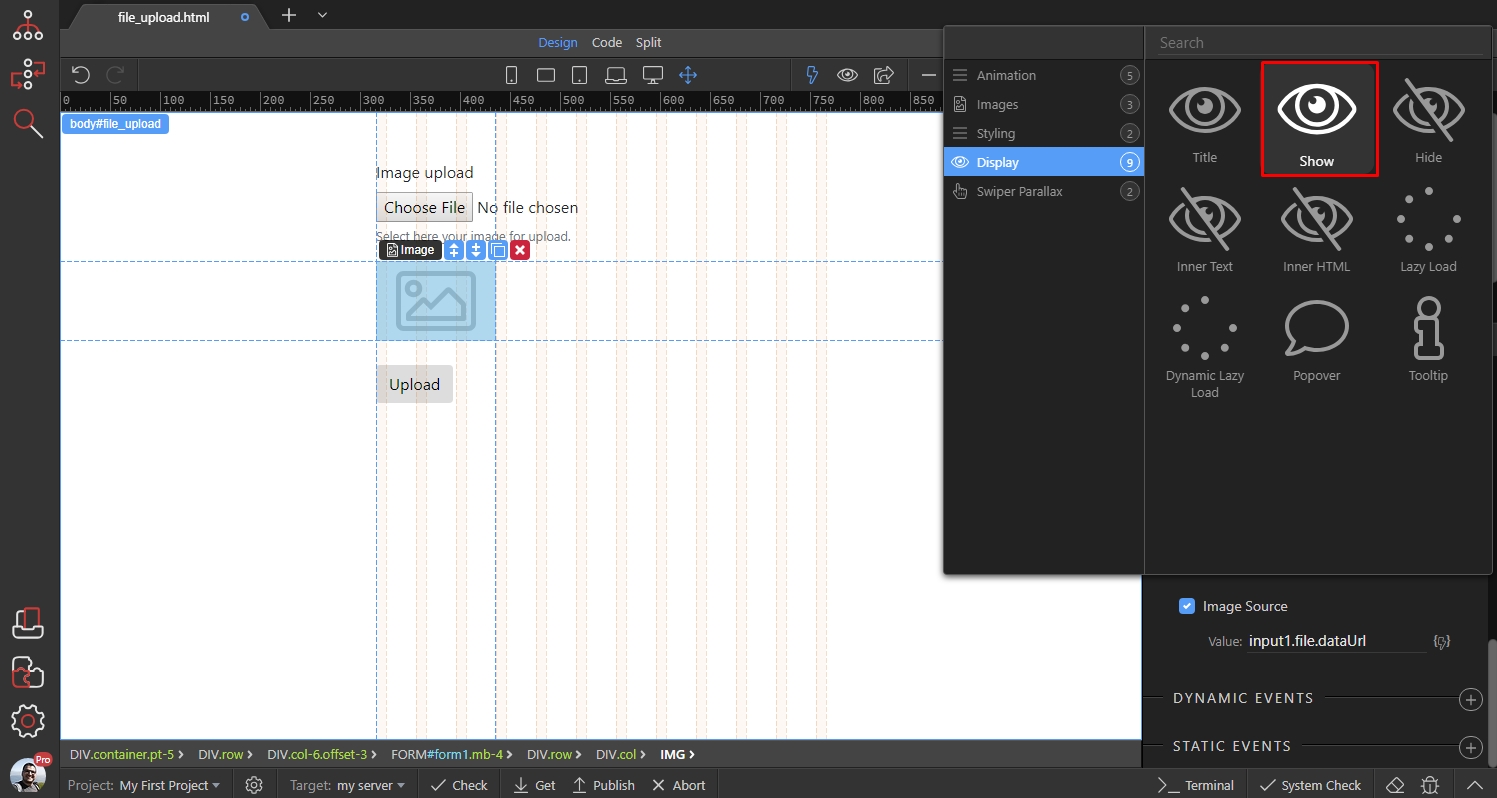
Then click the dynamic data picker to select when to show the thumbnail:
Section titled “Then click the dynamic data picker to select when to show the thumbnail:”Under your upload field select - value. So only when an image is selected, the thumbnail will be displayed:
Section titled “Under your upload field select - value. So only when an image is selected, the thumbnail will be displayed:”
And you are done. As soon as you select an image, the preview thumbnail will display it:
Section titled “And you are done. As soon as you select an image, the preview thumbnail will display it:”
2. For multiple images upload
Section titled “2. For multiple images upload”You already know how to UPLOAD MULTIPLE IMAGES TO YOUR SERVER so we will just extend your existing form/layout.
Select your upload field form group, and click Insert After:
Add a row:
Section titled “Add a row:”Click insert inside:
Section titled “Click insert inside:”And add a column:
Section titled “And add a column:”That’s where our image will be placed. Click insert inside:
Section titled “That’s where our image will be placed. Click insert inside:”Open the Content Category and insert an image:
Section titled “Open the Content Category and insert an image:”Turn on the Responsive option for the image:
Section titled “Turn on the Responsive option for the image:”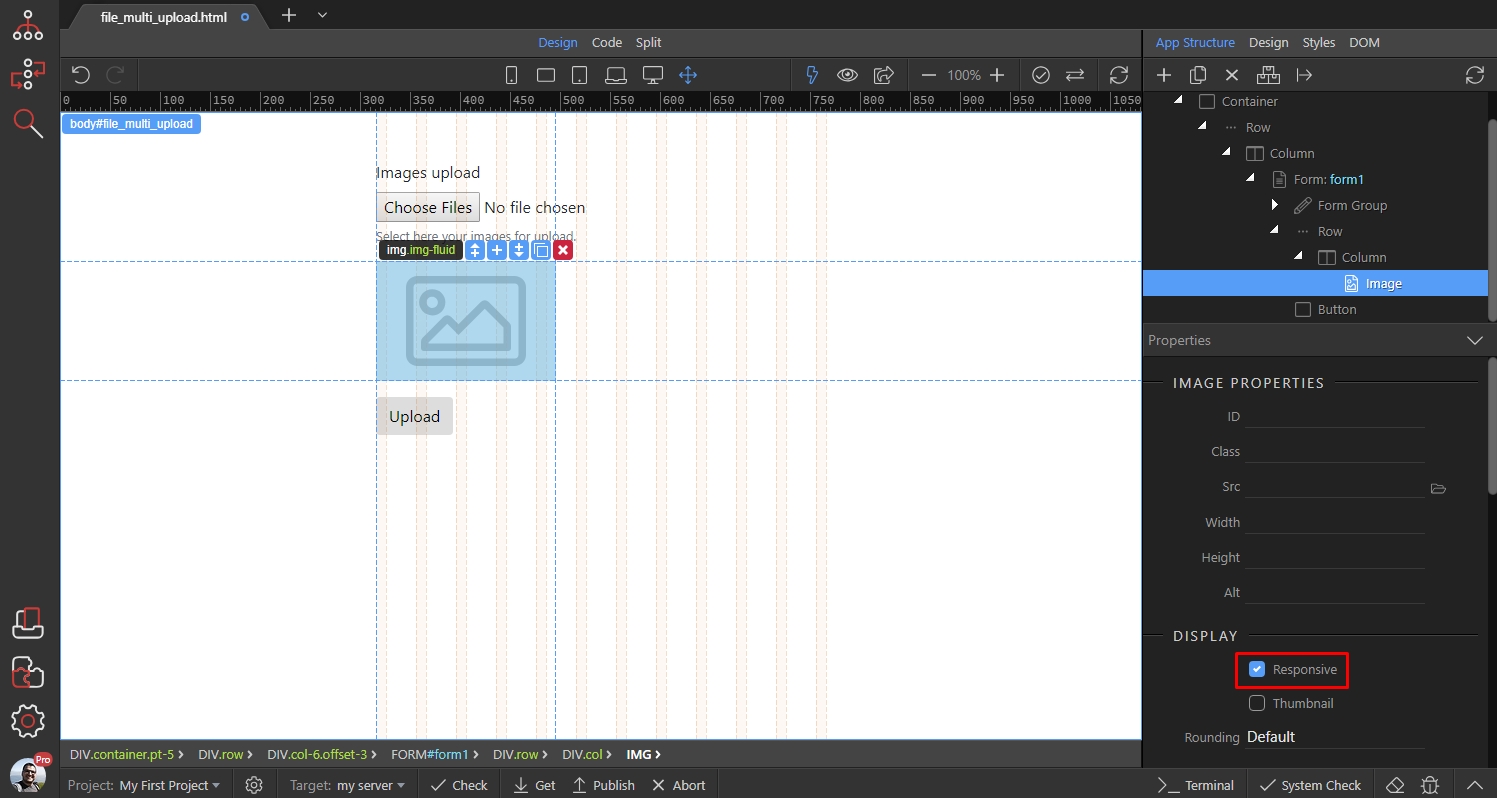
Step 26
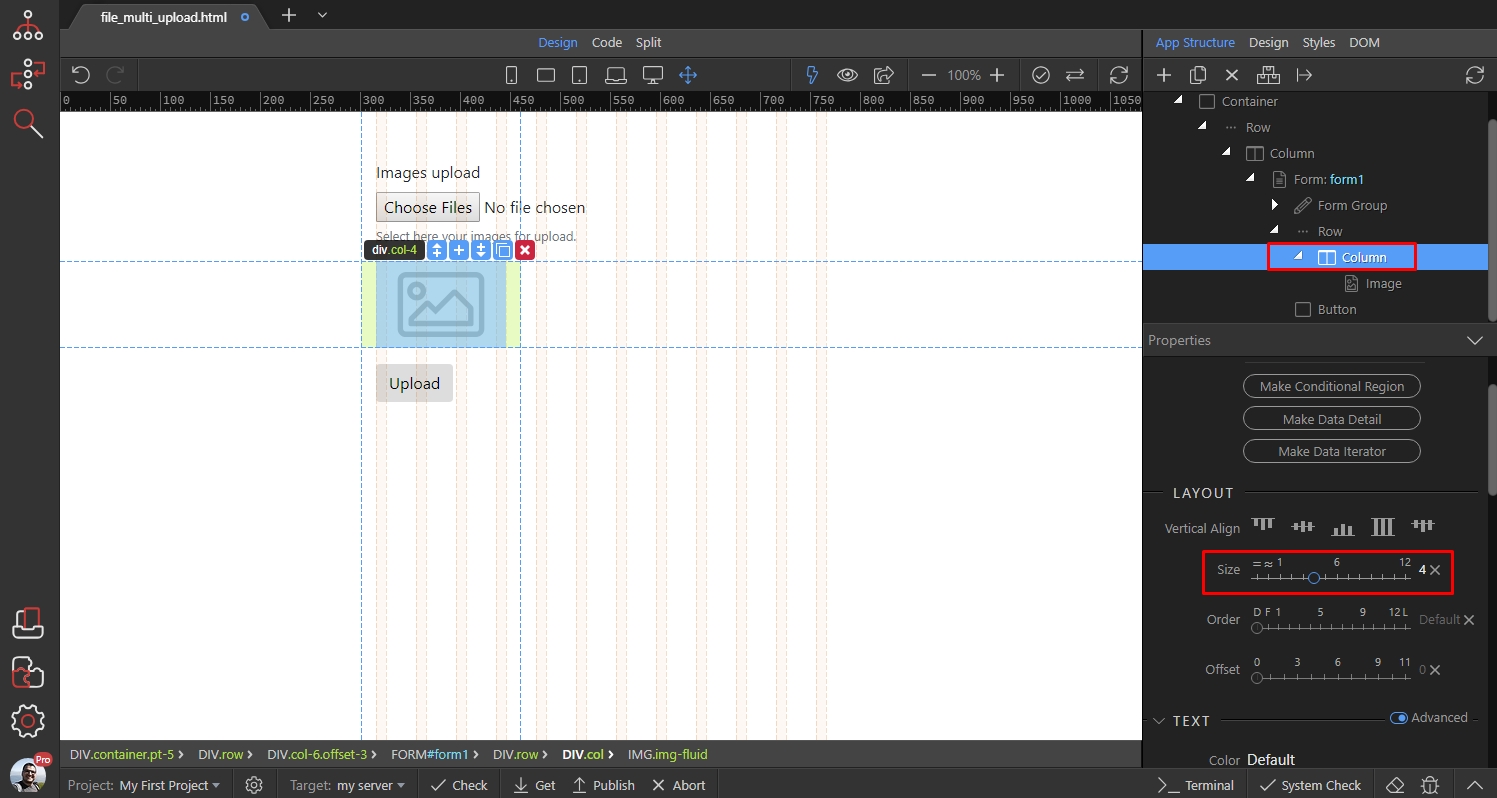
Section titled “Step 26”Then, select the column which wraps the image and set its sizes for different screens. The image will be as wide as your column is:
Then select the parent Row, and click the Make Repeat Children button:
Section titled “Then select the parent Row, and click the Make Repeat Children button:”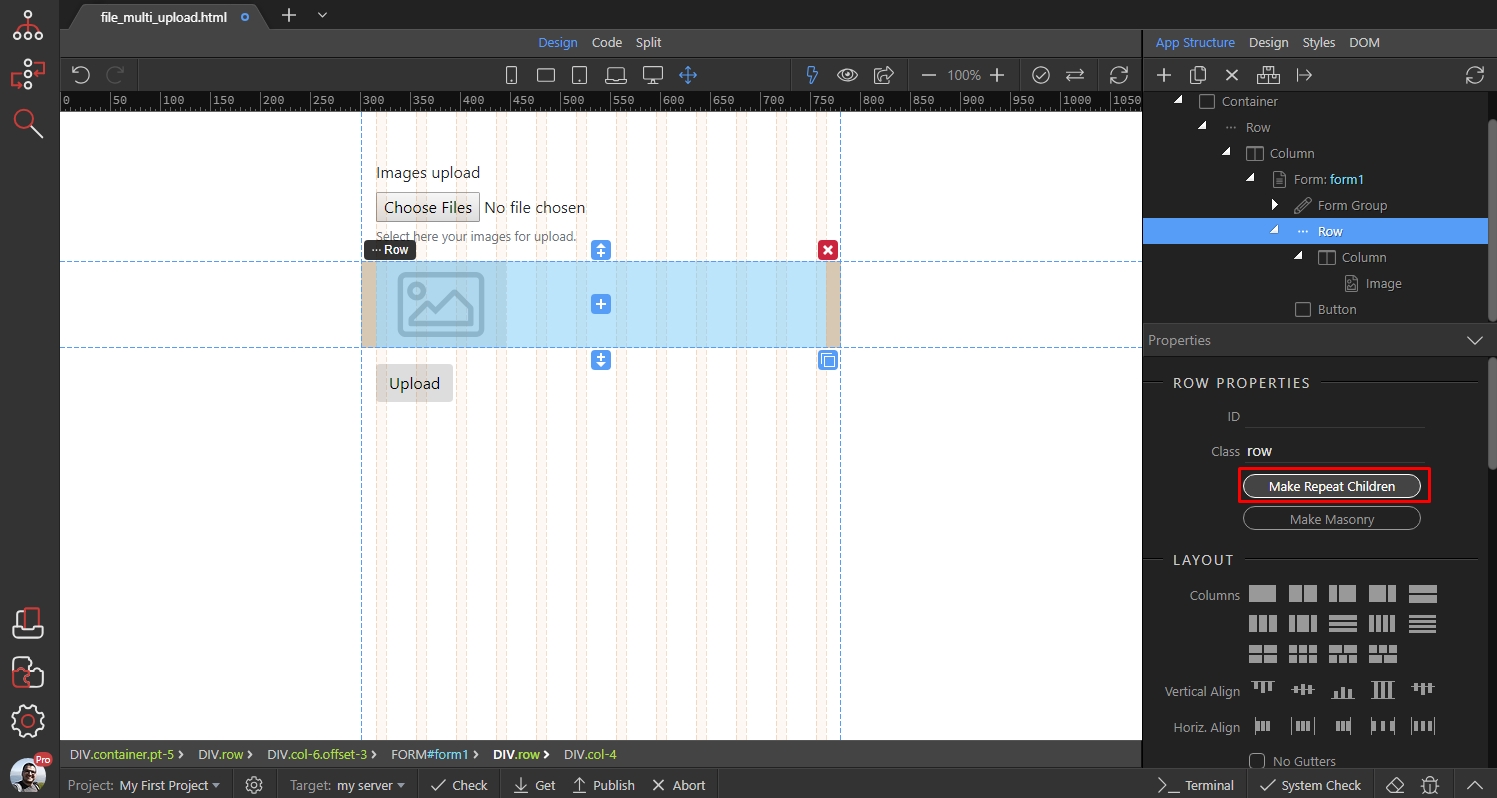
Select an expression for the repeat:
Section titled “Select an expression for the repeat:”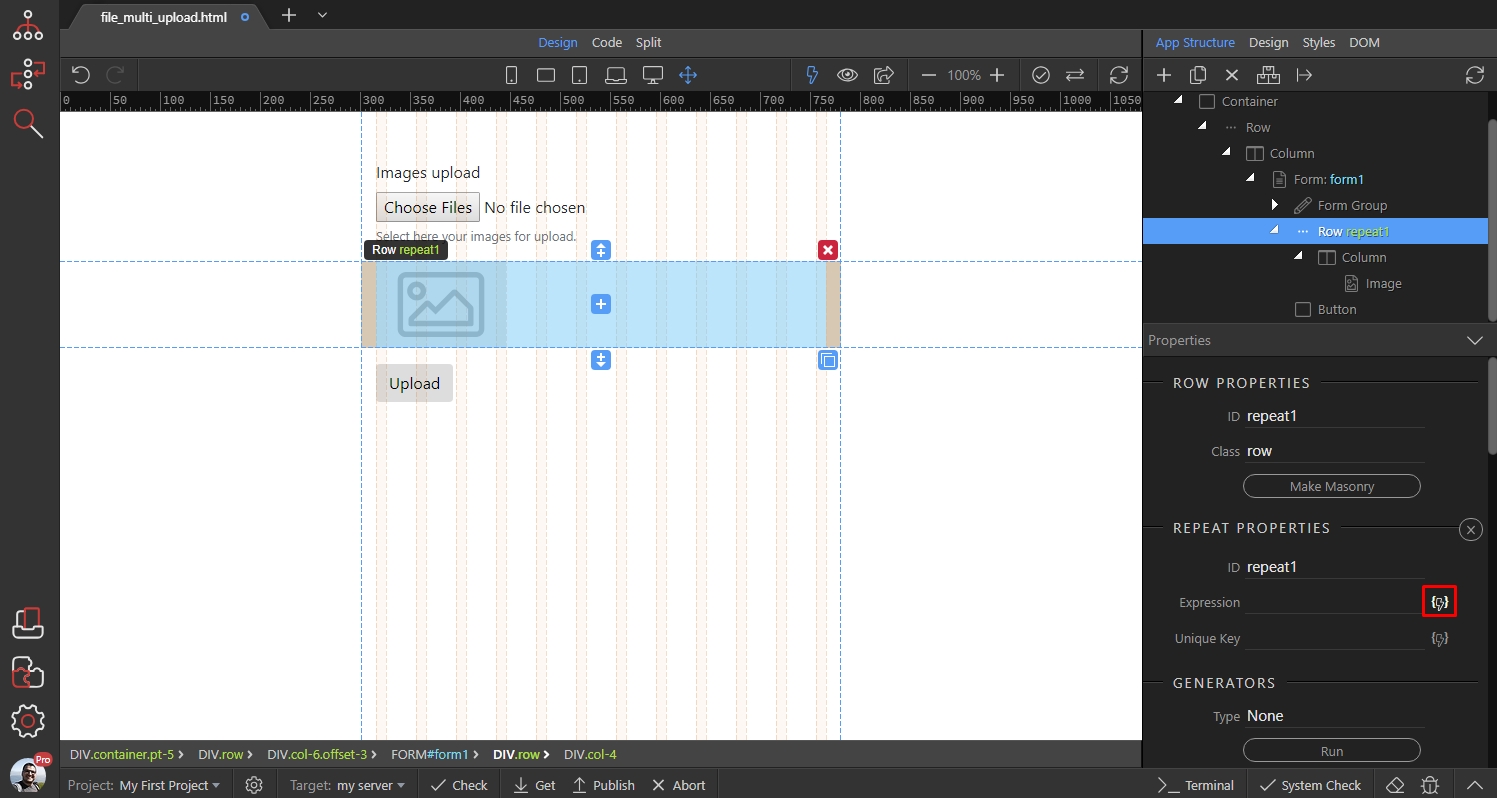
Expand your multi file input (1) and select the files array (2):
Section titled “Expand your multi file input (1) and select the files array (2):”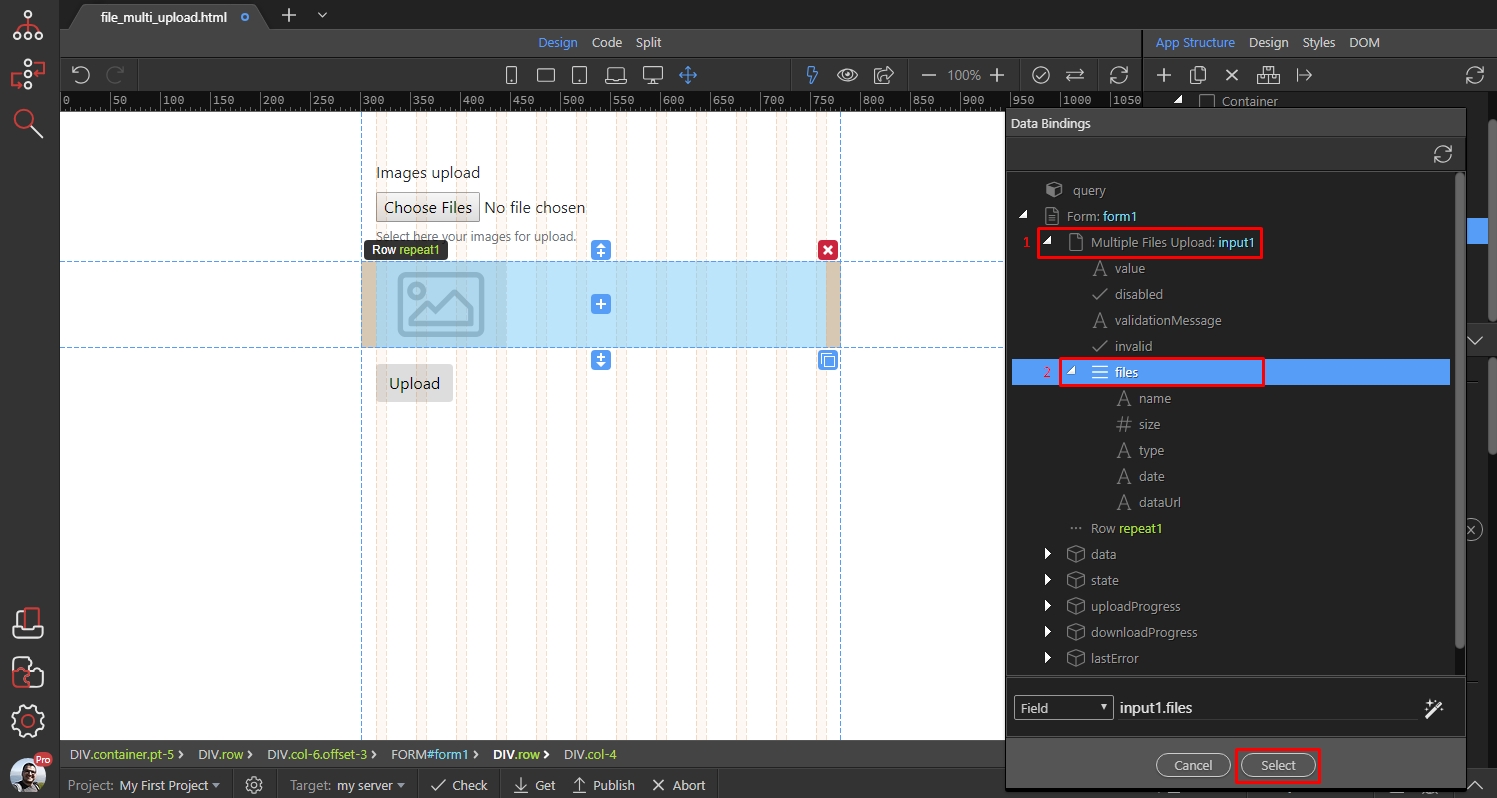
Step 30
Section titled “Step 30”The repeat region will repeat the columns with the image inside, as many times as the number of selected images is.
Now let’s bind the source for the image. Select the image and add new dynamic attribute:
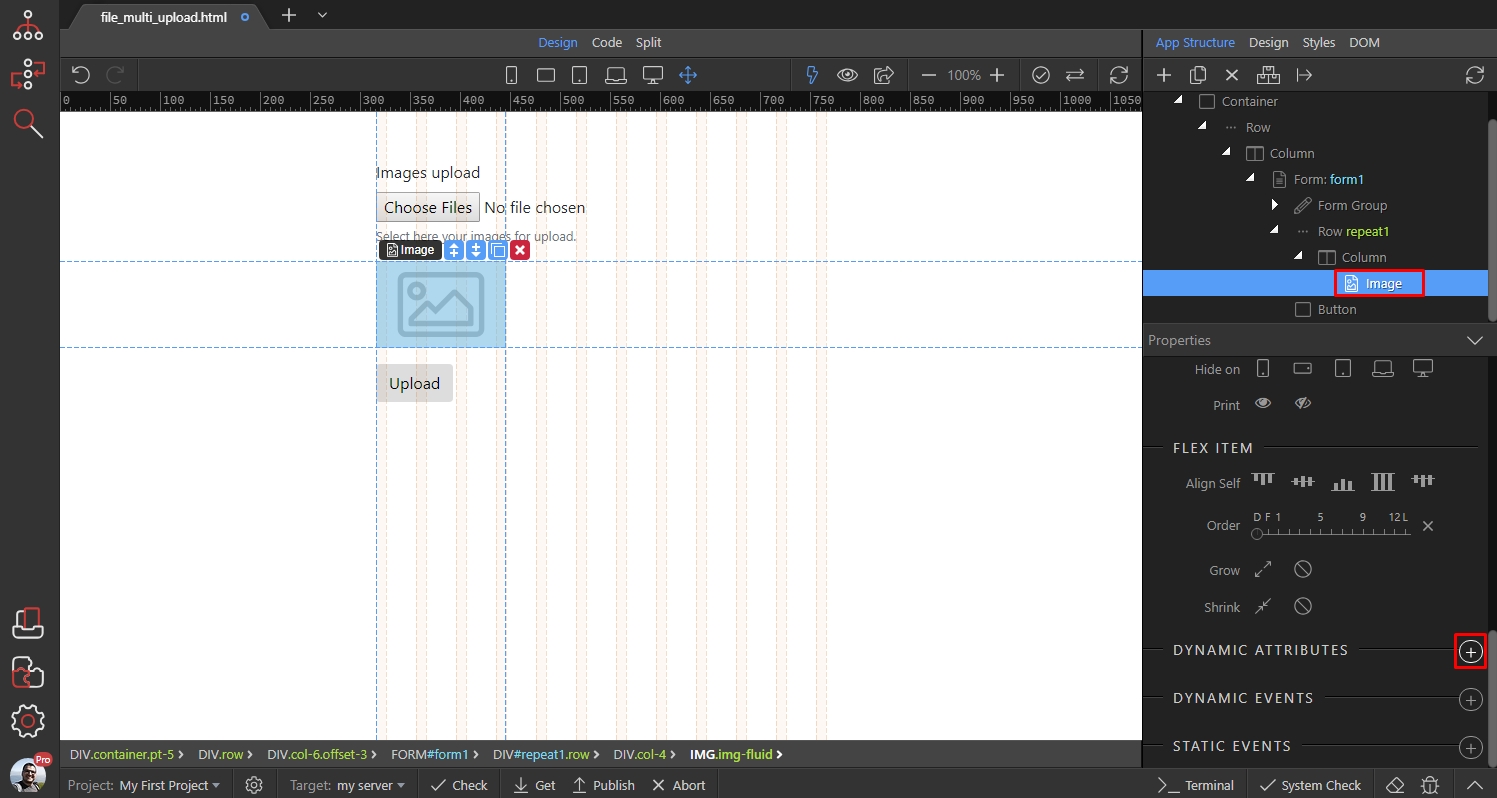
Open Images and add Image Source:
Section titled “Open Images and add Image Source:”
Click the dynamic data picker for the value:
Section titled “Click the dynamic data picker for the value:”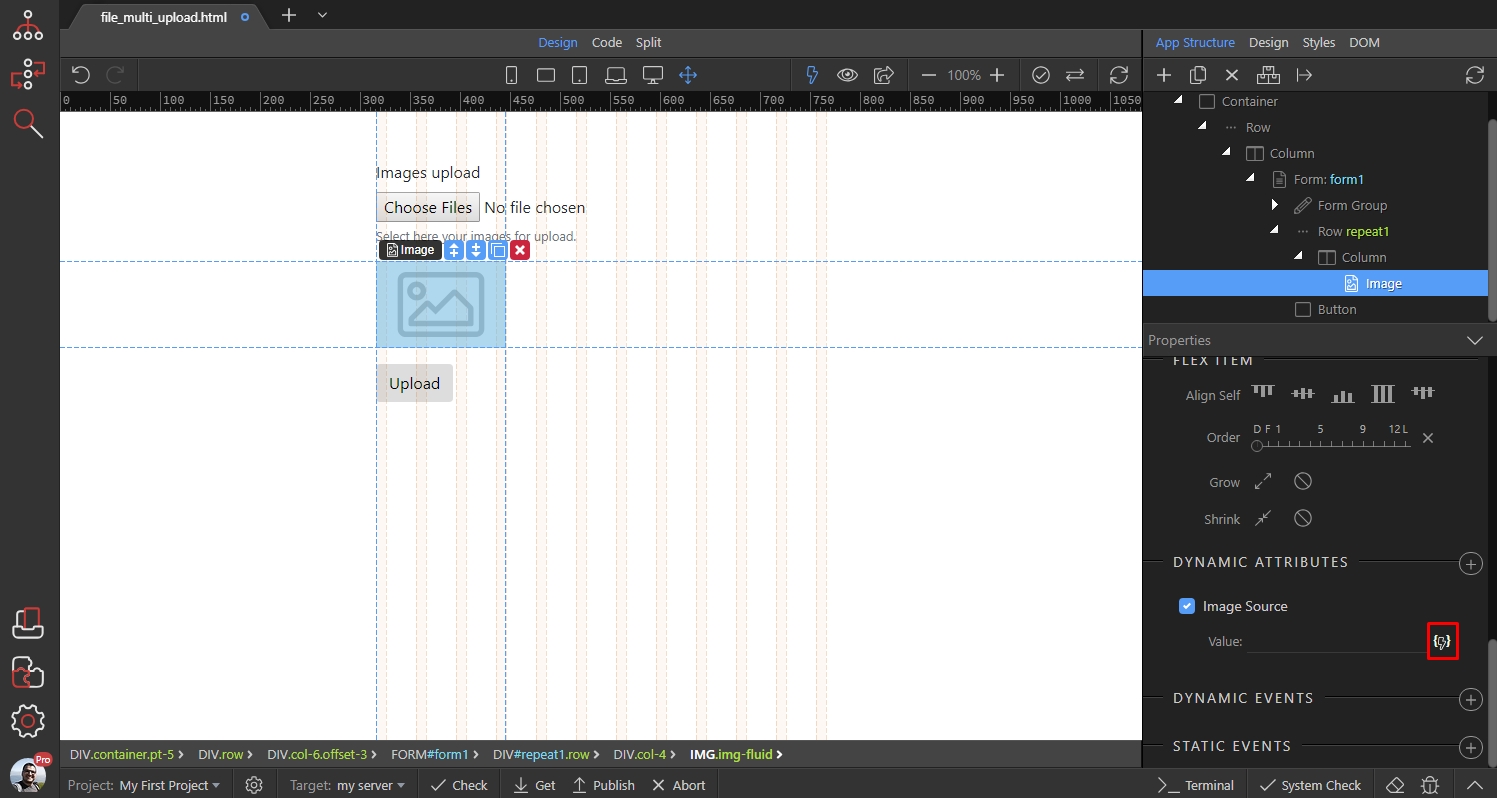
Under the Repeat select the dataUrl binding:
Section titled “Under the Repeat select the dataUrl binding:”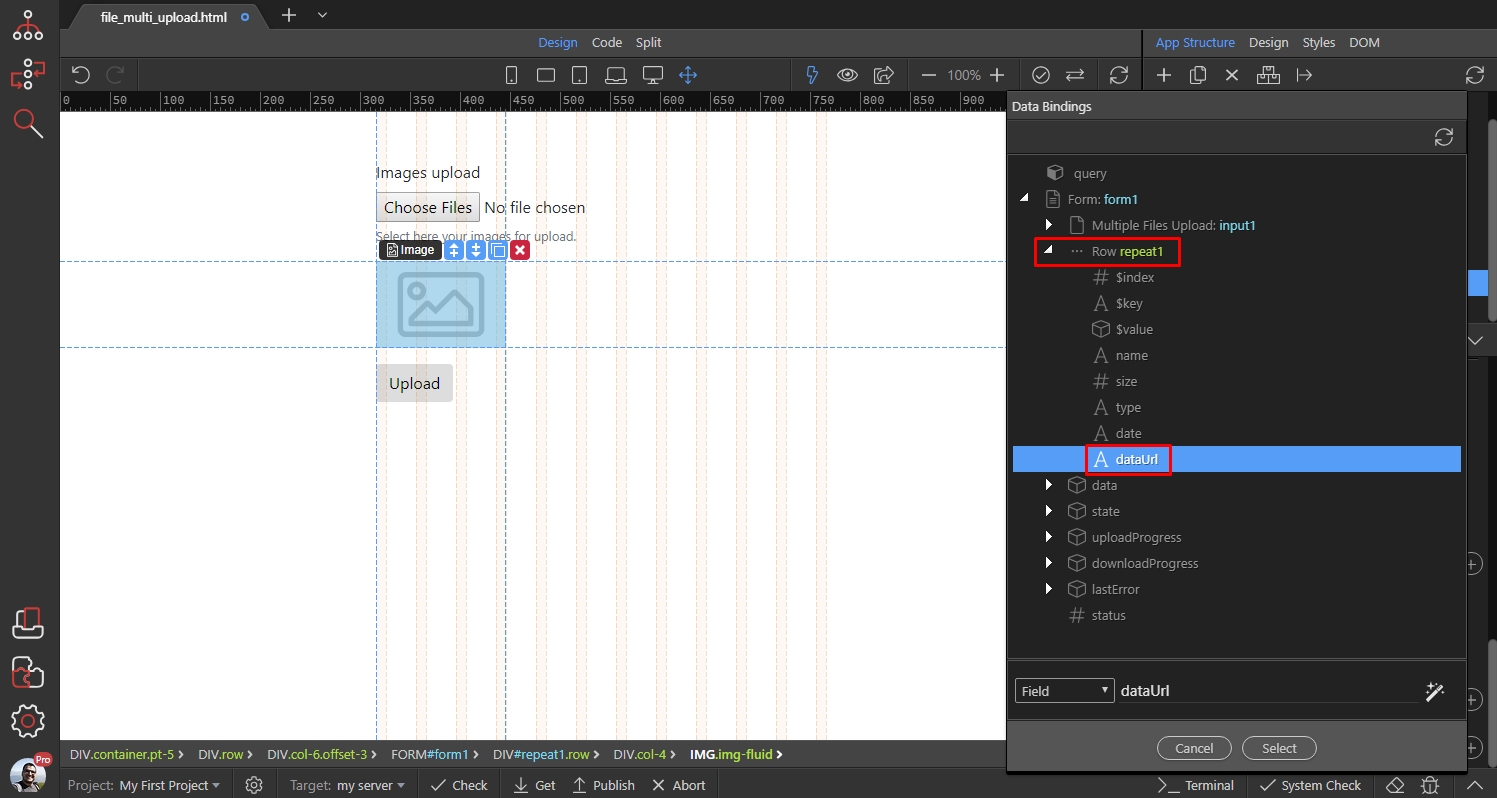
And now, go back to the row and add new dynamic attribute:
Section titled “And now, go back to the row and add new dynamic attribute:”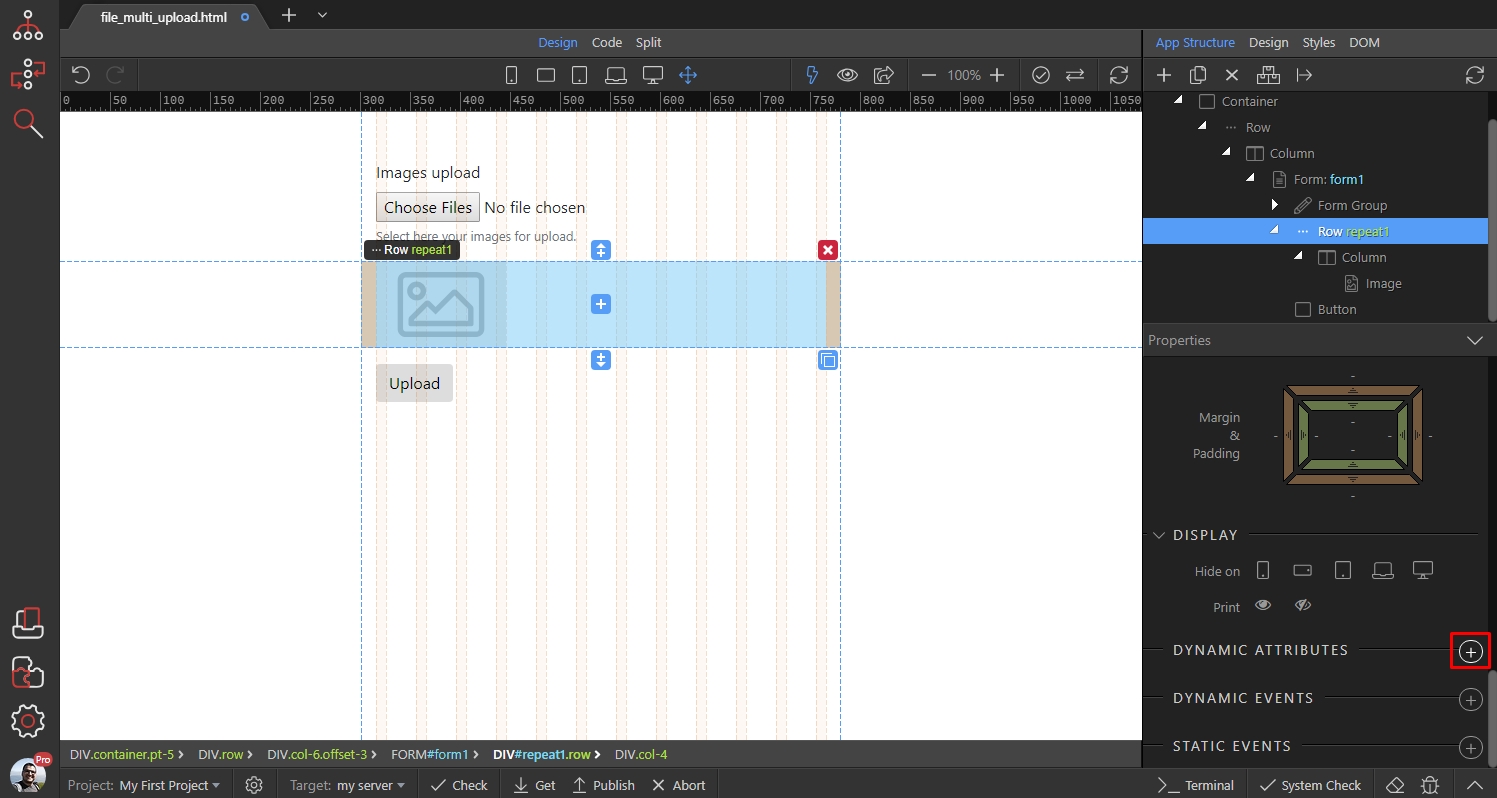
Open Display and select Show:
Section titled “Open Display and select Show:”
Select when to show it:
Section titled “Select when to show it:”
Under the multi file input select value:
Section titled “Under the multi file input select value:”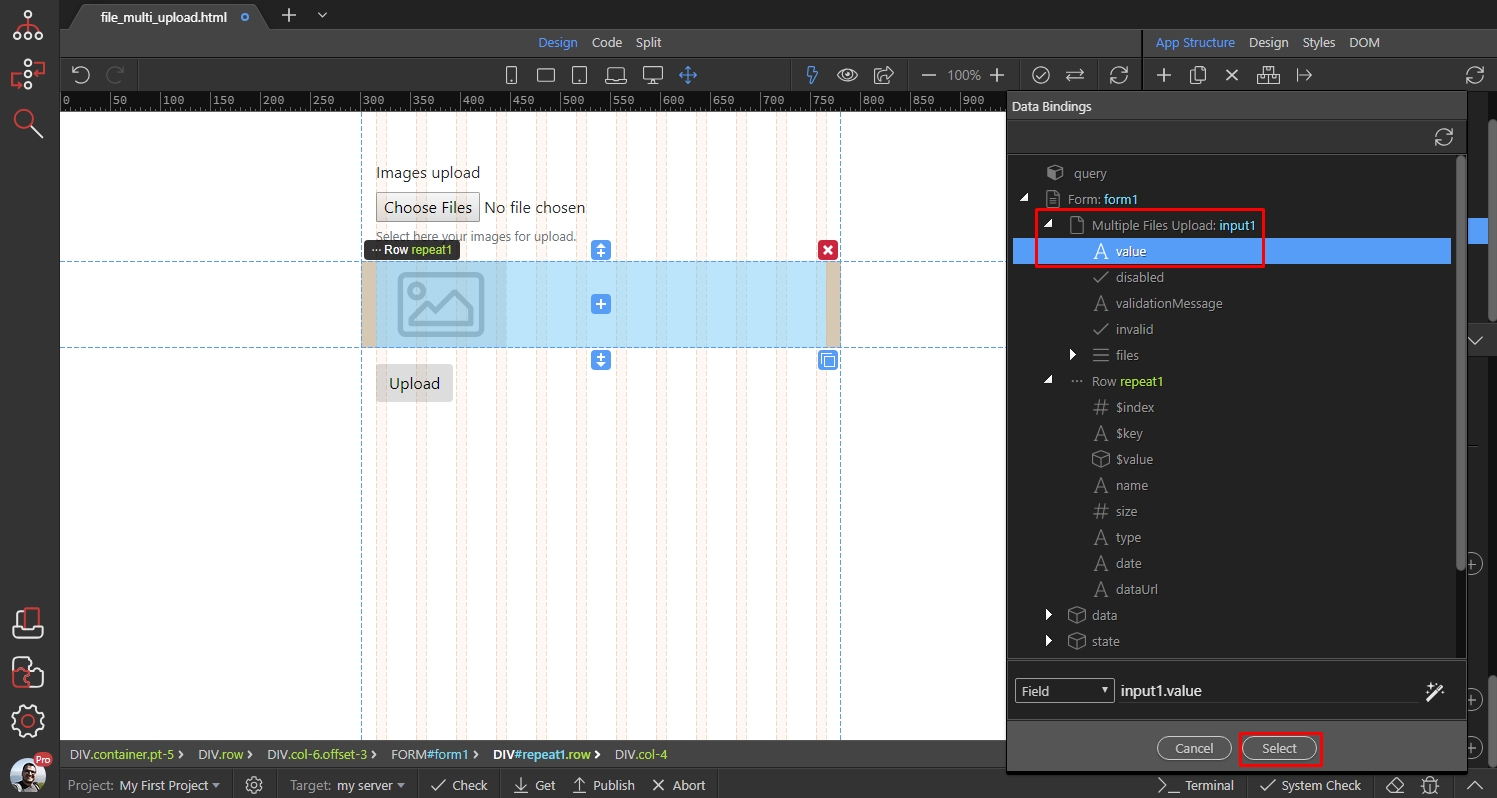
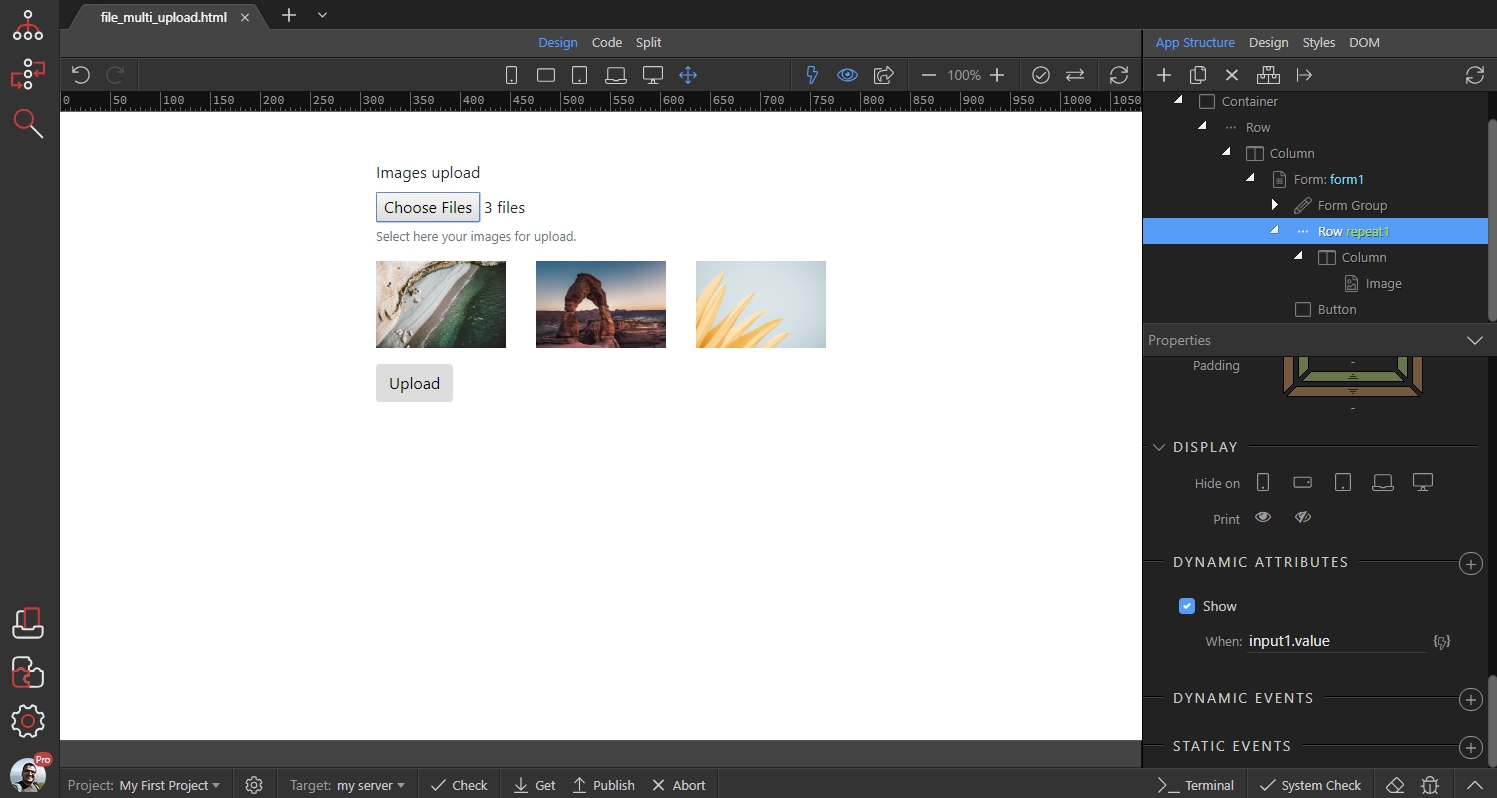
Step 38
Section titled “Step 38”And you are done. The repeating row with images will be displayed as soon as you select images in the file field: