
Resize Image and Create a Thumbnail on Upload
You already know how to Upload an image to your server . Now we are going to extend the upload action with an image resize and crop functionality. First let’s add a validation to our file field, so it
Step 1
Section titled “Step 1”You already know how to Upload an image to your server. Now we are going to extend the upload action with an image resize and crop functionality.
First let’s add a validation to our file field, so it only accepts images, if some other file is selected the server action will fail, as it cannot be resized. Select the file input in the App Structure:
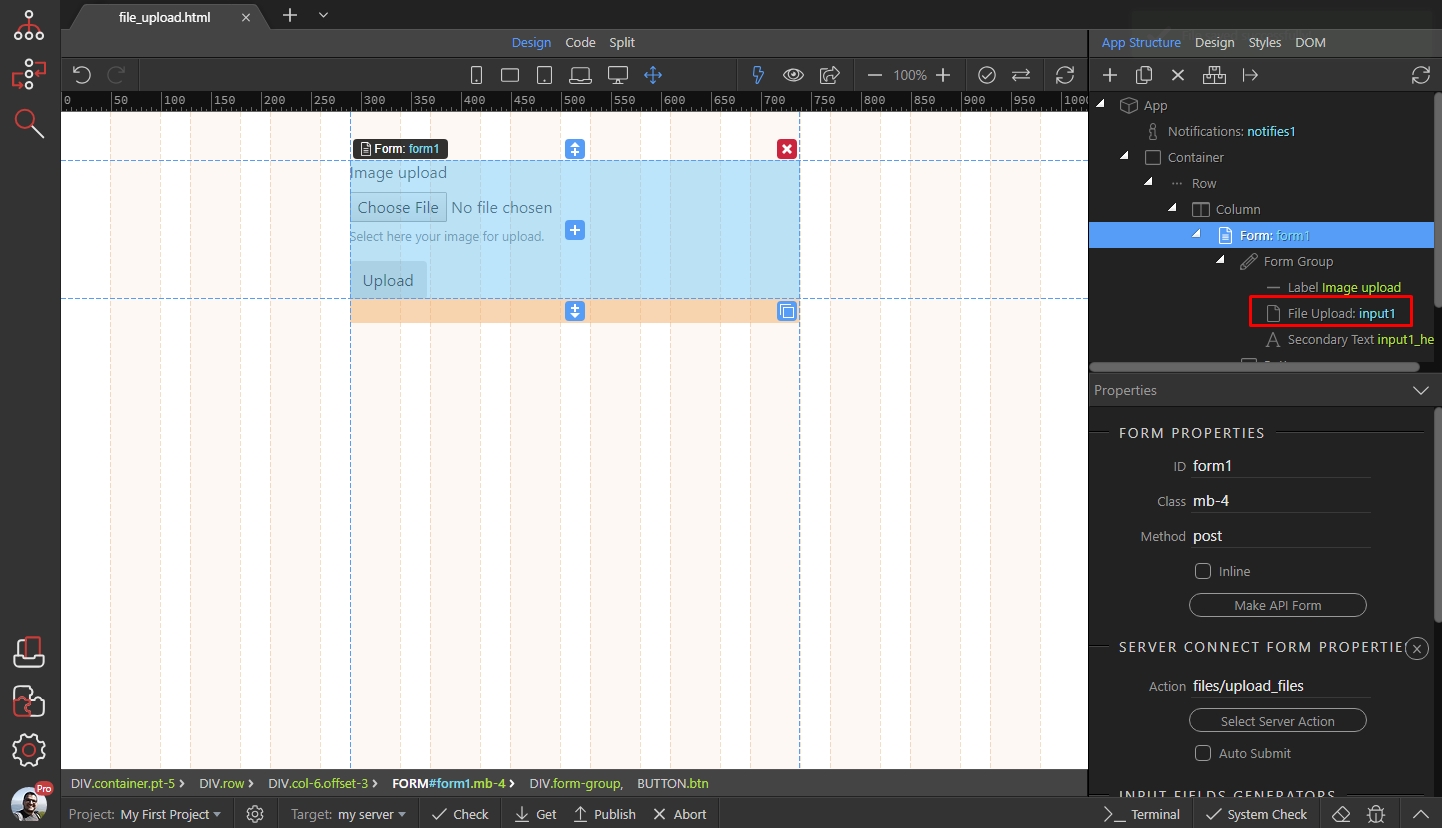
Add new validation rule:
Section titled “Add new validation rule:”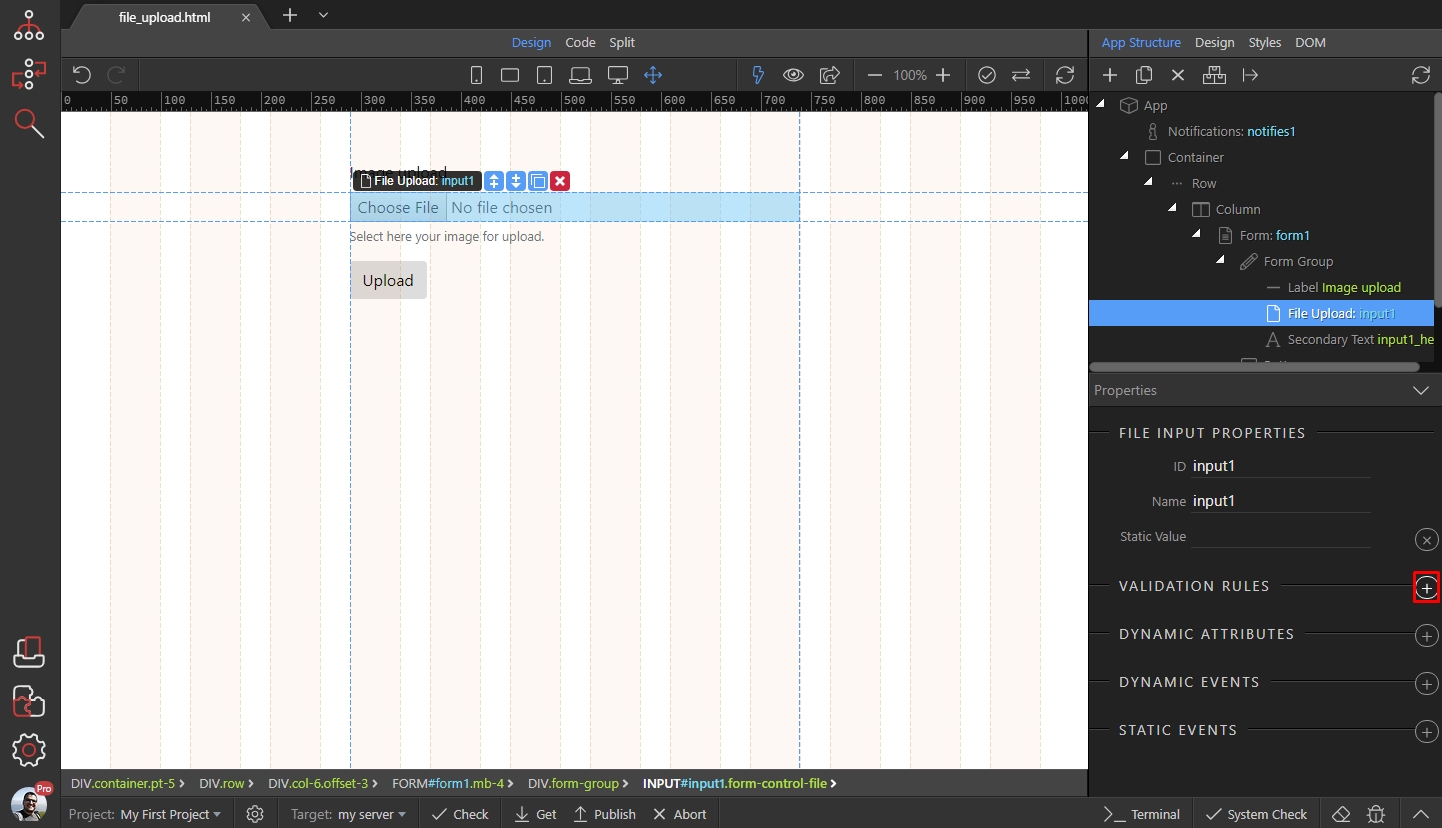
Open the files category and select the accept rule:
Section titled “Open the files category and select the accept rule:”
Then enter a comma separated list of the file types, which are accepted here. We enter .jpg,.png:
Section titled “Then enter a comma separated list of the file types, which are accepted here. We enter .jpg,.png:”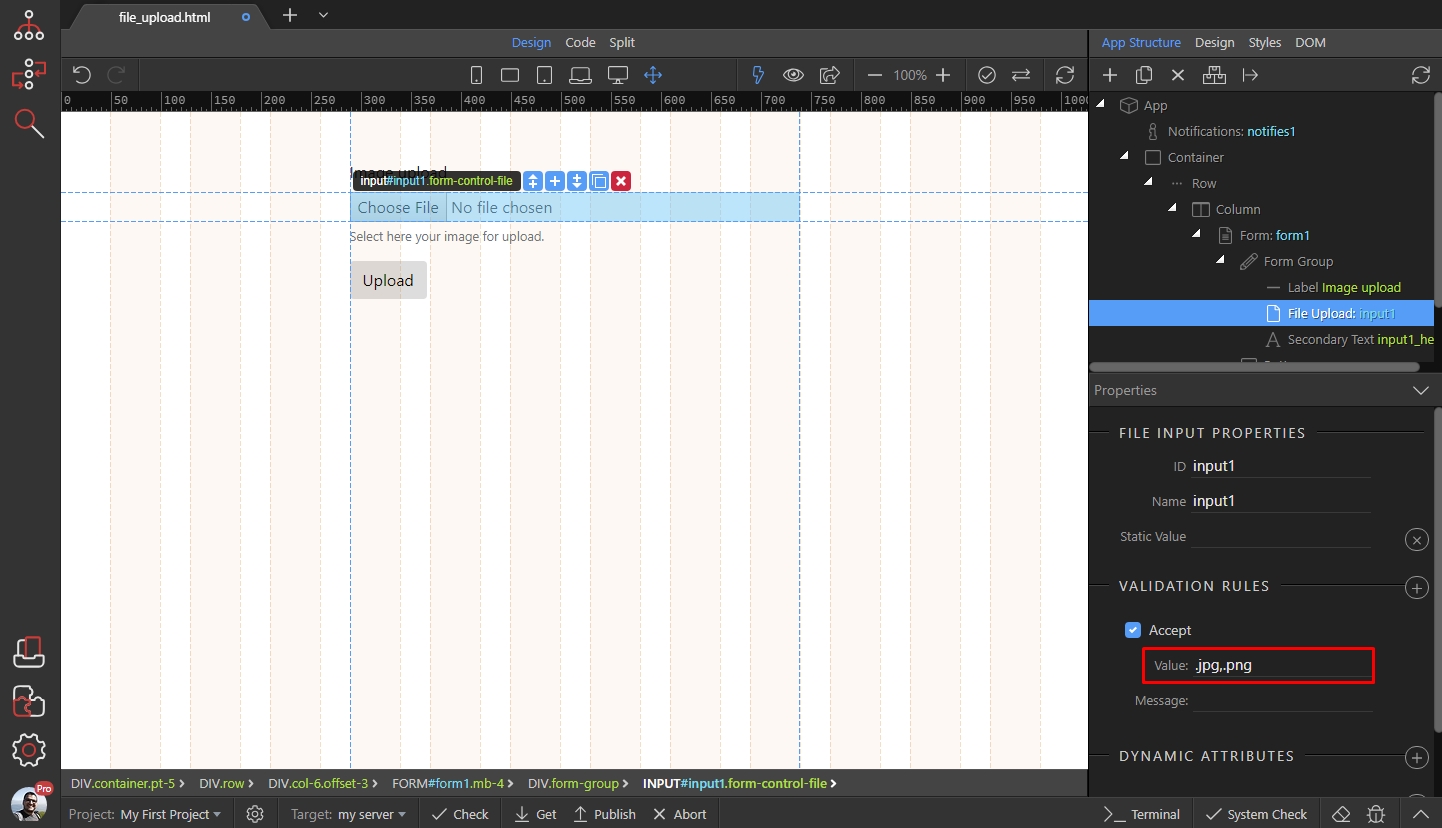
Save your page and open the server connect panel:
Section titled “Save your page and open the server connect panel:”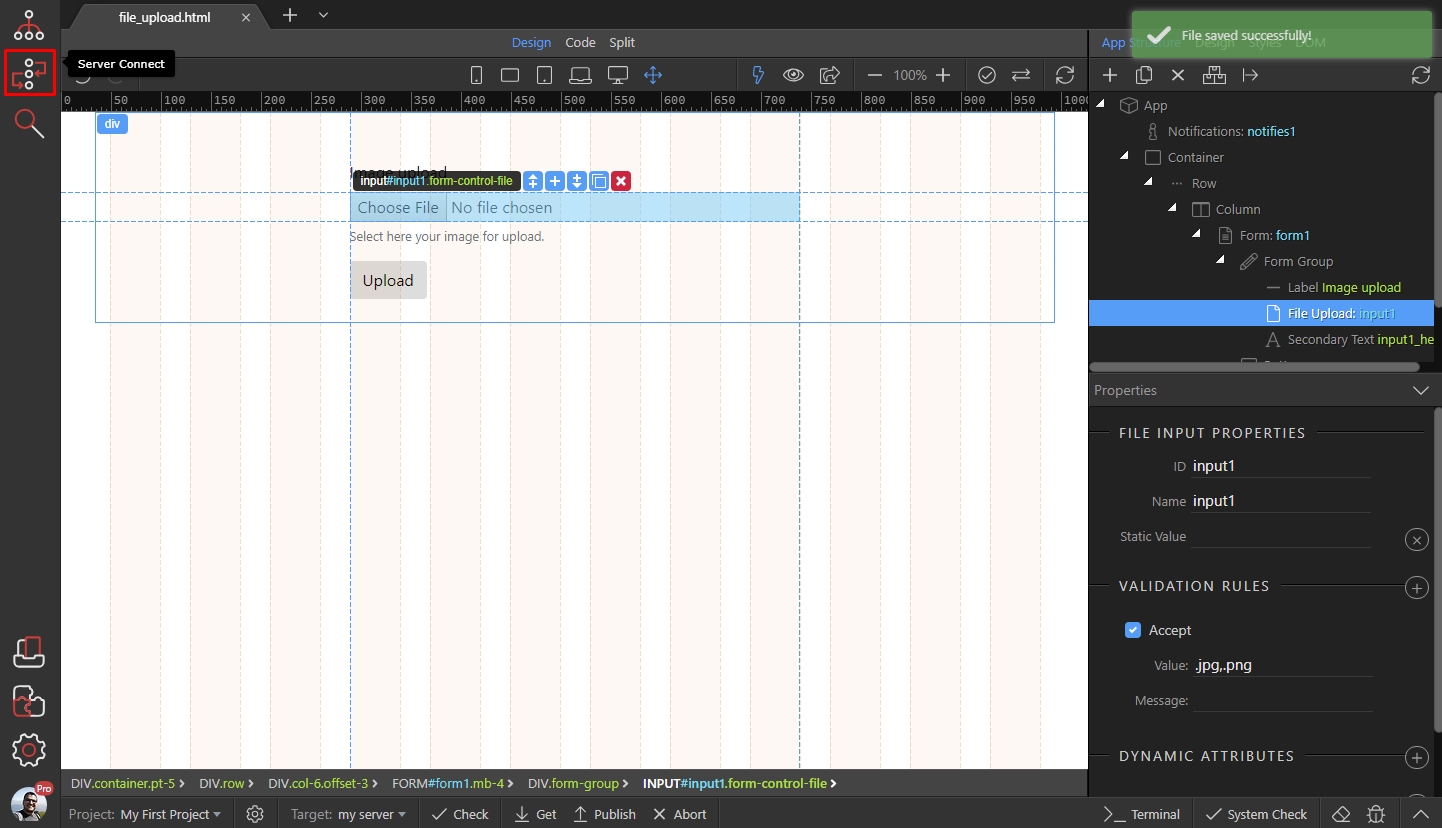
In your file upload action, right click the file upload step:
Section titled “In your file upload action, right click the file upload step:”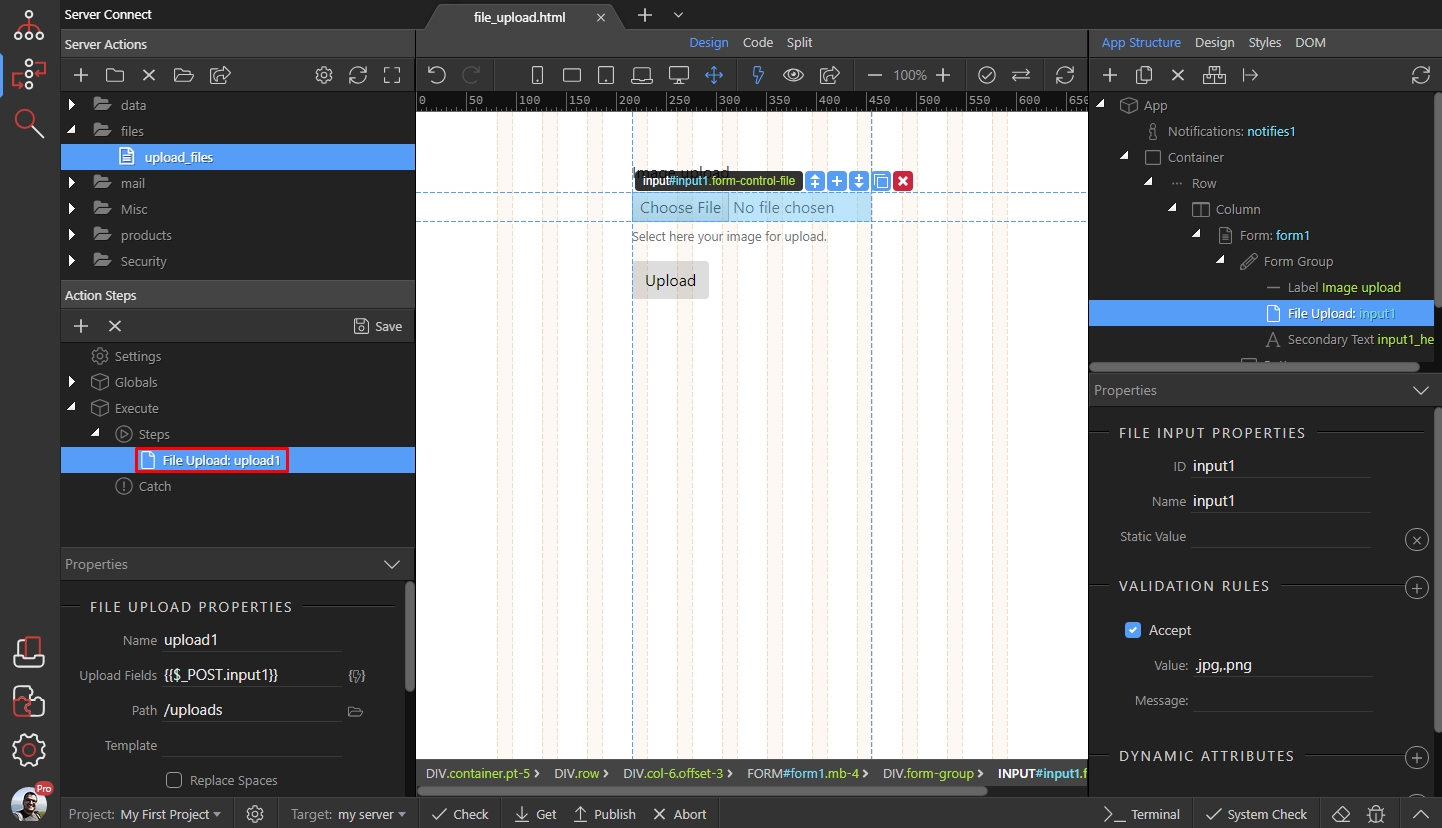
Open Image Processor and select Load Image:
Section titled “Open Image Processor and select Load Image:”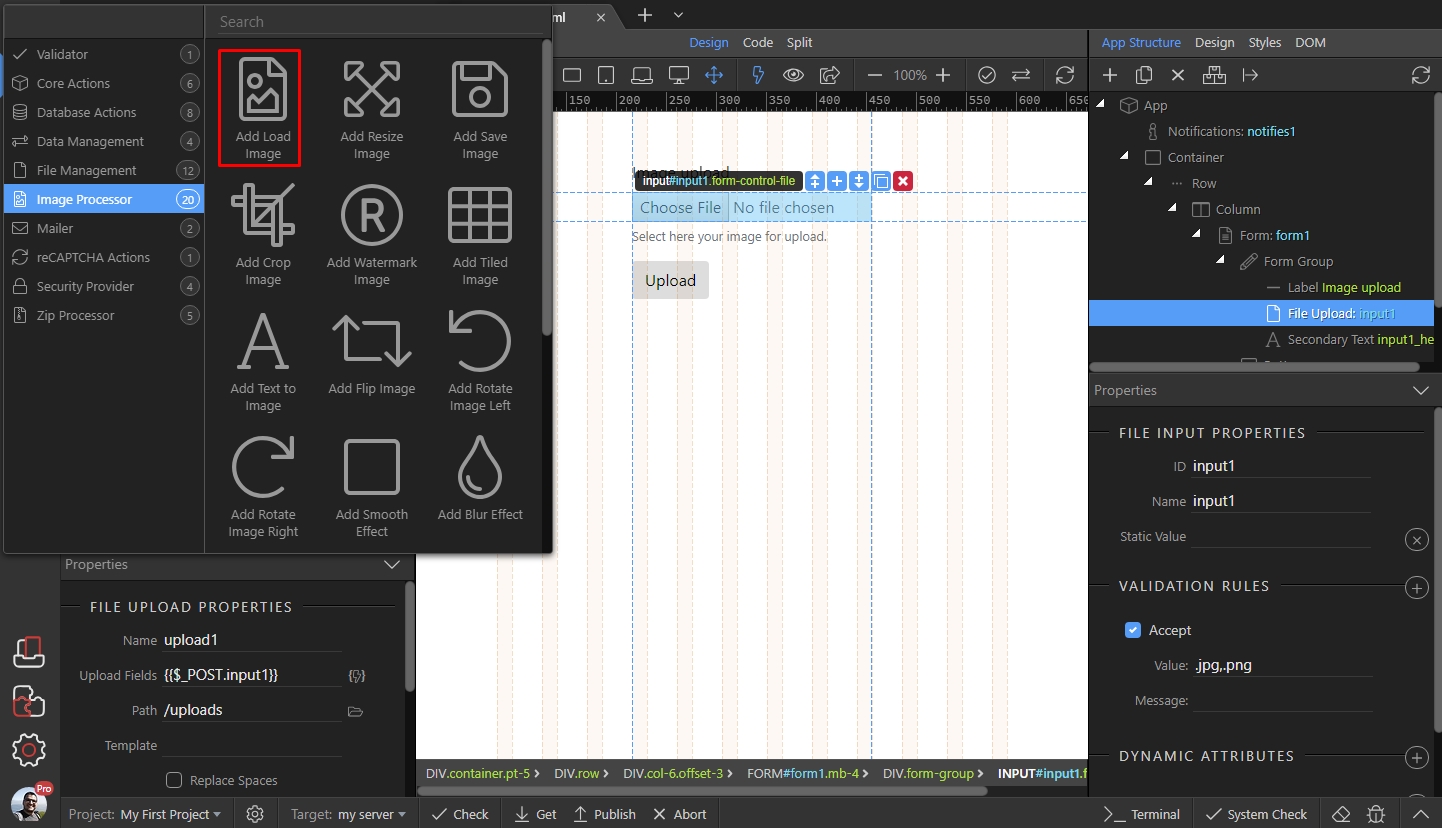
This step is used to load the uploaded image for processing. Click the dynamic data picker:
Section titled “This step is used to load the uploaded image for processing. Click the dynamic data picker:”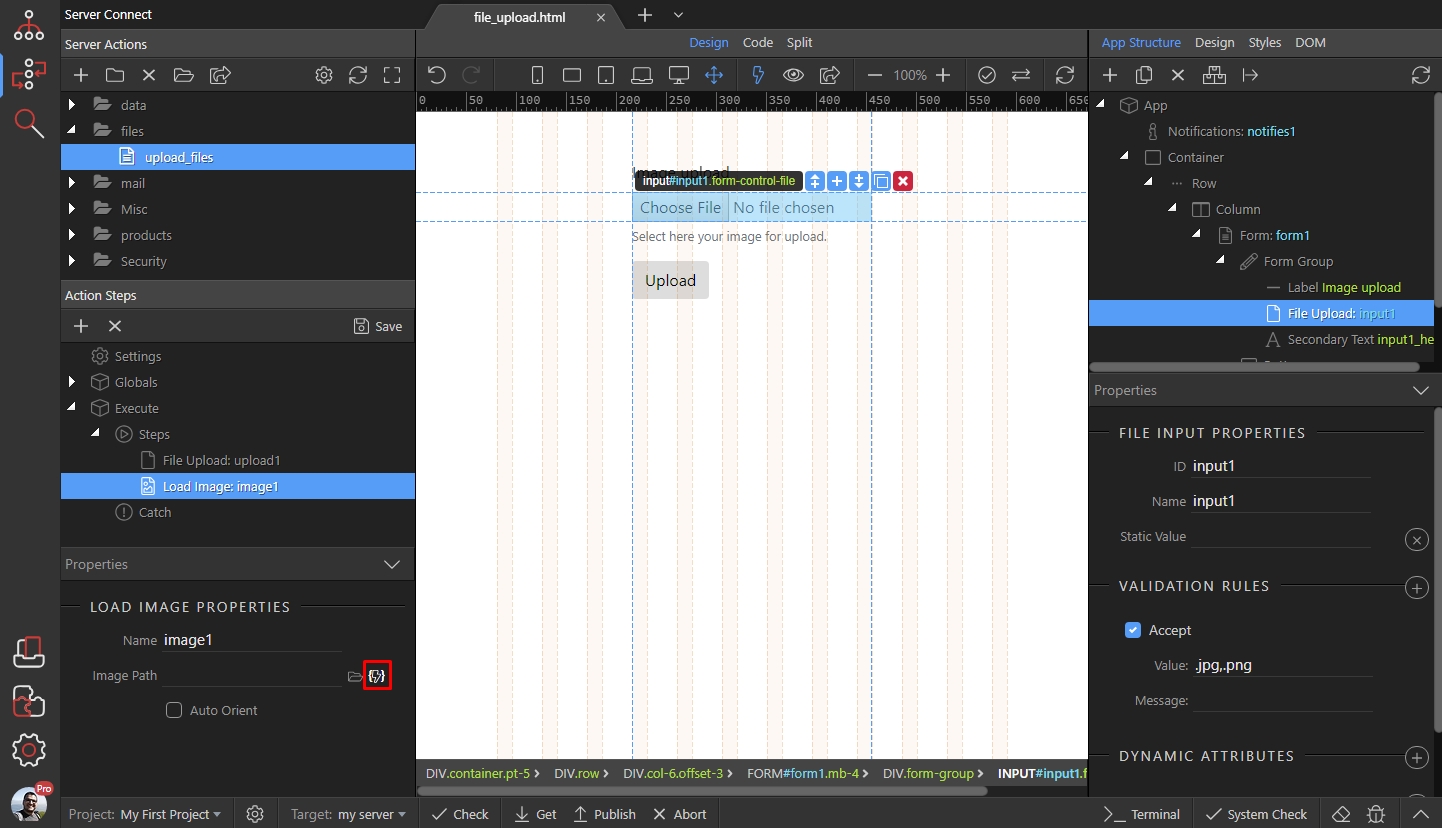
Under the File Upload step, select path:
Section titled “Under the File Upload step, select path:”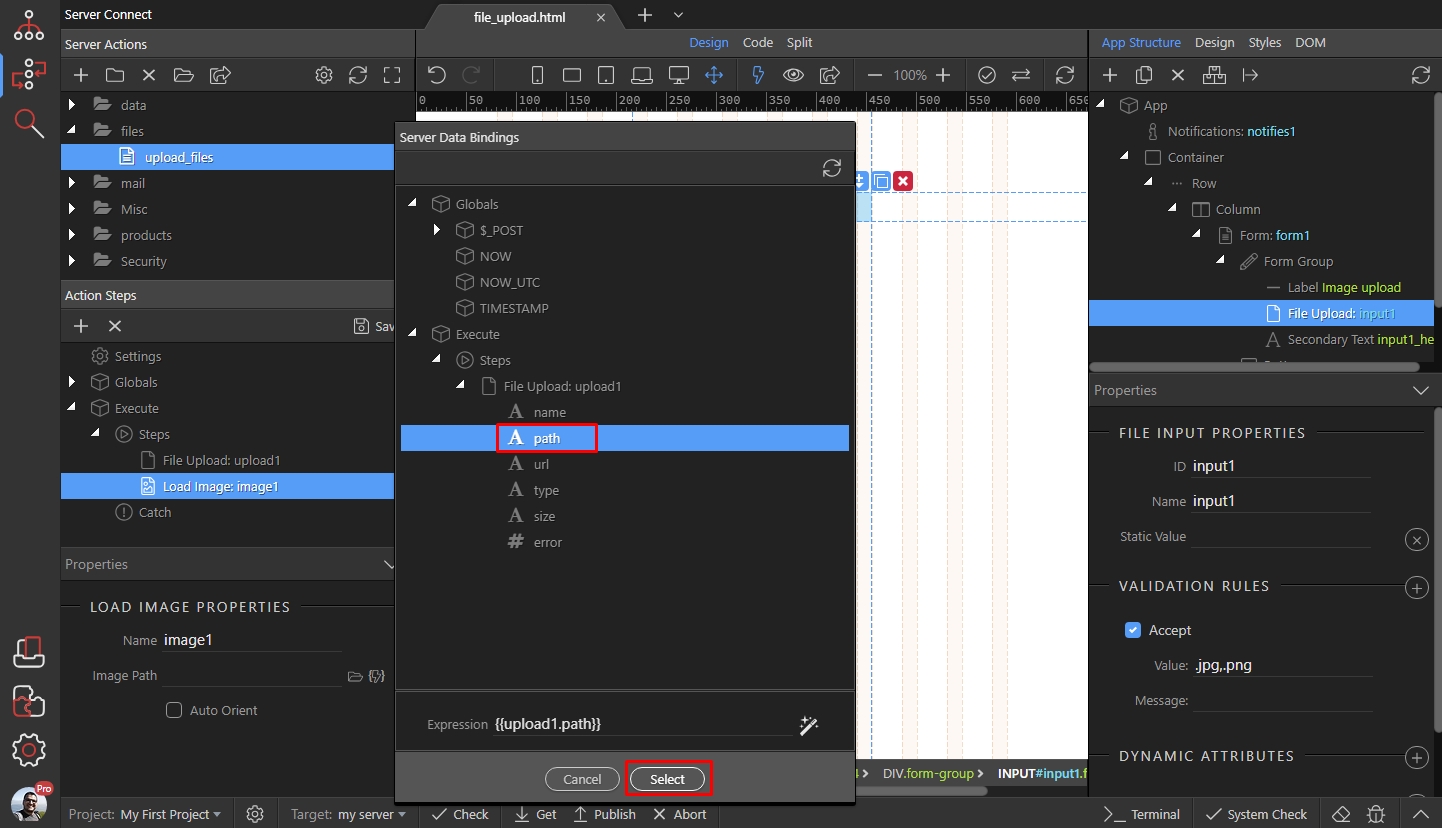
Step 10
Section titled “Step 10”Enable the Auto Orient option, if you are planning to upload photos taken with a mobile phone. This option will ensure that the original orientation of the images (portrait/landscape) will be kept, when processing the image:

Right click the load image step:
Section titled “Right click the load image step:”
And add image resize:
Section titled “And add image resize:”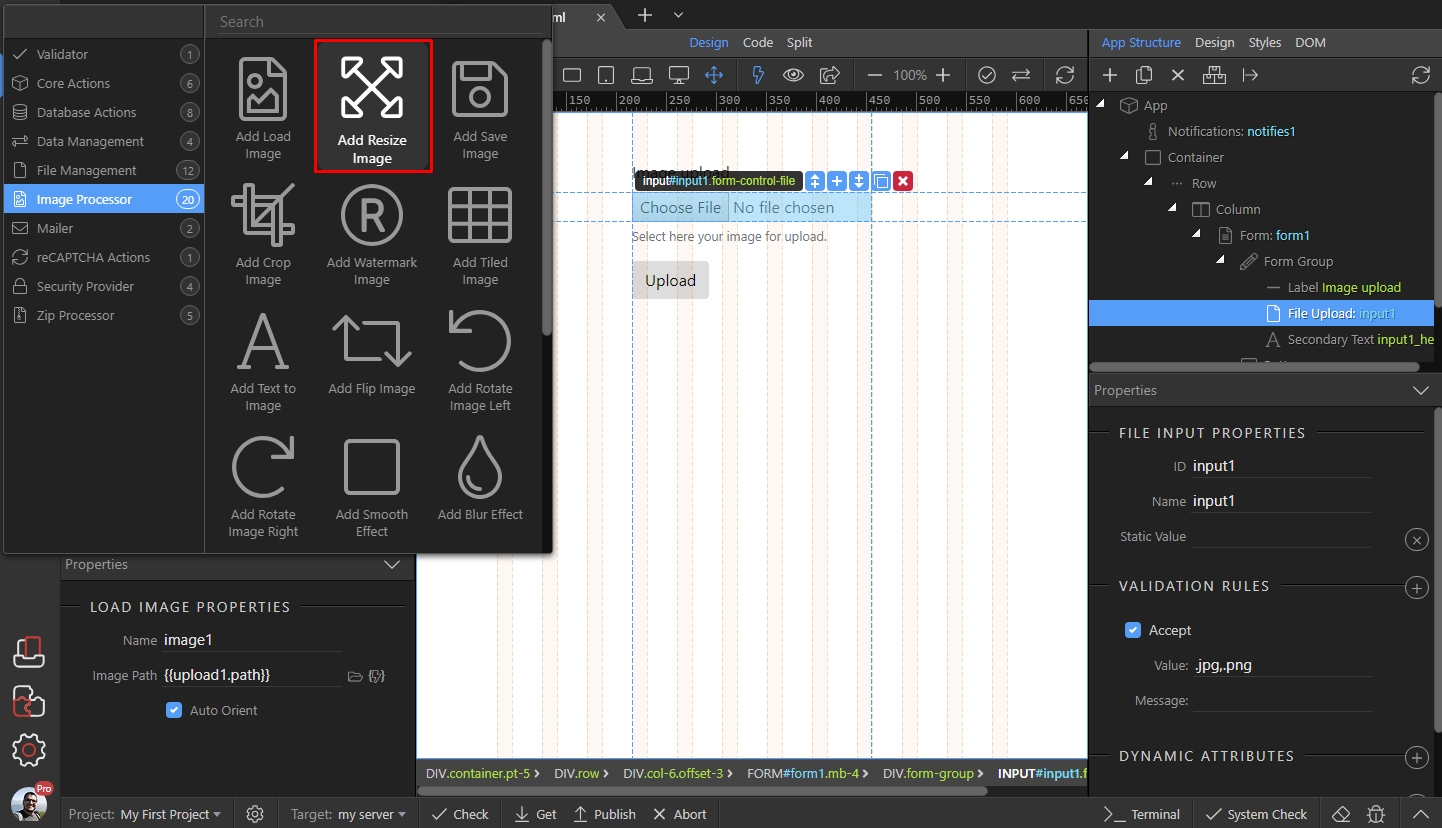
Enter the width and/or height for your image. We set the width to 1200px and leave the height field to auto:
Section titled “Enter the width and/or height for your image. We set the width to 1200px and leave the height field to auto:”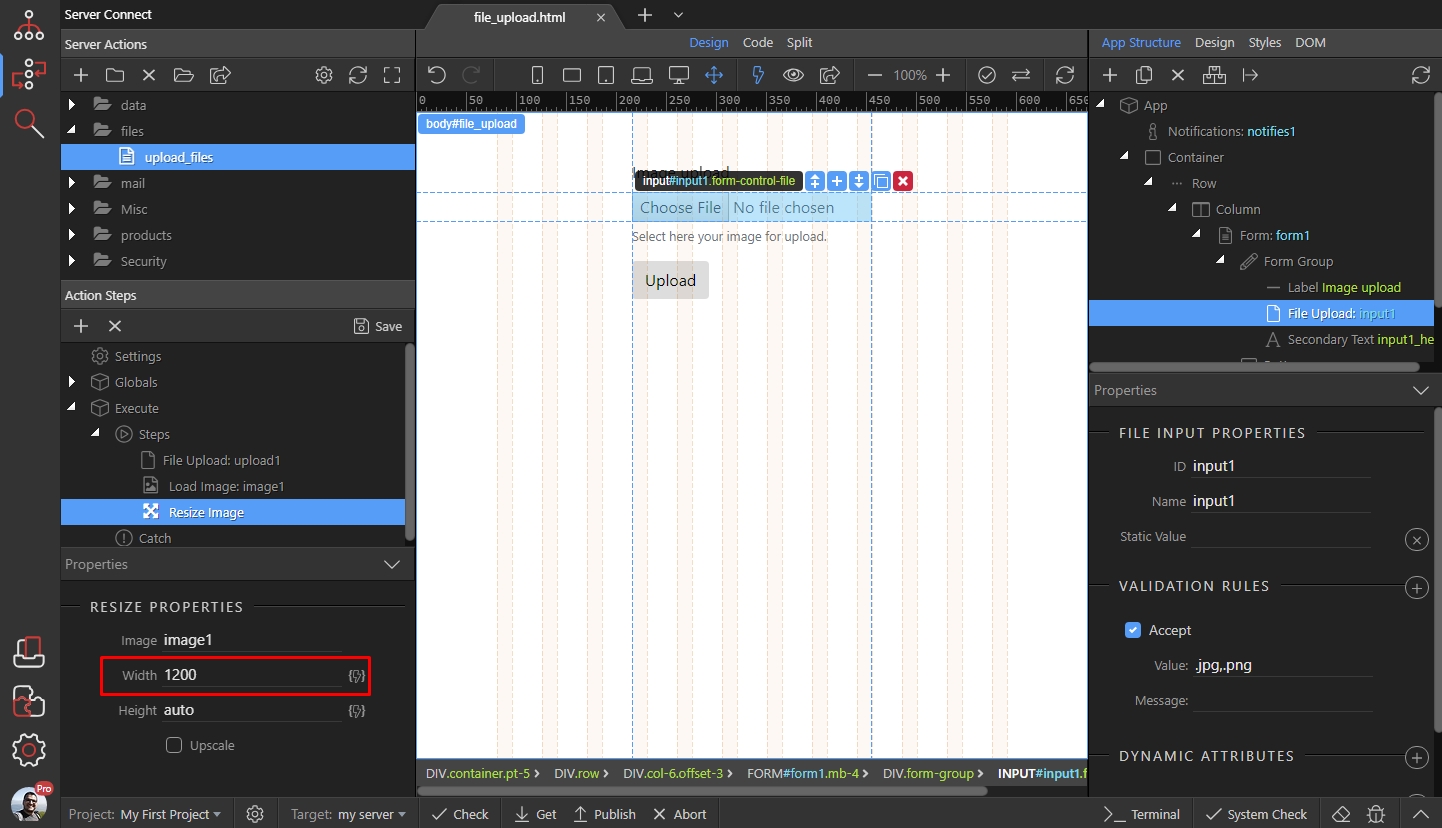
Right click the resize step:
Section titled “Right click the resize step:”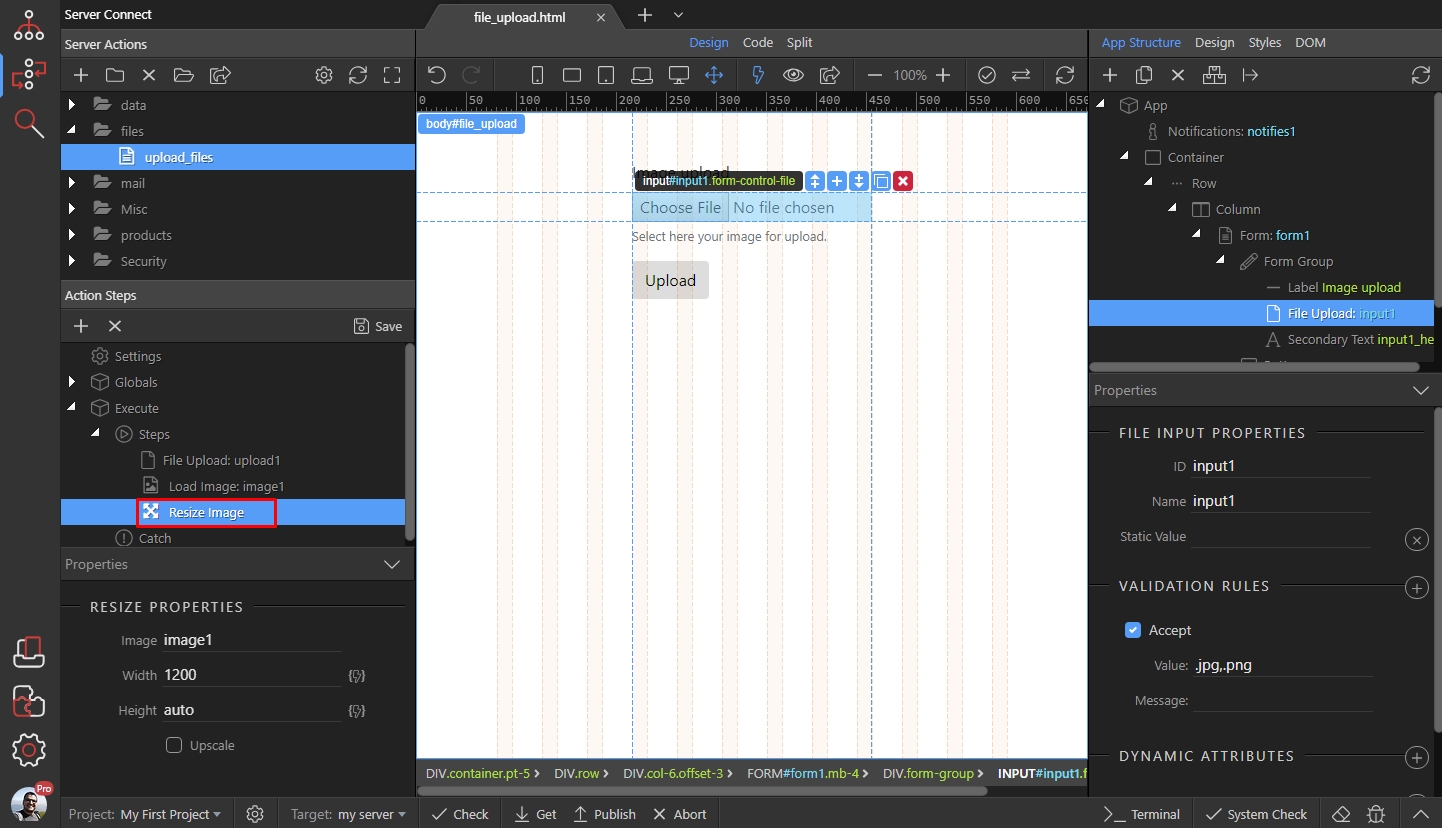
In the image processor category select Save Image:
Section titled “In the image processor category select Save Image:”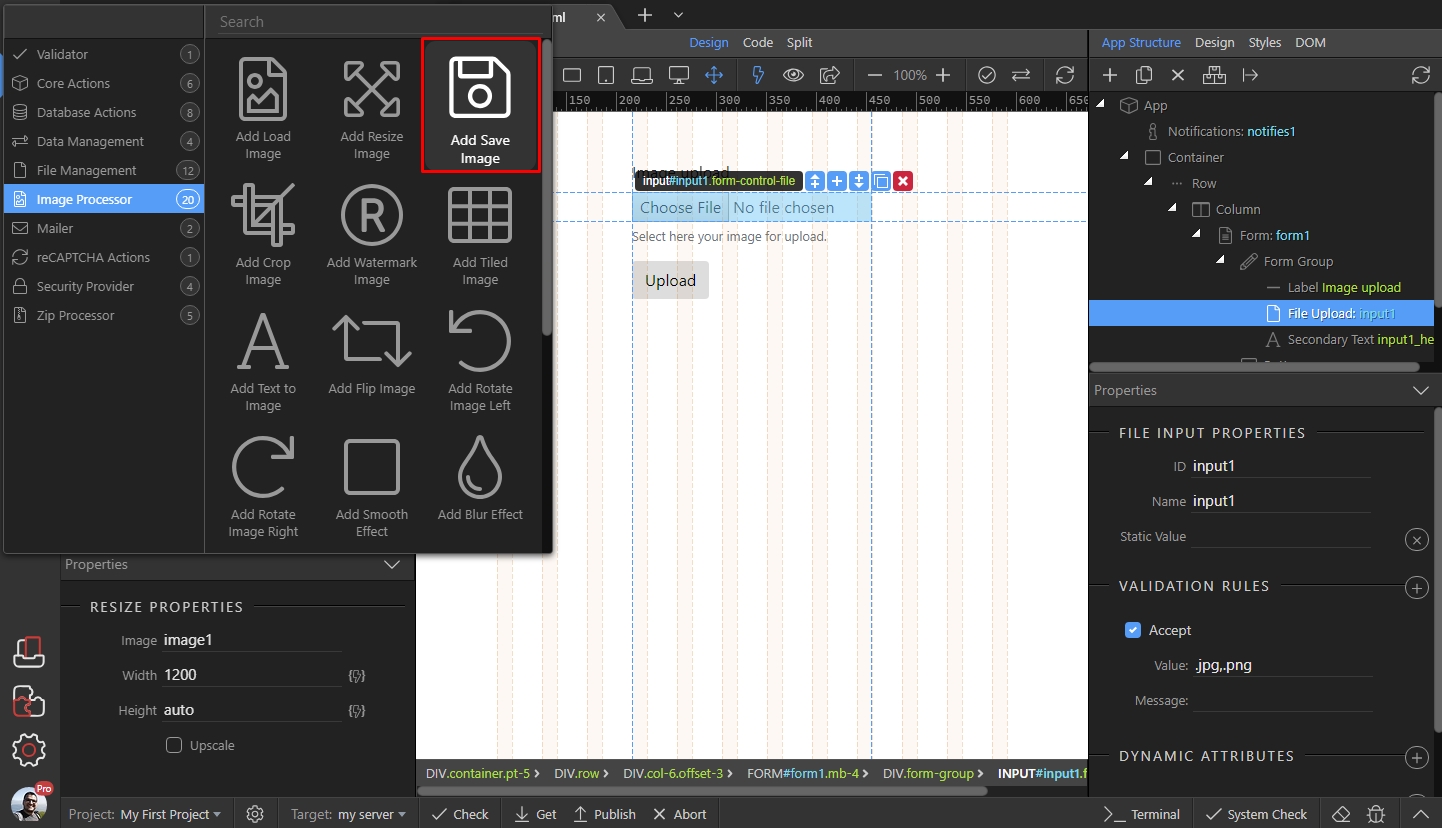
Select the format you want to save the image as and set the quality (from 1 to 100):
Section titled “Select the format you want to save the image as and set the quality (from 1 to 100):”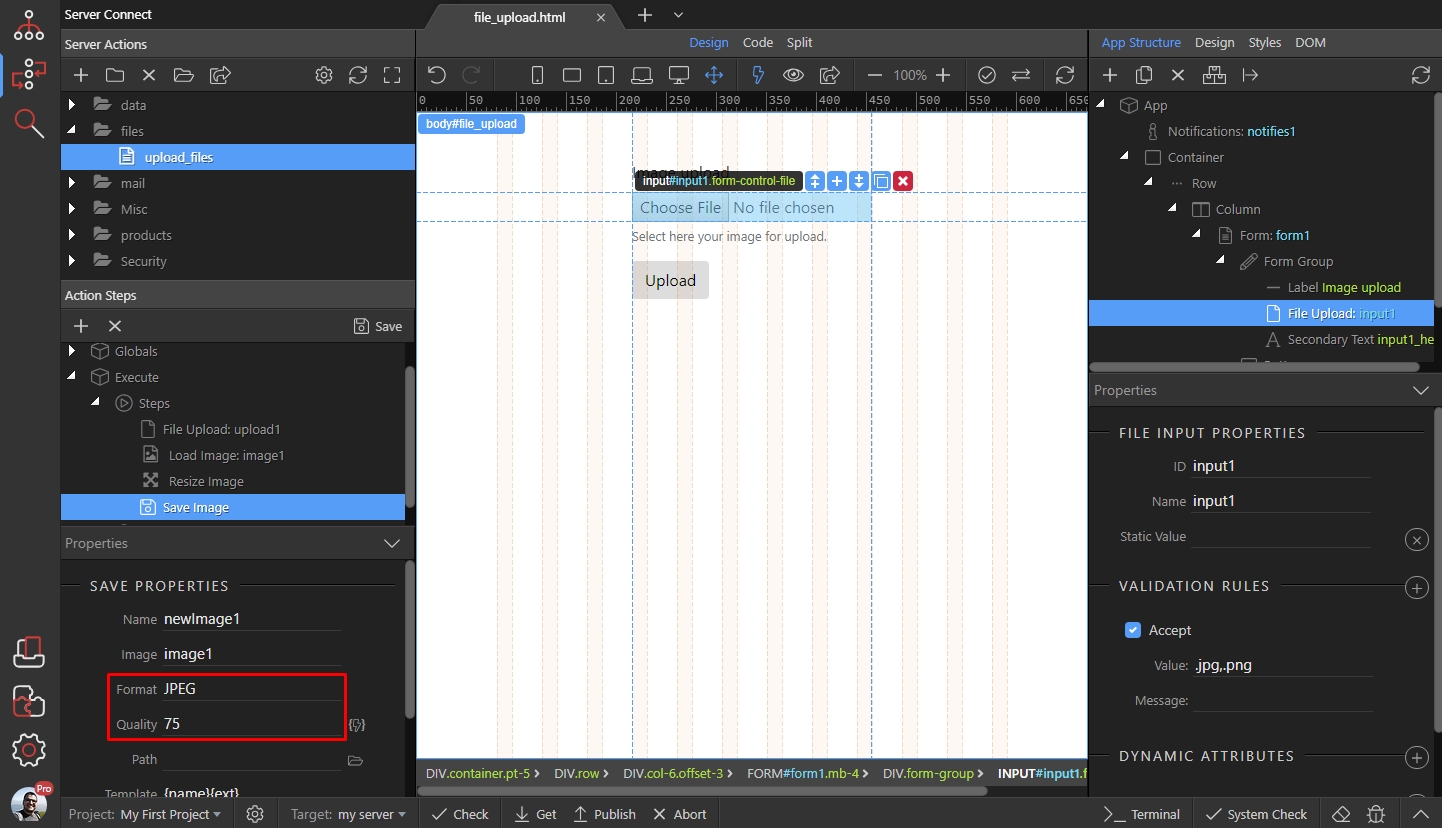
Select the folder where you want this image saved:
Section titled “Select the folder where you want this image saved:”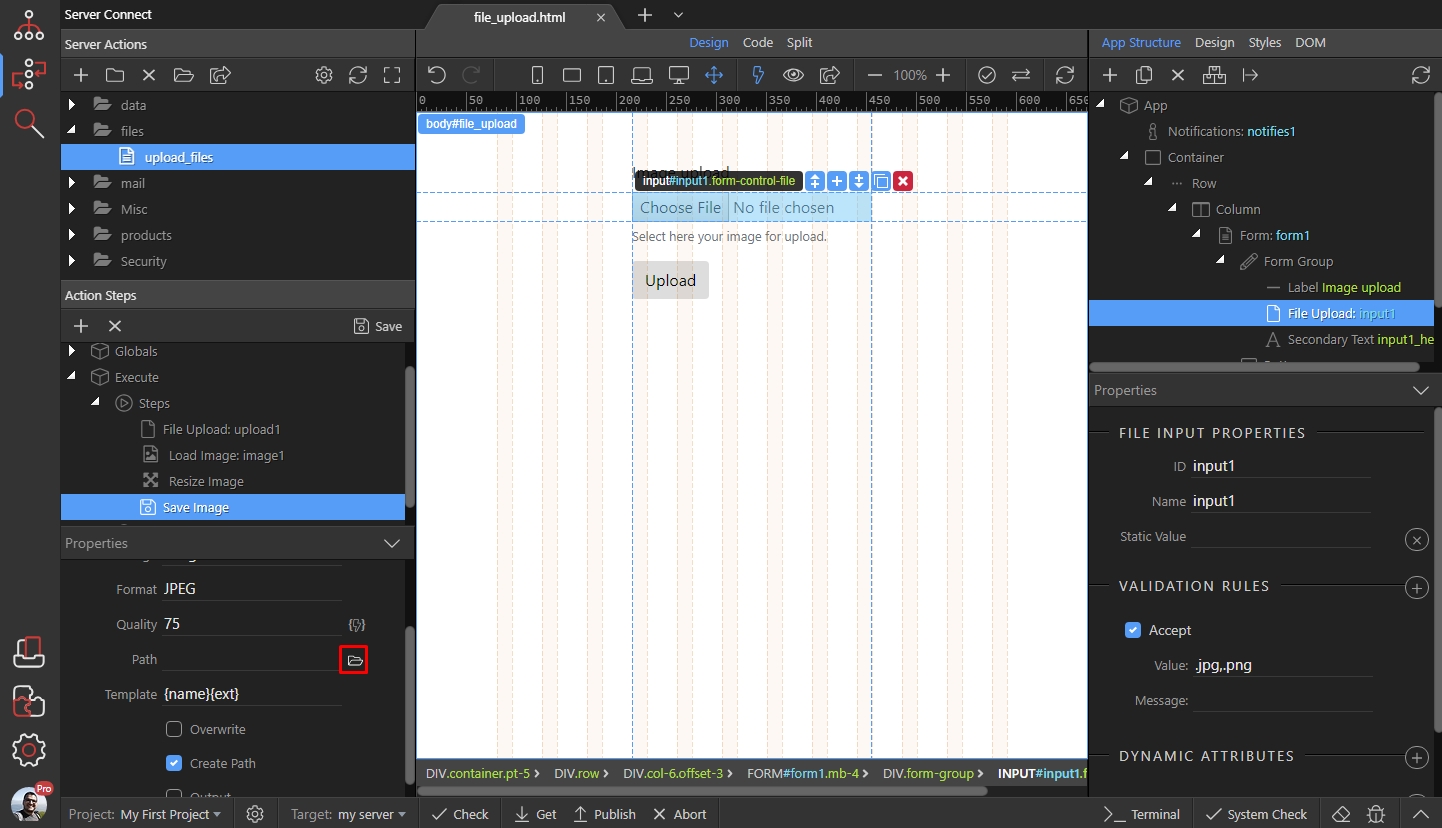
Step 18
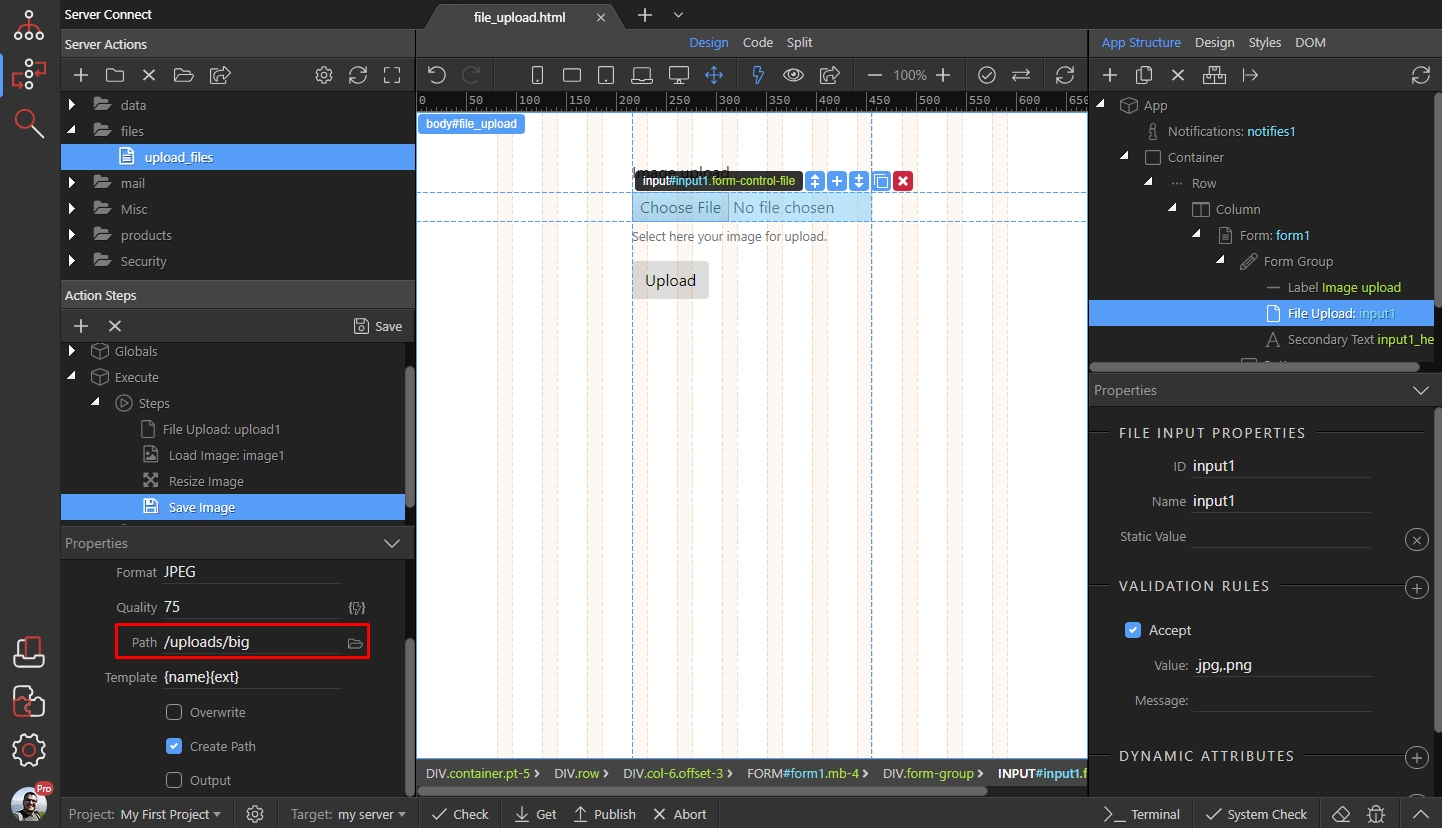
Section titled “Step 18”We save it in a different folder, than the upload step uploads the files to. This way we keep the originally uploaded file and the resized one in another folder.
If you want to overwrite the original image with the resized one, save it in the same folder as the upload step is uploading it to and enable the Overwrite option:
Now, let’s setup the thumbnail creation. Right click the save image step:
Section titled “Now, let’s setup the thumbnail creation. Right click the save image step:”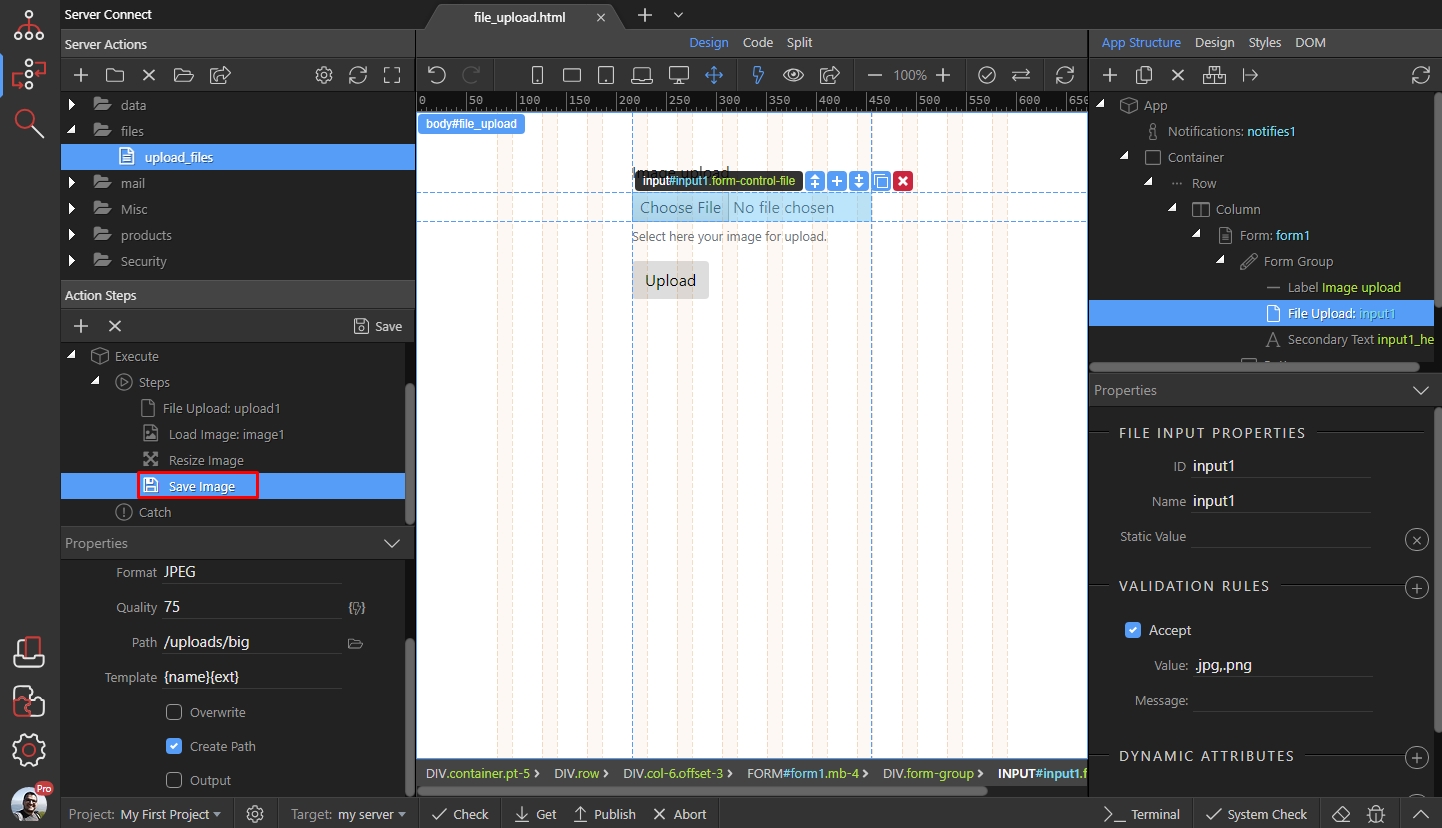
Step 20
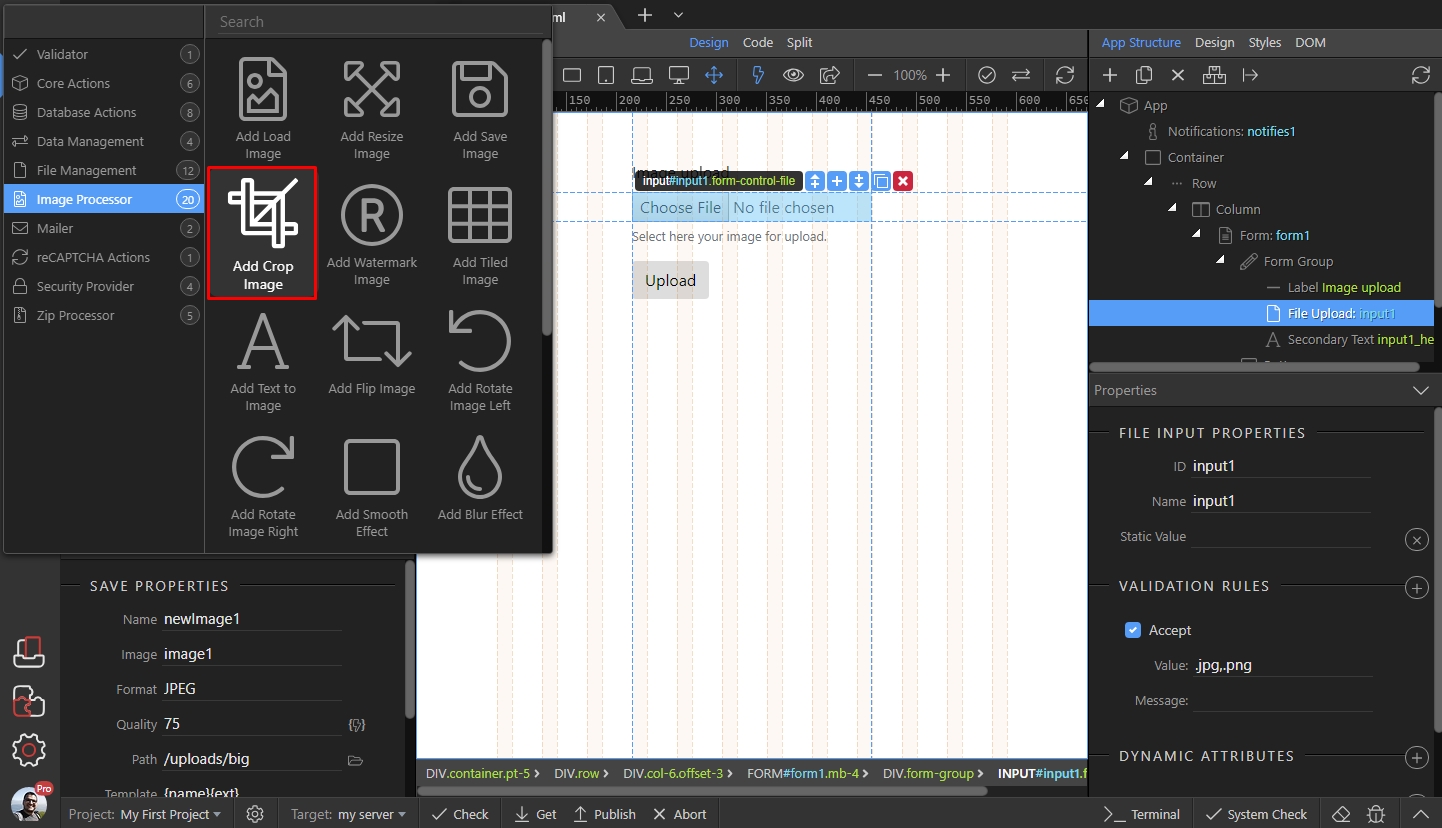
Section titled “Step 20”Open Image processor category and add Crop Image (you can use the resize image option as well, but we want our thumb to be specific dimensions):
Step 21
Section titled “Step 21”Note that the image source for the crop is the image, coming from the Load Image step named image1. In our case this is the originally uploaded image, but if you overwrite it with the resized version as explained above - the resized image will be used as a source.
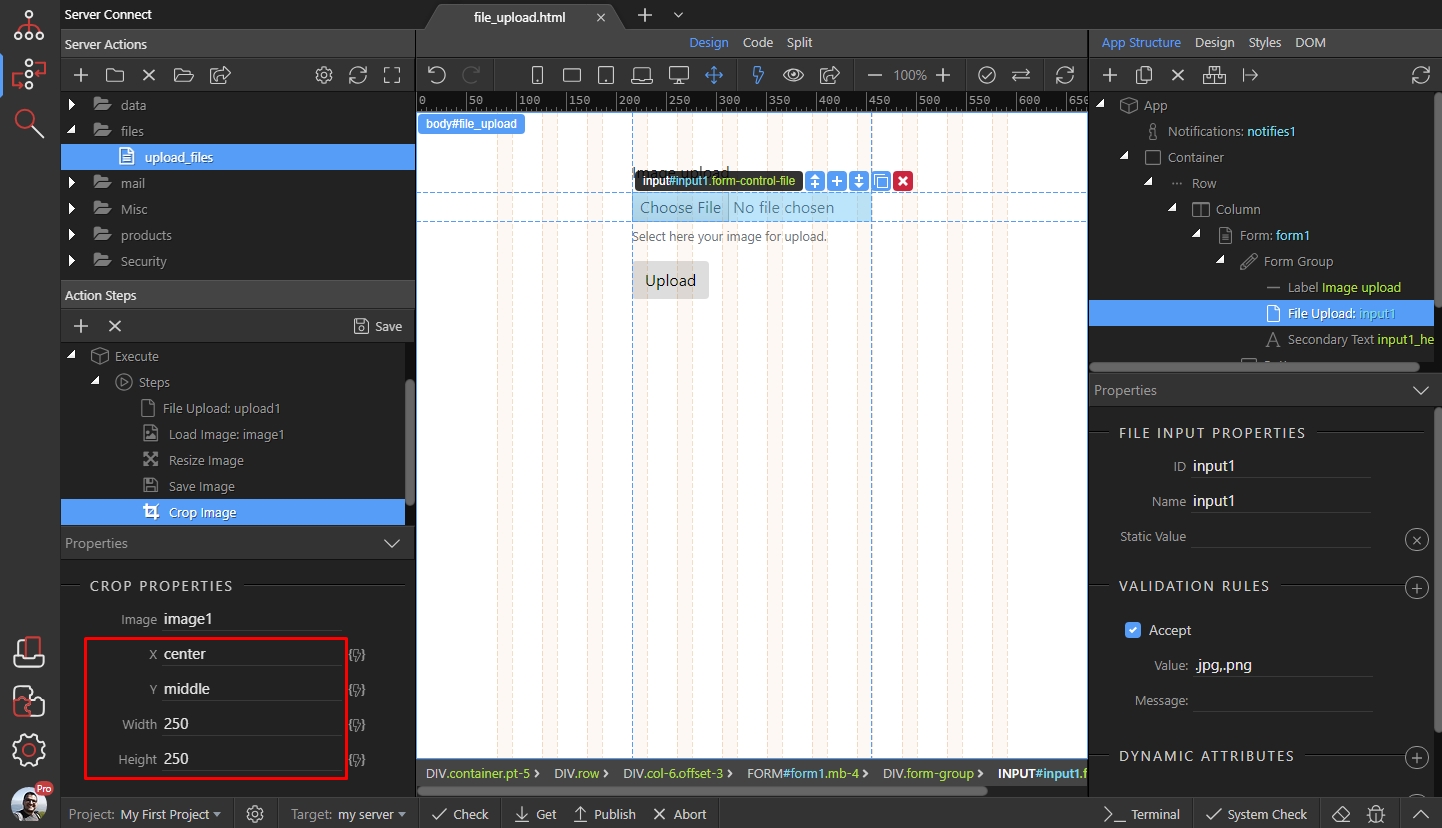
Select the crop position and size. We set the crop position to center/middle and the size to 250x250px:
Then right click the crop step, and add save image step:
Section titled “Then right click the crop step, and add save image step:”
Select where to save the “crop” version (the thumbnail):
Section titled “Select where to save the “crop” version (the thumbnail):”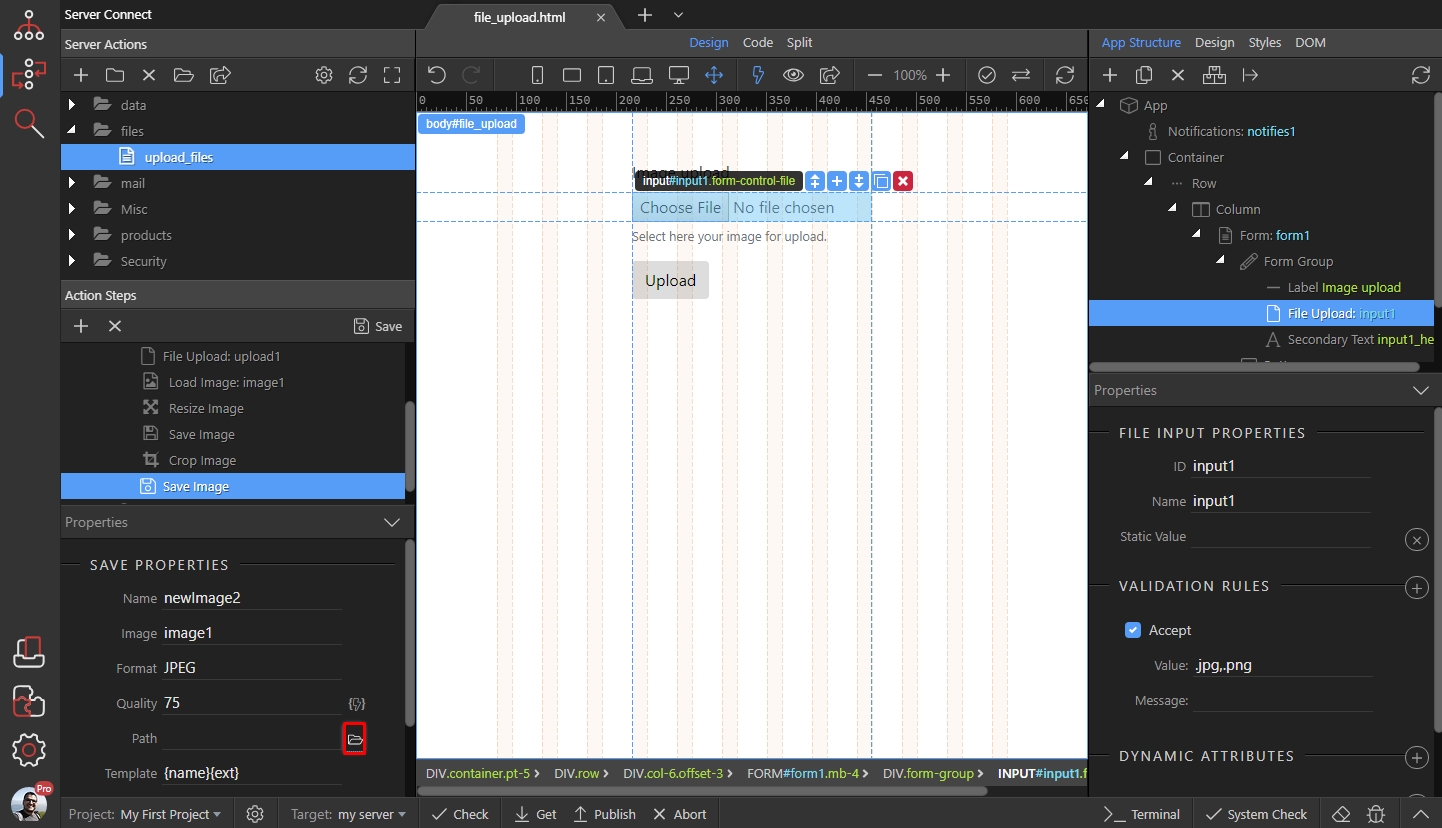
Step 24
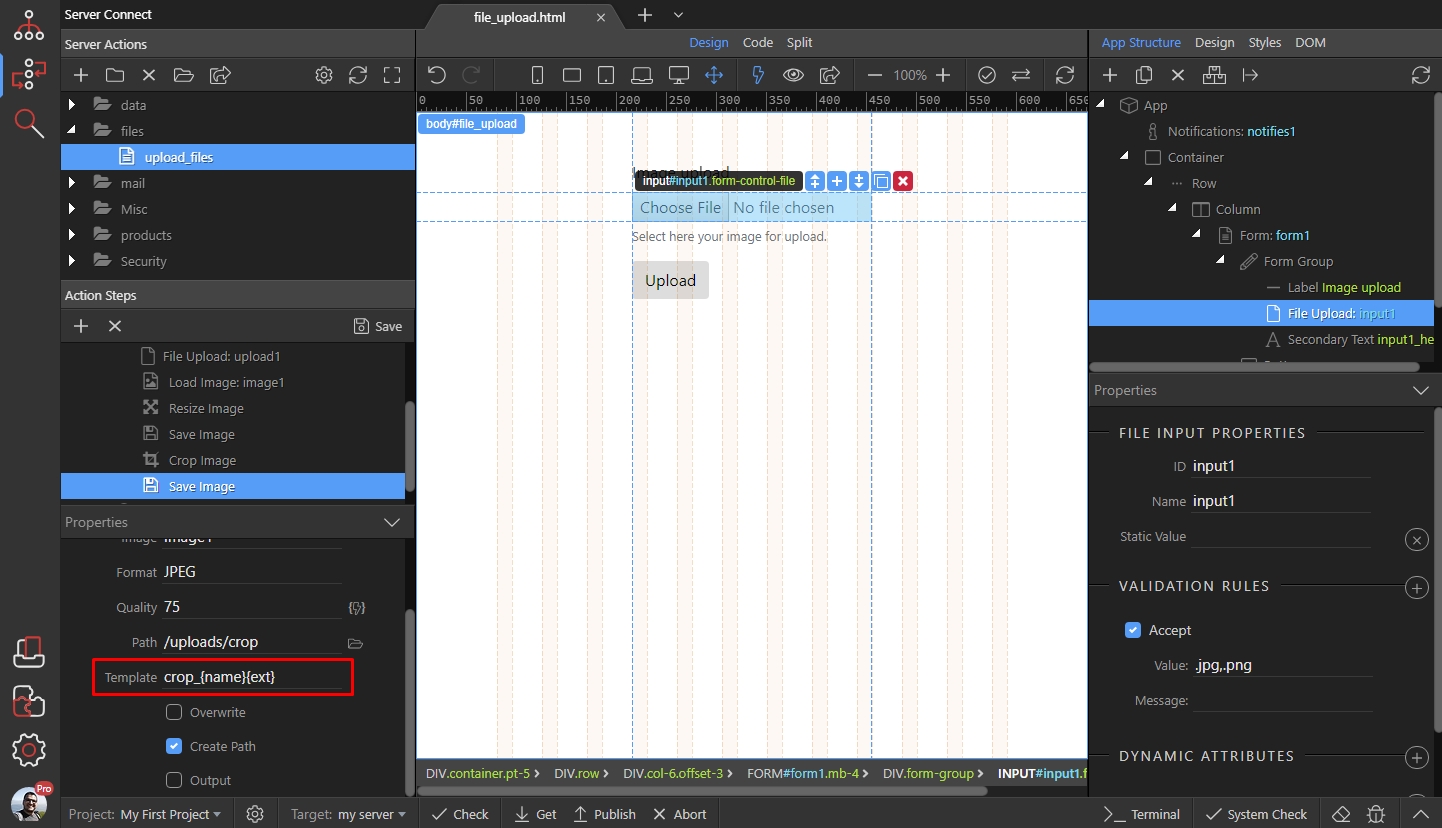
Section titled “Step 24”If you save the thumbnail image in the same destination as the resized image, you can use a prefix like crop_ in the name mask.
This will save the image as crop_myimage.jpg. This is useful if you store your image names in the database, so they are always using the same names and the thumbnail has its own prefix:
Save your server action and you are done!
Section titled “Save your server action and you are done!”