Database: Delete (Updater)
Use the Database Updater dialog (opened from a dbupdater DELETE step) to define WHERE rules and review conceptual SQL preview.
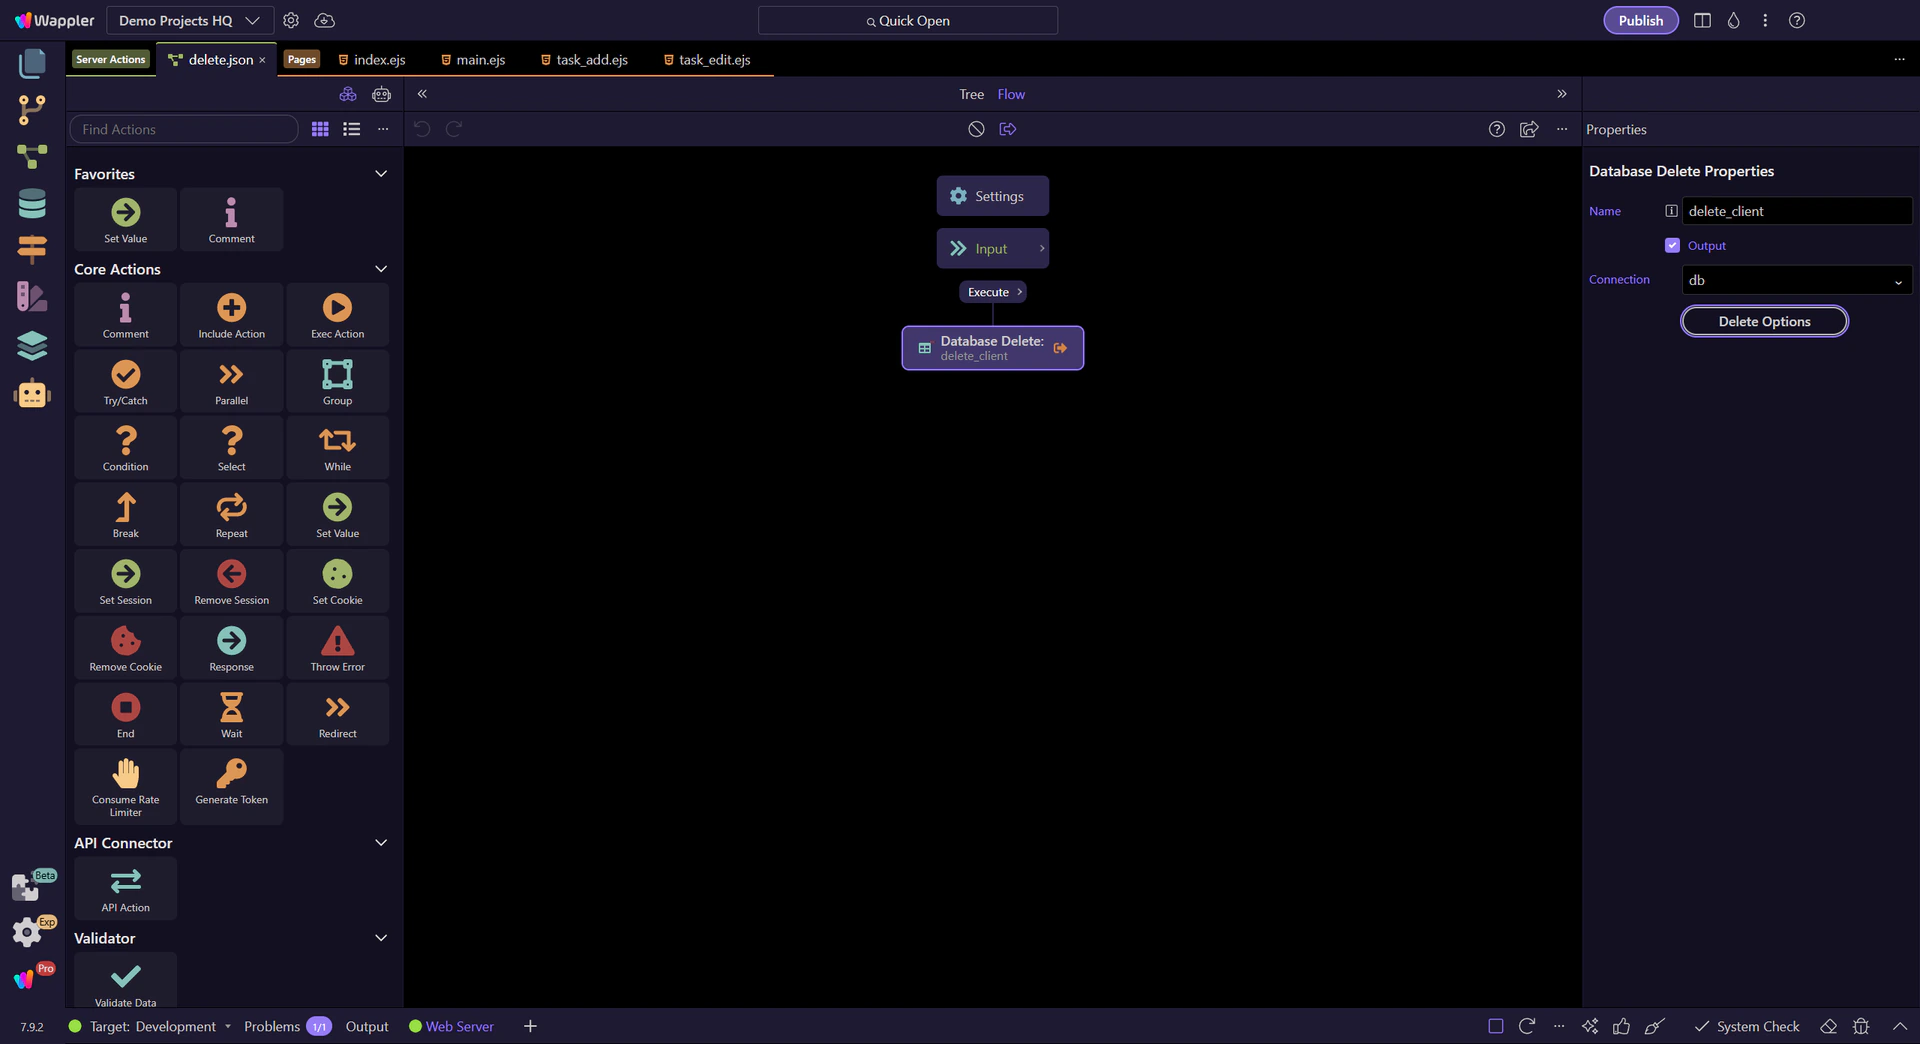
The Demo Projects HQ DELETE action opens
Loading the real clients/delete.json action from Demo Projects HQ so the Updater dialog uses the project’s live database connection and schema.
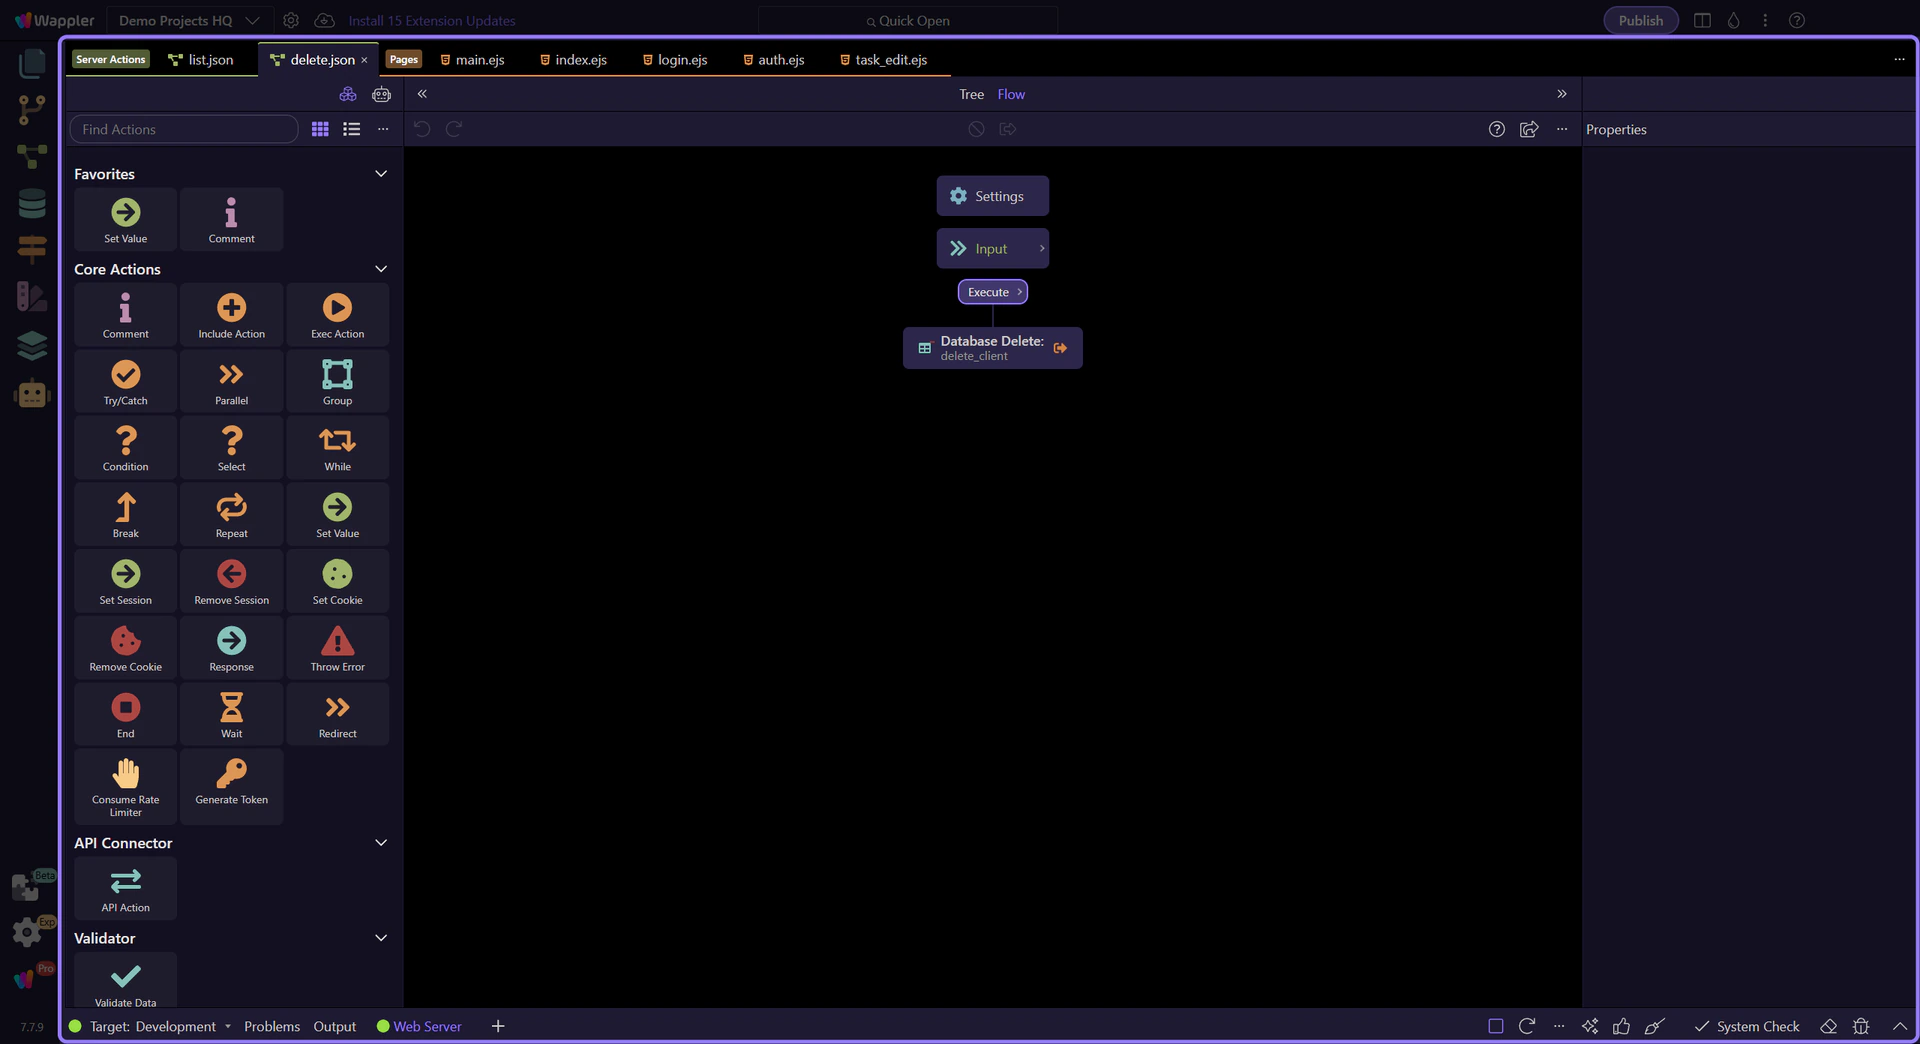
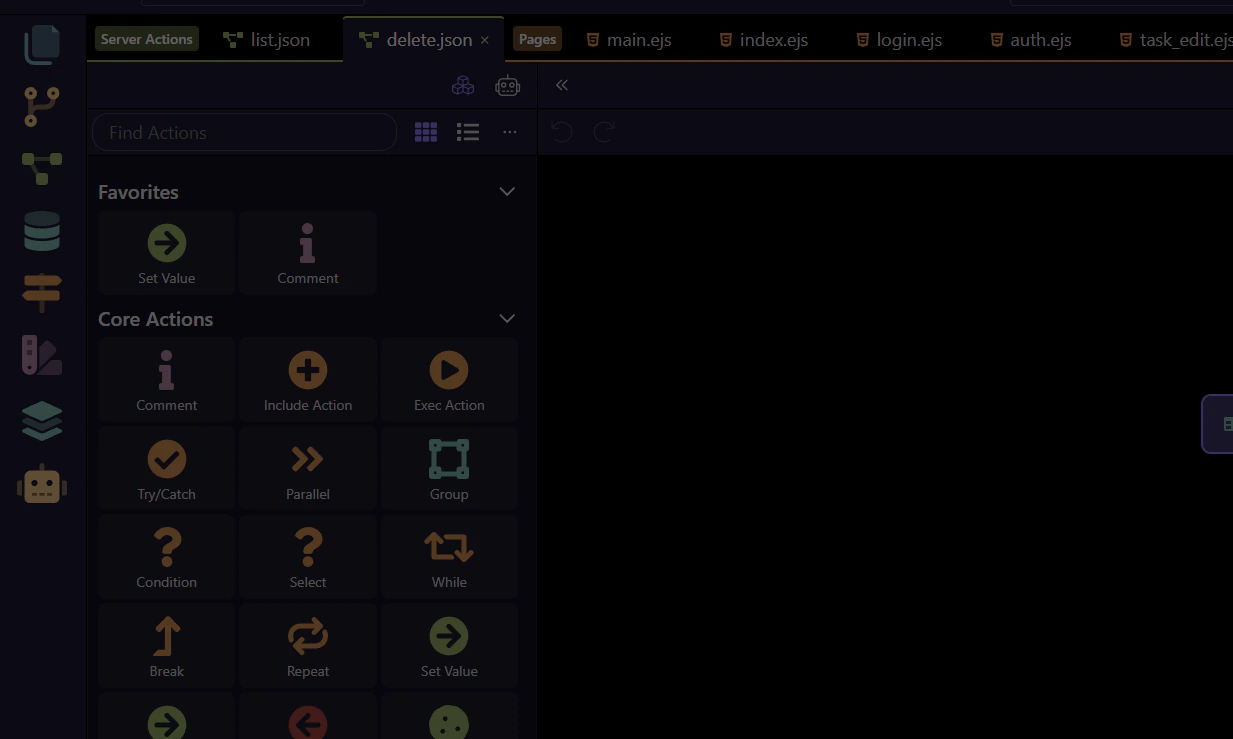
The Server Connect editor is now the focus
The action now opens in the dedicated Server Connect editor. Collapse the manager so the workflow tree and Properties panel become the clear focus before selecting the database step.

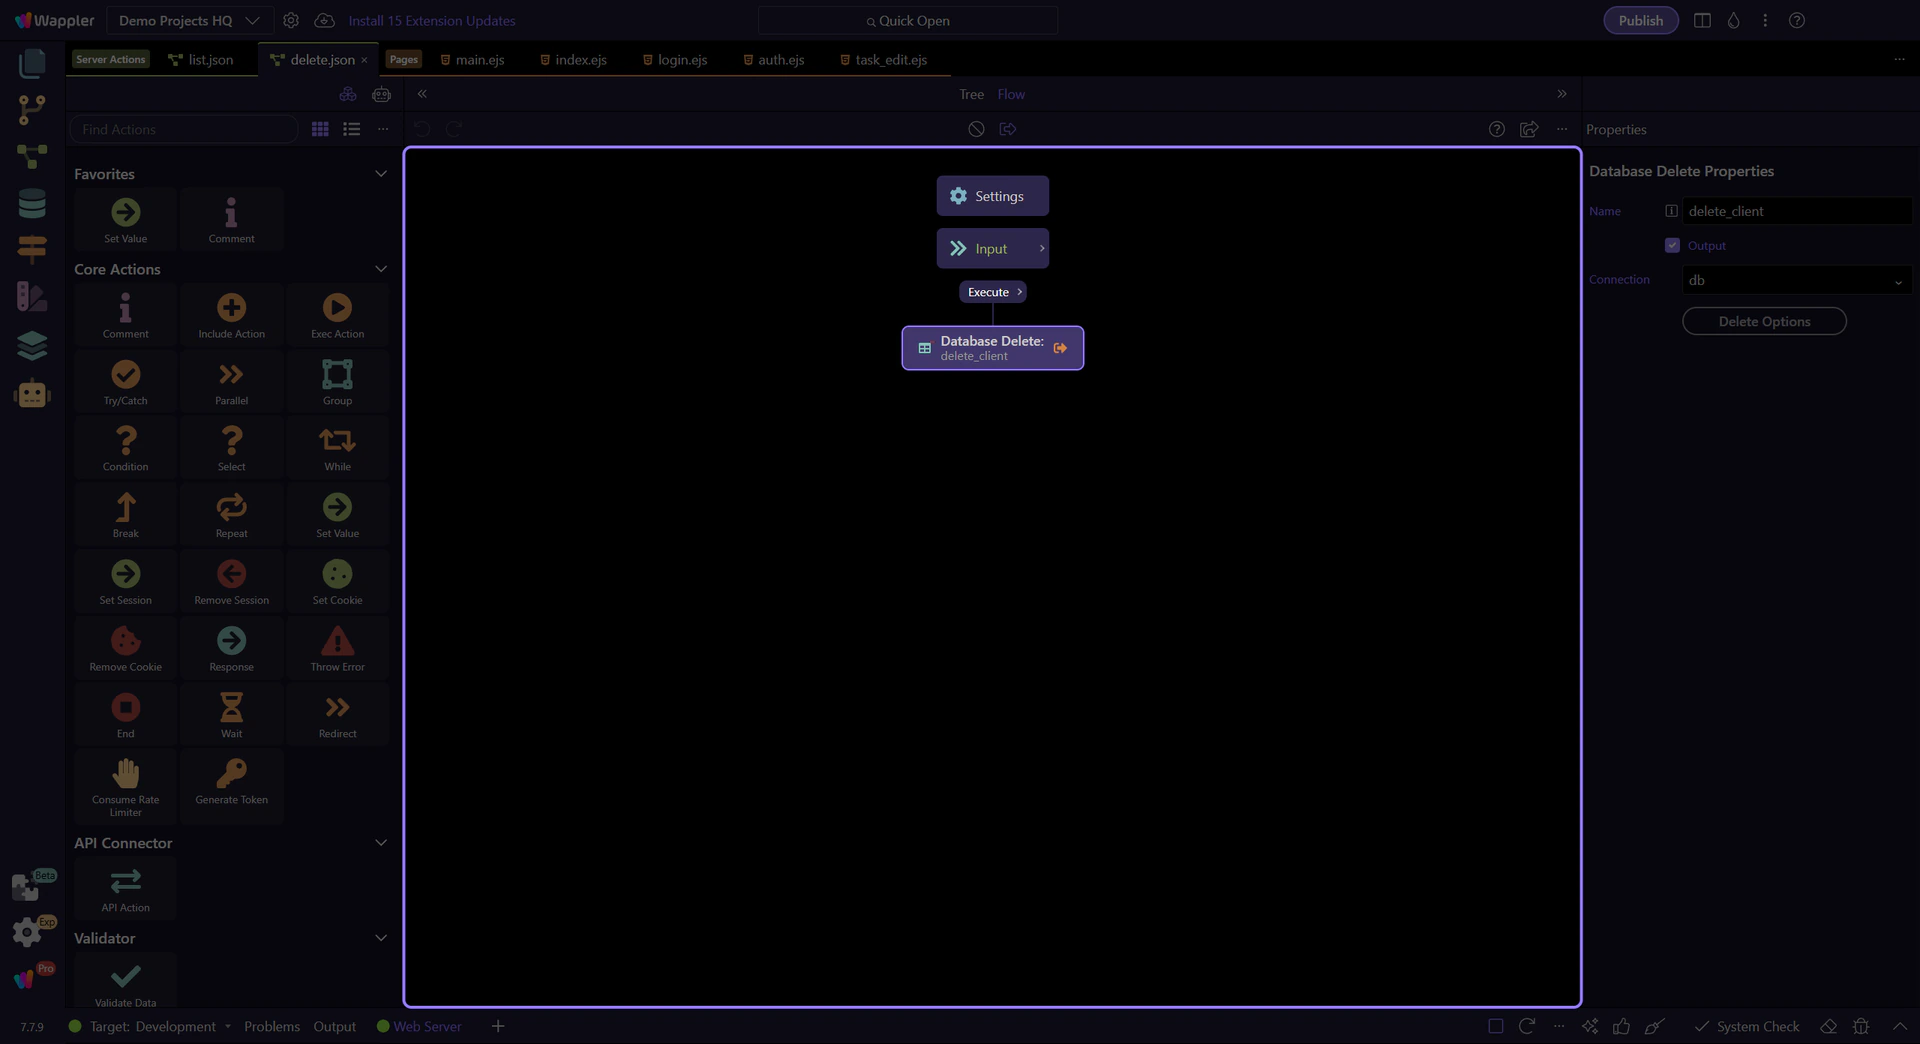
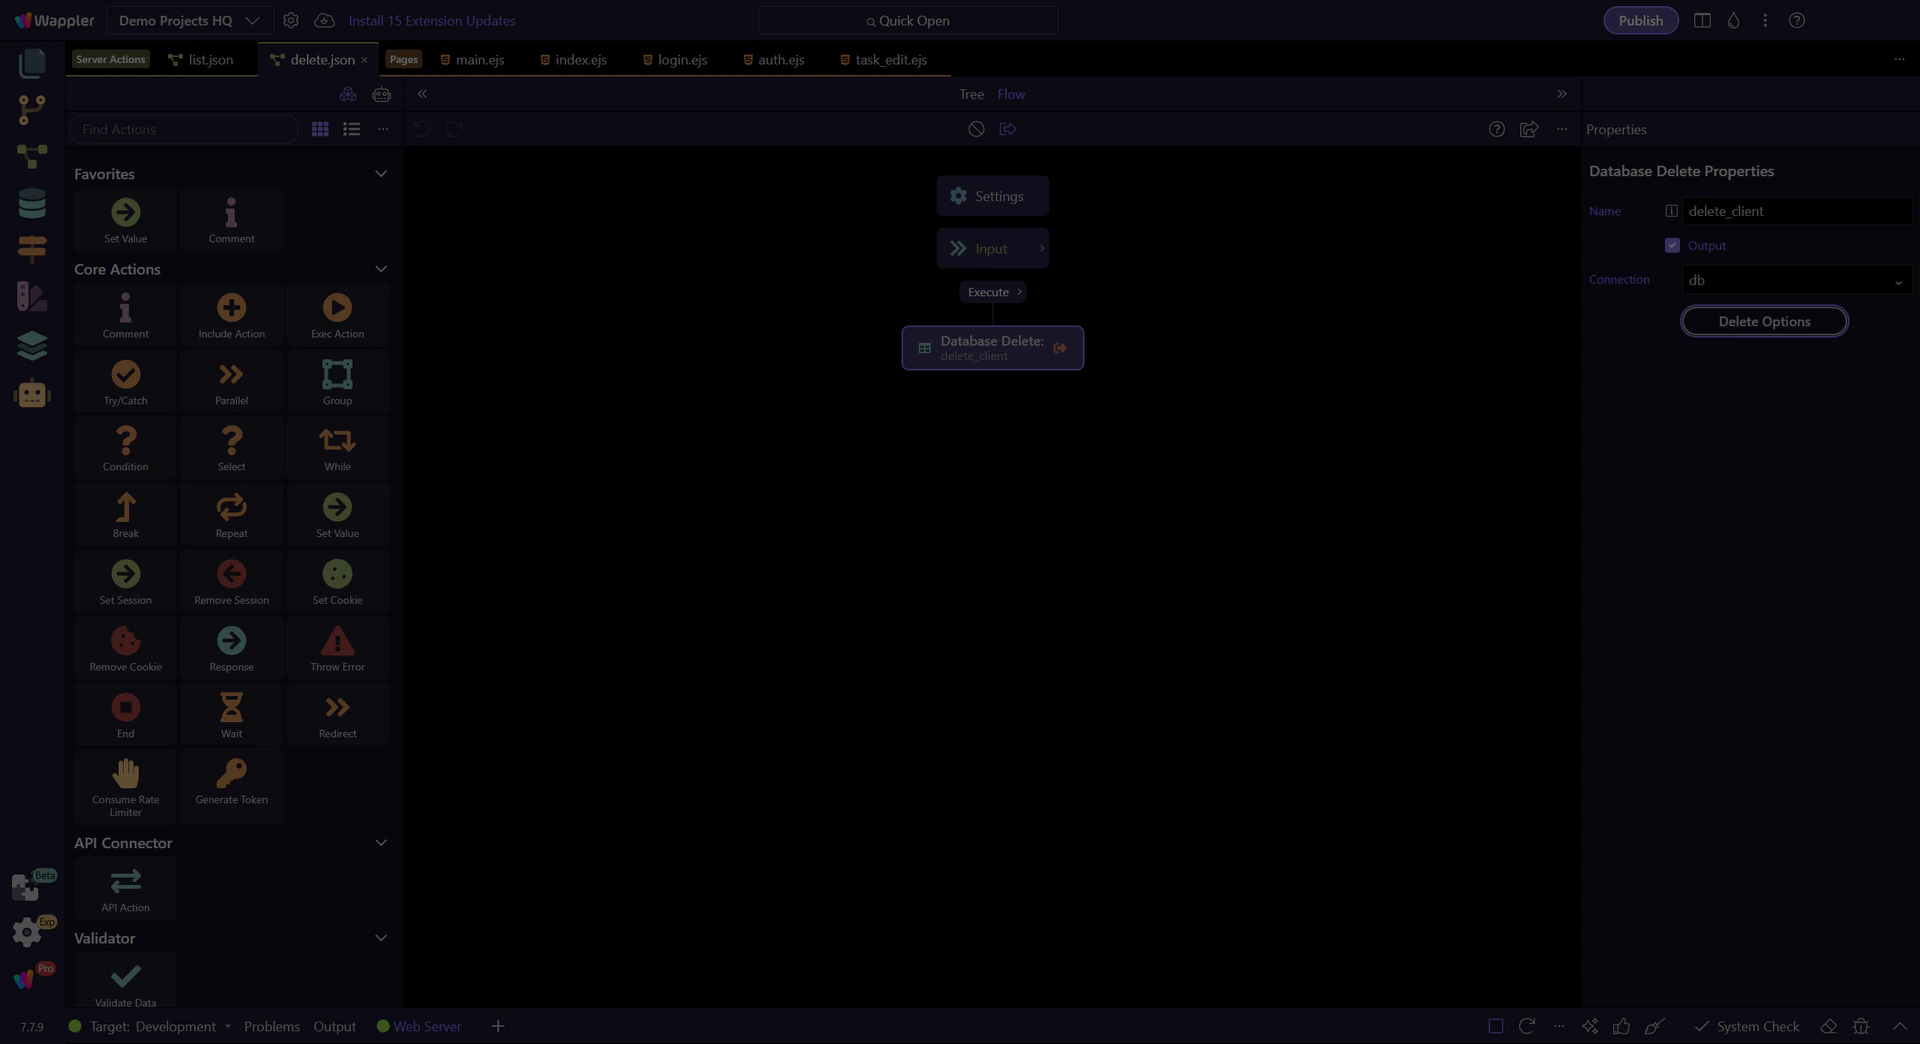
The DELETE step is selected
This step selects the delete_client workflow step so its SQL/Updater options are shown in the Properties panel.
Locate the "Delete Options" button
In the Properties panel, locate the “Delete Options” button for the selected DELETE step. This step matters because Locate the “Delete Options” button is part of Serverconnecteditor Properties Control Sql, and understanding that context makes the next action easier to repeat in your own project.
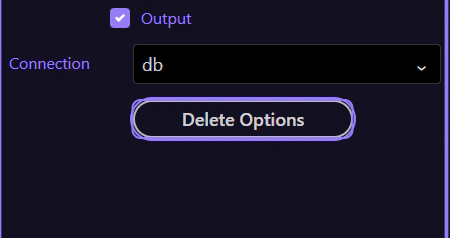
The Updater dialog opens
In the Properties panel, click the “Delete Options” button to open the Database Updater dialog for this DELETE step.

Database Updater dialog (DELETE)
For DELETE, the most important part is the WHERE rules. Always verify the conditions so you delete only the intended rows.

Conditions (WHERE)
Build and verify your WHERE rules carefully. Use parameters/expressions (like $_POST.id) rather than string-concatenating values.
Preview
Use Preview to inspect the generated SQL structure. In Updater dialogs this is conceptual SQL preview only; Preview Data/testing is available in Query Builder dialogs.

Close the Updater dialog
When finished reviewing, you can close the Database Updater dialog to return to the Server Connect editor.
Next steps
Continue with SELECT/INSERT/UPDATE, or return to the Database actions hub.