Use custom paths when layout matters
Choose this when a downloaded template or shared vendor folder already defines where Bootstrap CSS and JS must live, and changing that structure would break the original package.
Use custom Bootstrap framework paths to load your own build or theme while keeping Wappler components compatible.
When using downloaded/purchased Bootstrap templates, the Bootstrap CSS/JS often lives in a template-specific folder (for example a vendor folder). In that case the normal Local/CDN framework options may not match your template paths.
Treat Custom Bootstrap Paths as an advanced workflow for projects that already ship with their own Bootstrap files. It is most useful when you import a commercial template, keep assets in a vendor folder, or need Wappler to point at a custom build without breaking component compatibility.
caution: Make sure your Bootstrap CSS and JS versions match. A mismatched JS bundle can break components like Modals and Offcanvas.
Use Custom Paths when you must keep the template’s original vendor file layout. If you control your project structure, Local/CDN frameworks are simpler and easier to maintain.
tip: Goal: make the framework include paths match the files that actually ship with your template.
Configure your project frameworks so Wappler can recognize your template’s Bootstrap includes.

Start with the wider context in the top toolbar so the next control makes sense in the full workflow. In the next step, you will focus on Project Settings and see how it fits into this area.
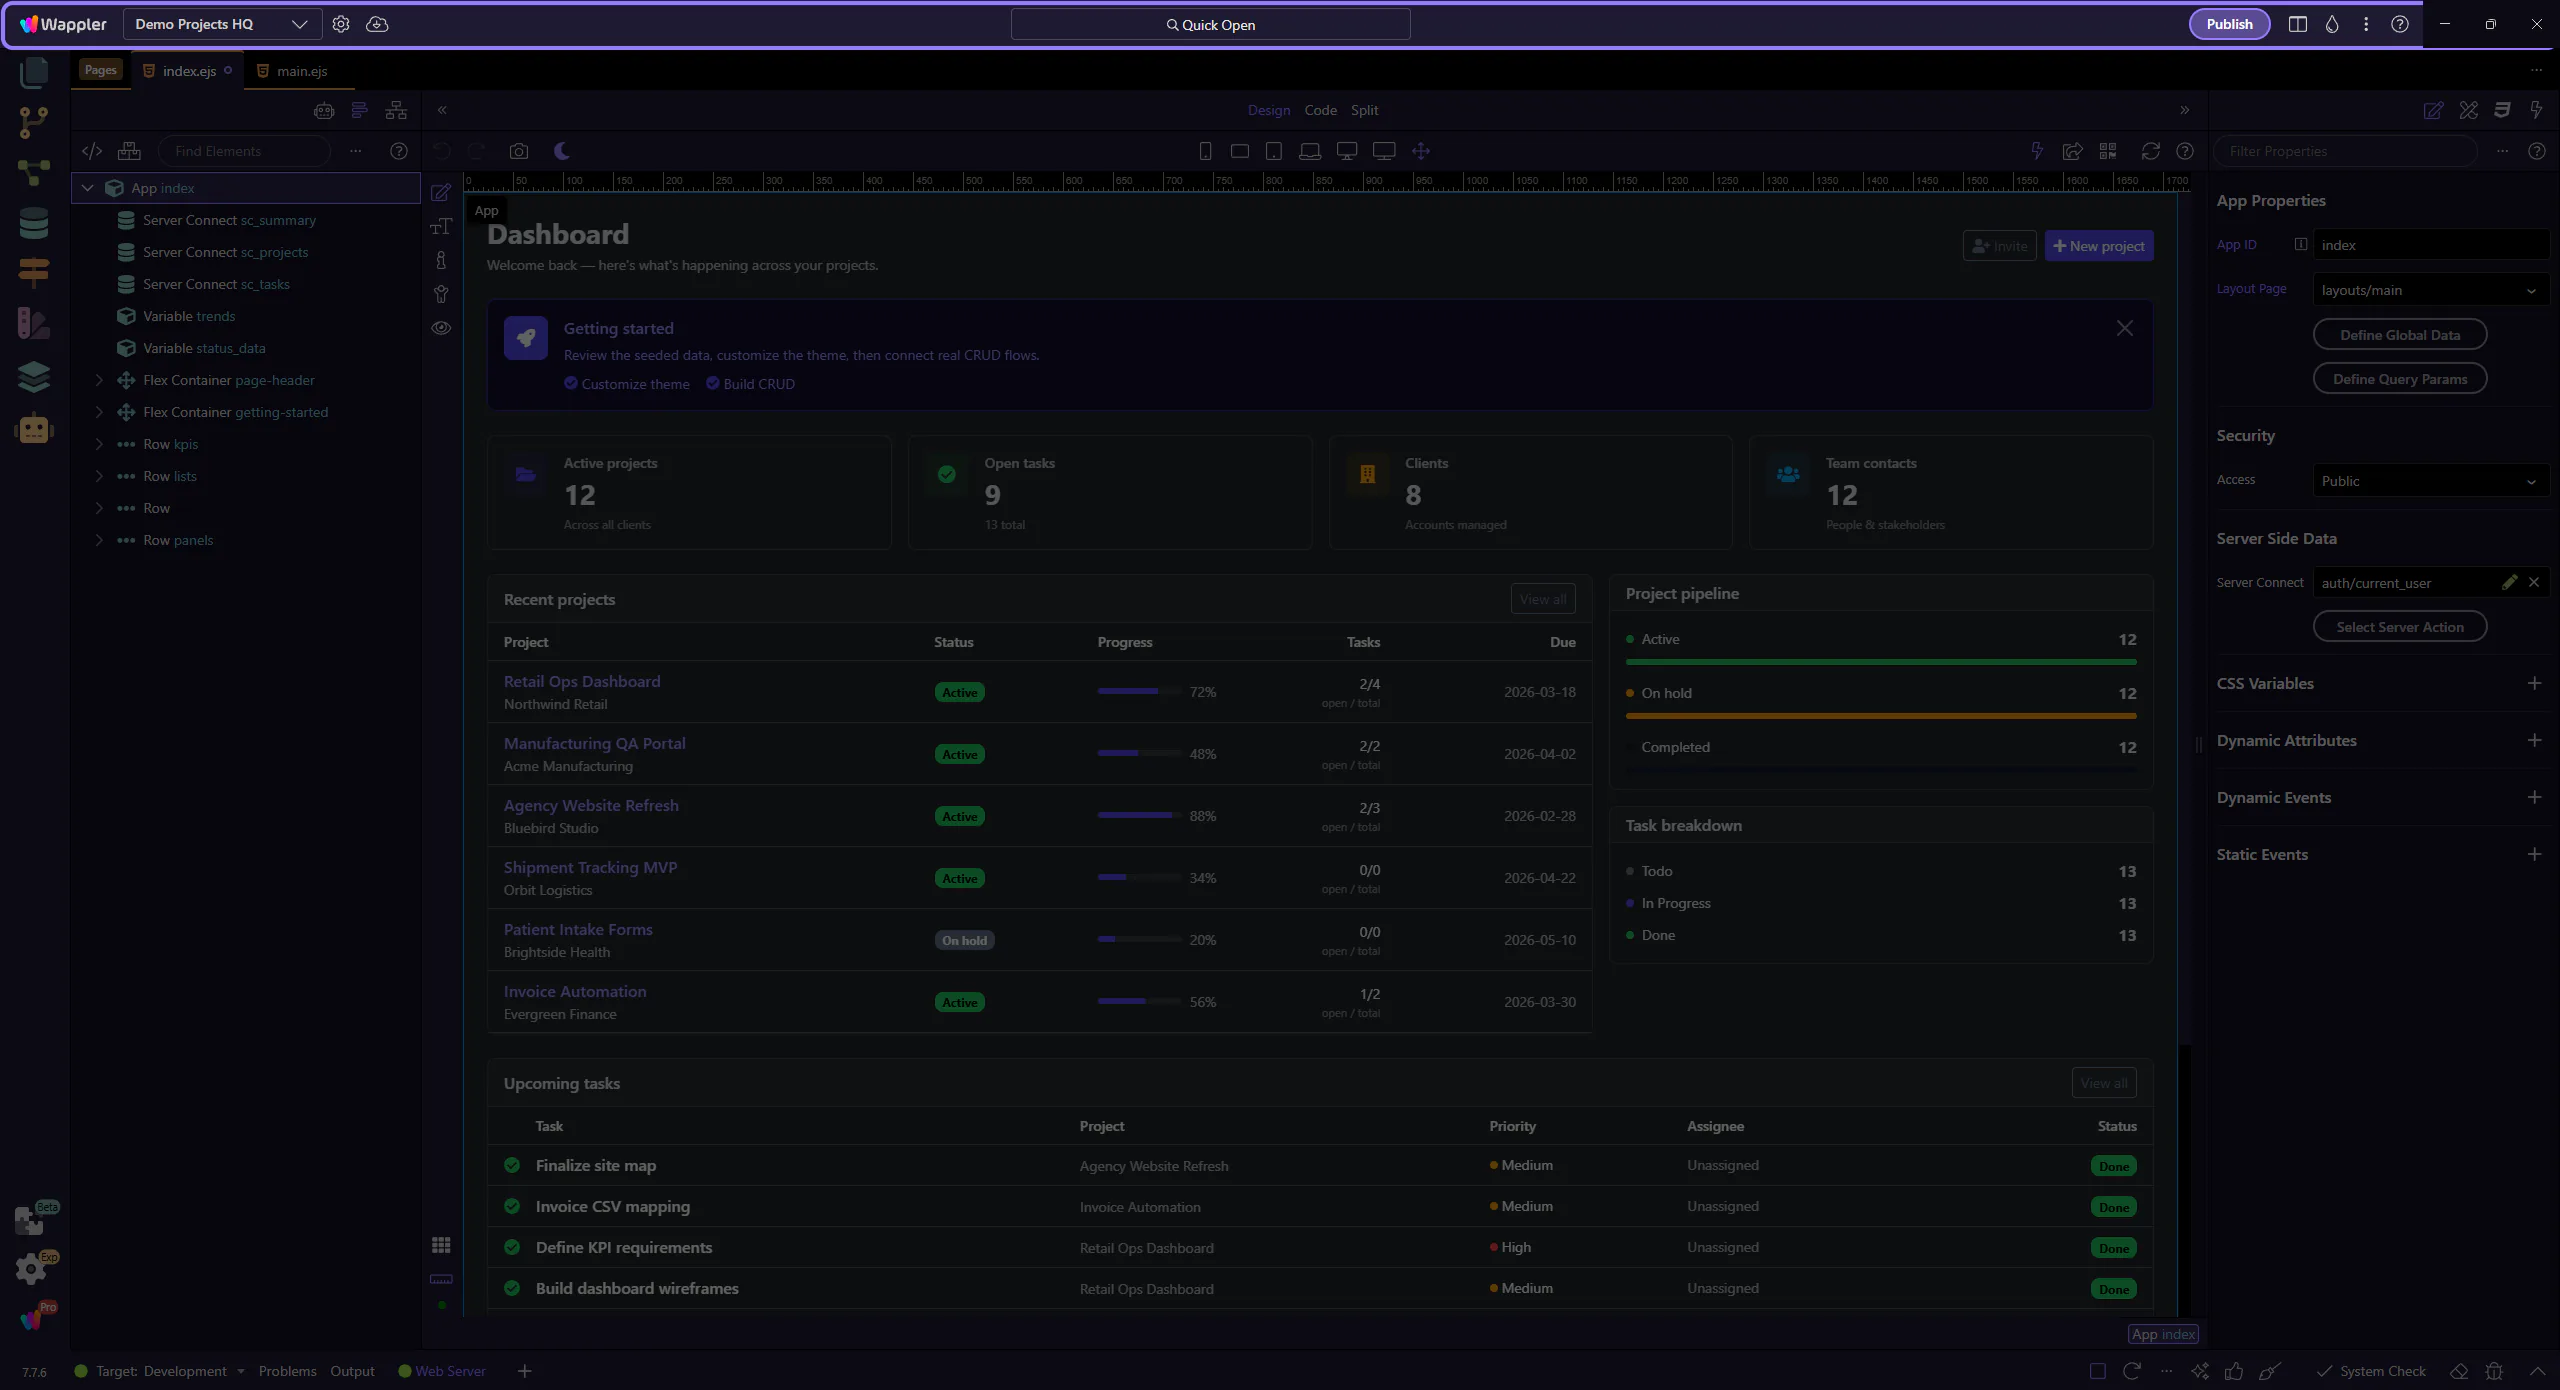
Project Settings is where the Frameworks configuration lives. This step matters because Project Settings is part of App Toolbar Project Settings, and understanding that context makes the next action easier to repeat in your own project.
Start with the wider context in Project Options Section so the next control makes sense in the full workflow. In the next step, you will focus on Frameworks section and see how it fits into this area.
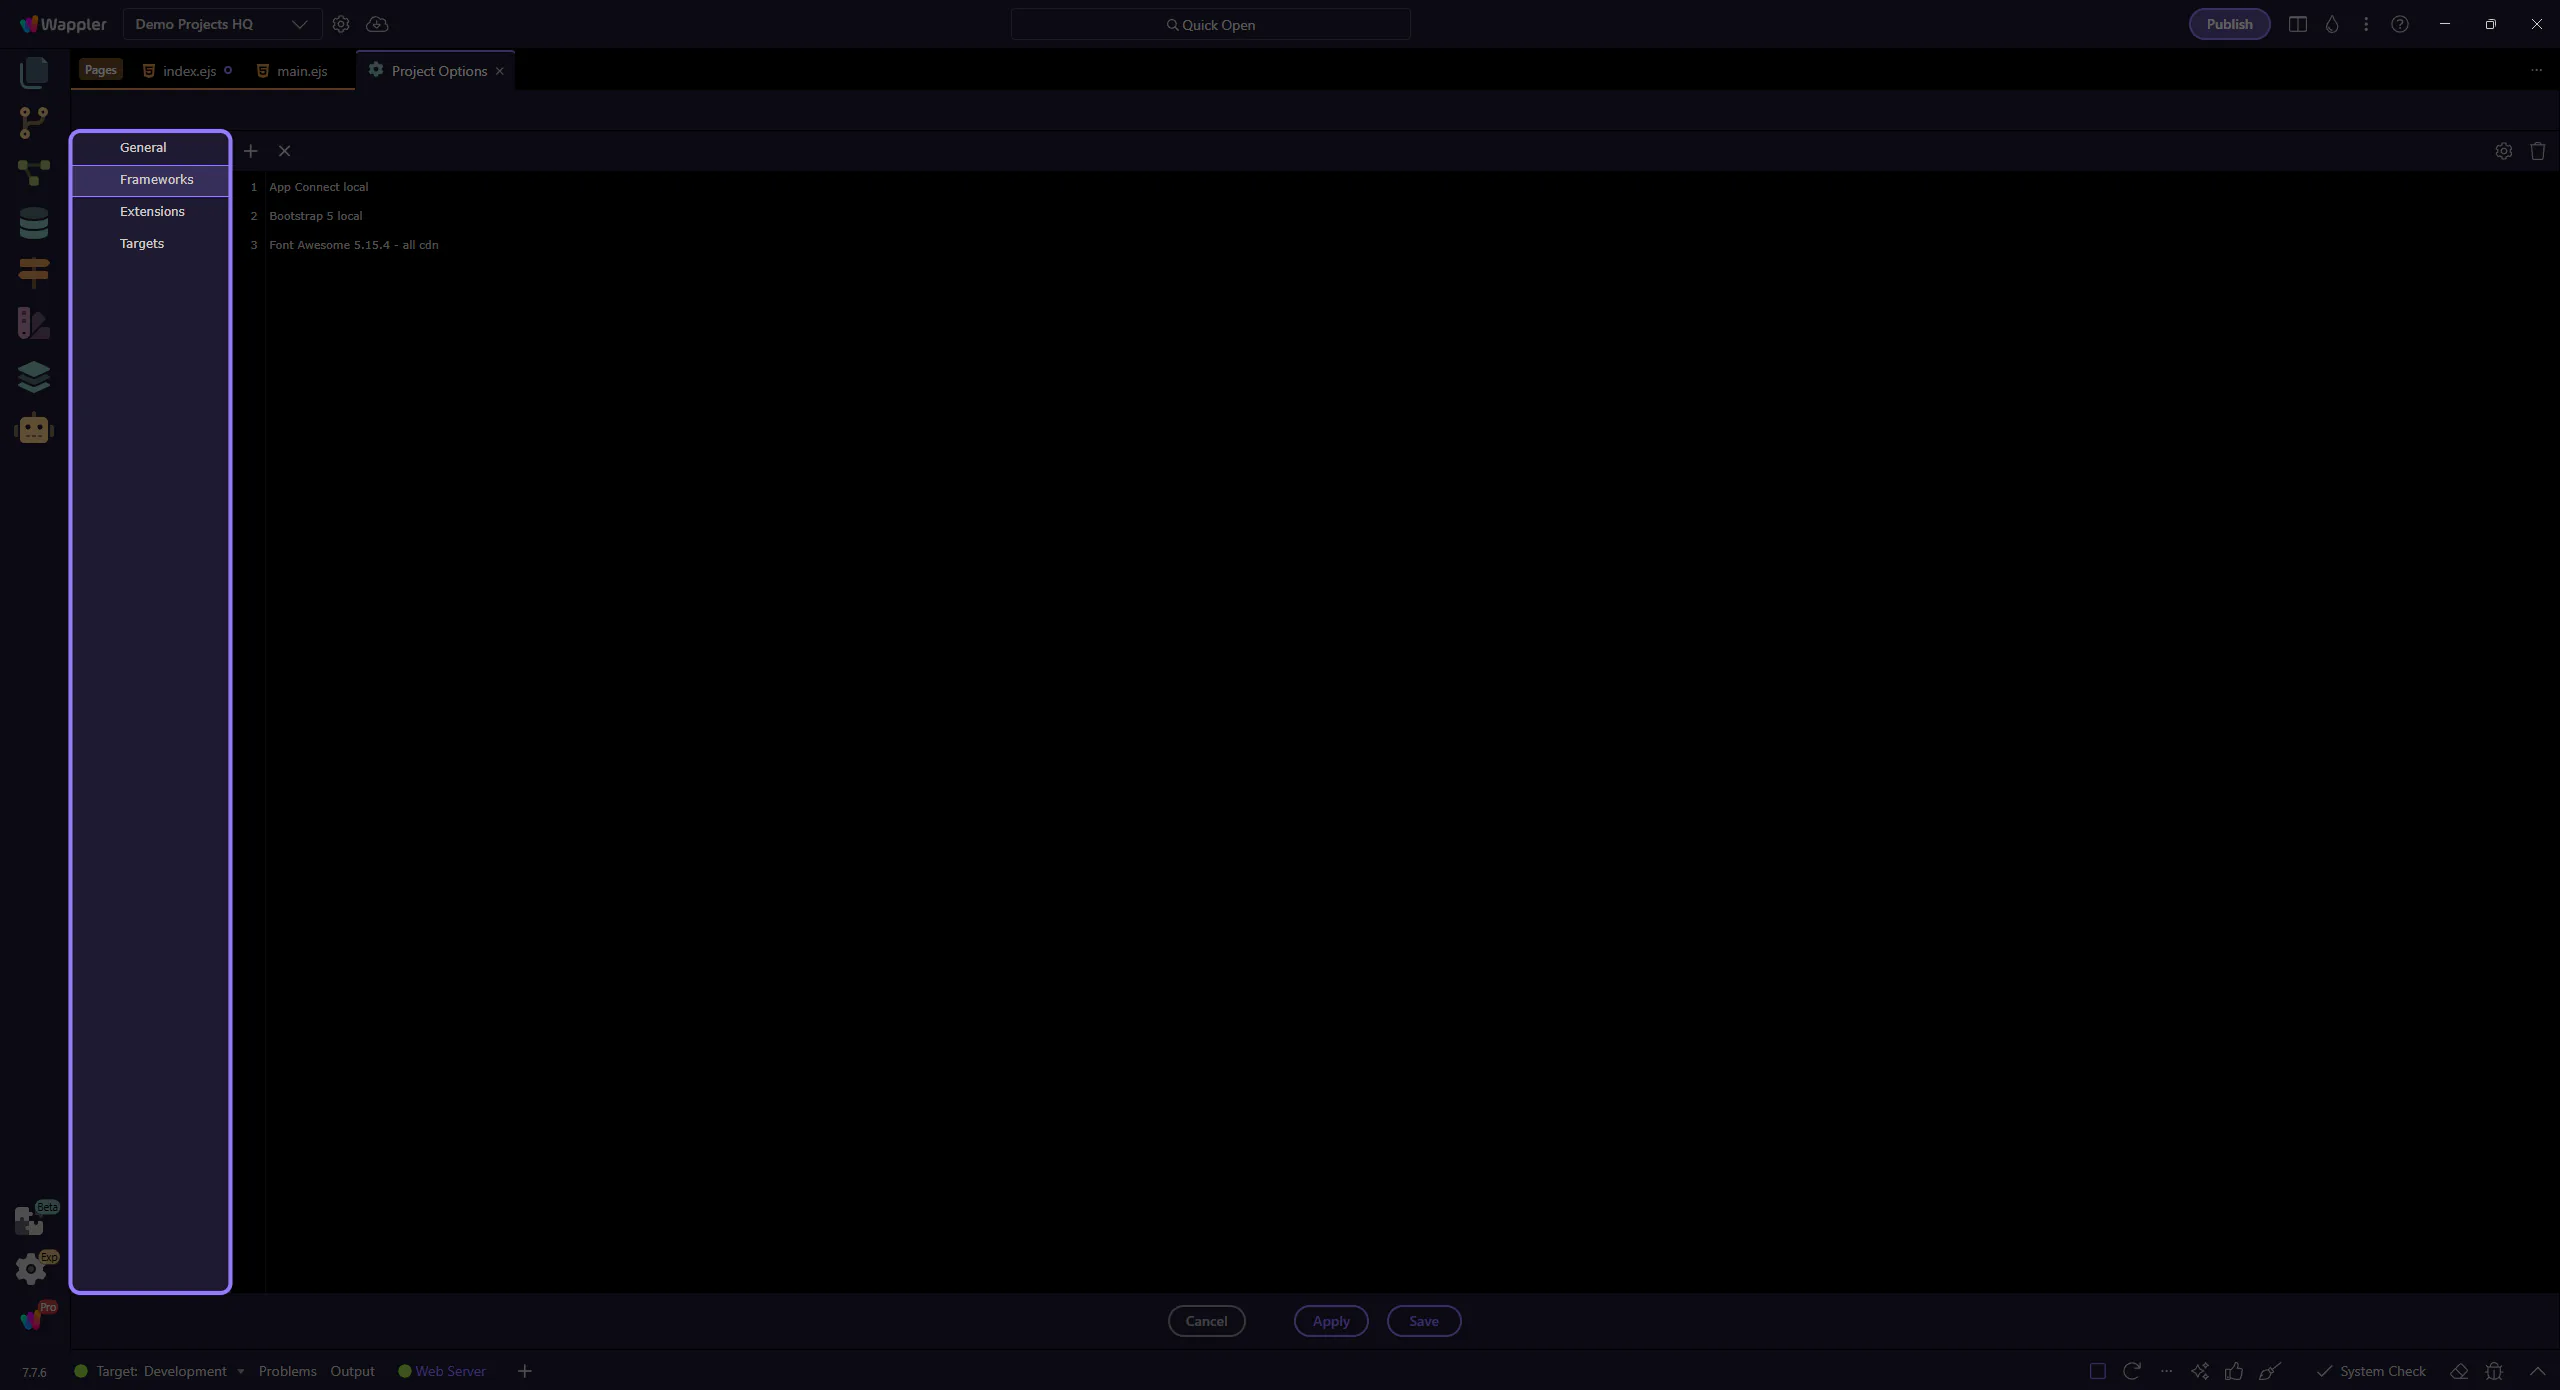
The “Frameworks” section (left sidebar) controls the project’s included CSS/JS frameworks. This step matters because Frameworks section is part of Project Options Section Frameworks, and understanding that context makes the next action easier to repeat in your own project.

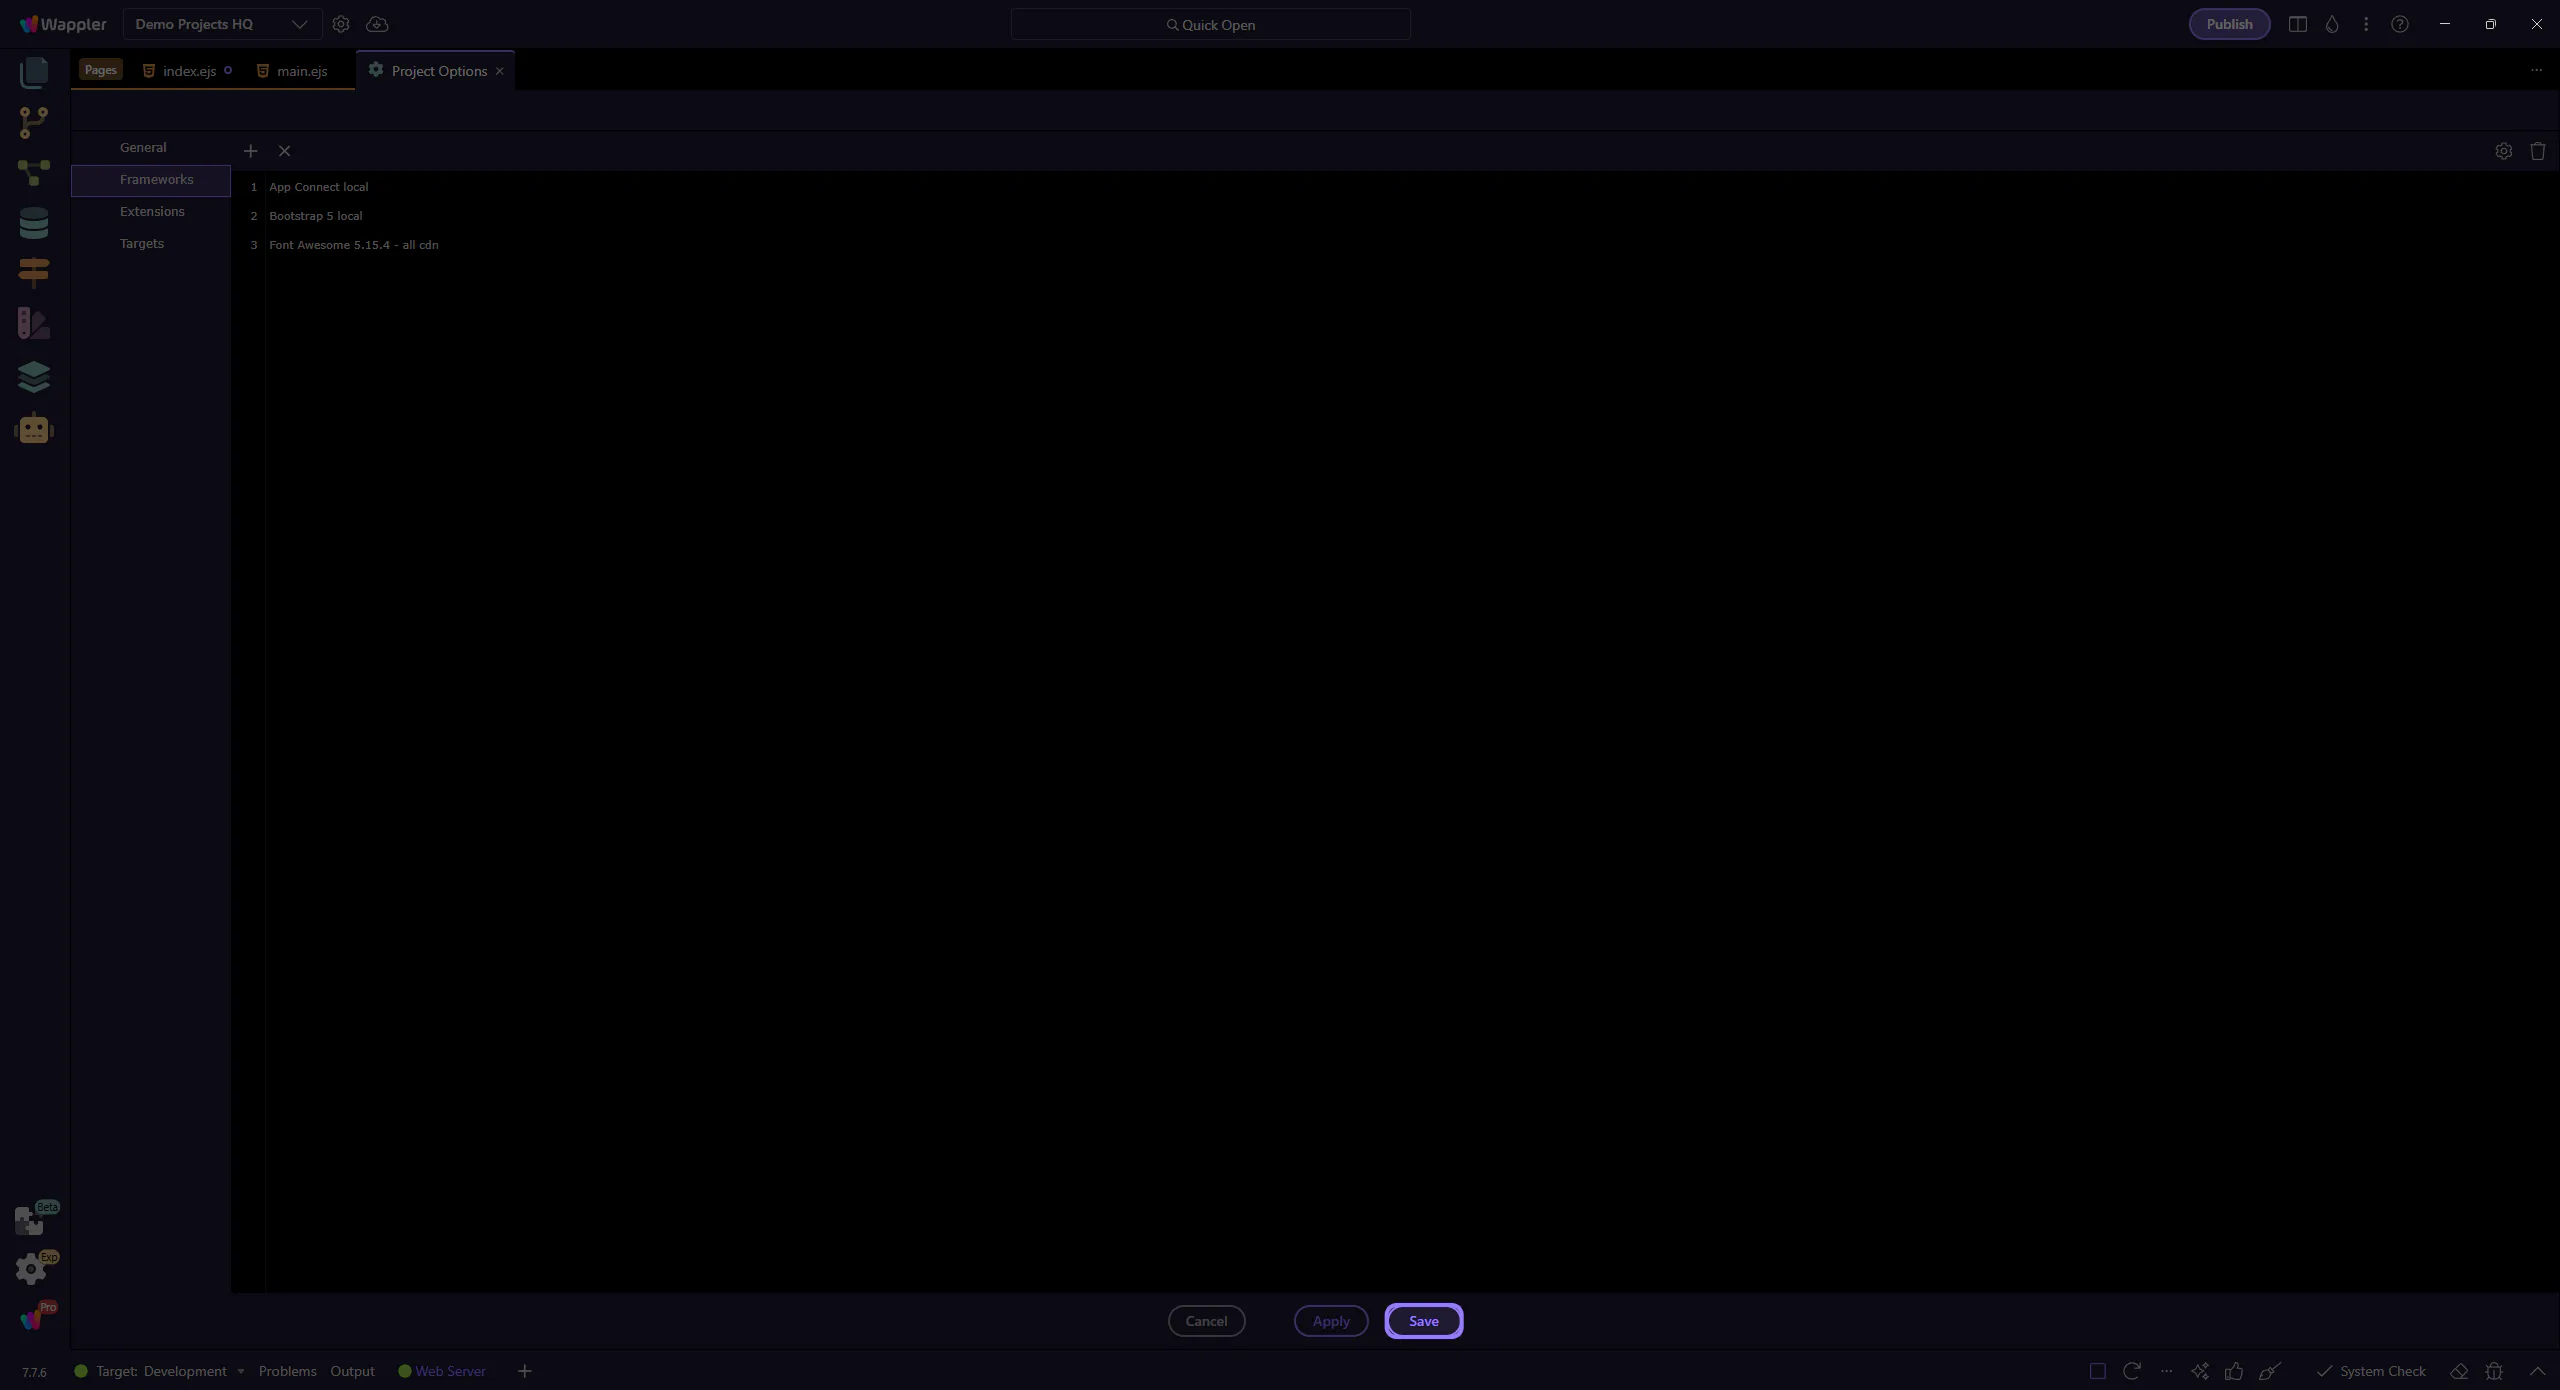
In Frameworks, add “Bootstrap 4 custom” (replacing the default Bootstrap 4 local include). Then open Framework Options and set the JS and CSS paths to your template’s files (for example under a vendor folder).
tip: Local/CDN options are convenient, but template imports often require this custom option to match the actual file locations.
Save the Framework Options dialog, then Save Project Options so the project frameworks are updated.
important: After changing paths, reload your template page to confirm the includes are recognized.
Custom Bootstrap Paths are for template imports where the CSS/JS live in vendor folders and the default Local/CDN options don’t match. Keep versions consistent to avoid JS component breakage.
After configuring paths, verify:
Continue with a related tour or return to the Bootstrap tours index.