Creating Sub Tables with Database Manager
Intro NOTE: This option is currently available for NodeJS server model only. Support for other server models is coming next weeks. The sub tables in Wappler provide an easy way to create and access ne
NOTE: This option is currently available for NodeJS server model only. Support for other server models is coming next weeks.
The sub tables in Wappler provide an easy way to create and access nested data structures much easier. The relational databases make sense now, as you can easily nest data structures in sub tables.
Then you can query these tables and their sub tables without the need of complex queries - Wappler handles it all for your in a single query and builds the required nested queries.
Sub tables can be useful in cases where, for example, you want to store people and phone numbers or blog articles and comments.
Creating Sub Tables
Section titled “Creating Sub Tables”In our case we will show you how to create a blog articles database table and a sub table for the comments for each of the articles. Later when you run a sub query, you will receive the blog article with all the comments related to it in a single database query.
Main Table
Section titled “Main Table”Firs let’s create the main table - the blog articles table.
Open the Database Manager and create a new table:
Note that you need to have a database connection setup already.
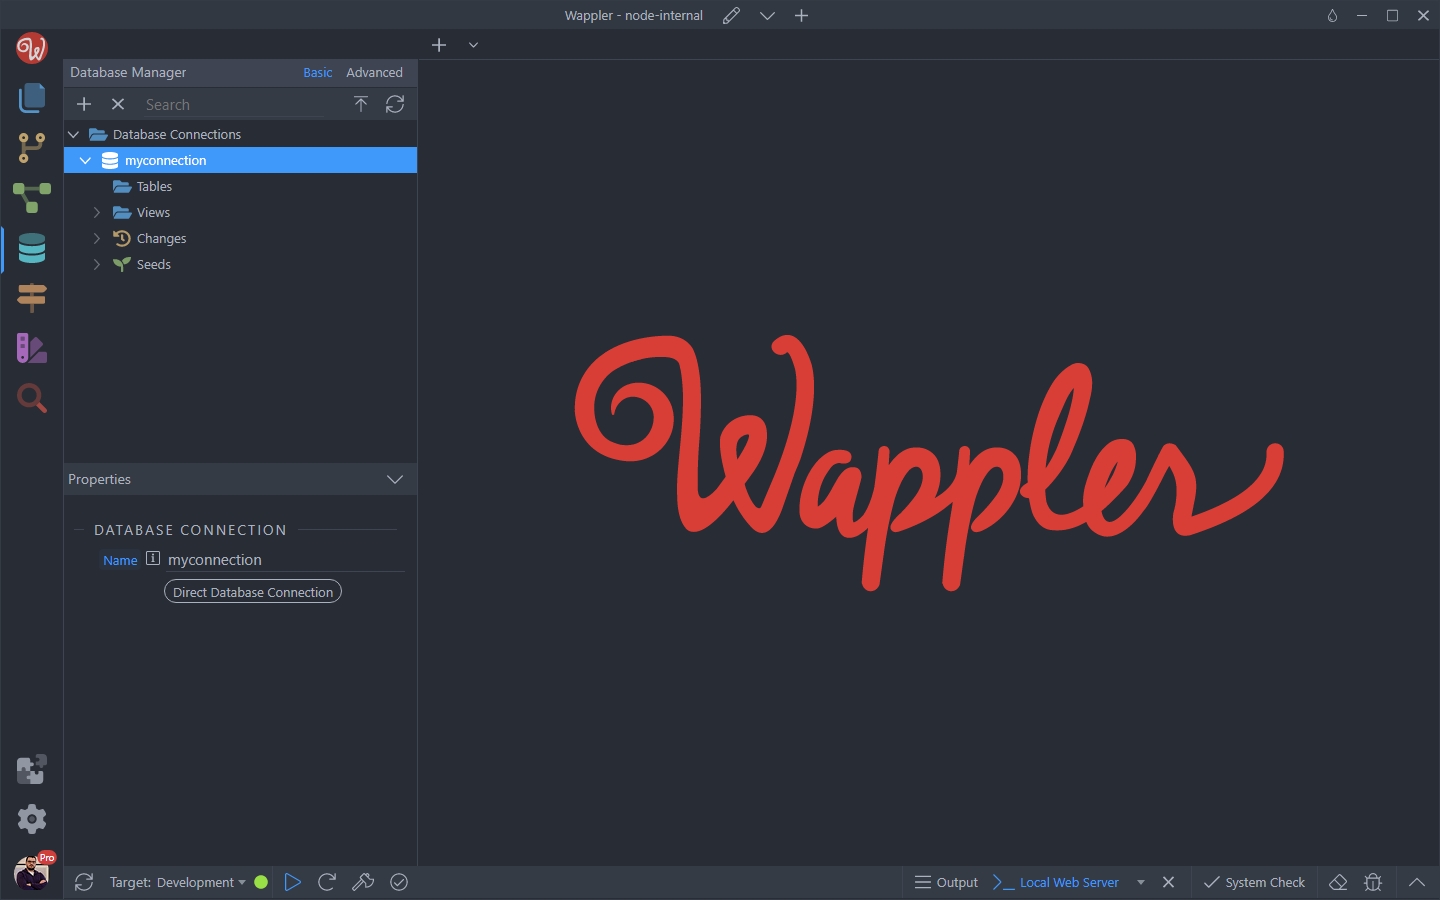
Right click Tables:
Section titled “Right click Tables:”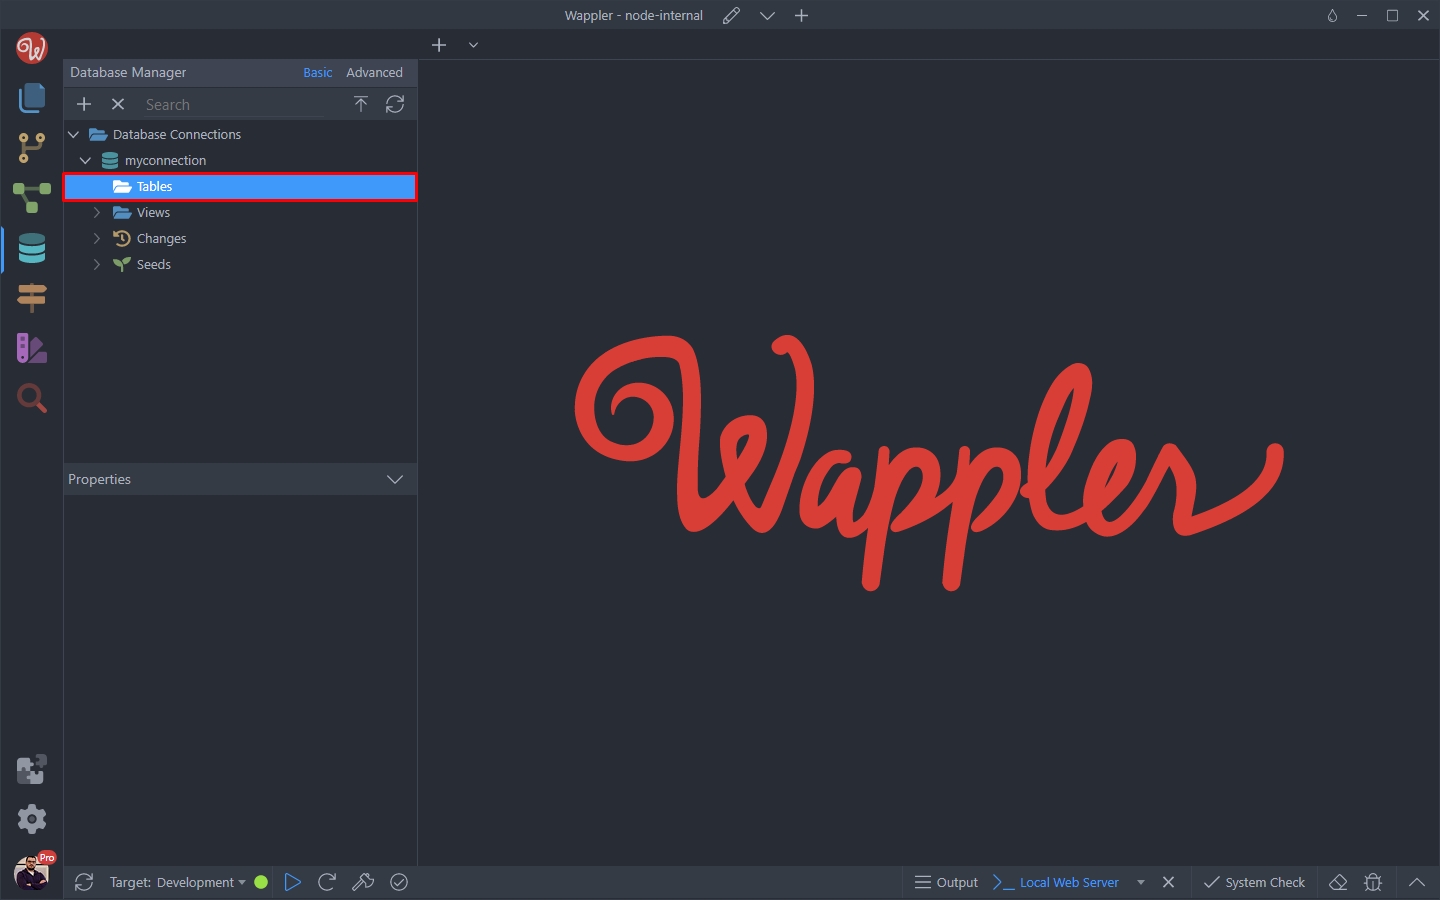
And create a New Table:
Section titled “And create a New Table:”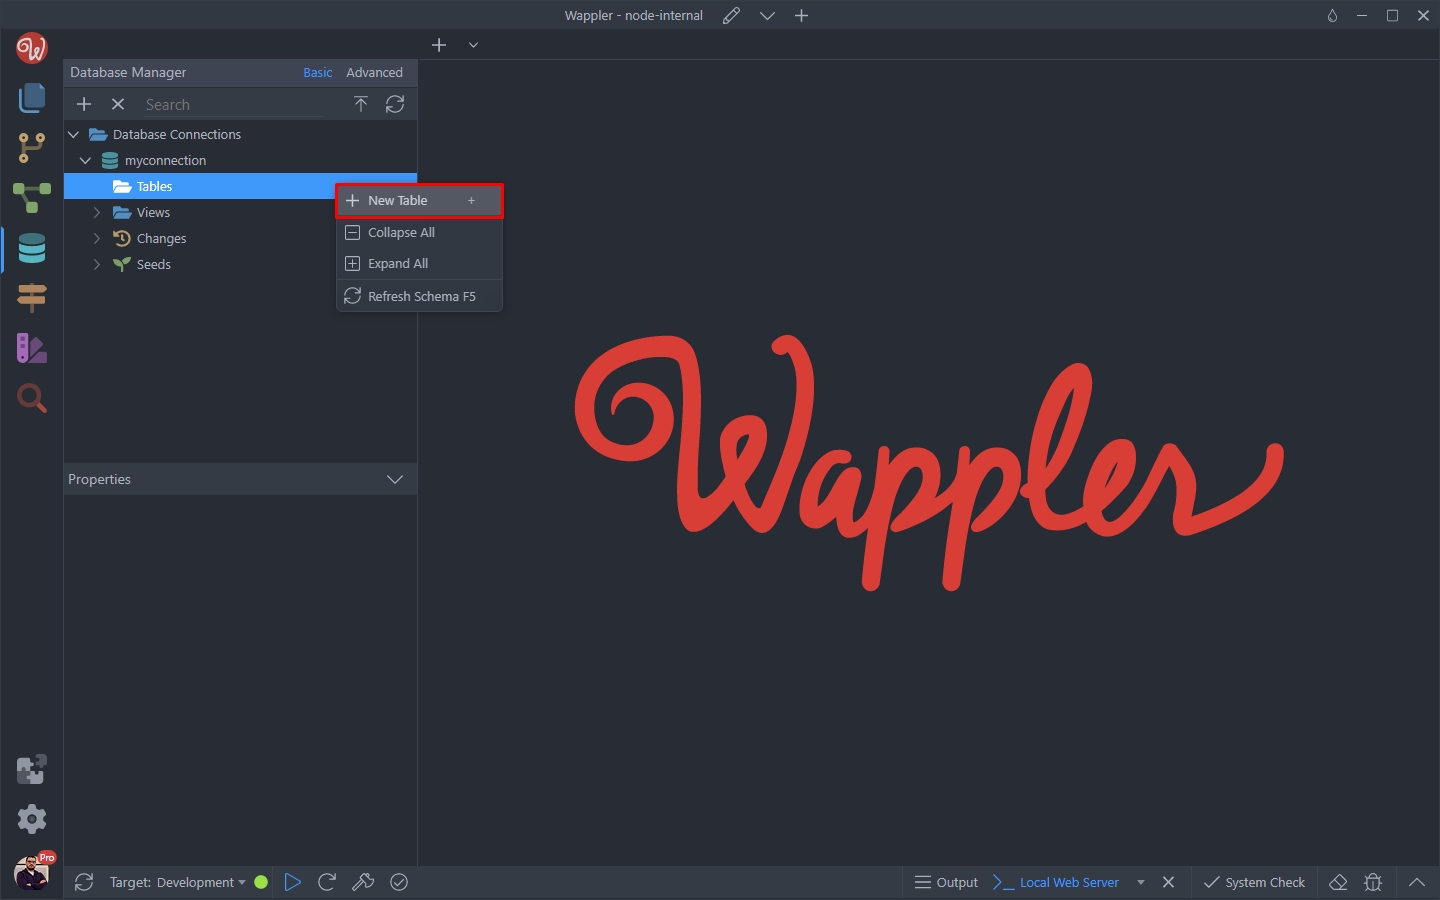
We call the table blog_posts:
Section titled “We call the table blog_posts:”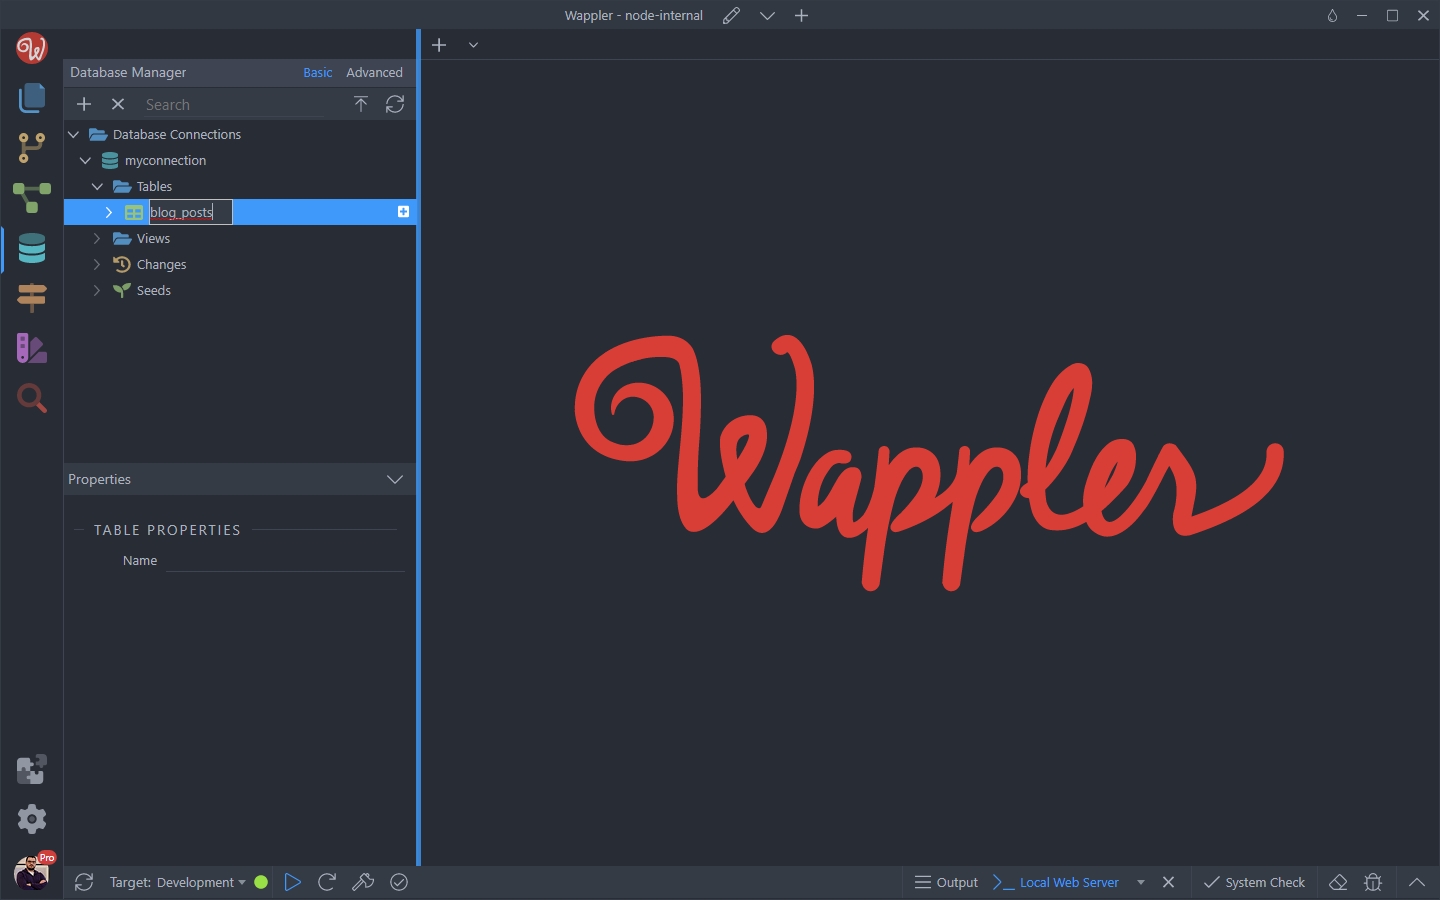
An id primary key field has been created automatically for it:
Section titled “An id primary key field has been created automatically for it:”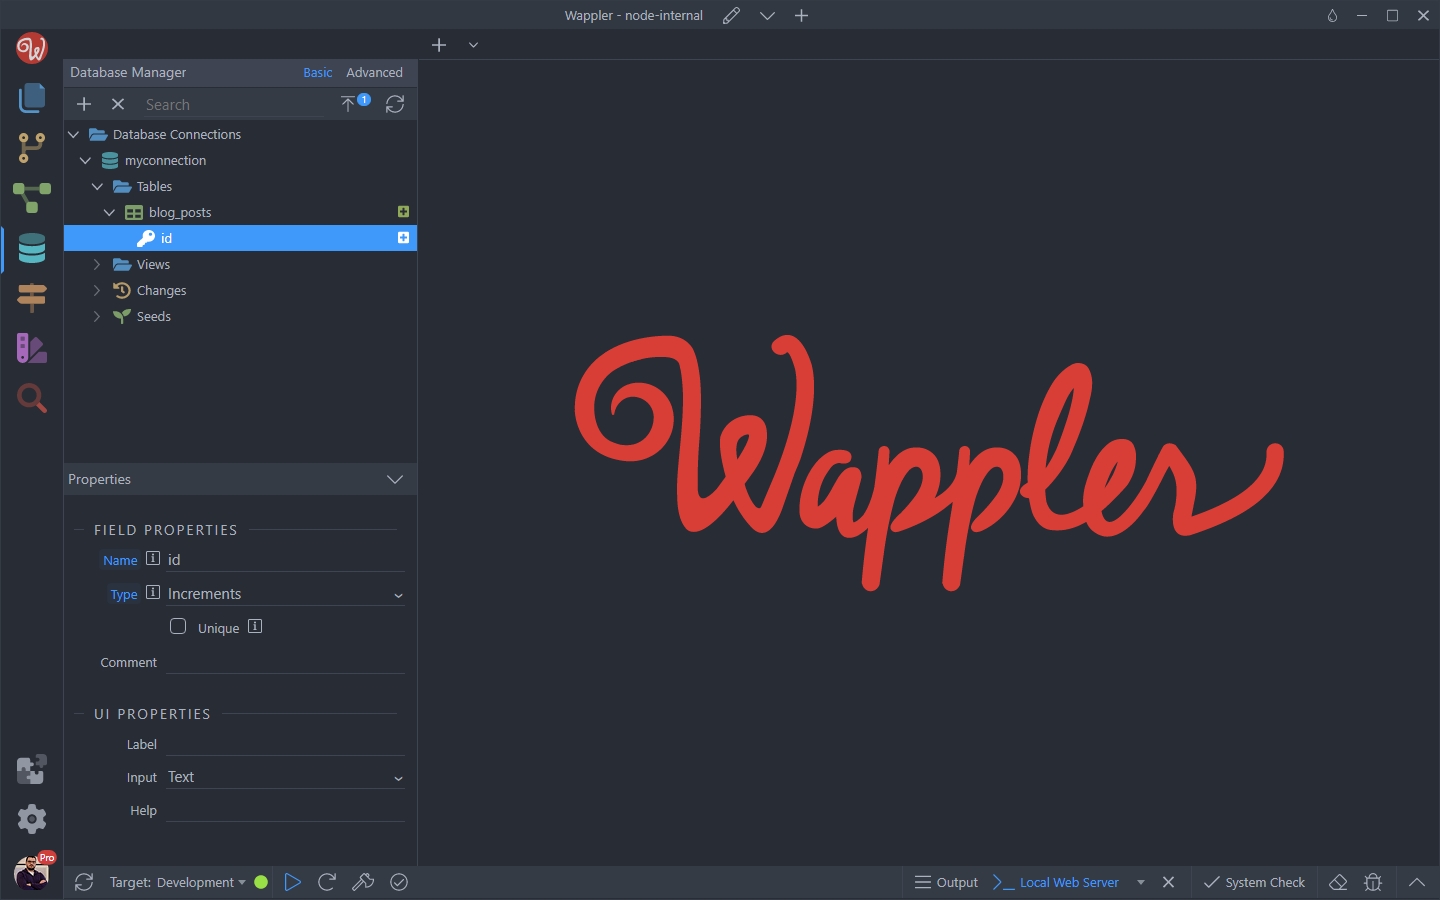
Step 9
Section titled “Step 9”We will need to add a few more fields like - title, text, author and date. In order to add a new field, right click the table name and select New Field:
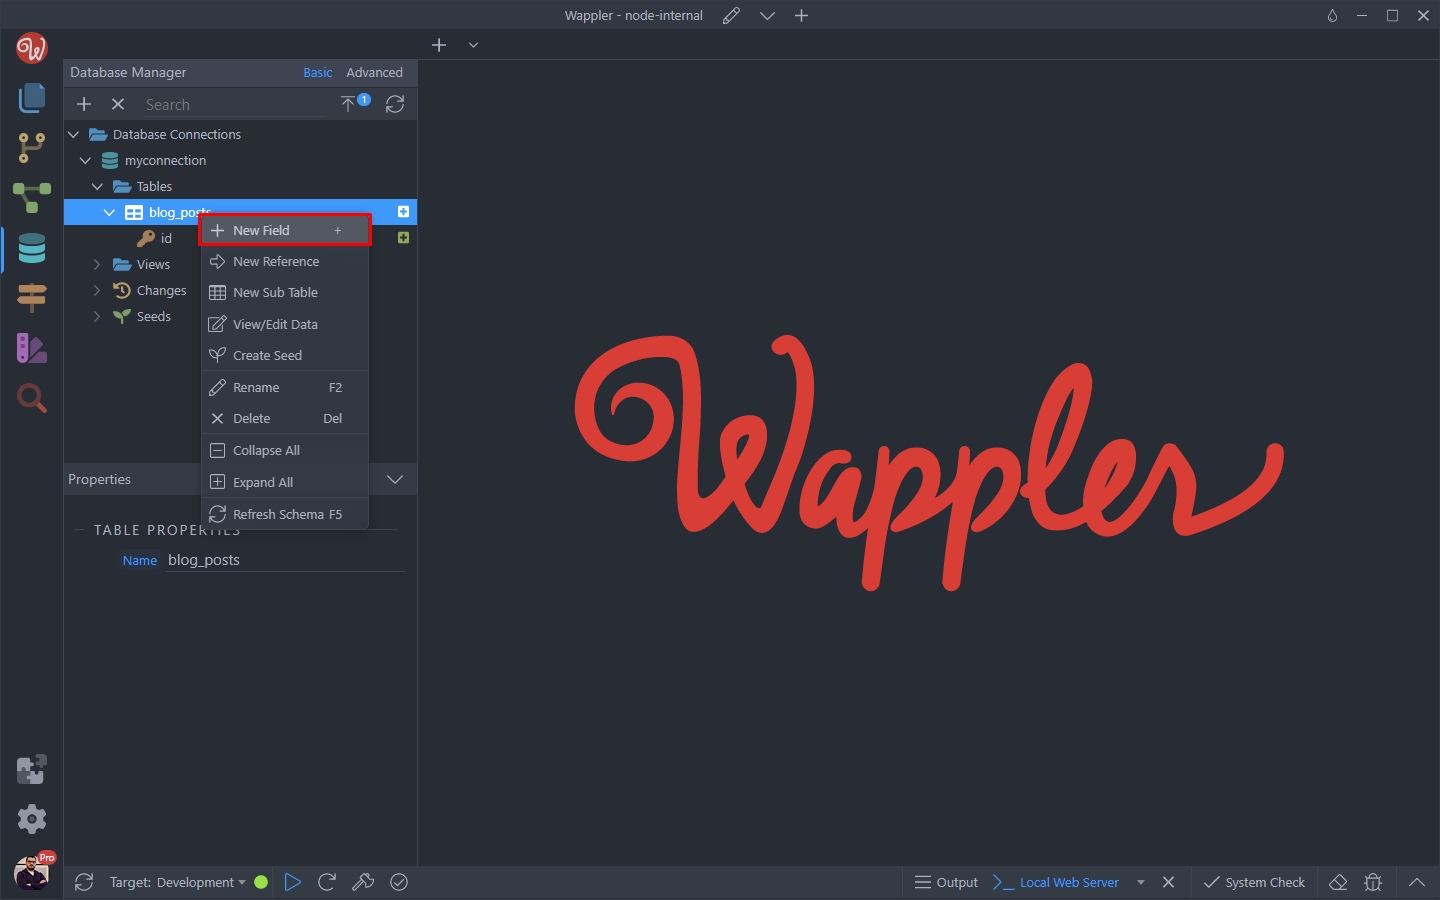
We add a new field called title and set its type to String. This field will store the blog post title:
Section titled “We add a new field called title and set its type to String. This field will store the blog post title:”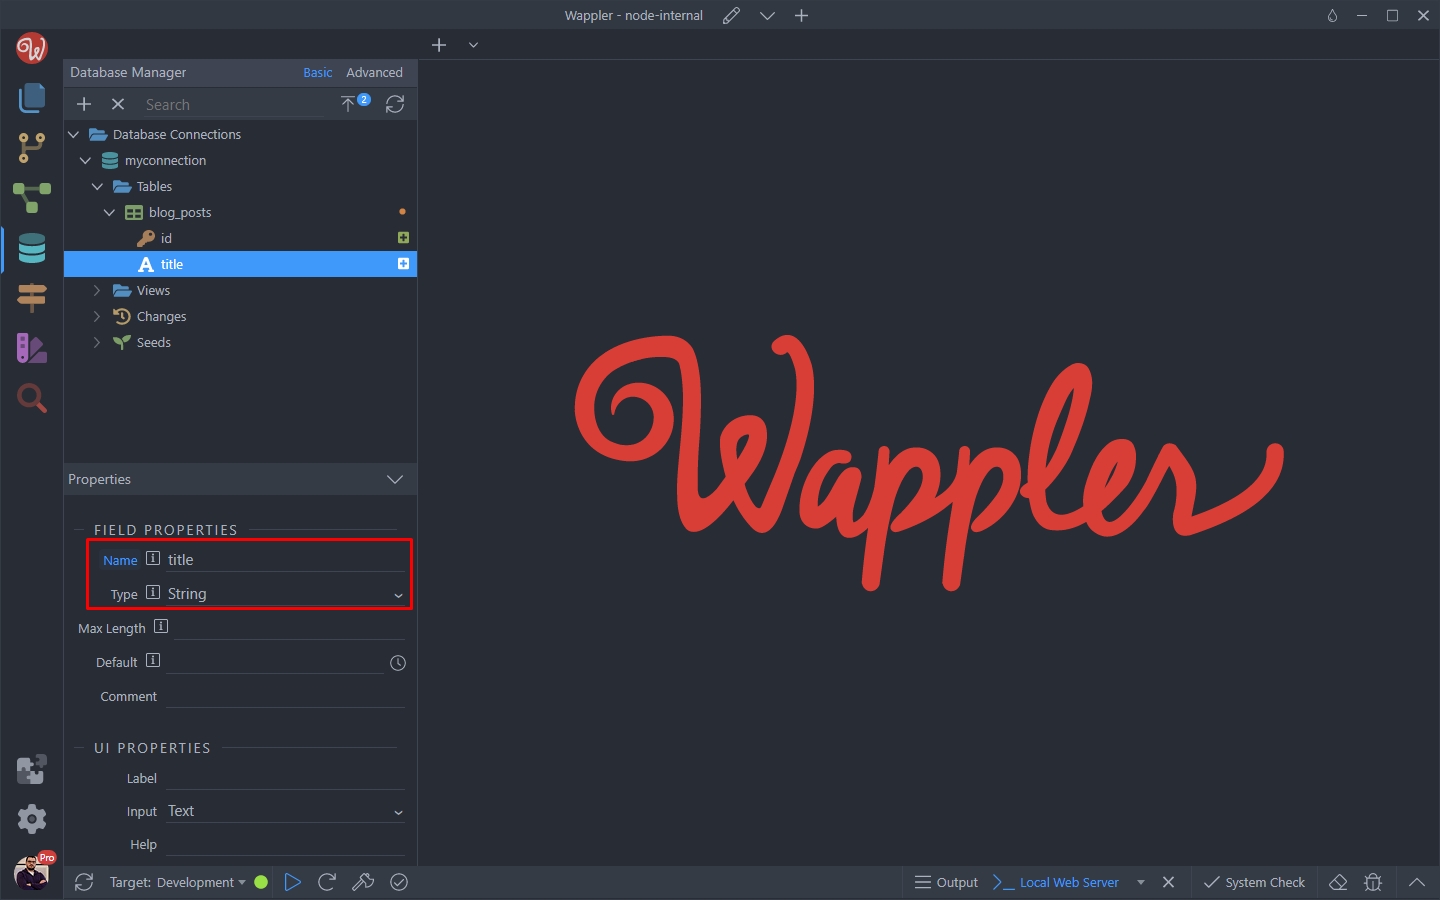
Then we add another field, called text which will store the blog post text. We set its type to Text:
Section titled “Then we add another field, called text which will store the blog post text. We set its type to Text:”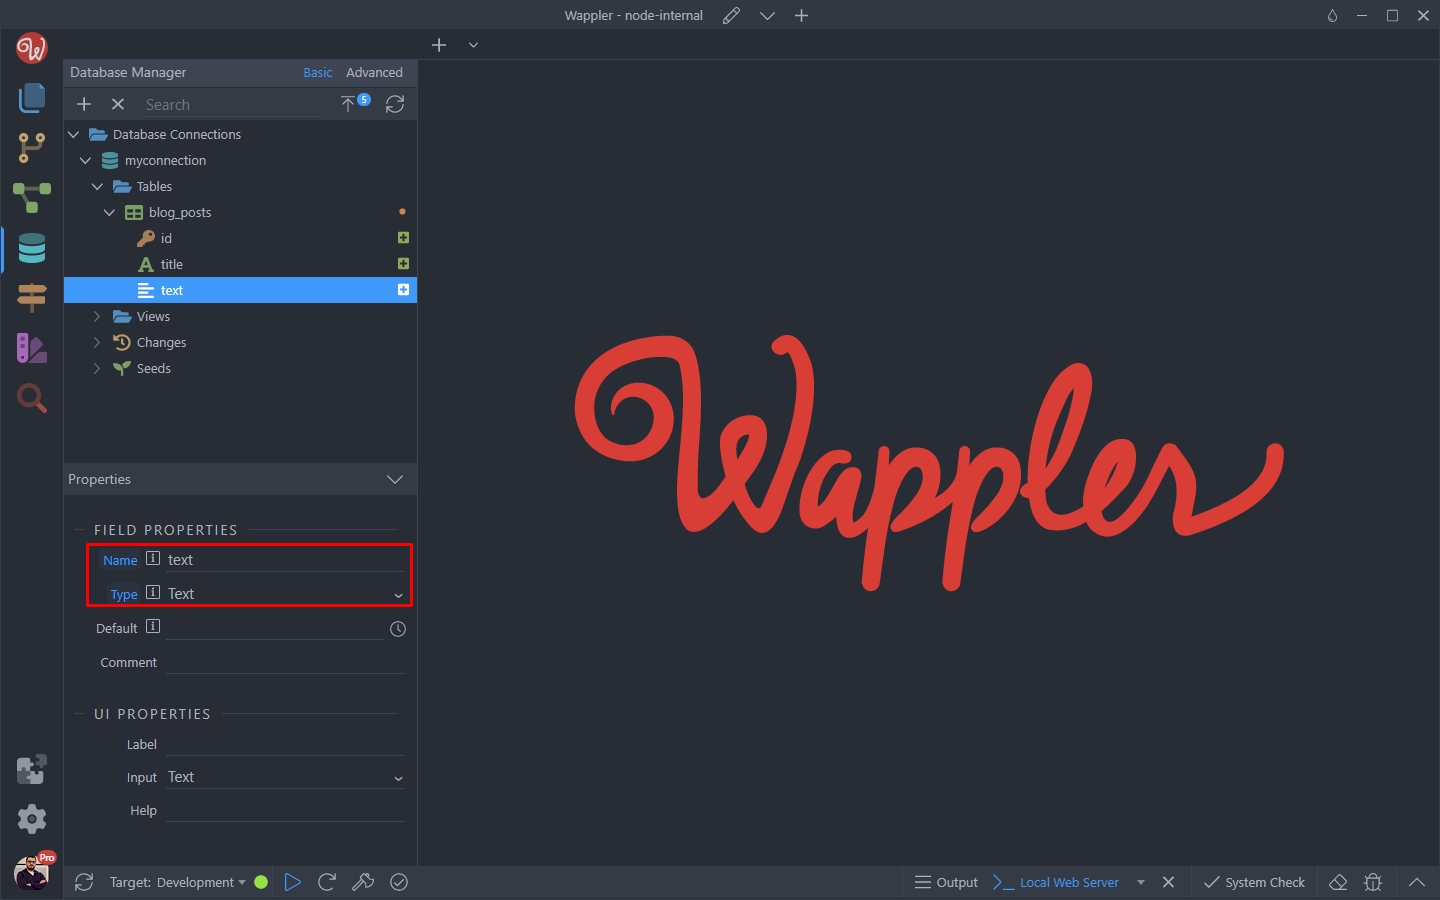
Then we add another field, called author which will store the blog post author. We set its type to String:
Section titled “Then we add another field, called author which will store the blog post author. We set its type to String:”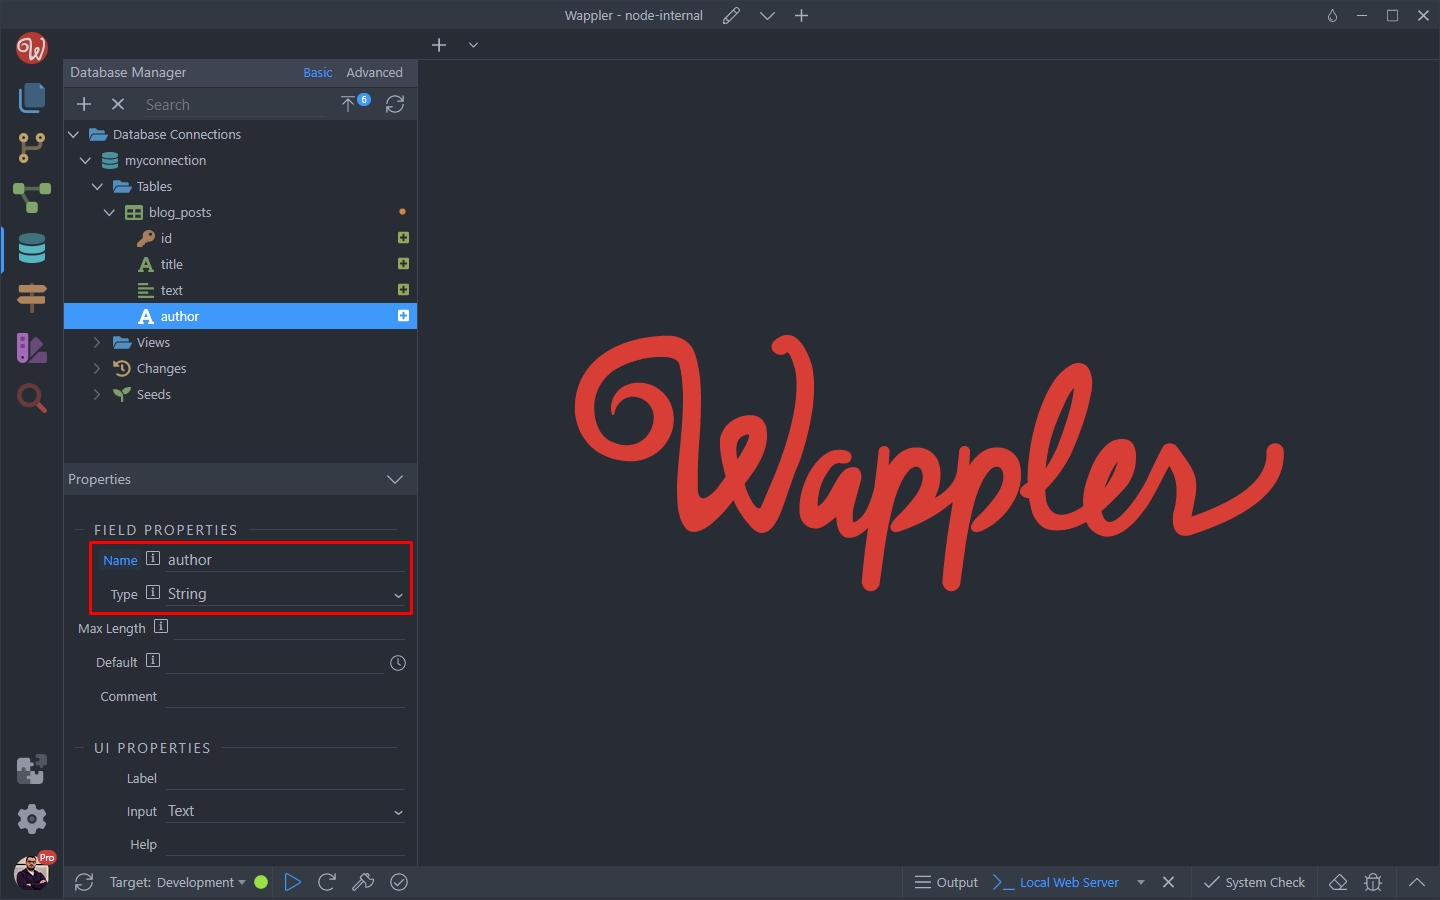
Then we add another field, called date which will store the blog post date. We set its type to Datetime:
Section titled “Then we add another field, called date which will store the blog post date. We set its type to Datetime:”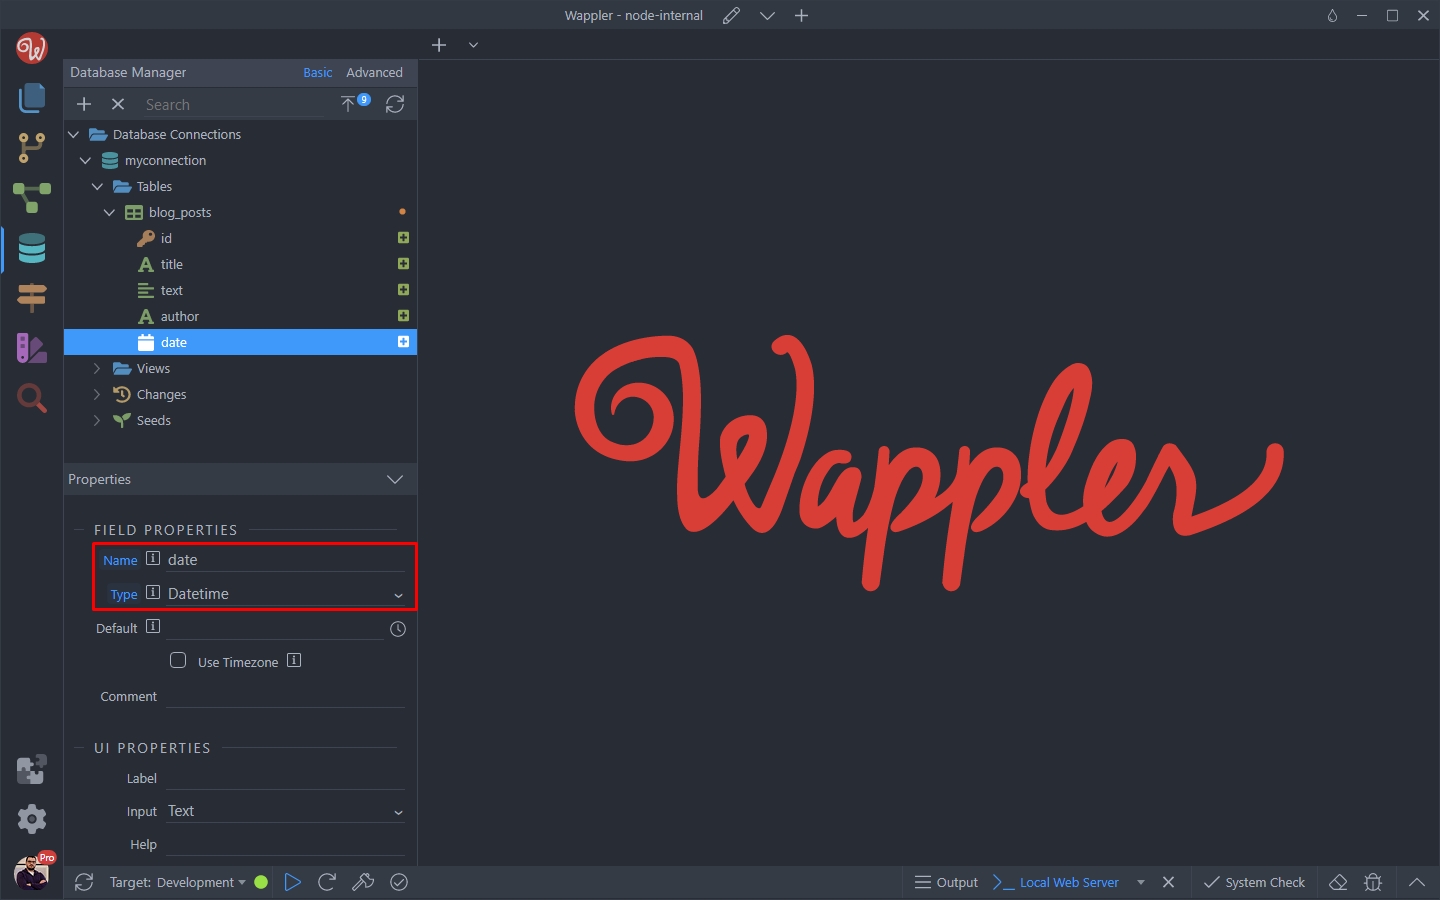
Step 14
Section titled “Step 14”So we are pretty much done with the blog post table. We have all the fields we need here for creating a blog post.
Sub Table
Section titled “Sub Table”Now let’s create a sub table for the blog post comments.
Right click the main table (blog_posts) name and select New Sub Table:
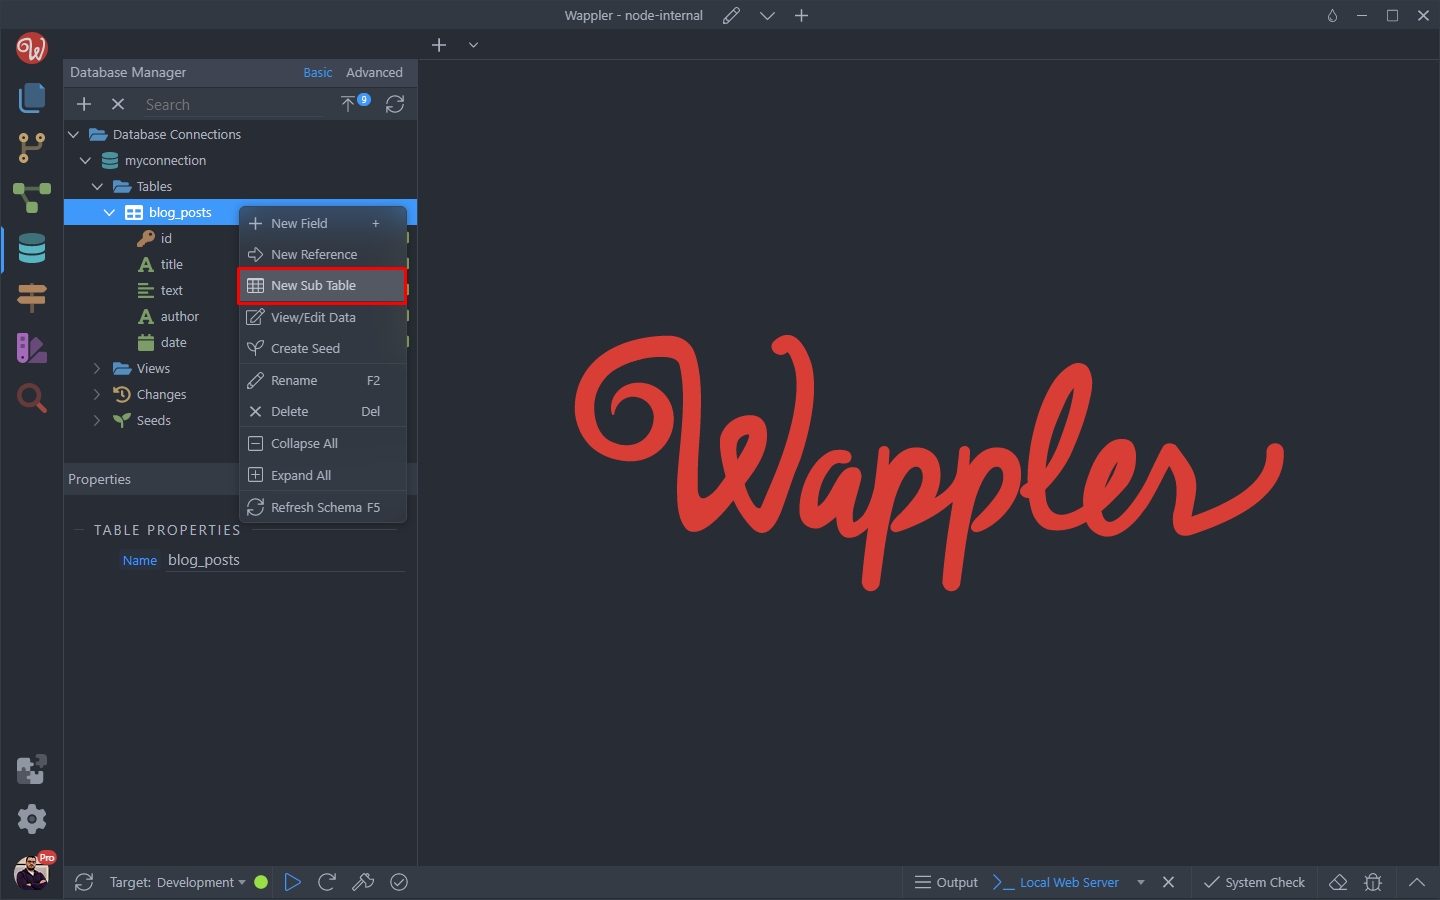
Add a name for it. We call it comments:
Section titled “Add a name for it. We call it comments:”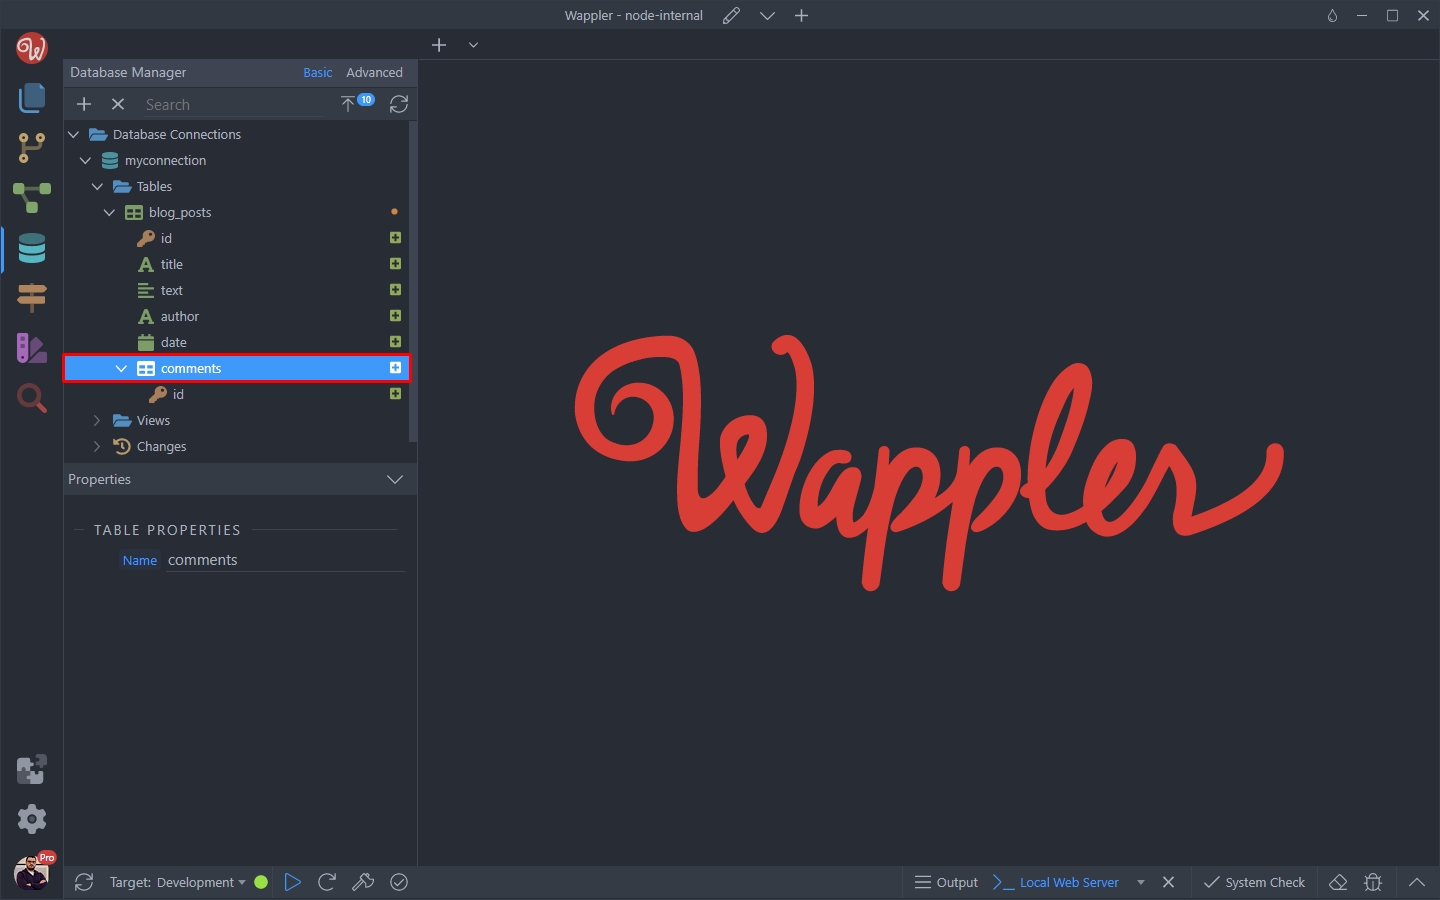
Step 17
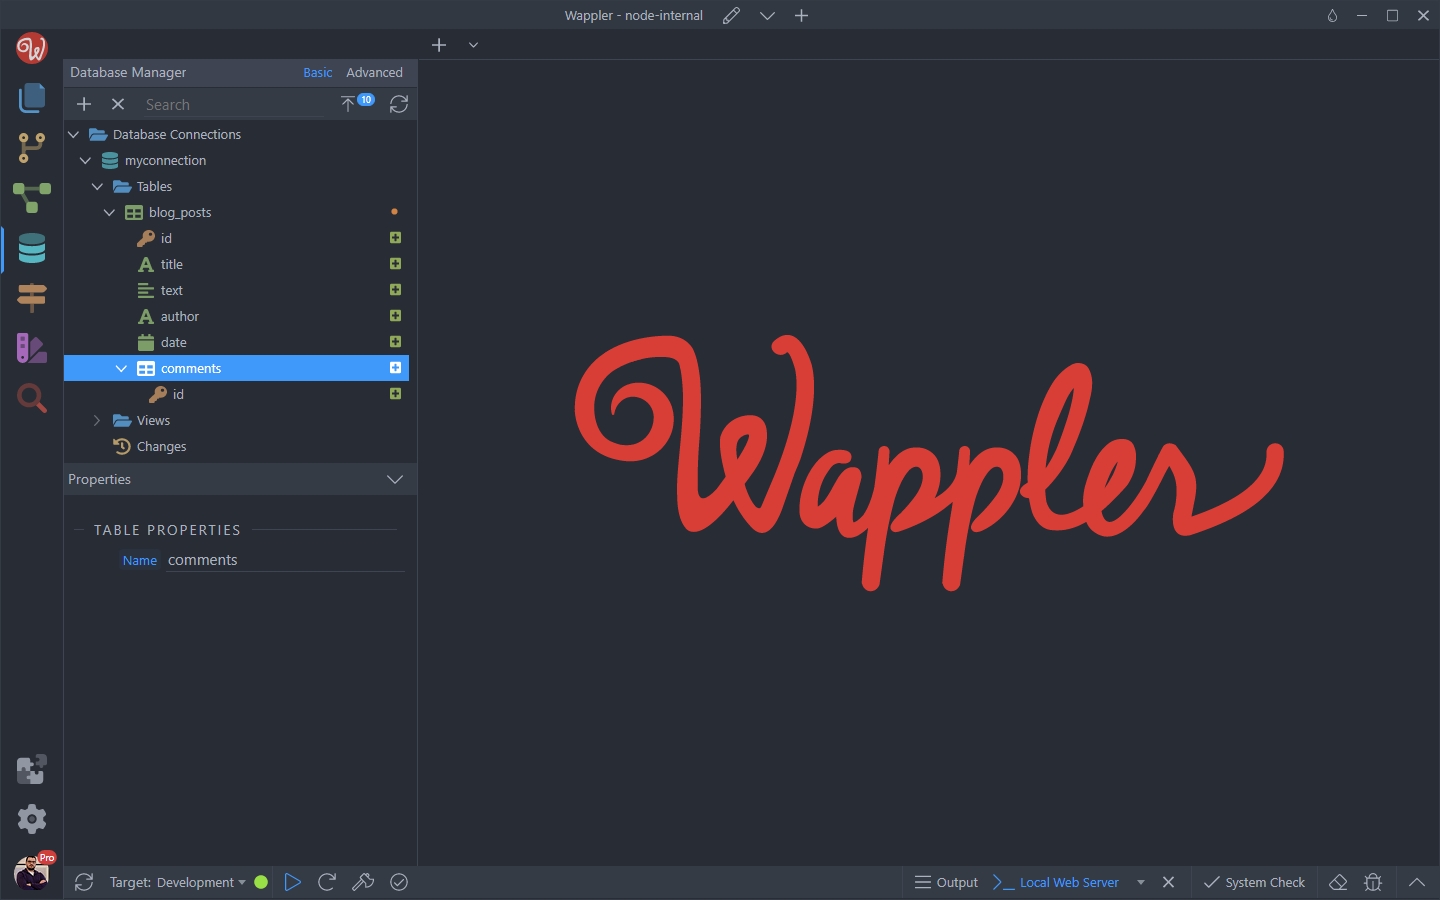
Section titled “Step 17”An id primary key field has been created automatically. Also, the relations between the blog_posts table and the comments table has also been created automatically by Wappler:
Step 18
Section titled “Step 18”For this table we will need two more fields - comment and email. These will store the comment text and the email of the person who posted the comment.
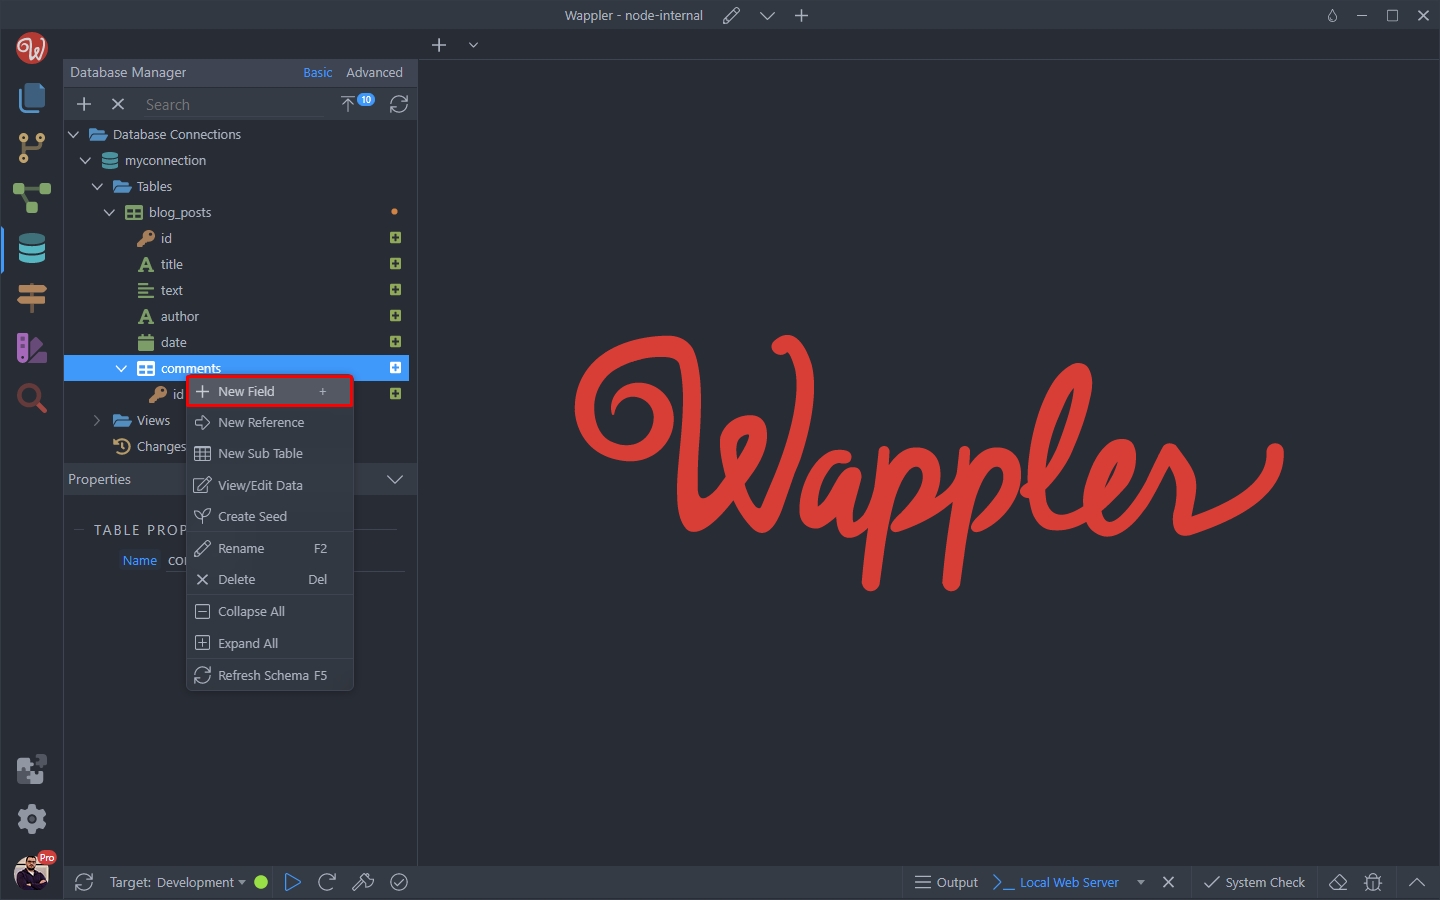
Right click the table and add a new field:
We call it comment and set its type to Text:
Section titled “We call it comment and set its type to Text:”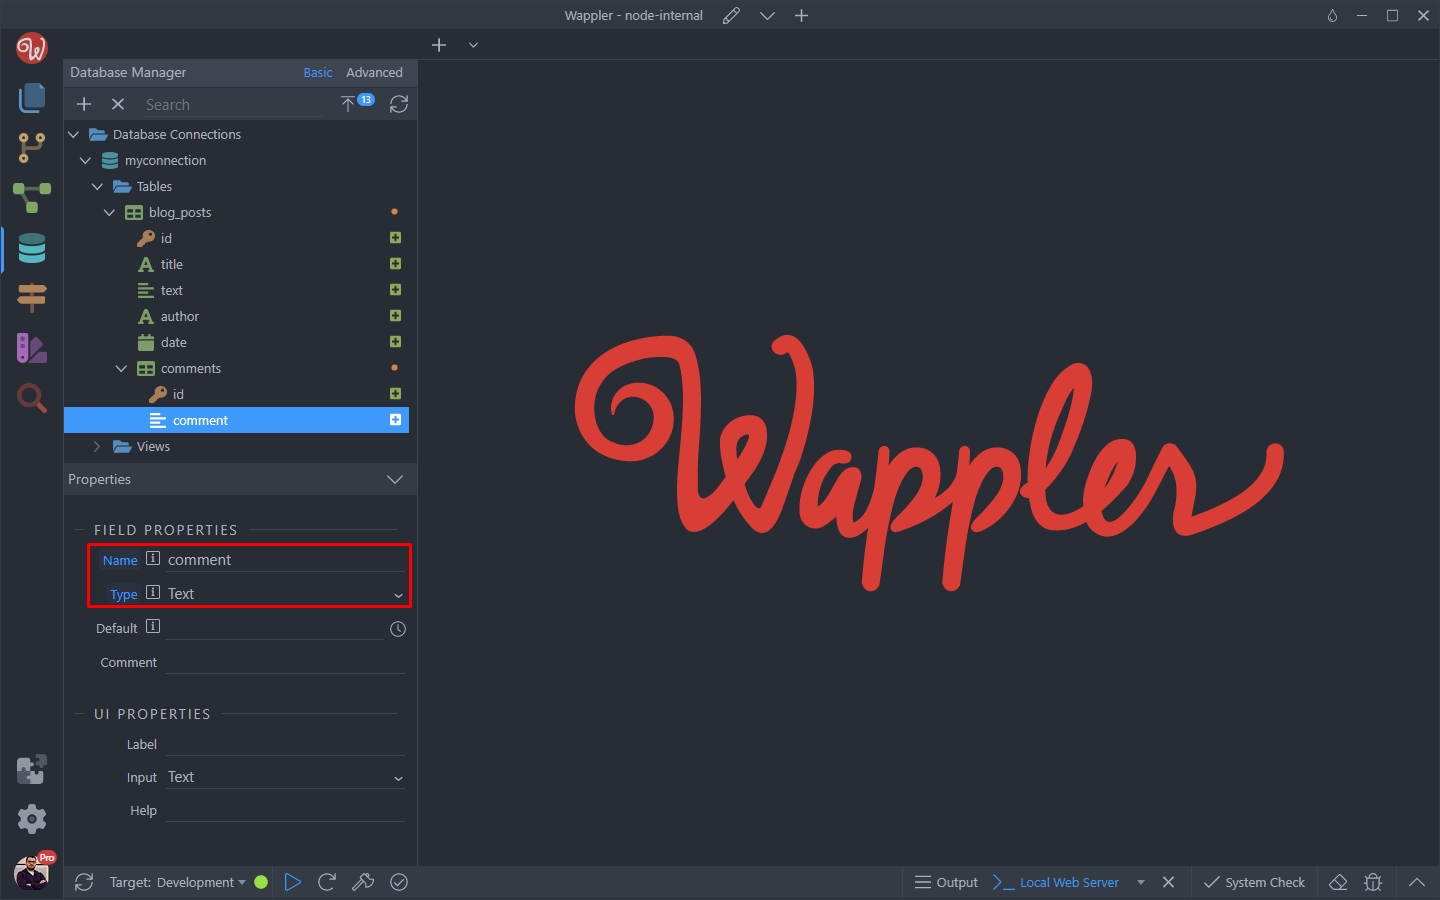
Then we add one more field and call it email. Set its type to String:
Section titled “Then we add one more field and call it email. Set its type to String:”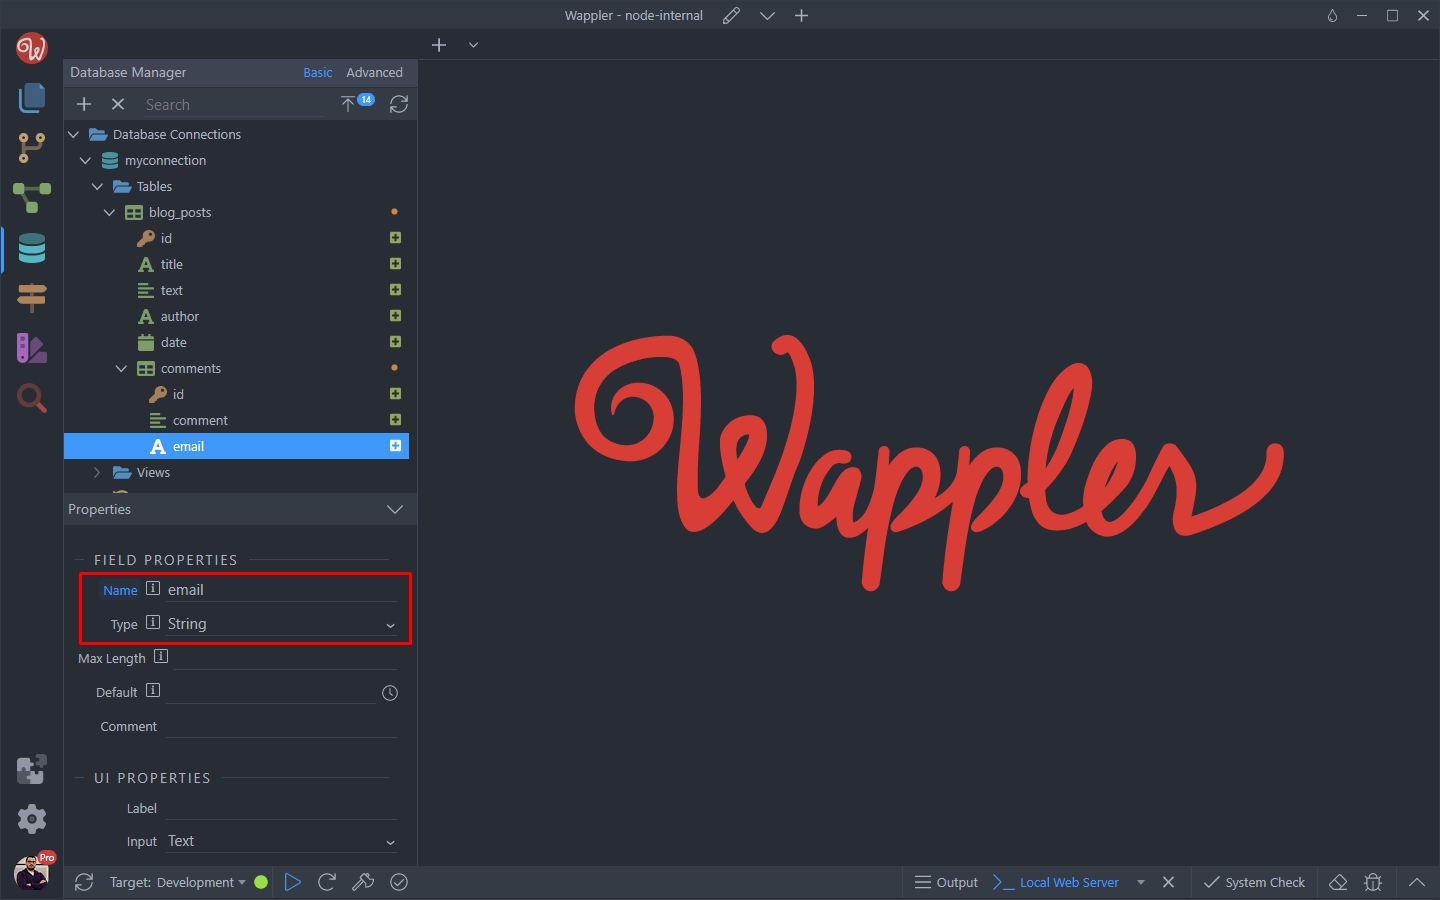
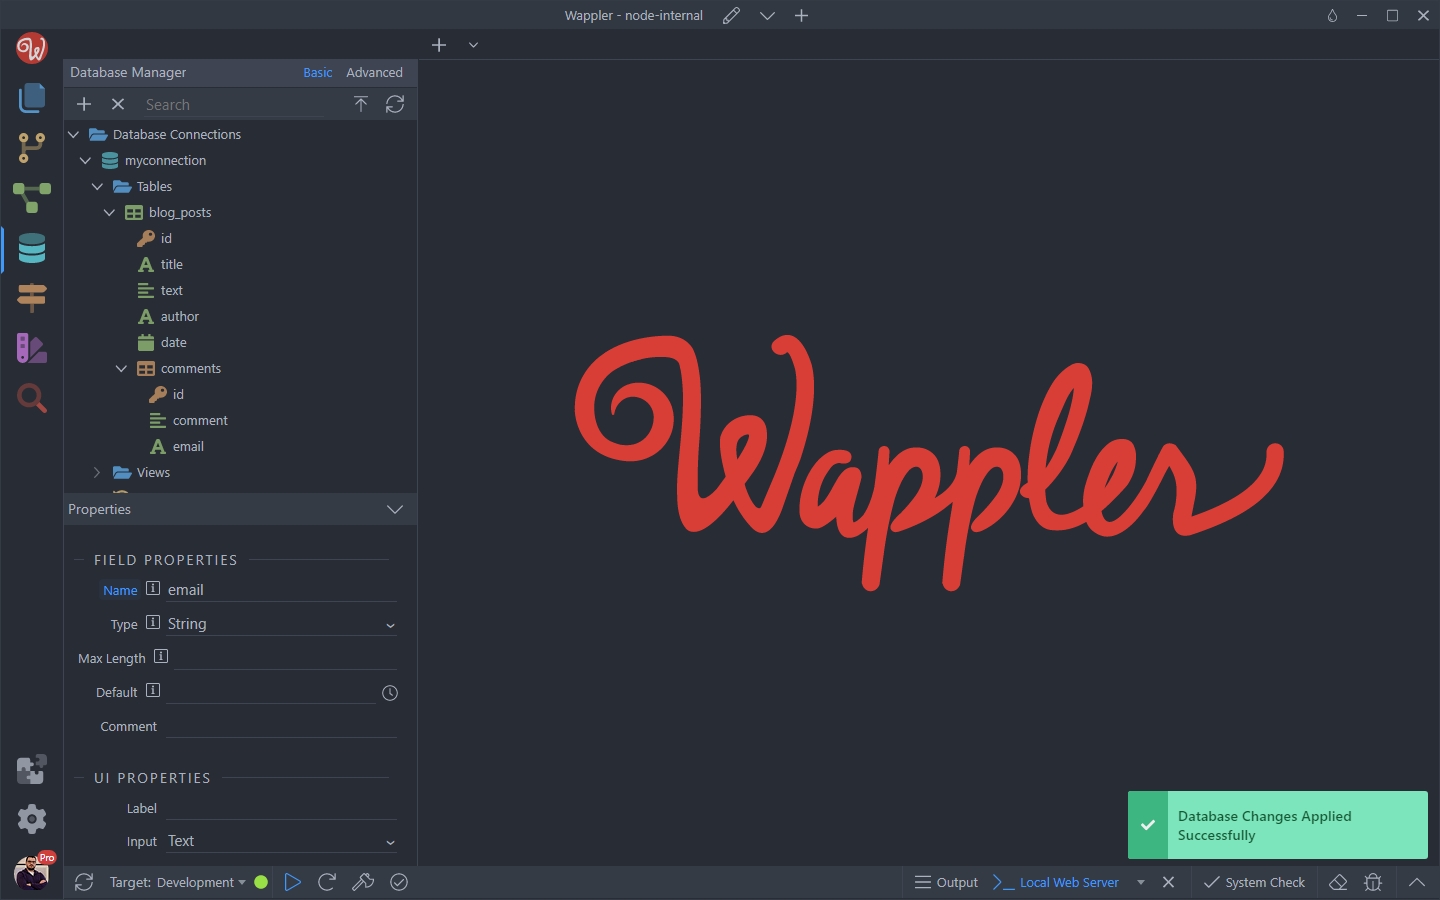
And we are done setting up the sub table.
Section titled “And we are done setting up the sub table.”Applying DB Changes
Section titled “Applying DB Changes”Now let’s apply the changes to the database. Click the Apply Database Changes Button:

Enter a description and click OK:
Section titled “Enter a description and click OK:”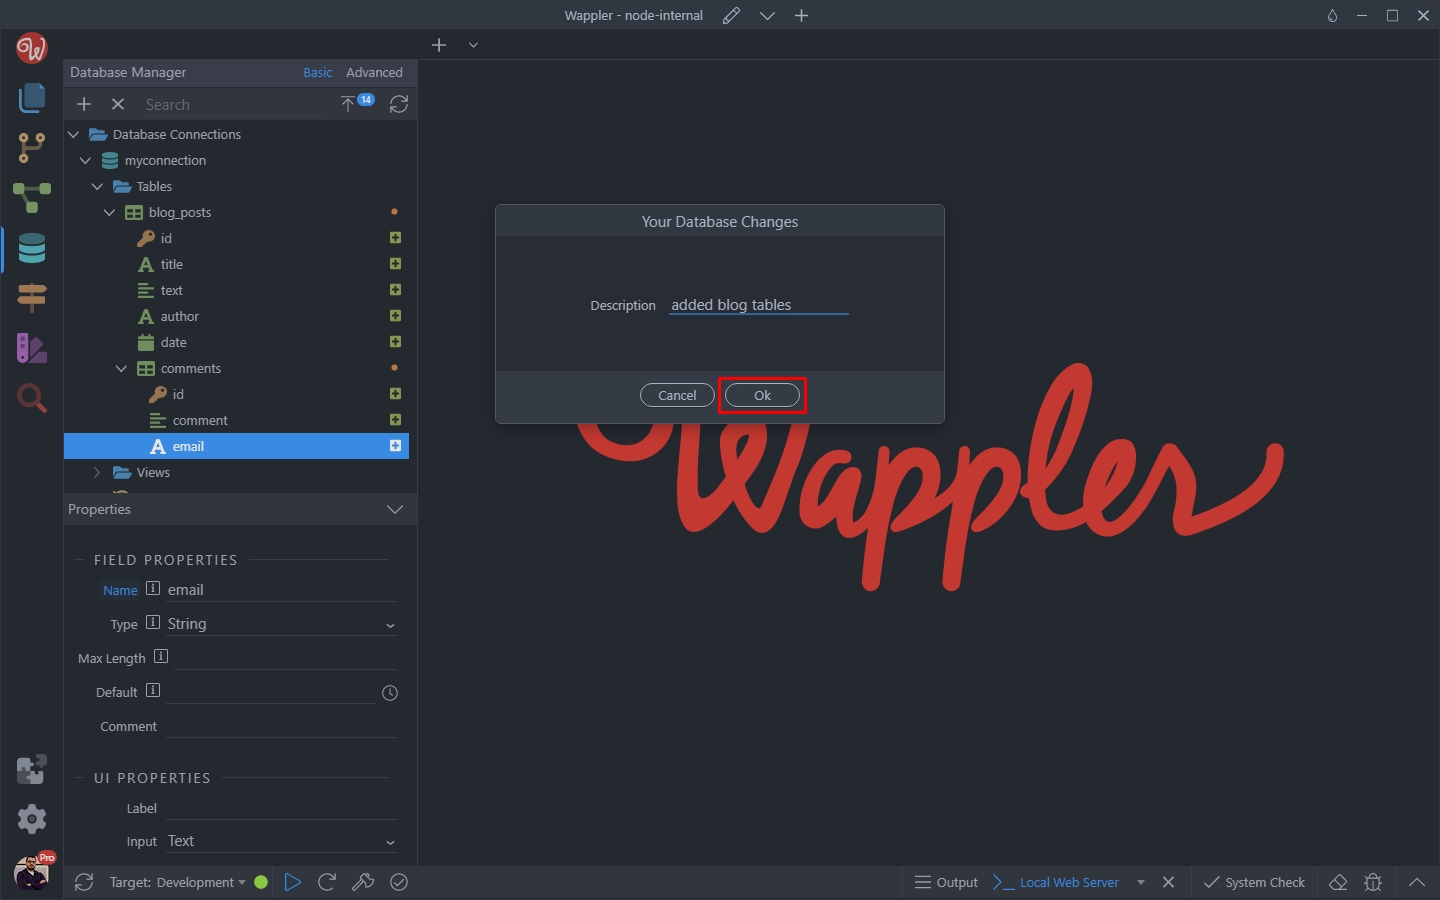
Now our main table and its sub table are ready to be used:
Section titled “Now our main table and its sub table are ready to be used:”