
Editing Database Data with the new Database Manager
The new Database Manager in Wappler just got more great powers! Now you can edit directly your live table data! You can choose between saving the data directly in the database or as a "change" that wi
Step 1
Section titled “Step 1”This way you can manage fully your database schema, but also make sure the right data is populated initially with the schema changes apply.
Also we have added a possibility to generate “Seeds” from the data of any database table. Seeds are used to do initial data import. So use them to save your database table data and then use it as import to a new database or database at a different target.
Editing Database Data
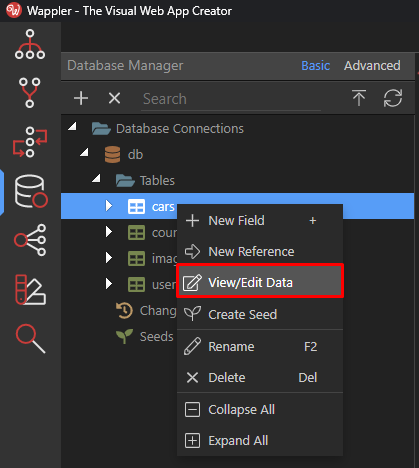
Section titled “Editing Database Data”To edit the data of any database table, just click right on it to call the context menu and then choose View/Edit Data:
This will open a new dialog, showing empty initially.
Section titled “This will open a new dialog, showing empty initially.”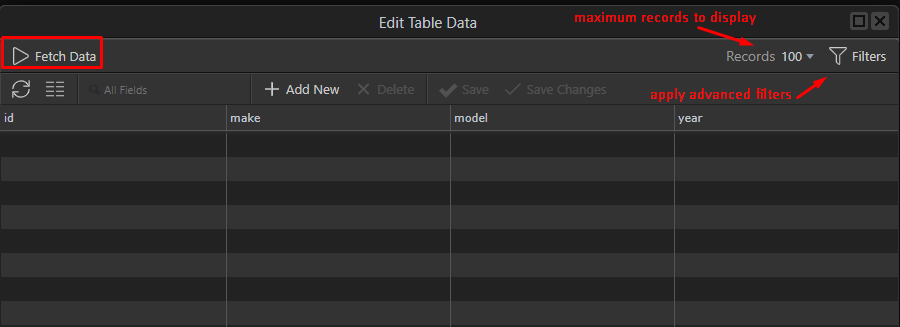
Step 4
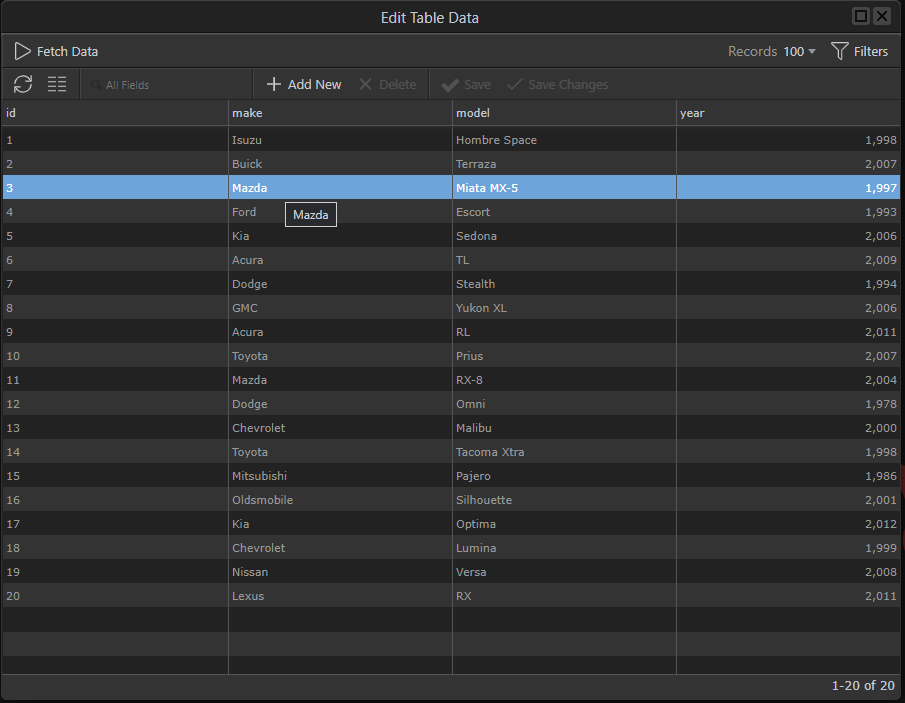
Section titled “Step 4”You can change the number of records to display, apply filters or just click on “Fetch Data” to get the database table record. Depending on your chaices you will see your table data
Step 5
Section titled “Step 5”This grid works much like a spreadsheet, you just double click a column cell to edit its data.
Note columns containing the table ID are not editable.
So double click on the second column to go into inline edit mode:
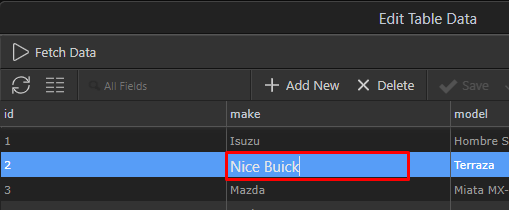
When you leave the field, you will see that the data has been changed:
Section titled “When you leave the field, you will see that the data has been changed:”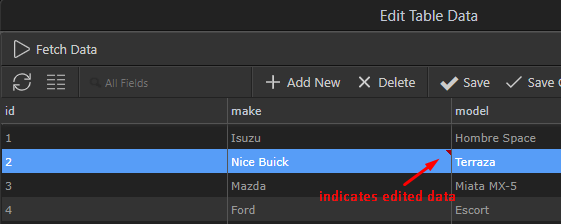
Step 7
Section titled “Step 7”You can choose to add complete new records or delete the selected:
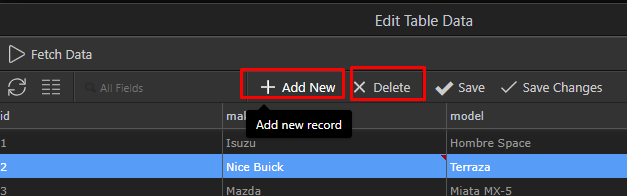
Step 8
Section titled “Step 8”If you have too much columns to display, you can control which columns are displayed in the grid:
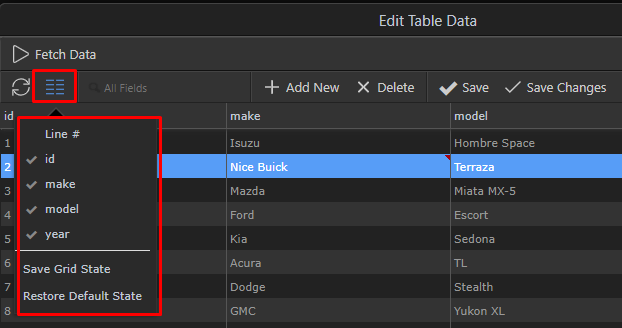
Saving The Data Mutations
Section titled “Saving The Data Mutations”If the table you are working on already exists in the database, you can save your edits directly, by clicking on the “Save” button
Saving directly to the Database
Section titled “Saving directly to the Database”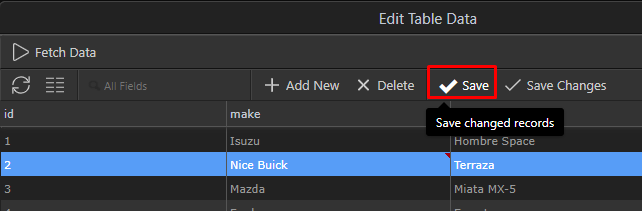
This will result in the live data being changed with your edits or record deletes.
Section titled “This will result in the live data being changed with your edits or record deletes.”This is useful for initially populating your tables with some data, but in a live environment might be dangerous as you are editing the database directly.
Those edits are one time only and can’t be just repeated.
Saving as Database Changes
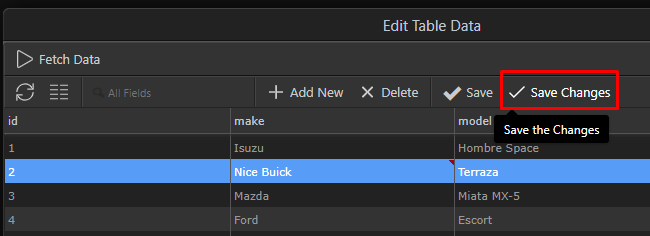
Section titled “Saving as Database Changes”However there is another useful option “Save Changes” that won’t apply your edits directly to the database, but instead queue them as “changes” that you can save later as new Database Changes file!
Step 13
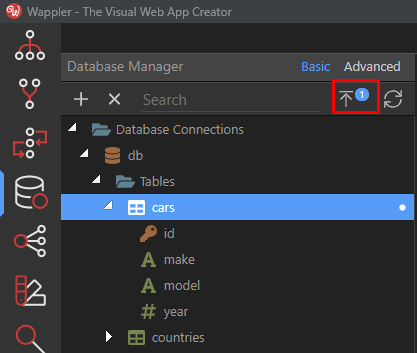
Section titled “Step 13”You can close the dialog and you will see that the changes are queued for processing:
Step 14
Section titled “Step 14”This is particular handy when you want to make some database schema changes and then also add some initial data with them. This way you have and the database schema edits and the new data together in a single “change” file that can be applied to your current database or later to your remote live database to keep everything in sync.
Creating Data Seeds
Section titled “Creating Data Seeds”Sometimes it is useful to take a copy from the data of any table and keep it as backup for later. Or to be applied as initial “seed” data on new databases. This is where “seeds” come in place.
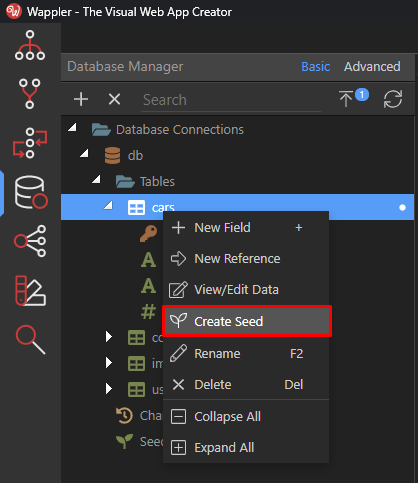
To create a data seed - just right click on any table that you want to save its data and choose Create Seed:
A new dialog will popup to enter a description for your seed and choose the data dumping options.
Section titled “A new dialog will popup to enter a description for your seed and choose the data dumping options.”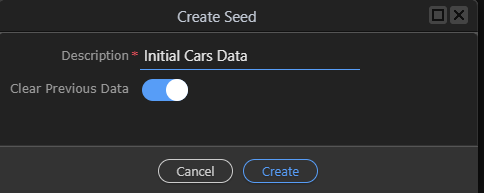
Step 17
Section titled “Step 17”the “Clear Previous Data” option means that when this data is imported to a database, any previous data from the table will be cleared first.
Applying / Importing the Seed Data
Section titled “Applying / Importing the Seed Data”All your database seeds are saved under the “Seeds” branch in your Database Structure:
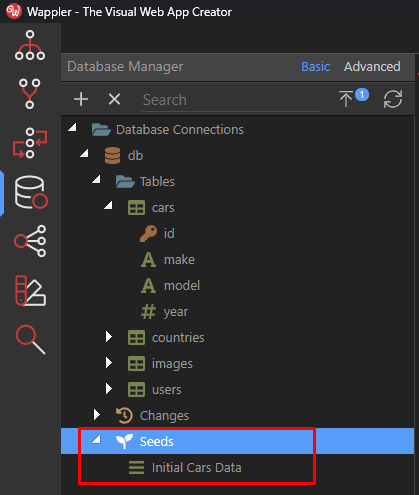
Step 19
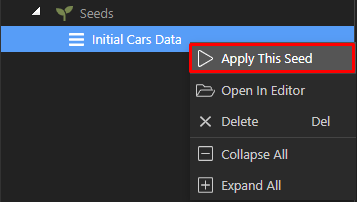
Section titled “Step 19”To run a specific seed, you can just right click on it, to get its context menu and then choose “Apply yhis Seed”
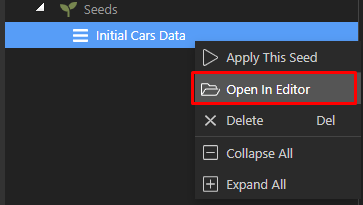
If you are curious about how the seed file looks like, you can just choose the “Open In Editor” options:
Section titled “If you are curious about how the seed file looks like, you can just choose the “Open In Editor” options:”This will apply the seed to the currently selected database. Note if you had the option “Clear Previous Data” on - then the table will be cleared first and the new data will be added after that. So be careful where you apply the seed or you might loose data!
If you are curious about how the seed file looks like, you can just choose the “Open In Editor” options:
Then the source code for this seed will be opened in Wappler’s editor:
Section titled “Then the source code for this seed will be opened in Wappler’s editor:”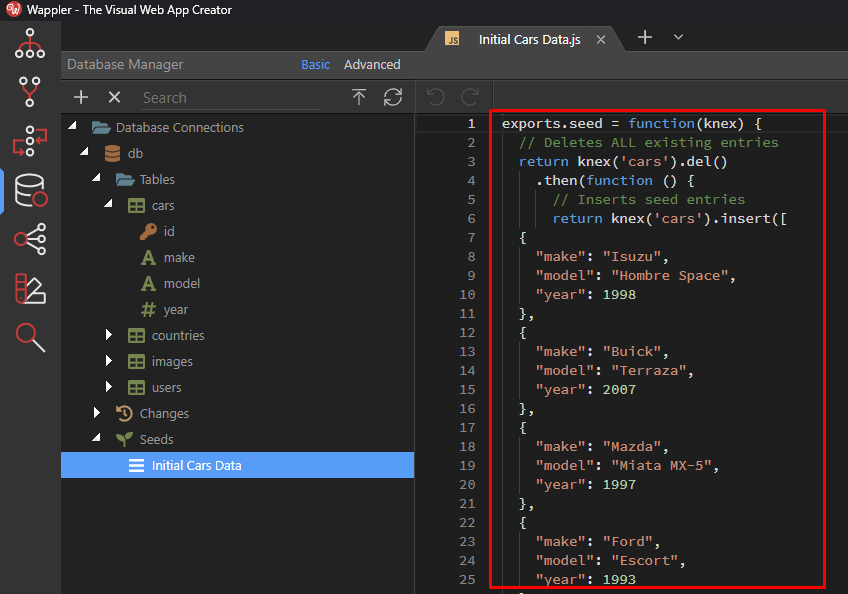
Conclusion
Section titled “Conclusion”As you can see live data manipulation in Wappler can be really easy with the new Database Manager.
With options to save your data changes together with schema changes, makes database migrations and upgrades really easy and save.
Seeds can be also very useful for data backup and initial import.