Bindings
UI is wired to data with expressions.
Build a small reactive calculator in Wappler and use it to understand expressions, input scope, and why toNumber() is essential before doing numeric math in bindings.
This tour uses a two-input calculator to show how App Connect expressions evaluate in real time. You will inspect the result binding, follow where each value comes from, and see where type conversion prevents string-math bugs.
You will learn the whole expression workflow, not just the final formula: which inputs are in scope, how the Data Bindings Picker helps assemble the expression safely, and where to apply toNumber() so the result behaves like real arithmetic.
note: HTML input values are strings by default. Use toNumber() before doing math (A.value.toNumber() + B.value.toNumber()).
This tour opens a sample App Connect page in Design View. Keep Page Panels (Structure) and Selection Panels (Properties) visible.
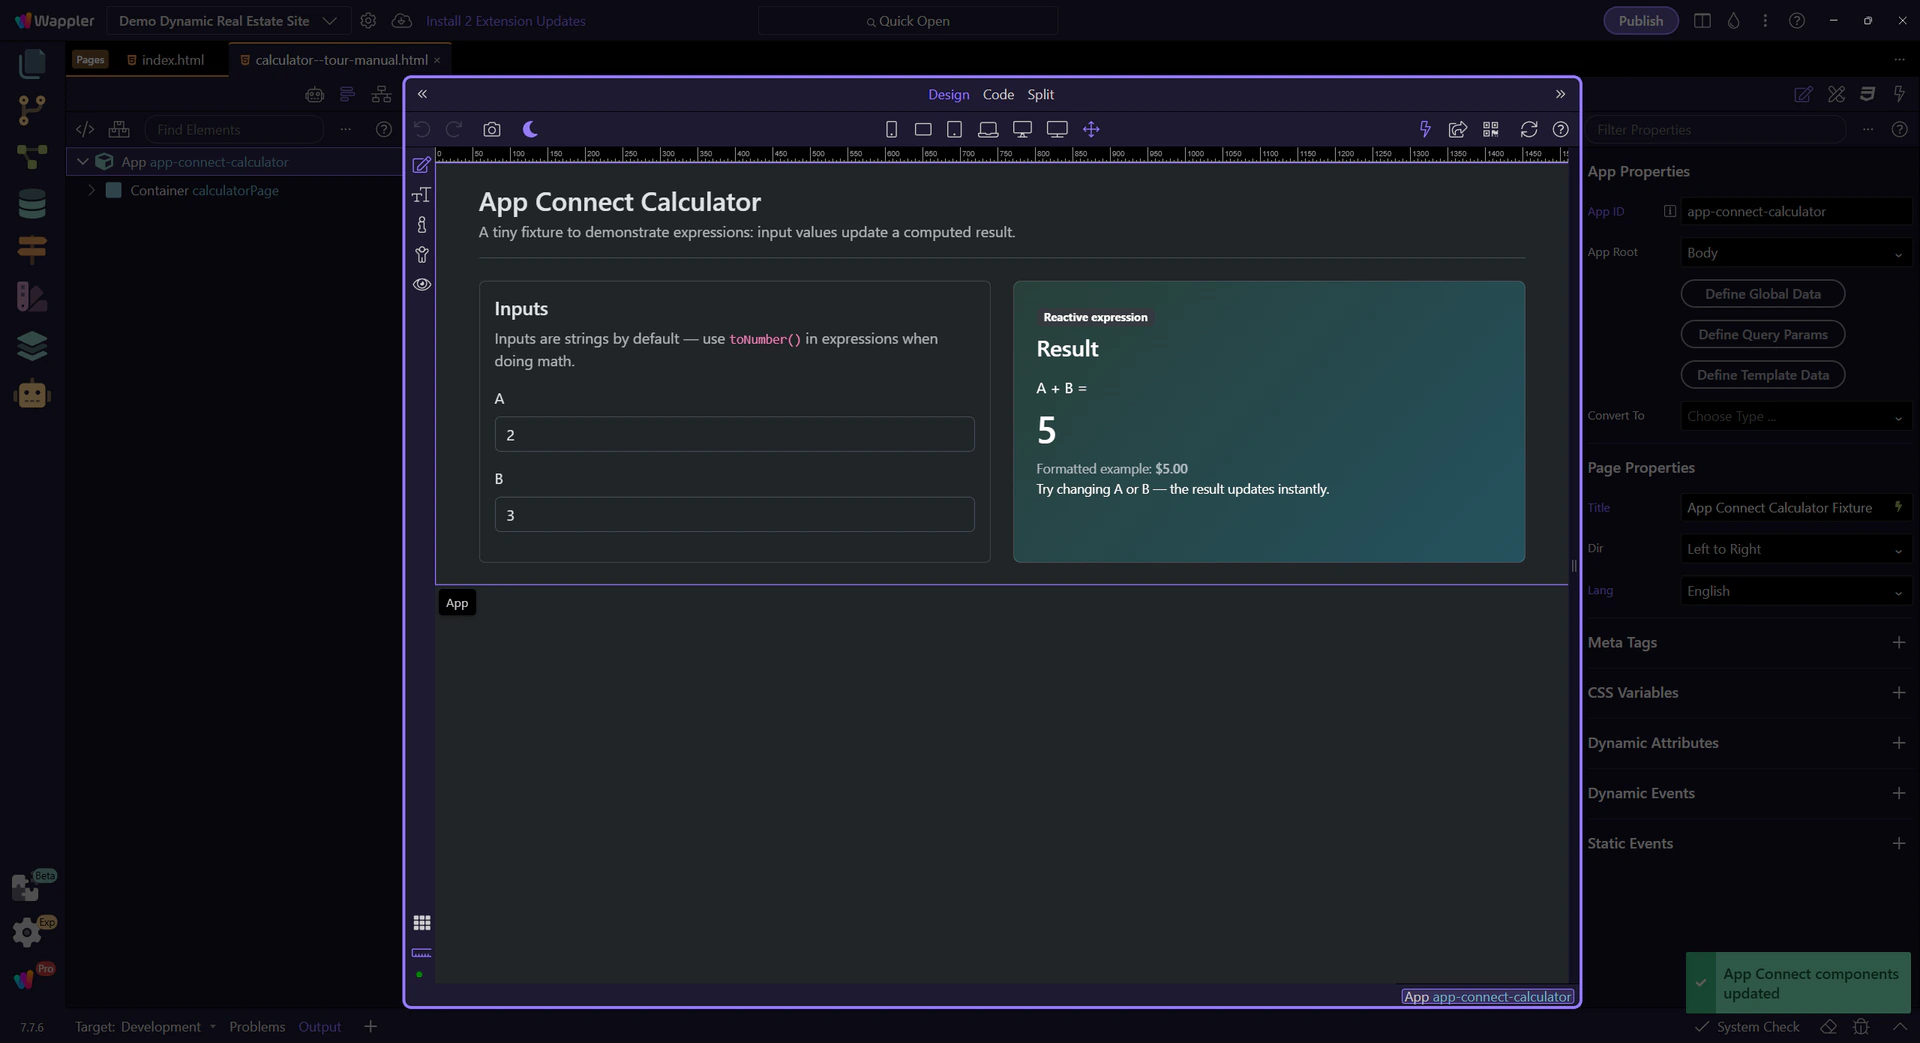
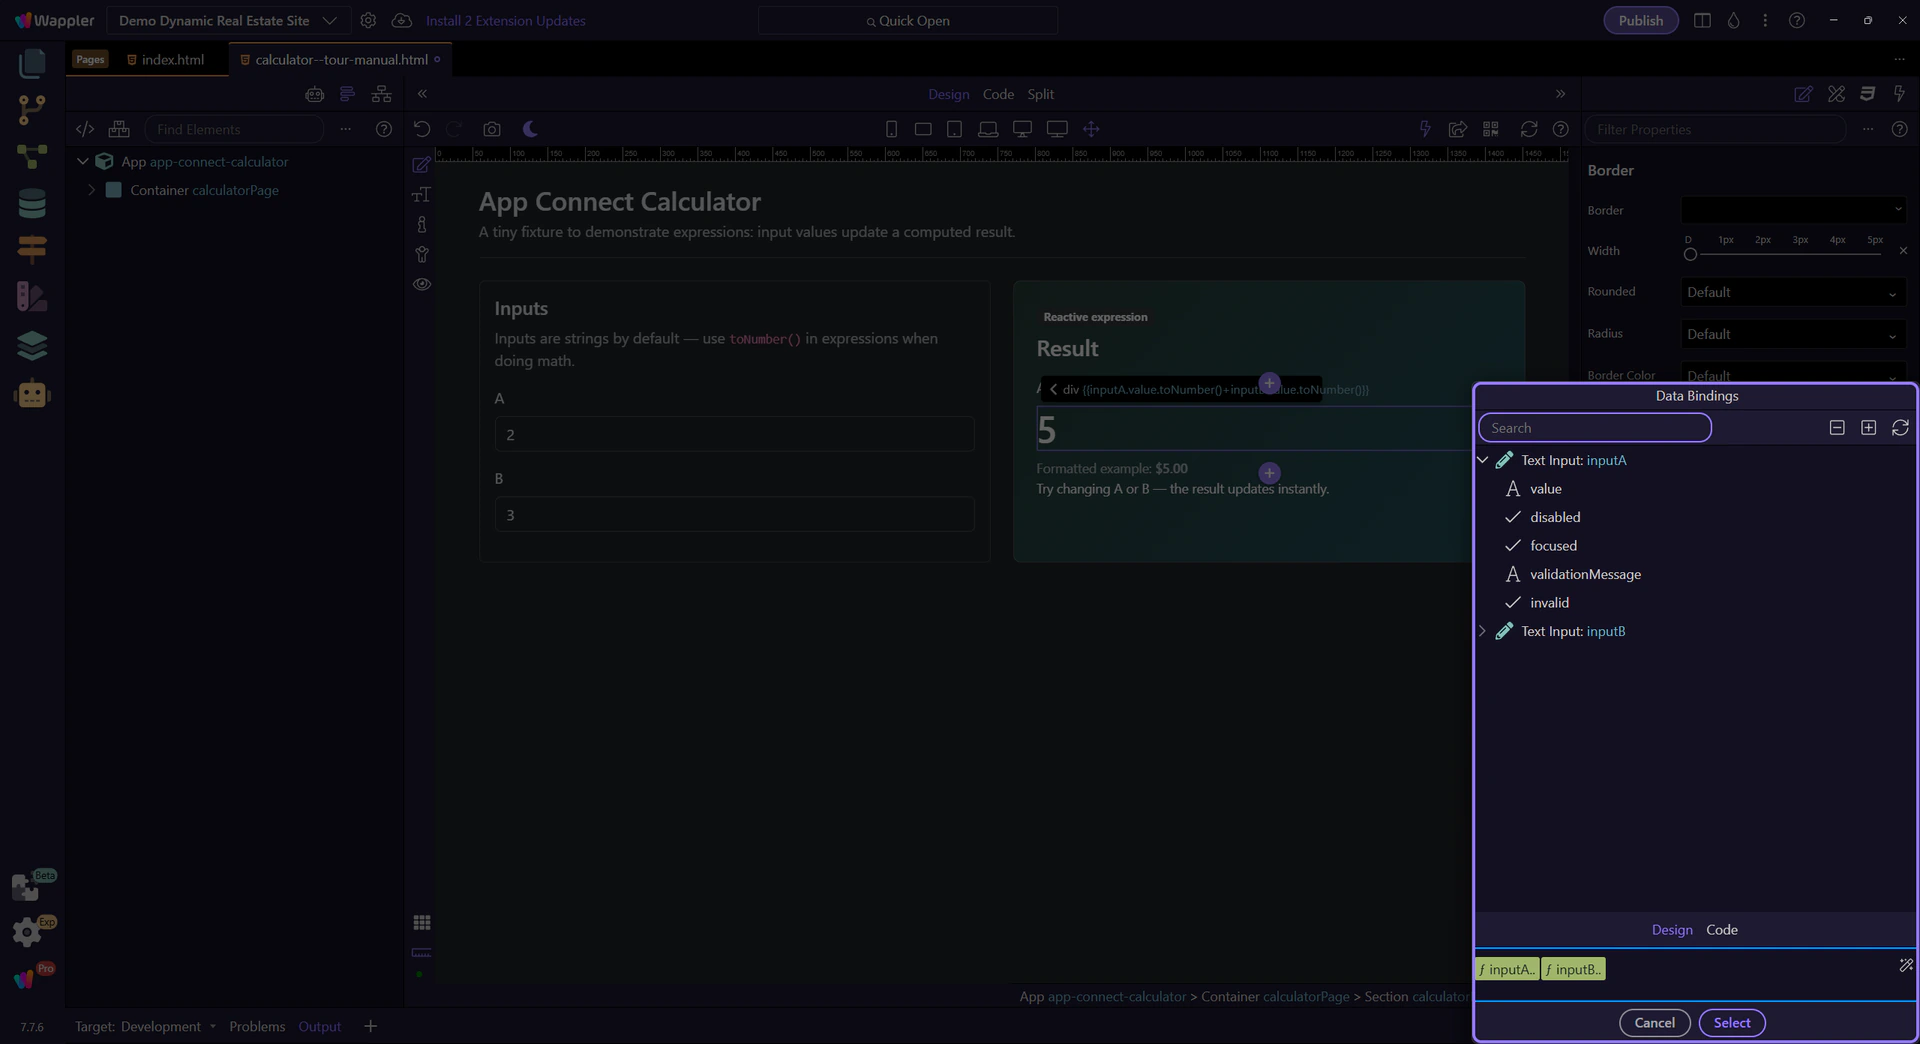
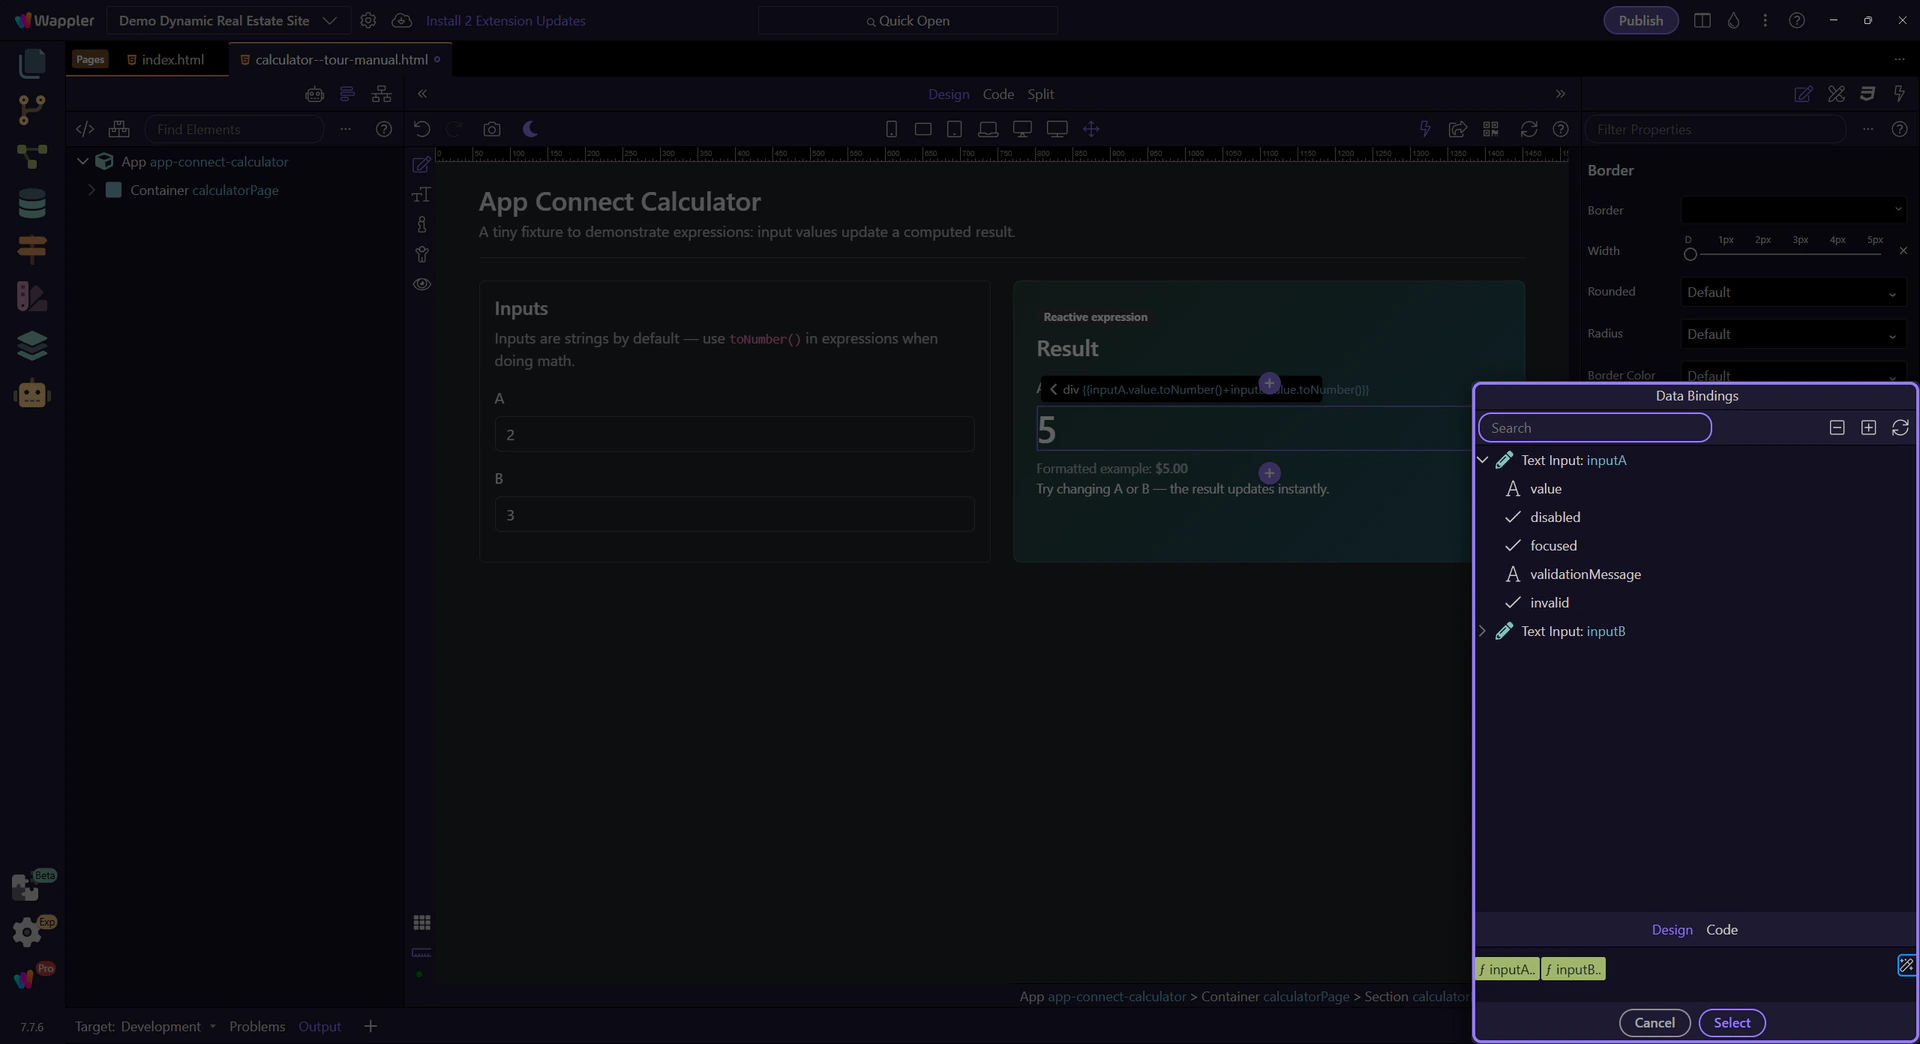
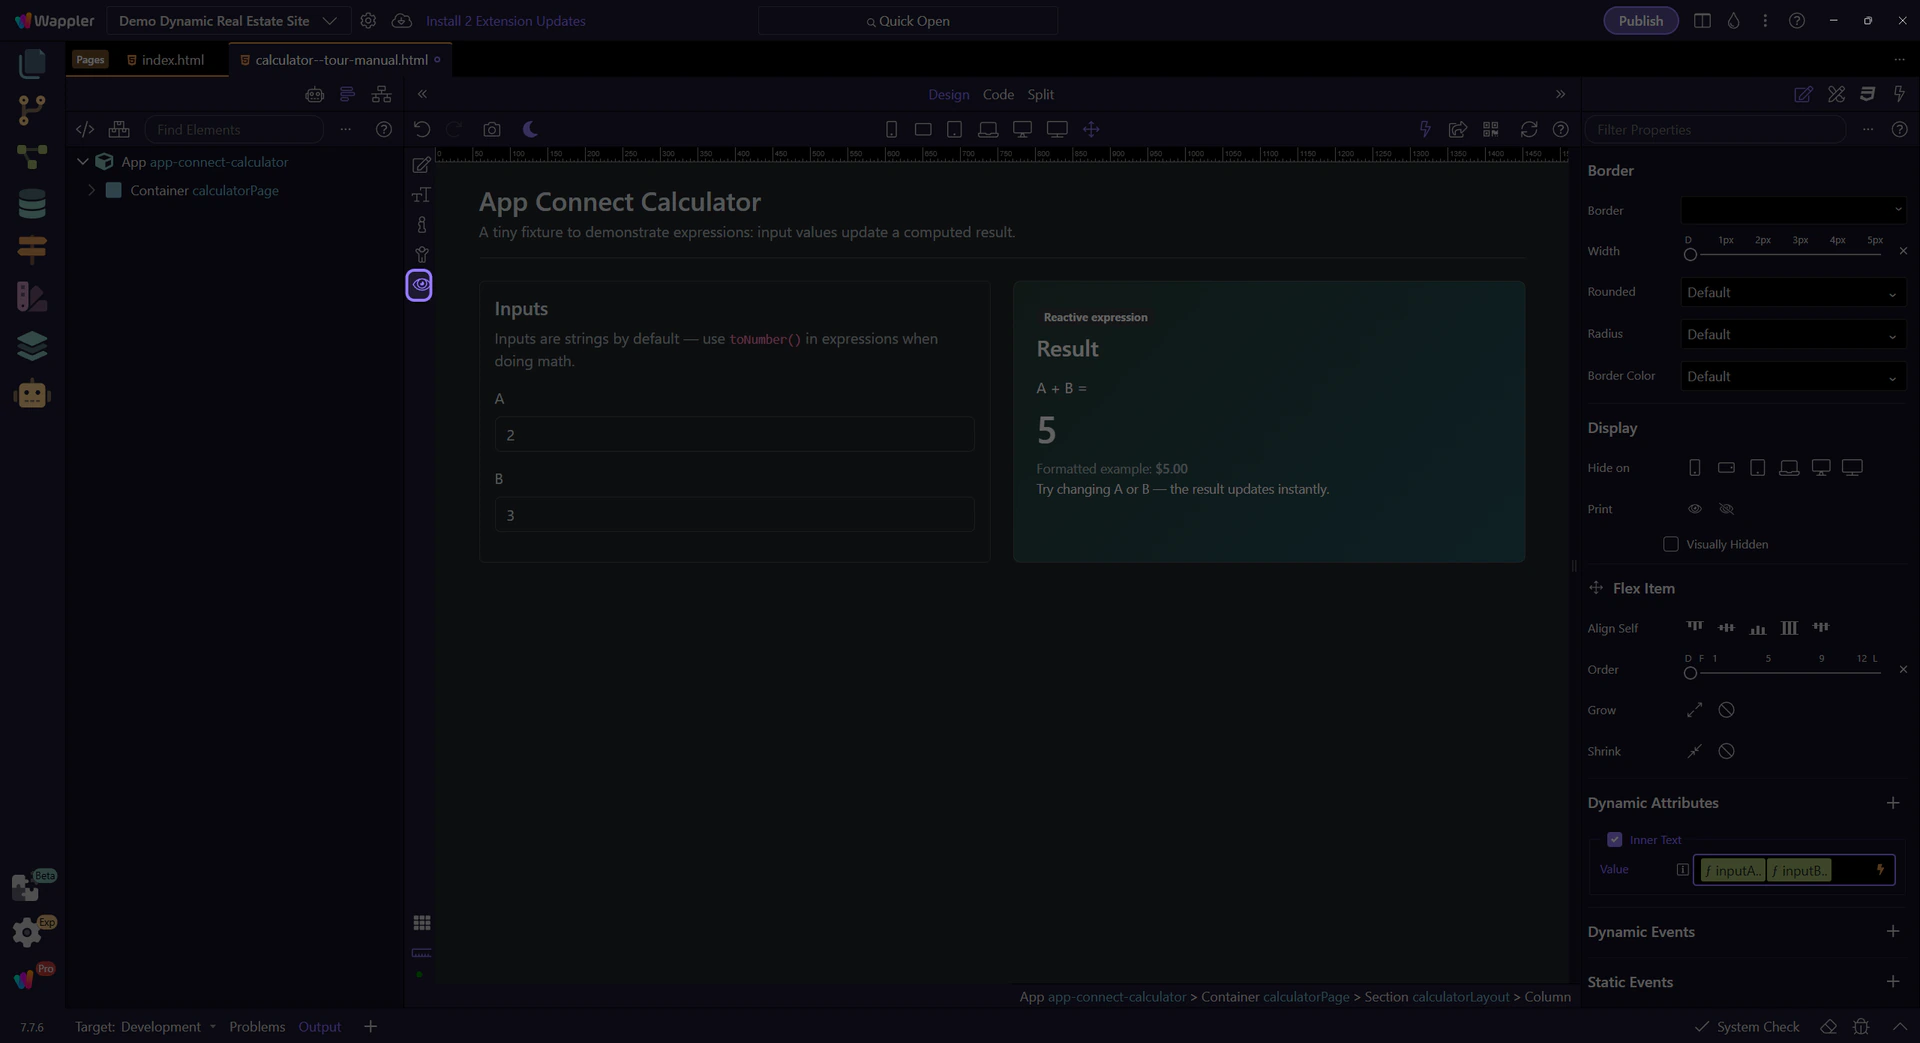
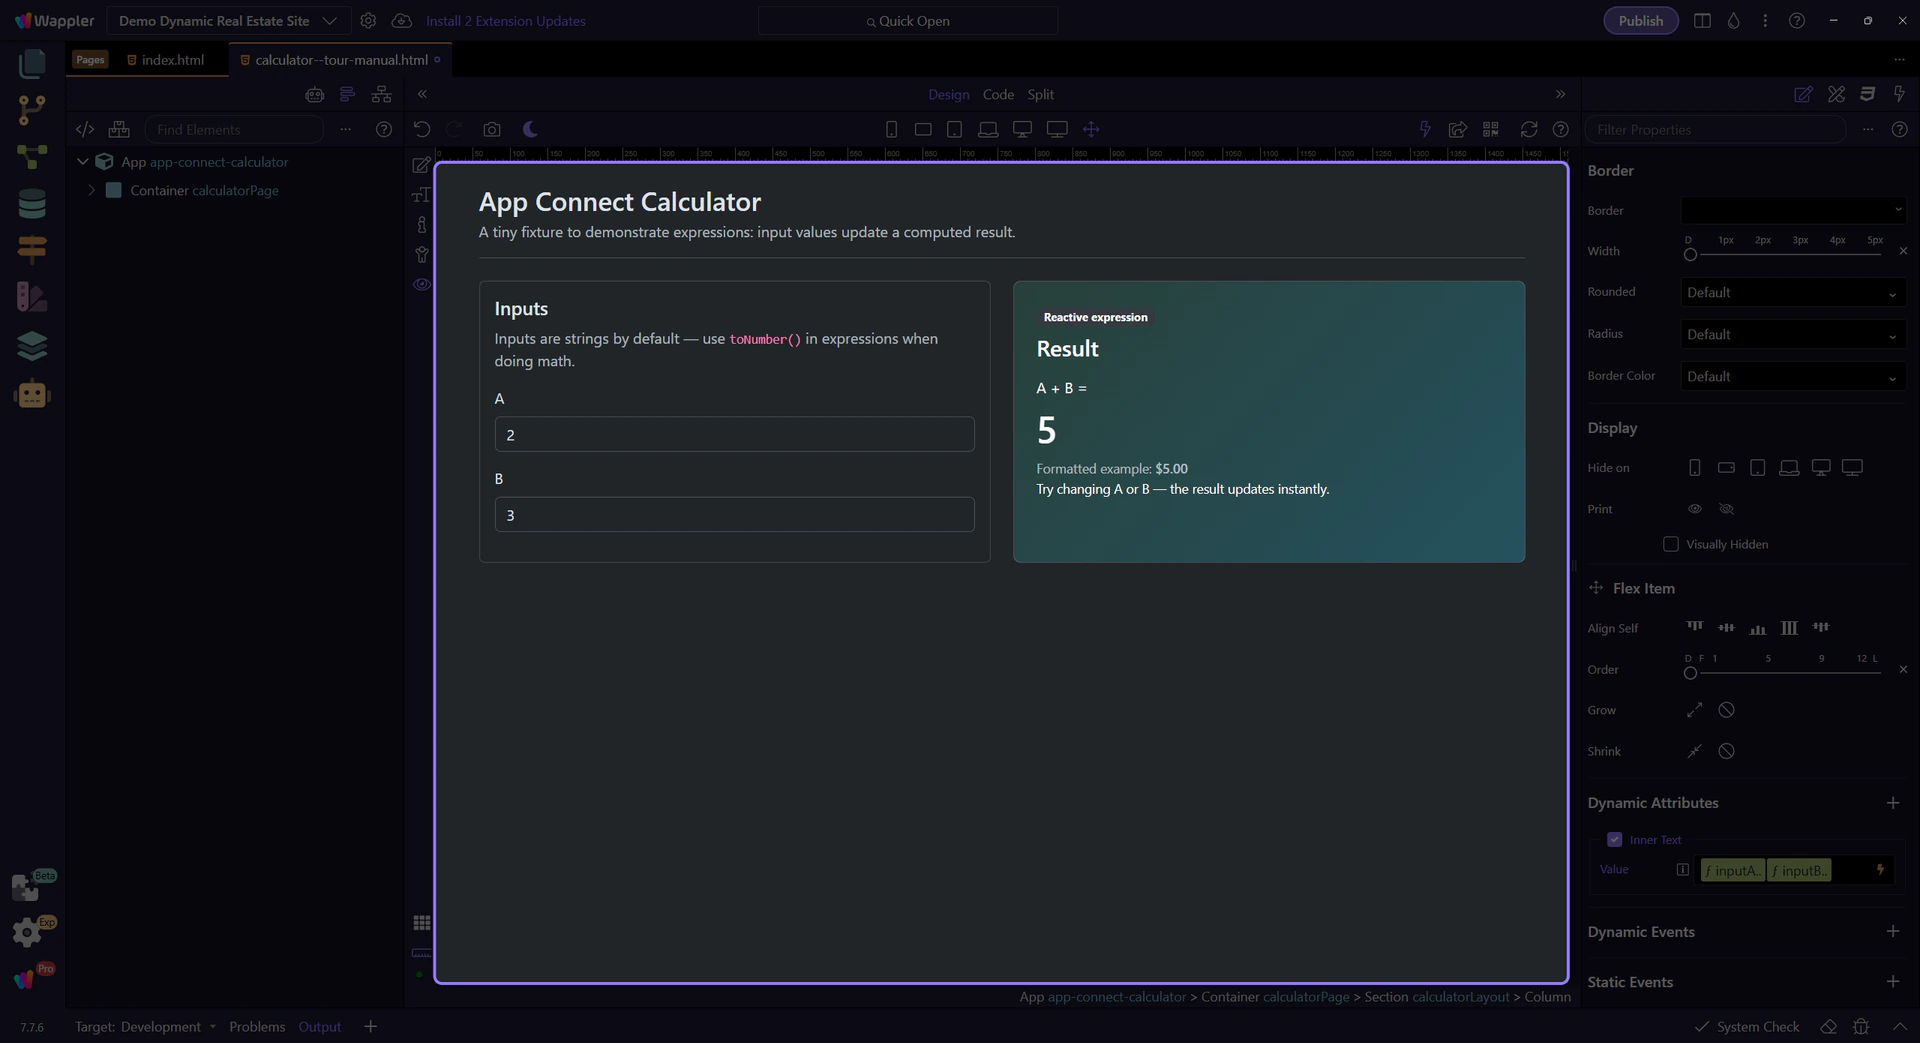
The result is computed from two inputs. No click action is needed — the expression is reactive.
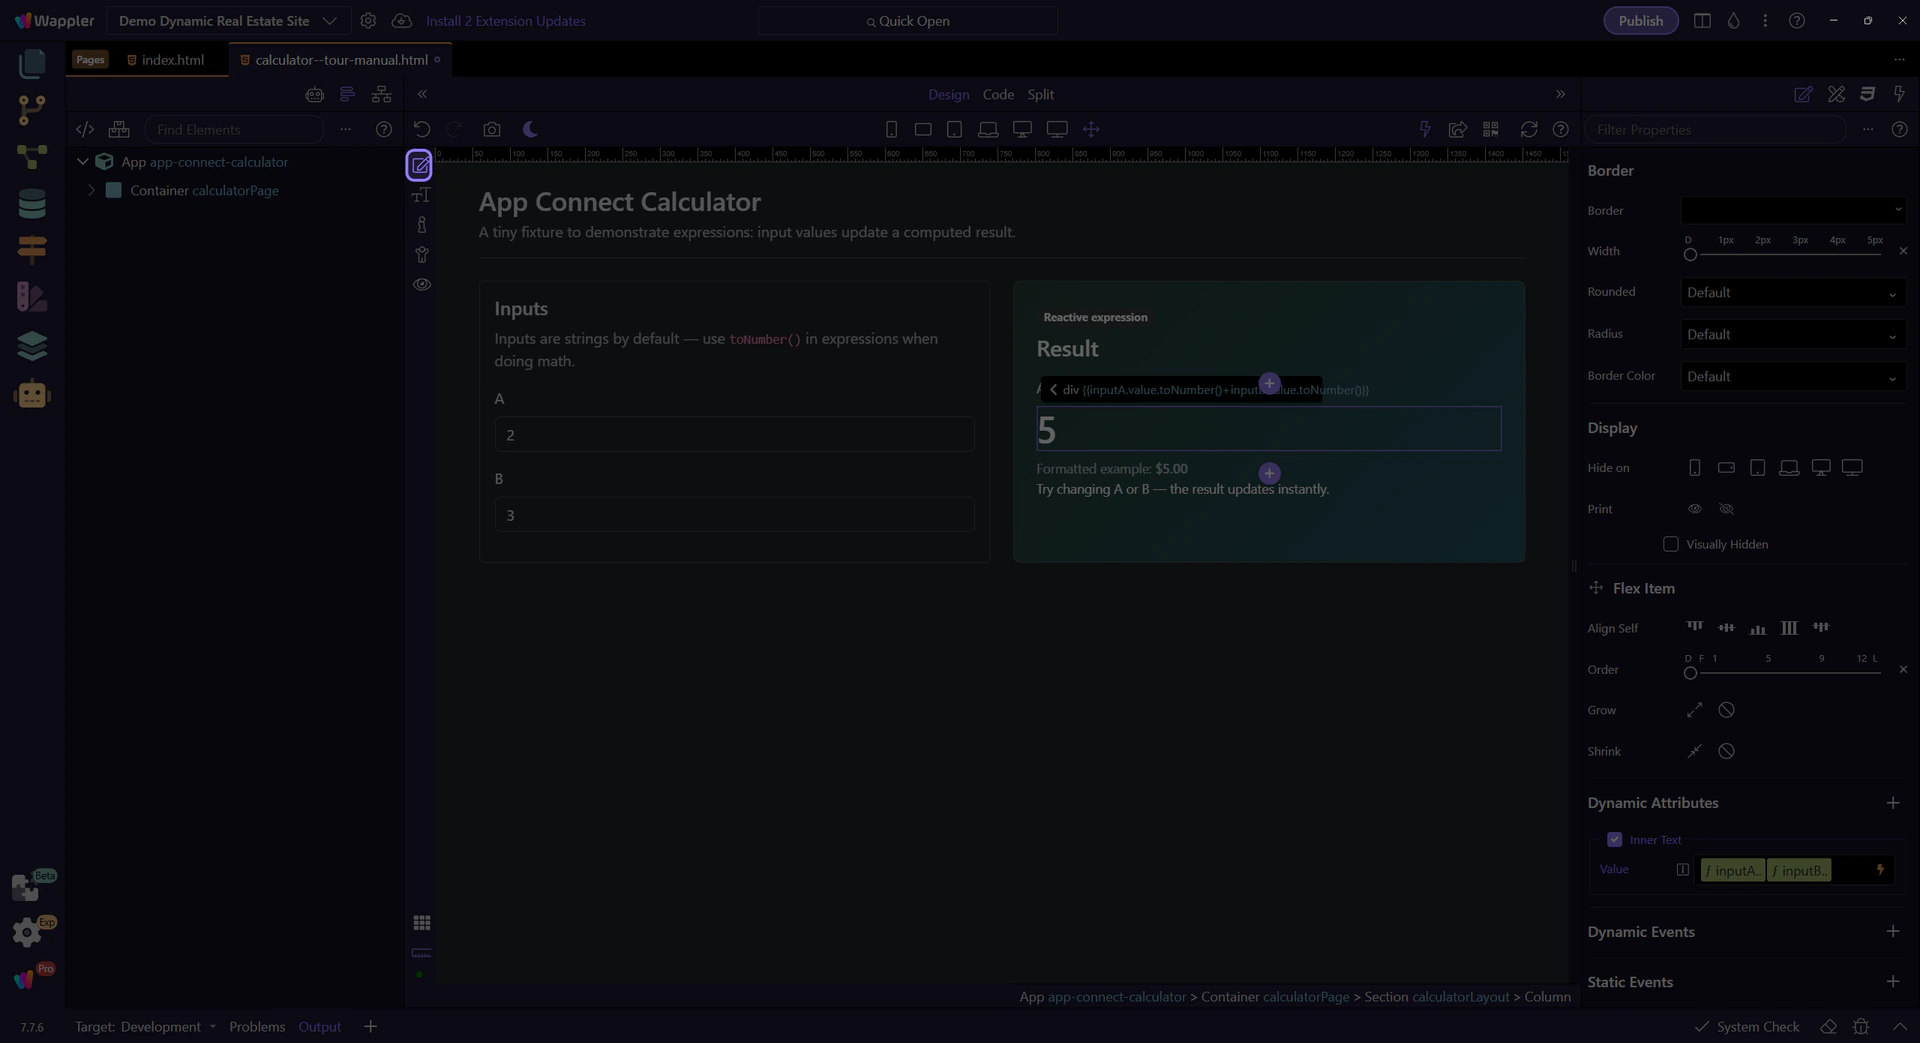
Inspect the result text binding — it shows the computed sum expression. (The result text is selected for you.)
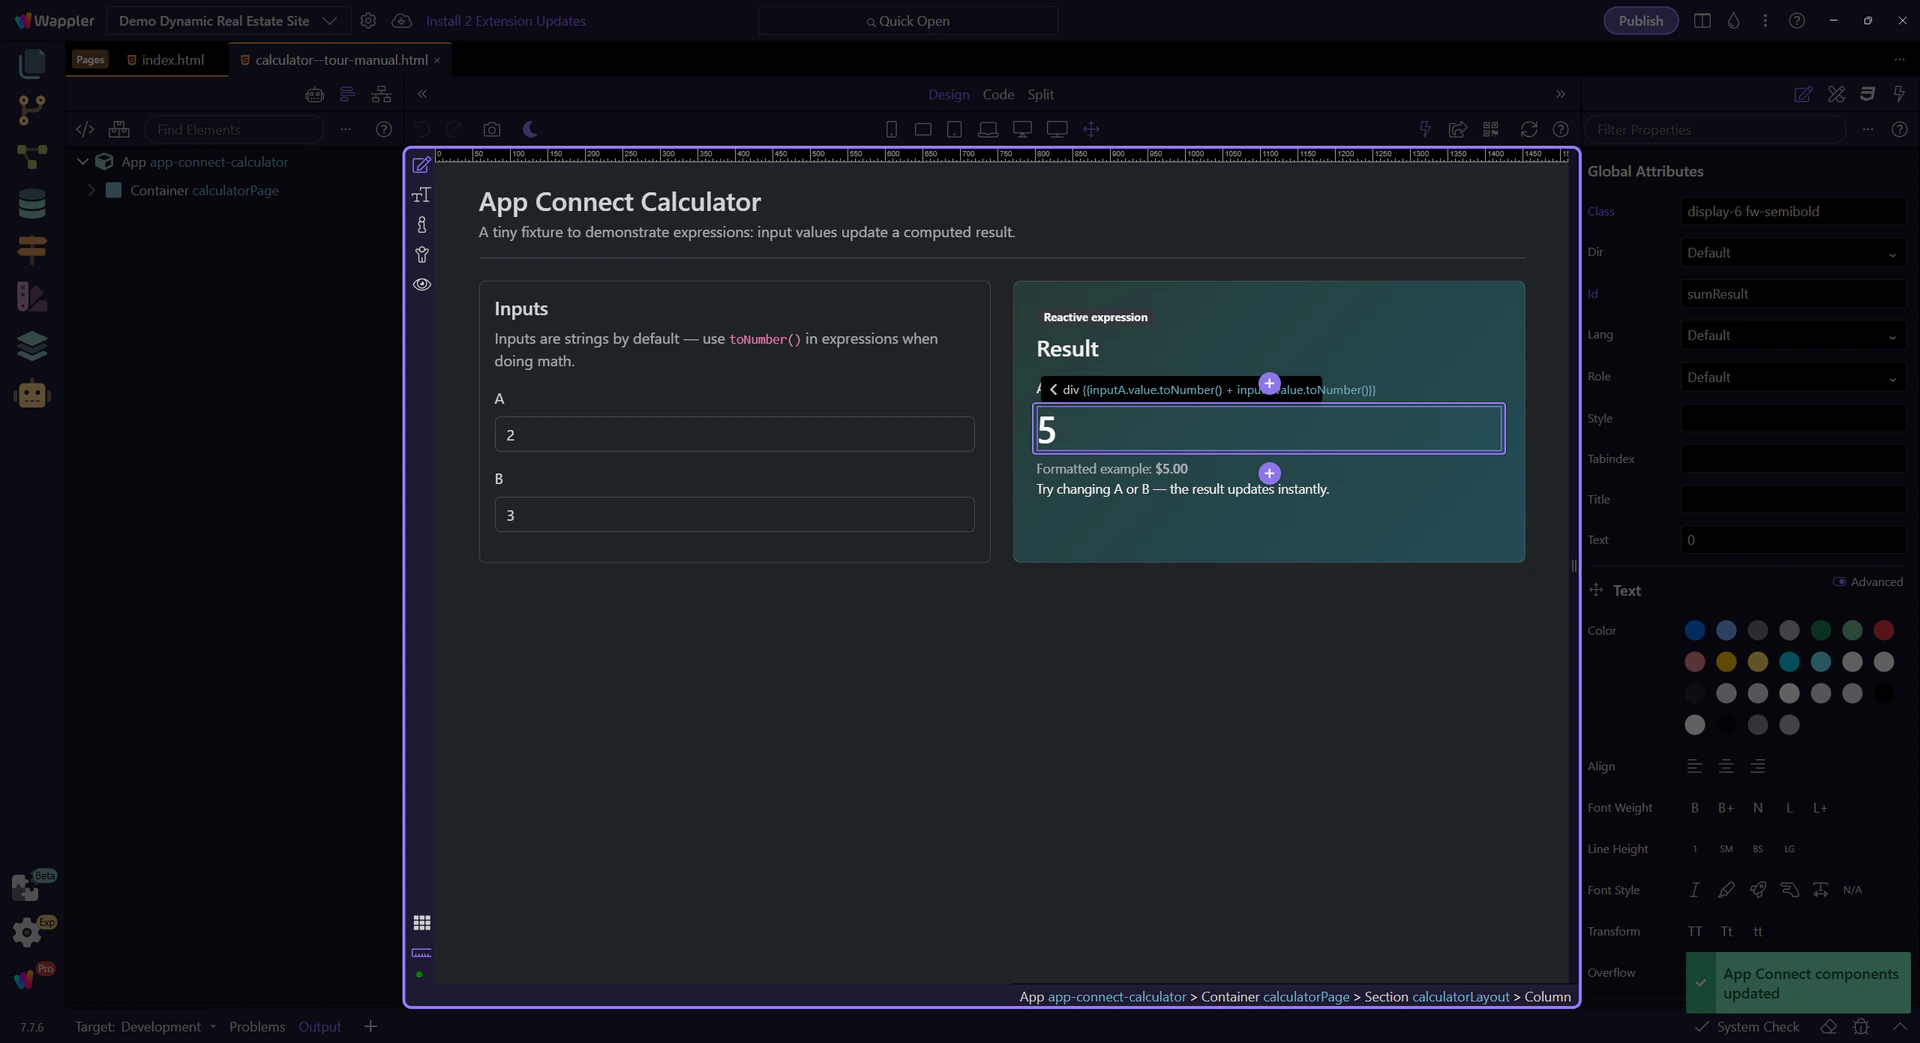
Start with the wider context in the Properties panel so the next control makes sense in the full workflow. In the next step, you will focus on Text binding expression and see how it fits into this area.
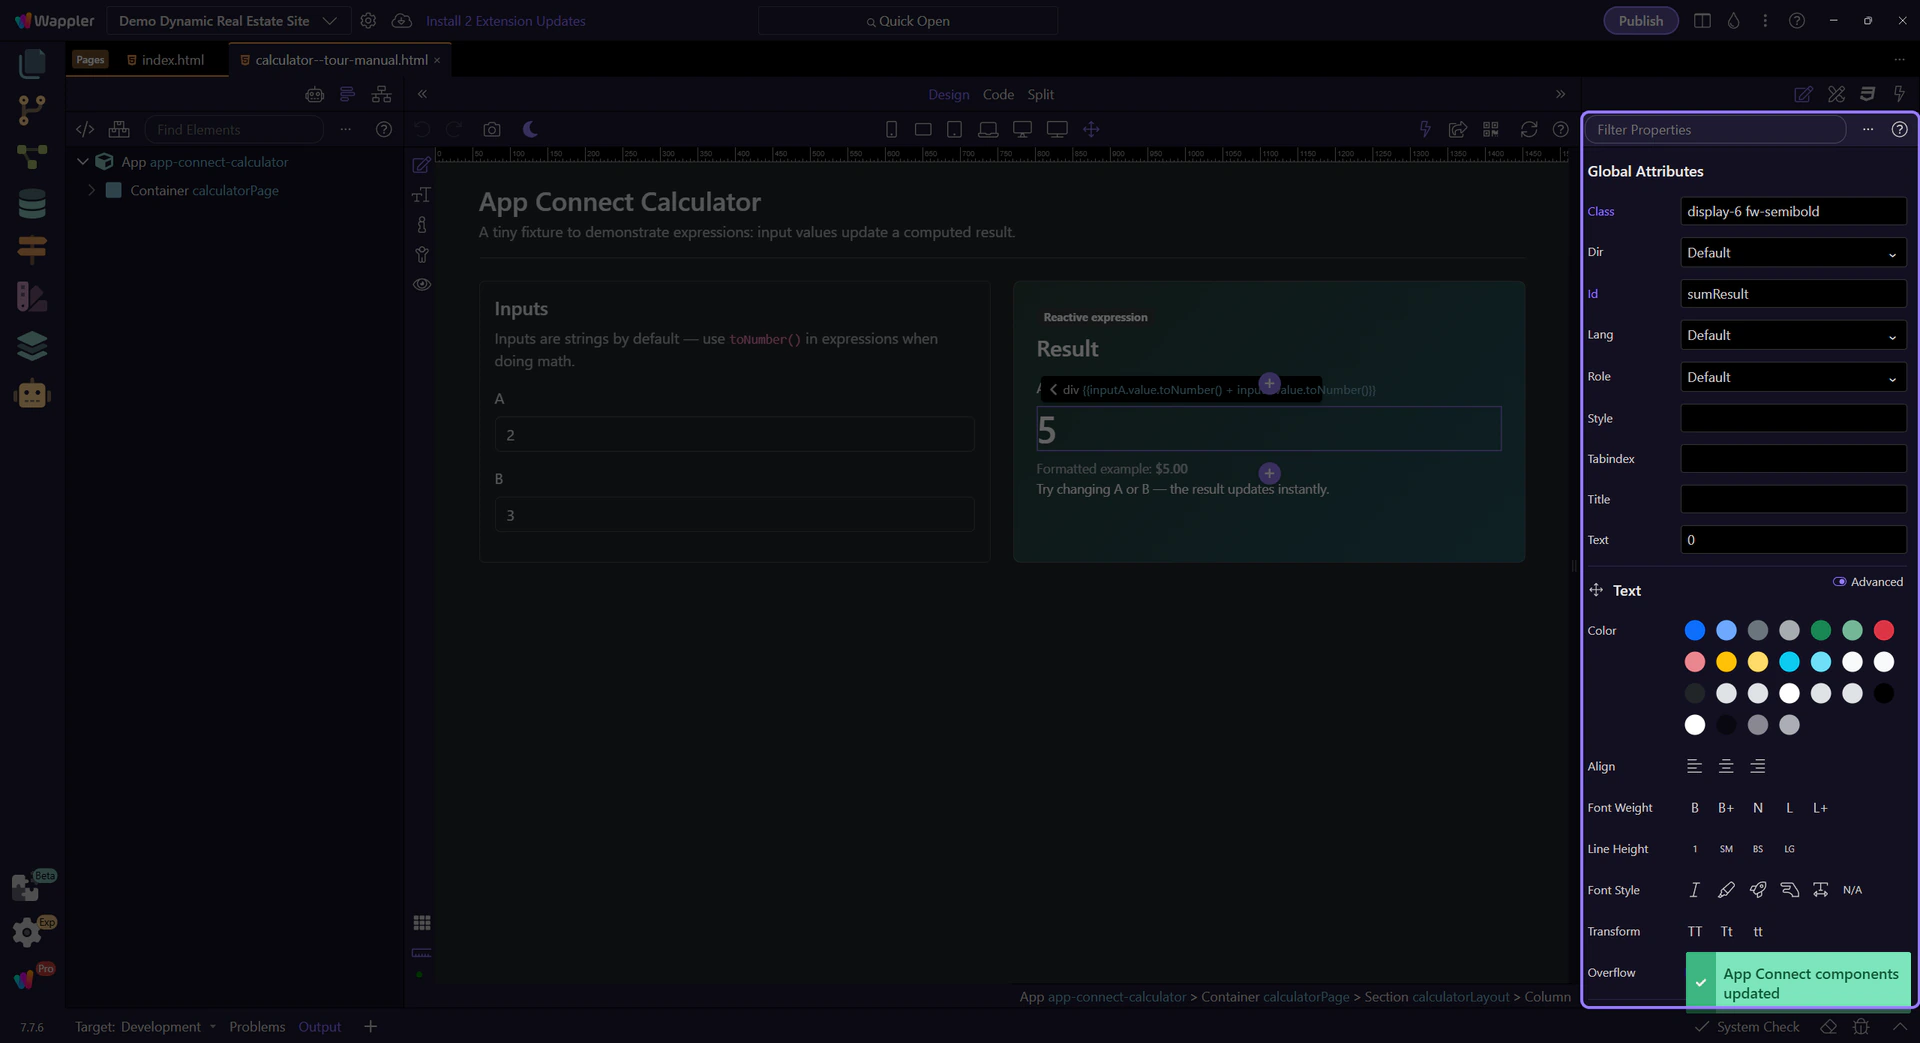
This field contains the expression that computes the sum. It uses toNumber() so math works correctly.
note: App Connect input values are strings by default. Use toNumber() before doing math (A.value.toNumber() + B.value.toNumber()).

The picker icon opens the Data Bindings Picker so you can explore what’s in scope and see how the expression is built.
tip: Prefer the Data Bindings Picker over typing raw expressions — it keeps your bindings valid.

Use the Data Bindings Picker to select inputs and formatters from a tree and insert them into the binding field.

You’ll see the input components and their properties in the tree. Select their value properties to build expressions.
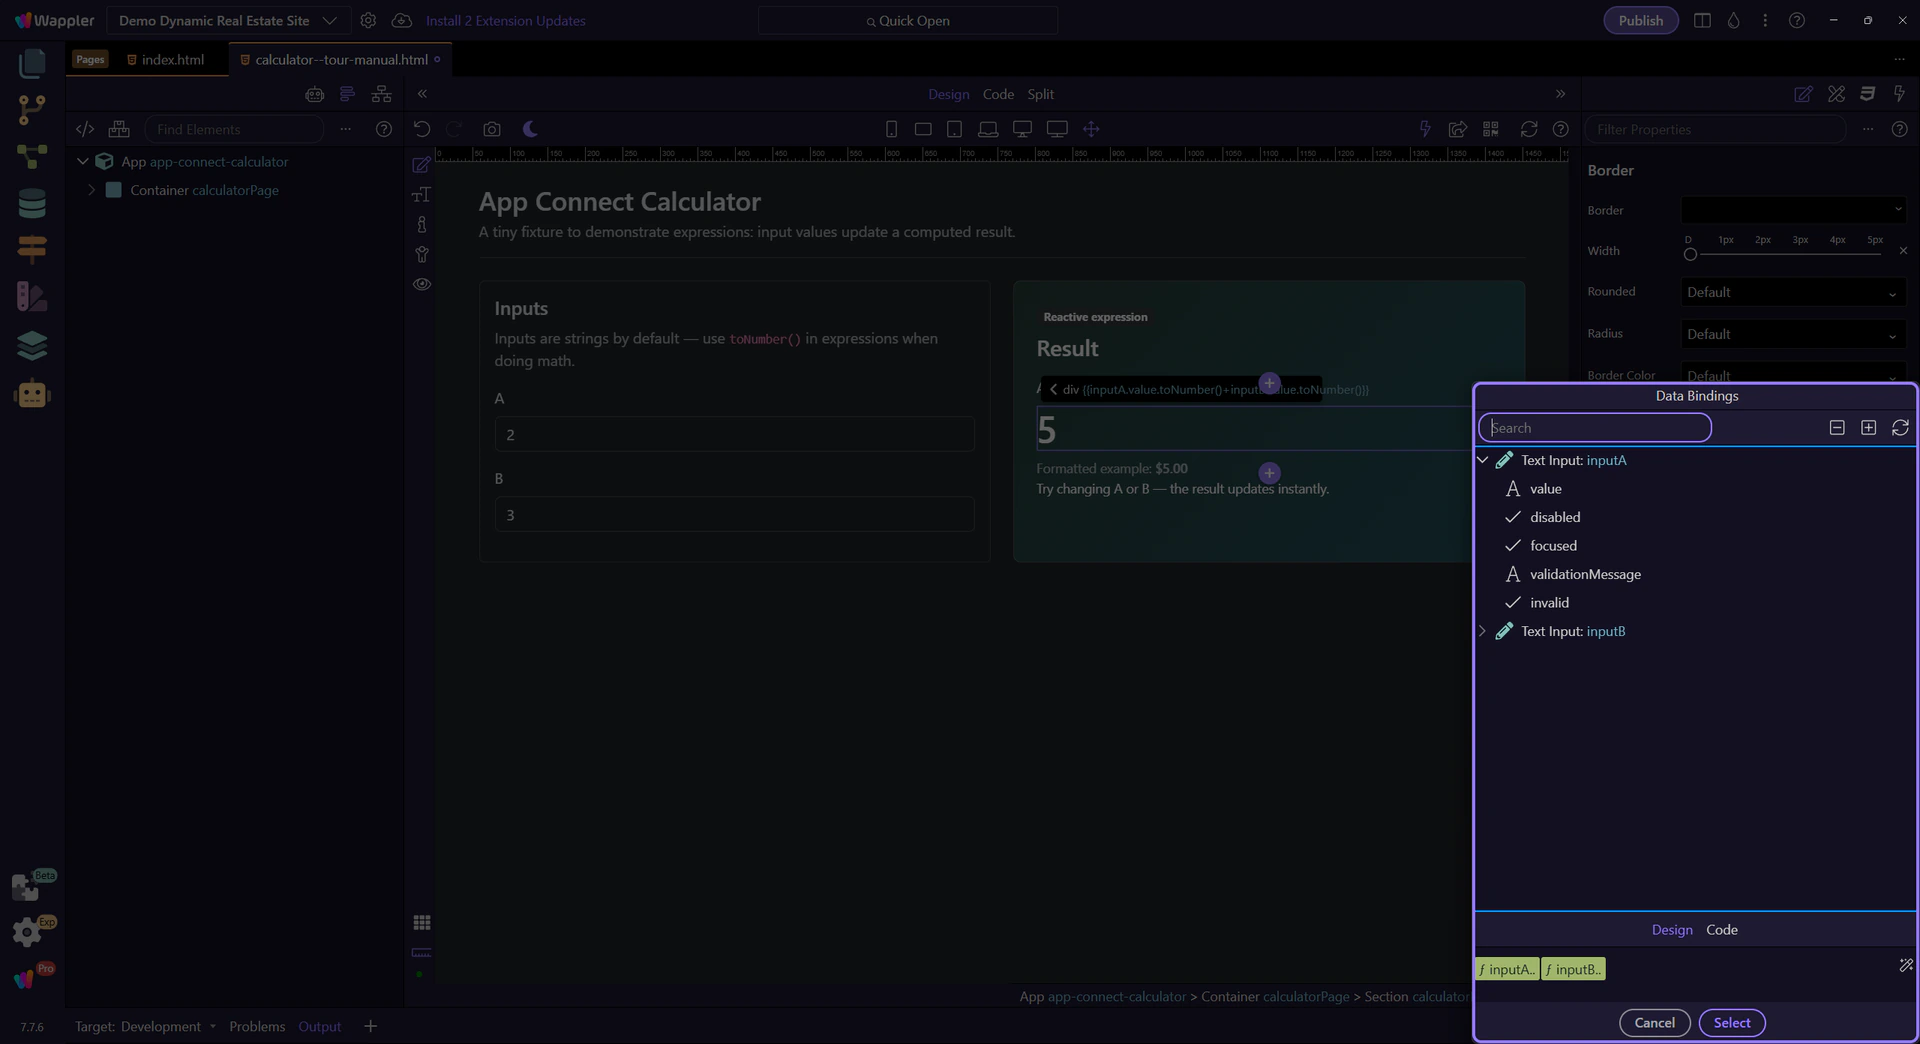
This preview shows the full expression that will be inserted back into the text binding field.
This icon opens the Data Formatter for advanced formatter chains such as number, currency, date, and text formatting. You can explore that popup in the dedicated Data Formatter tour.
Close the Data Bindings Picker to return to Properties. This step matters because Close Data Bindings Picker is part of Popup Databindingspickup Button Cancel, and understanding that context makes the next action easier to repeat in your own project.

Switch to Preview mode and change the input values. The result updates immediately.
Preview mode makes the inputs interactive.
Wait for the page to finish switching modes.
Type new numbers in A and B. The result updates instantly (no button required).
Switch back to Edit mode to continue learning.
You’ve practiced expressions and type conversion. Next, learn the bigger workflow: components, properties, events, and actions.
Continue learning App Connect gradually.