Binding fields
Some components expose a property field (with a picker icon) that supports expressions.
A beginner-friendly mental model for App Connect: how data, bindings, events, actions, and Dynamic Attributes combine into reactive UI updates.
Build an accurate mental model for App Connect: data drives UI, and events run actions that update data. Wappler’s pickers help you wire this visually.
Think of App Connect reactivity like a constellation:

Your job is to connect UI properties to data. When data changes, the connected parts update automatically — no manual UI refresh steps.
tip: If the UI looks wrong, check the selected component (scope) and the binding expression.
App Connect doesn’t care where the data came from — once it’s in state, bindings can use it.

The usual Wappler workflow is: Server Connect action loads/writes the database, then bindings display the result.
This view avoids “expression syntax” and focuses on the visual principles:

Selection defines scope → loading fills data → bindings keep UI + state in sync.
If you prefer a “loop” mental model, this is the same concept in a simpler sketch:

The key takeaway stays the same: change data → App Connect re-evaluates bindings → the UI stays in sync.
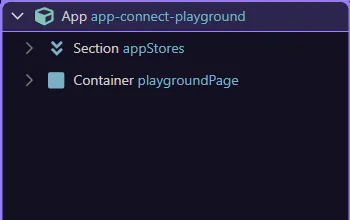
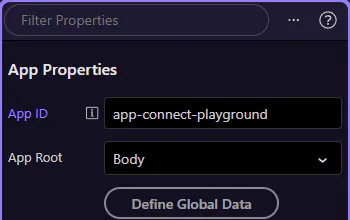
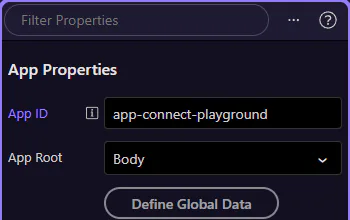
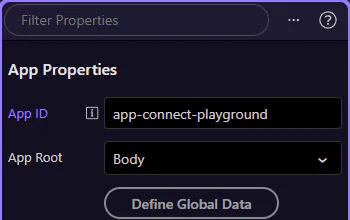
Use App Structure to select what you’re working on. The selection determines what data and actions are “in scope” for pickers.
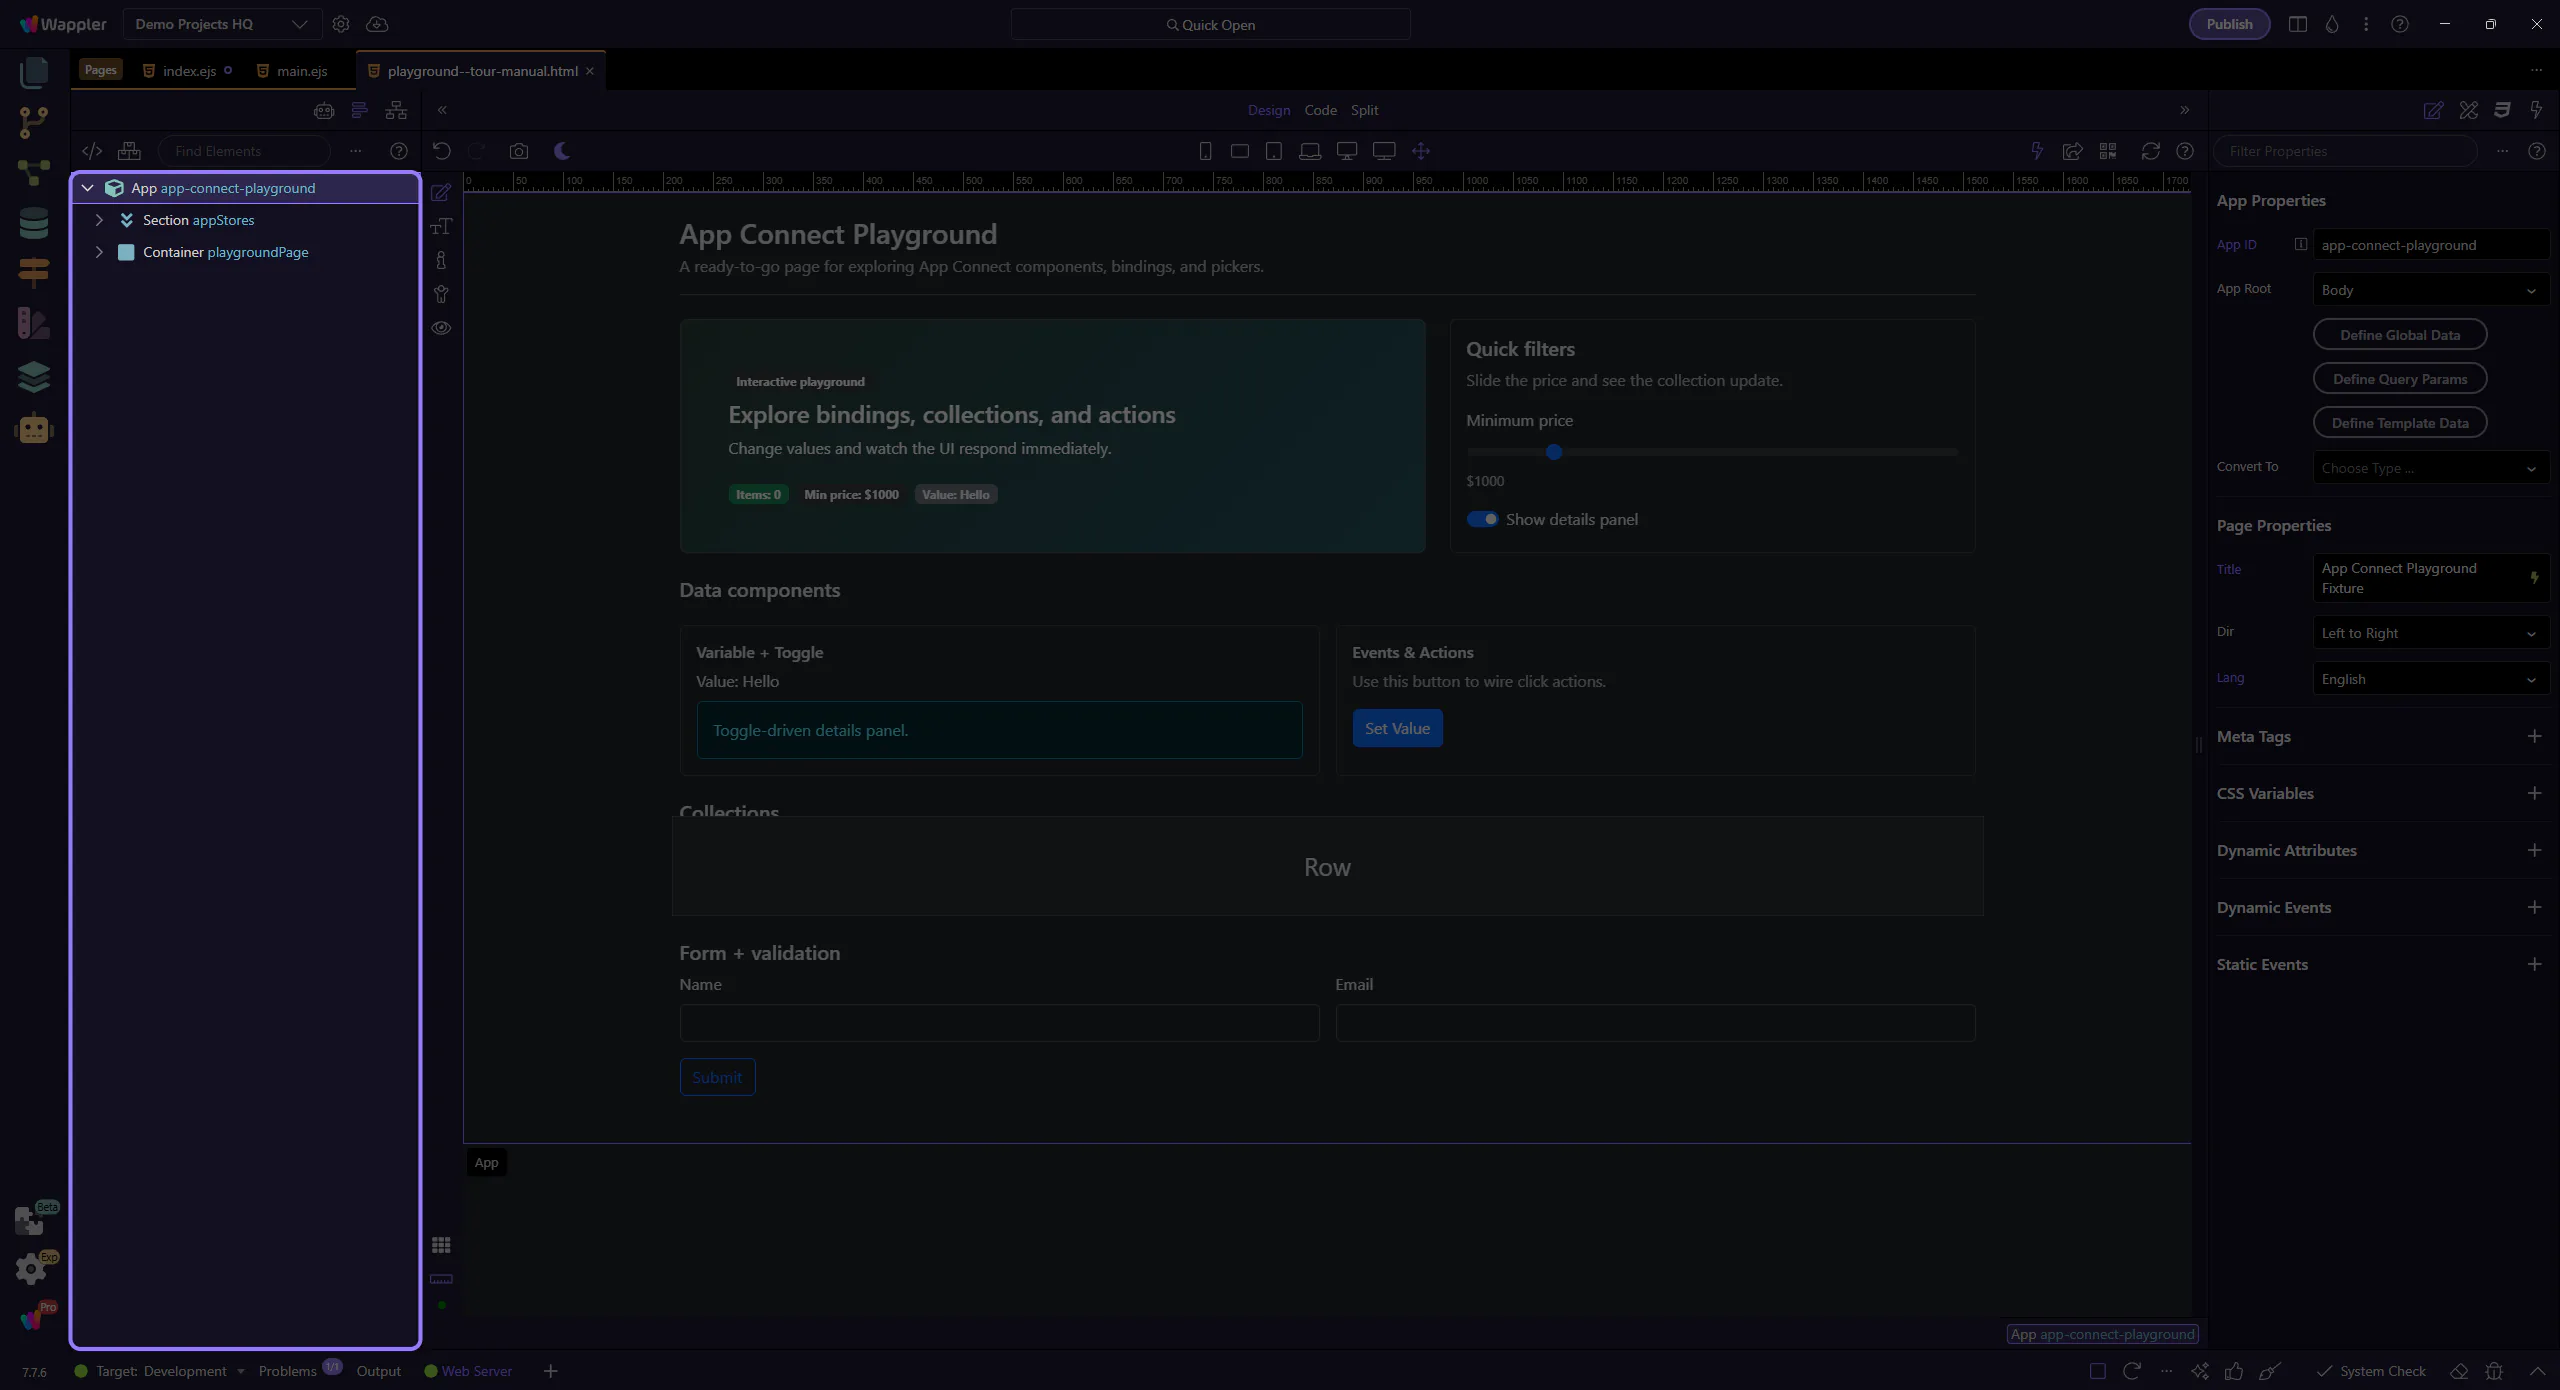
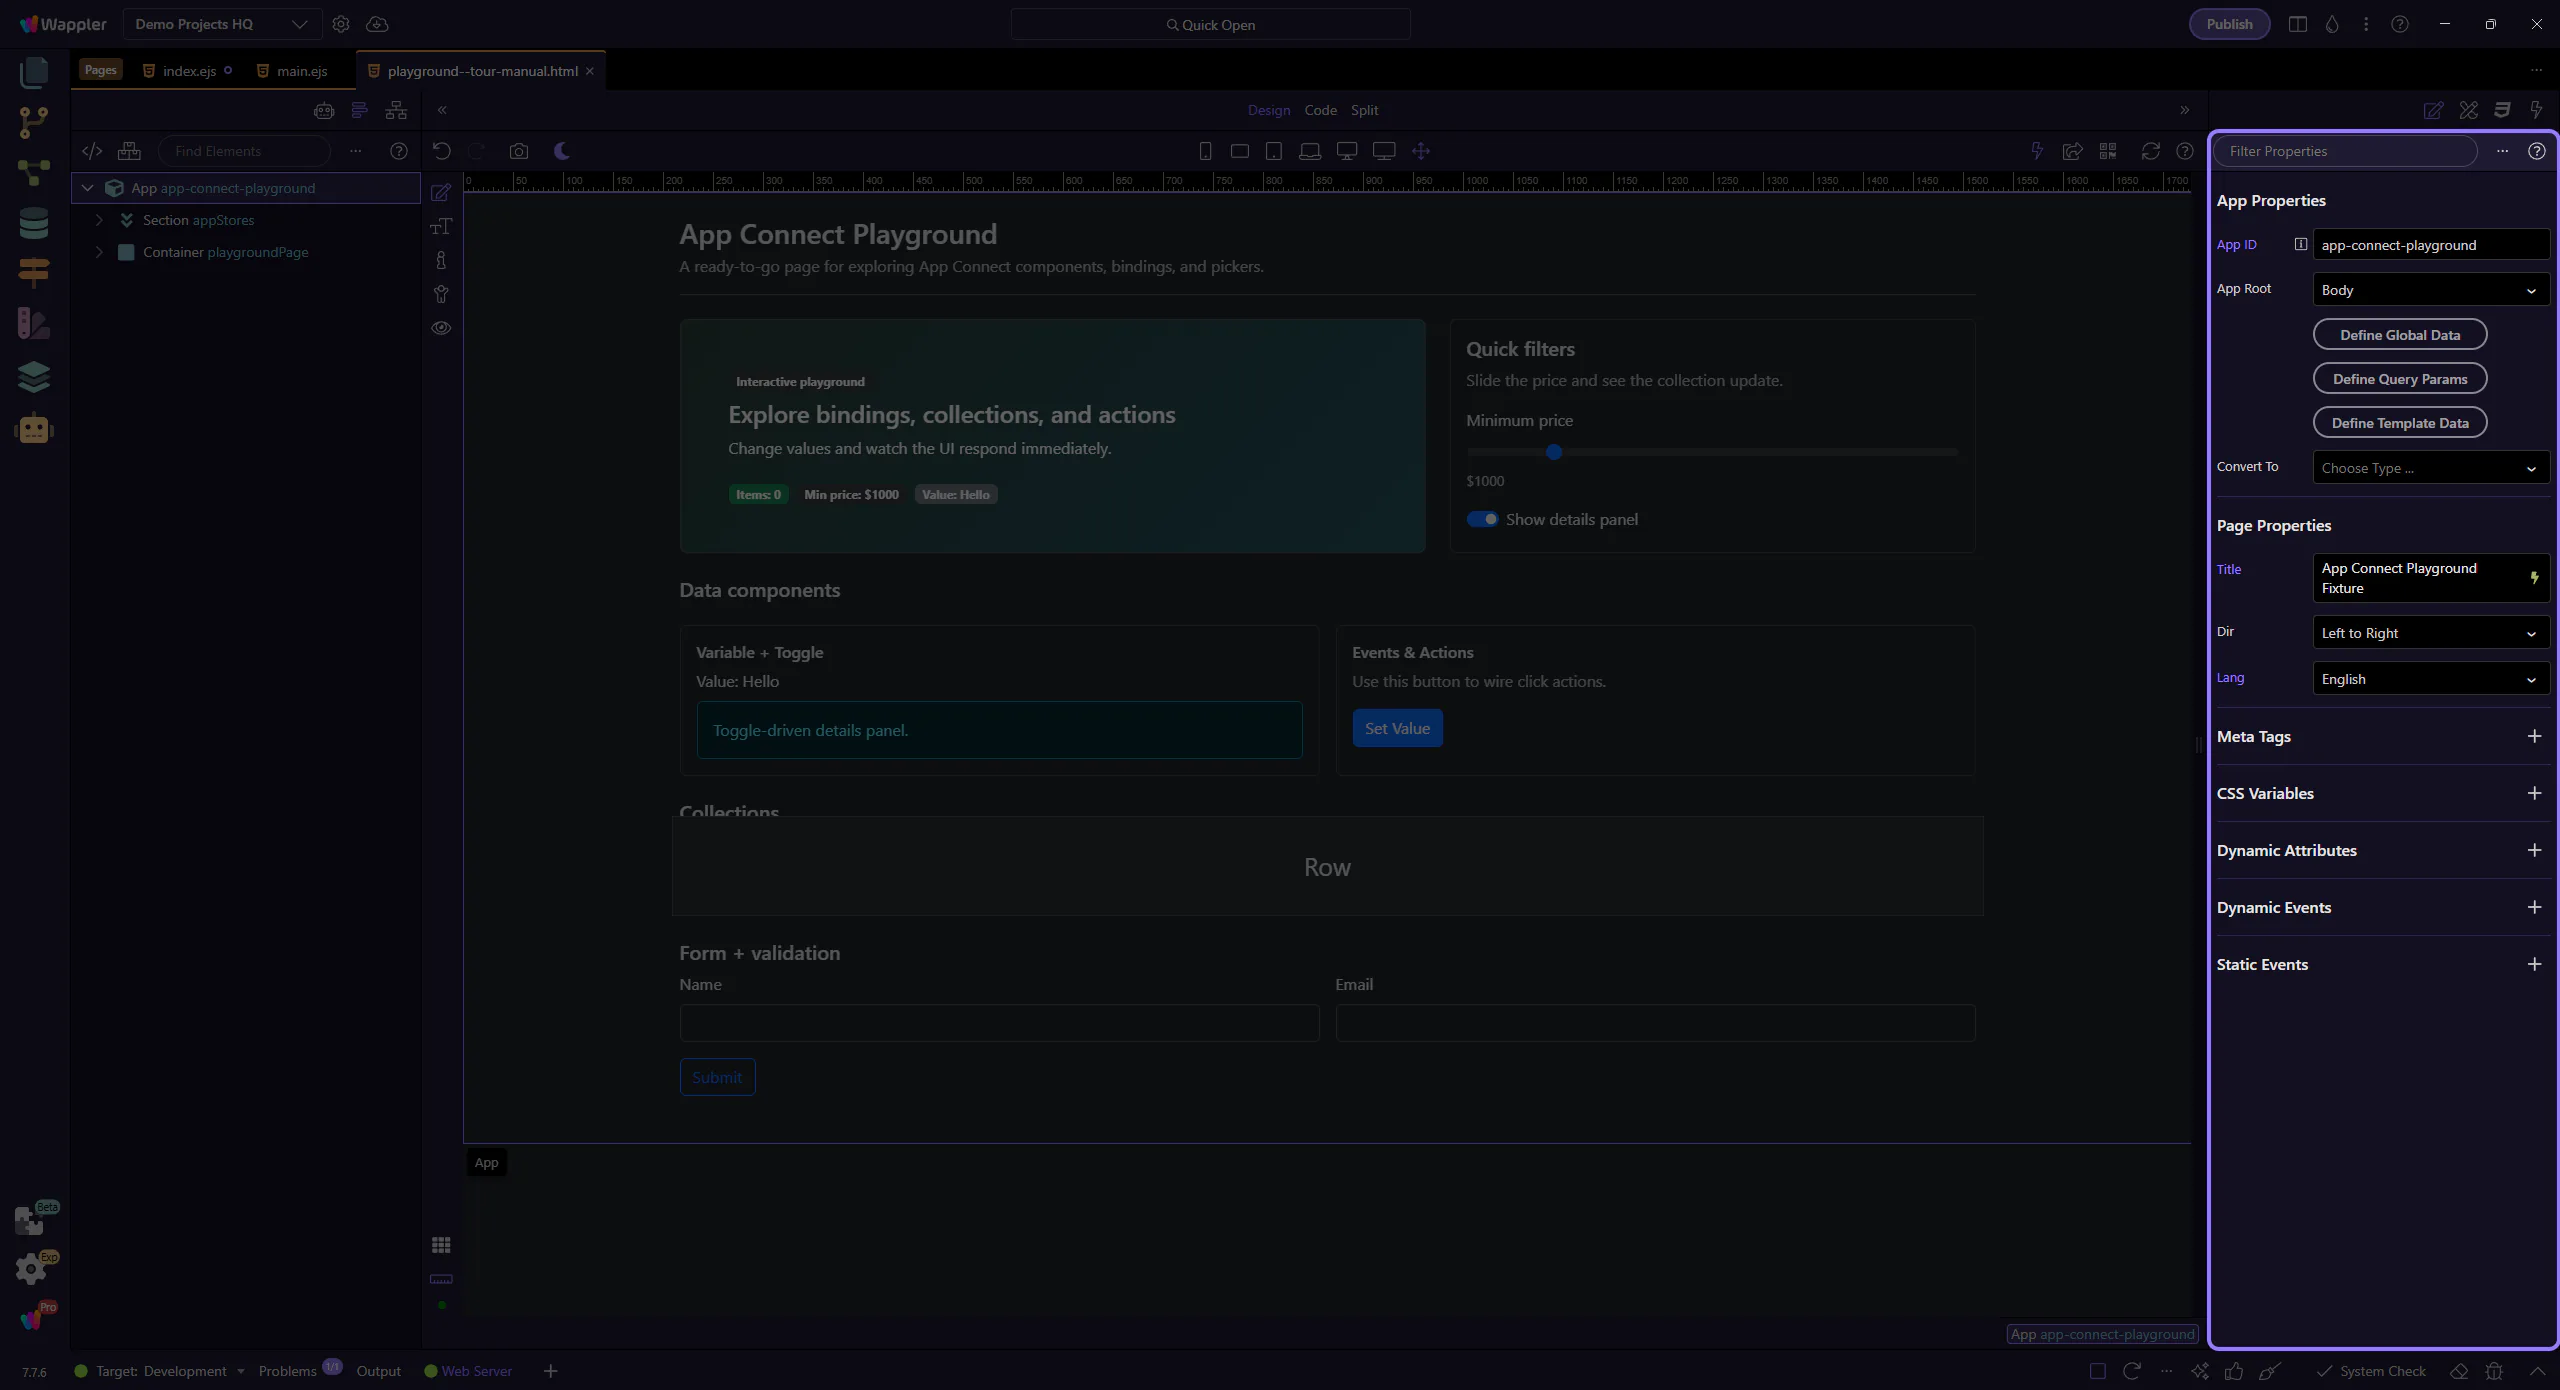
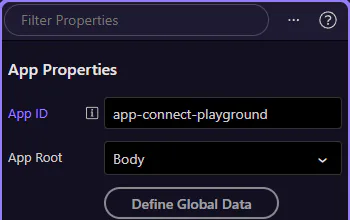
Most reactive setup happens in Properties: bindings, expressions, events, and actions. Look for picker buttons to select data and actions visually.
Bindings connect UI properties to data. When the data changes, App Connect re-evaluates expressions and updates the UI.
A binding connects a property to an expression (often a data value). When any input changes, App Connect re-evaluates and updates the UI automatically.
note: You usually don’t need “refresh UI” actions. Updating data is enough.

When a field supports bindings, click its picker button and choose data from the tree. This keeps you in the correct scope and avoids typos.
tip: If you can’t find a value in the picker, change your selection in App Structure first (scope).
The Data Picker is context-aware. Selecting a different component or changing where you are in the hierarchy changes which data and methods are available.
User interactions trigger event handlers. Those handlers run actions that update your state (variables/stores) and refresh the UI.
Interactive pages follow a simple loop:

Most of the time, your job is just: wire the event and pick the action. The UI updates when the data changes.
This is the most common production pattern in Wappler apps:

The form doesn’t talk to the database directly — it calls a Server Connect action, which validates input and writes/reads the database.
Events are attached to the selected component (button, form, input, etc.). Select the element first, then configure its events in Properties.

The Actions Picker lets you choose what should happen (setValue, toggle, load, insert, update…) and then wire its inputs from the Data Picker.
tip: A good workflow: pick an action first, then wire its inputs from the Data Picker.
Some reactive behavior is added as attributes and events via the ( + ) button, not as a pre-defined property field.
Some bindings are added as attributes (like show/hide, class, repeat, on click, …). In the Dynamic Attributes section, use the ( + ) button to add them to the selected element.
tip: If you don’t see the Dynamic Attributes section, try selecting a different element (or insert a component that supports those attributes).

The Dynamic Attributes list is context-aware: it changes based on the selected element and the installed component rules. If you don’t see an attribute, try selecting a different element or inserting the related component first.
Recap the mental model and pick a next tour.
If you keep this loop in mind, App Connect becomes predictable and easy to debug.
Choose a focused tour to practice the loop (data → UI) and the pickers.