
Inspect and adapt Bootstrap starter blocks
Choose a starter layout, edit its actual children and distinguish sample content from a working application feature.
Choose a starter layout, edit its actual children and distinguish sample content from a working application feature.
Before you begin
Section titled “Before you begin”- A project with an HTML editor. The in-app tour opens a prepared documentation fixture.
Start with the supplied sample
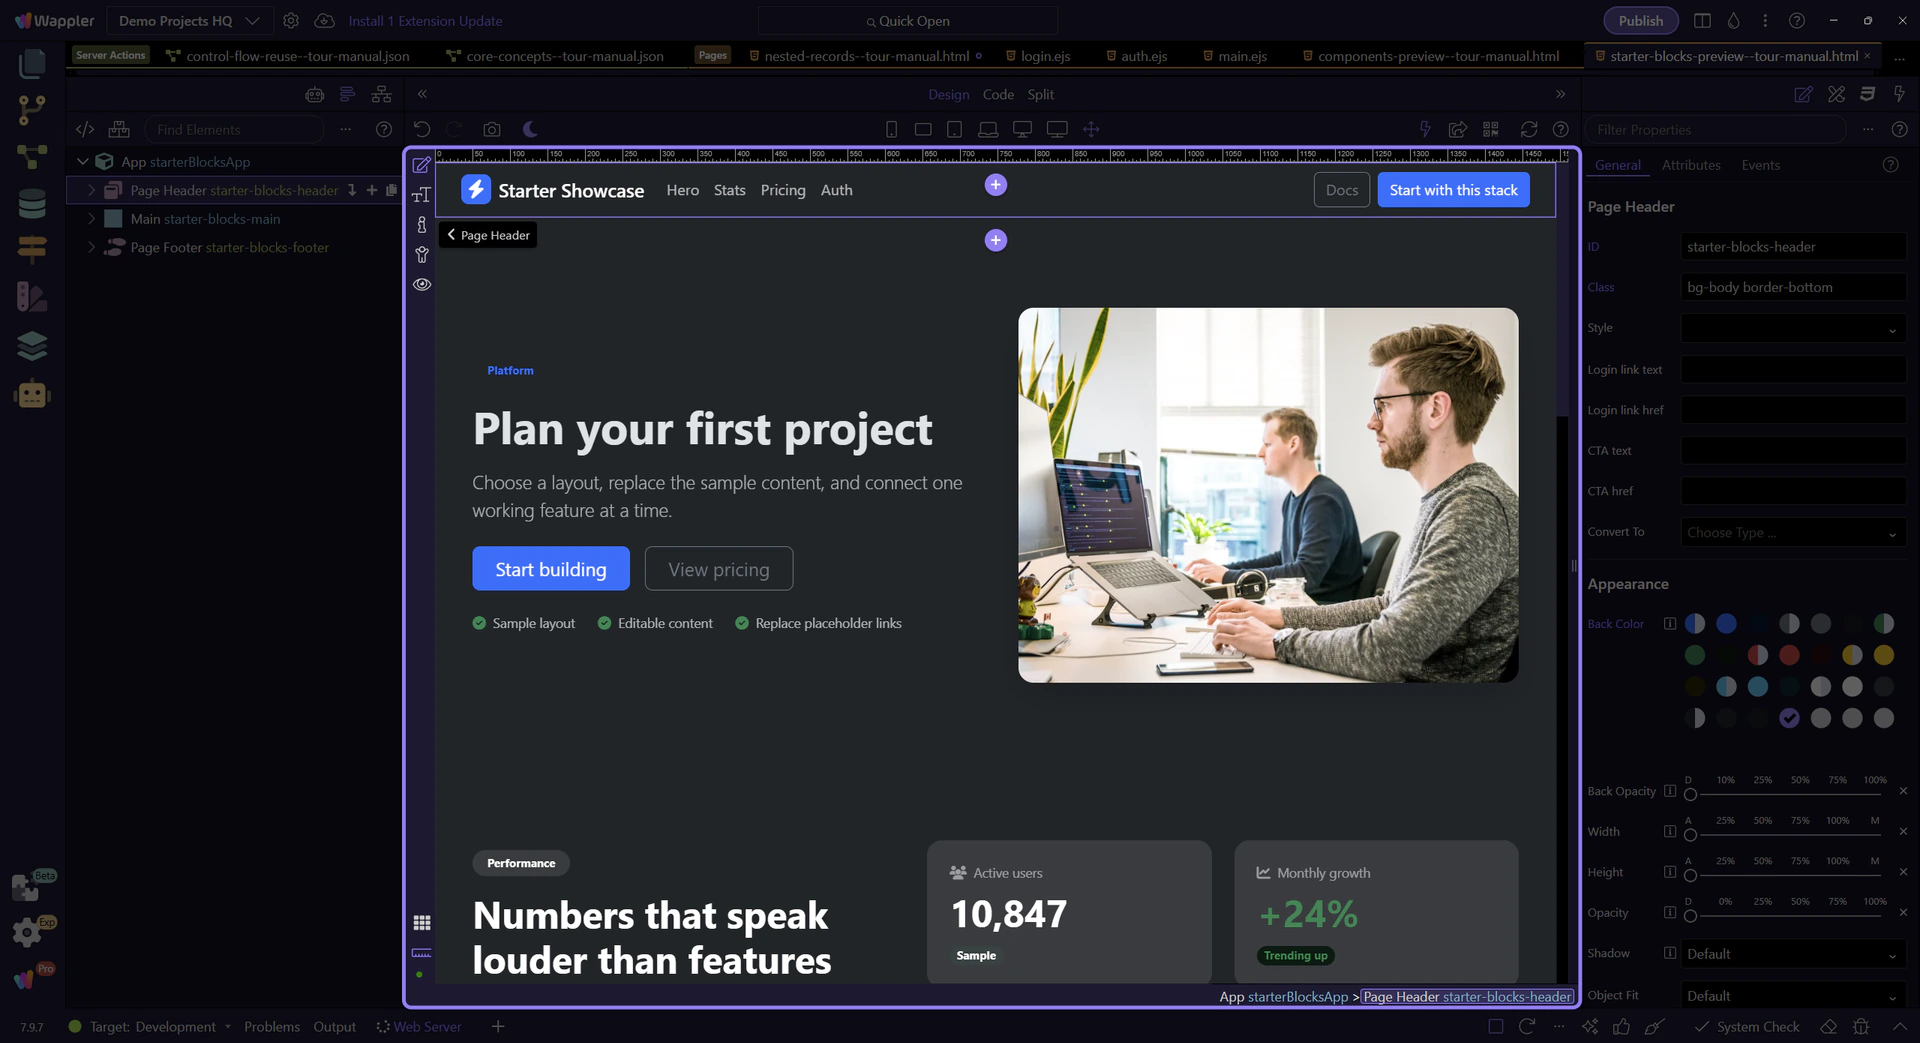
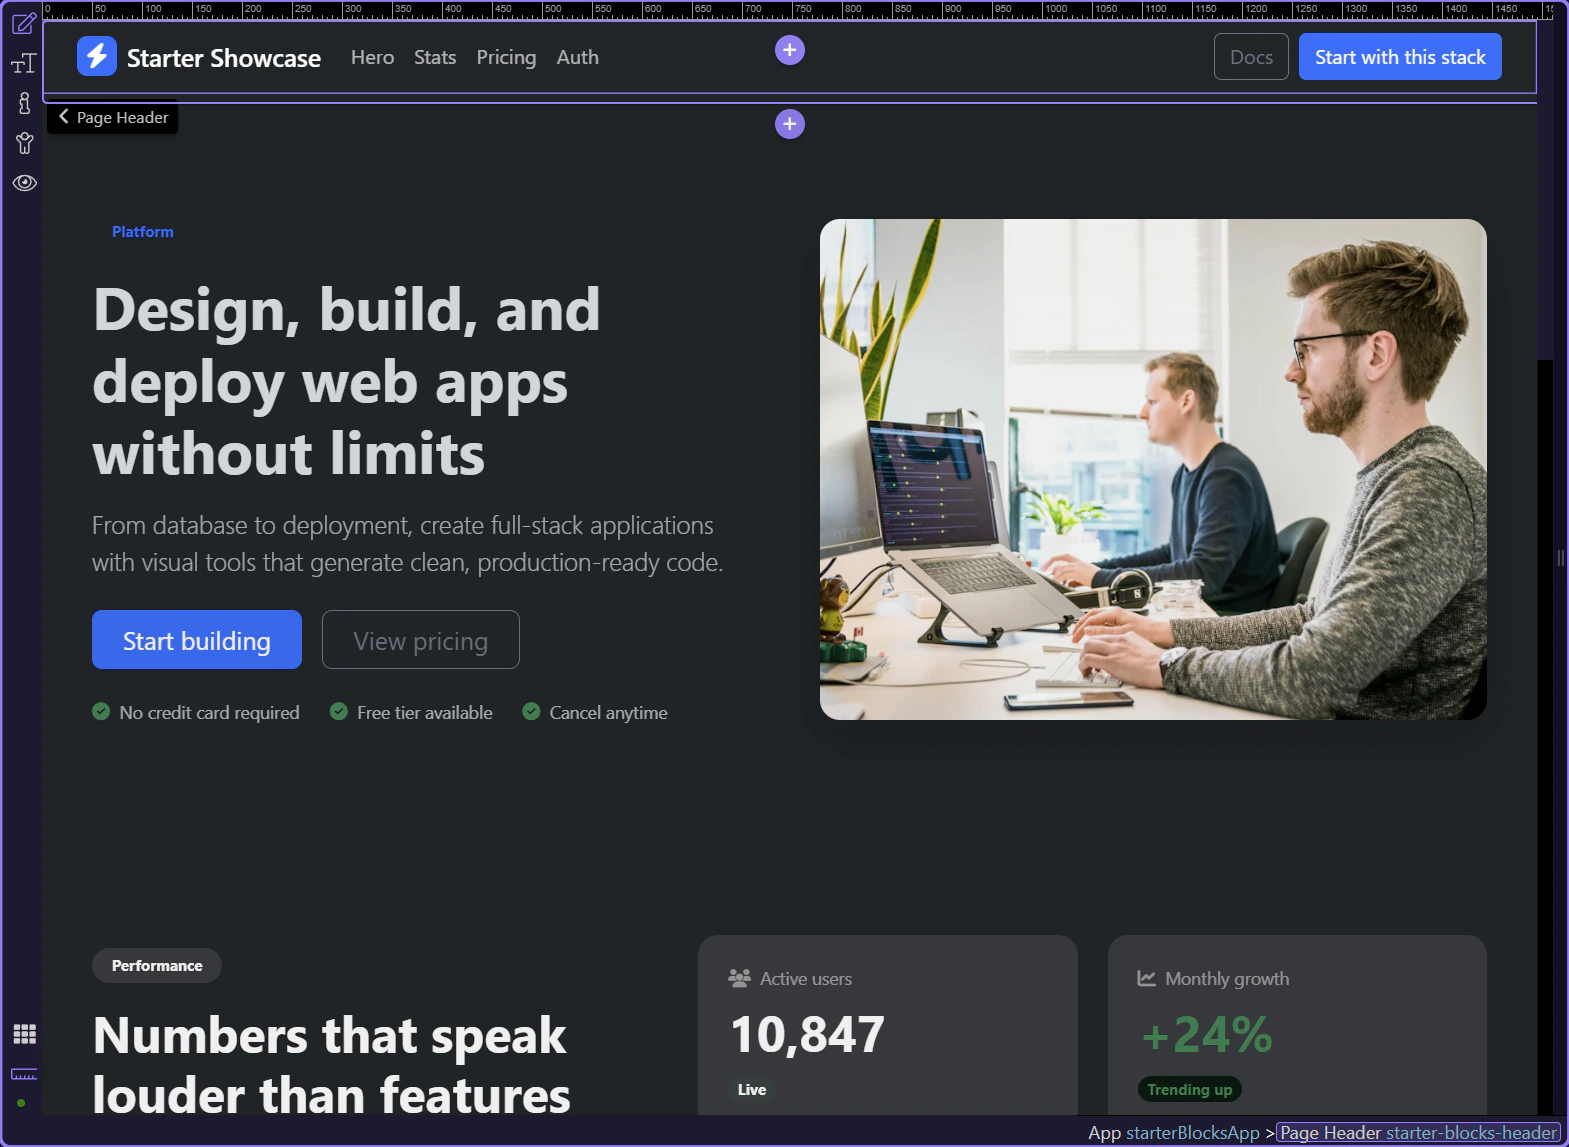
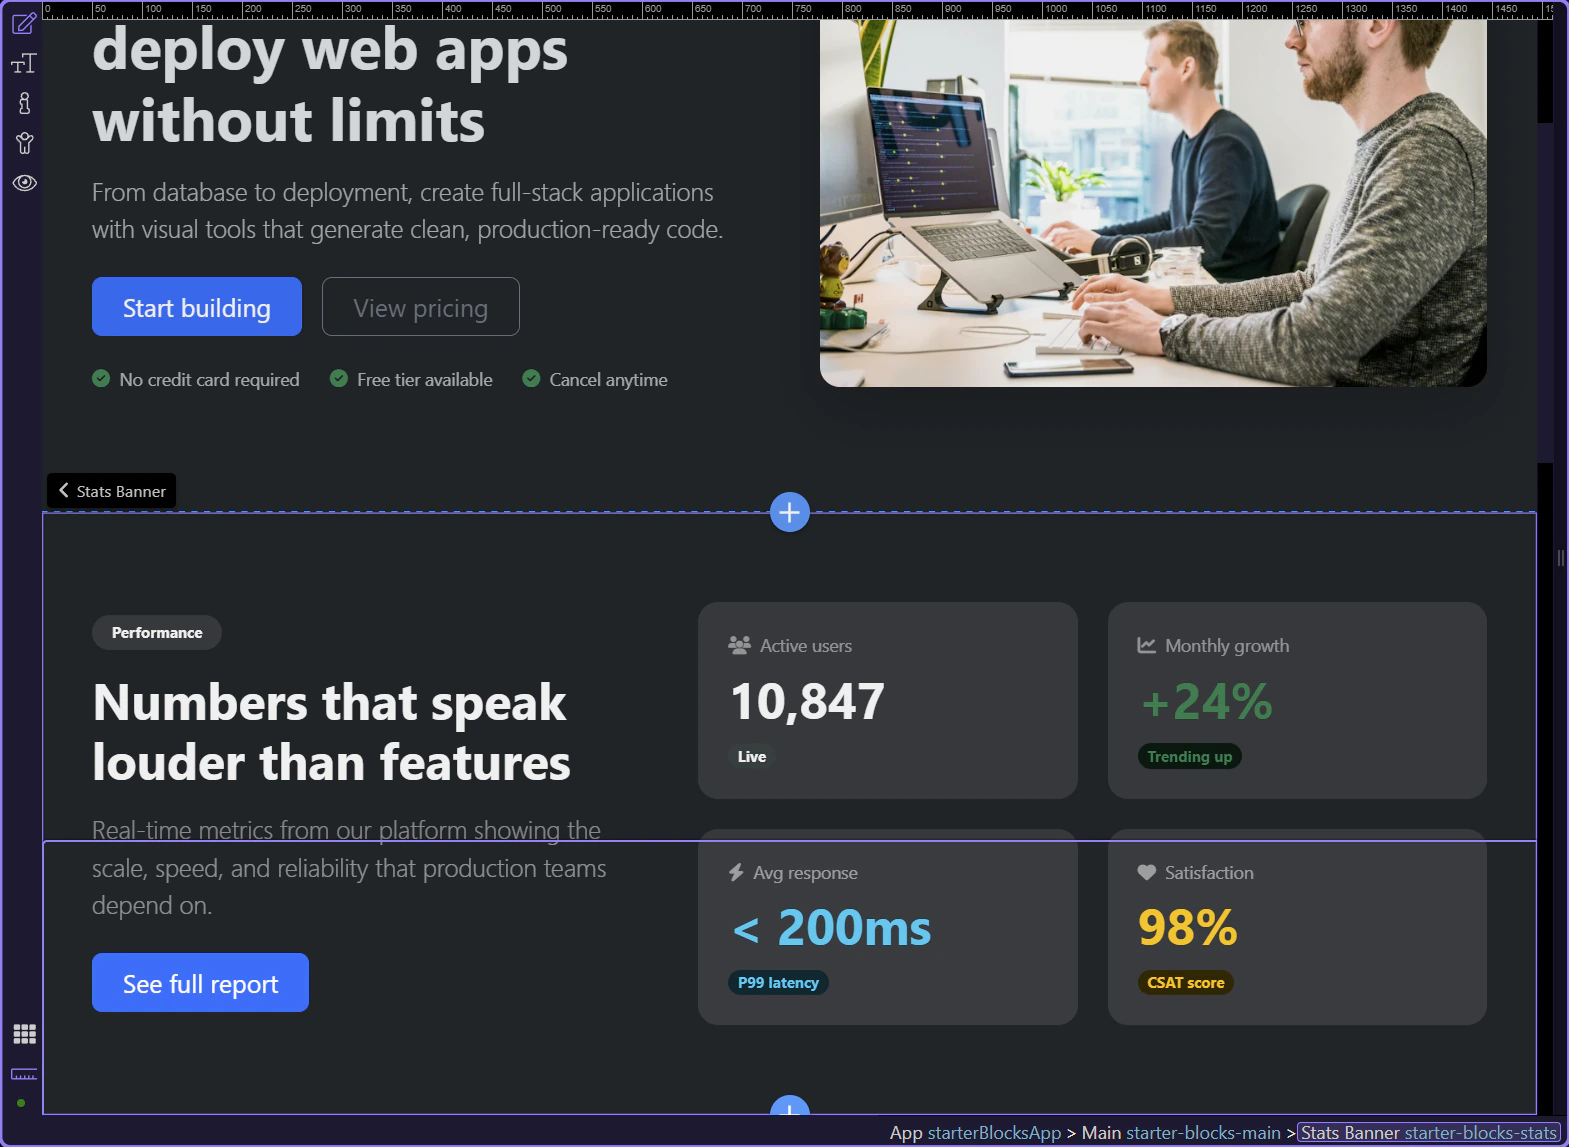
Section titled “Start with the supplied sample”This walkthrough opens a prepared page containing a header, split hero, sample metrics, pricing cards, a form layout and a footer. It demonstrates how to inspect blocks after insertion. The figures, prices and claims are fictional examples; the page is not a deployed service.
Choose a block for the task
Section titled “Choose a block for the task”In your own Bootstrap 5 page, select the parent in App Structure, open its Add menu and search for the block you want. Choose a hero for an opening message, a table for records, or a form layout for inputs. After insertion, expand the result and select its child elements. A block is inserted markup; it usually has no separate block-settings form.
Edit content and layout separately
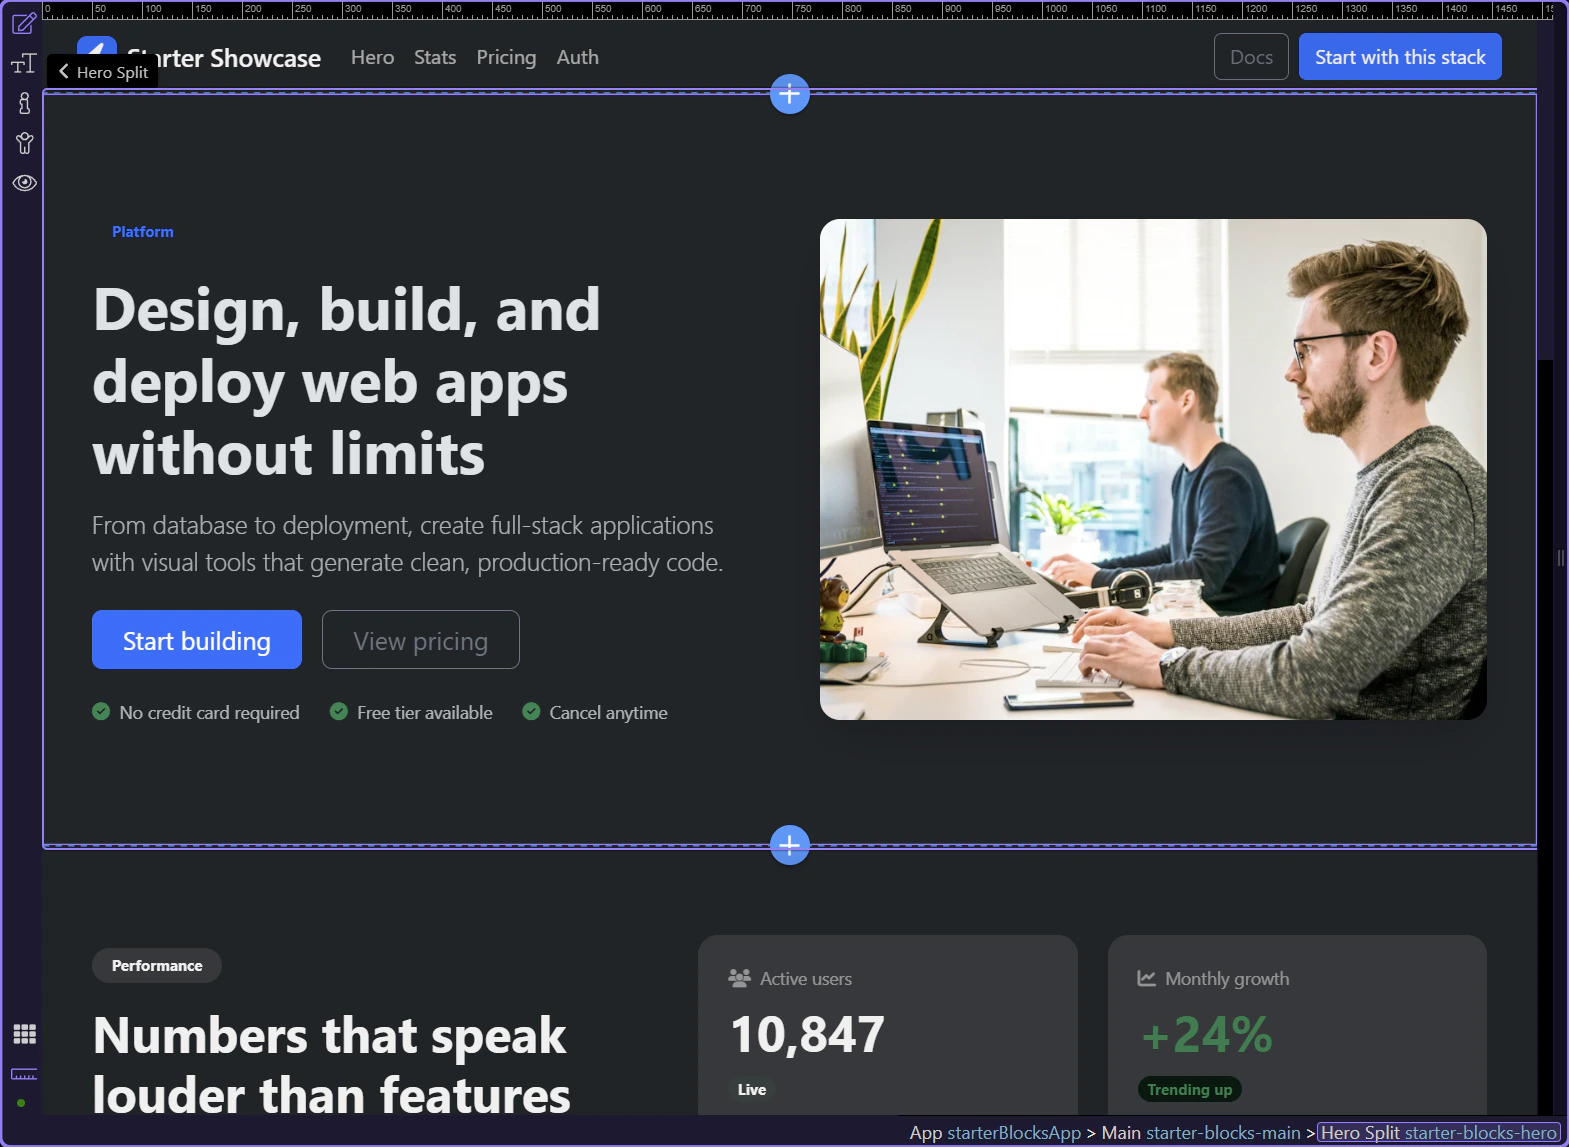
Section titled “Edit content and layout separately”Select the sample hero, then its heading, paragraph, image and action links in App Structure. Replace the heading with Plan your first project and write a short explanation of the next step. The two col-lg-6 columns divide the row equally from the large breakpoint upward and stack below it. Replace image sources and # destinations; confirm the content still fits at narrow widths.
Trace a displayed value to its source
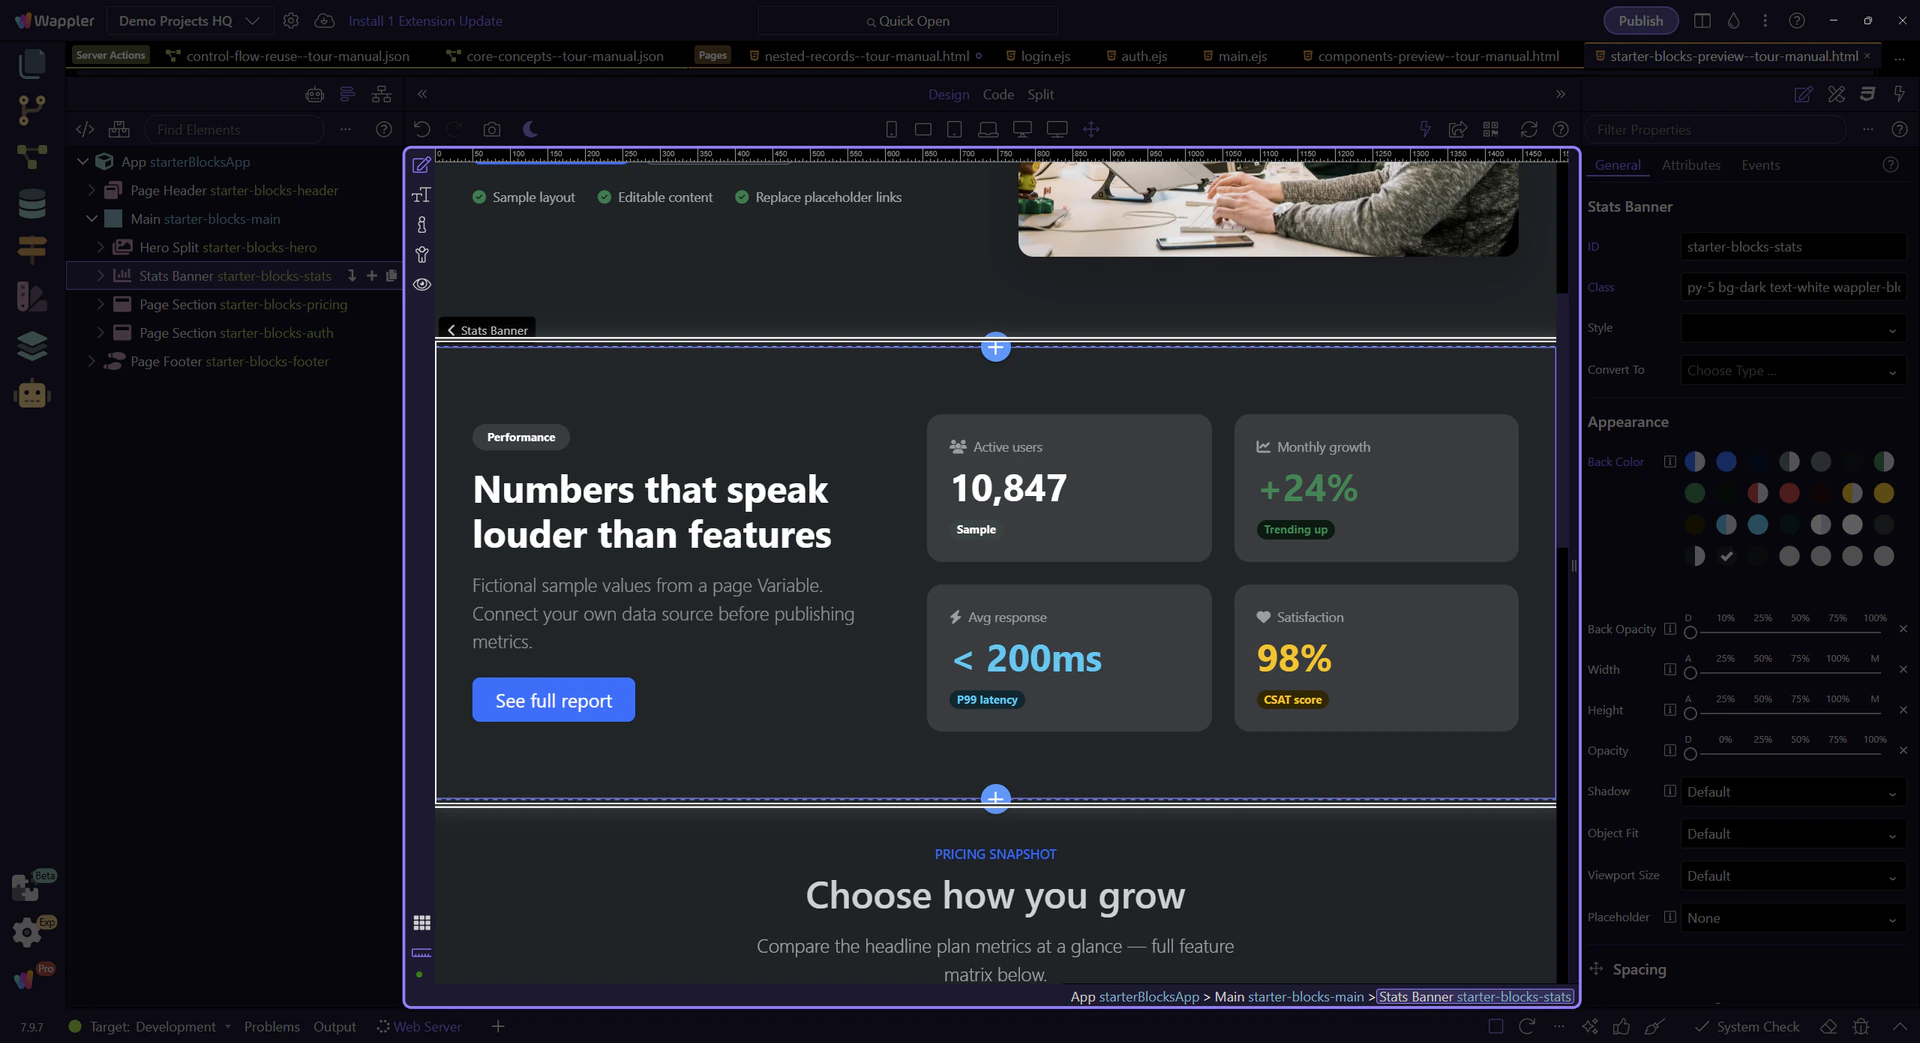
Section titled “Trace a displayed value to its source”Select the metrics section. Active users is bound to stats_banner_data.value.users, supplied by a page Variable. The value 10,847 is sample data, not a live metric. To adapt it, replace the Variable data or bind the label to the matching Server Connect response. Include a loading/error state instead of displaying sample numbers while the real request fails.
Do not confuse a pricing layout with checkout
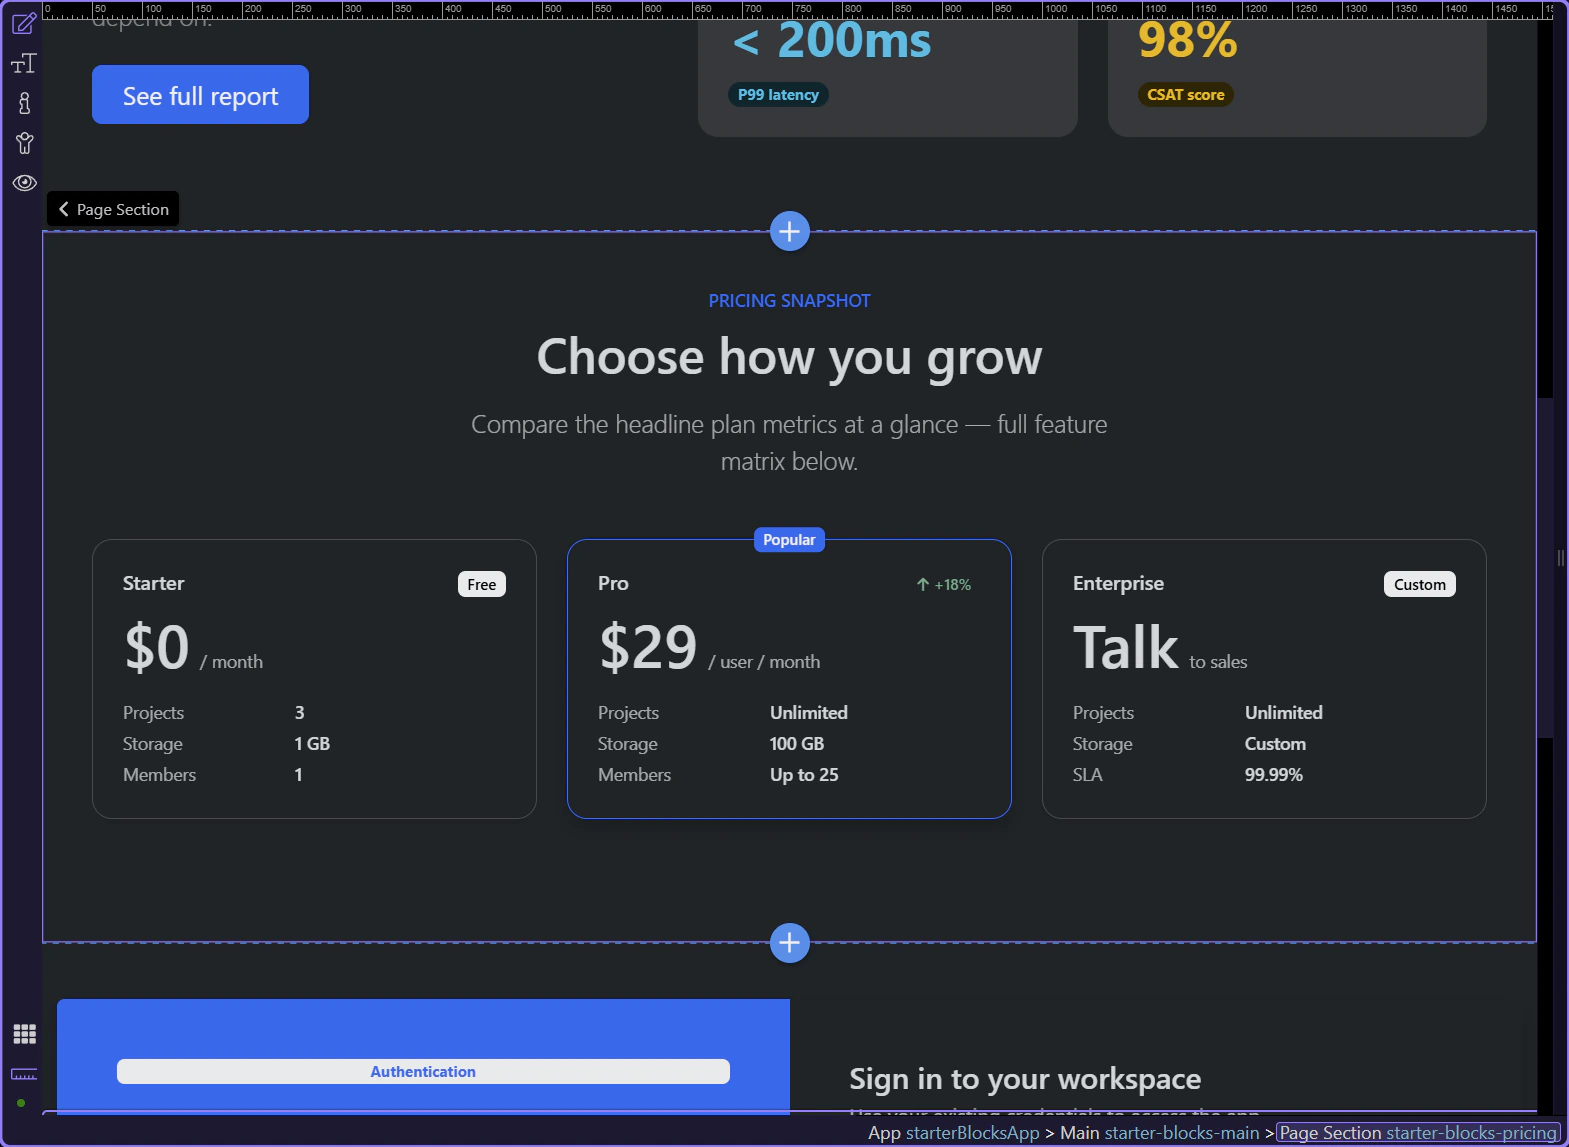
Section titled “Do not confuse a pricing layout with checkout”The pricing cards contain static example prices and capacities. Select each card to edit its own title, price and description. They do not create subscriptions, charge a customer or grant access. Connect a real purchase workflow only after its server-confirmed result and access rules are defined.
Inspect the form without submitting credentials
Section titled “Inspect the form without submitting credentials”The supplied login layout shows email/password fields and Server Connect state bindings. It does not supply a login backend, and submission is disabled in this documentation fixture. In your project, select the form, choose your real authentication action and match its input names. Handle Unauthorized separately from transport errors and redirect only after confirmed success.
Try the footer’s local interaction
Section titled “Try the footer’s local interaction”The footer contains a Variable, a Repeat and a filter. Switch to Preview and click Growth. The button sets footer_columns_four_mode.value to growth; the footer then shows matching link groups plus the groups marked all. This changes only the page display. The links still need real destinations.
Check the result before using the layout
Section titled “Check the result before using the layout”After clicking Growth, confirm that its button is active and the matching footer groups are visible. Then check the whole page: links work, controls have labels, columns fit, and sample content has been replaced. A starter’s semantic roles help Wappler identify editable parts; they do not add data persistence or authorization.
Check your result
Section titled “Check your result”You can inspect an inserted block, change its content, follow a sample binding and identify the backend work still required.