
Migrations, Change History, and Target Strategy
Complete migration reference for generation, apply, rollback, inspection, recovery, and deployment across targets.
Introduction
Section titled “Introduction”Use this tour when you need the complete Database Manager story instead of only a single table action. The goal is to connect schema design, relation choices, Apply Database Changes, migration files, environment strategy, and publish-time database updates into one practical workflow.
Start with the development database you actually control
Section titled “Start with the development database you actually control”Database Manager work should start on a development target, not directly on the live production schema. Create the table, field, and relation changes where you can still revise them safely, then let the rest of the stack catch up around that schema before you ever publish it outward.
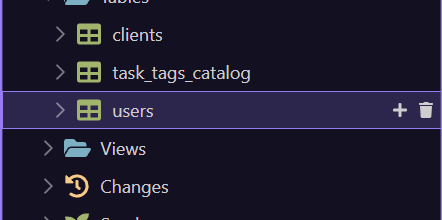
Create tables and add fields deliberately
Section titled “Create tables and add fields deliberately”Start with the smallest table shape that truly represents the records you need. Create the table, add the fields you know are required, and name them as if future queries, forms, and server actions will depend on them, because they will. The cleaner the structure is here, the less friction you create later in Query Builder, form binding, validation, and update actions.
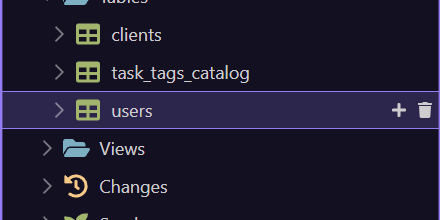
Choose the right relation shape before you apply anything
Section titled “Choose the right relation shape before you apply anything”This is the key modeling decision point. Use a normal reference when one record points to one parent, a sub table when a parent owns a nested child collection, and a multi reference when both sides can have many links. Making that choice before you apply changes is what keeps the later schema, queries, and editing flows understandable instead of patched together.
Apply Database Changes turns your design into tracked schema changes
Section titled “Apply Database Changes turns your design into tracked schema changes”The Apply Database Changes button is the deliberate handoff from design intent to executable schema history. Use it after the table, field, and relation changes make sense together. The point is not just to save the current view of the tree. The point is to generate the migration history that can be replayed safely on other targets later.
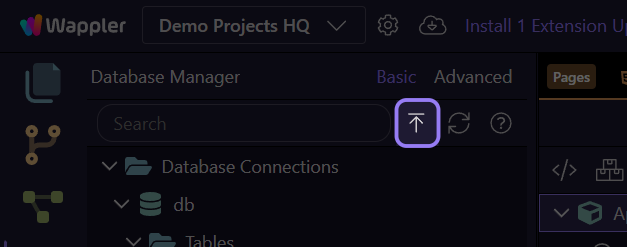
Apply validates, describes, generates, and runs the change
Section titled “Apply validates, describes, generates, and runs the change”Apply Database Changes first validates pending schema edits. Wappler then asks for a meaningful description, generates an ordered migration with an up path and a reverse down path, applies it through the active connection, refreshes schema, and regenerates the connection metadata. The description should explain intent, not merely repeat a table name.
| Stage | Result |
|---|---|
| Validate | Stops invalid table, field, or relation definitions before database execution. |
| Describe | Names the change history entry so teammates can understand it. |
| Generate | Writes ordered up/down schema operations. |
| Apply | Runs the new migration on the active development connection. |
| Refresh | Reloads schema and regenerates connection metadata. |
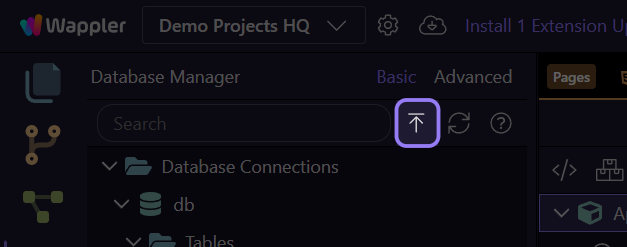
Open the live Changes context menu
Section titled “Open the live Changes context menu”This opens the current Changes branch menu. It centralizes latest-batch migration operations and recovery actions. The tour only displays these commands; it does not modify history.
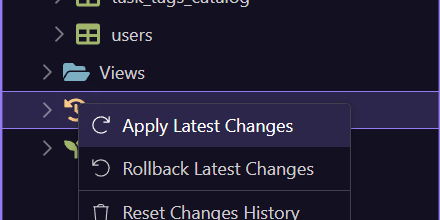
All migration history actions
Section titled “All migration history actions”Latest-batch actions are normal day-to-day migration controls. Reset and Unlock are recovery tools and should be used only after inspecting the database and coordinating with the team.
| Selection | Action and meaning |
|---|---|
| Changes | Apply Latest Changes: run the newest pending migration batch. |
| Changes | Rollback Latest Changes: execute the down path for the latest applied batch. |
| Done migration | Undo This Change: reverse that applied migration. |
| Pending migration | Apply This Change: run that one pending migration. |
| Migration file | Open In Editor: inspect the generated migration source. |
| Changes | Reset Changes History: after confirmation, clears the wappler_migrations tracking table. |
| Changes | Unlock Changes History: after confirmation, clears the migration lock table when a failed/interrupted run left it locked. |
Done and Pending keep state explicit
Section titled “Done and Pending keep state explicit”Applied migration files live under Done and unapplied files under Pending. Right-click the individual entry for Undo This Change or Apply This Change and Open In Editor. This per-file path is useful when you need a controlled correction; use latest-batch actions when the ordered batch is the intended unit.
What the migration files actually mean
Section titled “What the migration files actually mean”Migration files are the ordered record of how the database schema should change over time. They are not row edits or backups. Each file carries up/down structural operations such as creating or altering a table, field, reference, junction table, or sub table so another target can reproduce and, when supported, reverse the same update in order.
Test the changes on development targets first
Section titled “Test the changes on development targets first”After the migration files exist, keep working against the development target until the app behavior proves the schema is correct. Update or test the affected queries, forms, server actions, validators, and seeded data there first. This is where you catch naming mistakes, missing fields, and relation assumptions before the same migration reaches a real deployment.
Choose a database strategy that fits the project
Section titled “Choose a database strategy that fits the project”Not every project needs the same target layout. A small one-person project can sometimes keep one shared database if the risk is low and the workflow is simple. A larger team, a staging workflow, or any project where testing and release timing matter should usually keep separate databases per target or environment so development changes cannot surprise the live system.
Publish applies the approved schema to the live target
Section titled “Publish applies the approved schema to the live target”When the project is ready, the publish flow is where the approved migration history moves to the live environment. That means the live target receives the same structural updates you already proved on development, instead of you manually rebuilding the schema by hand. This is the safer deployment story: design in Database Manager, test in development, then publish with migrations so the live database is updated as part of the release workflow.
Next steps
Section titled “Next steps”Return to the main Database Manager hub when you are ready for the next subject. That keeps the database learning path sequential, with the main hub acting as the place to choose the next lifecycle, recipe, or reference topic.