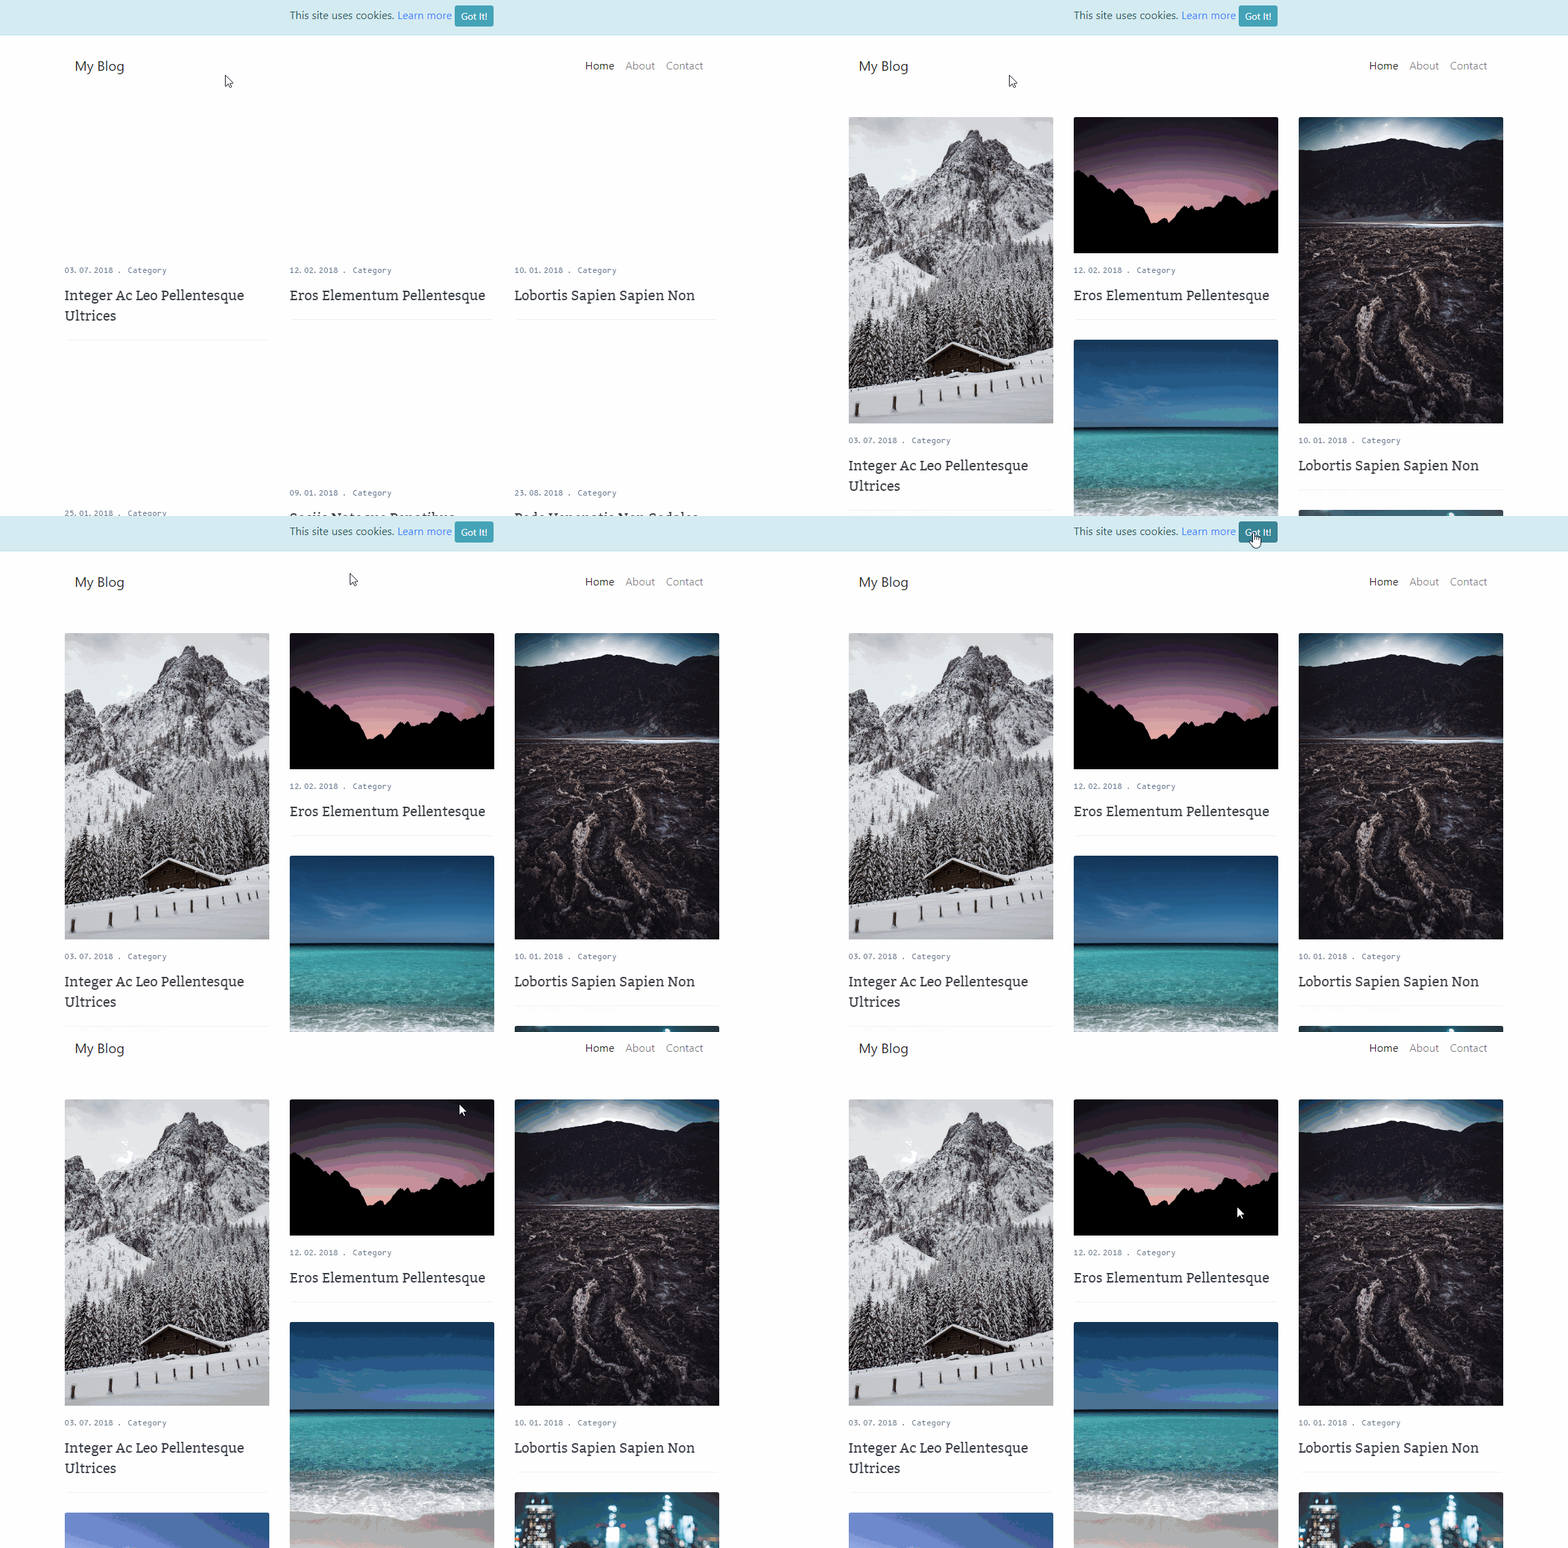
Creating a Cookie Consent Alert
You can easily add a “We use cookies” notification to your website using the Cookie Manager and Alerts Component in Wappler. We will create a basic informational notification which tells your users th
In the App Connect panel, select App and click the add new component button:
Section titled “In the App Connect panel, select App and click the add new component button:”You can easily add a “We use cookies” notification to your website using the Cookie Manager and Alerts Component in Wappler. We will create a basic informational notification which tells your users that you use cookies, and that by continuing to use your website they accept them.
In the App Connect panel, select App and click the add new component button:

Open State Management and select Cookie Manager:
Section titled “Open State Management and select Cookie Manager:”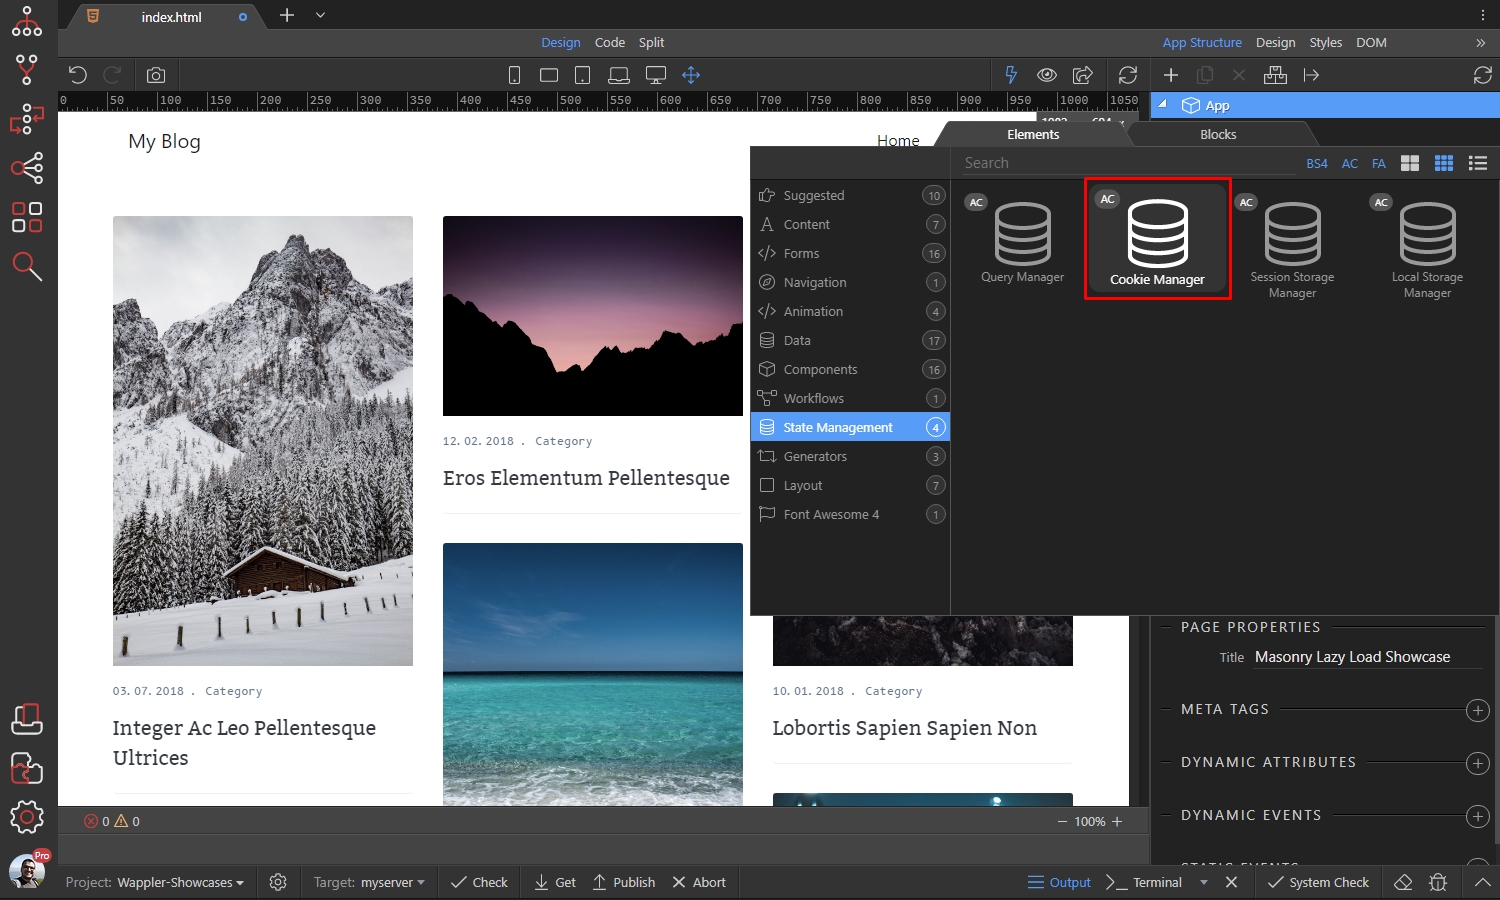
Then click define cookies:
Section titled “Then click define cookies:”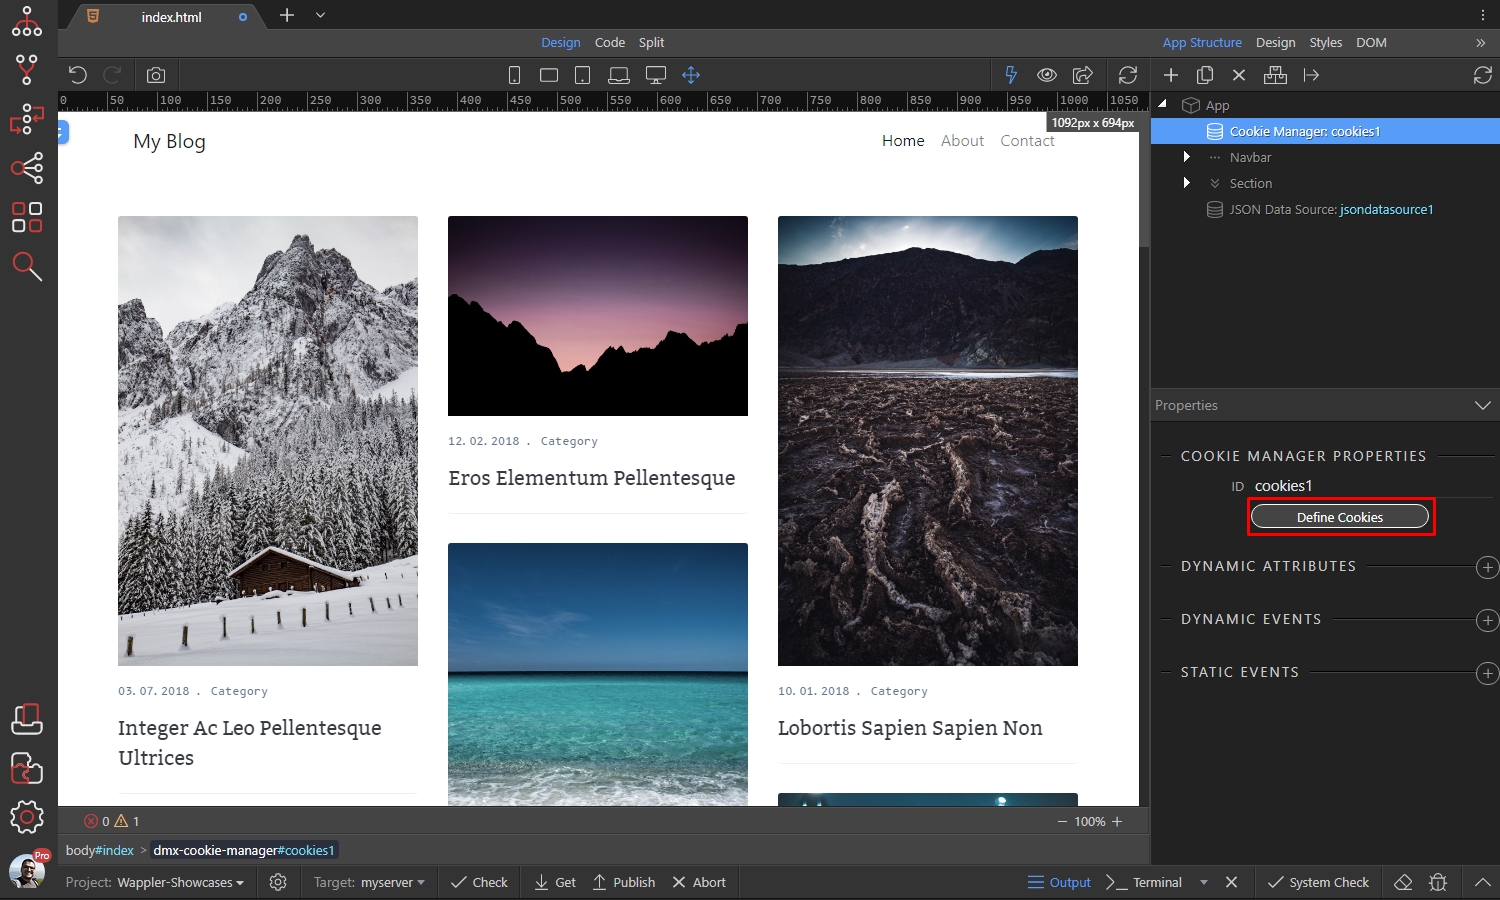
Click the add new button and select variable:
Section titled “Click the add new button and select variable:”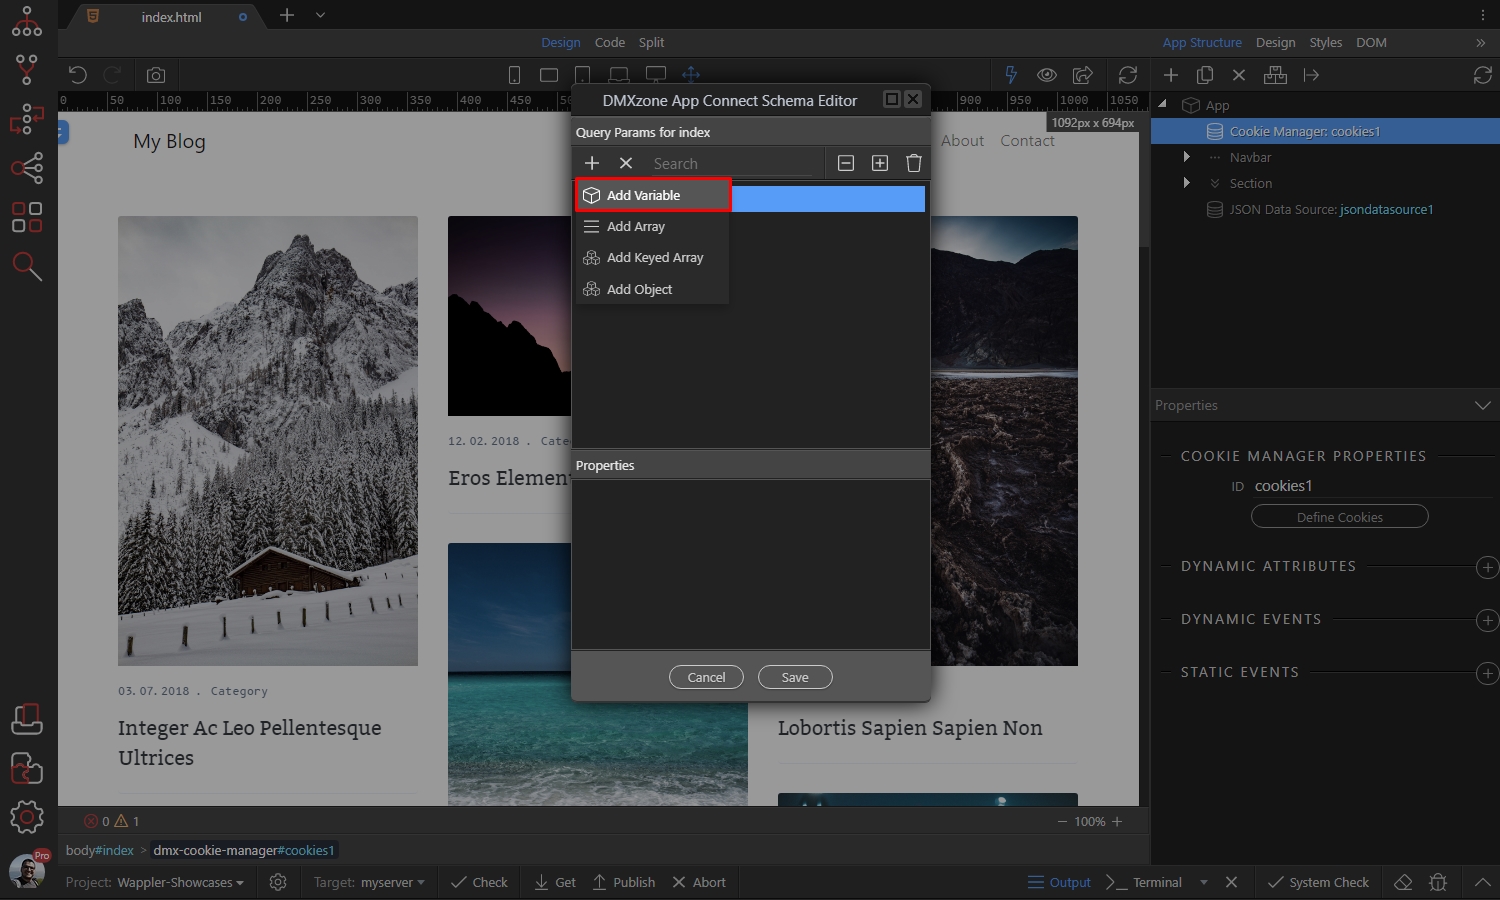
We call this cookie - notification:
Section titled “We call this cookie - notification:”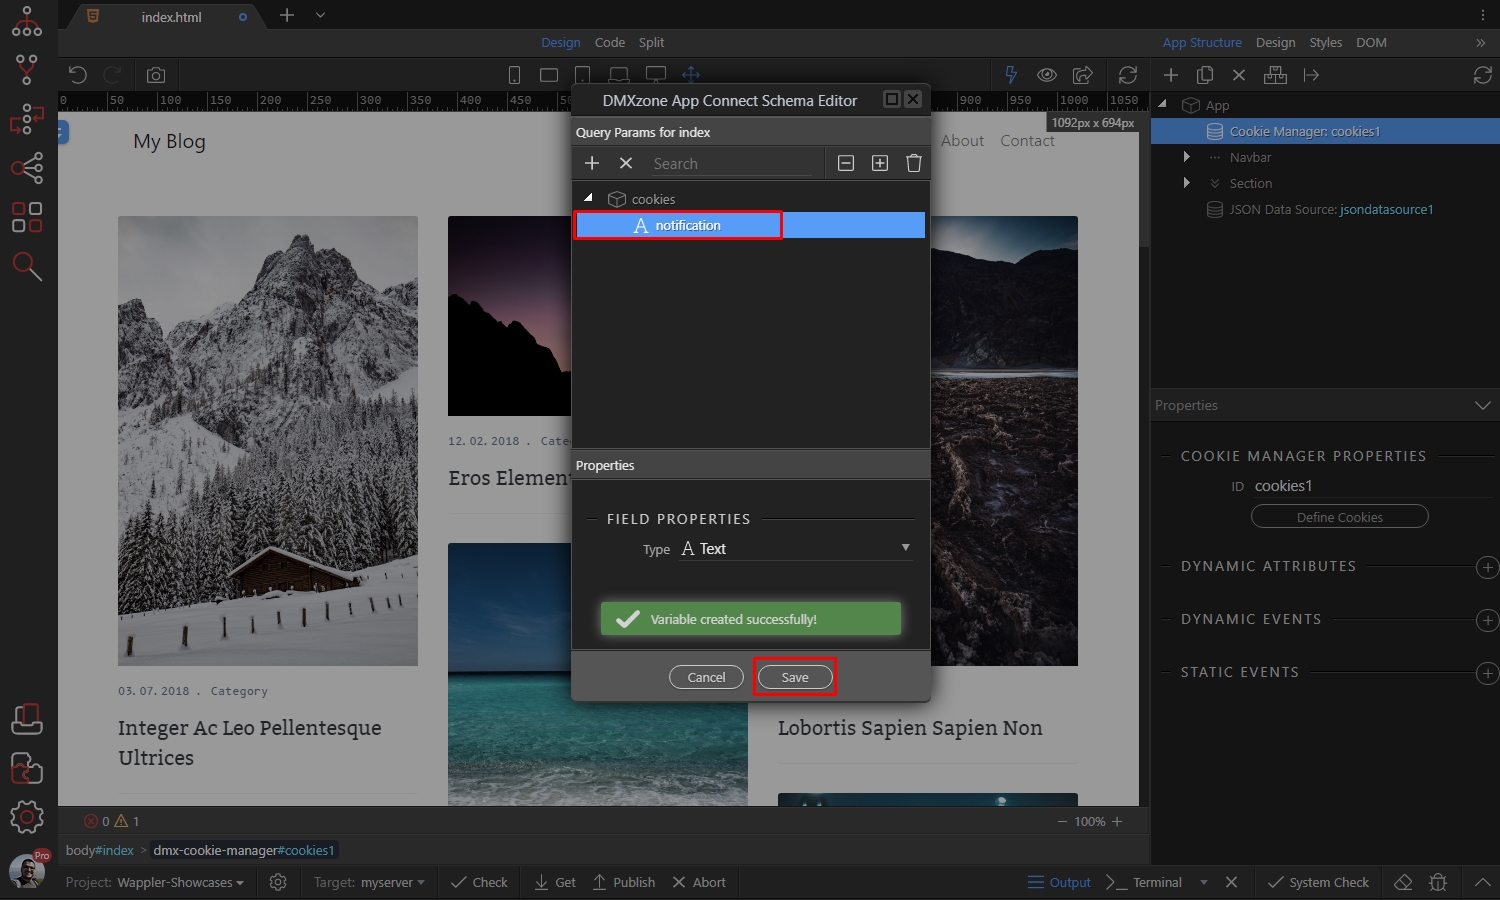
Then, in App Connect panel select App and add new component:
Section titled “Then, in App Connect panel select App and add new component:”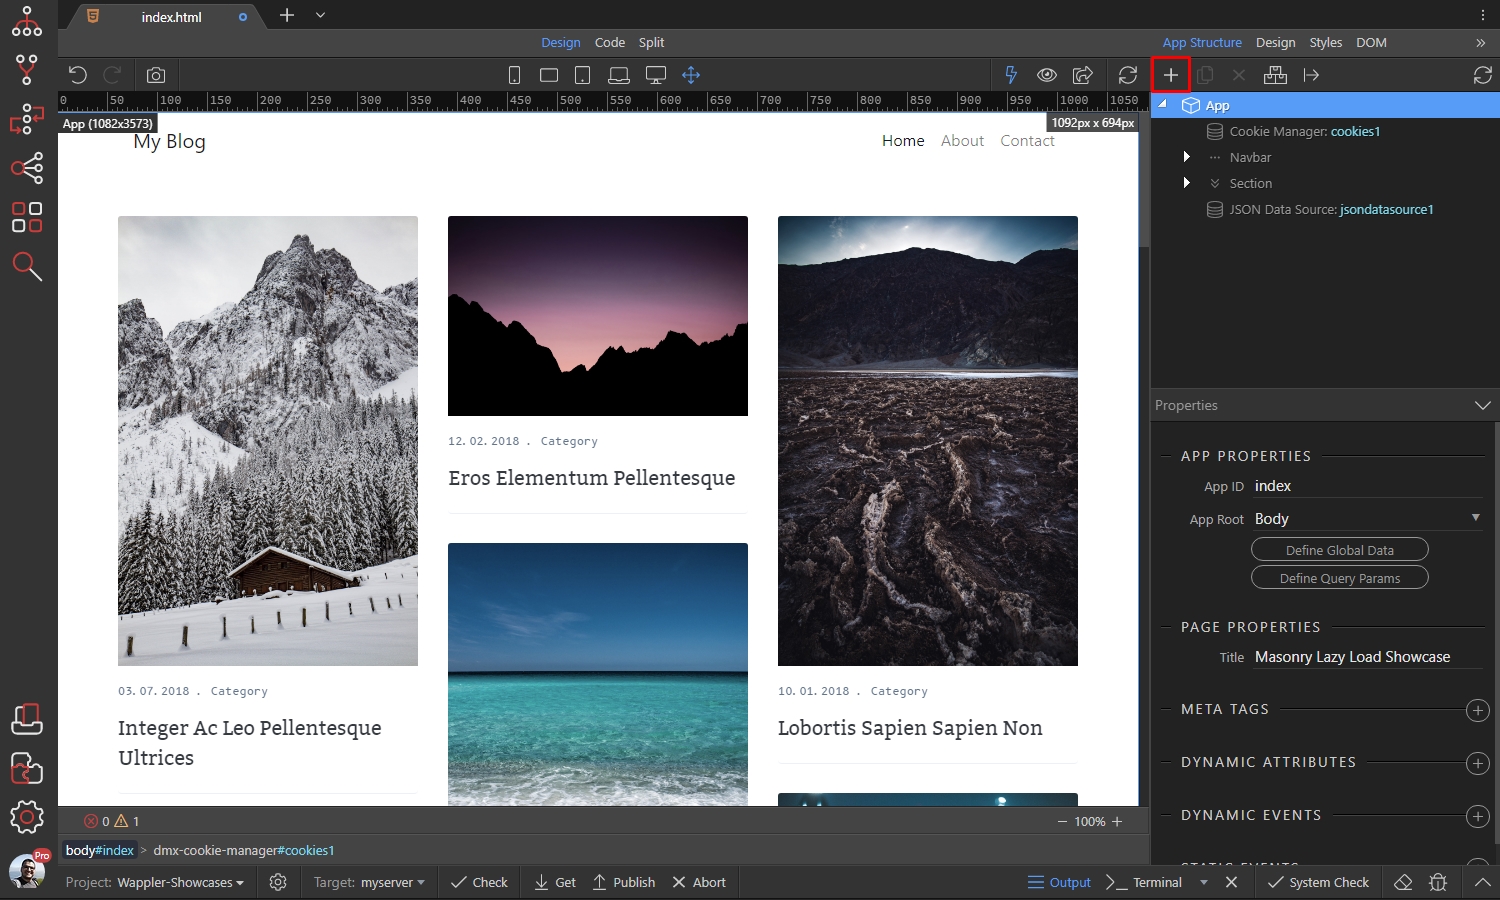
Open Components and select Alert:
Section titled “Open Components and select Alert:”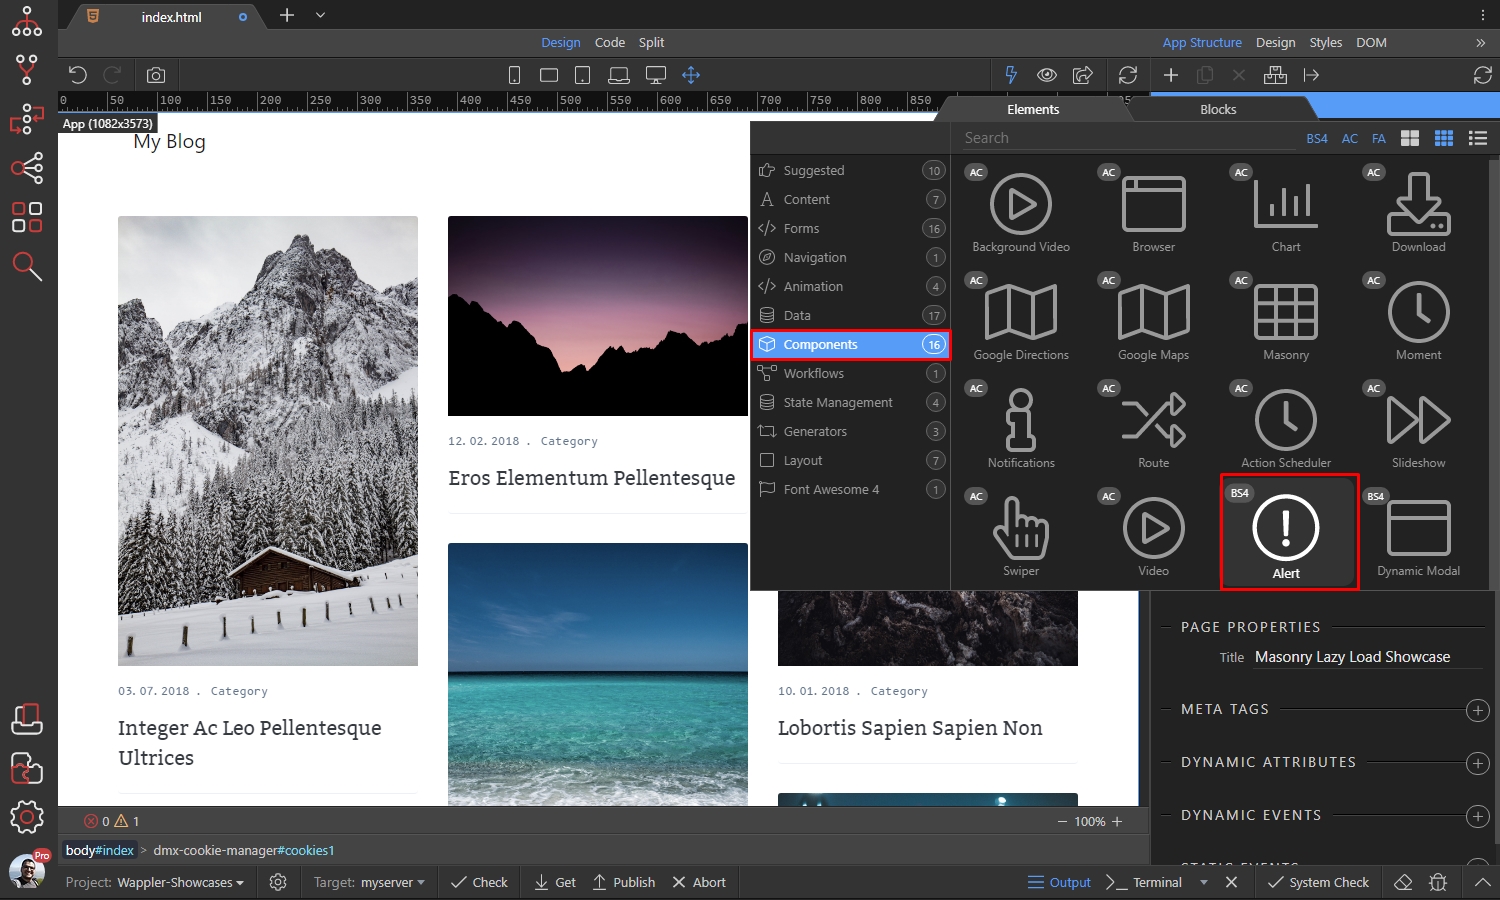
In order to be able to see the alert in design view and edit it, we enable the auto-show option:
Section titled “In order to be able to see the alert in design view and edit it, we enable the auto-show option:”
Change the alert style, to what you need. We select the Info style:
Section titled “Change the alert style, to what you need. We select the Info style:”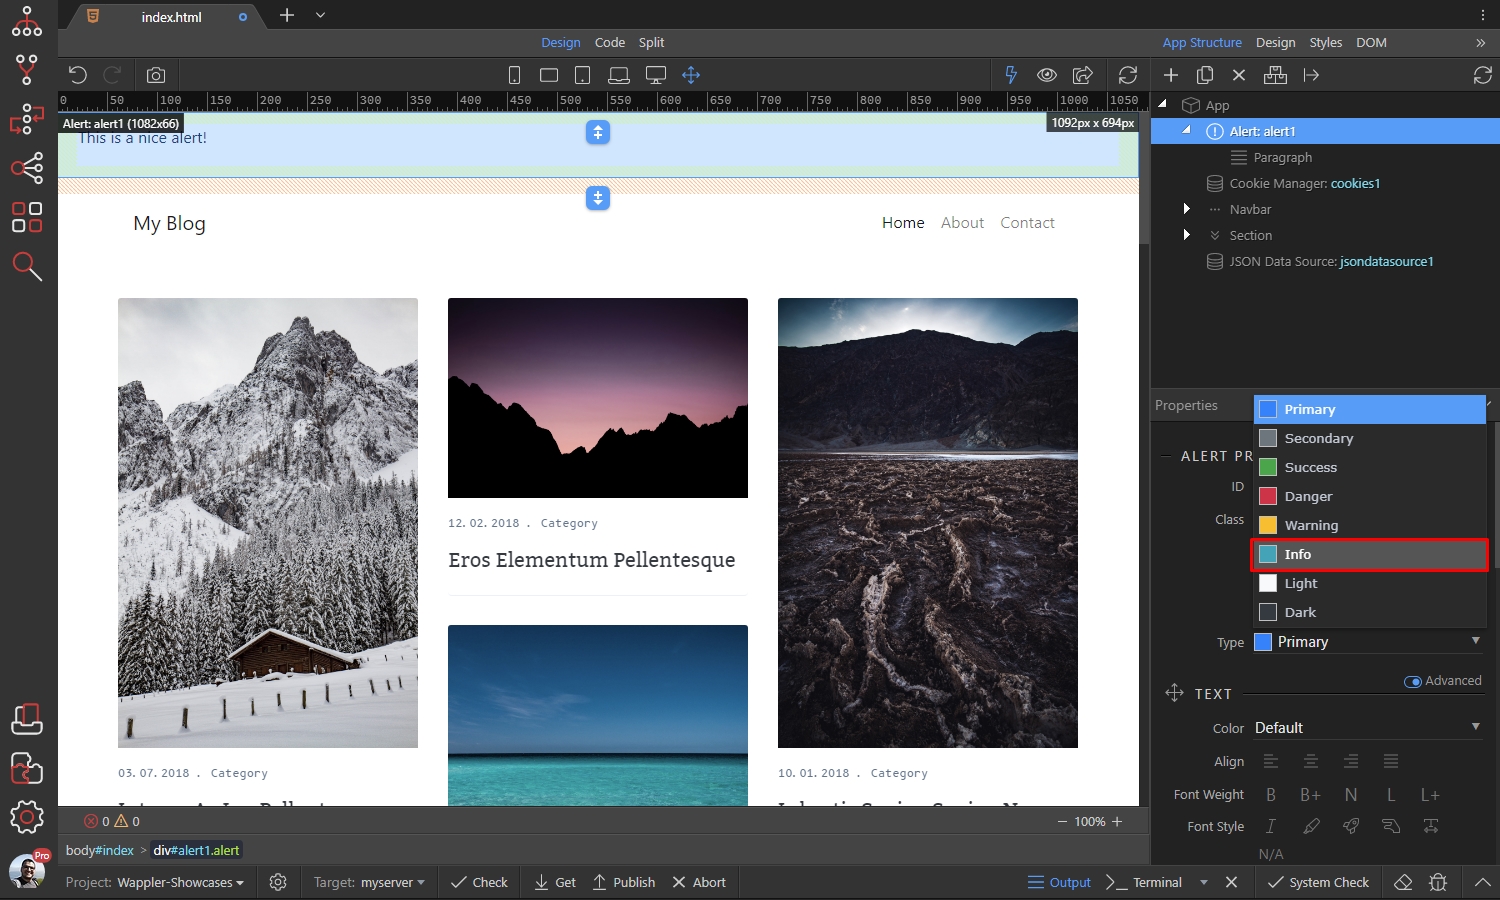
Then we select to center its content:
Section titled “Then we select to center its content:”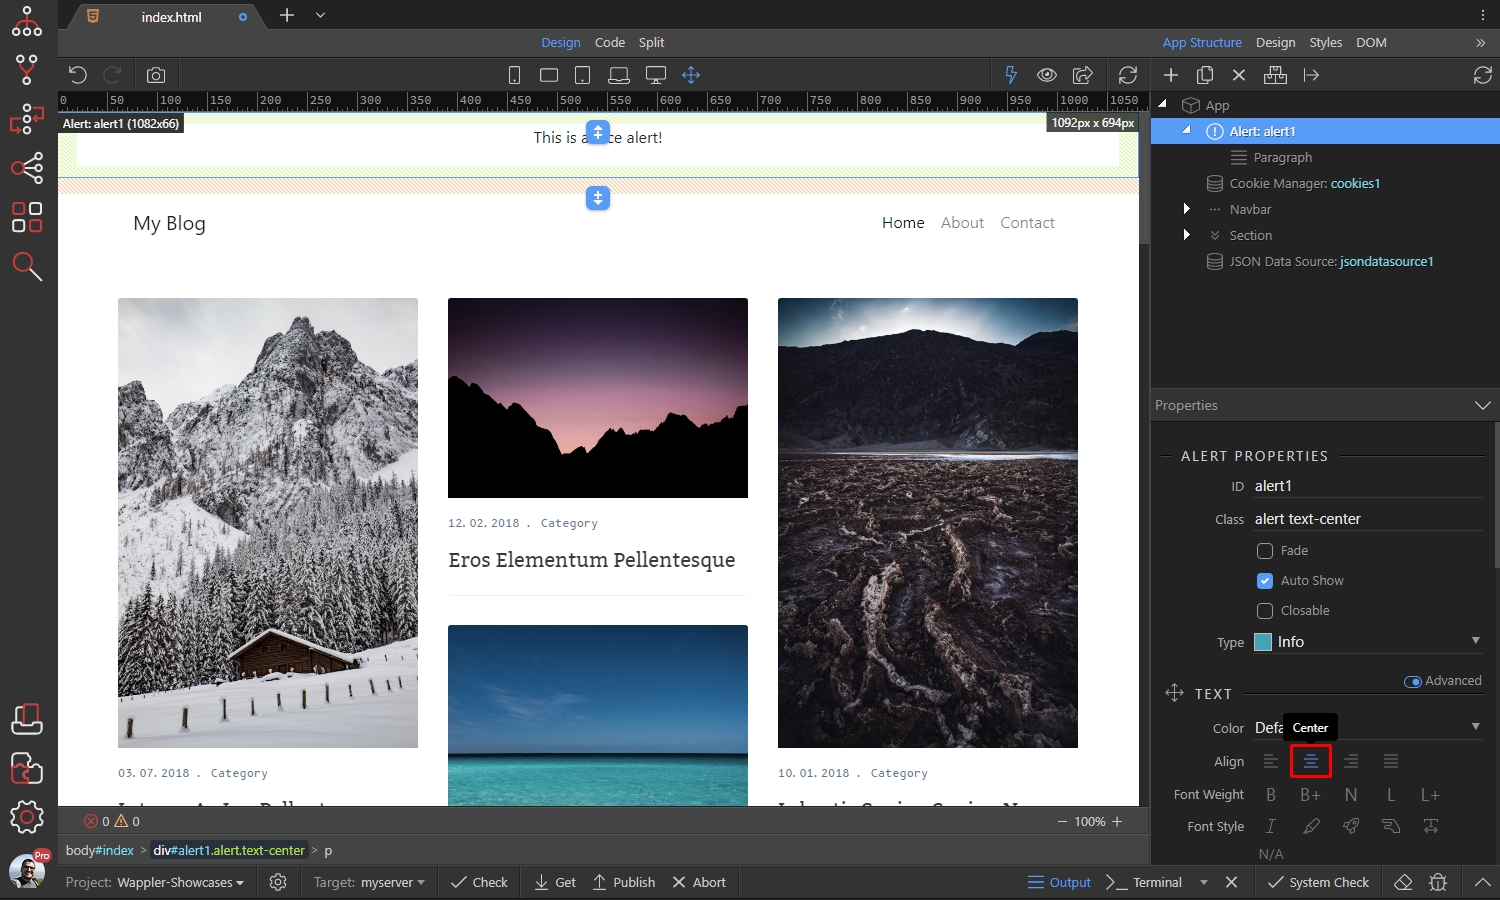
You can double click and edit the default text:
Section titled “You can double click and edit the default text:”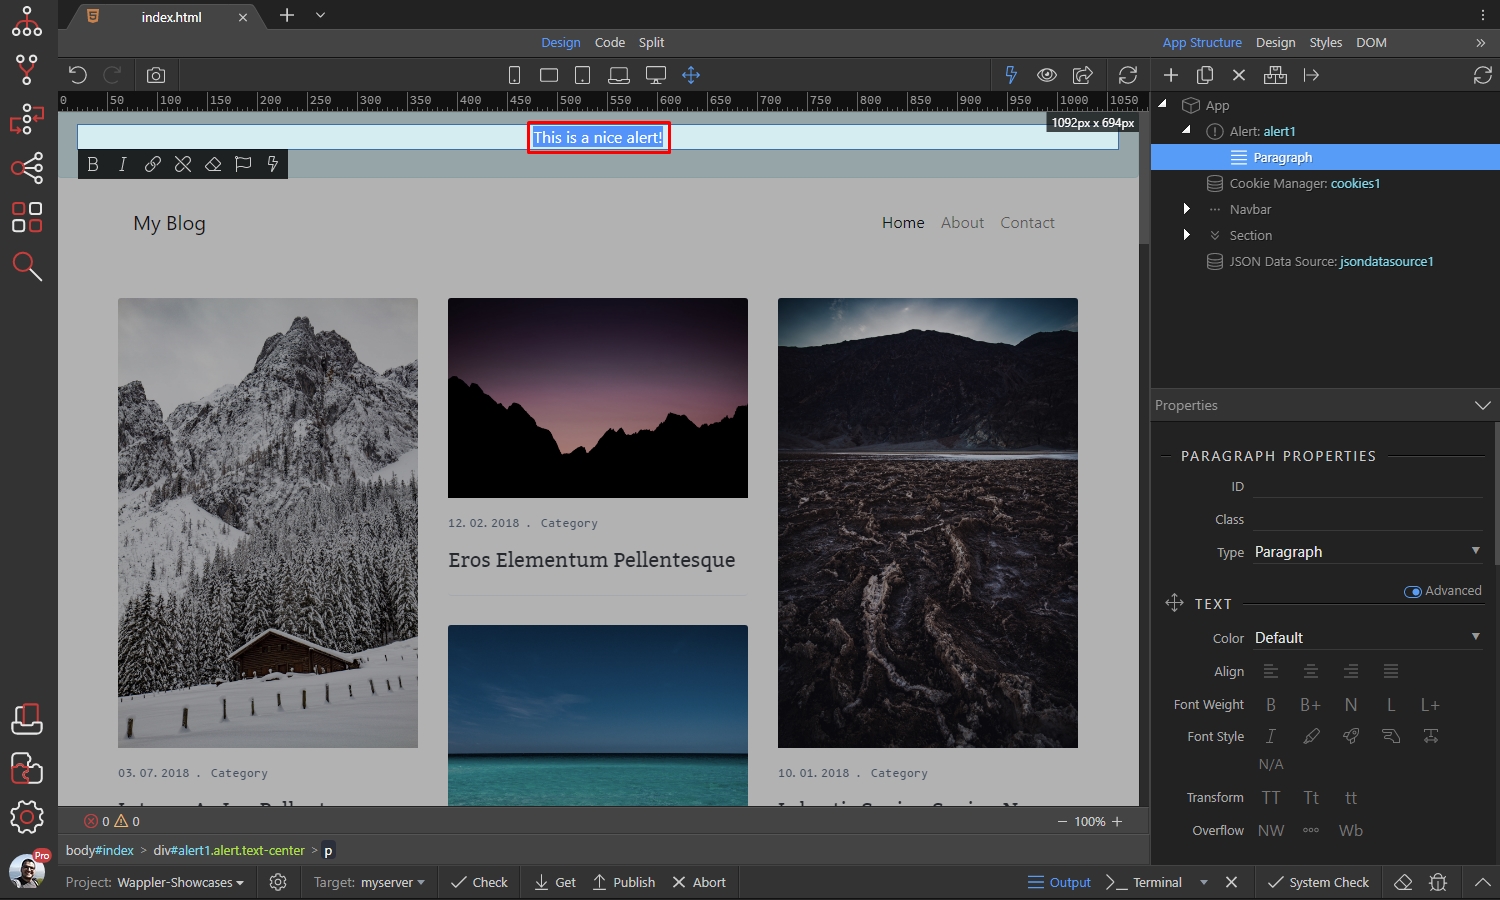
You can also add a Lern More link, which points to your cookie policy:
Section titled “You can also add a Lern More link, which points to your cookie policy:”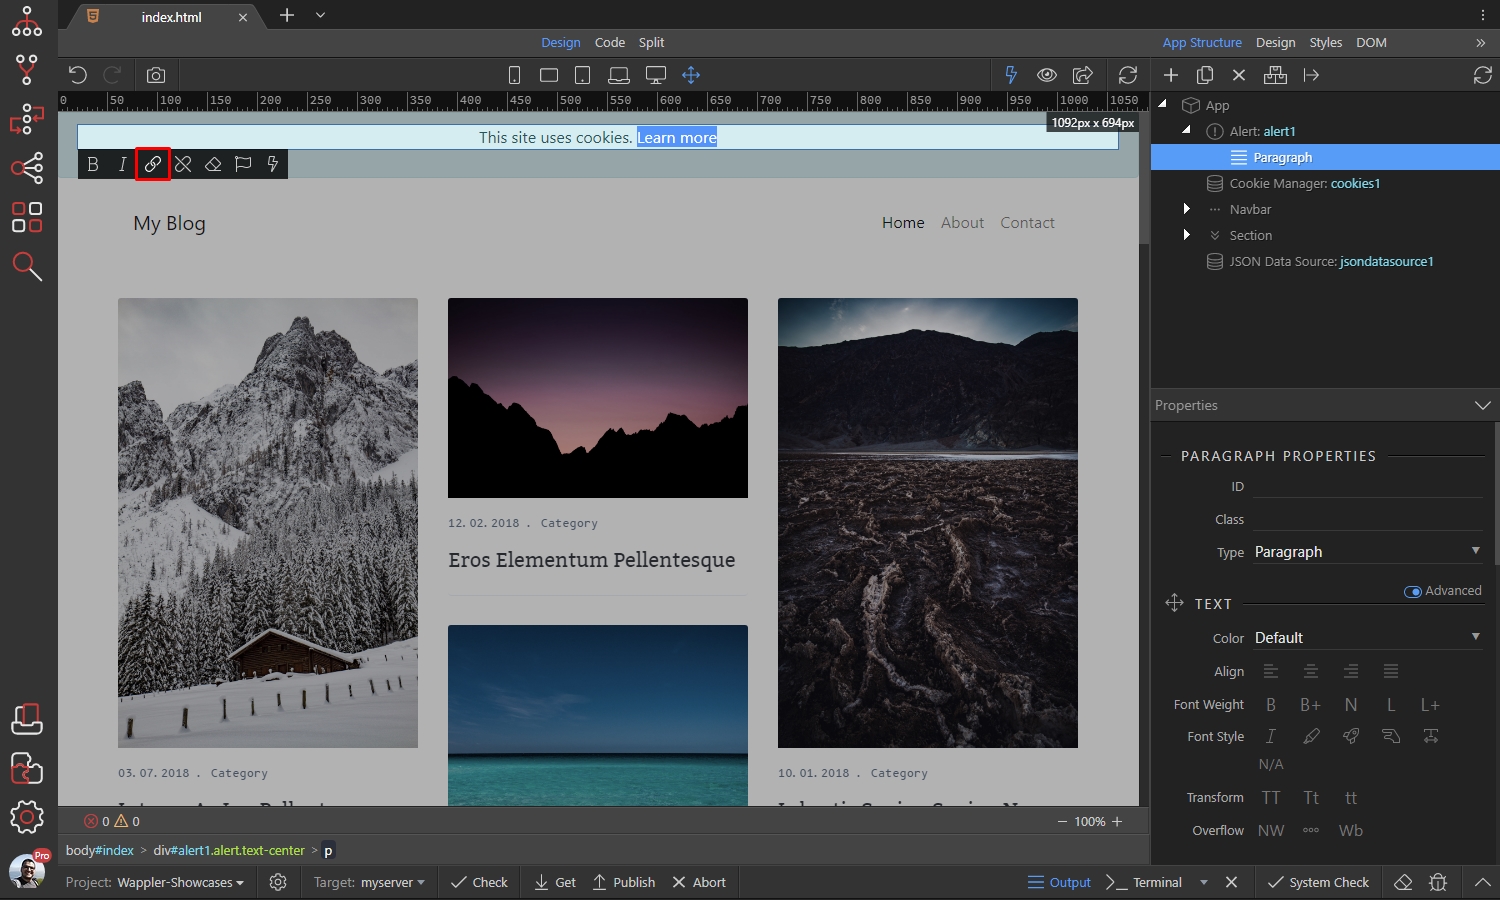
Step 13
Section titled “Step 13”So just link to it. In our example we use: https://www.cookiesandyou.com/ which explains what the cookies are and how to control them in your browser:

Now let’s add a button in the alert. Right click the link, select after, and add a button:
Section titled “Now let’s add a button in the alert. Right click the link, select after, and add a button:”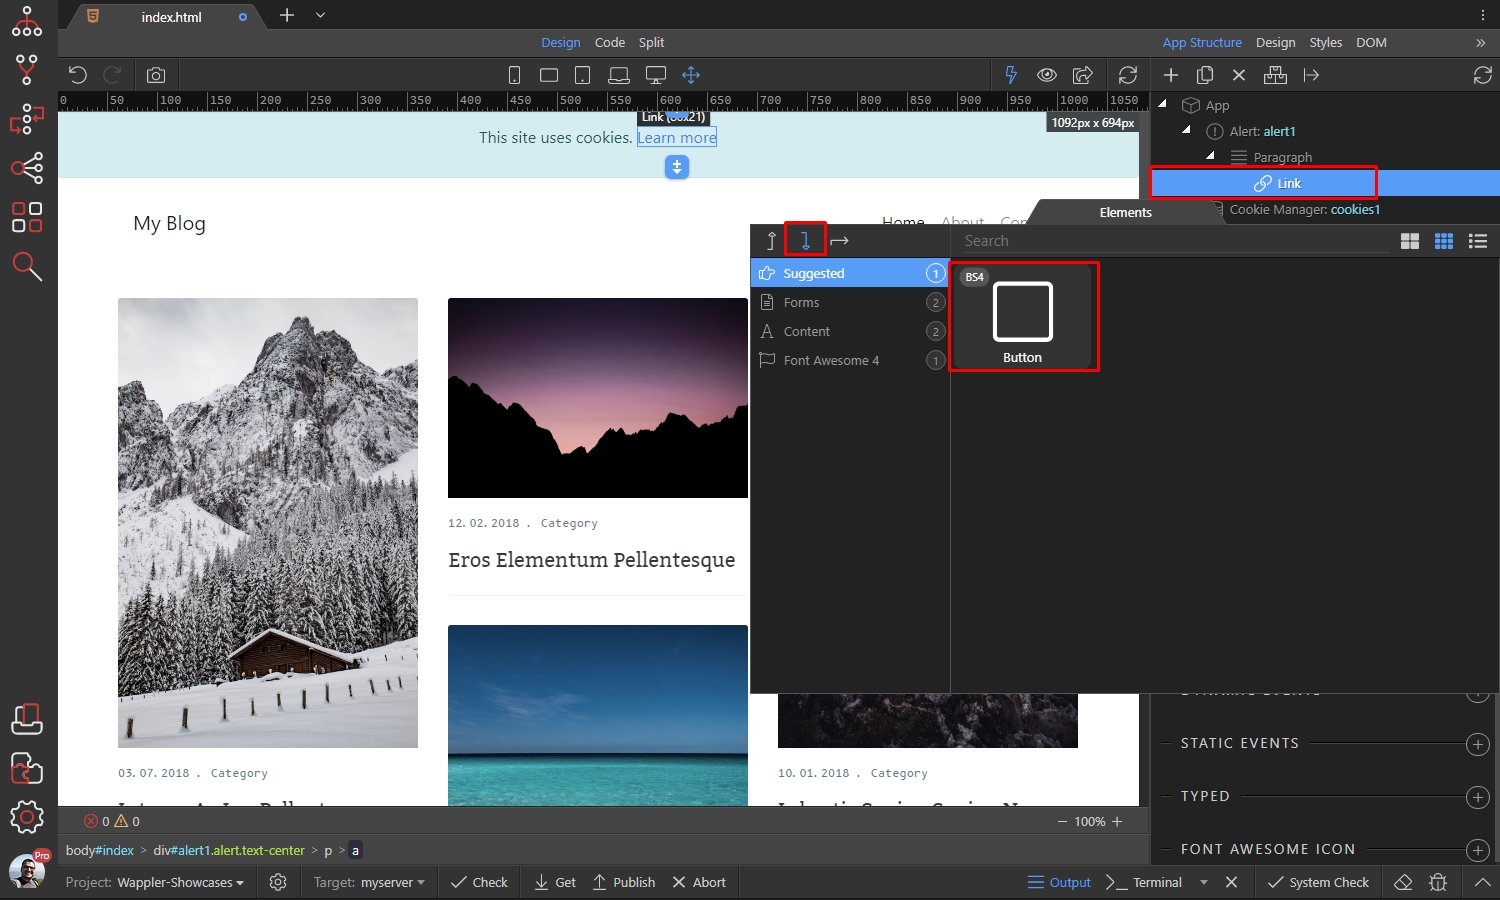
Step 15
Section titled “Step 15”Customize the button as you need. We set its style to Info and the size to Small. Then change the default text of the button, as per your needs:
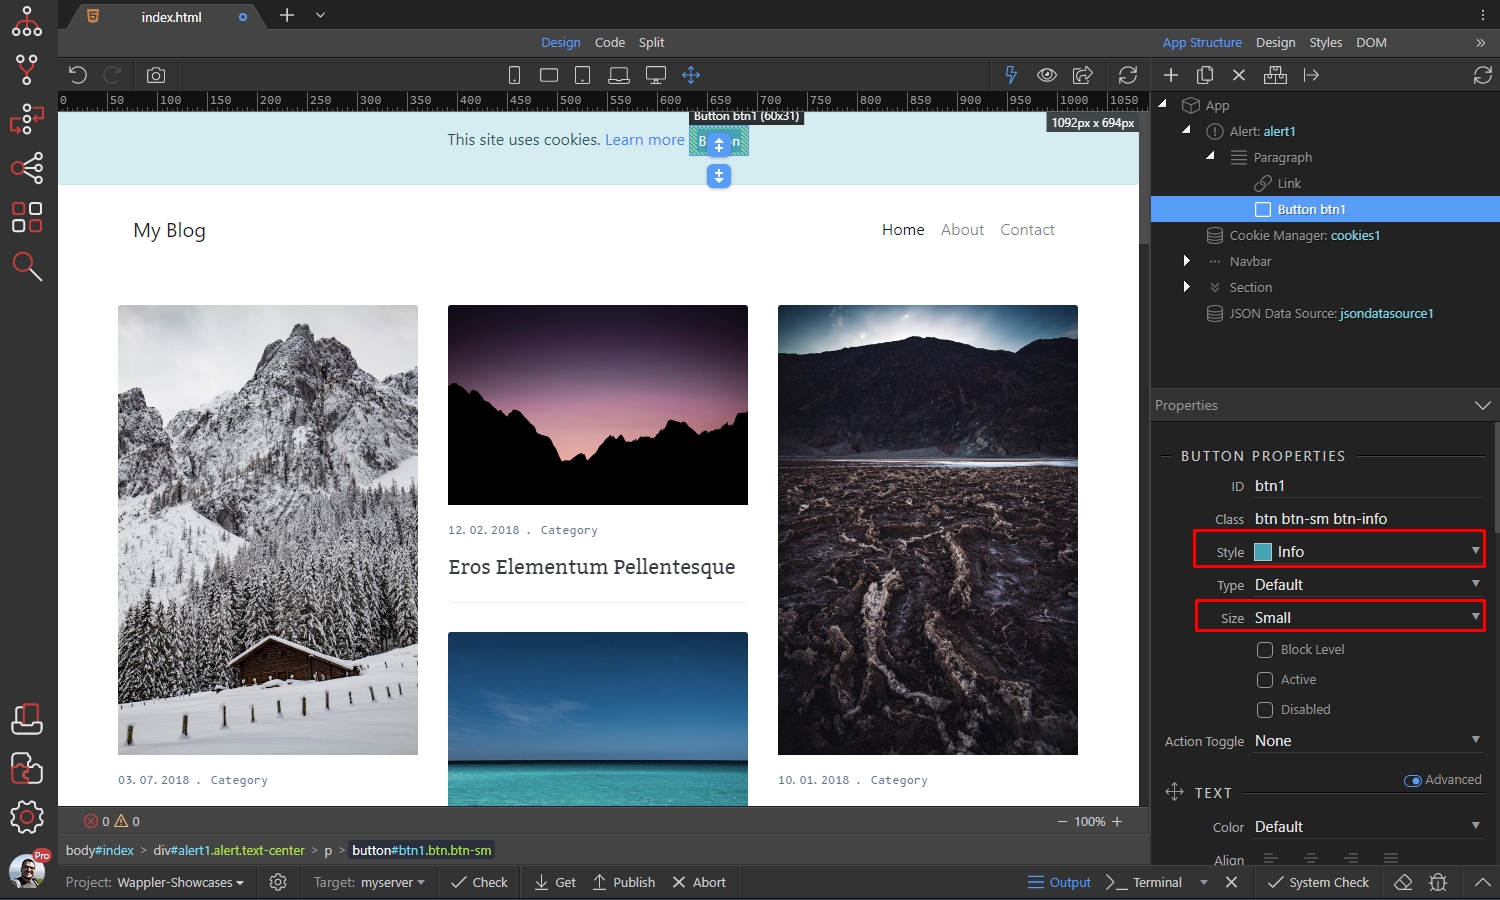
When you are done customizing the button, add a new dynamic event for it:
Section titled “When you are done customizing the button, add a new dynamic event for it:”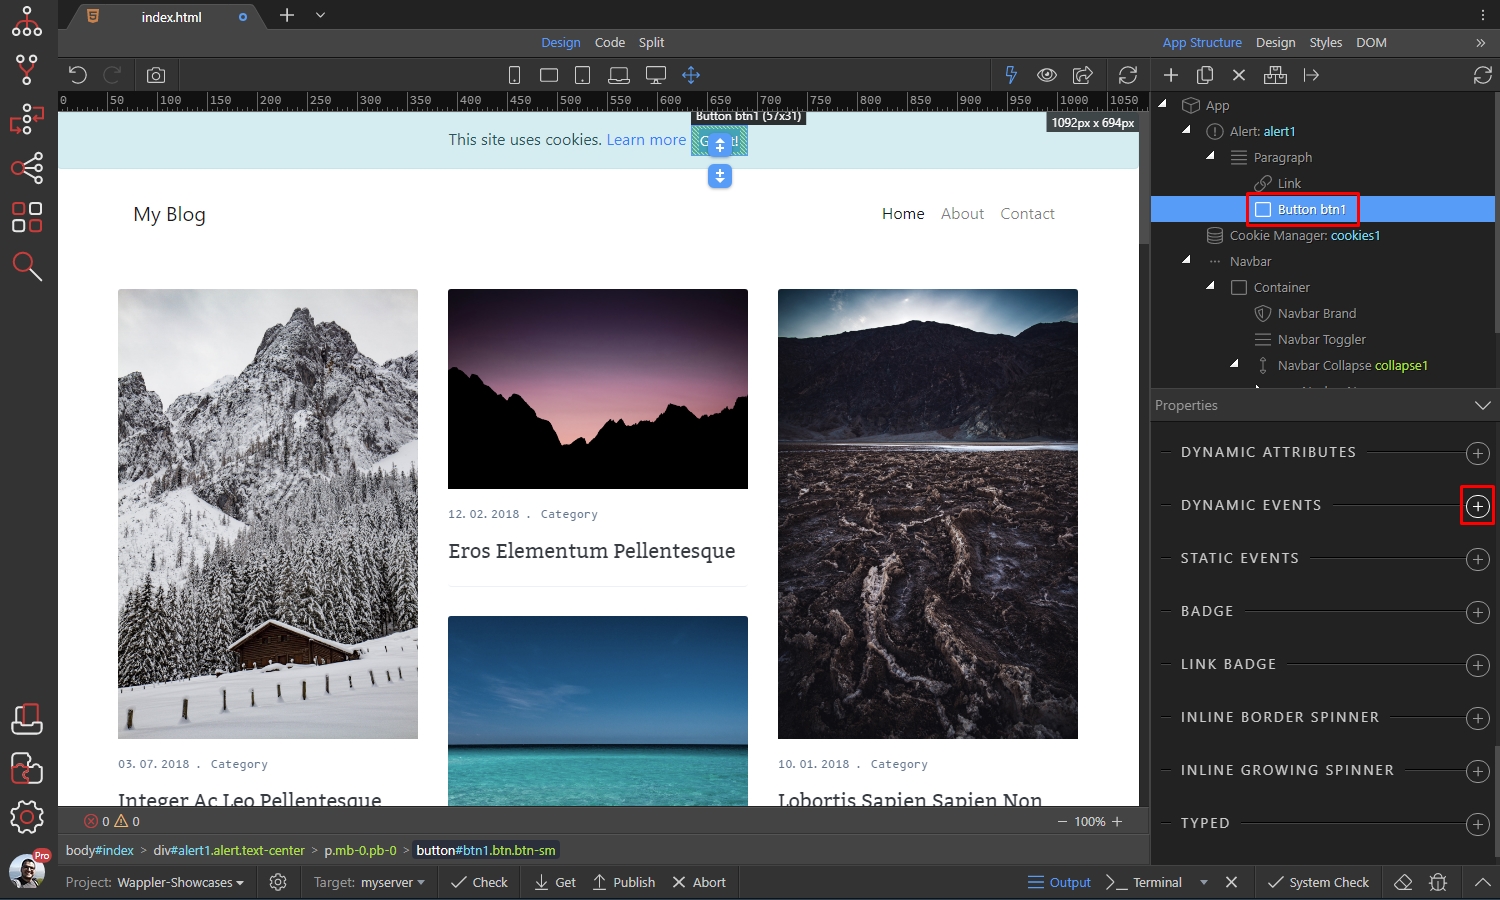
Select Mouse > Click:
Section titled “Select Mouse > Click:”
Then click the dynamic action picker, to select what needs to happen on click:
Section titled “Then click the dynamic action picker, to select what needs to happen on click:”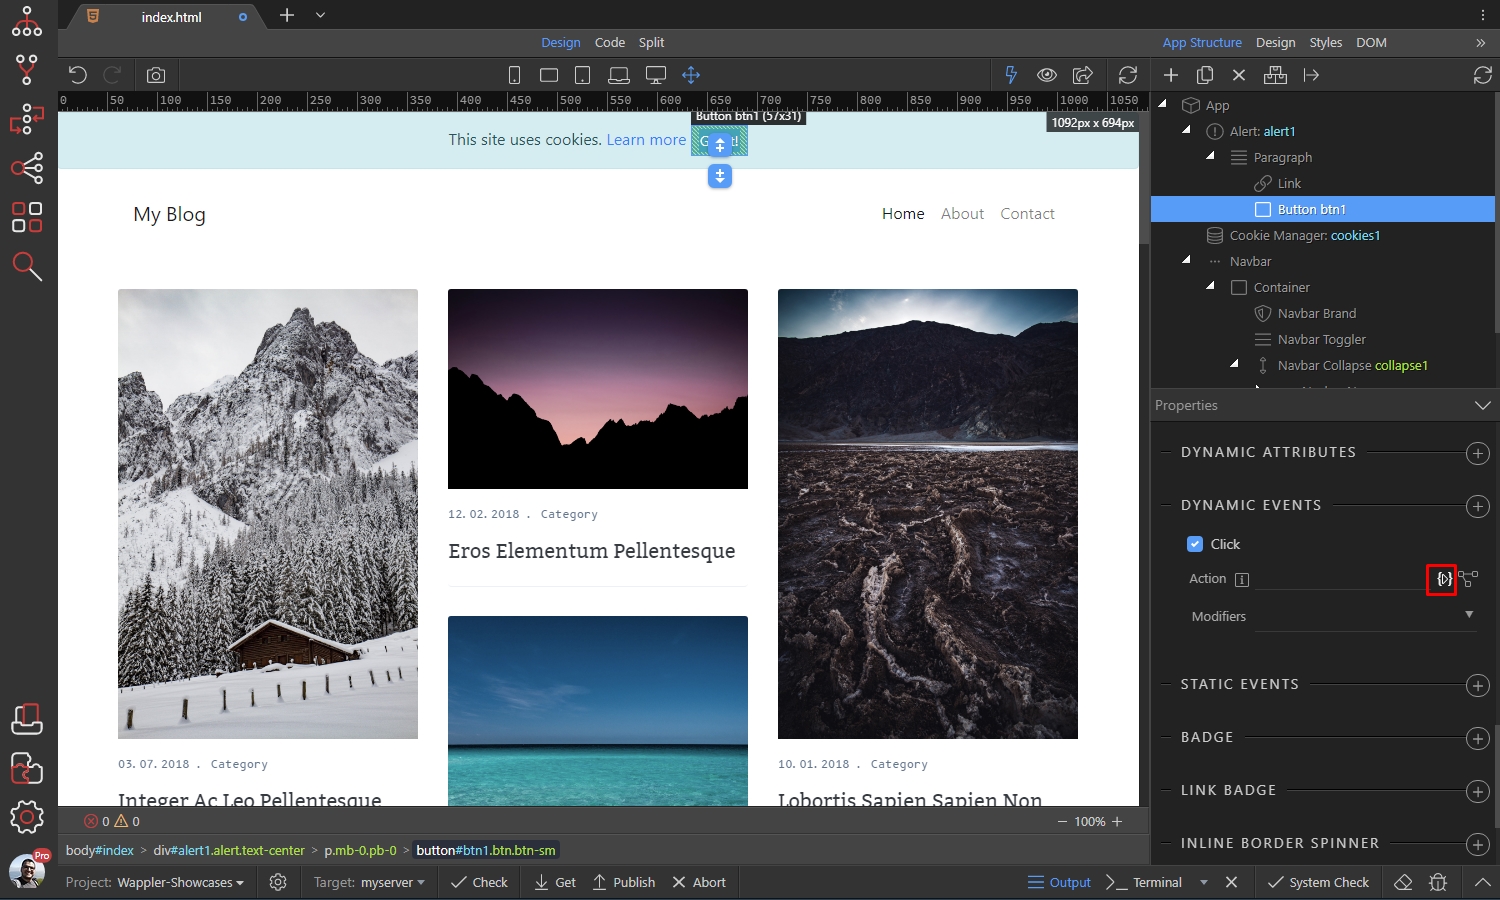
Select Set, under the Cookie Manager component:
Section titled “Select Set, under the Cookie Manager component:”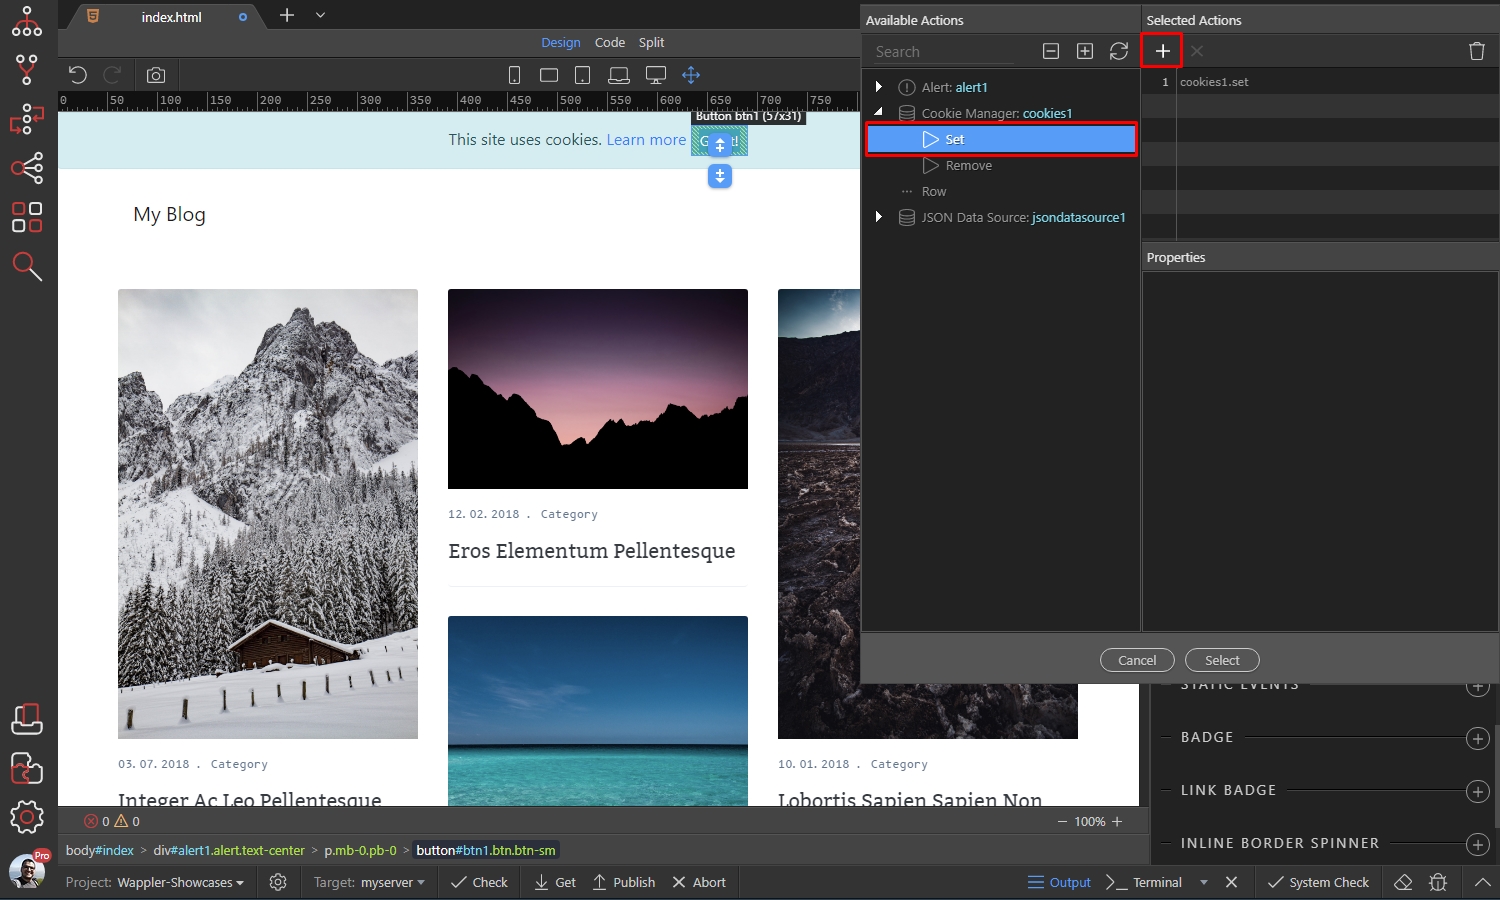
Then select the notification cookie, which we created and set its value to 1:
Section titled “Then select the notification cookie, which we created and set its value to 1:”
We set the cookie expiration to 90 days:
Section titled “We set the cookie expiration to 90 days:”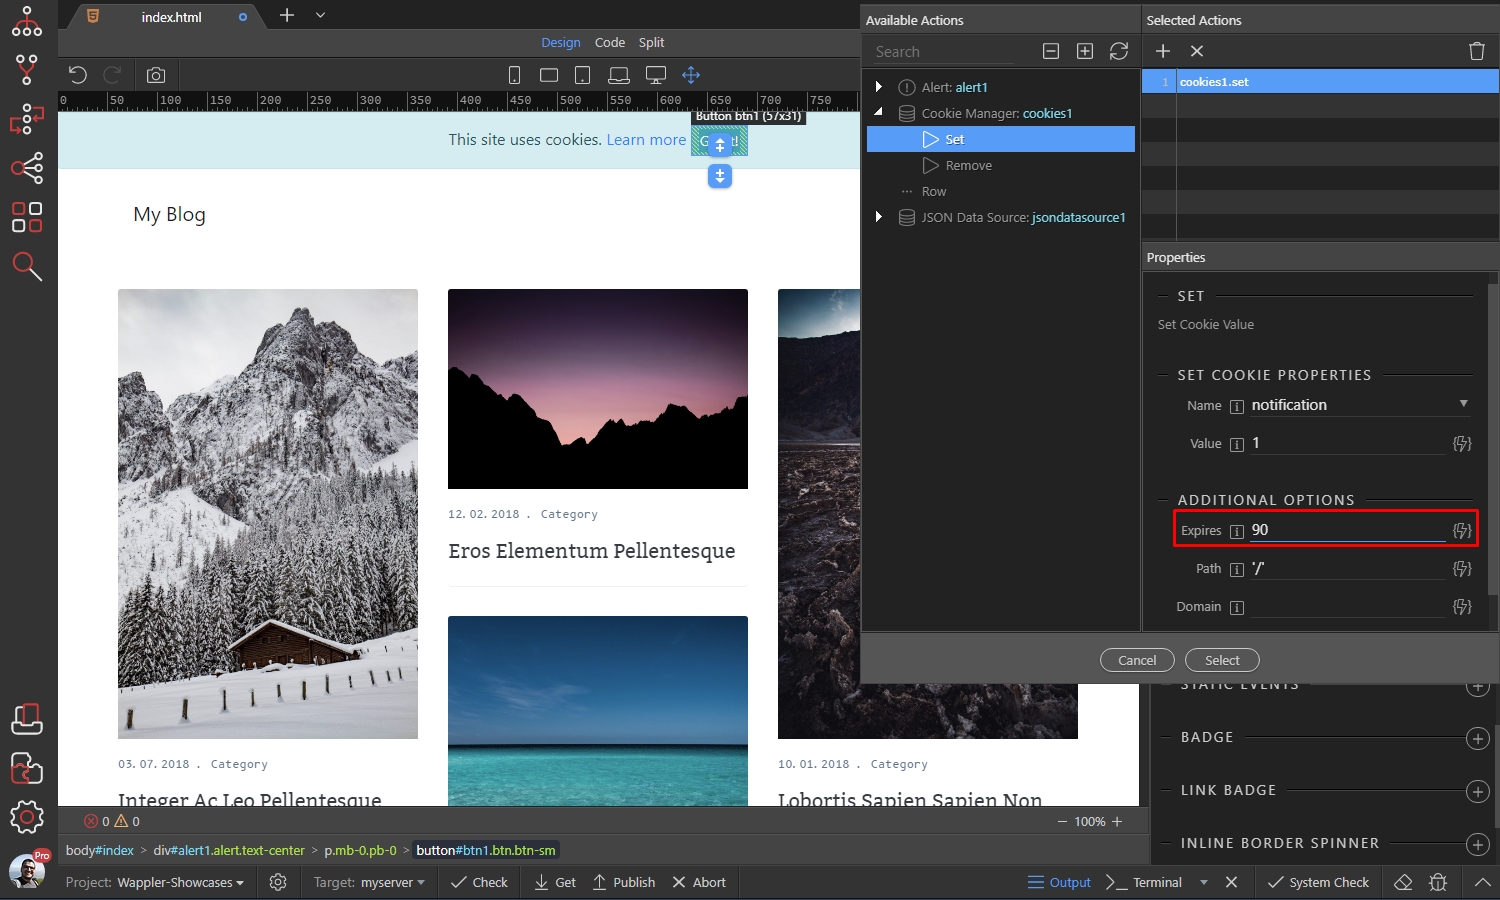
Now, when we click the button, the notification cookie value will be set to 1.
Section titled “Now, when we click the button, the notification cookie value will be set to 1.”Then select the alert and turn off the auto-show option, as we won’t need it any longer:
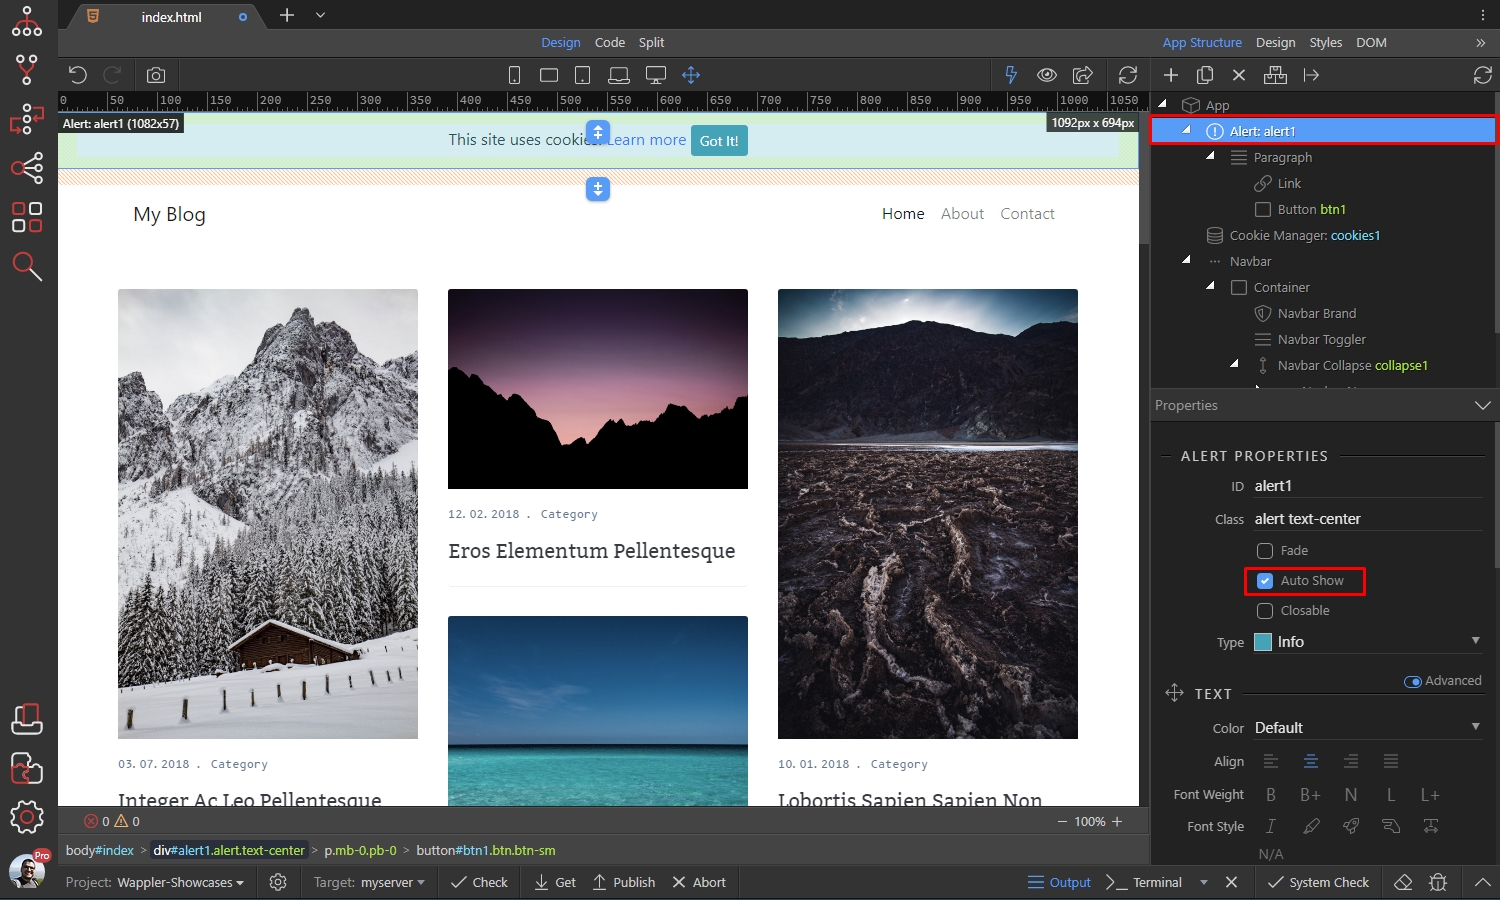
With the alert still selected, add a new dynamic attribute:
Section titled “With the alert still selected, add a new dynamic attribute:”
Select Alert > Alert Show:
Section titled “Select Alert > Alert Show:”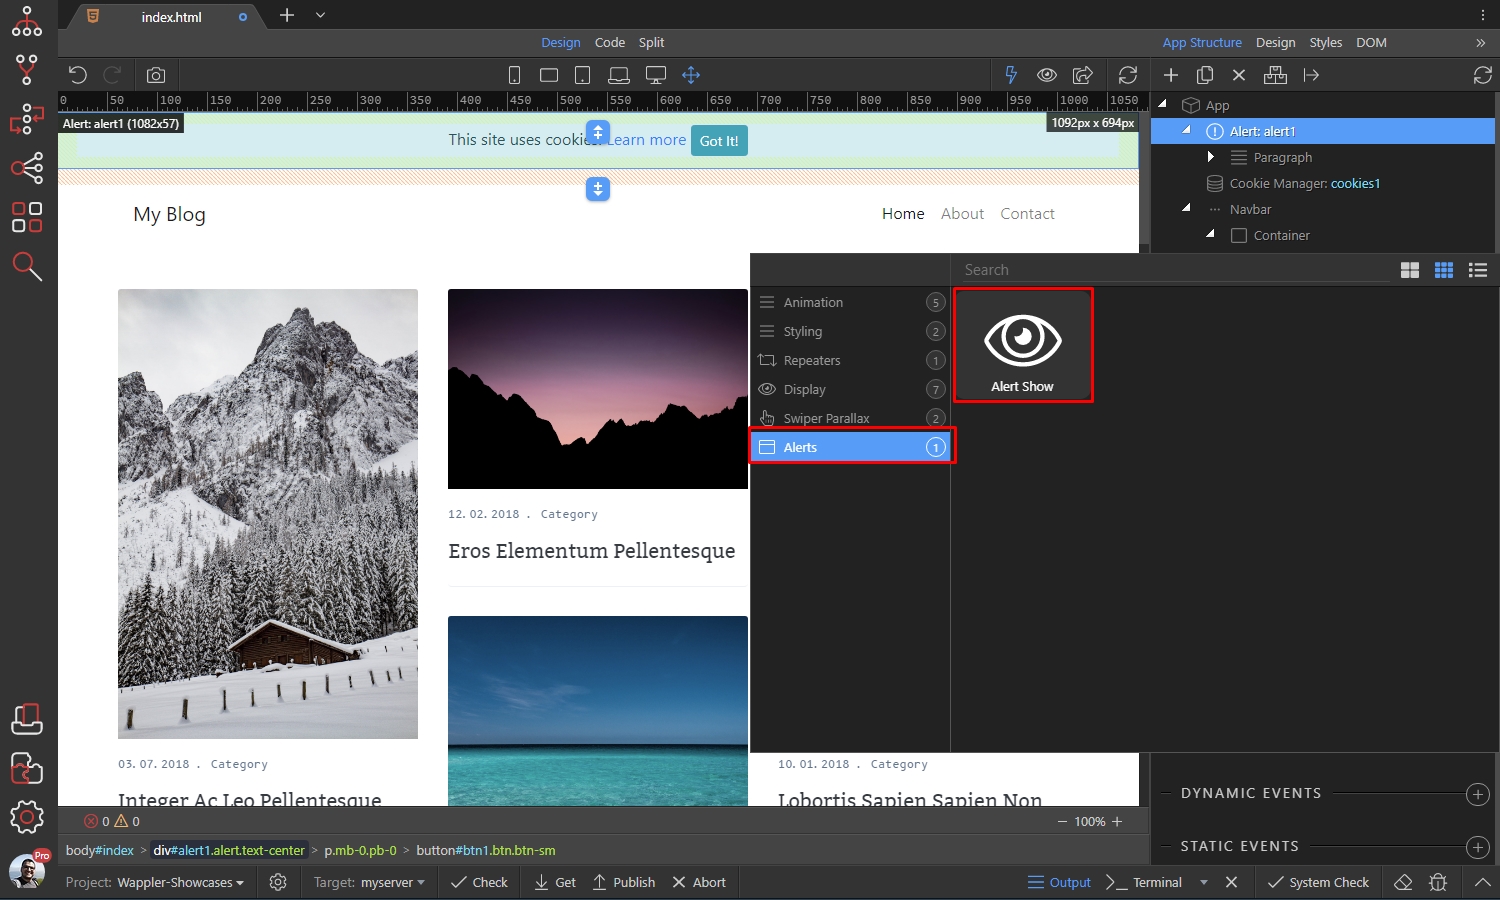
Click the dynamic data picker, to select when to show the alert:
Section titled “Click the dynamic data picker, to select when to show the alert:”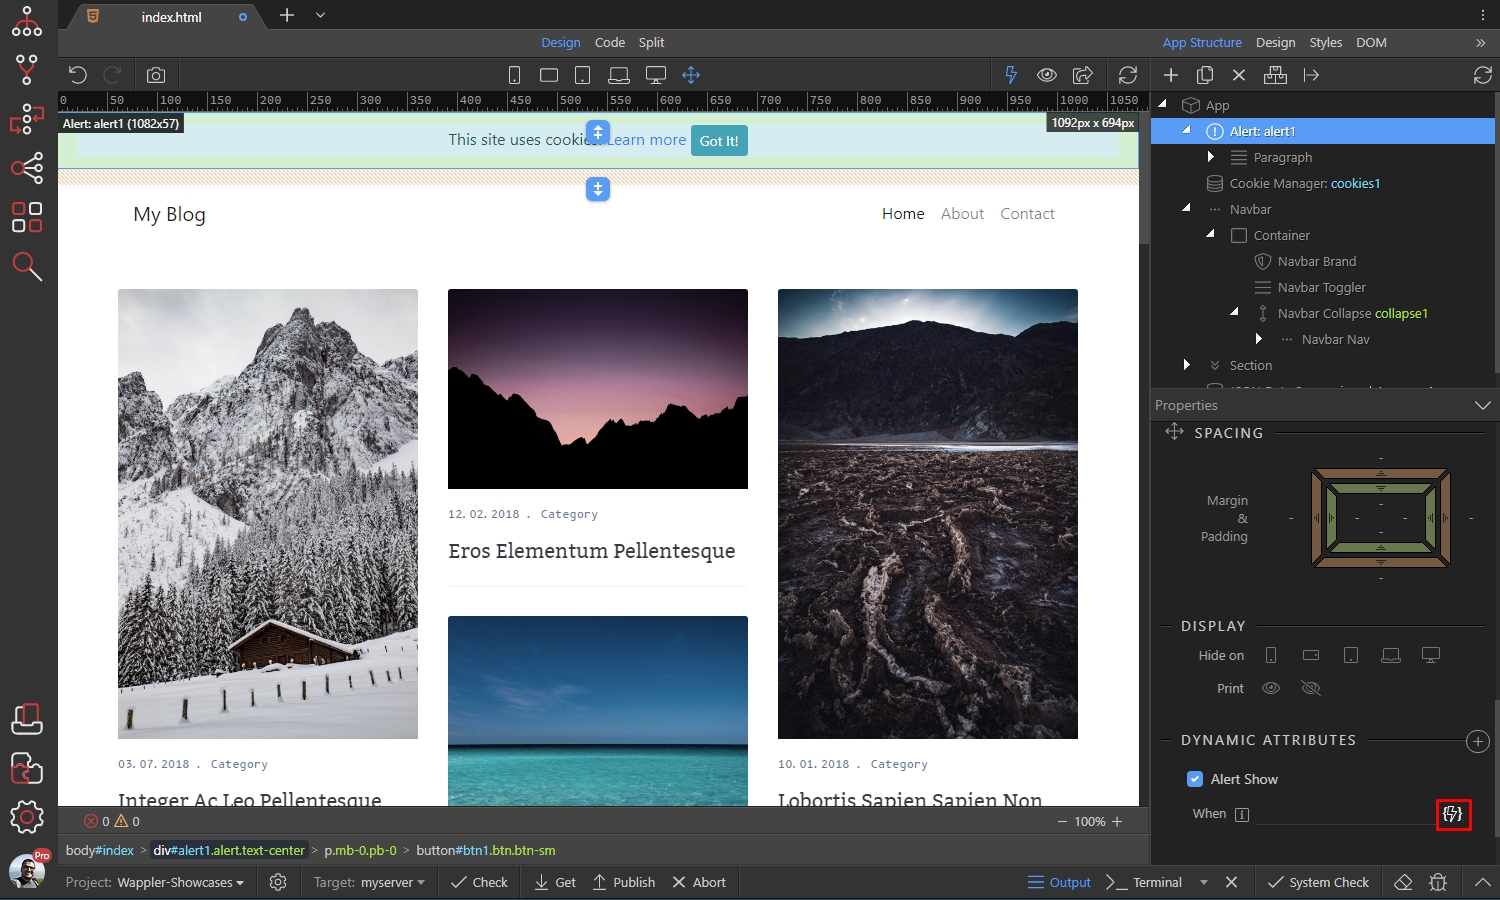
Under the Cookies Manager, select the notification cookie. Then add != 1 after it, in the expression field:
Section titled “Under the Cookies Manager, select the notification cookie. Then add != 1 after it, in the expression field:”
Step 27
Section titled “Step 27”This way, the alert will be displayed only when the cookie value is different than 1 - i.e. when the button has not been clicked. When the users click the button, the alert will be hidden and it won’t show until the notification cookie expires.