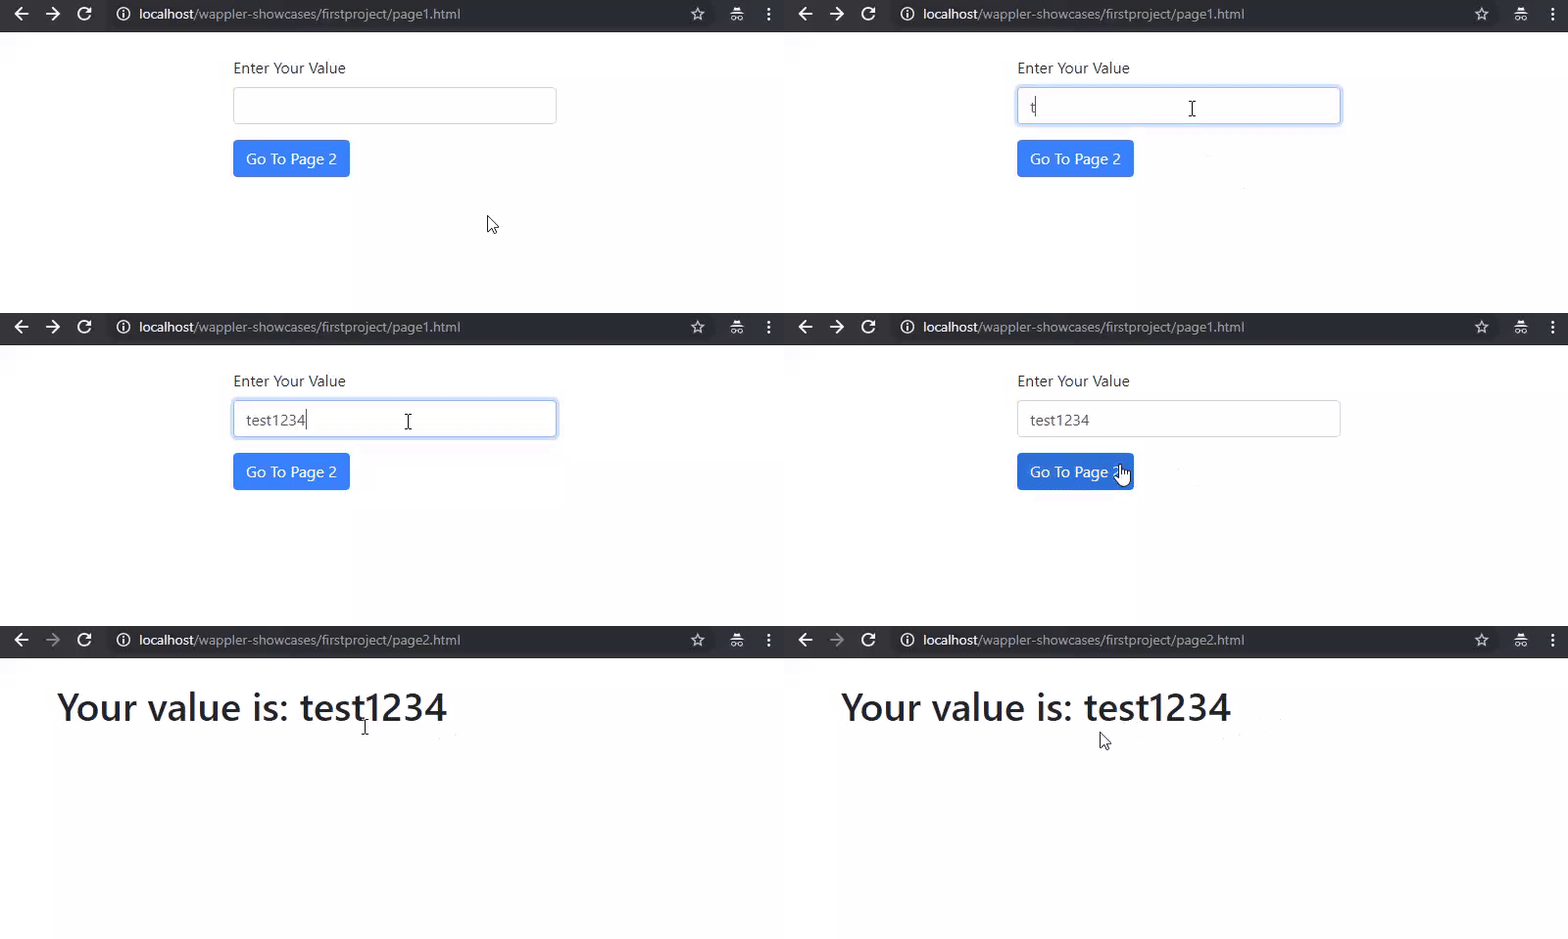
Passing Values Between your Pages
Sometimes you need to pass values between different pages of your site. You can easily do this in Wappler using the State Management Component. There are several ways of doing this - for example using
Step 1
Section titled “Step 1”Sometimes you need to pass values between different pages of your site. You can easily do this in Wappler using the State Management Component.
There are several ways of doing this - for example using a cookie or a session, but in this tutorial we will show you how to pass a form input value, to another page, using a session.
Note: the same goes for any other value and not only for for inputs.
We prepared 2 really simple HTML pages - on both of them we inserted the App Connect and Bootstrap 4 Frameworks. On Page 1 we added a Bootsrap 4 container with a single column inside:
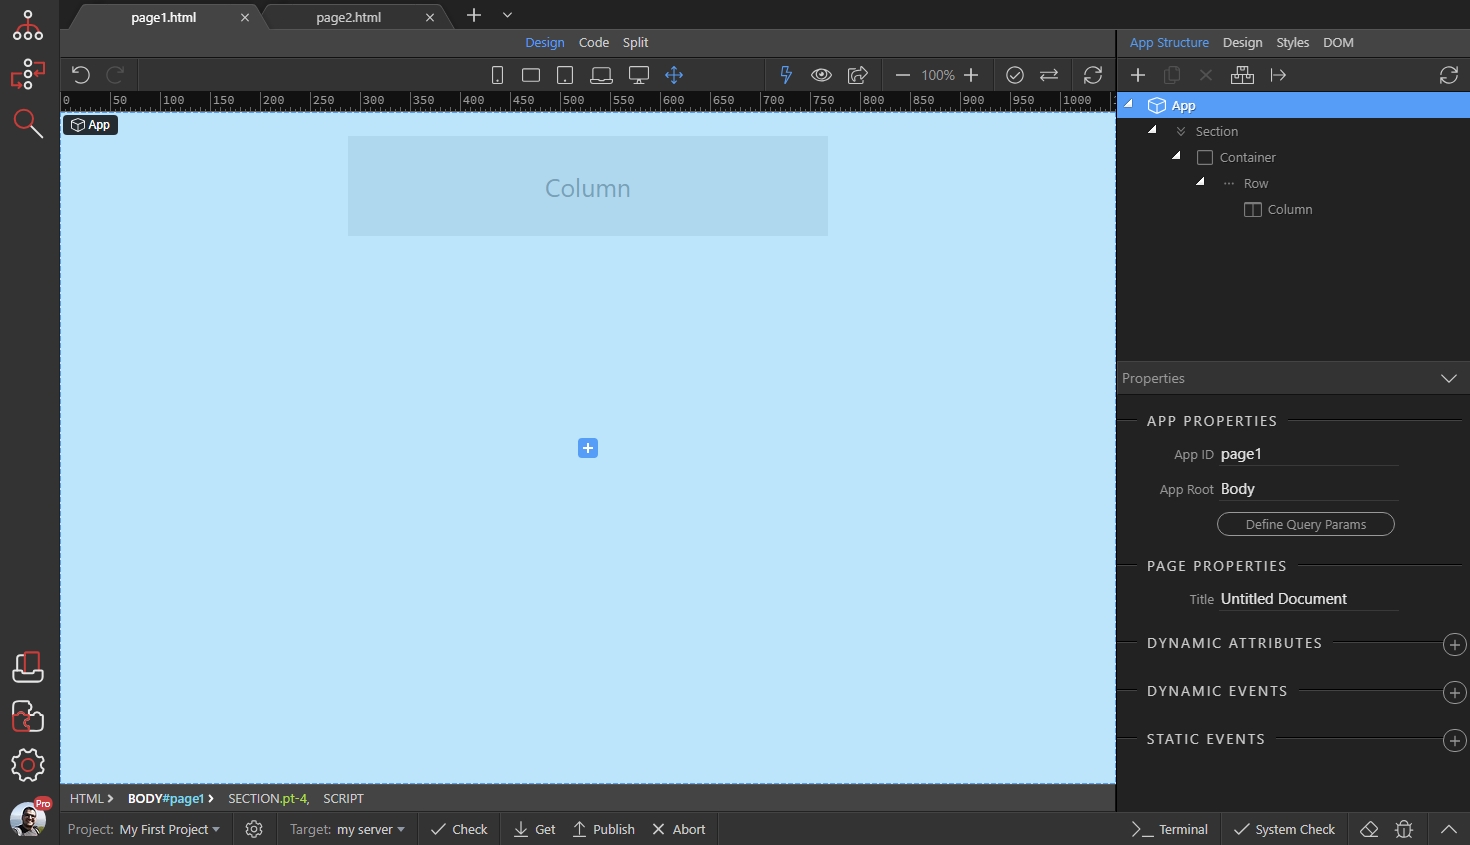
Let’s add a form input there. Click the Insert Inside button:
Section titled “Let’s add a form input there. Click the Insert Inside button:”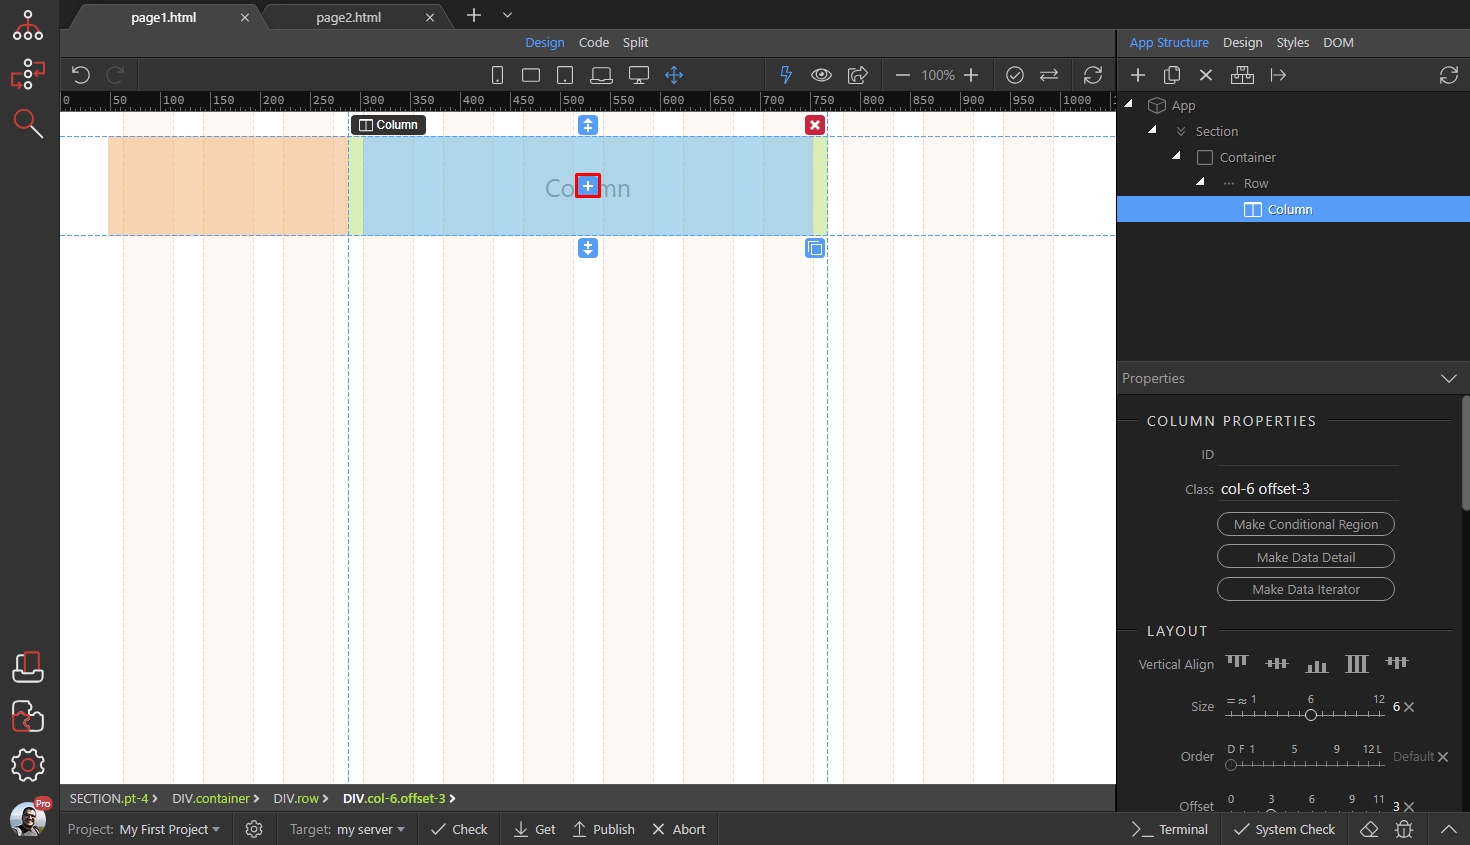
And add a form input. We select the Text Input Form Group, but you can use any other input type as well:
Section titled “And add a form input. We select the Text Input Form Group, but you can use any other input type as well:”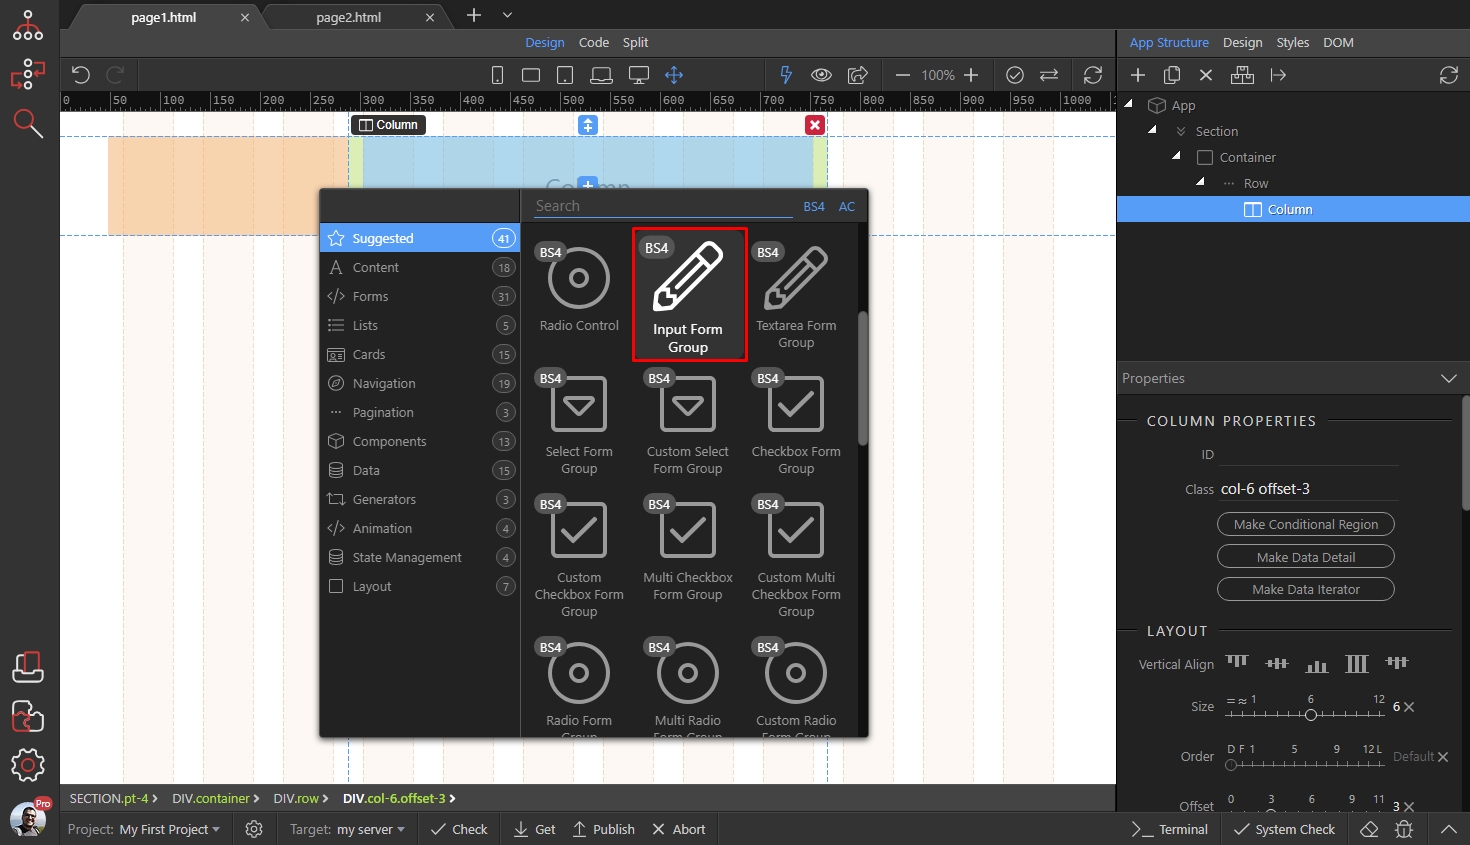
Then, click the Insert After button, to insert another element after the text input group:
Section titled “Then, click the Insert After button, to insert another element after the text input group:”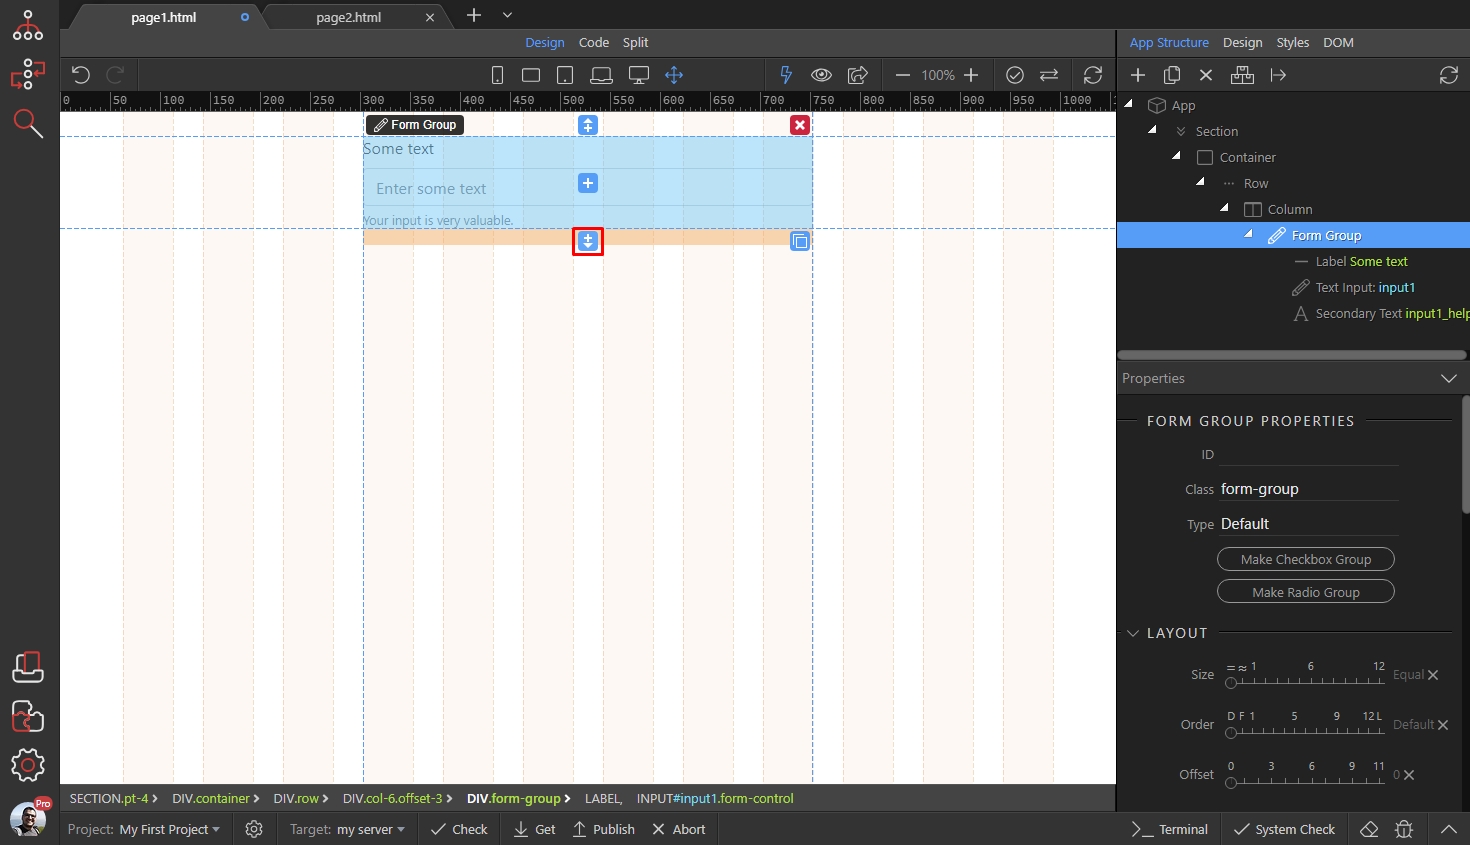
We add a Button. This button will be used to store our value in a session and send us to the next page:
Section titled “We add a Button. This button will be used to store our value in a session and send us to the next page:”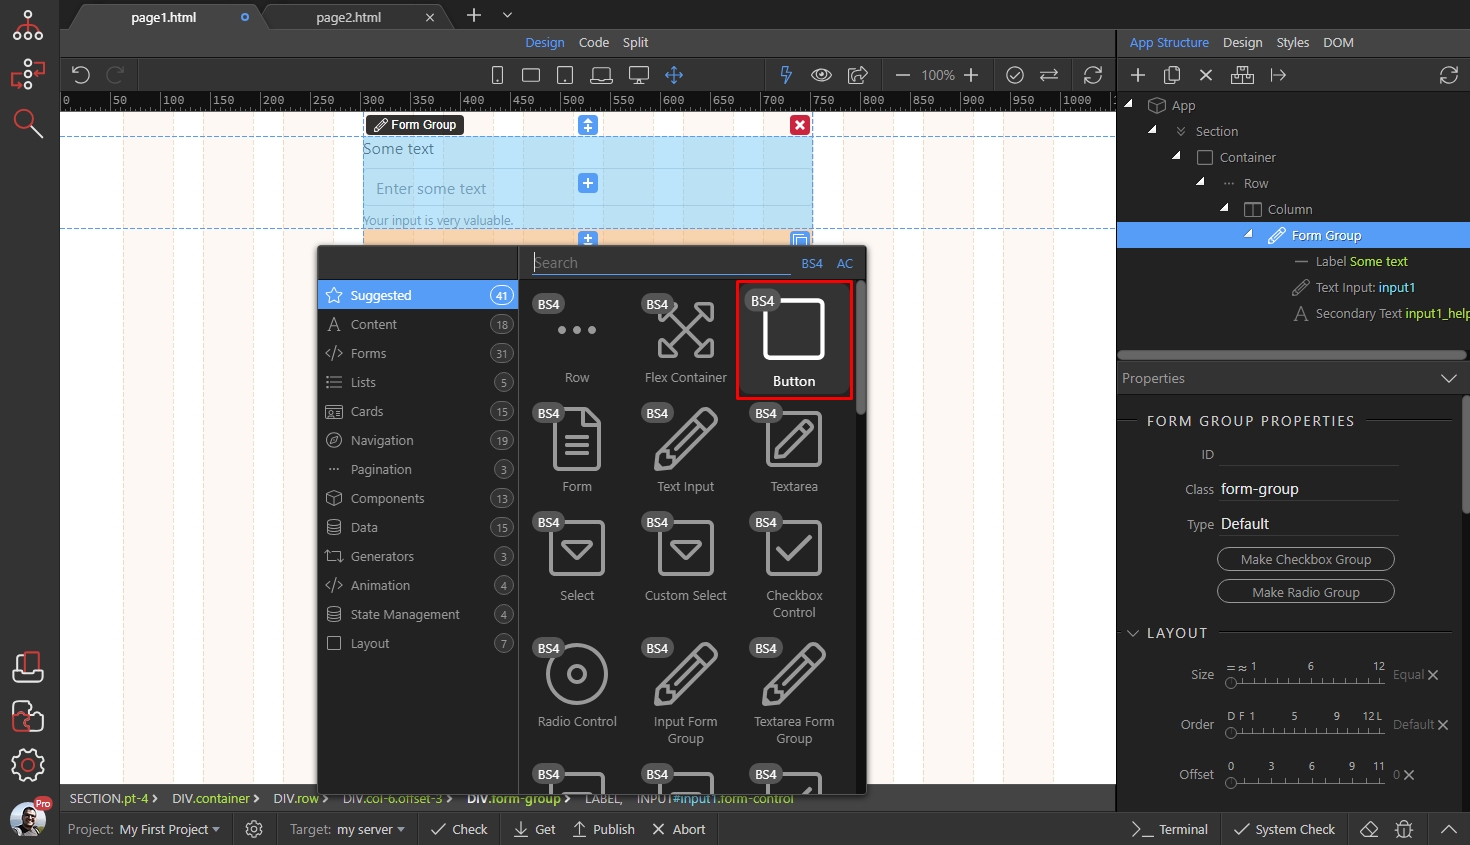
Make sure the button type in the properties panel is set to button:
Section titled “Make sure the button type in the properties panel is set to button:”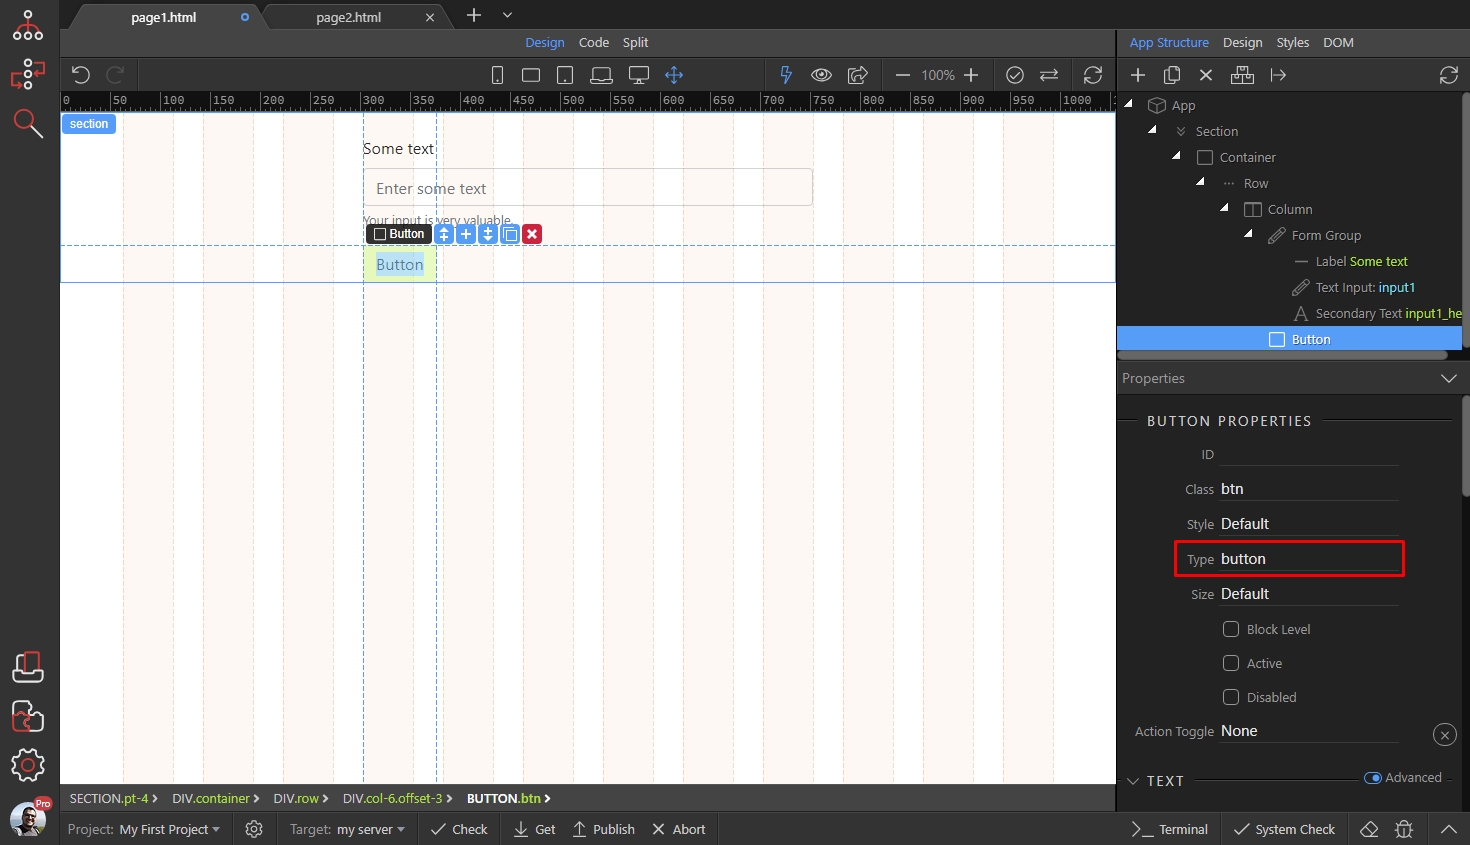
Customize the look and feel of the form input and the button as you like:
Section titled “Customize the look and feel of the form input and the button as you like:”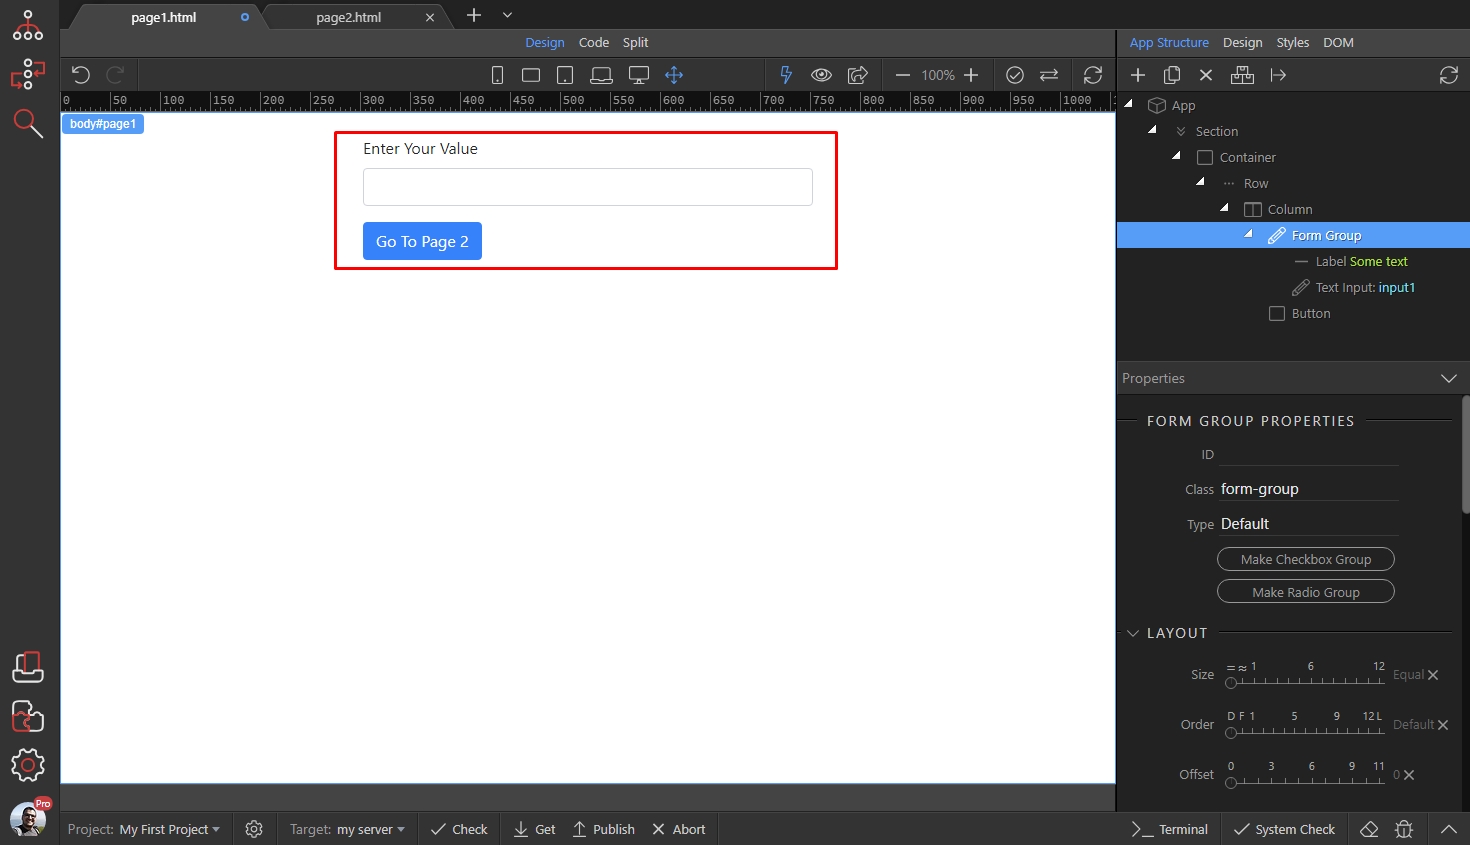
When you are done customizing them, select App and Add New Component:
Section titled “When you are done customizing them, select App and Add New Component:”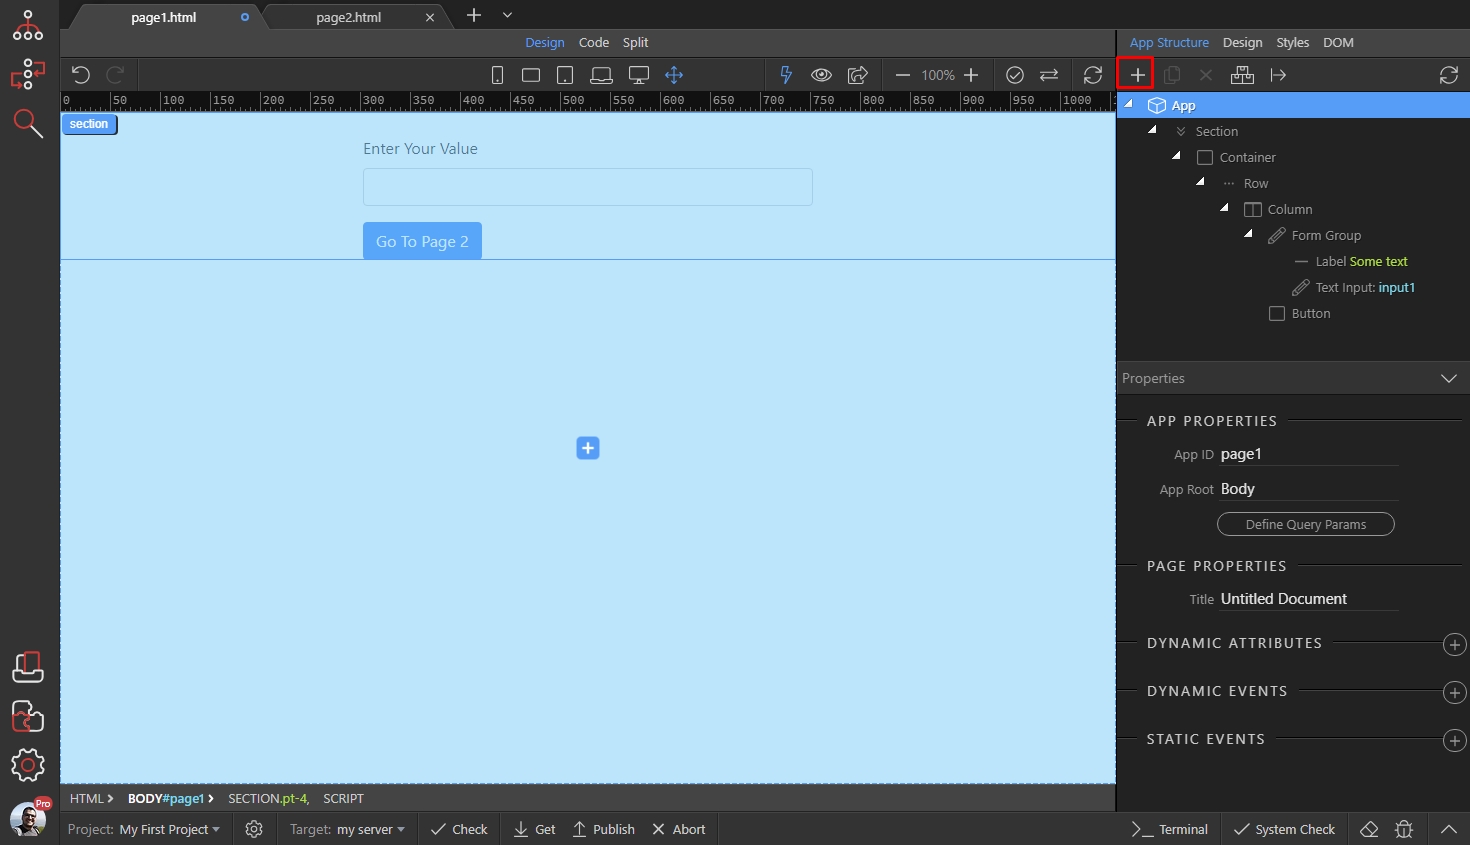
Open the State Management category and select Session Storage Manager:
Section titled “Open the State Management category and select Session Storage Manager:”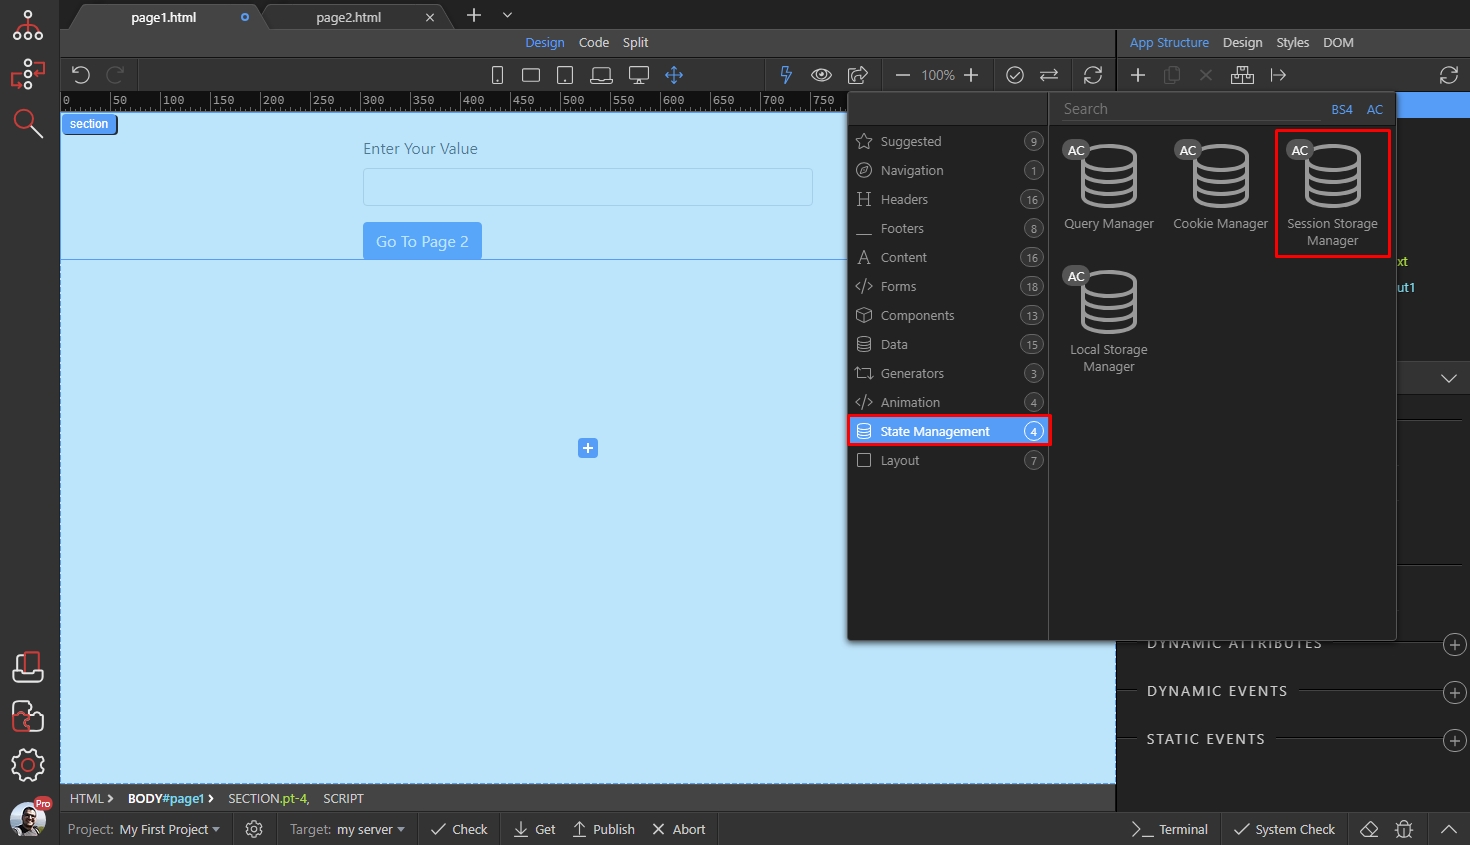
Then click the Define Session Storage Items button:
Section titled “Then click the Define Session Storage Items button:”
Click the Add New button:
Section titled “Click the Add New button:”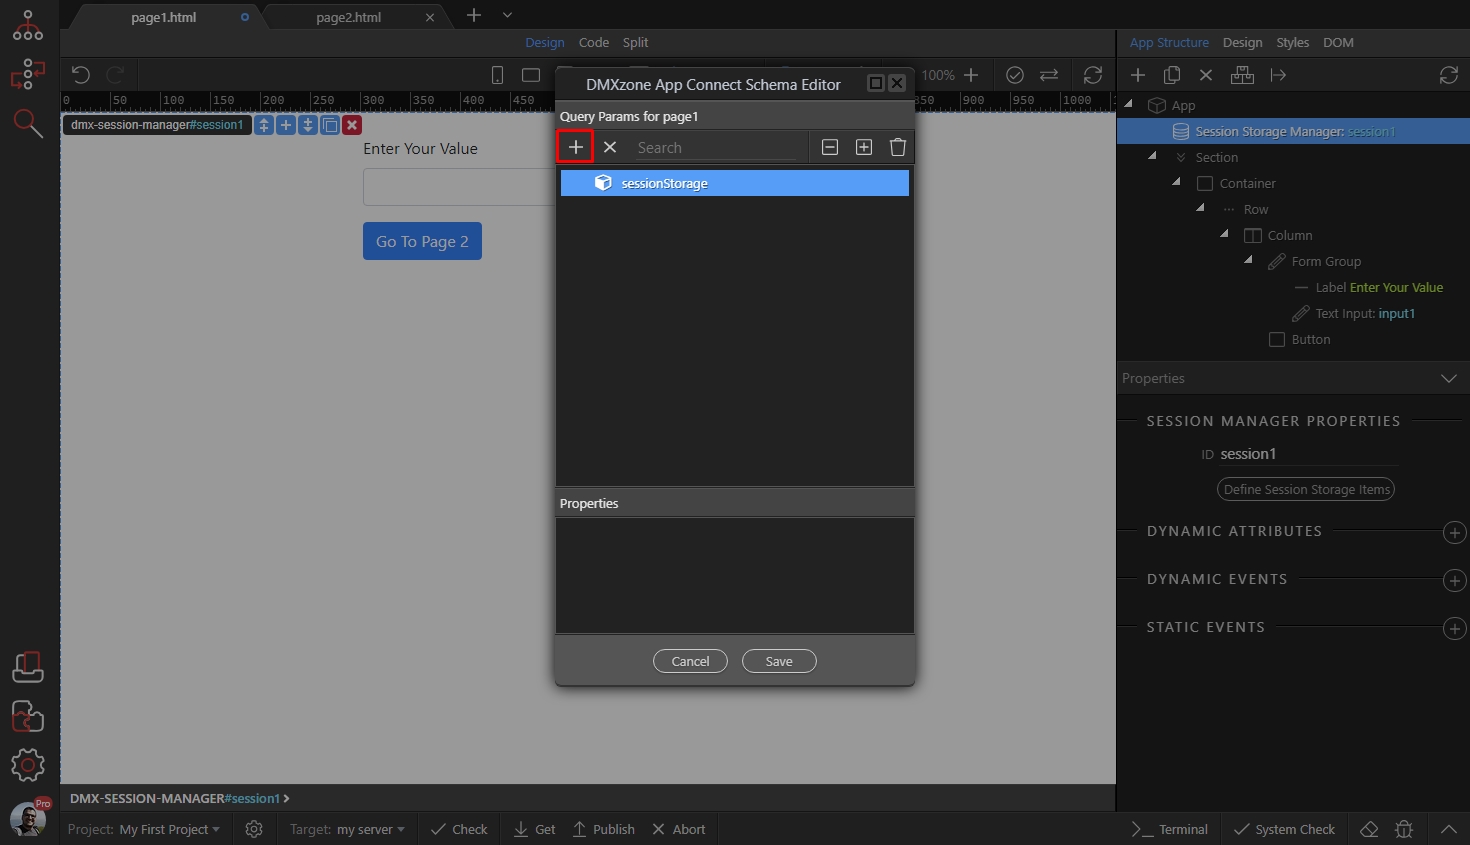
And new variable. This is the variable which we are going to use to store the form input value:
Section titled “And new variable. This is the variable which we are going to use to store the form input value:”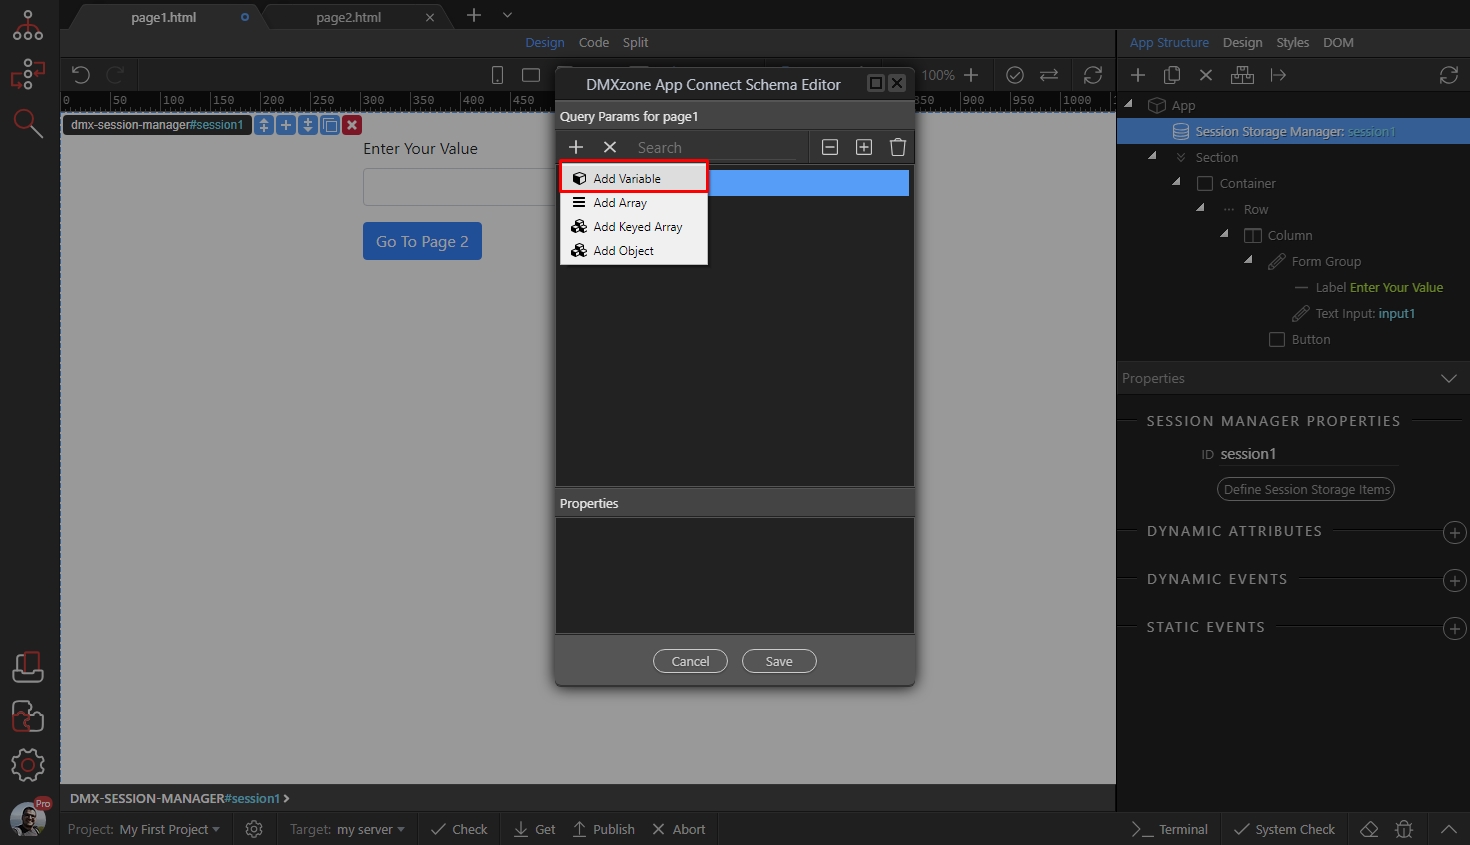
Give it a name and click the Save button, we call it: myvalue:
Section titled “Give it a name and click the Save button, we call it: myvalue:”
Then, click the Add New Component button:
Section titled “Then, click the Add New Component button:”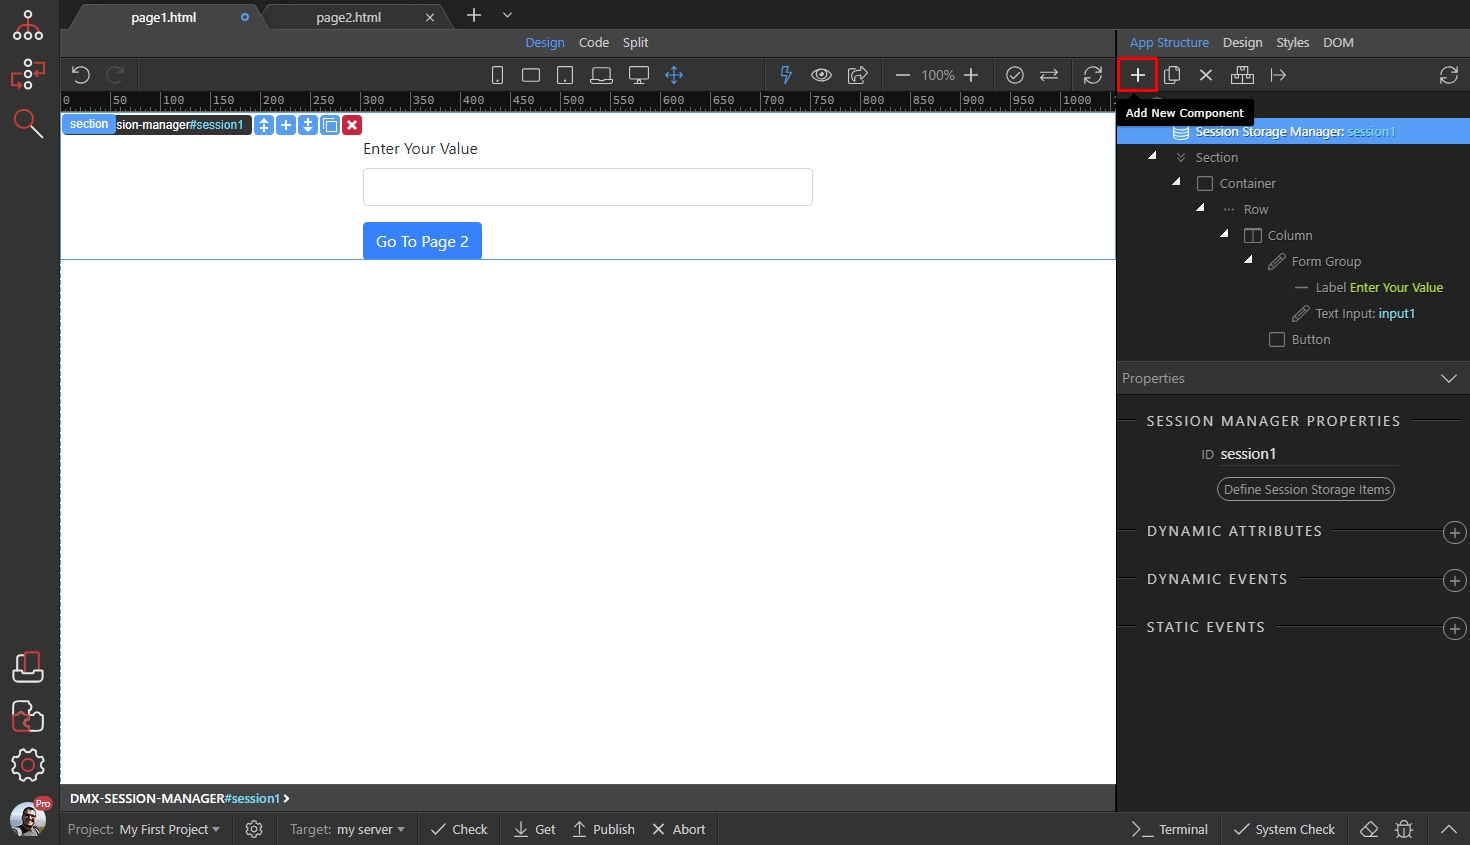
Step 15
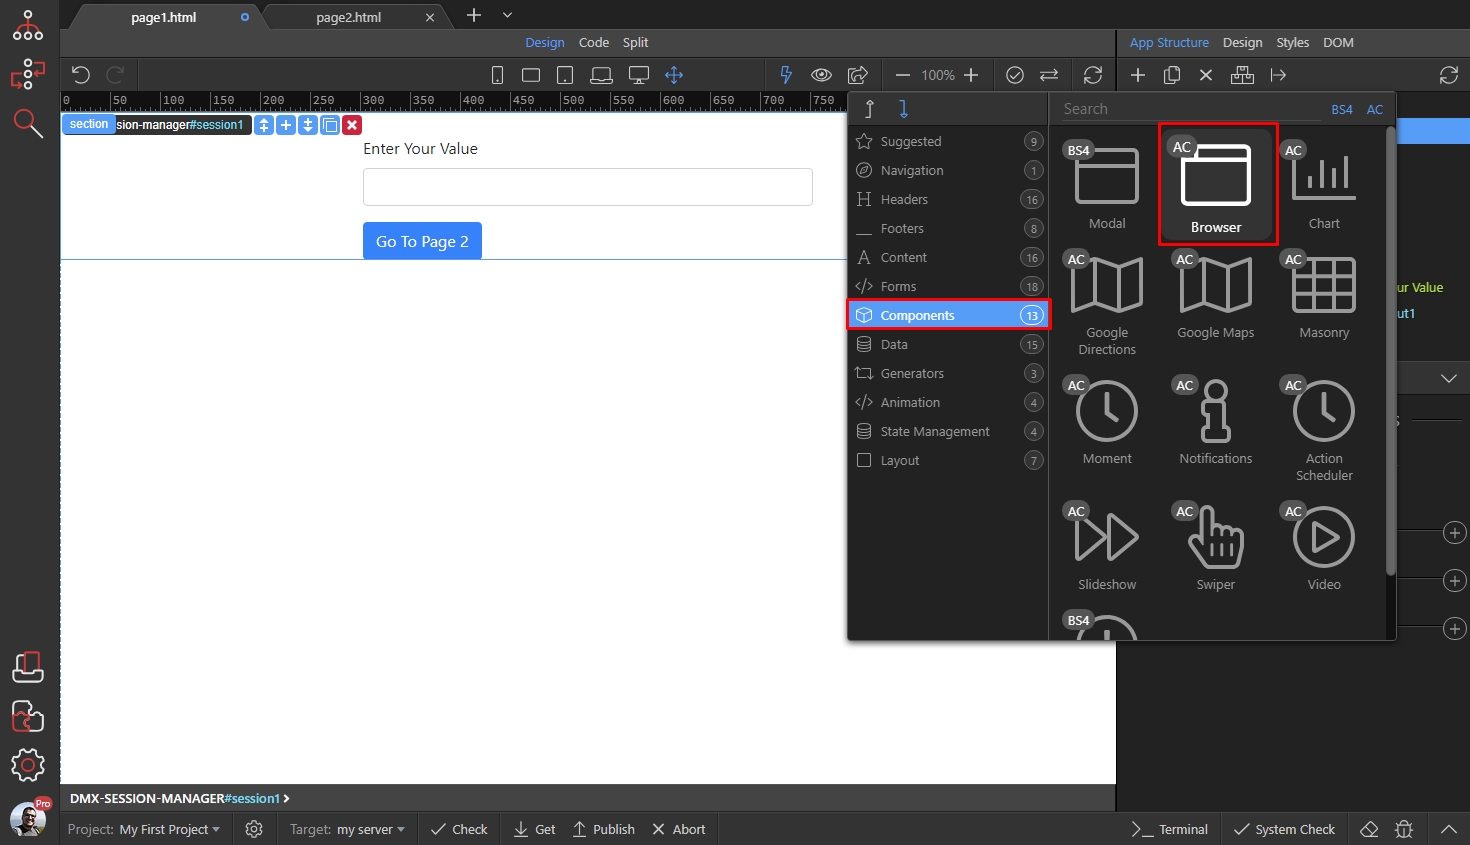
Section titled “Step 15”Open the Components category and select the Browser Component. This component is used for redirects between pages:
Step 16
Section titled “Step 16”Now, as we defined the Session variable, we need to make the button store the text input value in it. Select your button:
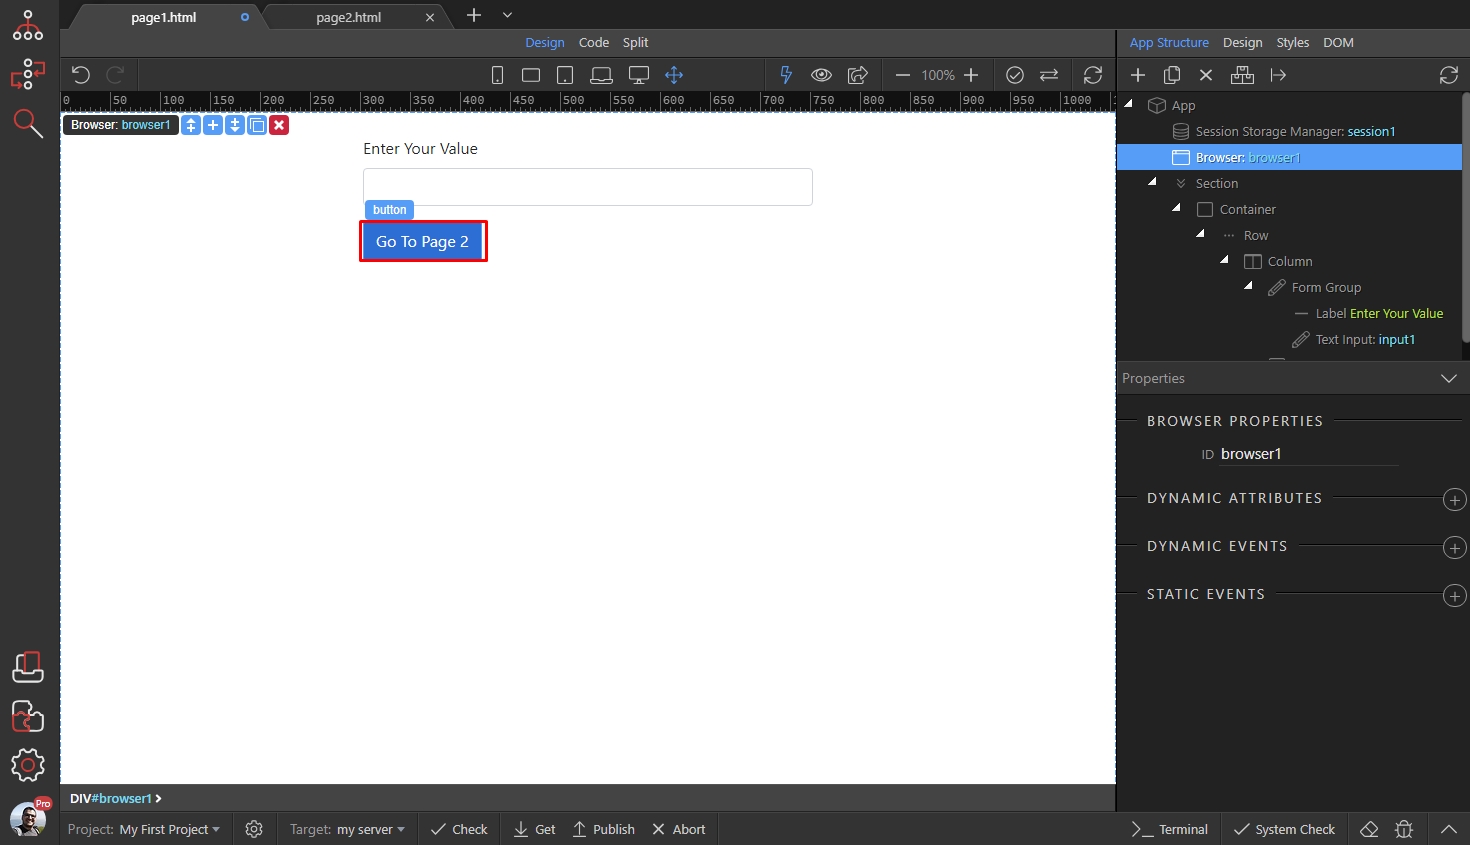
Then in the properties panel, scroll down to Dynamic Events and click the Add New button:
Section titled “Then in the properties panel, scroll down to Dynamic Events and click the Add New button:”
Select Mouse and then on Click:
Section titled “Select Mouse and then on Click:”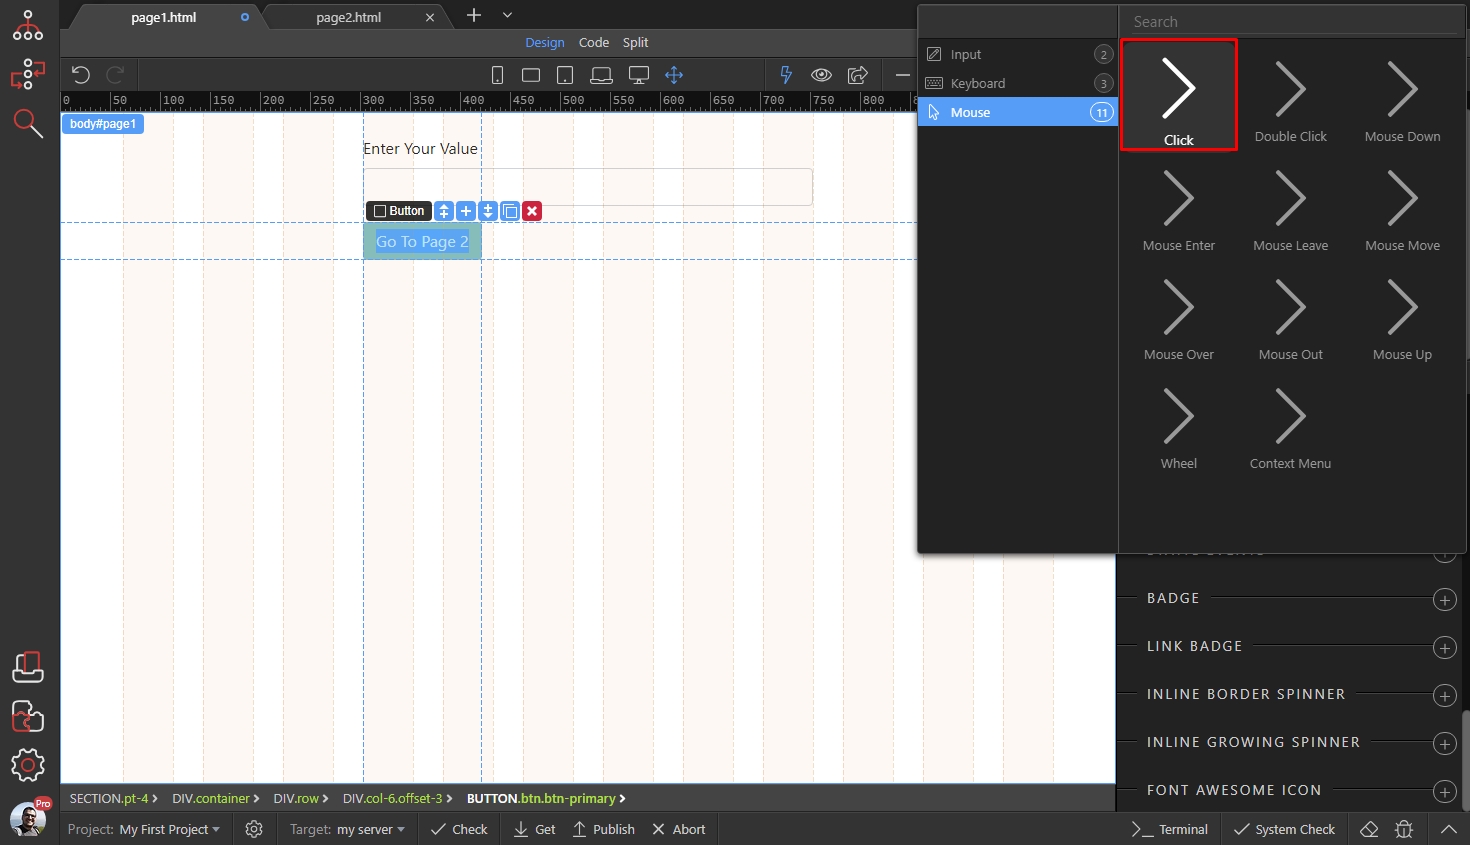
Then, click the dynamic action picker to select what happens on click:
Section titled “Then, click the dynamic action picker to select what happens on click:”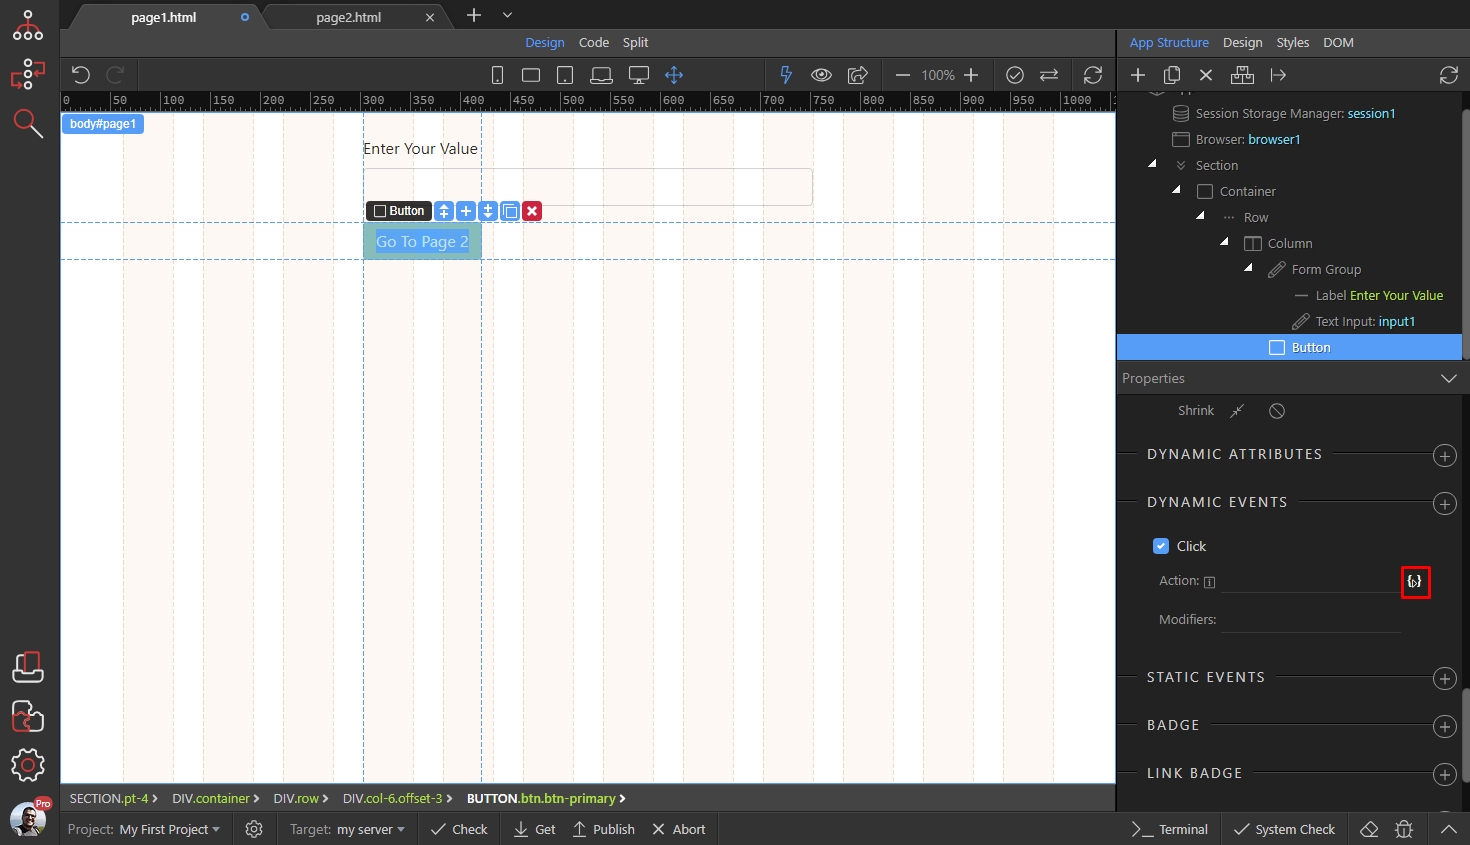
Step 20
Section titled “Step 20”On click we need to store the input value in the session variable and then redirect to the next page. So under Session Manager select Set and click the Add button:
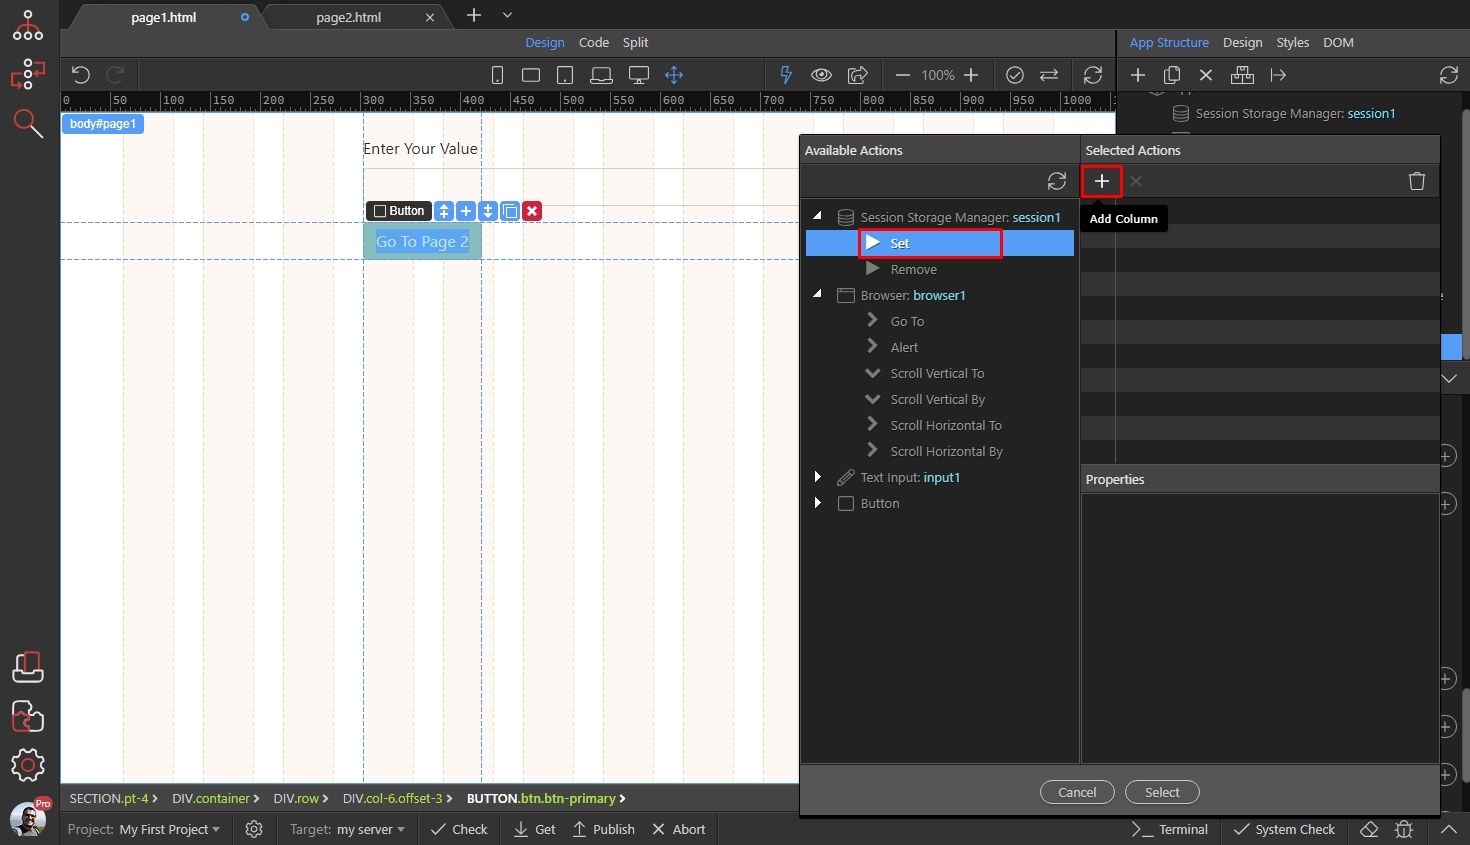
Select the Name of your Session Variable from the Name dropdown:
Section titled “Select the Name of your Session Variable from the Name dropdown:”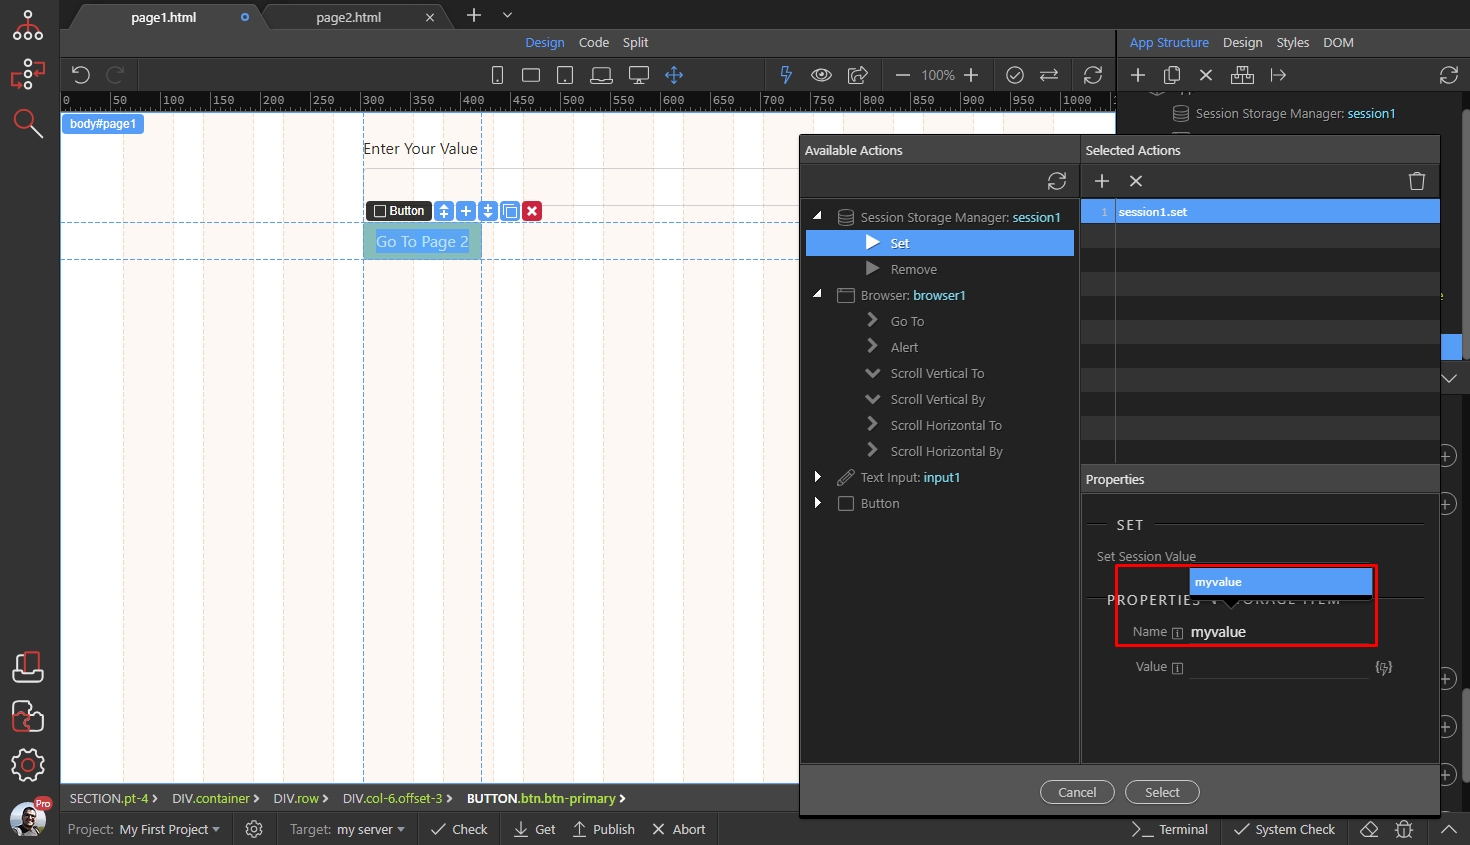
And click the dynamic data picker to select its value:
Section titled “And click the dynamic data picker to select its value:”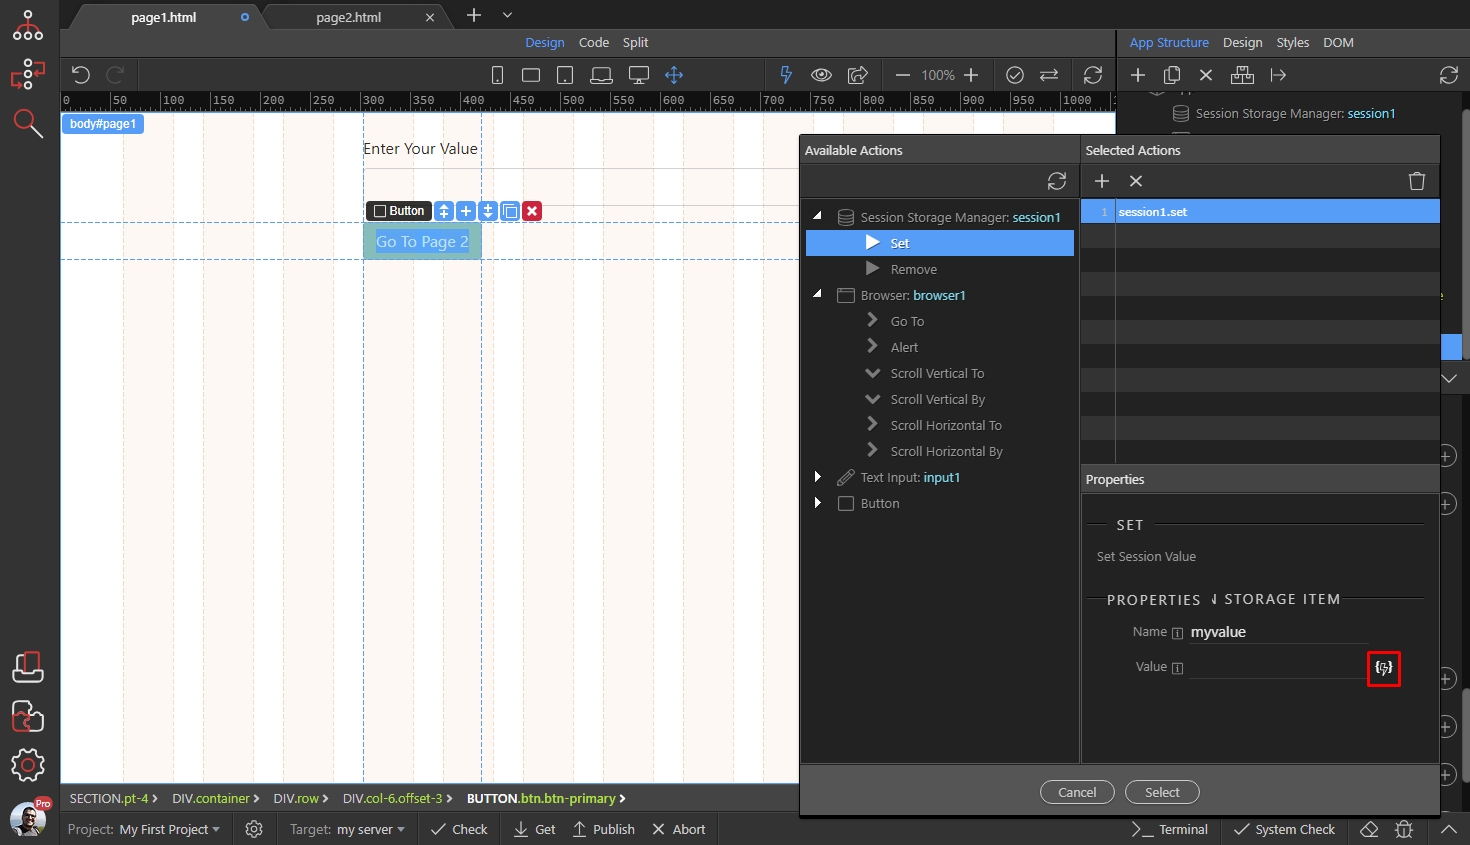
Under the Text Input, select value:
Section titled “Under the Text Input, select value:”
Now the input value will be set as value for our session variable:
Section titled “Now the input value will be set as value for our session variable:”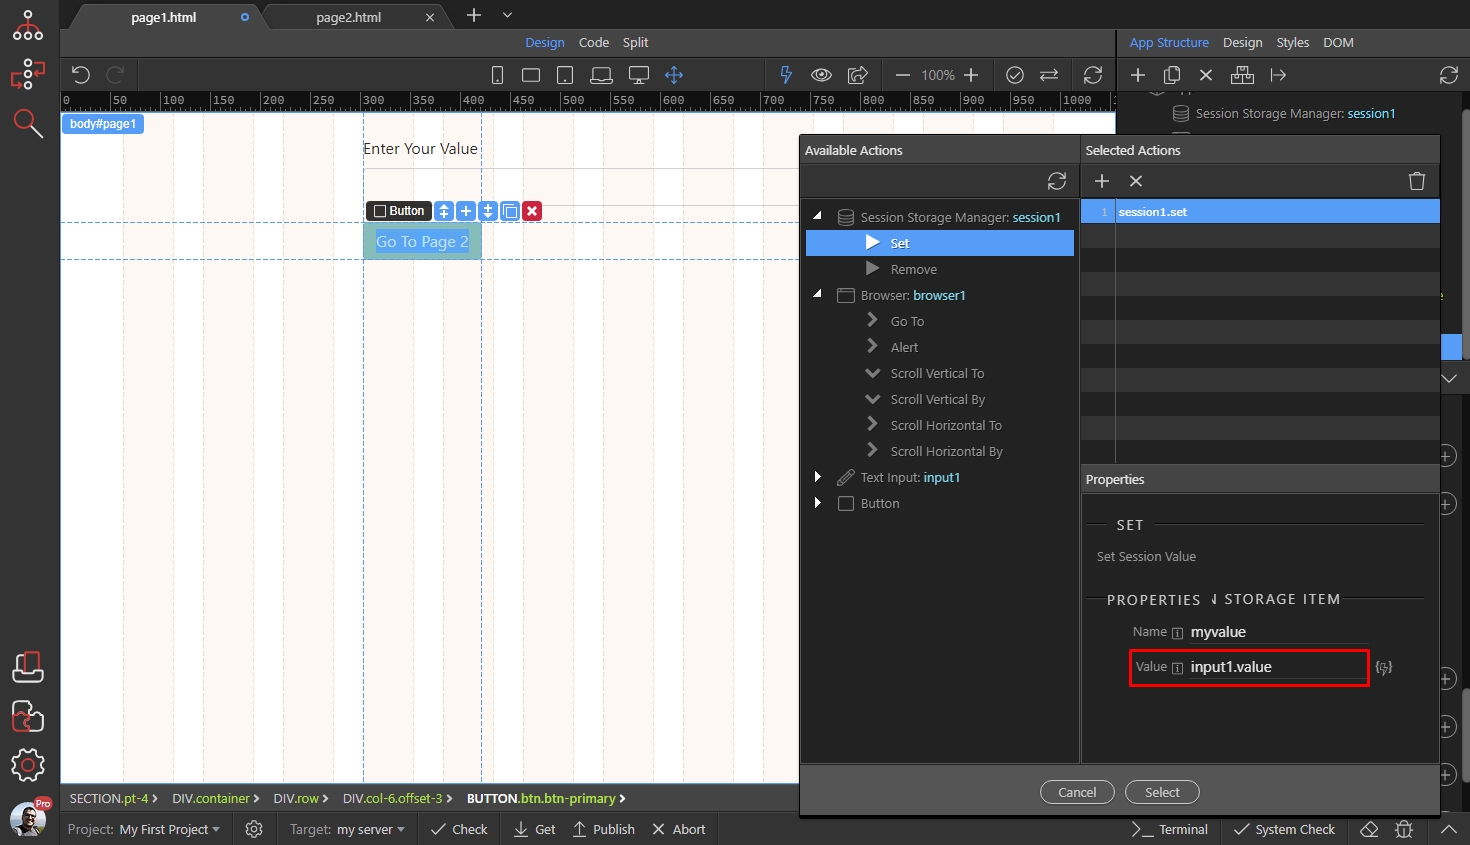
Step 25
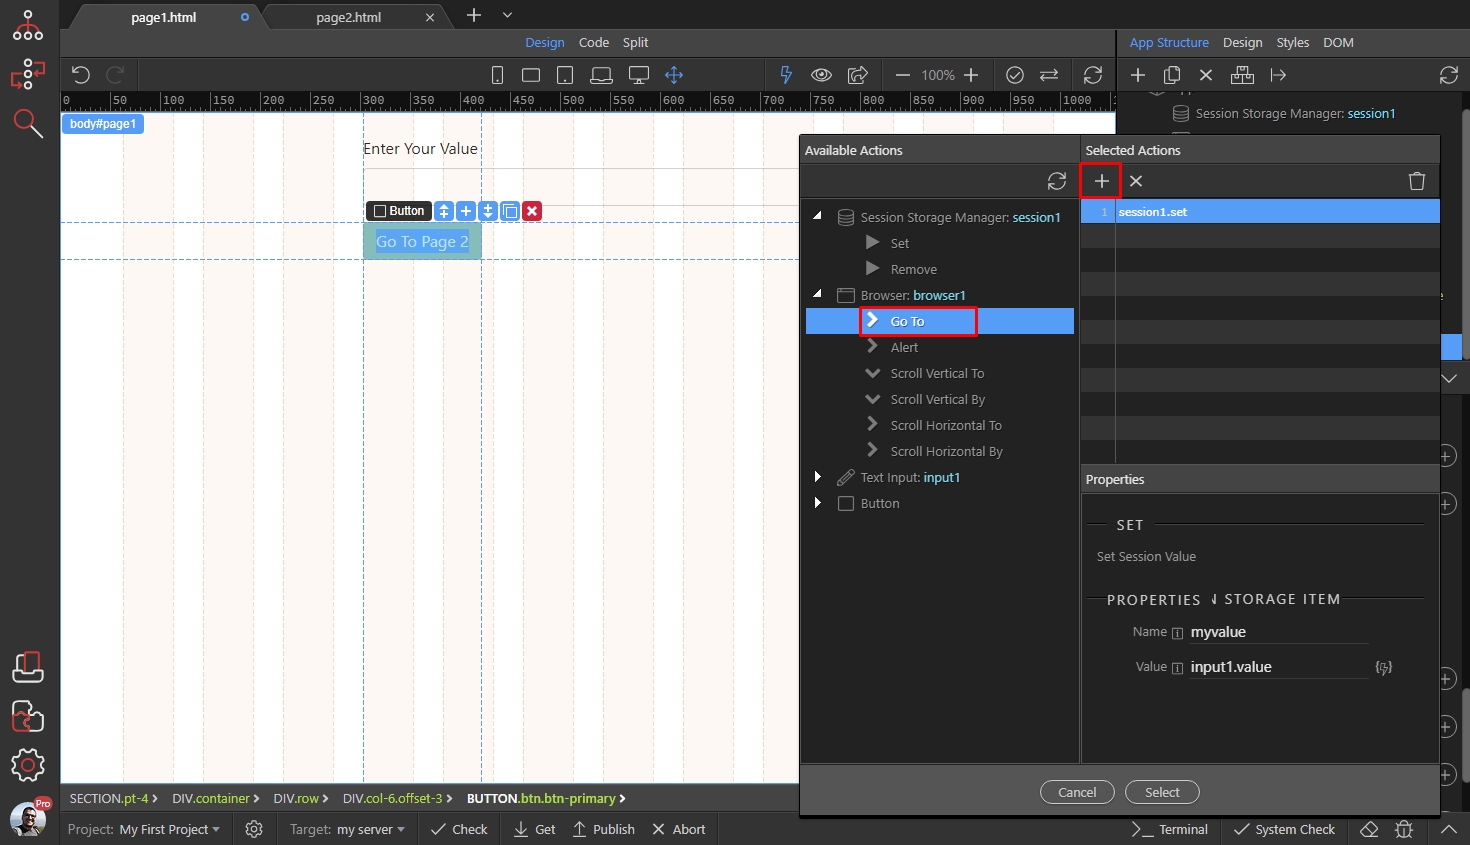
Section titled “Step 25”In order to redirect to the next page we need to select the Go To action, under the Browser component and then click the Add button:
Step 26
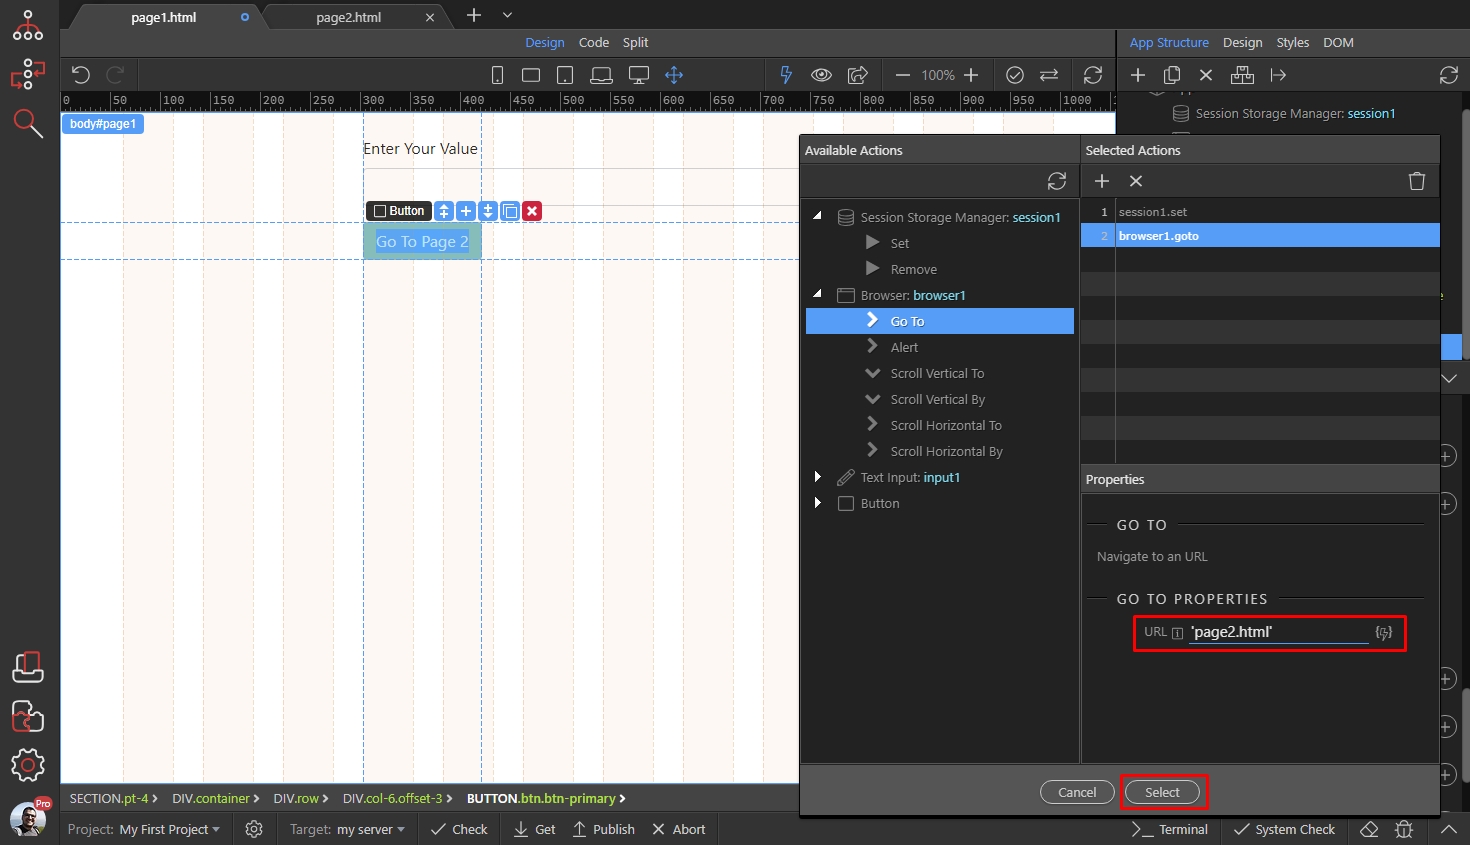
Section titled “Step 26”Enter the URL to redirect to. NOTE that it needs to be wrapped in single quotes: 'page2.html' if you enter it manually:
Step 27
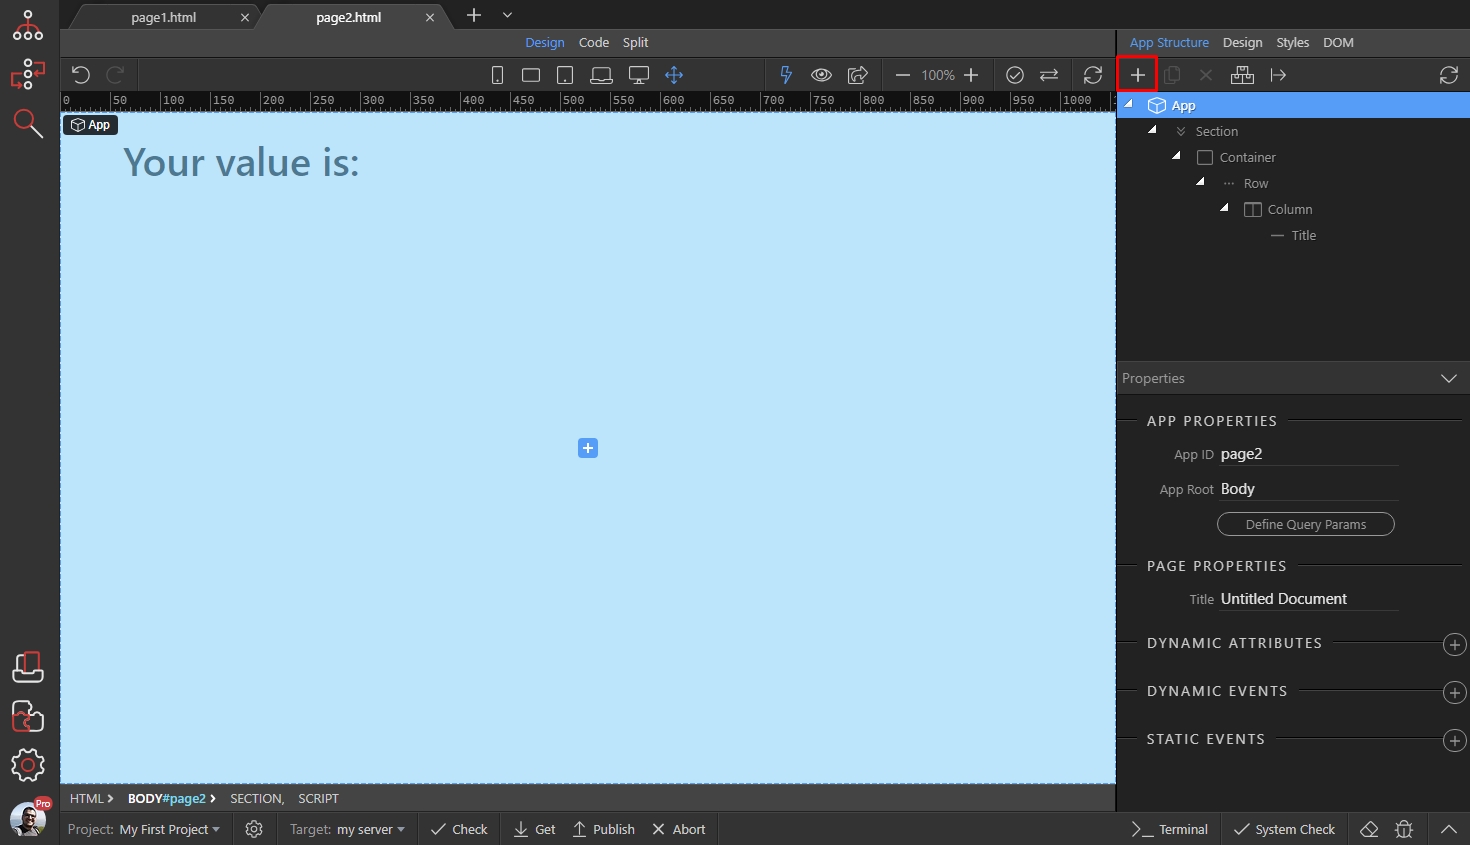
Section titled “Step 27”Save page 1 and open your page 2. Our page 2 contains only a title and that’s where we are going to show the Session Variable value.
In order to be able to access the Session Variable, you need to add the Session Storage Manager here as well. So select App and then click the Add New Component button:
Open State Management and select Session Storage Manager:
Section titled “Open State Management and select Session Storage Manager:”
Then click the Define button:
Section titled “Then click the Define button:”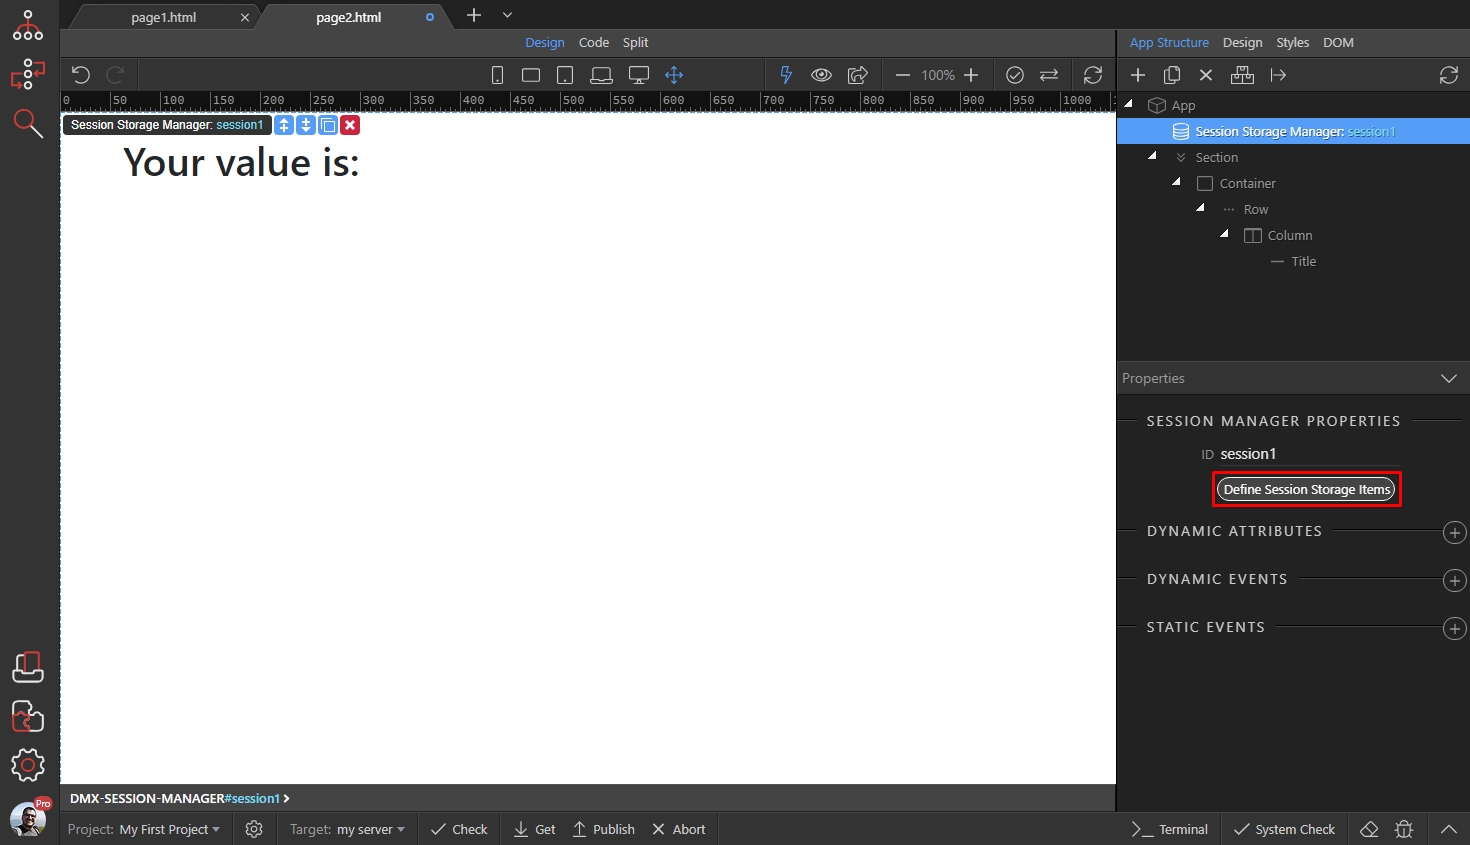
Add new variable:
Section titled “Add new variable:”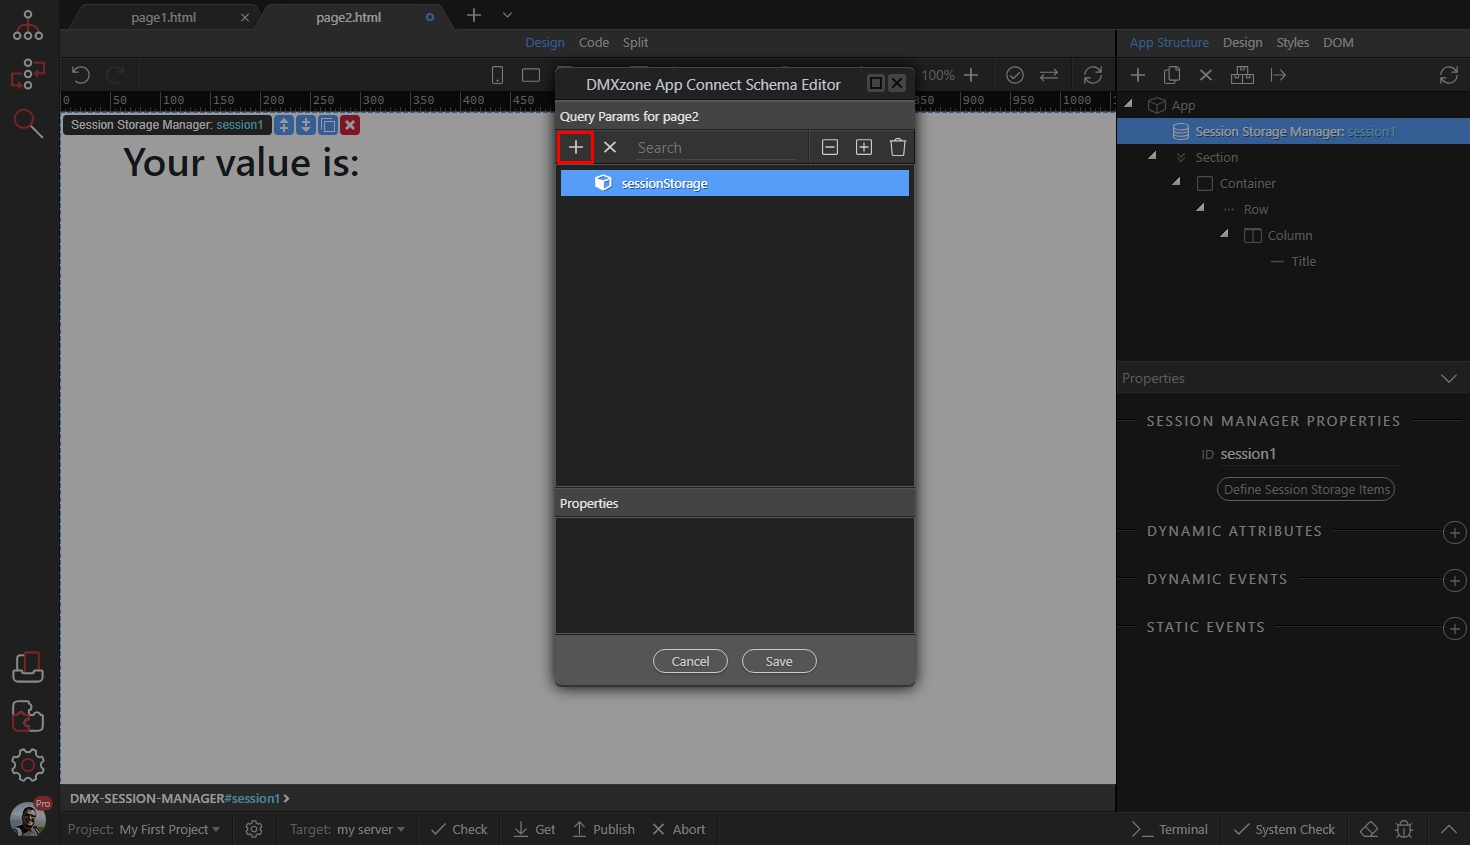
And call it the same way as the Session Variable we defined on page 1:
Section titled “And call it the same way as the Session Variable we defined on page 1:”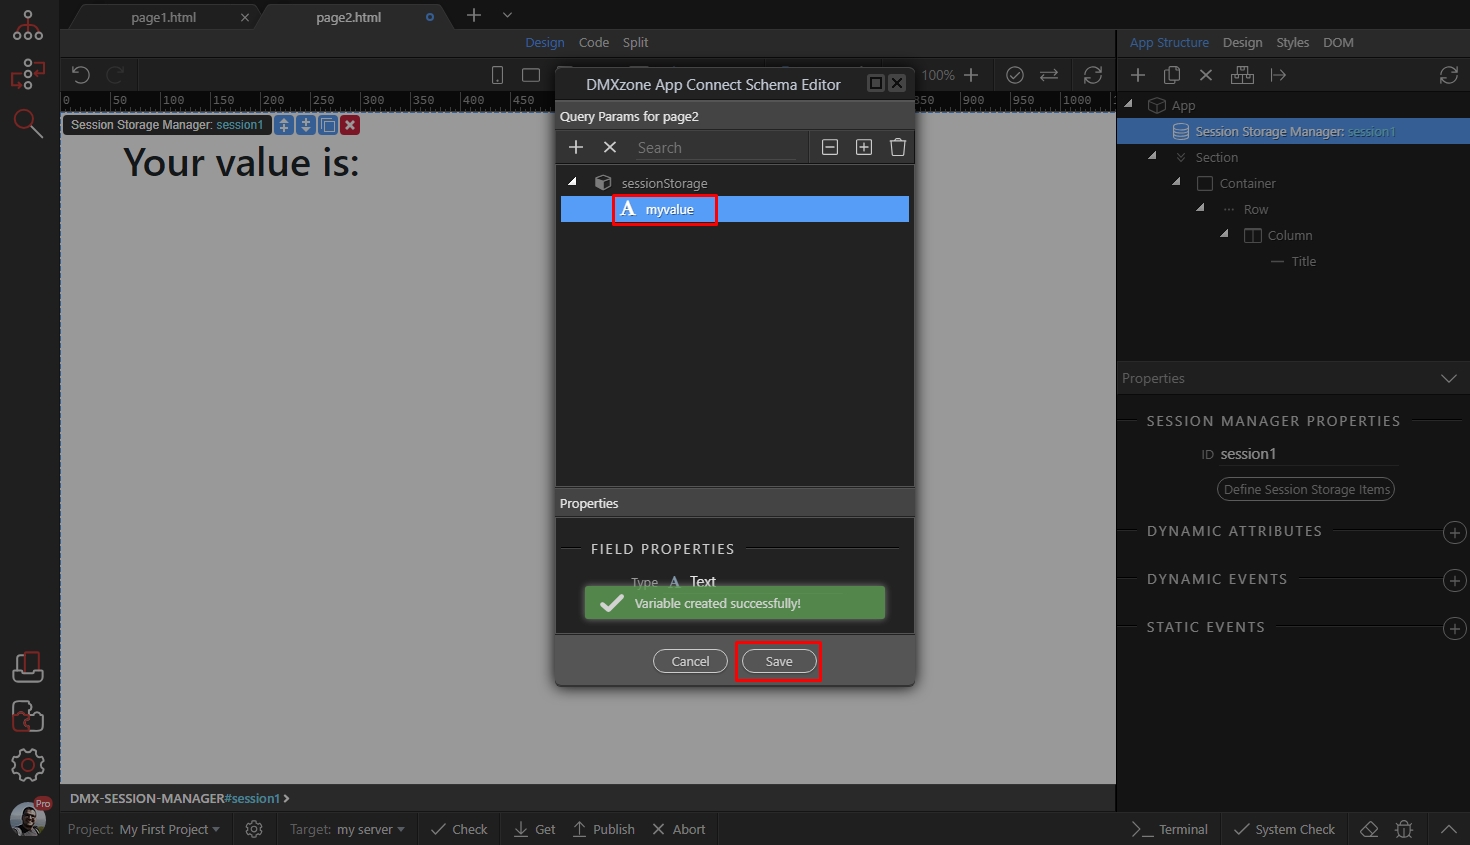
Step 32
Section titled “Step 32”Now, your session variable is available in the Dynamic Data Picker everywhere on your page. In our example we will just bind it in the title. So we double click the title to enter the Edit mode, and then we select the dynamic data button in the inline toolbar:
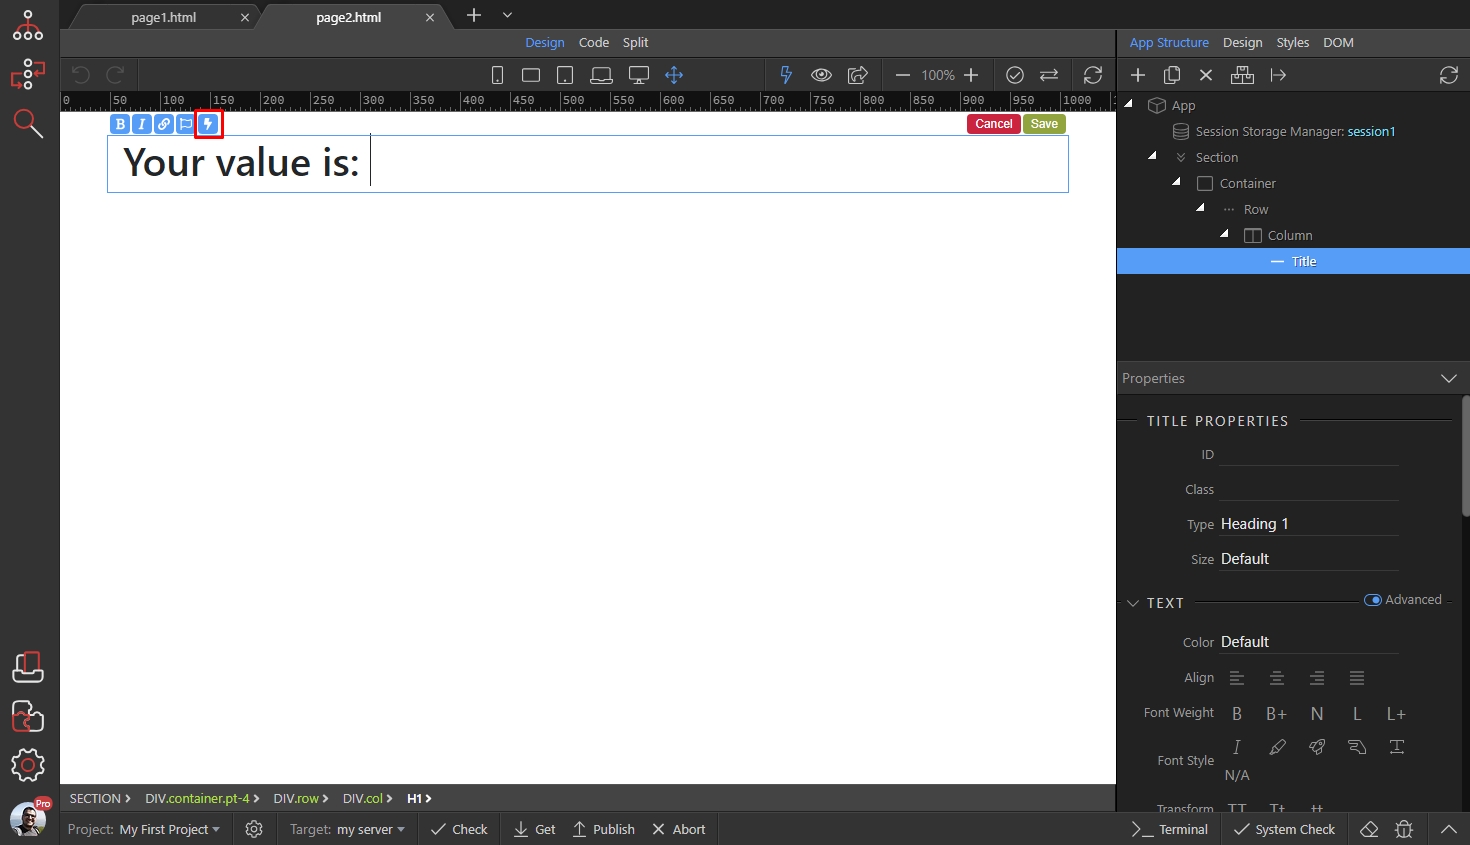
Step 33
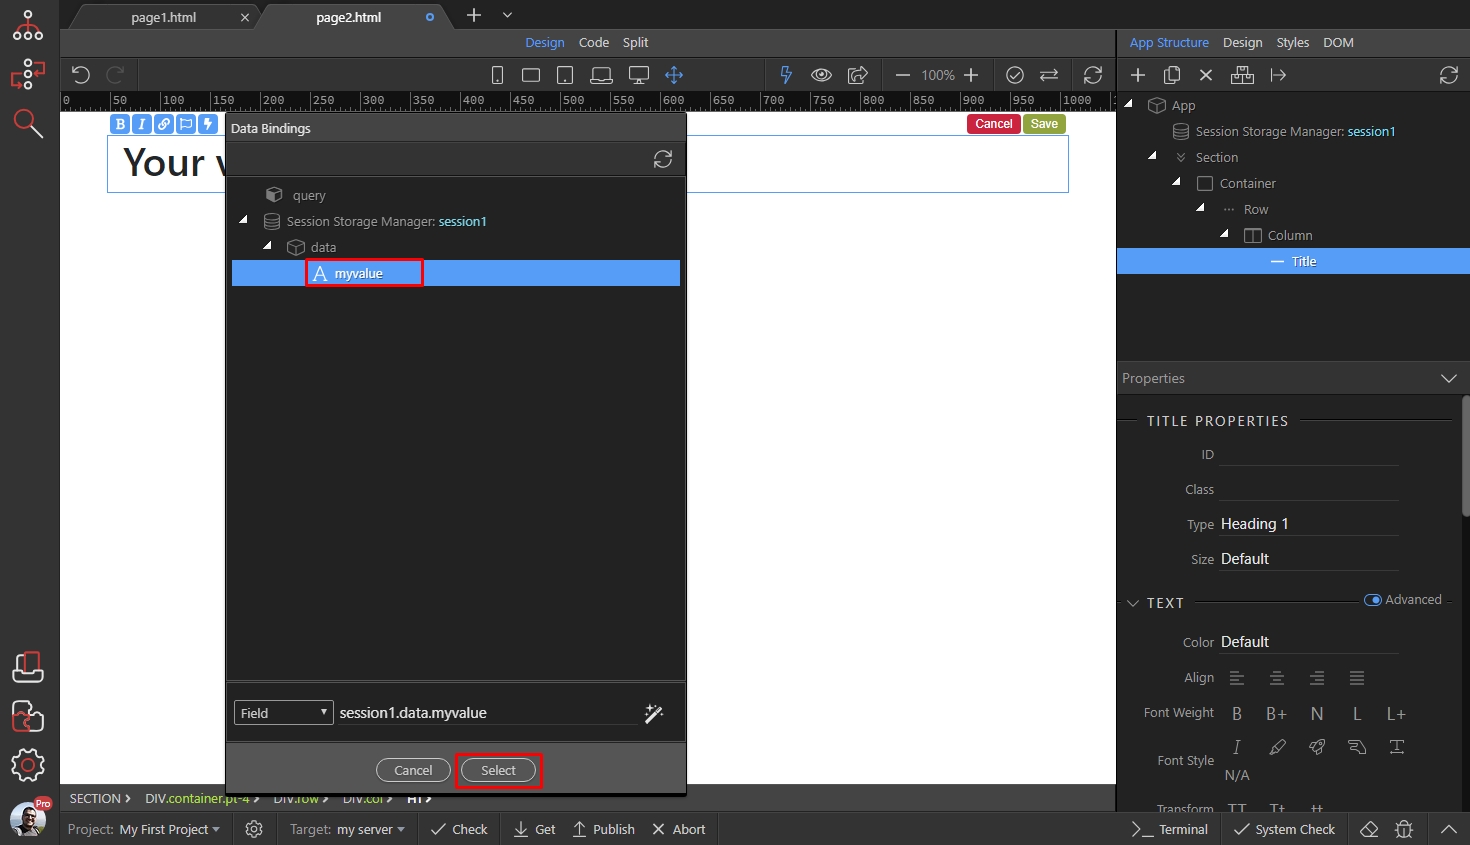
Section titled “Step 33”Your Session Variable is available under the Session Storage Manager in the dynamic data picker. Select it and click the select button:
Save your changes, and save your page:
Section titled “Save your changes, and save your page:”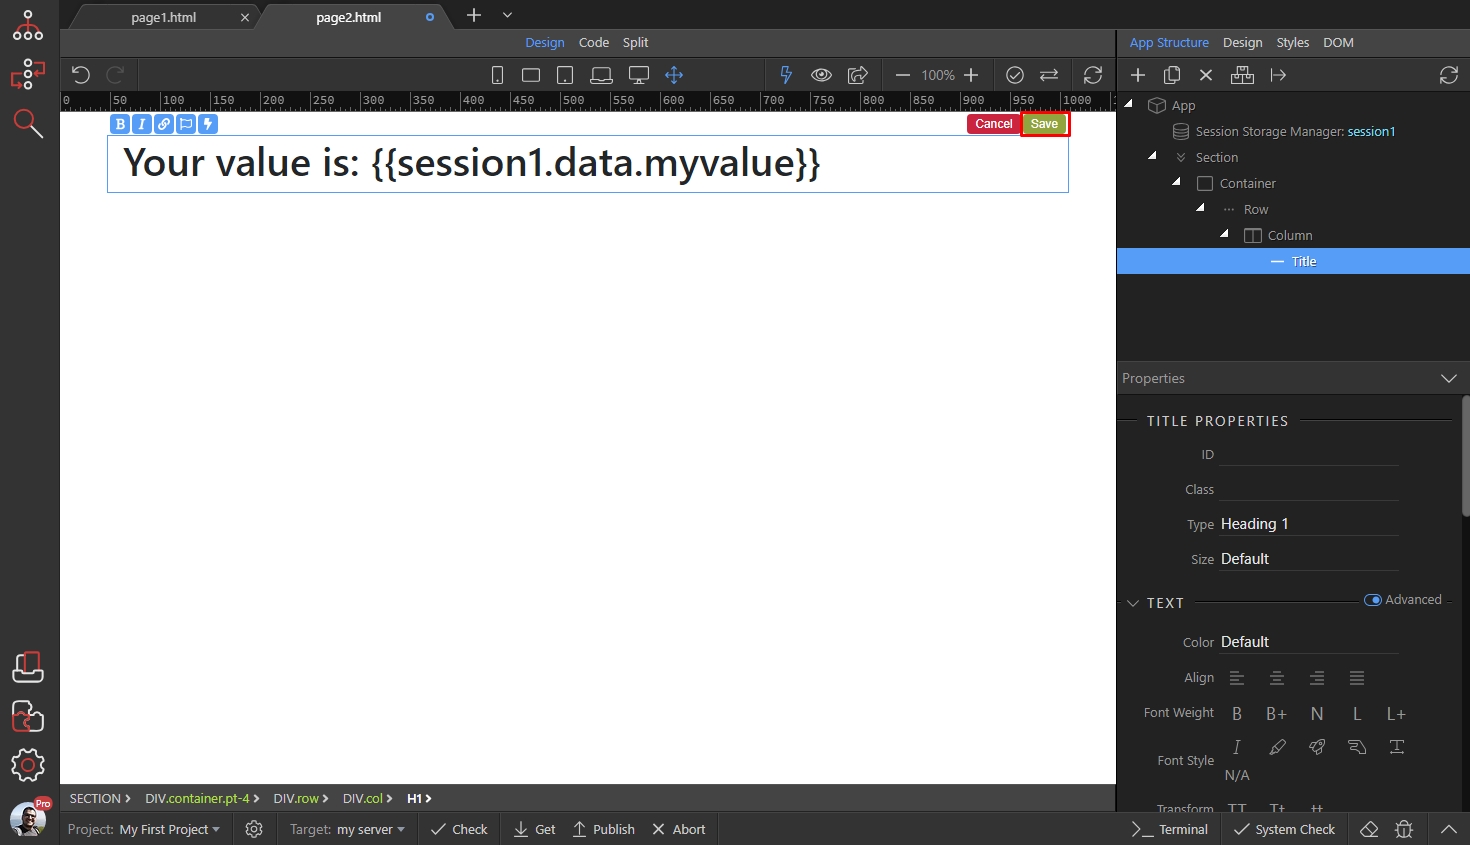
Here’s the result:
Section titled “Here’s the result:”