Image-first workflow
You add the behavior to the image itself through Dynamic Attributes.
Use Image Parallax as a restrained depth cue on real page imagery without letting the effect overpower the content.
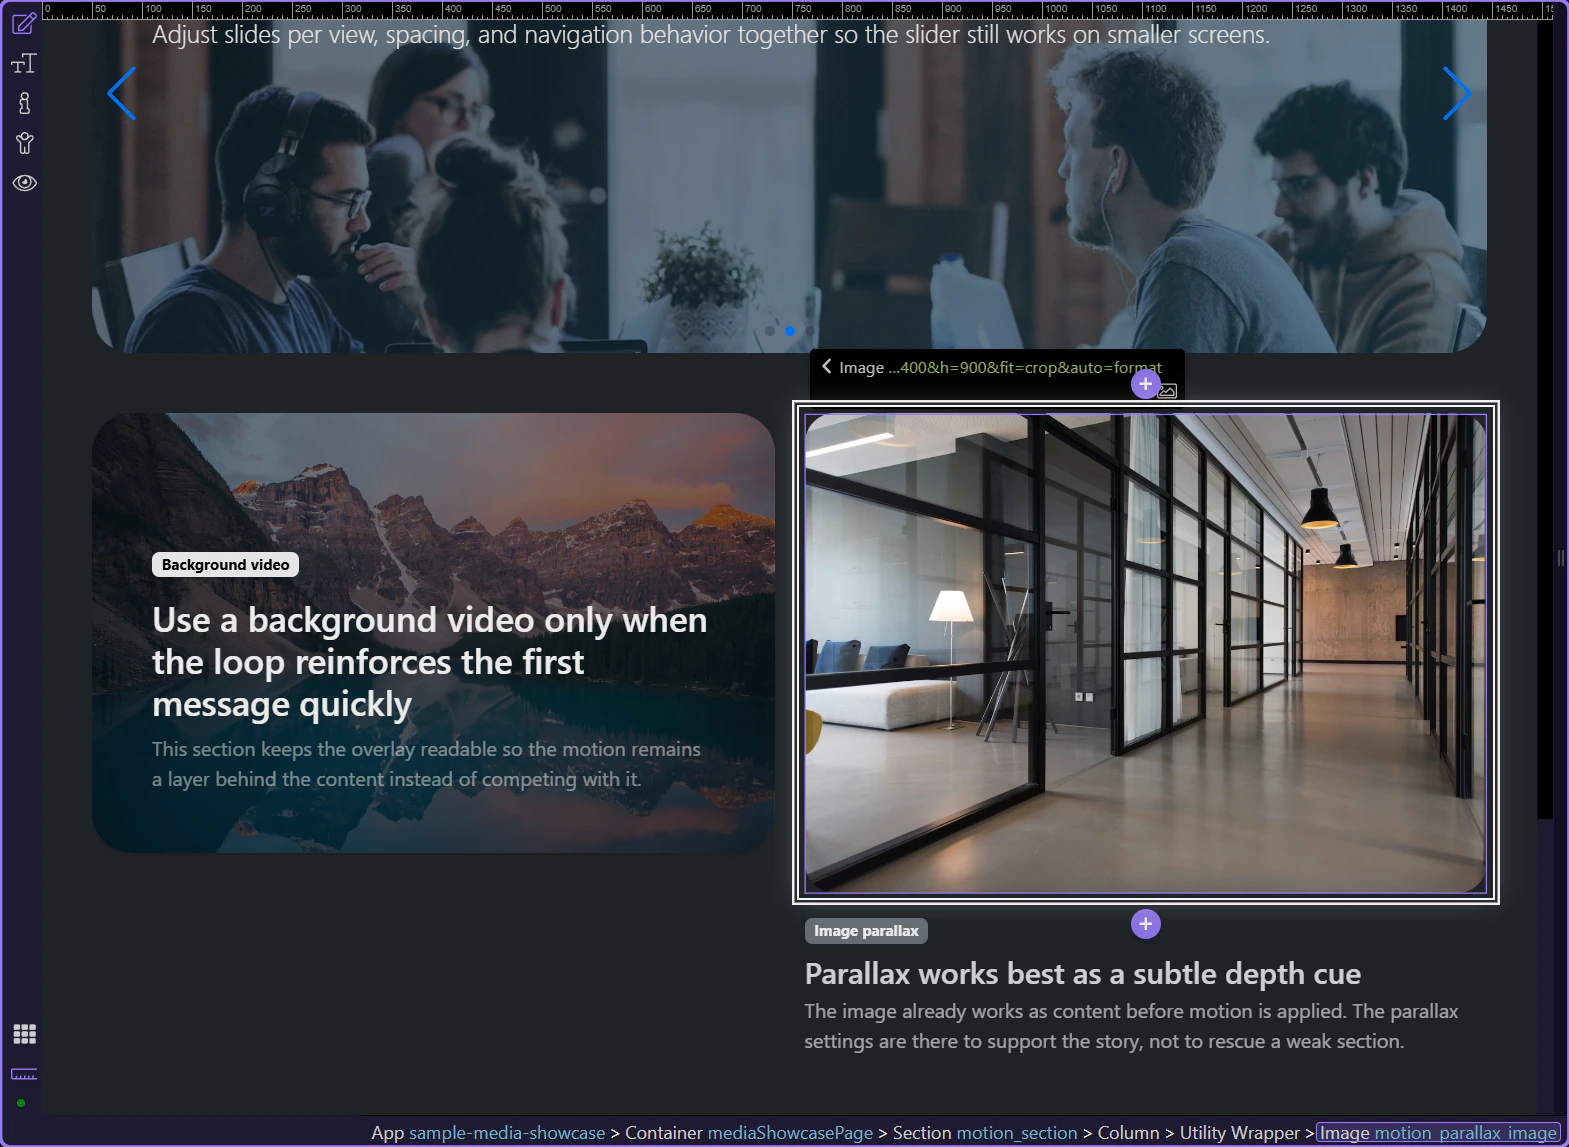
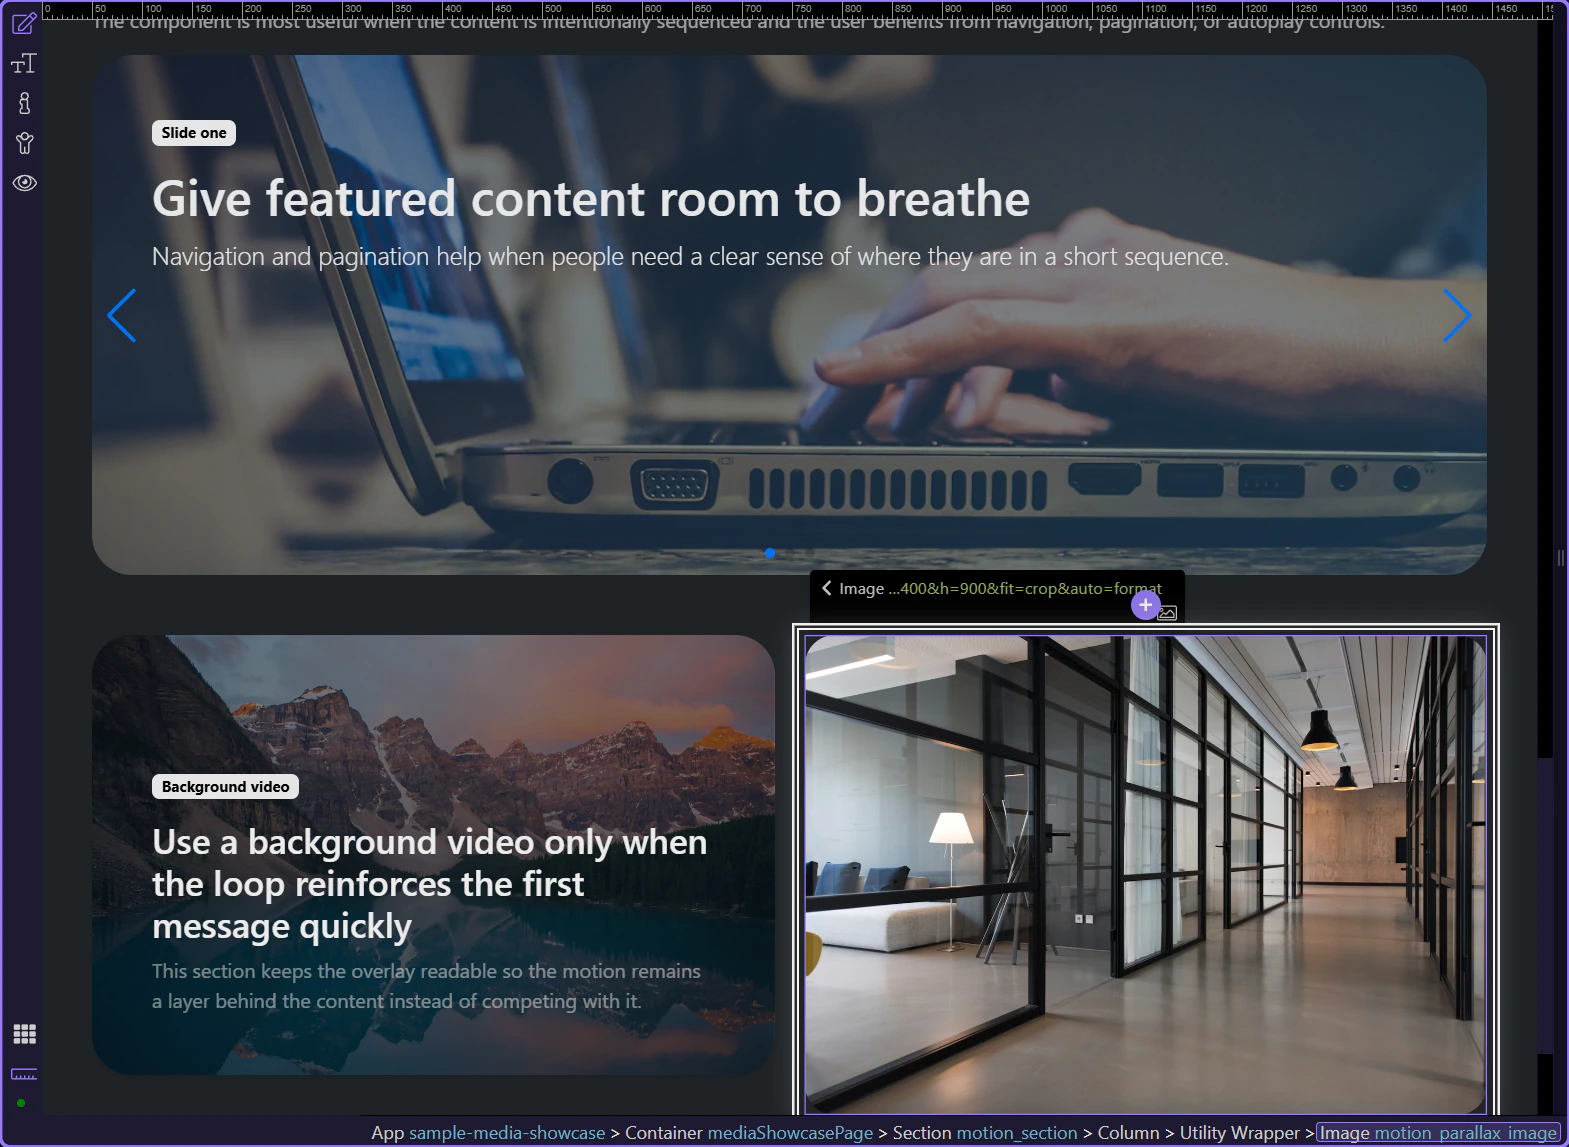
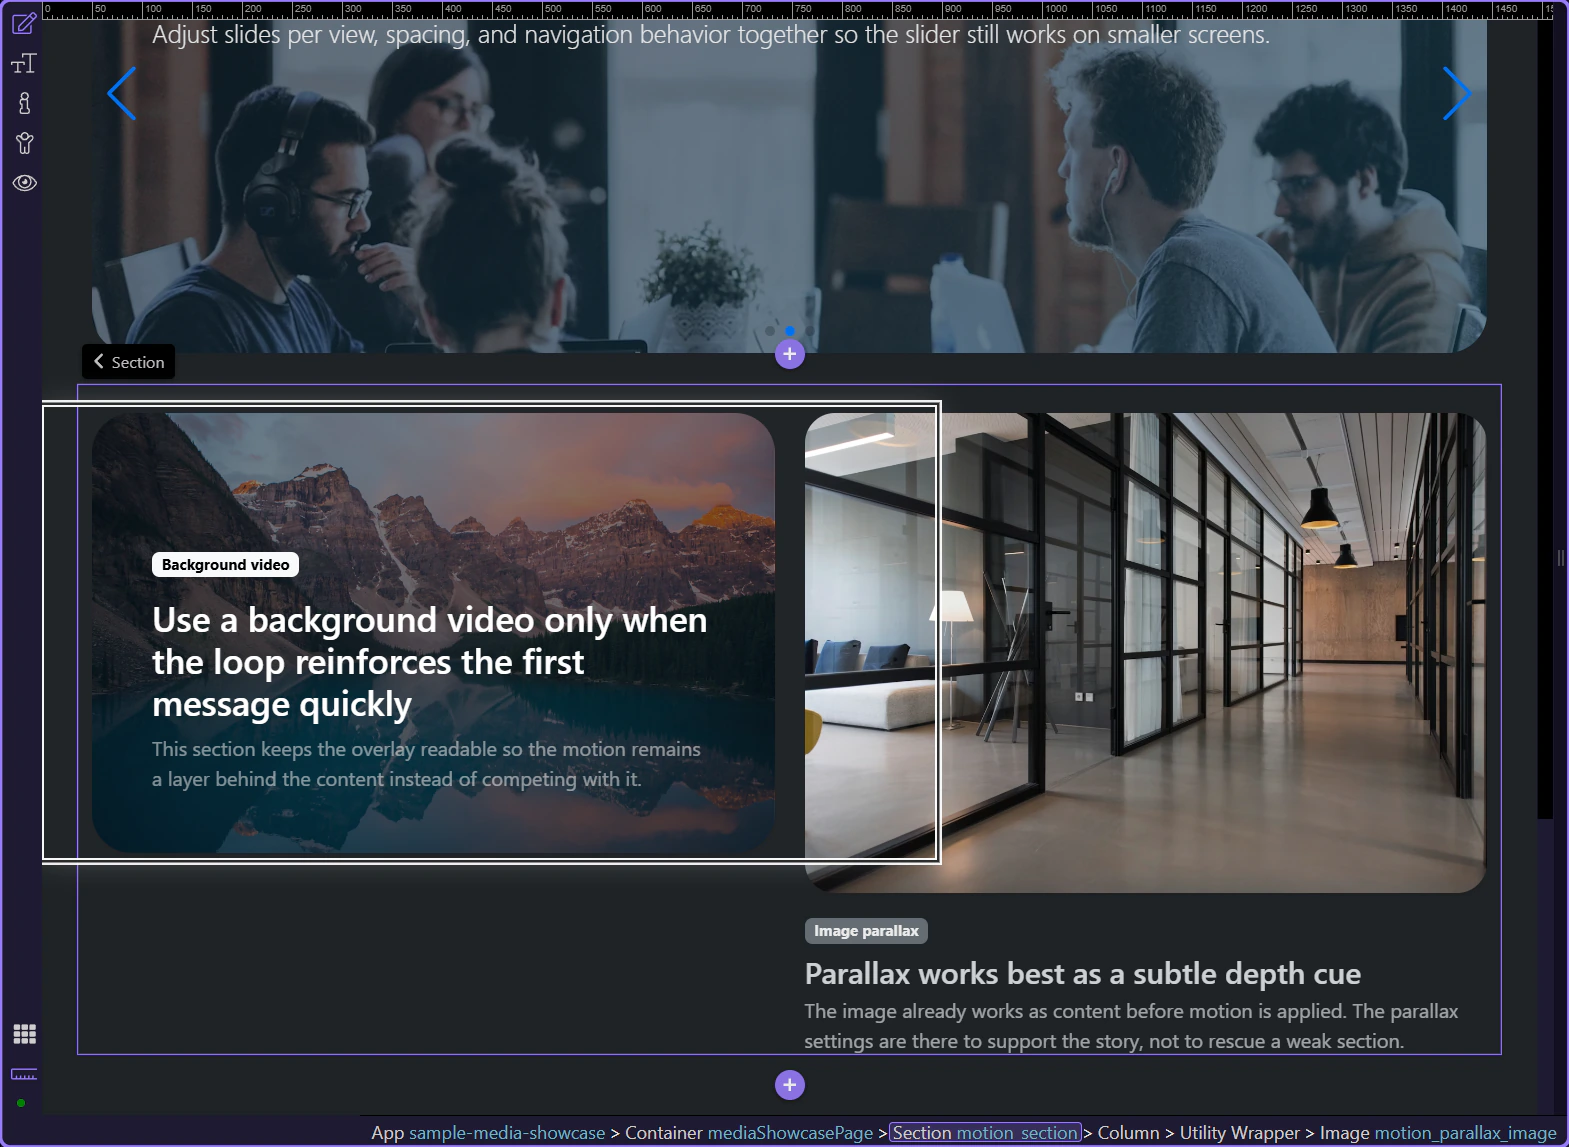
The preview below shows the result first: a subtle depth cue on a real image, with motion that stays secondary to the content.
This image already carries the section visually before any motion is applied. That is the correct starting point for Image Parallax: the content works first, and the movement simply adds depth without becoming the headline itself.
Use Image Parallax for editorial sections, feature highlights, and story panels where a still image already supports the section and only needs a subtle sense of depth. Avoid it when you need strong motion or when the image is already visually busy.

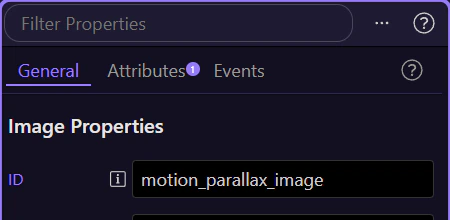
Image Parallax is added to the image itself, not inserted as a separate gallery component. Start by selecting the real image in Design View, then use the image settings in Properties to add the effect.
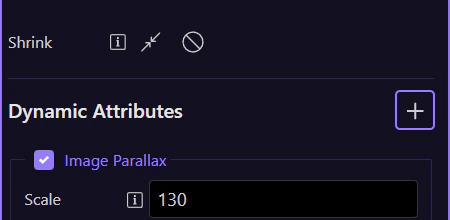
Keep the image selected and look at the Properties panel on the right. This is where the image settings stay visible, and the next control you need is Dynamic Attributes (+), where Image Parallax is added.
The Dynamic Attributes (+) menu for the selected image includes Image Parallax. After it is added, the image-specific settings for direction, scale, delay, and overflow appear below so the effect can be tuned.
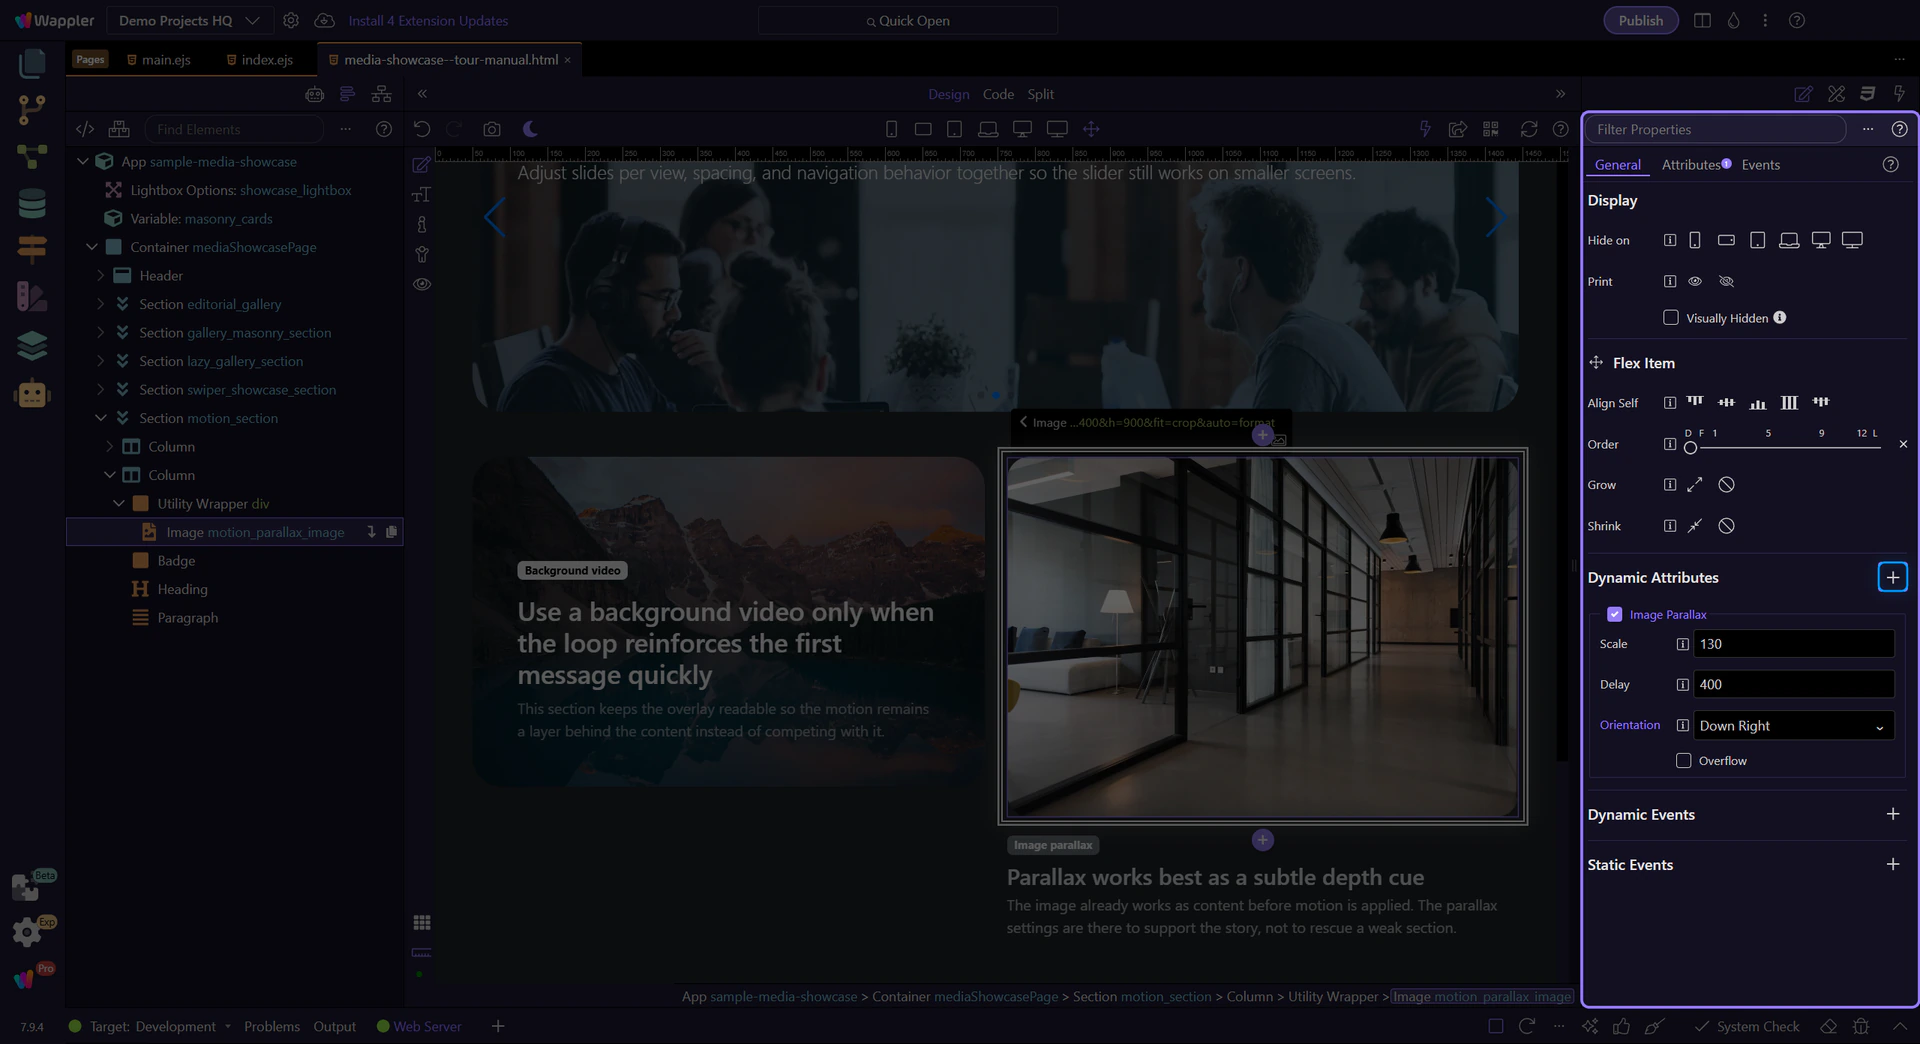
Once Image Parallax is attached to the image, the important choices are how strong the movement should be and whether the surrounding frame still feels calm enough to support the content.
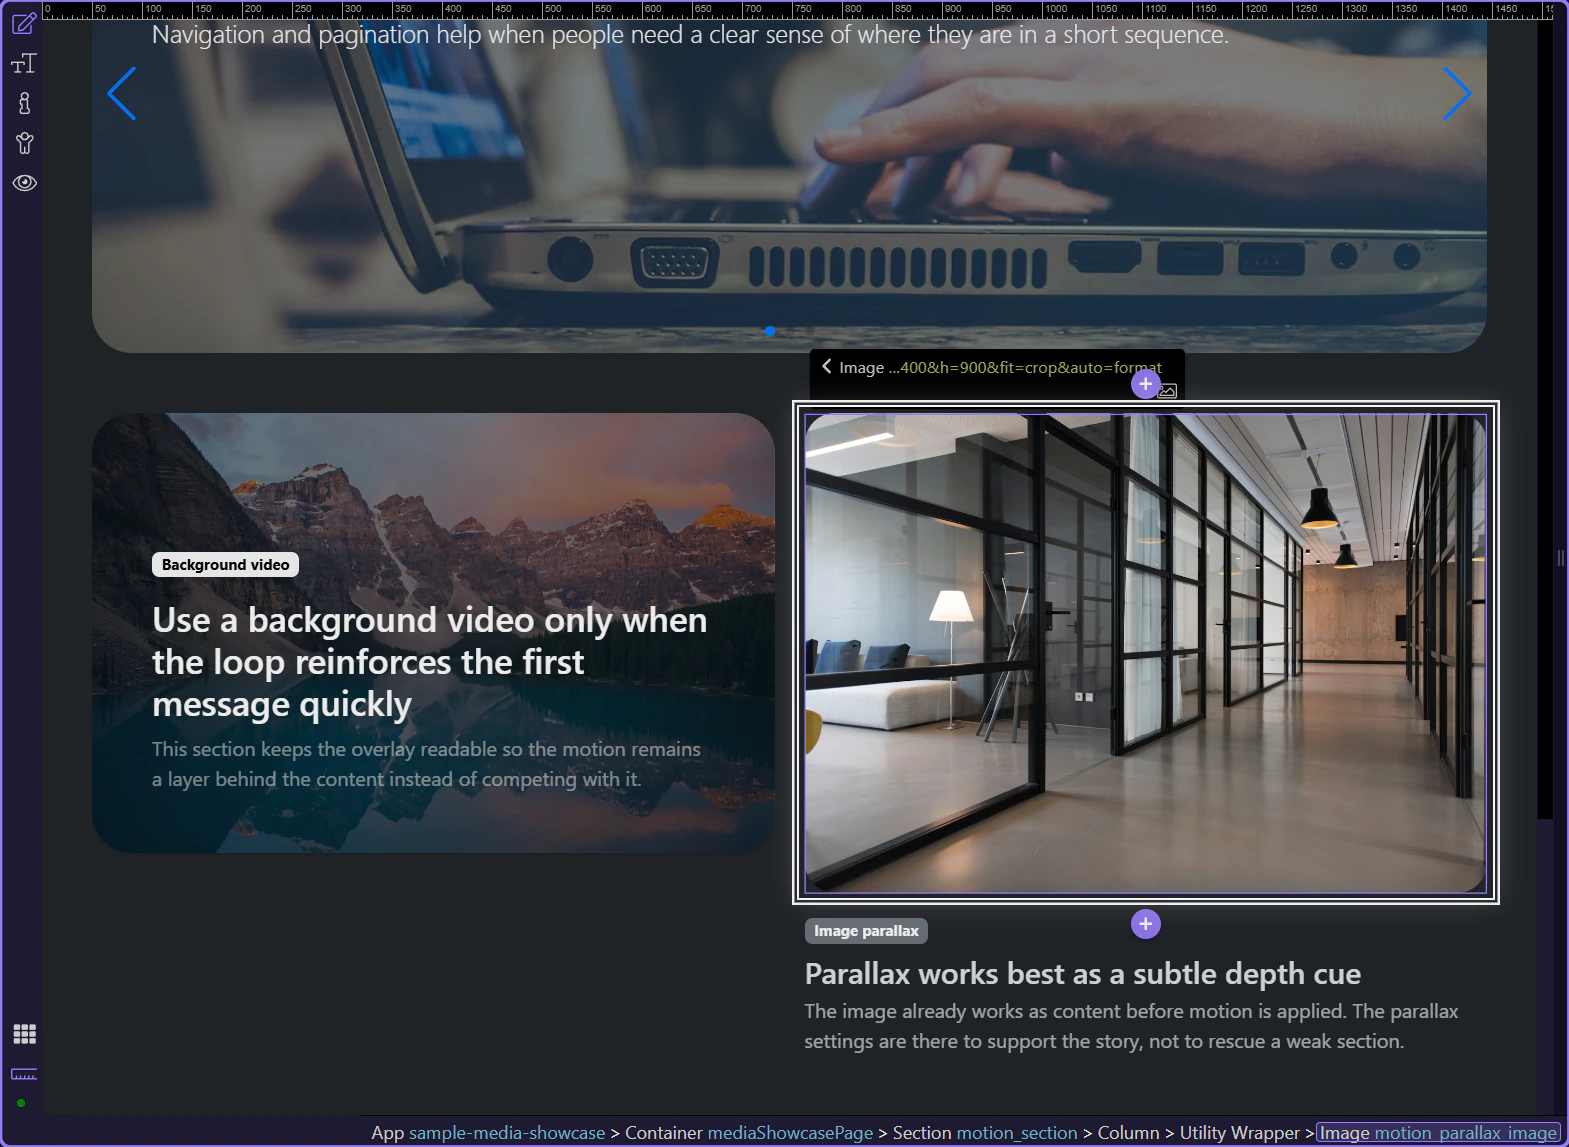
This image uses Wappler’s Image Parallax controls to define orientation, scale, delay, and overflow. Those are the real knobs that decide whether the effect feels subtle and supportive or exaggerated and distracting. Start with a light orientation change and only increase scale or delay when the section still reads cleanly while scrolling.
This section works because the image, frame, and supporting copy still make sense before you notice the effect. That is the practical test inside Wappler too: if the viewer notices the motion before they understand the section, the direction, scale, or delay needs to come back down.
You now have the concrete Image Parallax workflow in Wappler: start from a real image that already supports the section, add the behavior from Dynamic Attributes, and keep the direction and scale restrained so the content stays in charge.
Continue into Background Video when the same page needs a moving scene behind the content, or return to the media hub to choose the next media component workflow.