Slideshow
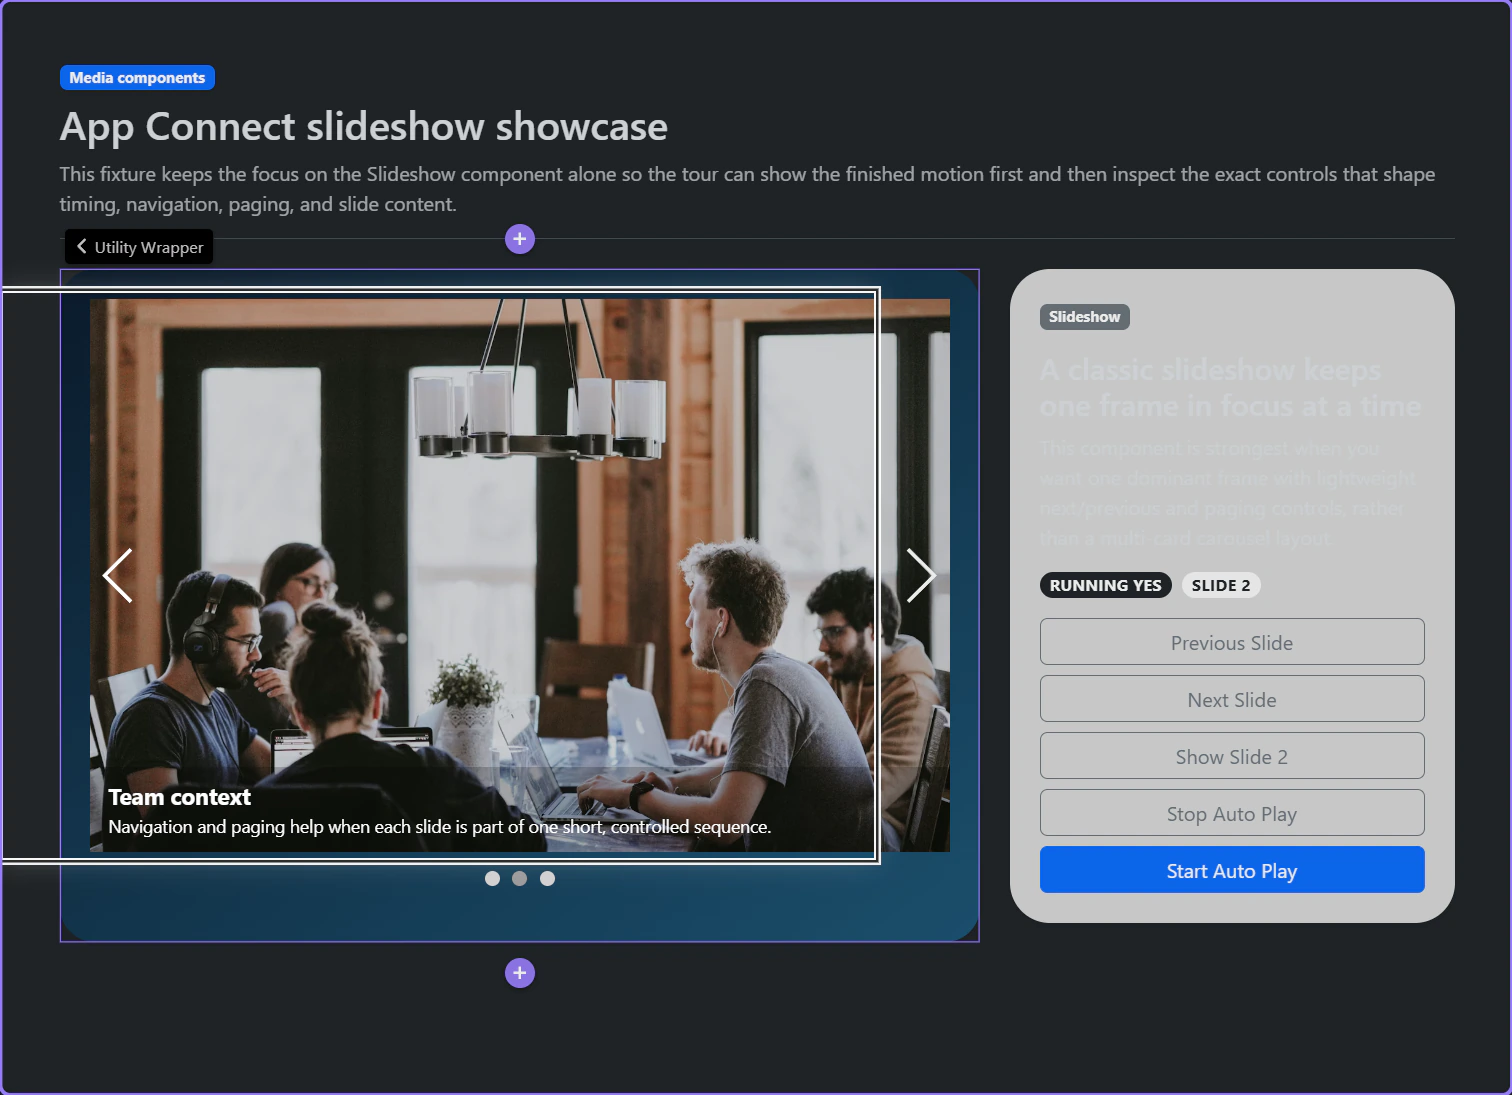
Use App Connect Slideshow for one dominant frame at a time, with simple navigation, paging, and timing controls that keep the sequence readable.
Introduction
Section titled “Introduction”The preview below shows the result first: one large frame, lightweight controls, and a pacing model built around a single focused image at a time.
Use Slideshow when one frame should dominate the section
Section titled “Use Slideshow when one frame should dominate the section”This page is intentionally built around one visual at a time. That is the practical strength of the Slideshow component in Wappler: a classic hero or featured-media sequence where next, previous, paging, and autoplay stay simple instead of turning into a denser carousel system.
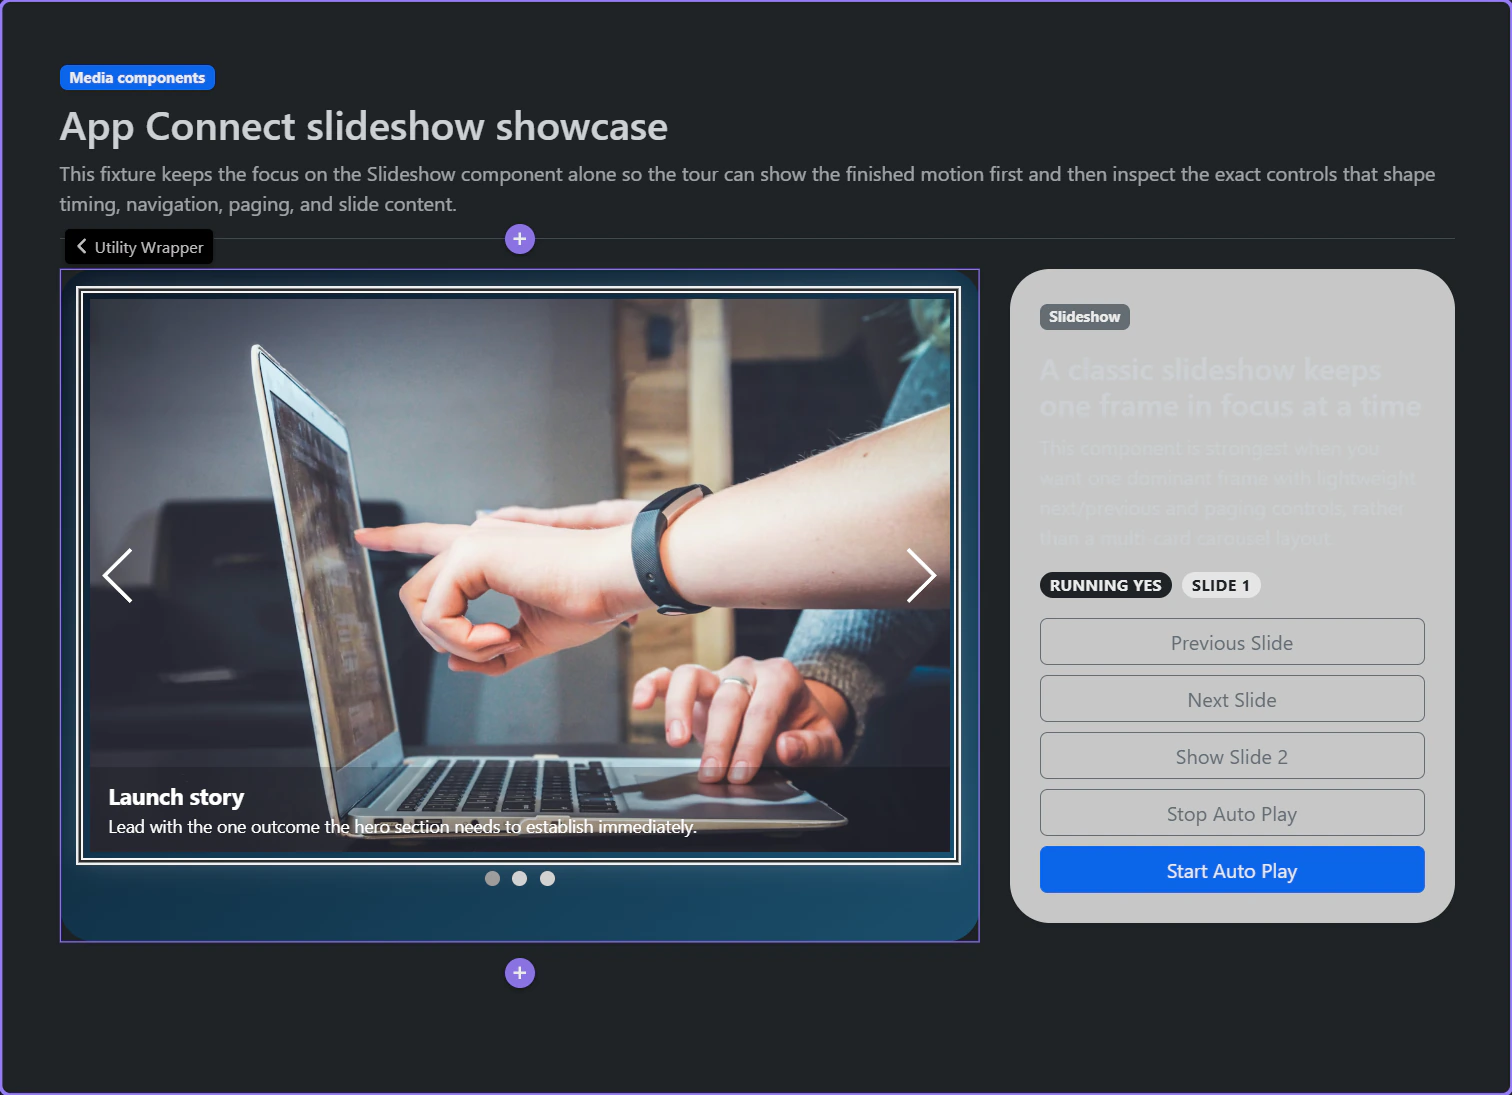
The section defines where the slideshow belongs
Section titled “The section defines where the slideshow belongs”This surrounding section is the right parent because the slideshow belongs to the whole feature block, not to a tiny inner fragment. That makes the inline insert flow easier to understand when you build the same pattern yourself.
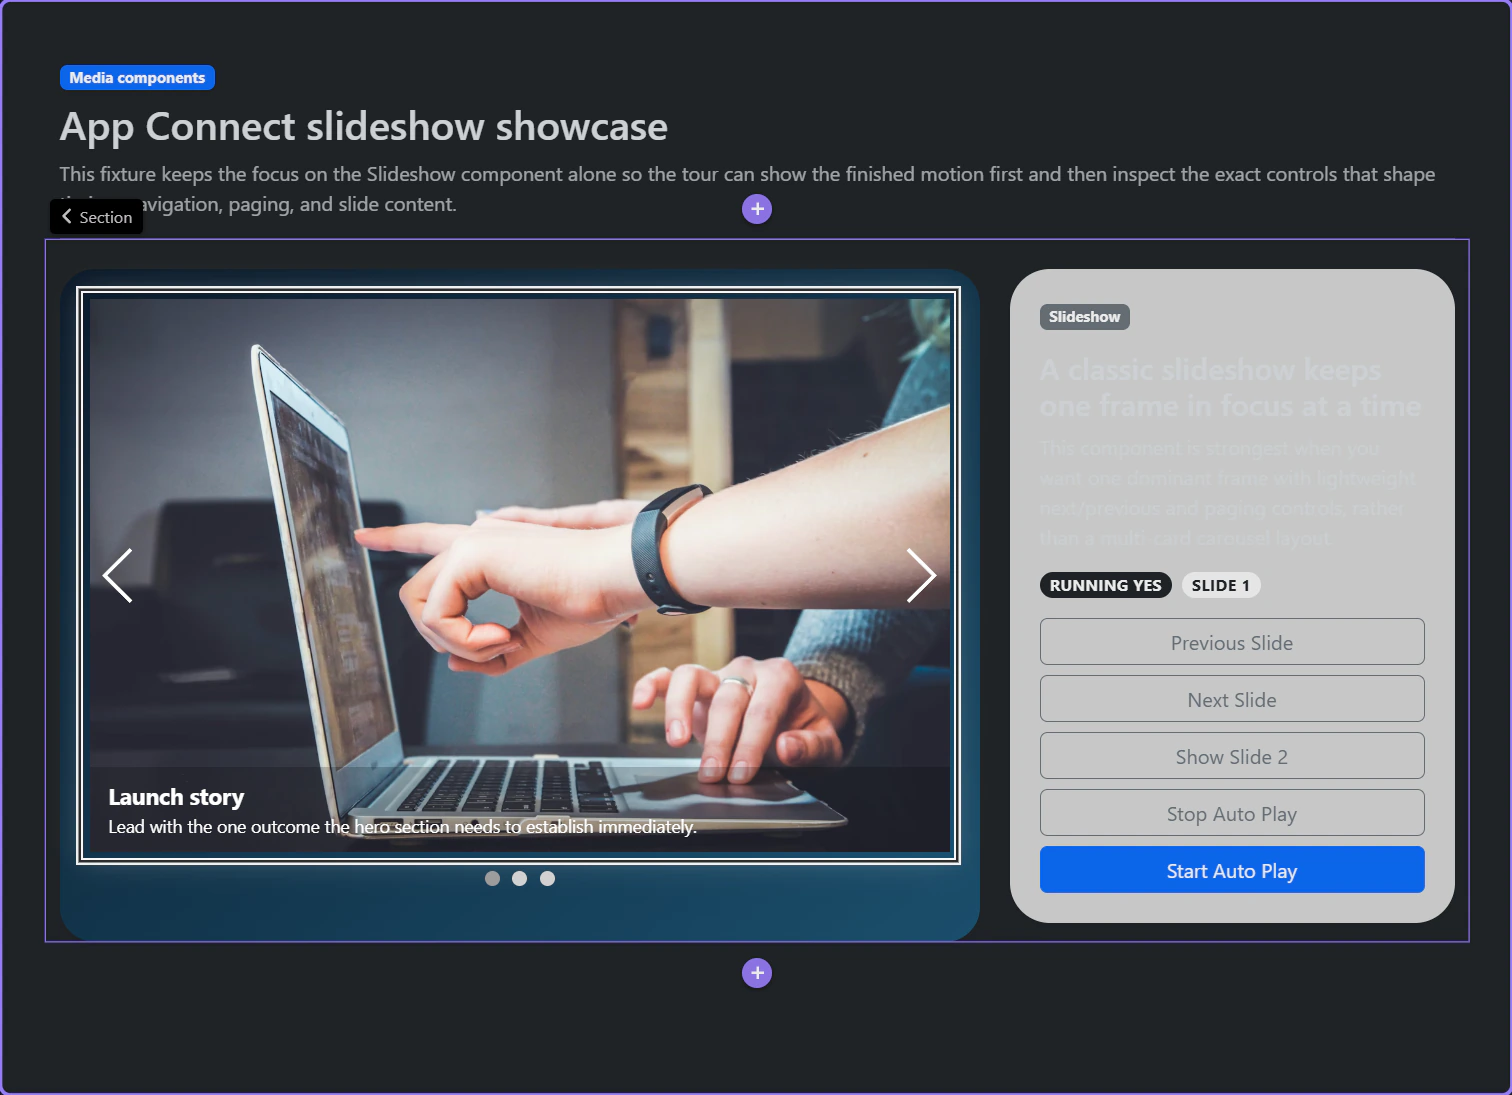
The matching Structure row is ready for insertion
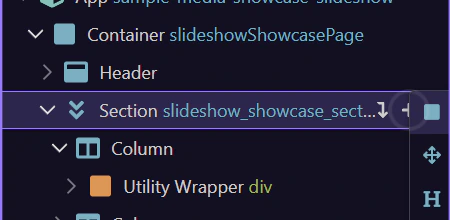
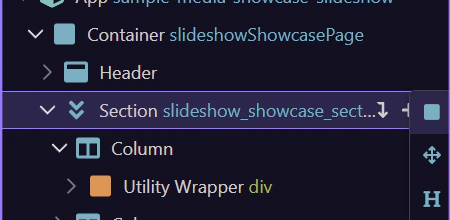
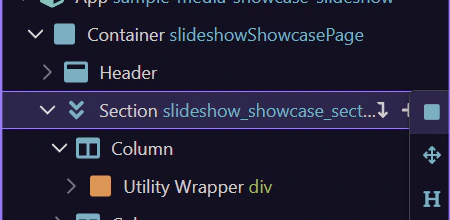
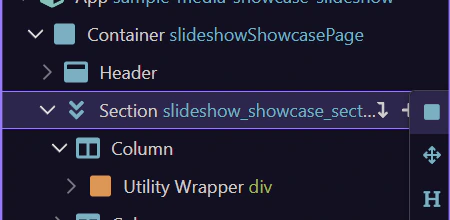
Section titled “The matching Structure row is ready for insertion”After the section is selected in Design View, the matching Structure row becomes the anchor for the inline Insert Inside control.
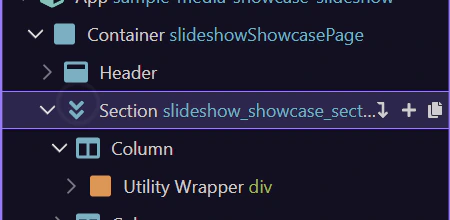
The inline plus action opens the component picker
Section titled “The inline plus action opens the component picker”Use the inline Insert Inside action on the selected section to add the real component without leaving the current flow.
The picker narrows to Slideshow
Section titled “The picker narrows to Slideshow”The inline picker search filters directly to the Slideshow component, which is the cleanest way to add it inside an already-selected content block.
Slideshow is the classic single-frame sequencing component
Section titled “Slideshow is the classic single-frame sequencing component”This picker entry is the classic slideshow component. It keeps the browsing model simple: one active frame, basic controls, and slide content defined directly by its child slides.
Close the picker and return to the existing example
Section titled “Close the picker and return to the existing example”The picker closes now so the next steps can inspect the real slideshow already on the page and focus on the controls that matter most in practice.
Working in Wappler
Section titled “Working in Wappler”Once the Slideshow is selected, the important decisions are the timing model, the navigation chrome, and the slide content that belongs inside the component.
The Slideshow component owns timing and playback behavior
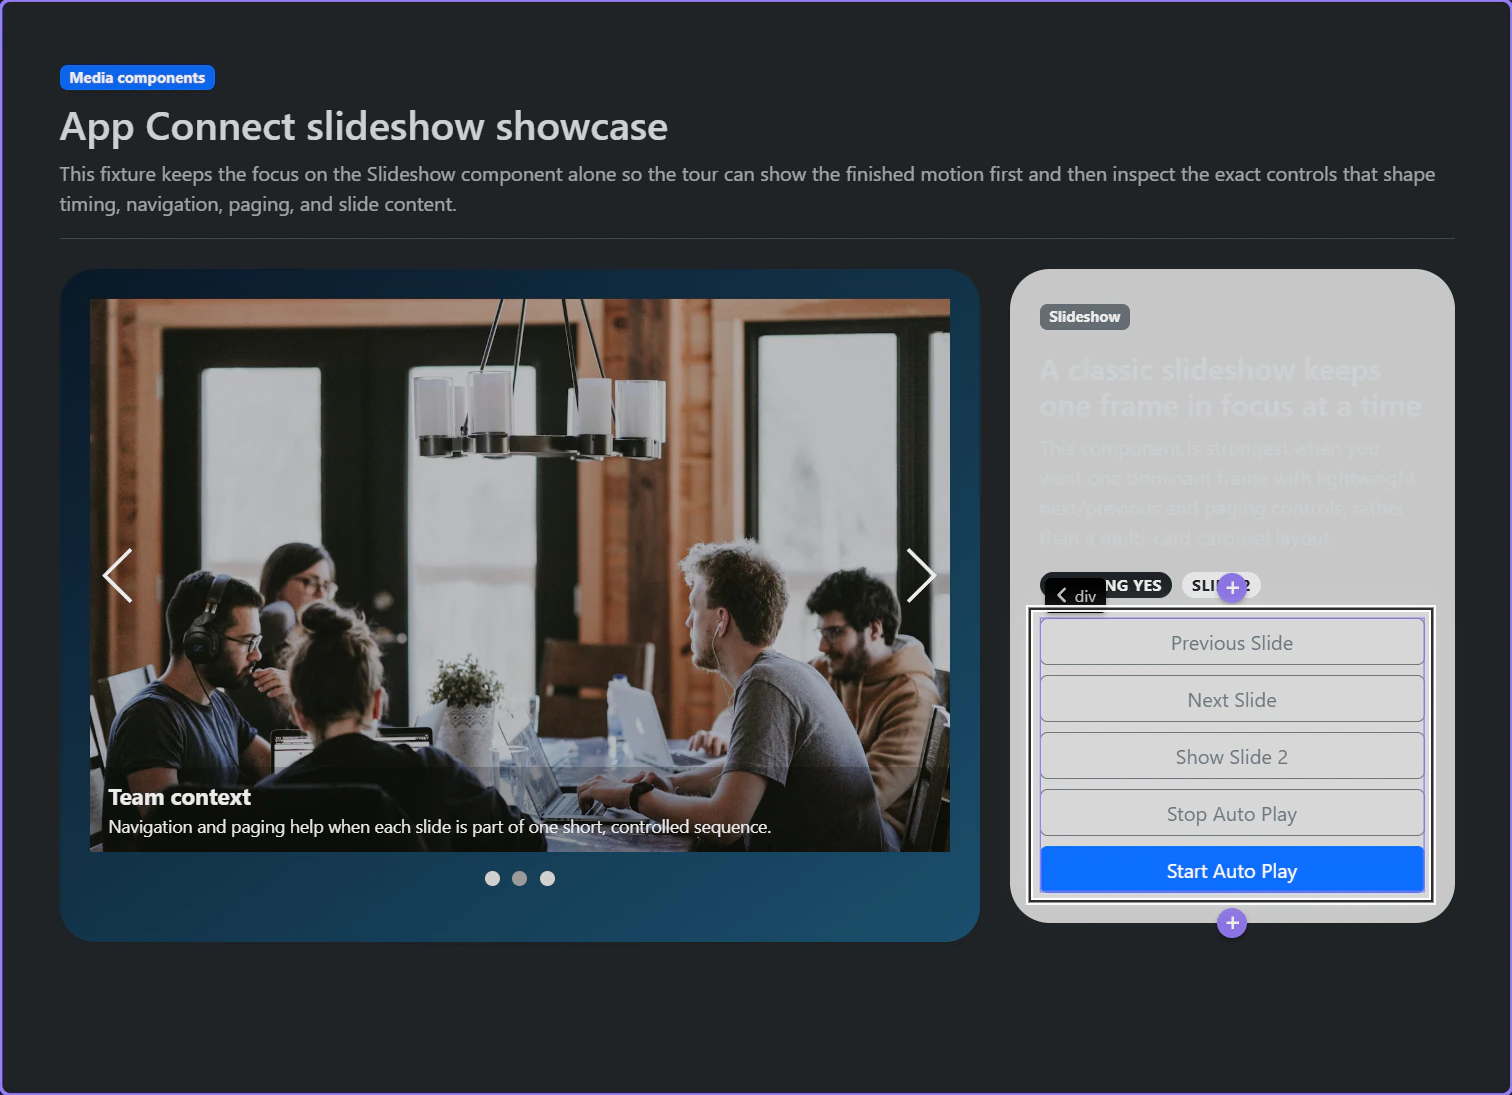
Section titled “The Slideshow component owns timing and playback behavior”When the Slideshow itself is selected, the Properties panel exposes the core controls that define how the sequence runs: theme, delay, Start Random, No Auto Start, Show Next/Prev, Show Paging, and Pause On Hover. This is where you decide the pacing model before you style anything around it.

Navigation and paging should stay proportional to the content
Section titled “Navigation and paging should stay proportional to the content”This page turns on both navigation and paging because users need clear orientation in a short hero sequence. Treat those controls as part of the reading experience: add them when they help the user stay oriented, and keep them restrained when the content should feel calm.

Real actions are easy to test against the live component
Section titled “Real actions are easy to test against the live component”The example page includes start, stop, next, previous, and show-slide buttons so you can see the component state react immediately. That is a practical way to validate the Slideshow actions after you configure a real page.
Conclusion
Section titled “Conclusion”You now have the concrete Slideshow workflow in Wappler: use it when one frame should dominate the section, set pacing and controls on the component itself, and test the resulting sequence against real start, stop, and navigation actions.
Continue into adjacent media decisions
Section titled “Continue into adjacent media decisions”Continue into Swiper when the layout needs richer multi-slide behavior, or return to the media hub to choose the next focused media component workflow.