Pages Manager
Focused walkthrough of the Pages Manager panel: folder tree, page listing, and the handoff into the HTML Editor.
Pages Manager → HTML Editor
Pages Manager is where you find, organize, and open the pages that make up your app.
This tour assumes you want the practical Pages Manager walkthrough itself: the real folder tree, the page listing, and the handoff into the HTML Editor.
The core workflow is simple:
- choose the right folder
- find or create the page you want
- open it in the HTML Editor
- continue editing there
What you’ll do
You’ll learn how Pages Manager helps you stay oriented in your project, then open a page so the next stage of onboarding can move into real editing.
The key workflow
Think of Pages Manager as navigation and organization, not as the final editing surface. You browse here, then build in the HTML Editor.
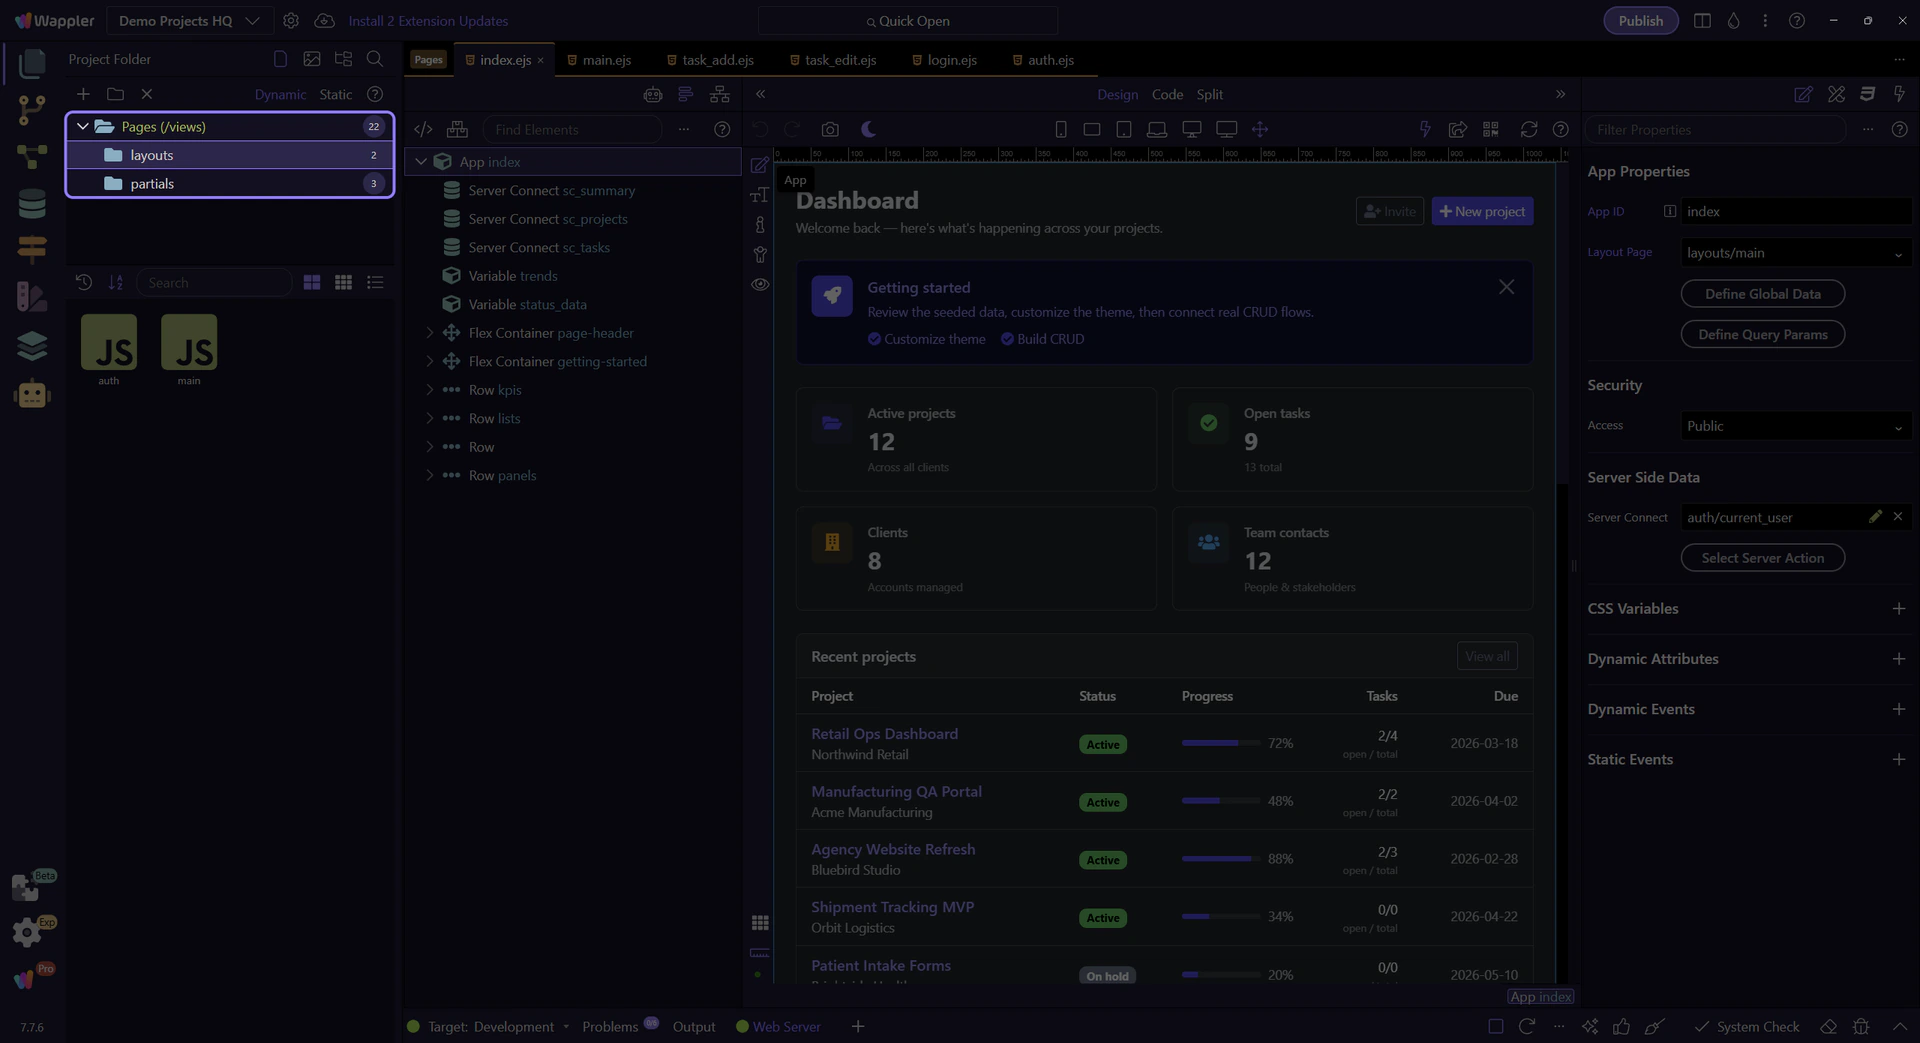
Folders and Navigation
Use the folder tree to stay oriented in your project structure. The selected folder controls which pages you are looking at.
This matters early in onboarding because beginners often confuse project folders with actual pages. Pages Manager helps separate those ideas.
Tip: You can also right-click folders for actions like Rename (F2) and Delete (Del).
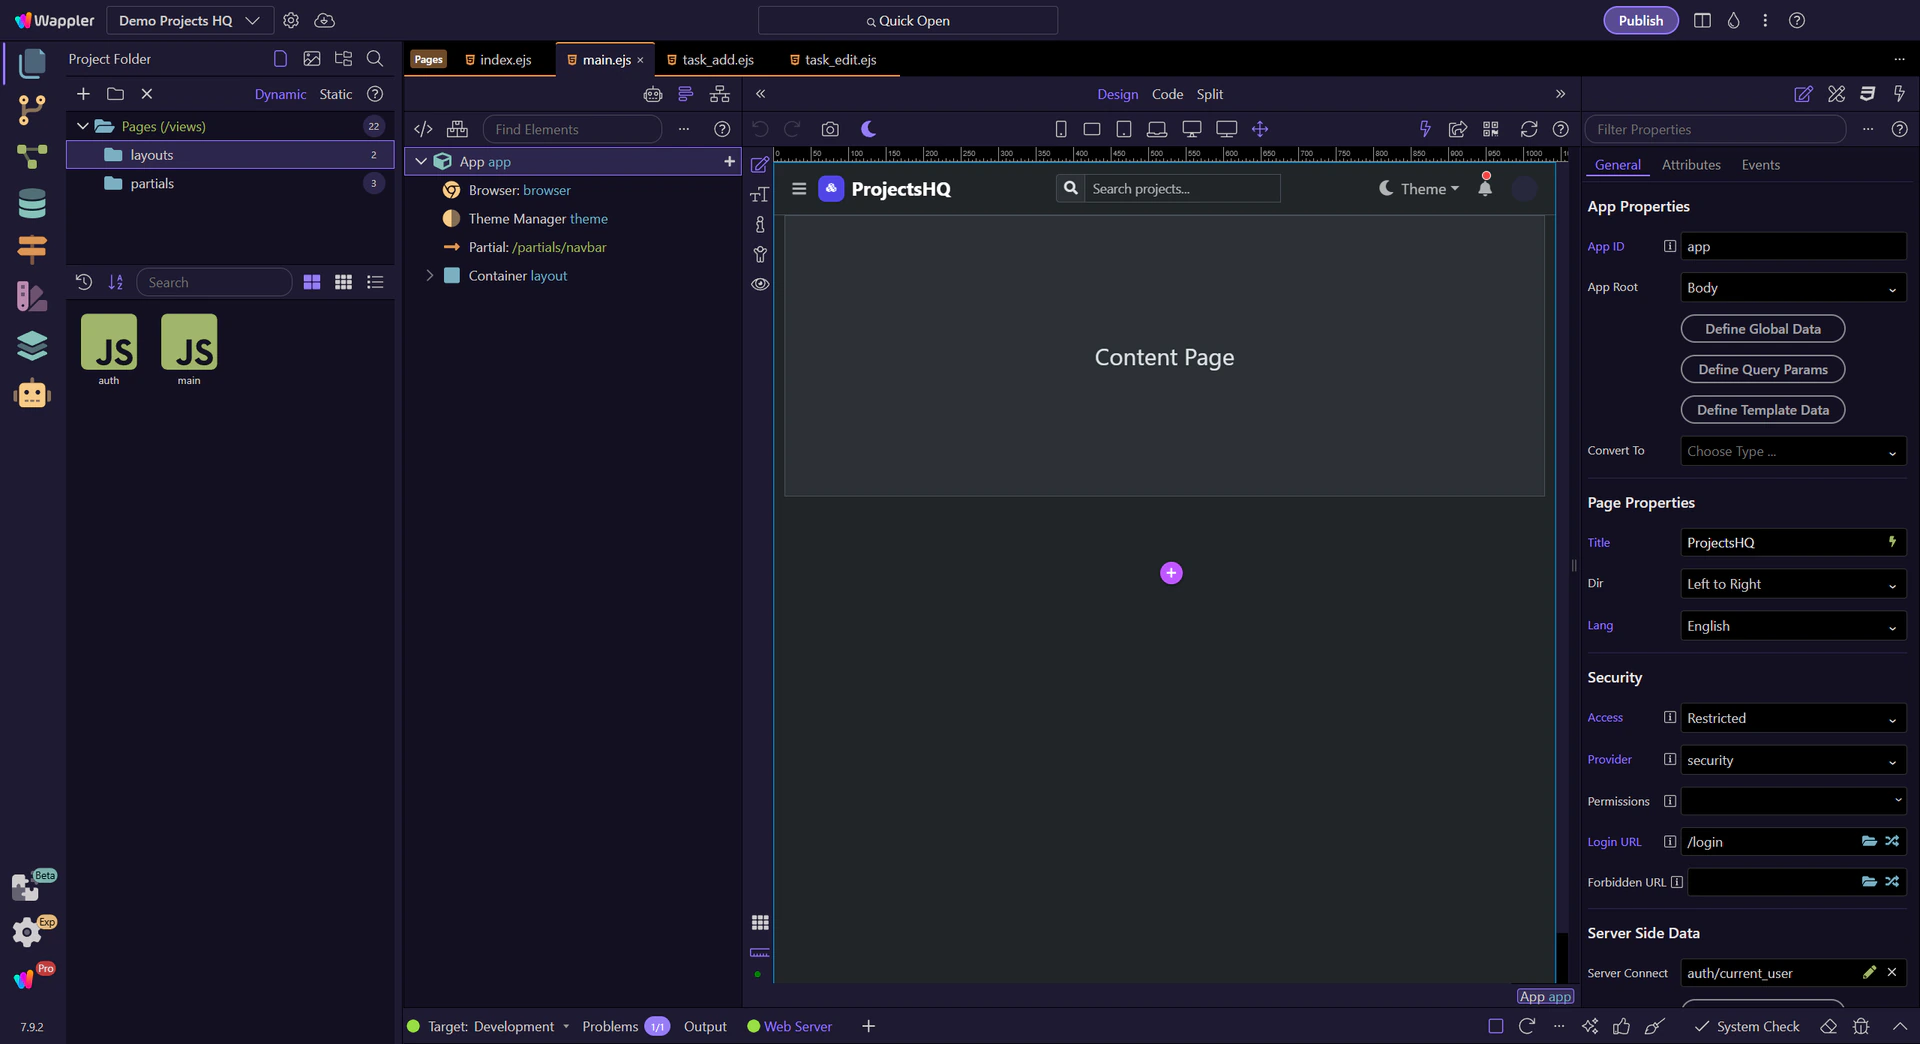
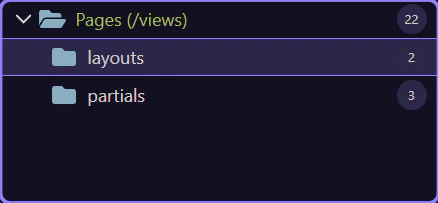
Folder Tree Area
This is the live Pages folder tree for Demo Projects HQ. Selecting a folder here changes which page tiles appear on the right, so the tree is the real navigation control for page organization rather than just a decorative outline.
Pages root selection
This step selects the real Pages (views) root node so the folder tree and the page list are grounded in the actual Demo Projects HQ page structure.

Real context menu on the Pages root
This step opens the real context menu on the Pages root. This is where actions such as Create Page and Create Folder become concrete instead of staying abstract toolbar labels.

Return from the Pages root menu
The menu closes on the next step so the tree is readable again before the tour moves into a concrete folder example.

`layouts` folder selection
This step selects the real layouts folder in Demo Projects HQ. It shows the difference between navigating folders in the tree and opening actual pages from the listing panel.

Real folder context menu on `layouts`
This step opens the real context menu on the layouts folder. Here rename, delete, upload, and Show in Explorer are shown on an actual folder node rather than being mentioned in theory.

Return from the `layouts` menu
The menu closes on the next step so the selected folder can drive the page-list example on the right.

Create Page
Create a new page in the selected folder. This is also the entry point to the Page Properties dialog, where page type and starter selection come together before anything is generated.

Create Folder
Create a new folder under the selected folder. This step matters because Create Folder is part of Manager Pagesmanager Layout, and understanding that context makes the next action easier to repeat in your own project.

Dynamic vs Static
If your project has a server model, the top Pages Manager area can expose a switch between Dynamic pages (server views) and Static pages (site root).
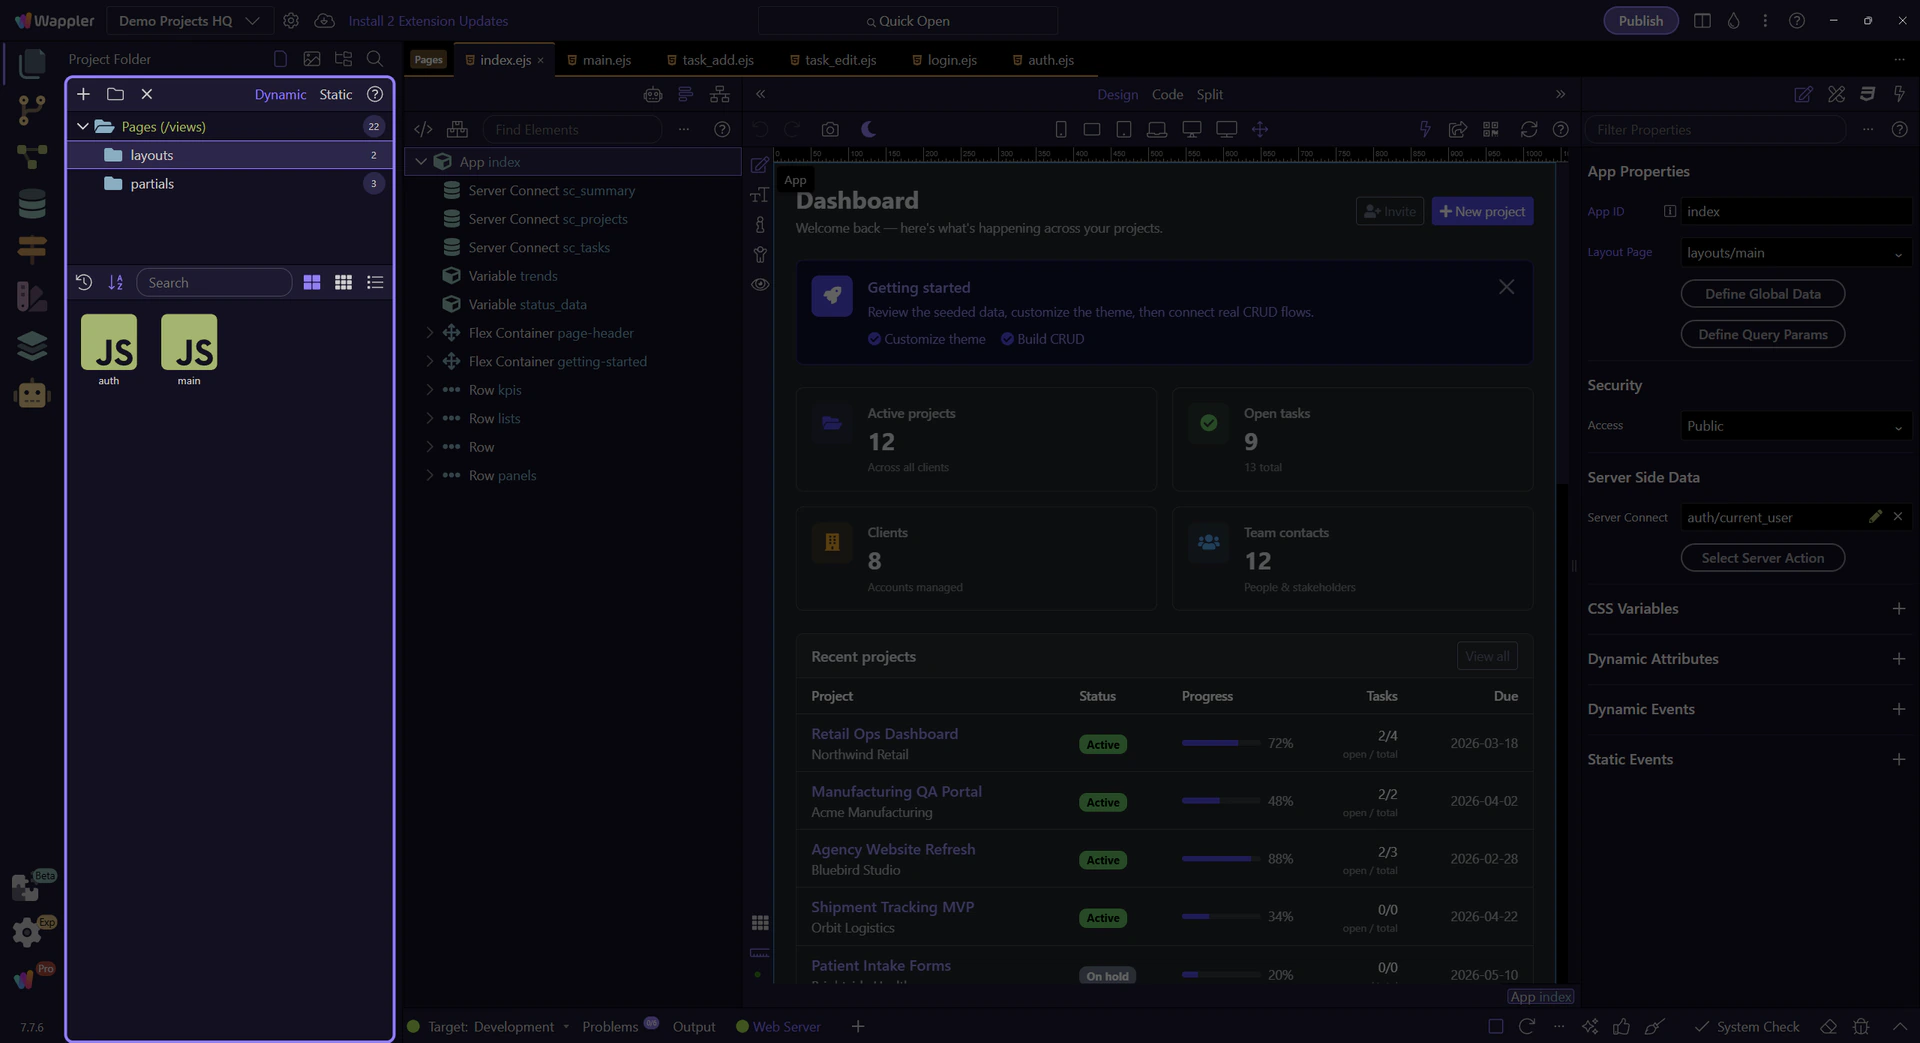
Page Listing
The main panel shows the pages in the selected folder. This is where you decide what to open next, not where you do most page editing.
For first-success onboarding, the important move is to open a page and continue into the HTML Editor.
Sort order
Sort by recent activity or alphabetically. This step matters because Sort order is part of Manager Pagesmanager Layout, and understanding that context makes the next action easier to repeat in your own project.

Search pages
Search filters the visible pages by name. This step matters because Search pages is part of Manager Pagesmanager Layout, and understanding that context makes the next action easier to repeat in your own project.

View modes
Switch between tiles, icons, and list view. This step matters because View modes is part of Manager Pagesmanager Layout, and understanding that context makes the next action easier to repeat in your own project.

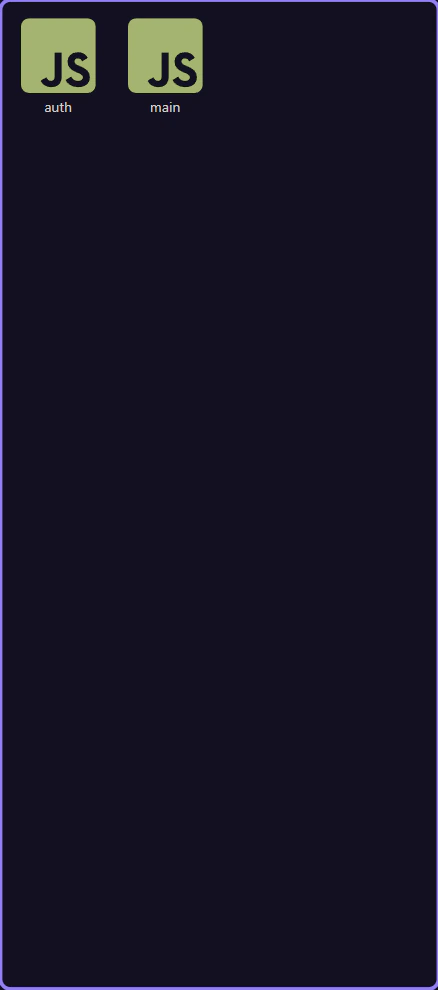
Real `main.ejs` layout tile
This step points at the real main.ejs layout tile from the selected layouts folder. That makes the handoff concrete: choose the item you actually want, then open it in the HTML Editor to continue building there.
Next steps
Continue with the HTML Editor when you are ready to shape the page itself, or inspect the starter-page flow first if you want to see how Wappler can generate the initial composition for you.
Go to HTML Editor
Continue to the HTML Editor to begin the next real step: editing the page you opened from Pages Manager. If you want to stay in Pages Manager a bit longer, inspect the starter-page flow first and then come back to editing.