Use classes for reuse
Classes are the default choice for styling patterns you want to apply to more than one element or maintain as a design convention.
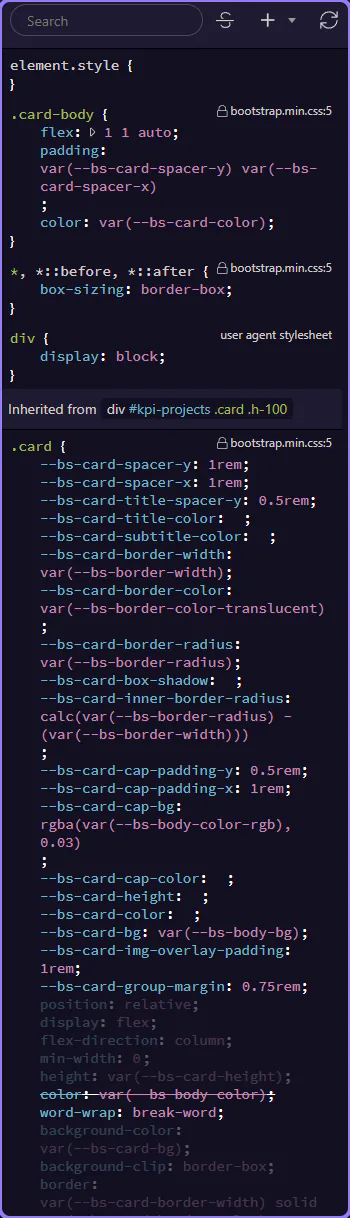
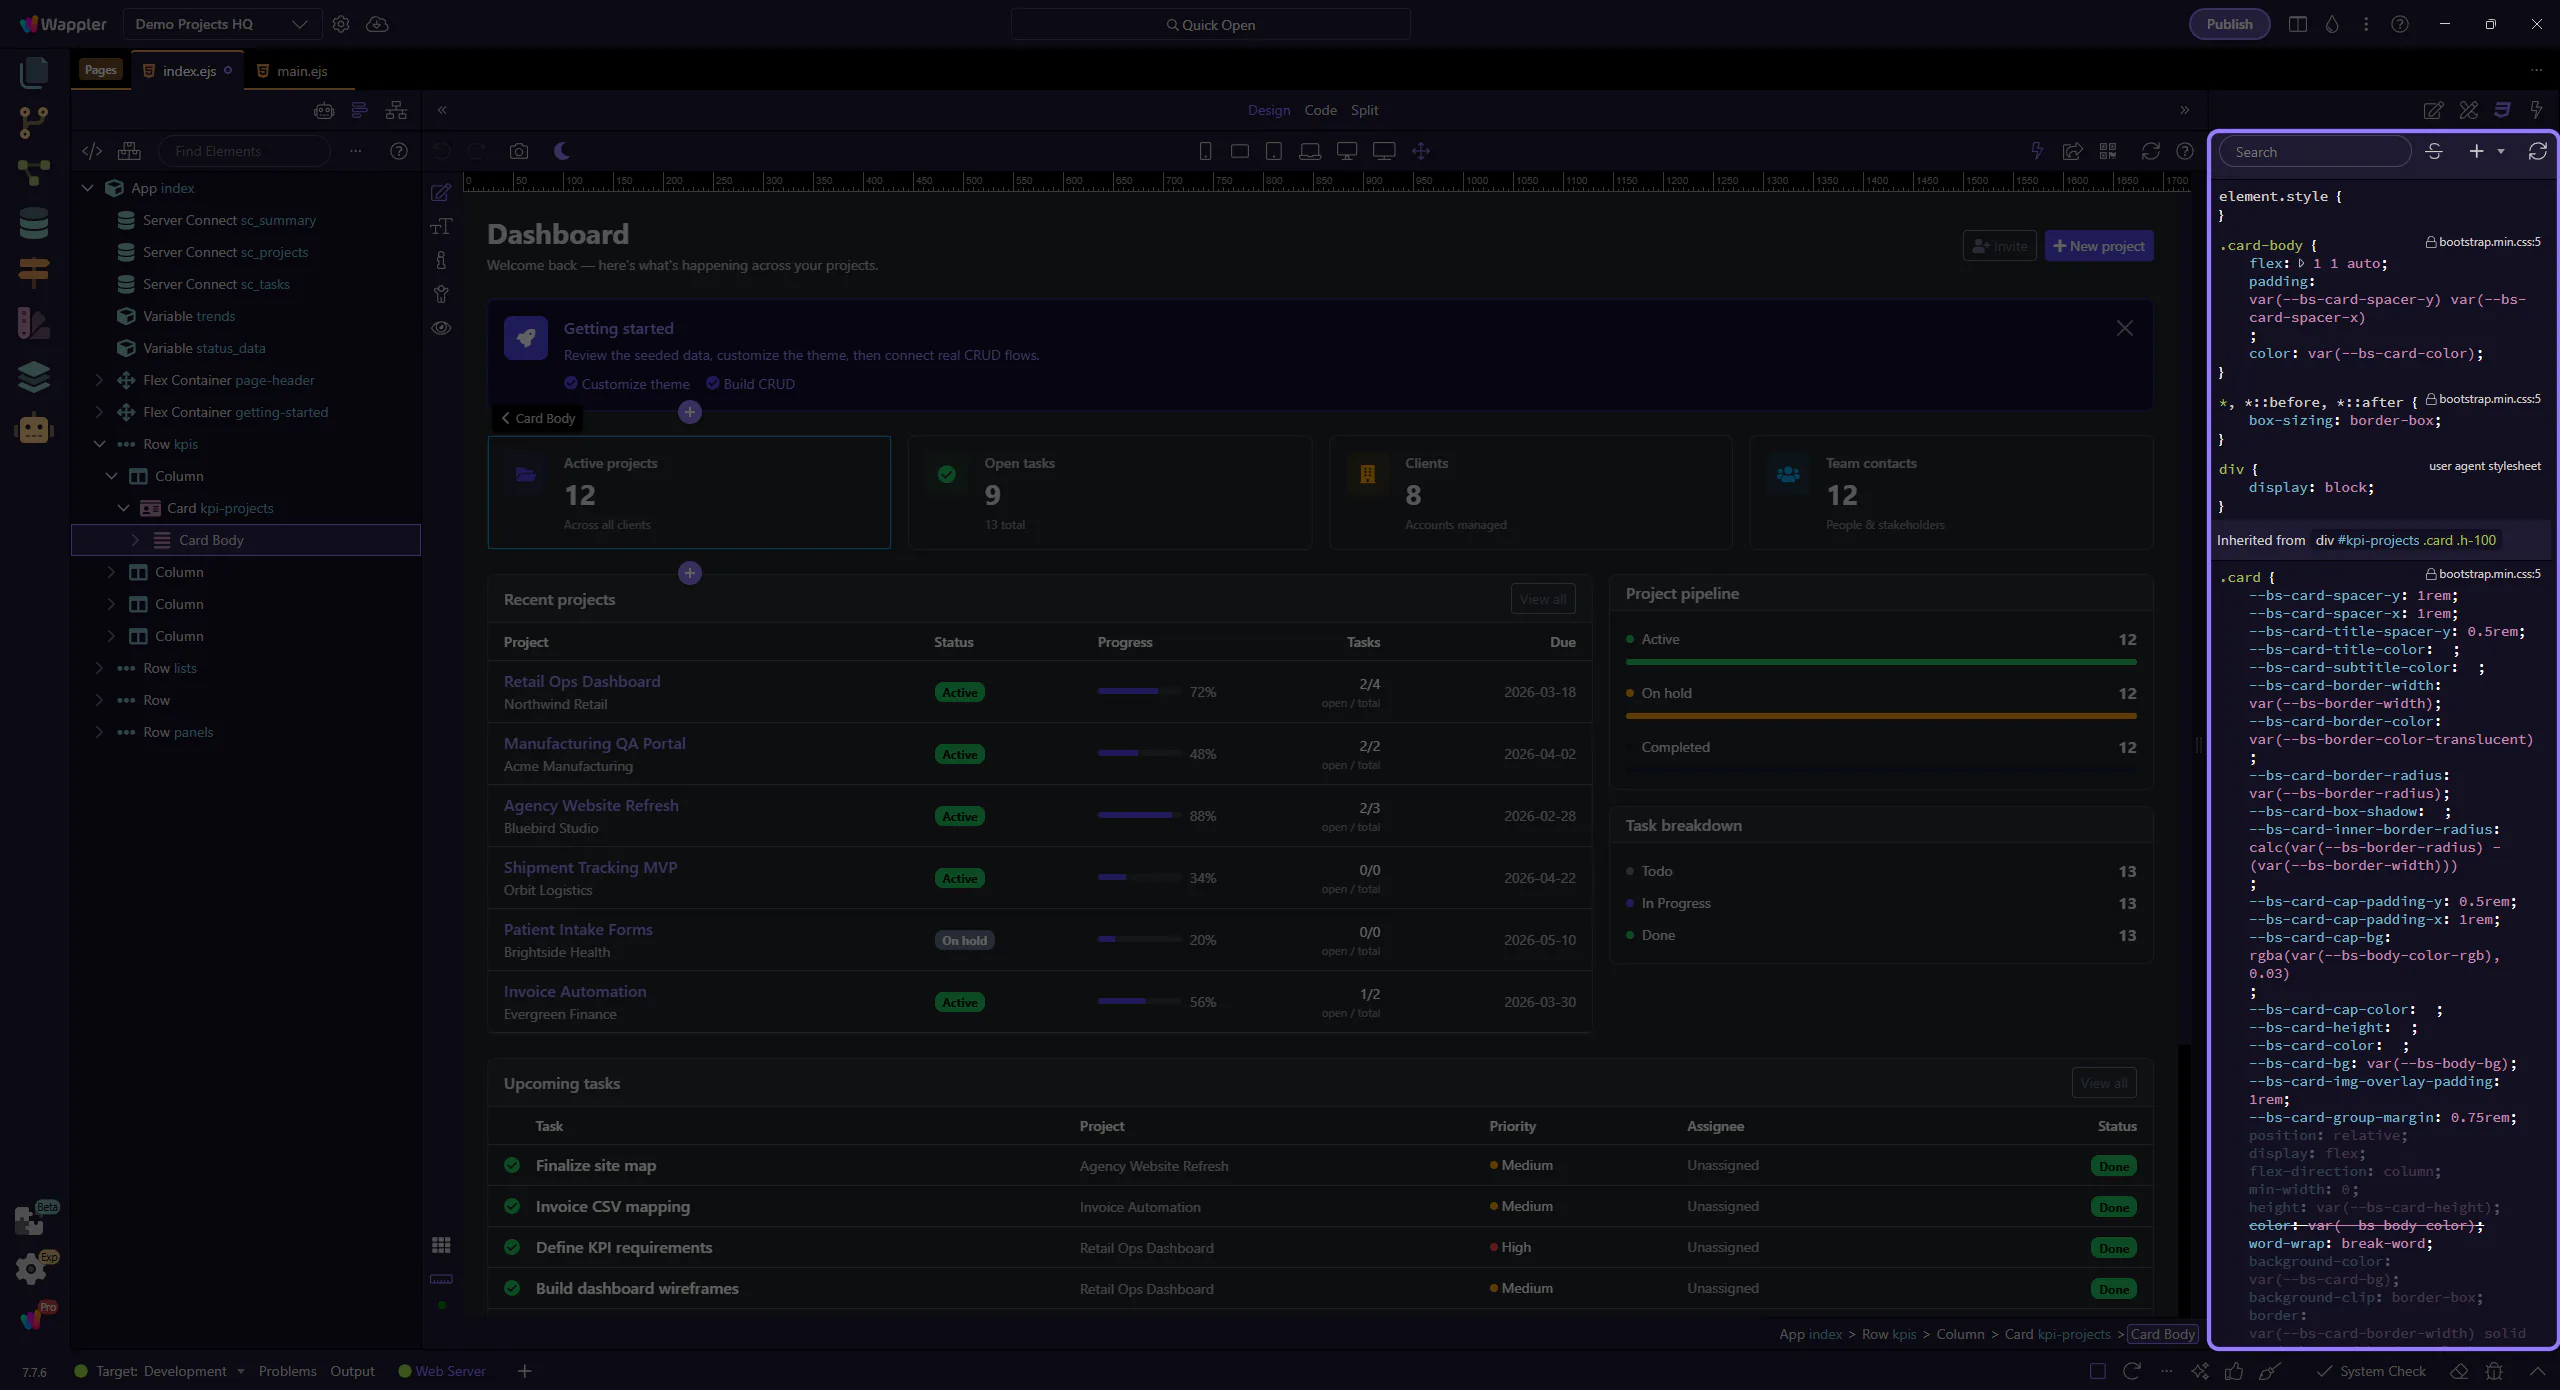
You can add classes or IDs to your elements, using the properties inspector. Just select your element either in Design View (1) or in App Structure (2) and add
Use classes and ids in Wappler with a clear separation between reusable styling hooks and one-off element targeting.
Classes and ids solve different problems. In Wappler, keeping that distinction clear helps with styling, JavaScript targeting, anchors, and readable collaboration between visual editing and code-level inspection.
If you use ids where a class should do, the page becomes brittle. If you use generic classes with no naming intent, the page becomes hard to scan.
Good class and id choices make the Properties panel, code view, and team conversations line up cleanly.
Choose names that explain the role of the styling hook, not just the one screenshot you are looking at today.
Reserve ids for true uniqueness. Common examples are skip links, collapsible target references, section anchors, or integrations that explicitly ask for an id.
Bootstrap already provides layout and utility choices for many common styling needs. Reach for those controls first, and add project-specific hooks only when they express meaning Bootstrap does not already cover.
With structure and naming clear, you can style layout rhythm more safely and continue into responsive image work or reactive pages.
Learn how to apply classes in the Selection panels. Use this tour as a quick refresher.
Applying classes is safer when you start from the selection workflow that makes the target element explicit. This how-to begins with that panel context, then explains how class changes fit into everyday page editing without losing track of which element you are styling.
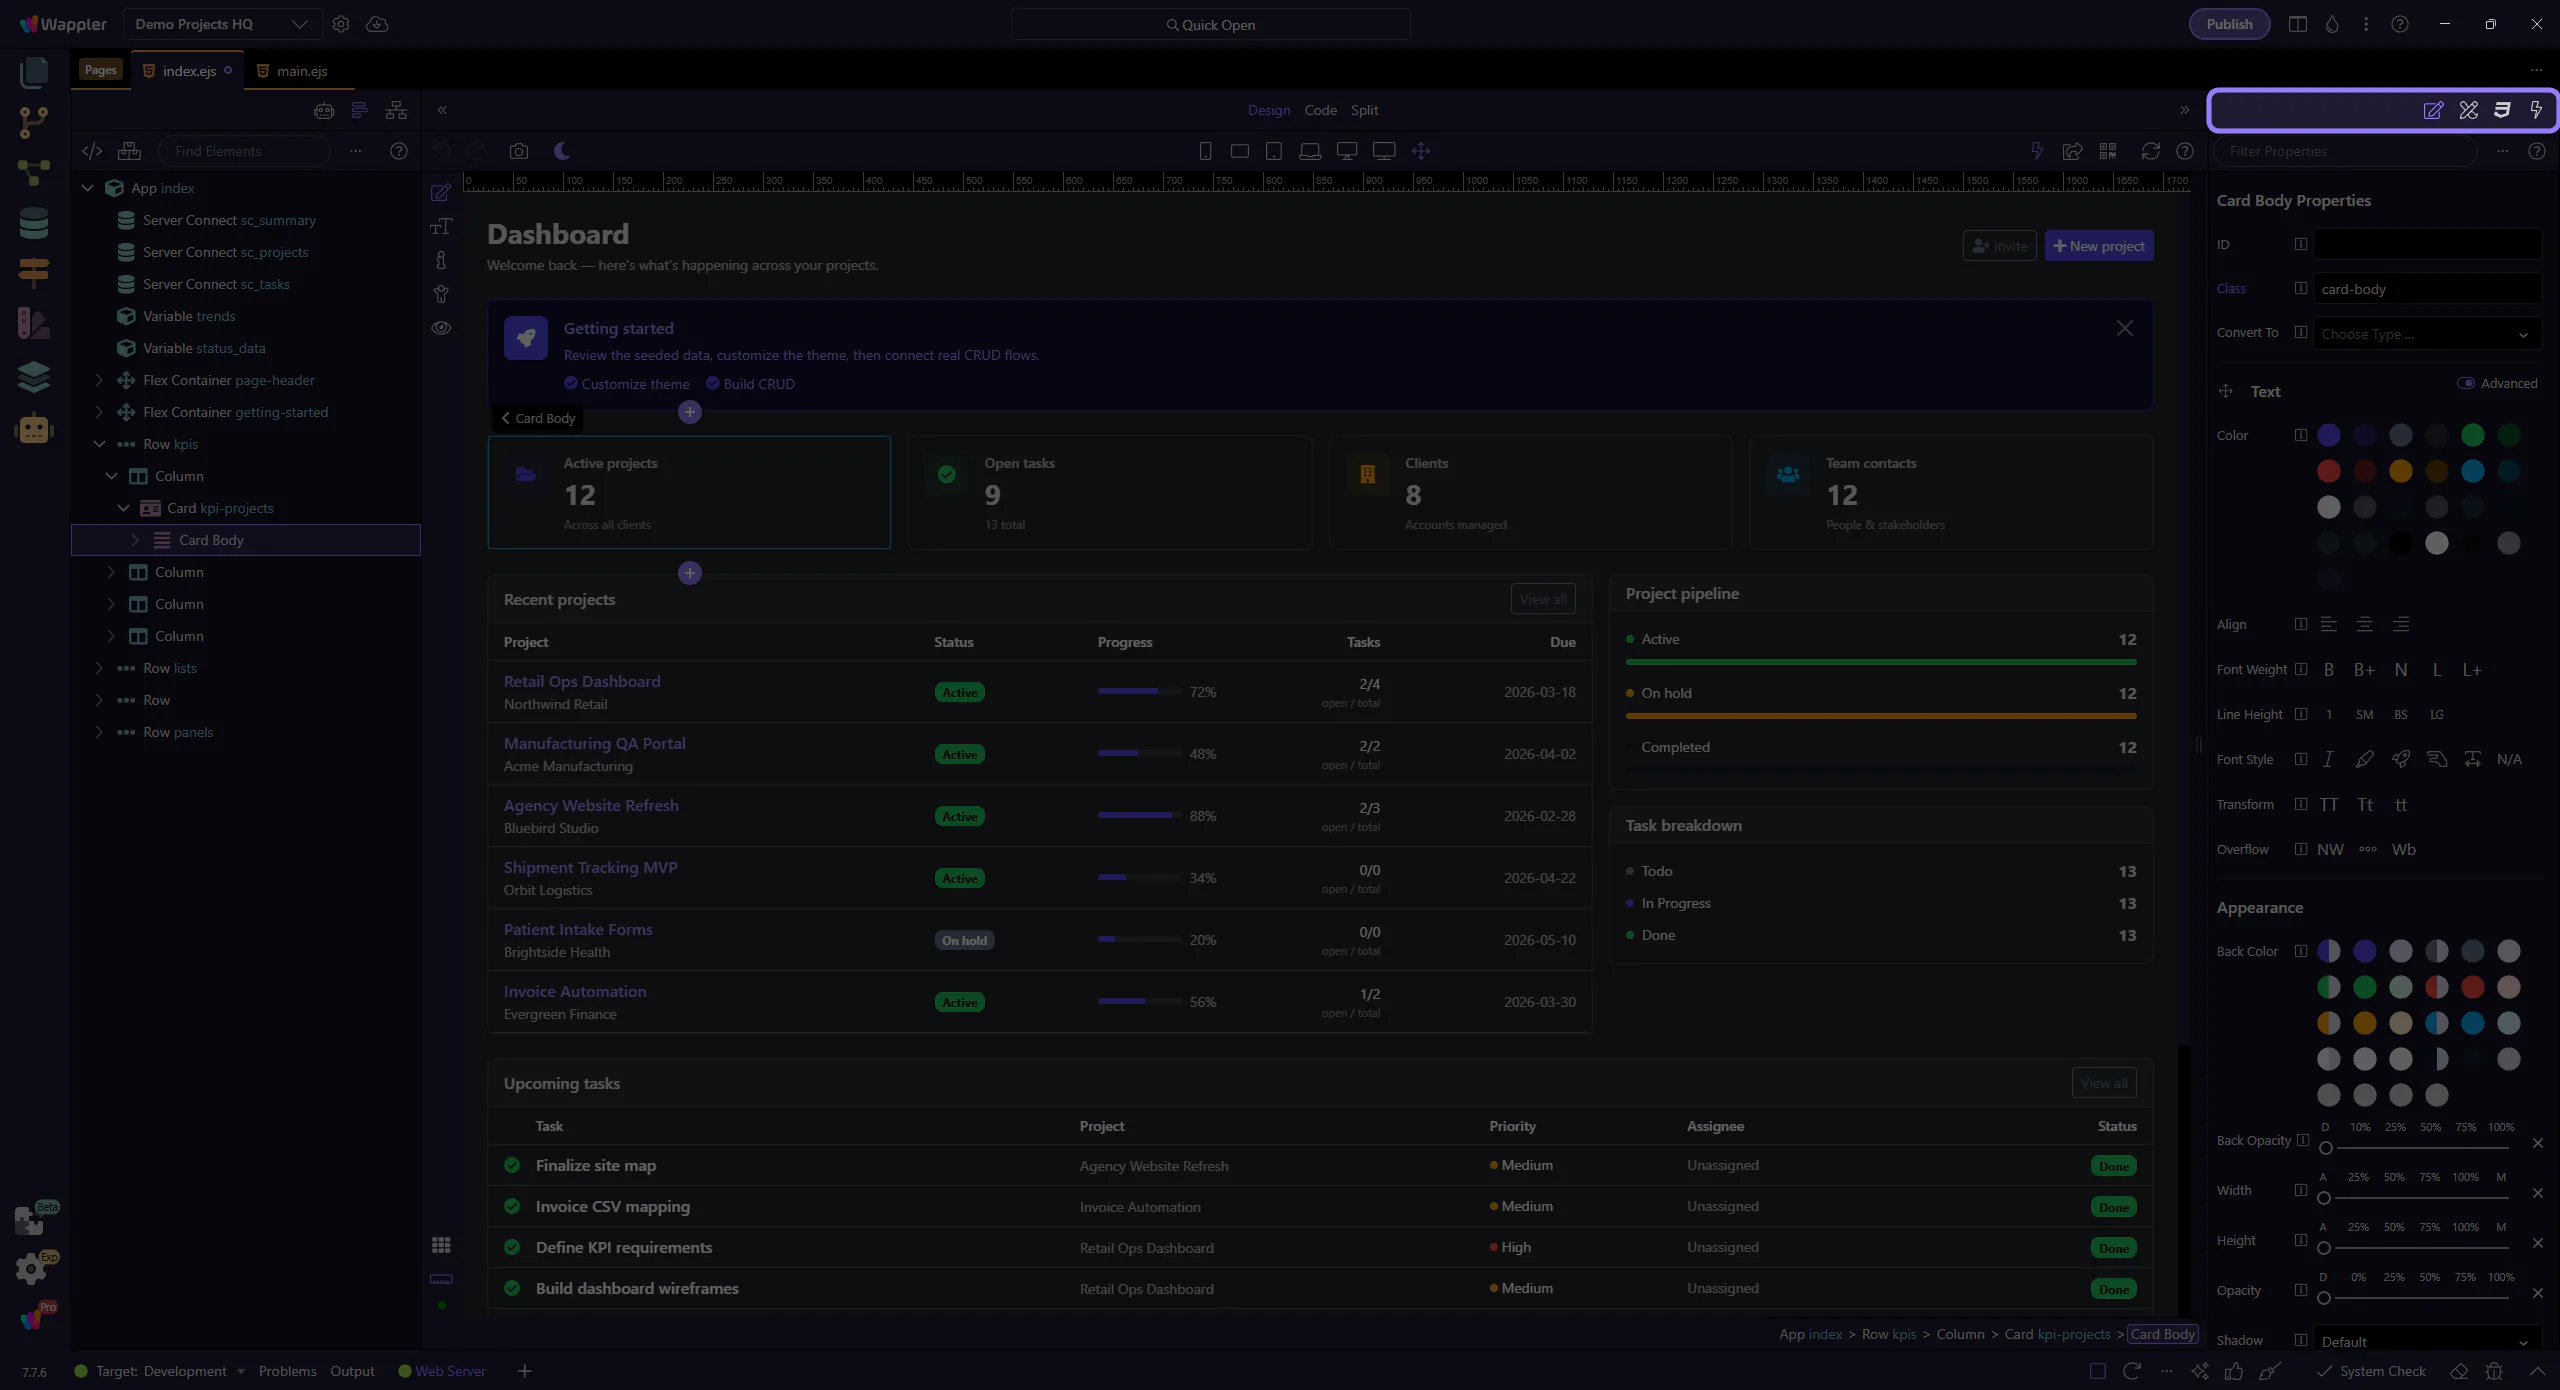
Add one or more classes to the selected element.
Create overrides to customize styles without leaving the editor. This step matters because Override styles is part of the Styles panel, and understanding that context makes the next action easier to repeat in your own project.