Creating a New Local Project
Learn how to move from Project Manager into the New Project flow, pick a clean starter template, and understand the settings that shape your first local project
Create a New Local Project
Learn how to move from Project Manager into the New Project flow, pick a clean starter template, and understand the settings that shape your first local project.
Create a New Local Project
This tour helps you make a safe first project choice without assuming you already know Wappler’s project structure.
You will:
- open the New Project flow
- choose a beginner-friendly starting template
- review the settings that matter most
The goal is not to build the final app yet. The goal is to create one clean project that you can use for the rest of onboarding.
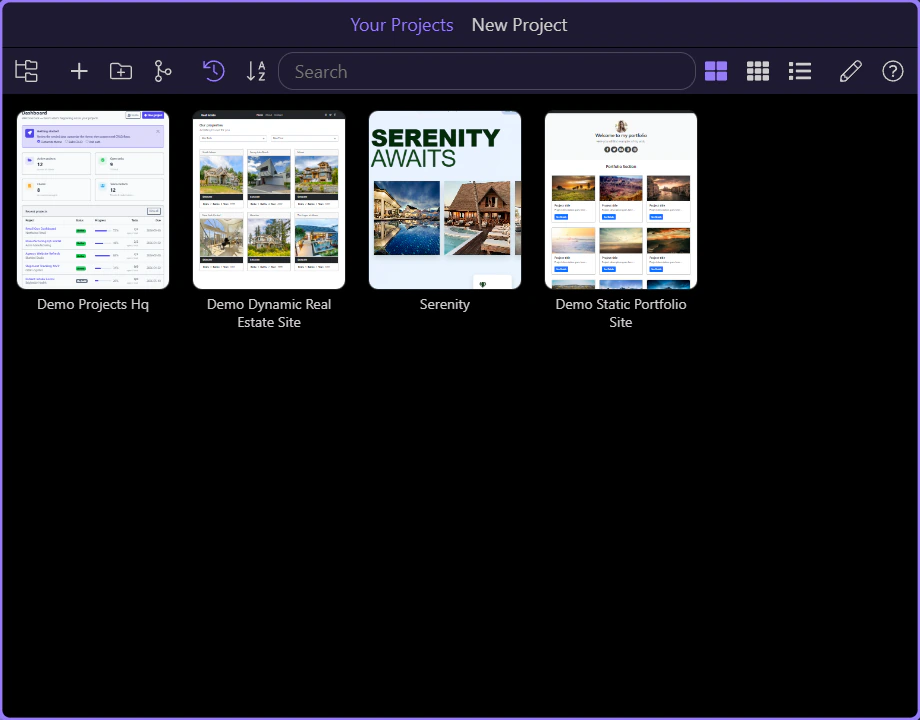
Find New Project on the toolbar
At the top of Project Manager, the main toolbar contains the actions for opening and creating projects.
In this step, focus on the left side of that toolbar. New Project is the entry point into Wappler’s project-creation flow.

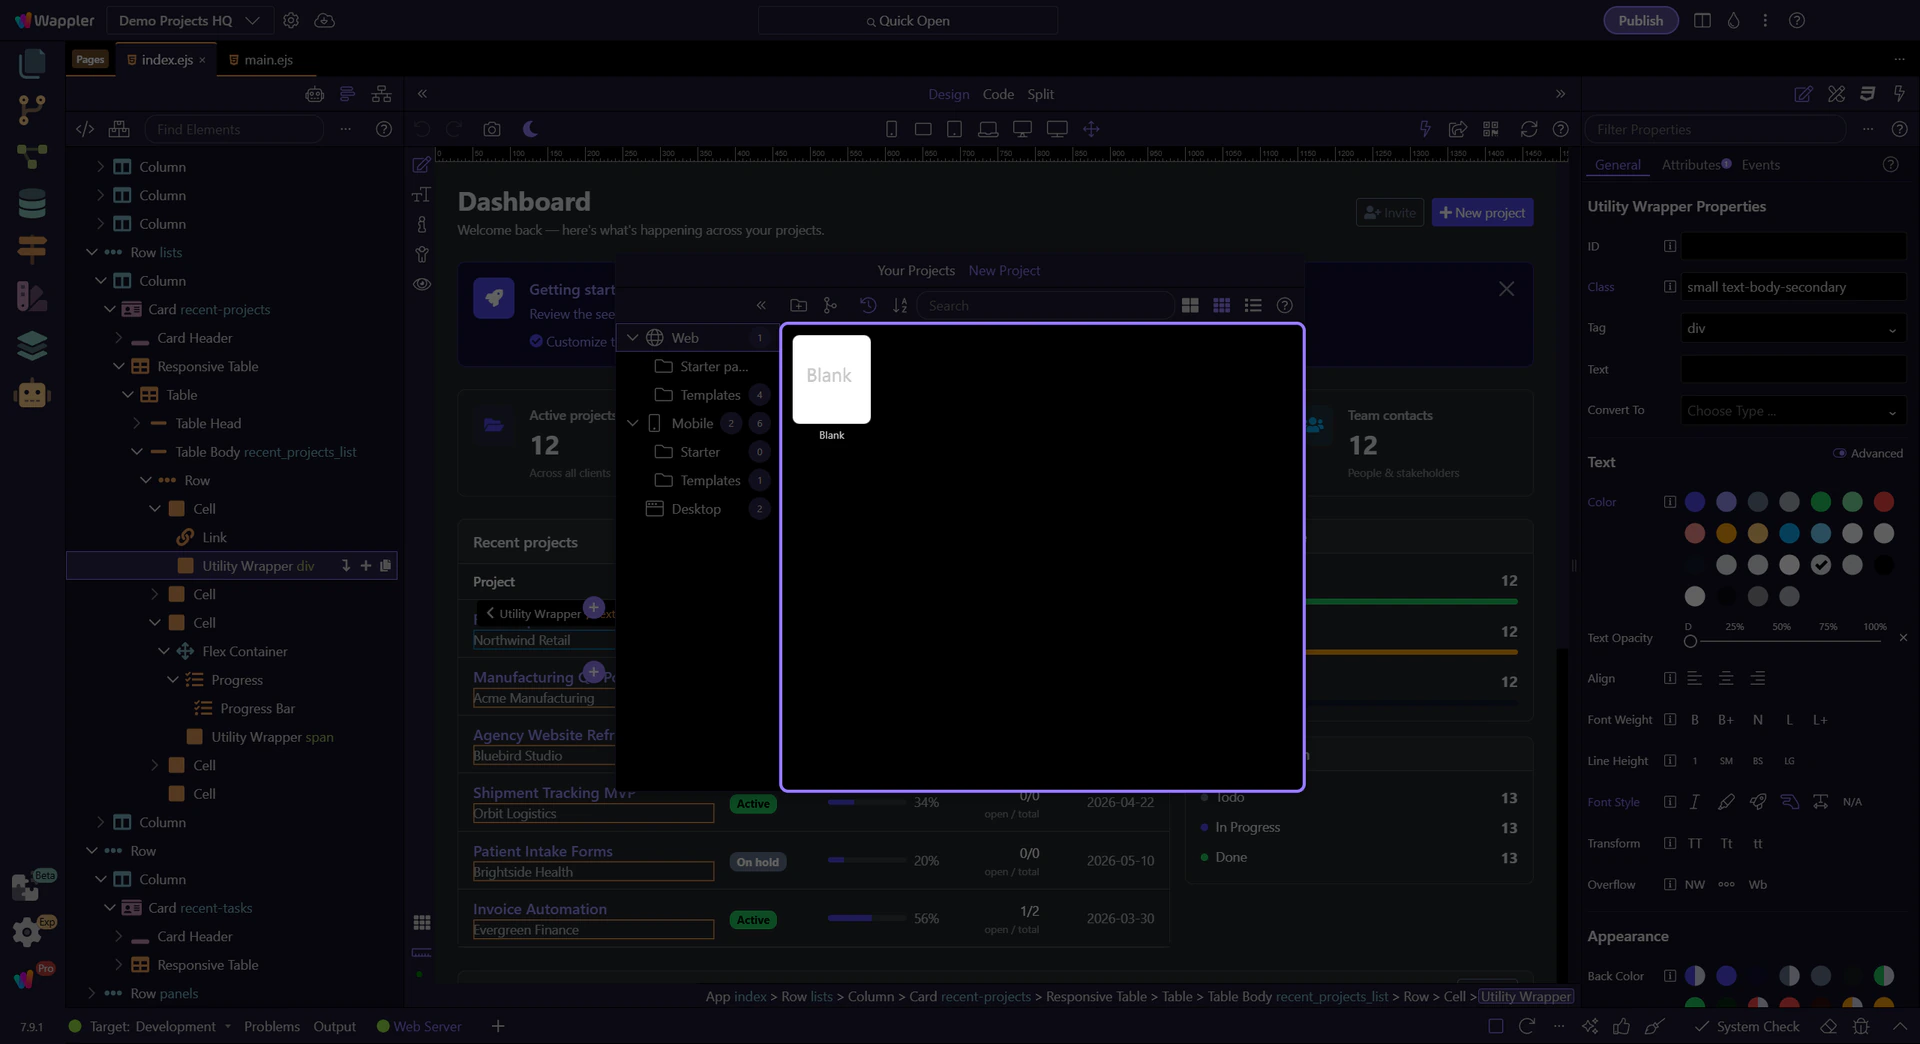
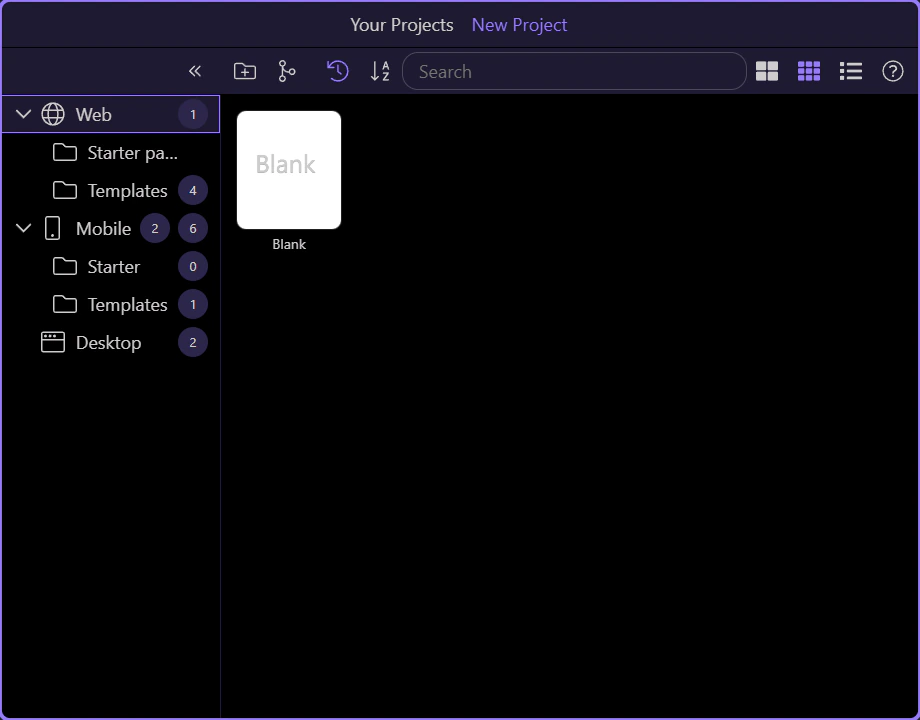
New Project wizard overview
After you click New Project, Project Manager switches from the recent-project view into the template-selection wizard.
Use this step to get your bearings: categories stay on the left, templates fill the main area, and project options appear after you choose a starter.
For now, you are picking a sensible starting point, not locking in every future project decision.

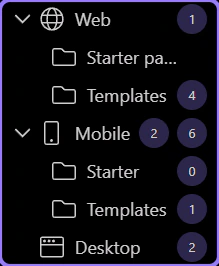
Template category
On the left side of the wizard, template categories organize the available starters. Web is the right category for standard browser-based projects.
We open it first so the main template area only shows web project starters and the next choice is easier to understand.
Blank template
We’ll pick the Blank template because it gives you the smallest possible starting point.
That makes it easier to see what gets added later: your own pages, your own data, and your own logic, without extra starter code getting in the way.
New Project Settings
Once you choose a template, these settings define the basic identity and runtime of your project.
If you are following onboarding, prefer clear, simple choices over clever ones:
- choose a clear project name
- store it in its own empty folder
- keep the development environment simple
- keep the server model aligned with the setup you just learned
After this step, continue with the First Success Path so you can move into page-building next.
- Project Name: choose a unique name
- Project Folder: select an empty folder (avoid spaces in the path)
- Development Environment: the environment used to run the project during development
- Server Model / Runtime: backend/runtime choice for the selected template
- Save: create the project
- Cancel: go back to template selection

Create a New Local Project
From the Welcome screen, start a New Local Project: pick a template, configure basics, and create the project.
Create a New Local Project
This is the welcome-screen version of your first project setup.
Its job is to get you moving quickly without assuming you already understand Wappler’s project structure.
You will:
- start the New Project flow from the welcome screen
- understand what templates are for
- keep your first project organized and easy to continue later

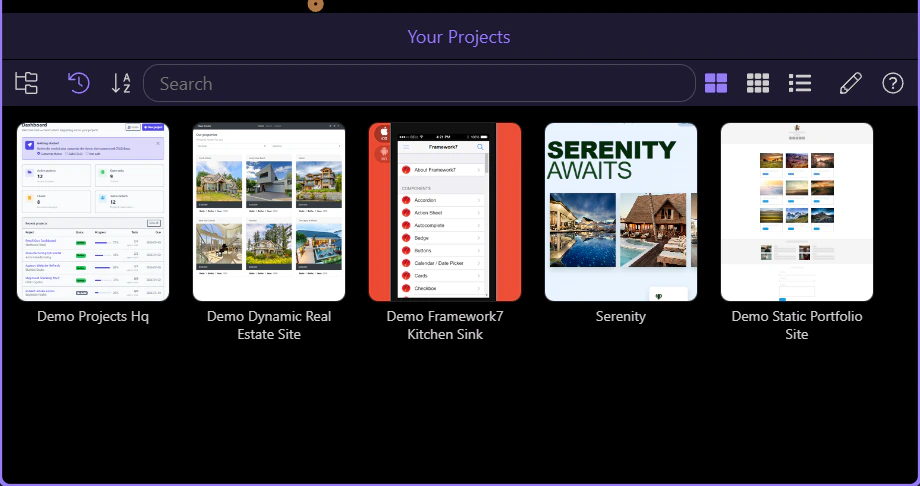
Start the New Project wizard
On the Welcome Screen, click here to start creating a new local project. This step matters because Start the New Project wizard is part of Manager Projectsmanagerpicker, and understanding that context makes the next action easier to repeat in your own project.
Back to Welcome
In the standalone Projects window, use Back to return to the Welcome Screen if you opened the New Project view by accident.
Choose a template
New projects are created from templates. Think of a template as a starting structure, not a commitment to a finished app.
For onboarding, start with the simplest possible template so the next tours can teach you what gets added and why.
First pick the category that matches what you want to build, then choose the smallest starter that fits.

Project folder
Store each project in its own empty folder. This keeps files, server code, and configuration clean and makes it much easier to understand what belongs to this app.
Beginners usually learn faster when each practice project is isolated and easy to reopen later.
After this step, continue with the First Success Path so you can move into the next onboarding stage without bouncing back through the welcome hub.
