
Data Formatter (advanced formatting + filtering)
Build formatter chains visually (basic formatting → advanced filtering) and insert them back into your bindings.
Introduction
Section titled “Introduction”This tour uses a sample App Connect page so you can safely explore formatting without changing your own project.
What the Data Formatter does
Section titled “What the Data Formatter does”Formatters transform a value inside an expression (currency/date/text/collections). The Data Formatter popup helps you build a formatter chain visually and inserts it back into your expression.
tip: You can always use the expression picker without the Data Formatter; the formatter popup is for building longer chains faster.
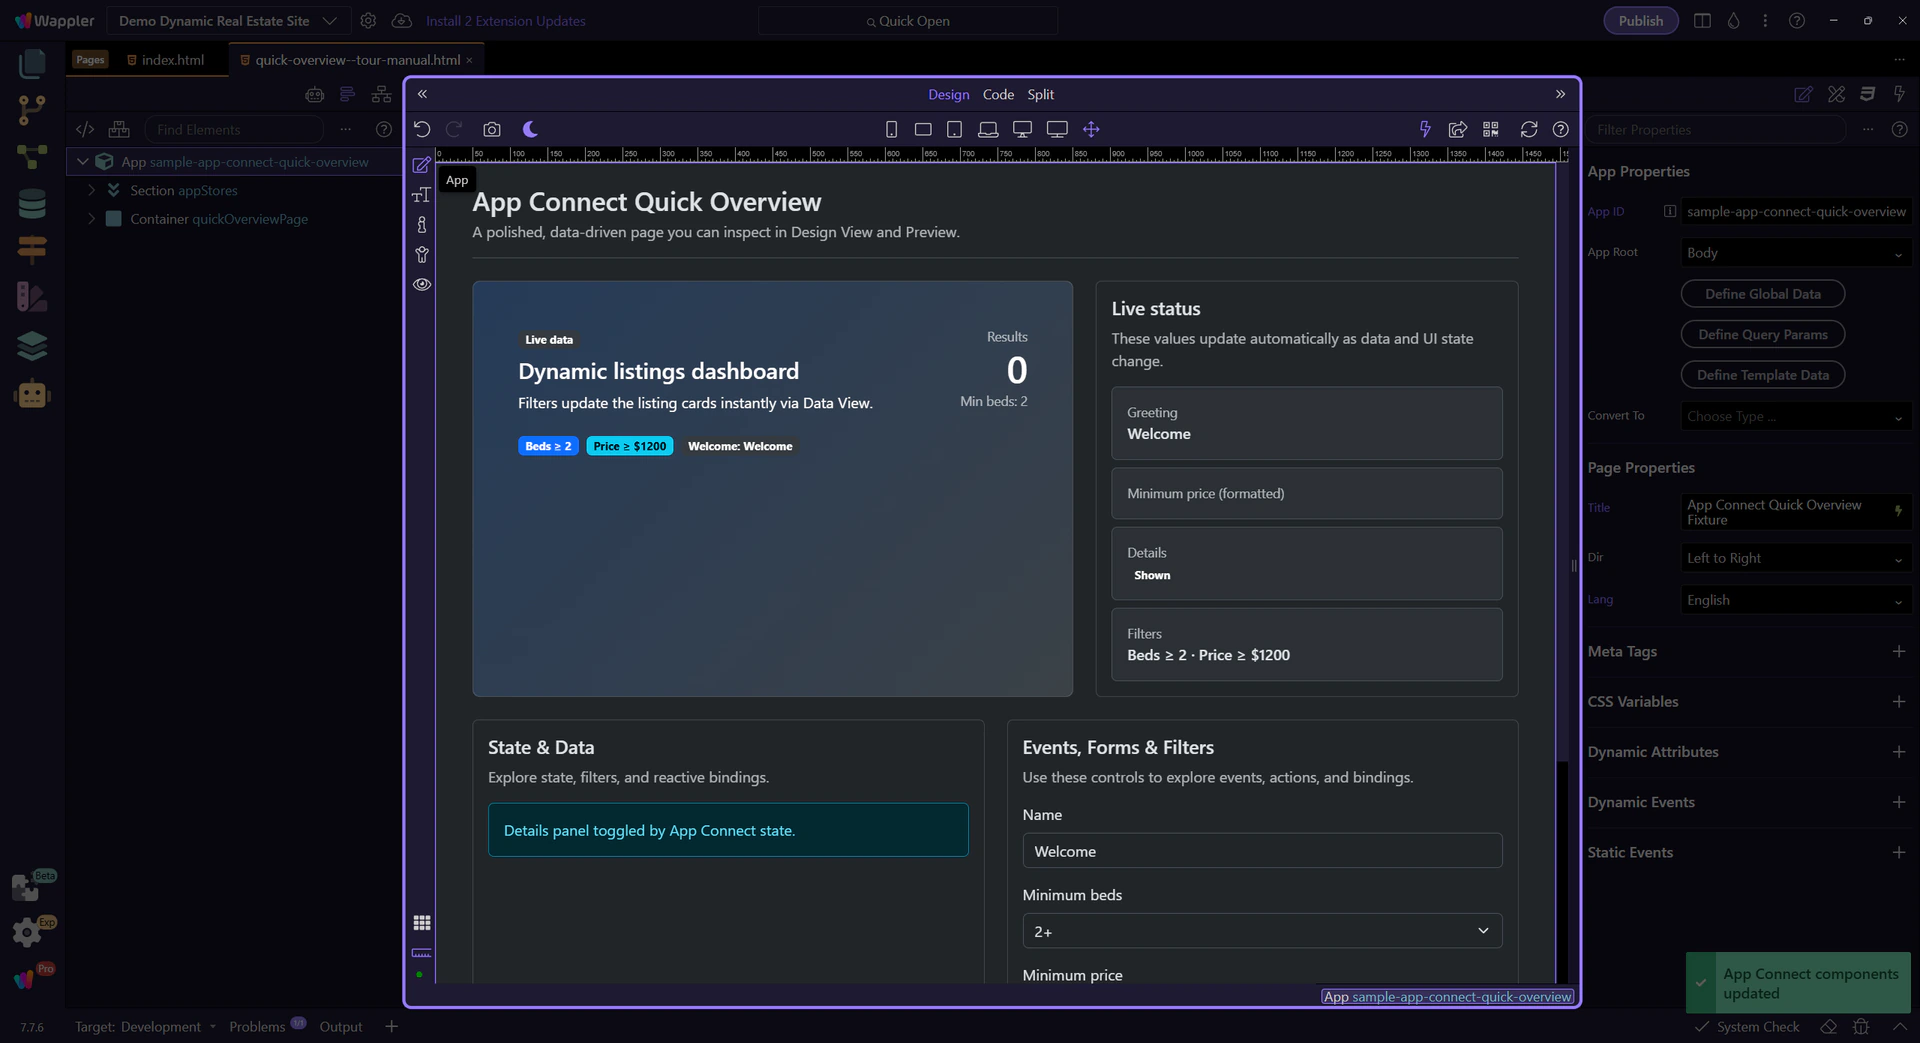
Where you use it
Section titled “Where you use it”The Data Formatter is typically opened from the Data Bindings Picker. You can also reach it from the Visual Expression Builder, but in this tour we’ll always start from the Data Bindings Picker for simplicity.
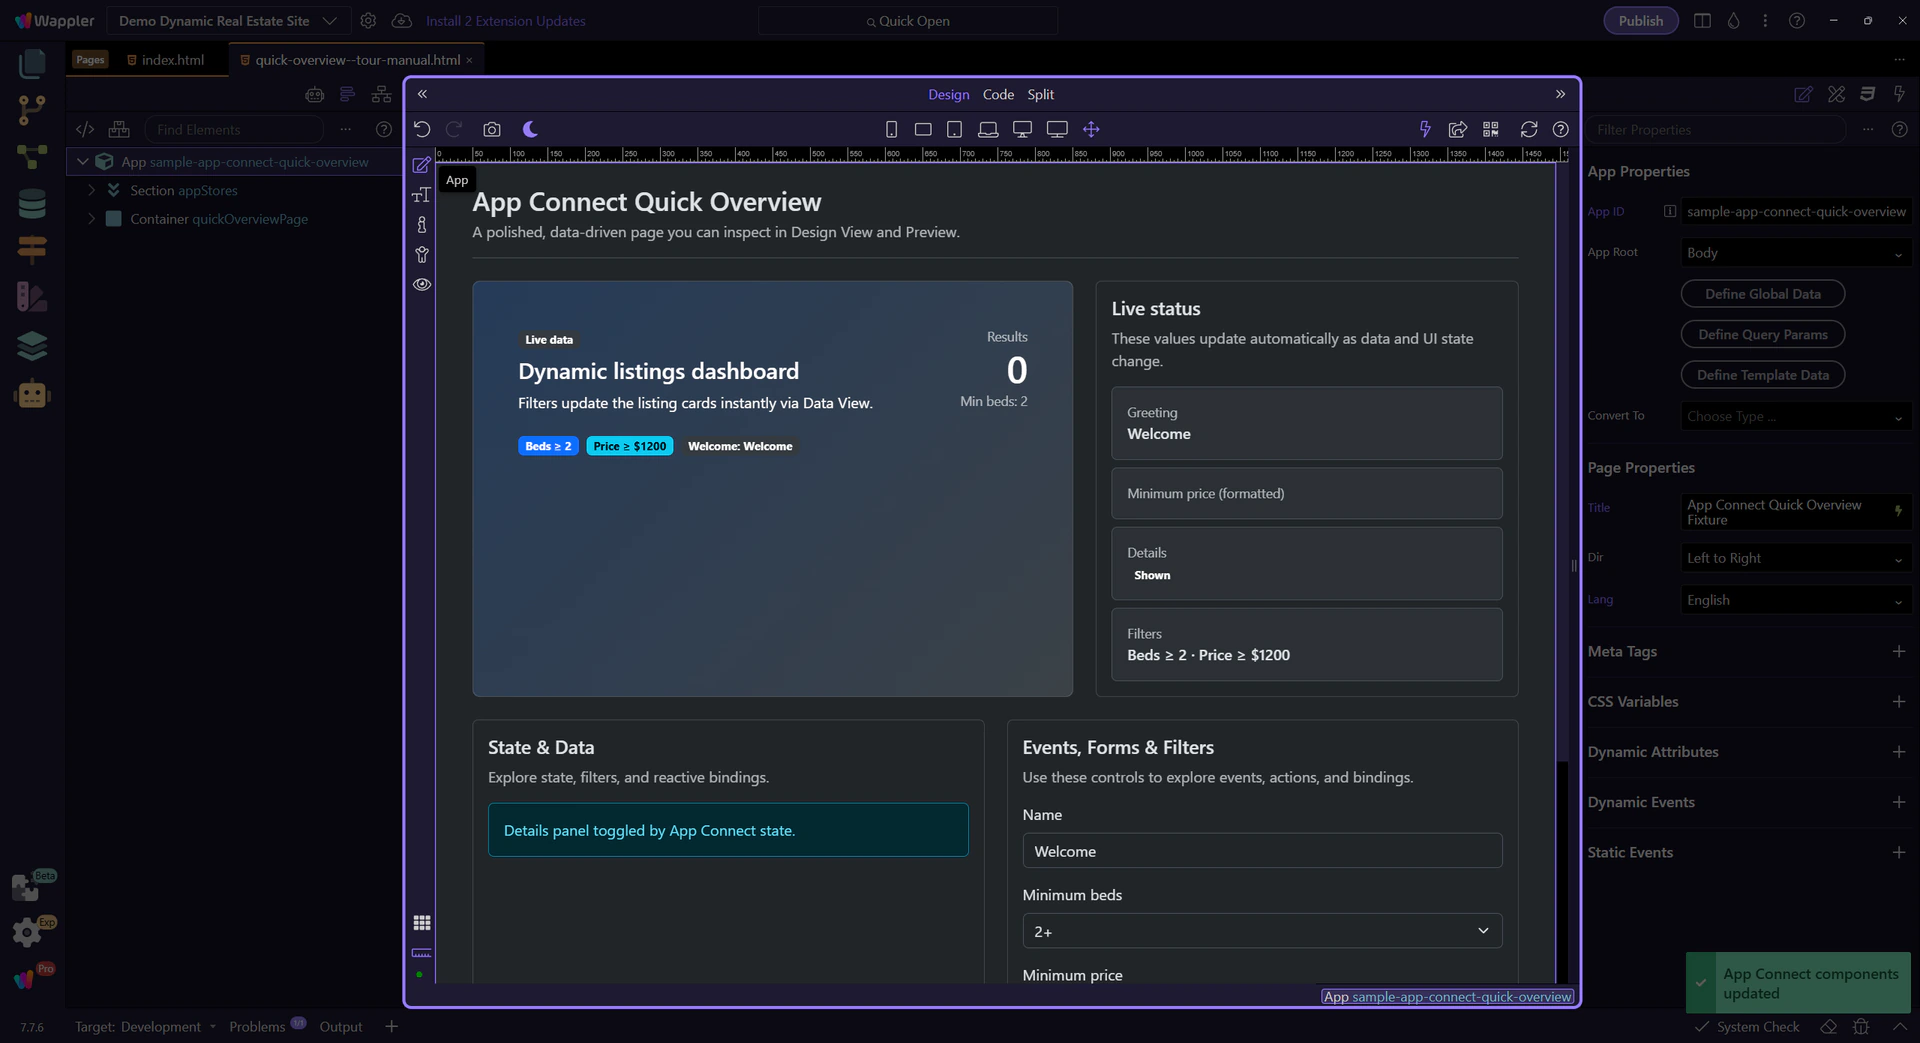
Launching from the Data Bindings Picker
Section titled “Launching from the Data Bindings Picker”This tour starts in the Data Bindings Picker, then moves into the Data Formatter from there.
Bound element (auto-selected)
Section titled “Bound element (auto-selected)”This step auto-selects a bound element in Design View so the Data Bindings Picker has real data in scope.
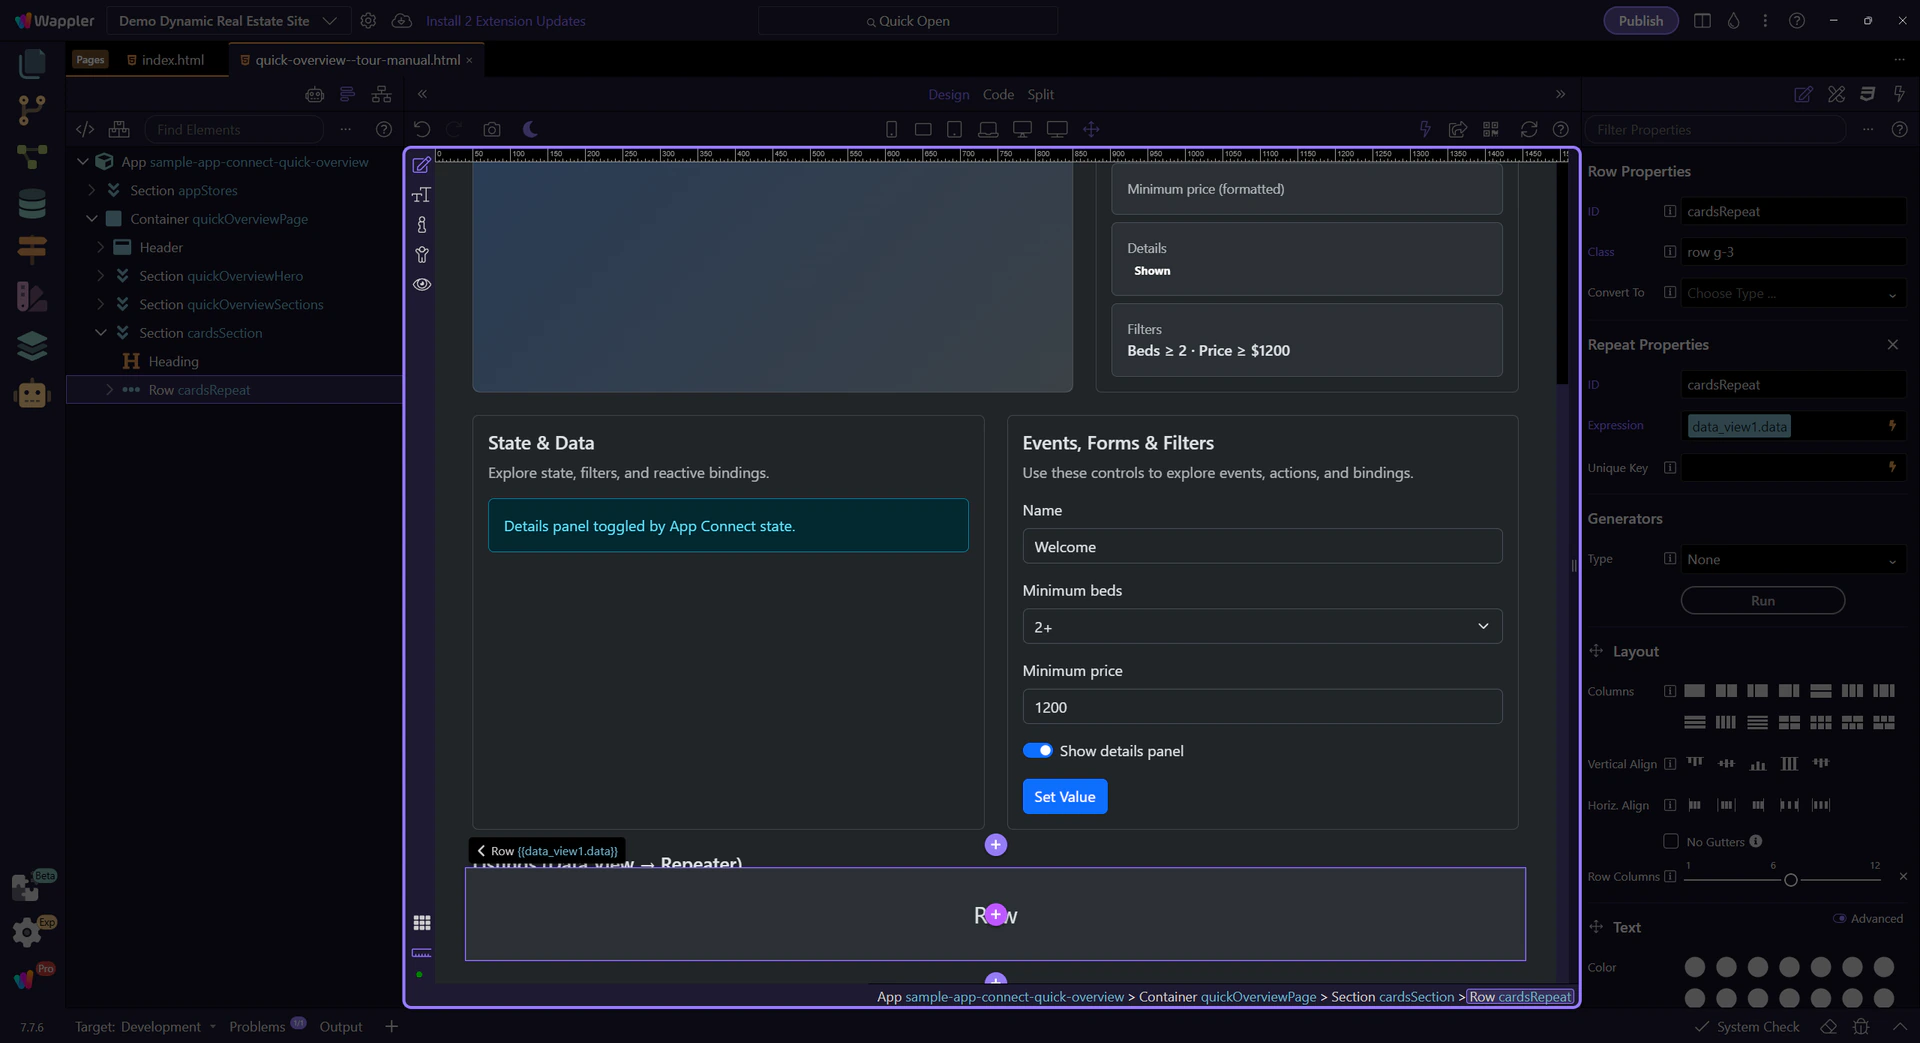
Data Bindings Picker opens
Section titled “Data Bindings Picker opens”We open the picker for the Repeat expression so the formatter tools are available.

Data Bindings Picker popup
Section titled “Data Bindings Picker popup”This picker is the most common entry point for formatting: pick a value from scope, then format it with the wand button.
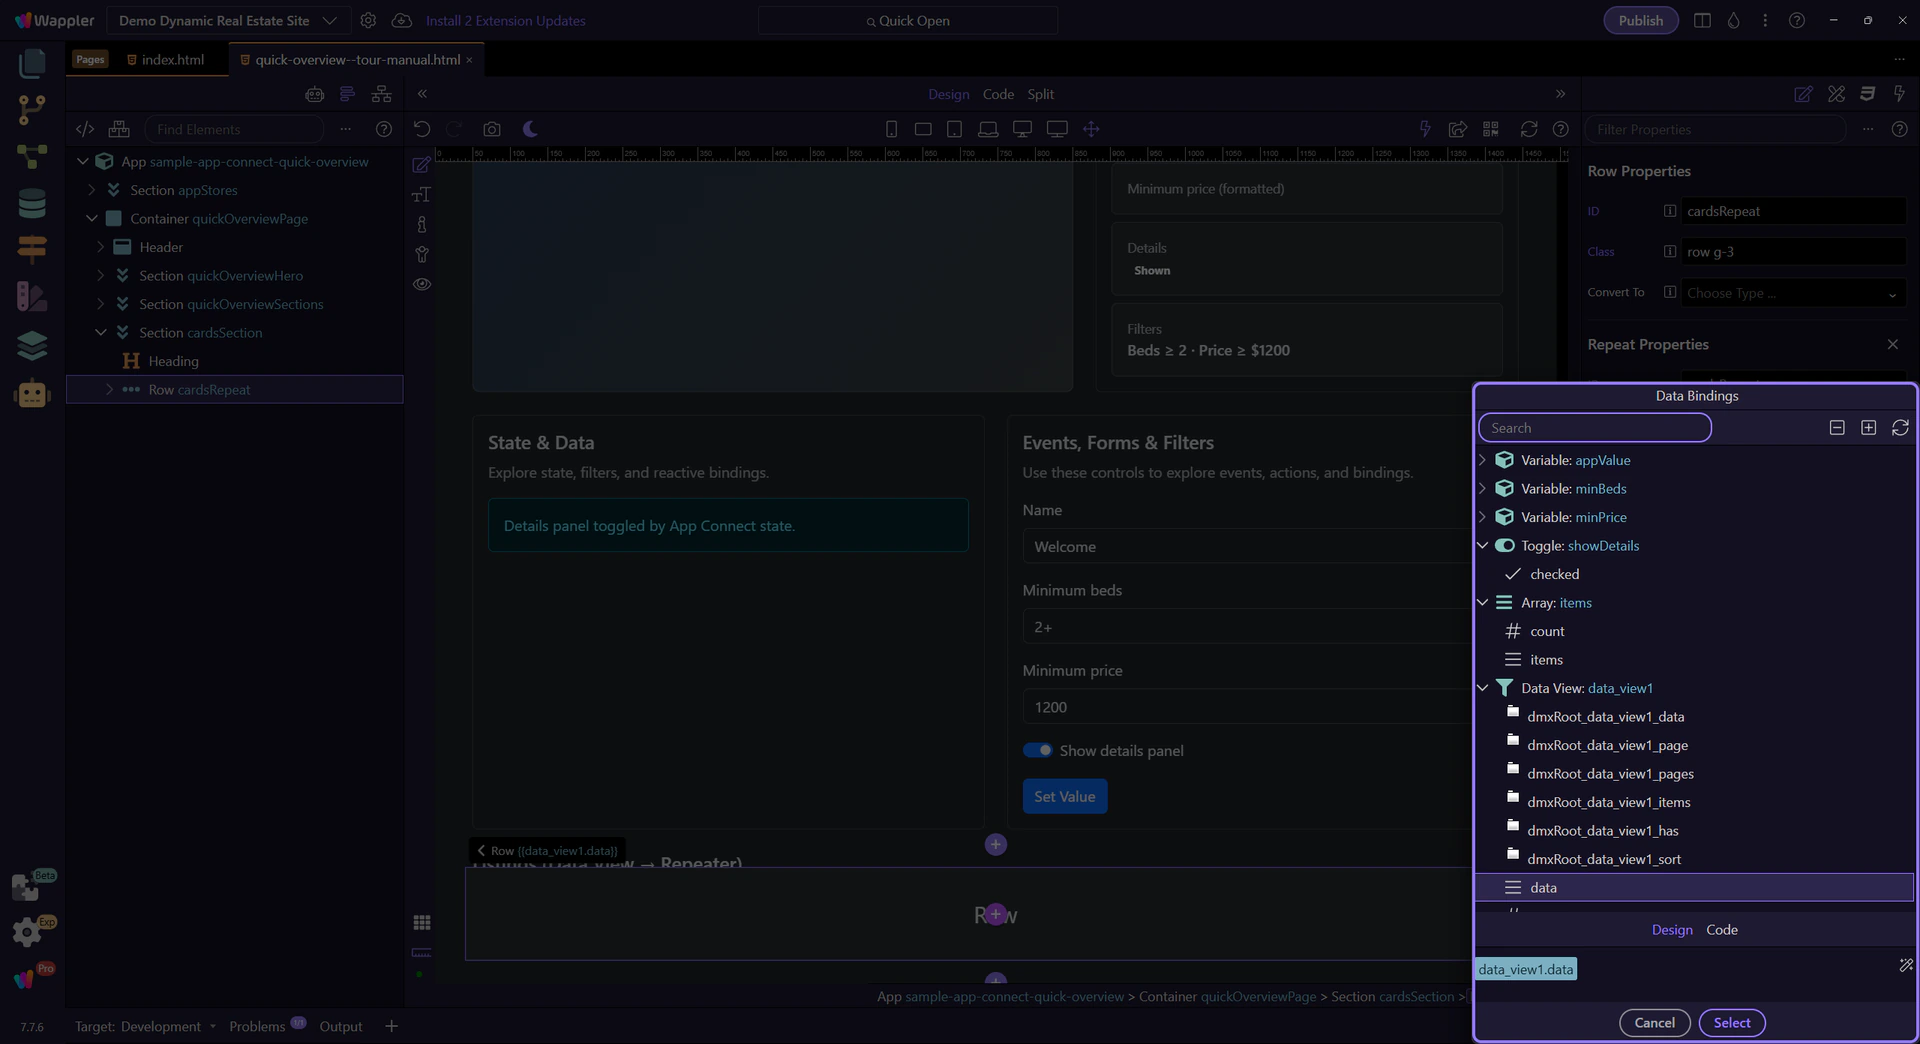
Active expression tag
Section titled “Active expression tag”The current expression tag is already selected here so the next step can pass a real value into the formatter popup instead of starting from nothing.
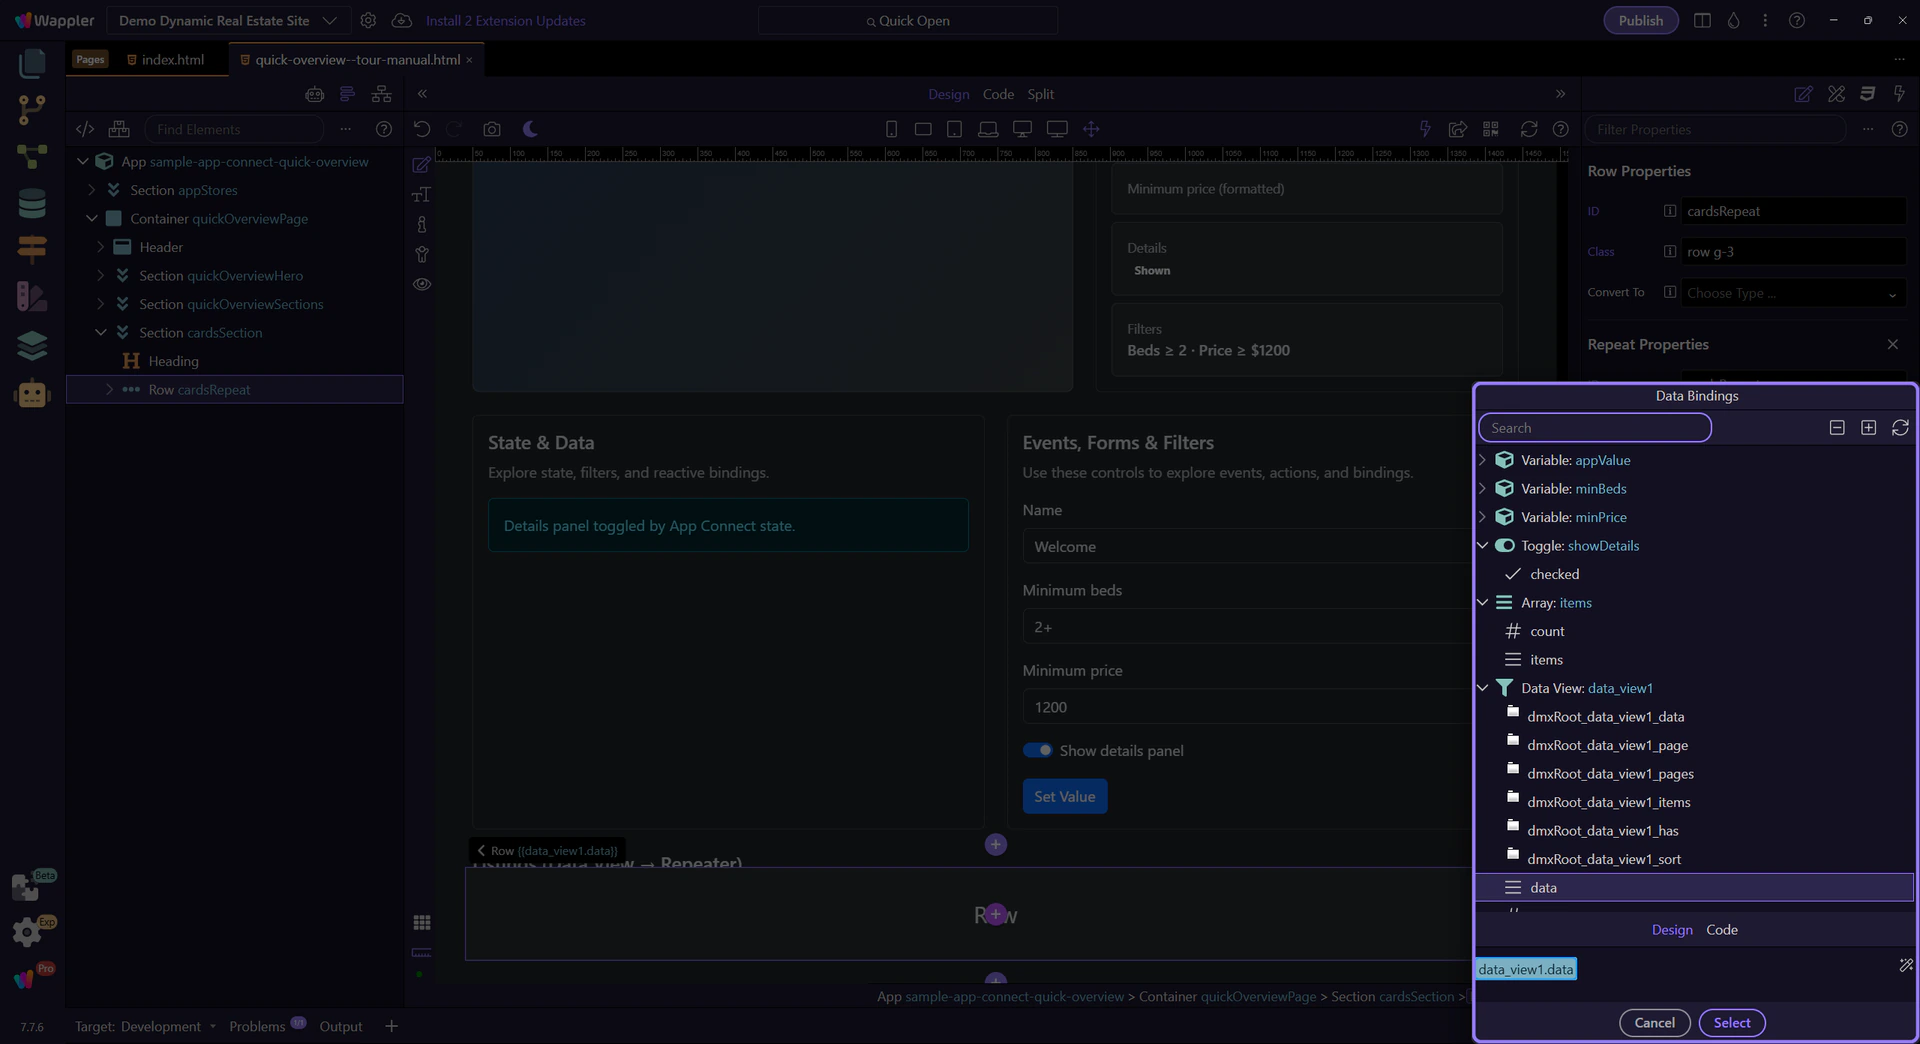
Data Formatter opened
Section titled “Data Formatter opened”The formatter opens here so the flow can move from picking raw data to shaping how that value will be presented to users. The following steps stay inside the formatter popup and show how one expression turns into a reusable formatting chain.
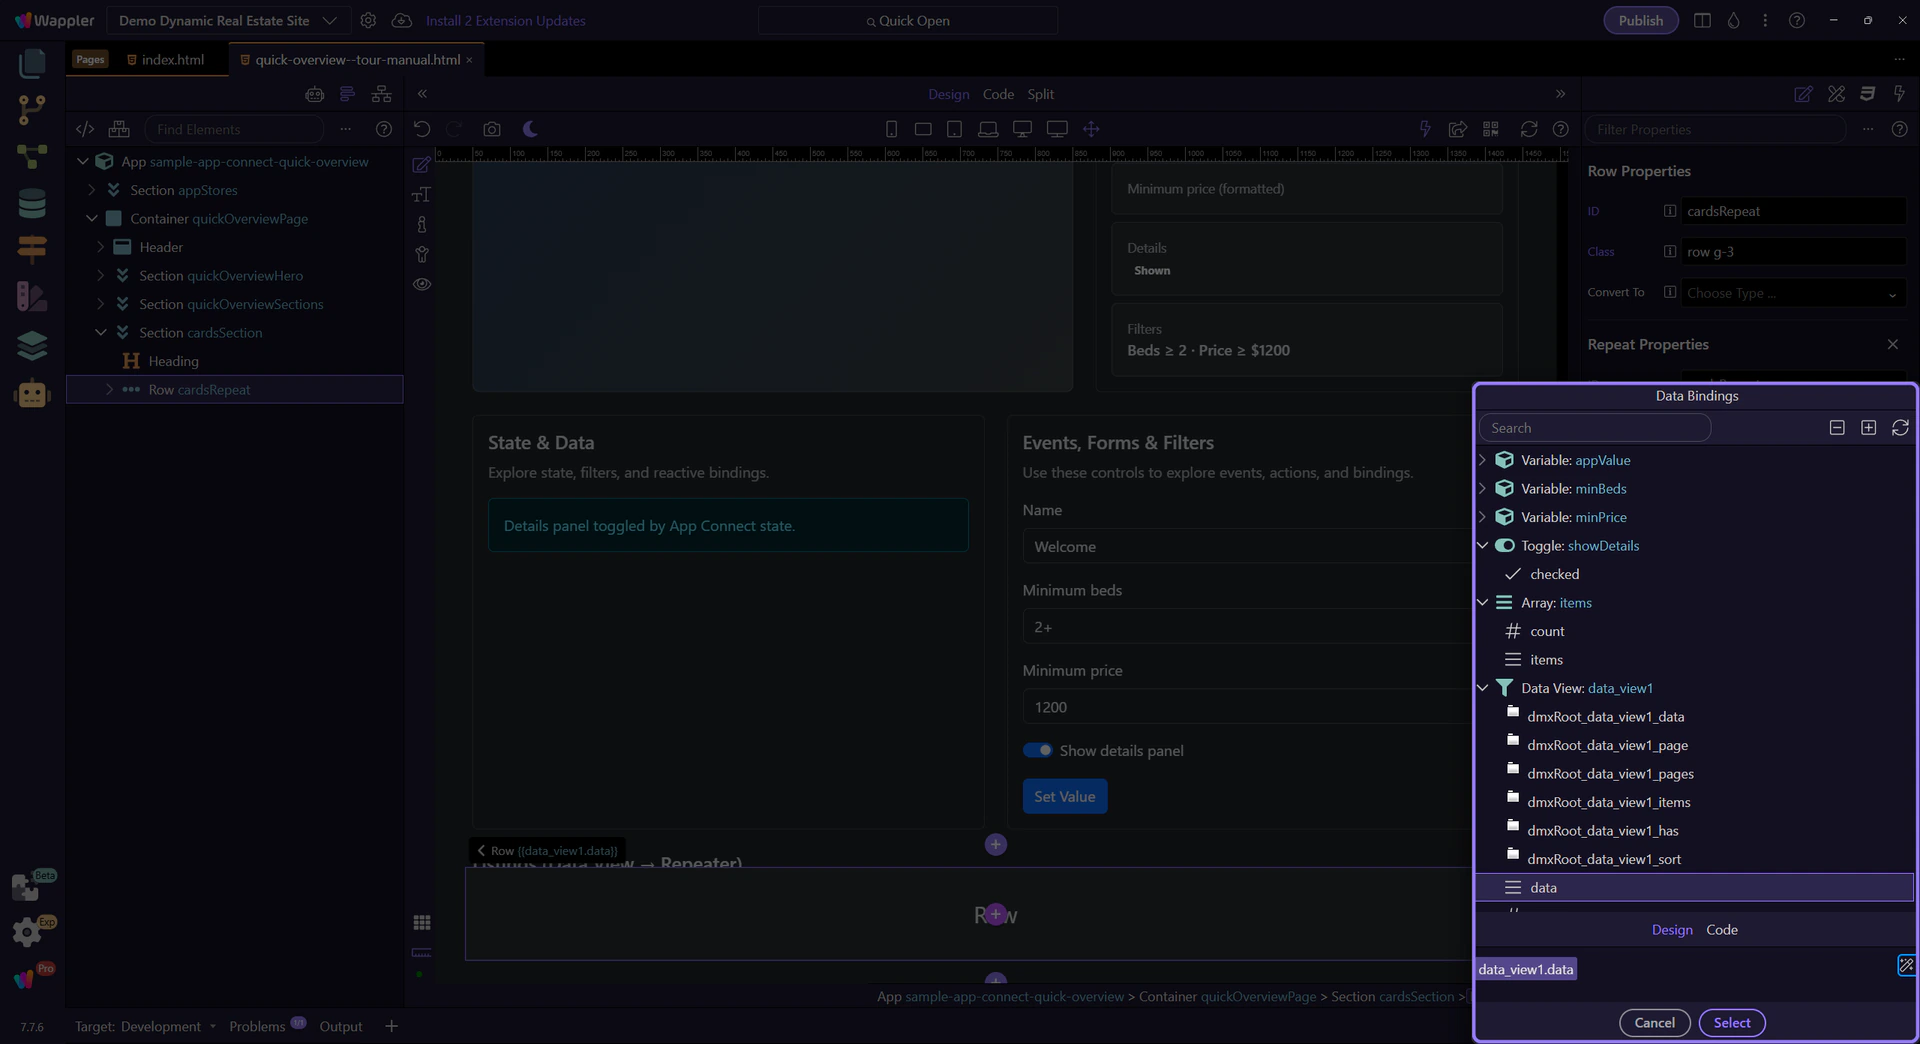
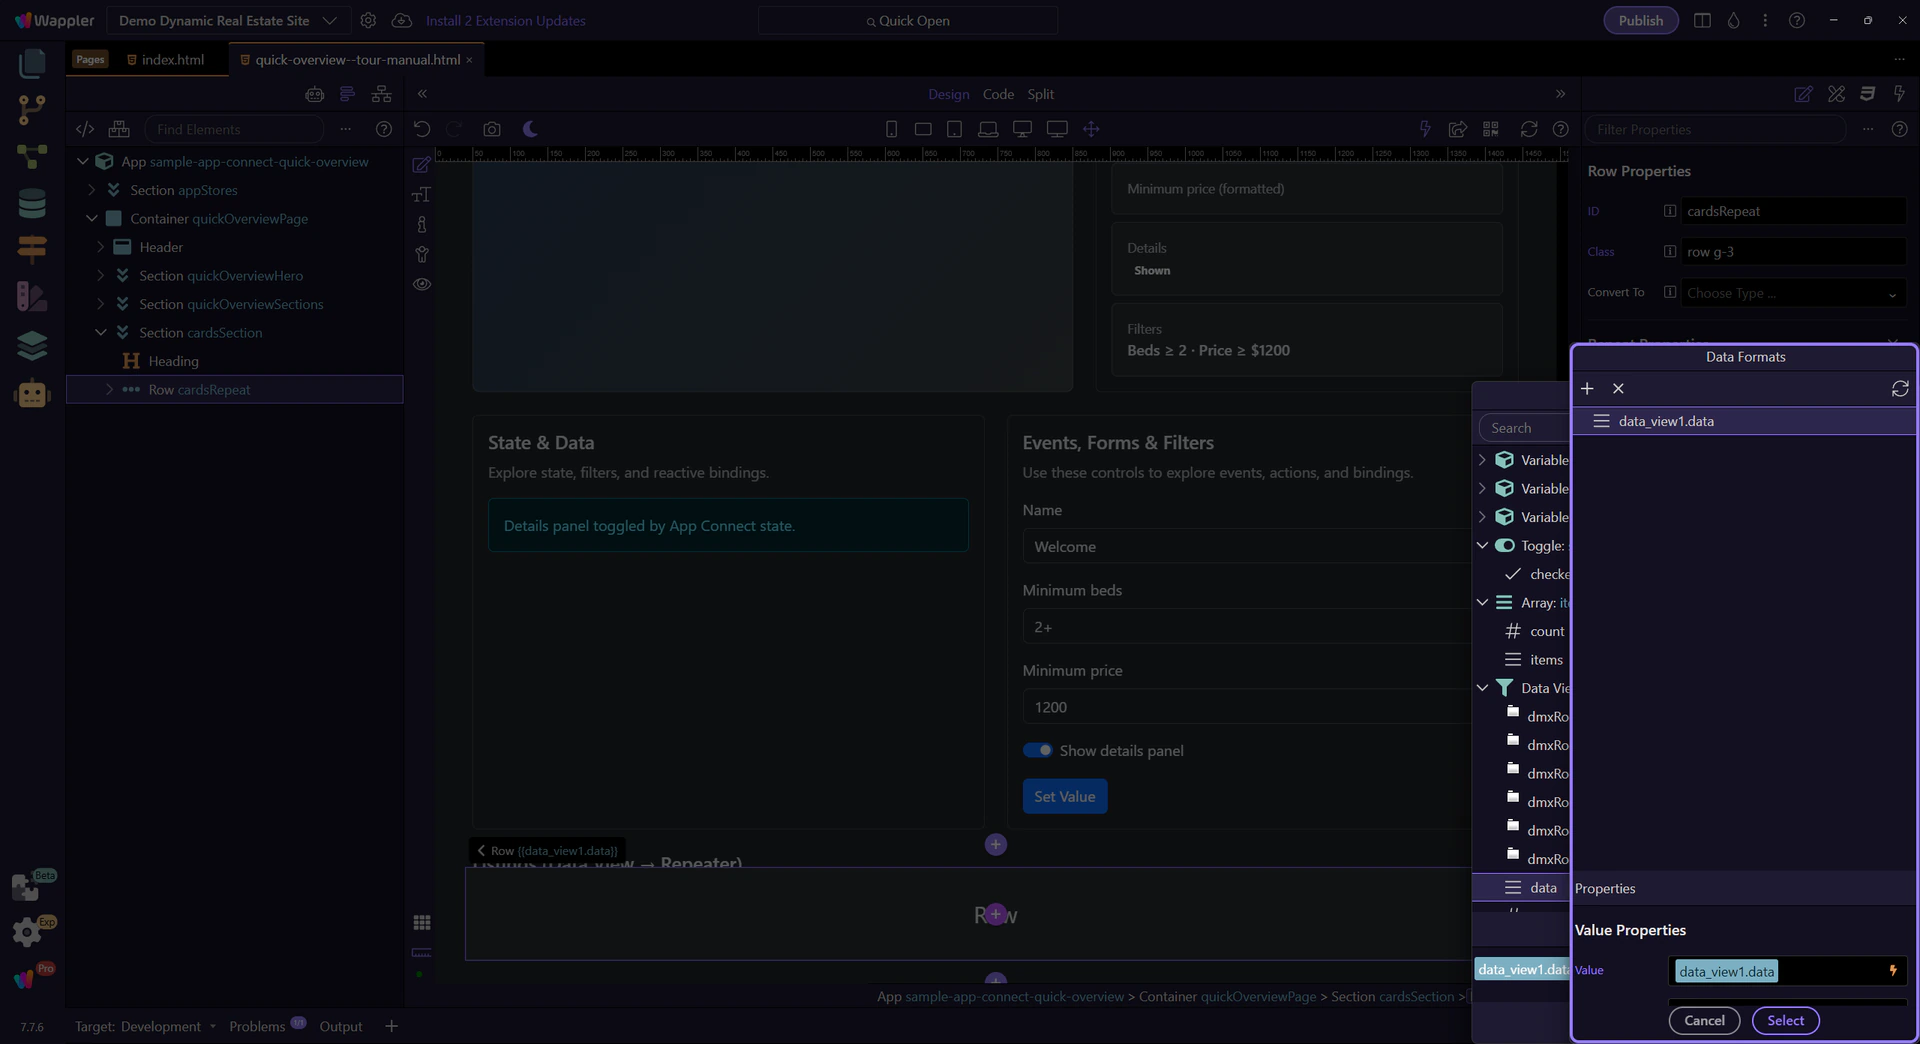
Data Formatter popup
Section titled “Data Formatter popup”The Data Formatter is a separate popup for building formatter chains (pipelines). When you click Select, it inserts the result back into the field you came from.
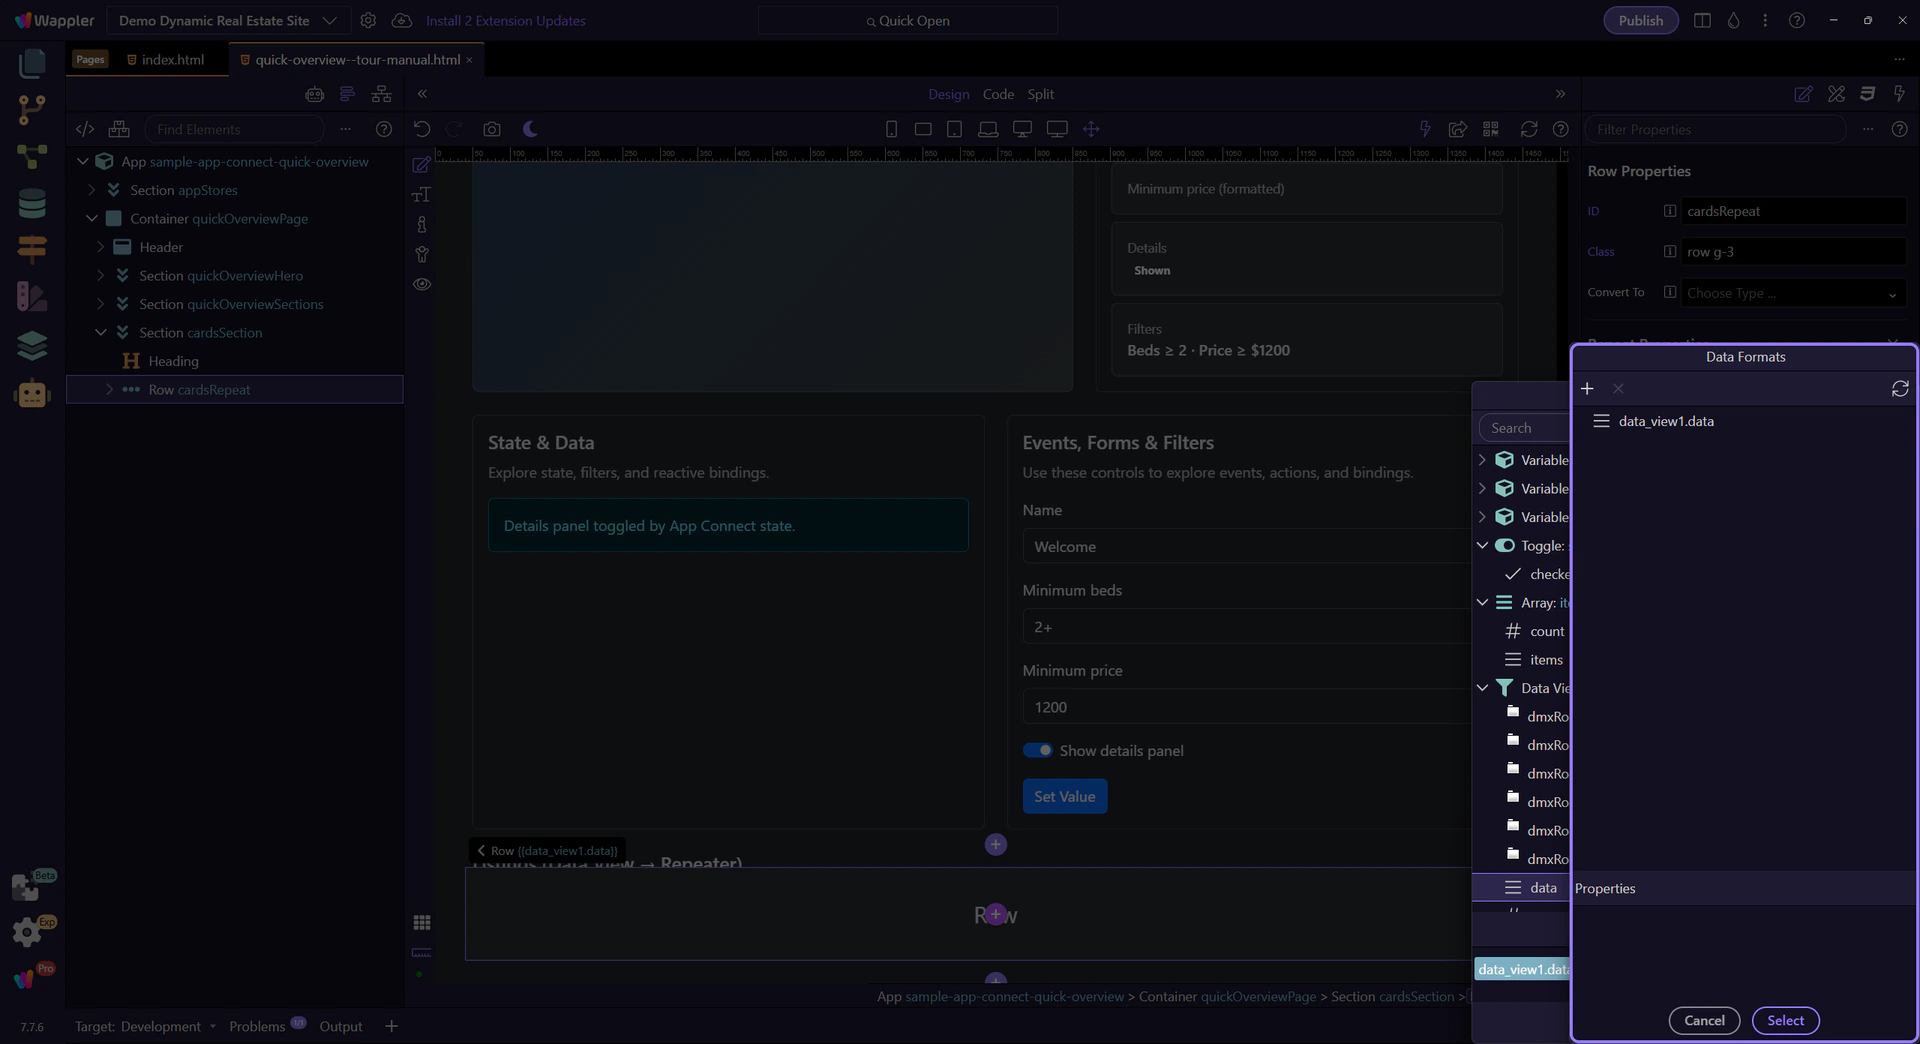
Formatter chain tree
Section titled “Formatter chain tree”This tree is the formatter chain you’re building. Add formatters, reorder them, and select a formatter to edit its options.
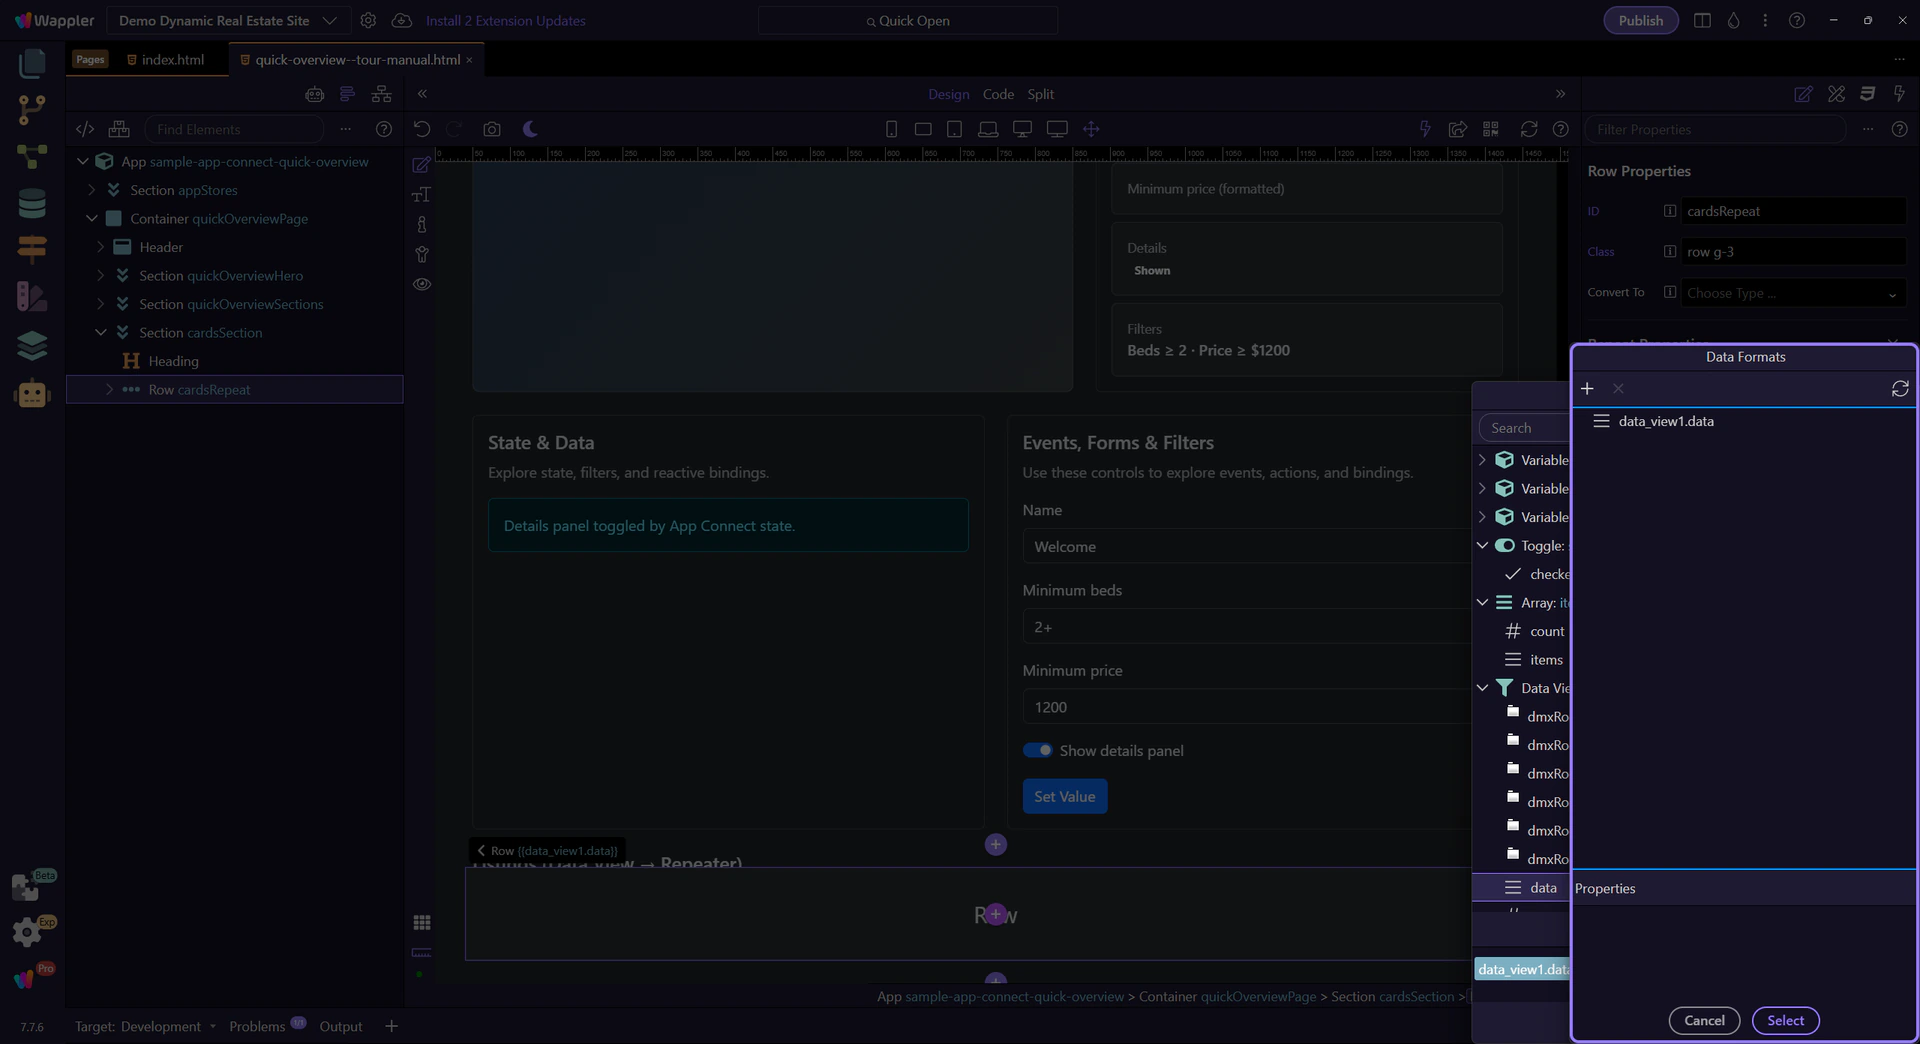
Select a formatter node
Section titled “Select a formatter node”Let’s select a formatter node so the context menu can show the right actions for that node and input type.
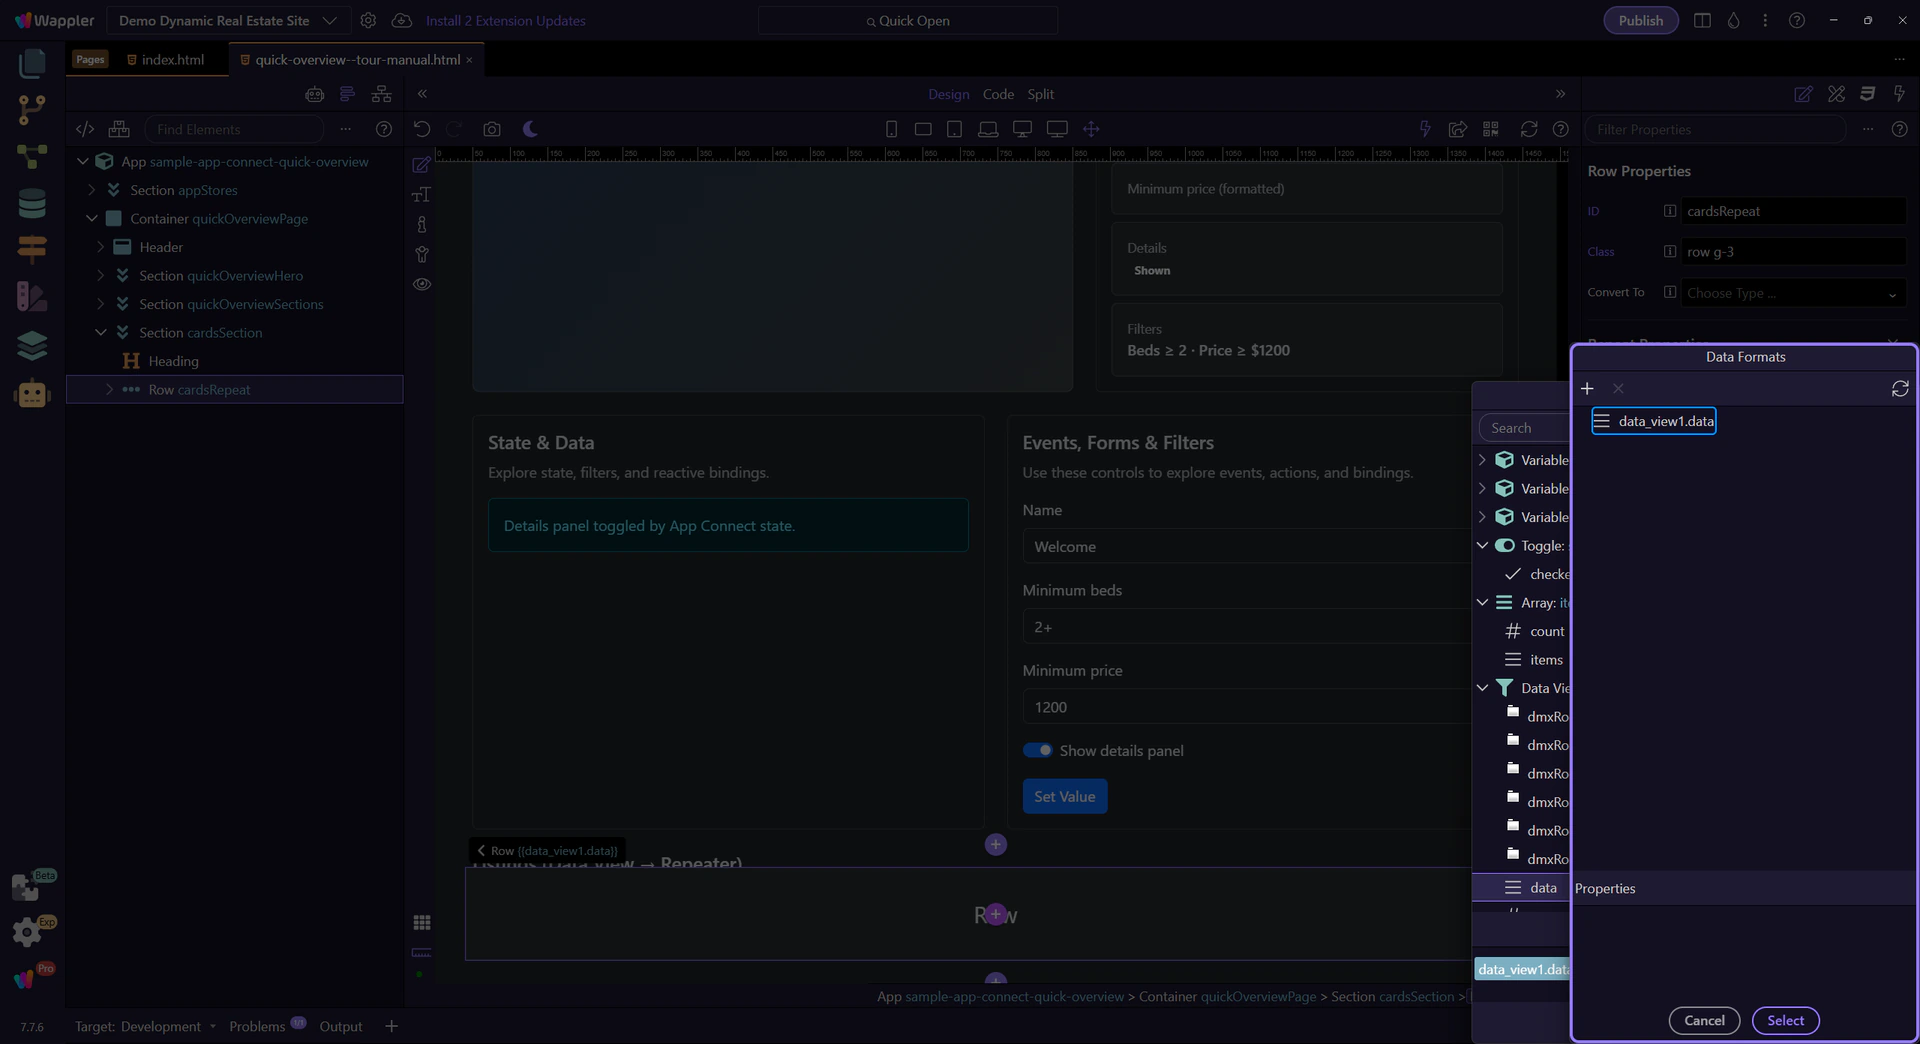
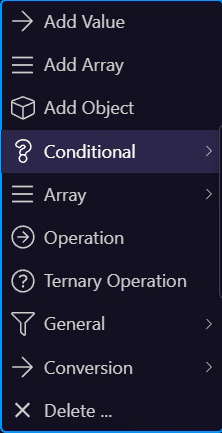
Context menu opened
Section titled “Context menu opened”The context menu opens, showing available formatter categories.

Context menu (categories + actions)
Section titled “Context menu (categories + actions)”This menu is built from formatter rules and is context-sensitive (selection + input type). Use it to add new formatters, transform types, and build longer chains quickly. Some entries are simple actions; others open submenus with more specific options.
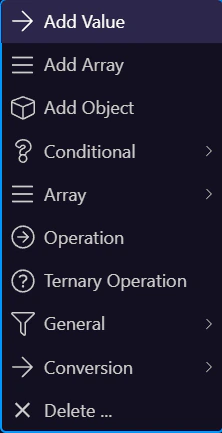
Categories with submenus
Section titled “Categories with submenus”Some categories open a nested submenu. Hover a category to reveal the submenu with specific formatter actions.

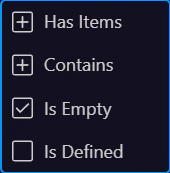
Submenu entries (specific formatters)
Section titled “Submenu entries (specific formatters)”The submenu contains the concrete formatter actions you can add. Click one to insert it into the formatter chain, then configure its options in the inspector.
What’s in the menu
Section titled “What’s in the menu”While the menu is open, notice the patterns: general categories, type conversions, and specialized formatters (often grouped in submenus).
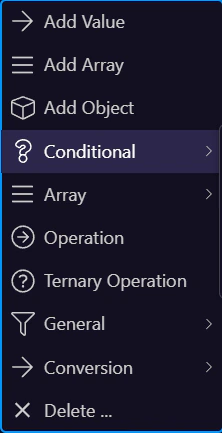
Formatting categories (by data type)
Section titled “Formatting categories (by data type)”Formatter options are grouped by the current value type. If you don’t see a formatter you expect, convert the value first (or pick a formatter that matches the current type).
Close the context menu
Section titled “Close the context menu”The tour closes the context menu so we can continue.

Formatter options (Properties)
Section titled “Formatter options (Properties)”When a formatter is selected, its options appear here. Options depend on the formatter type (date format, locale, precision, separators, etc.).
Save the formatter chain
Section titled “Save the formatter chain”Normally you’d click Select to insert the formatter chain back into the expression builder. In this tour we’ll close without changing anything.

Close the Data Formatter
Section titled “Close the Data Formatter”Let’s close the Data Formatter popup and return to the Data Bindings Picker.

Apply the formatted expression
Section titled “Apply the formatted expression”Back in the Data Bindings Picker, you’d click Select to apply the (now formatted) expression to the property and update the page.

Close the Data Bindings Picker
Section titled “Close the Data Bindings Picker”Close the picker so you can continue working in the editor.

Wrap-up
Section titled “Wrap-up”You’ve seen how to open the Data Formatter, build a chain, and insert it back into an expression.
Filtering best practices (when to use what)
Section titled “Filtering best practices (when to use what)”Use formatters for display and small transforms. When you need “real” filtering/sorting/paging, pick the tool that matches the dataset size.
warning: Avoid heavy client-side filtering on large datasets — it can be slow and increases memory usage.
Next steps
Section titled “Next steps”Continue with related tours to learn about dynamic attributes and events (they use the same pickers and expression workflow).