
Build your first page
A first page with a heading, a two-column table and sample products, ready for data binding.
Build a small Products page and see it in Preview.
Before you begin
Section titled “Before you begin”- Create a practice project with Wappler Local Server and NodeJS. Use Create a New Local Project.
Work in one practice page
Section titled “Work in one practice page”Use the same practice project throughout this course. The tour opens an example of this lesson’s finished page: a Products heading and one placeholder row. Follow the written steps in your own project; keep it separate from Demo Projects HQ.
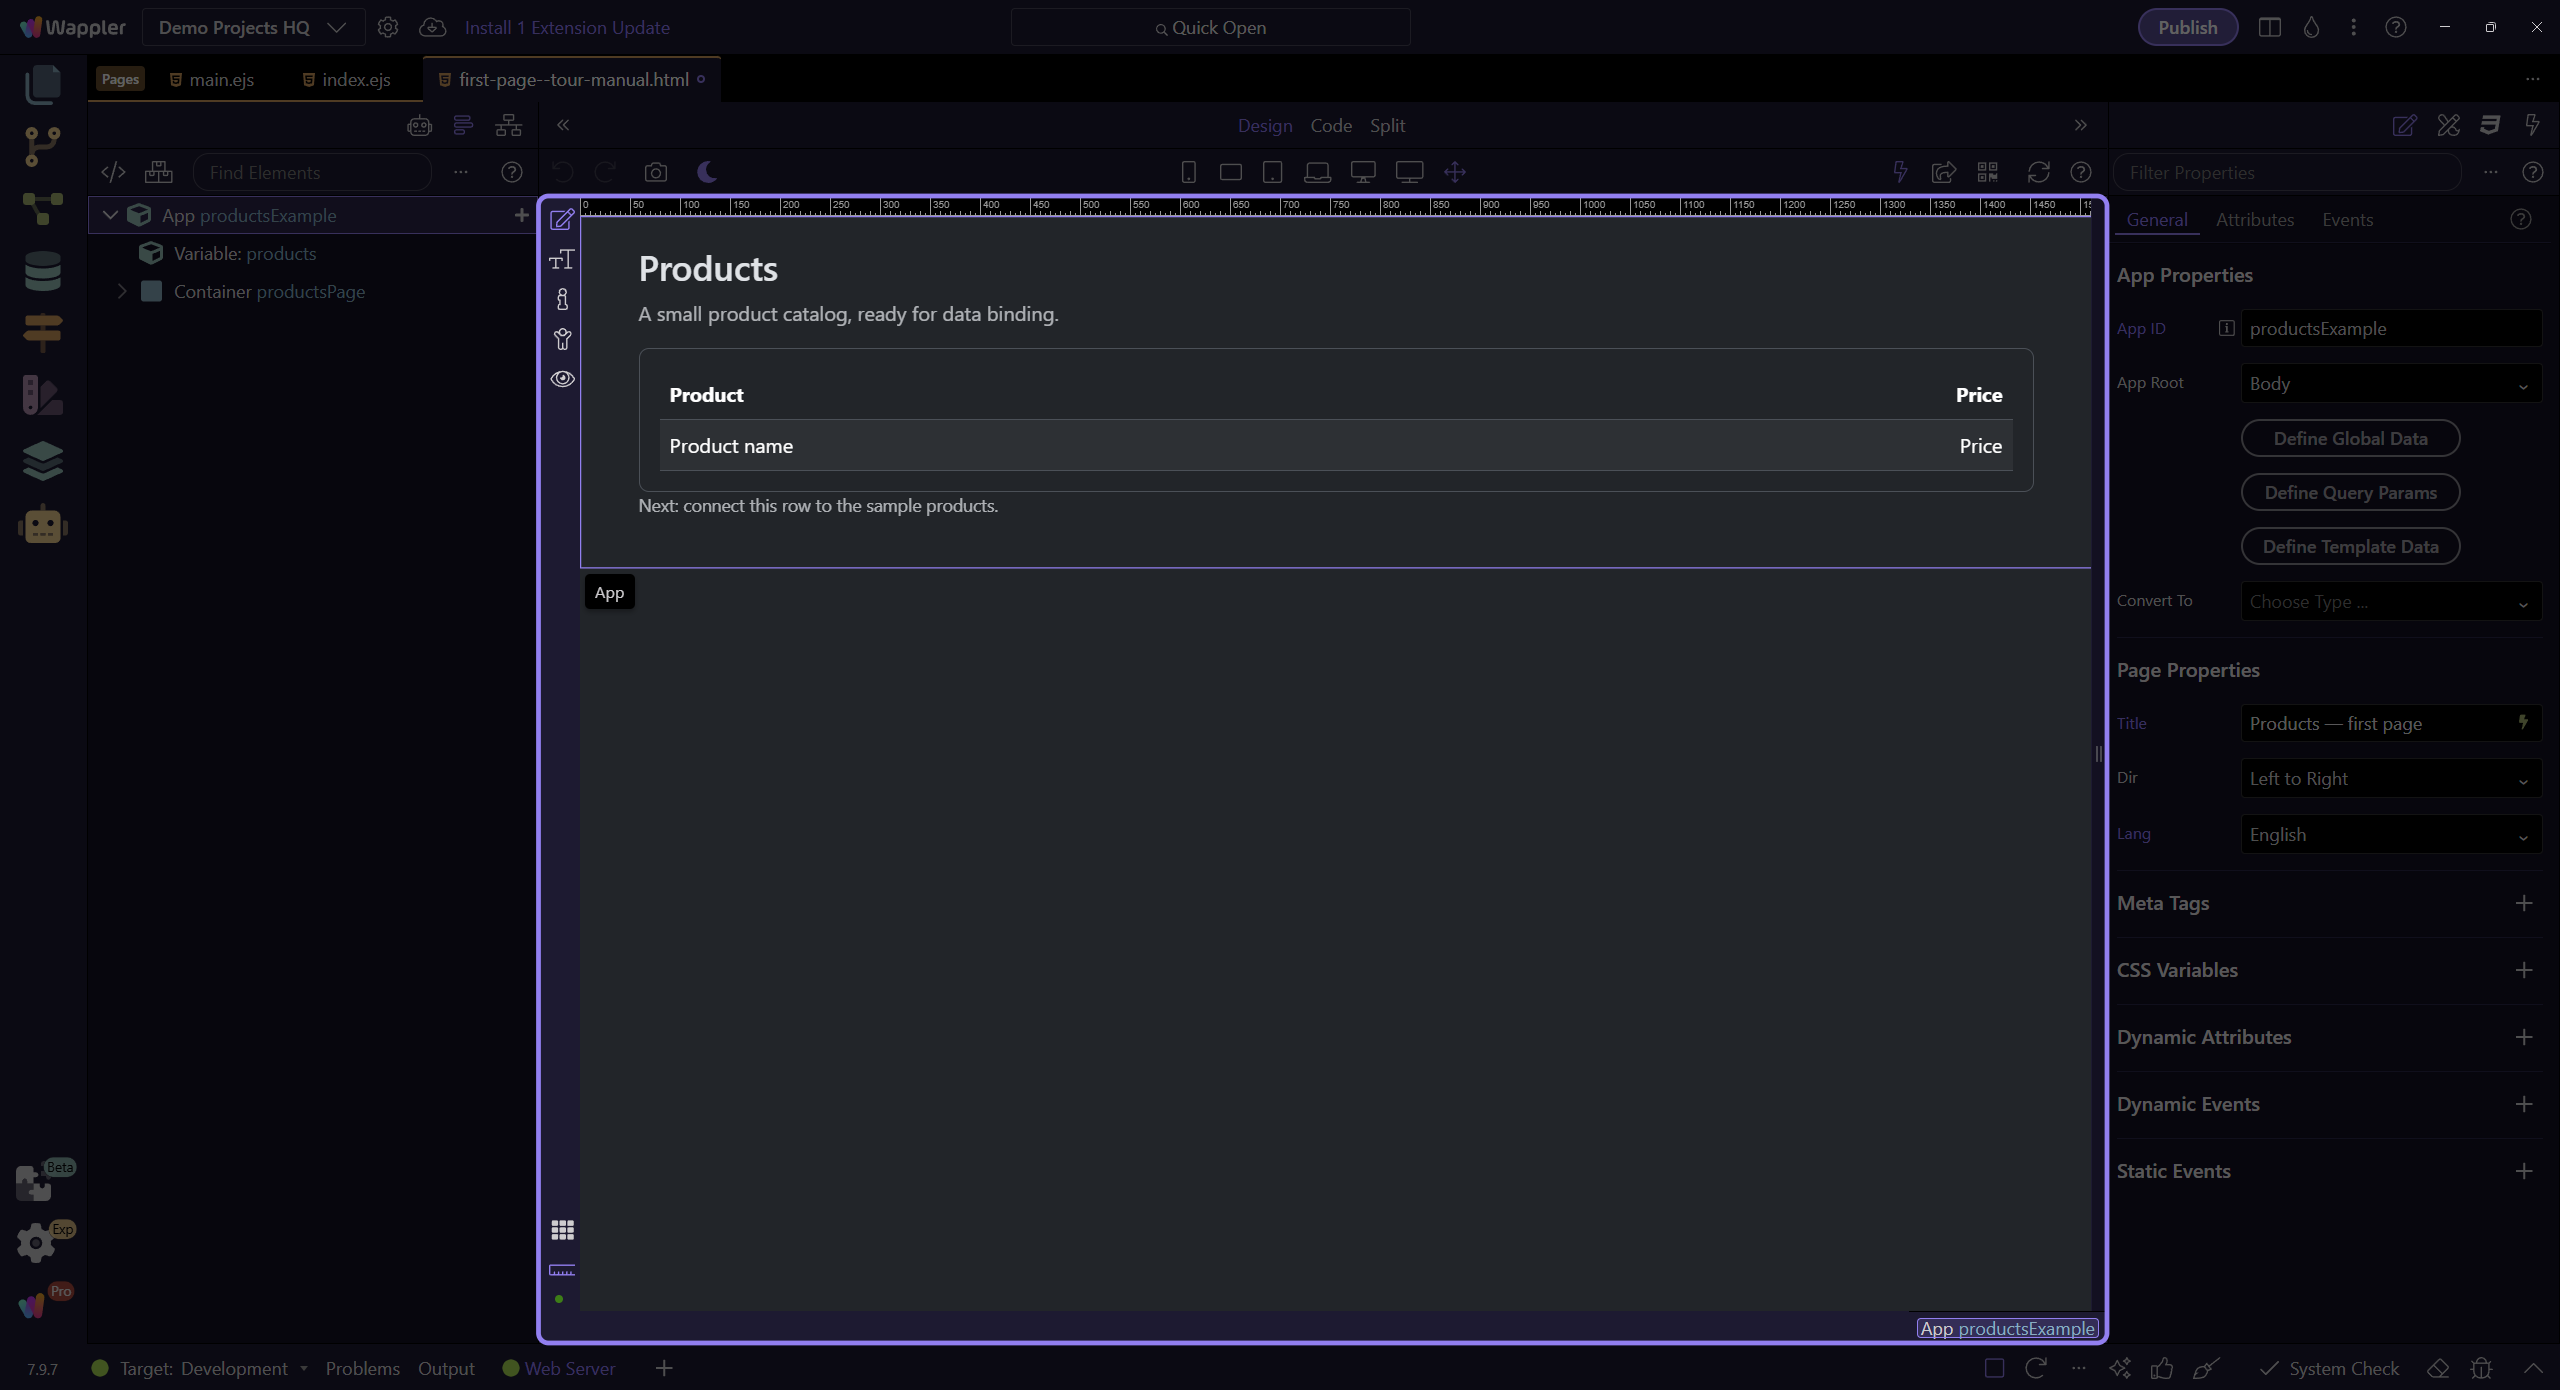
Find the public folder
Section titled “Find the public folder”Open File Manager and expand public. This is where the course’s learn.html page belongs. The starter’s views/index.ejs and views/layouts/main.ejs are separate files; keep those starter files.
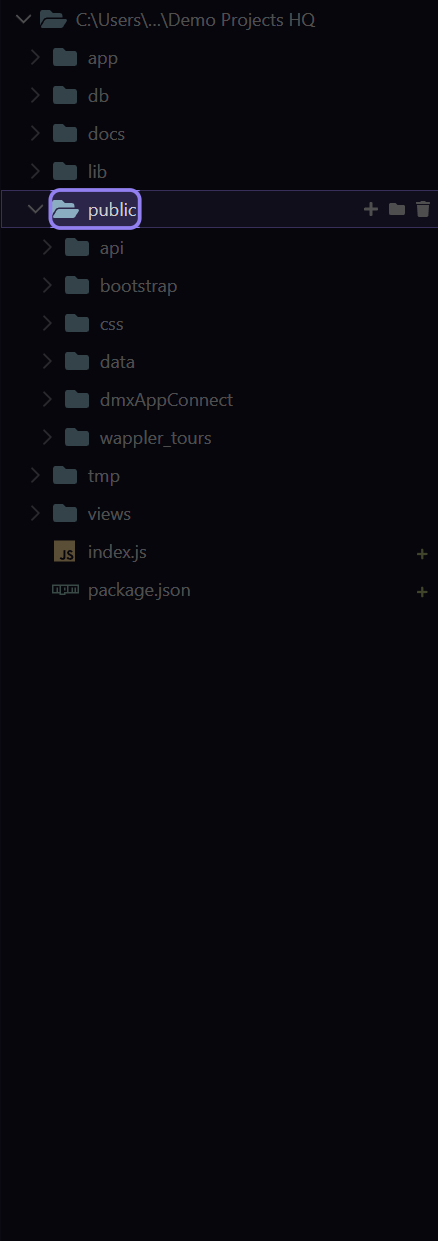
Create learn.html
Section titled “Create learn.html”Right-click public and choose Create File. Enter learn.html and open it. The tour shows the command without creating another file. In your practice project, the page’s local browser path is /learn.html.
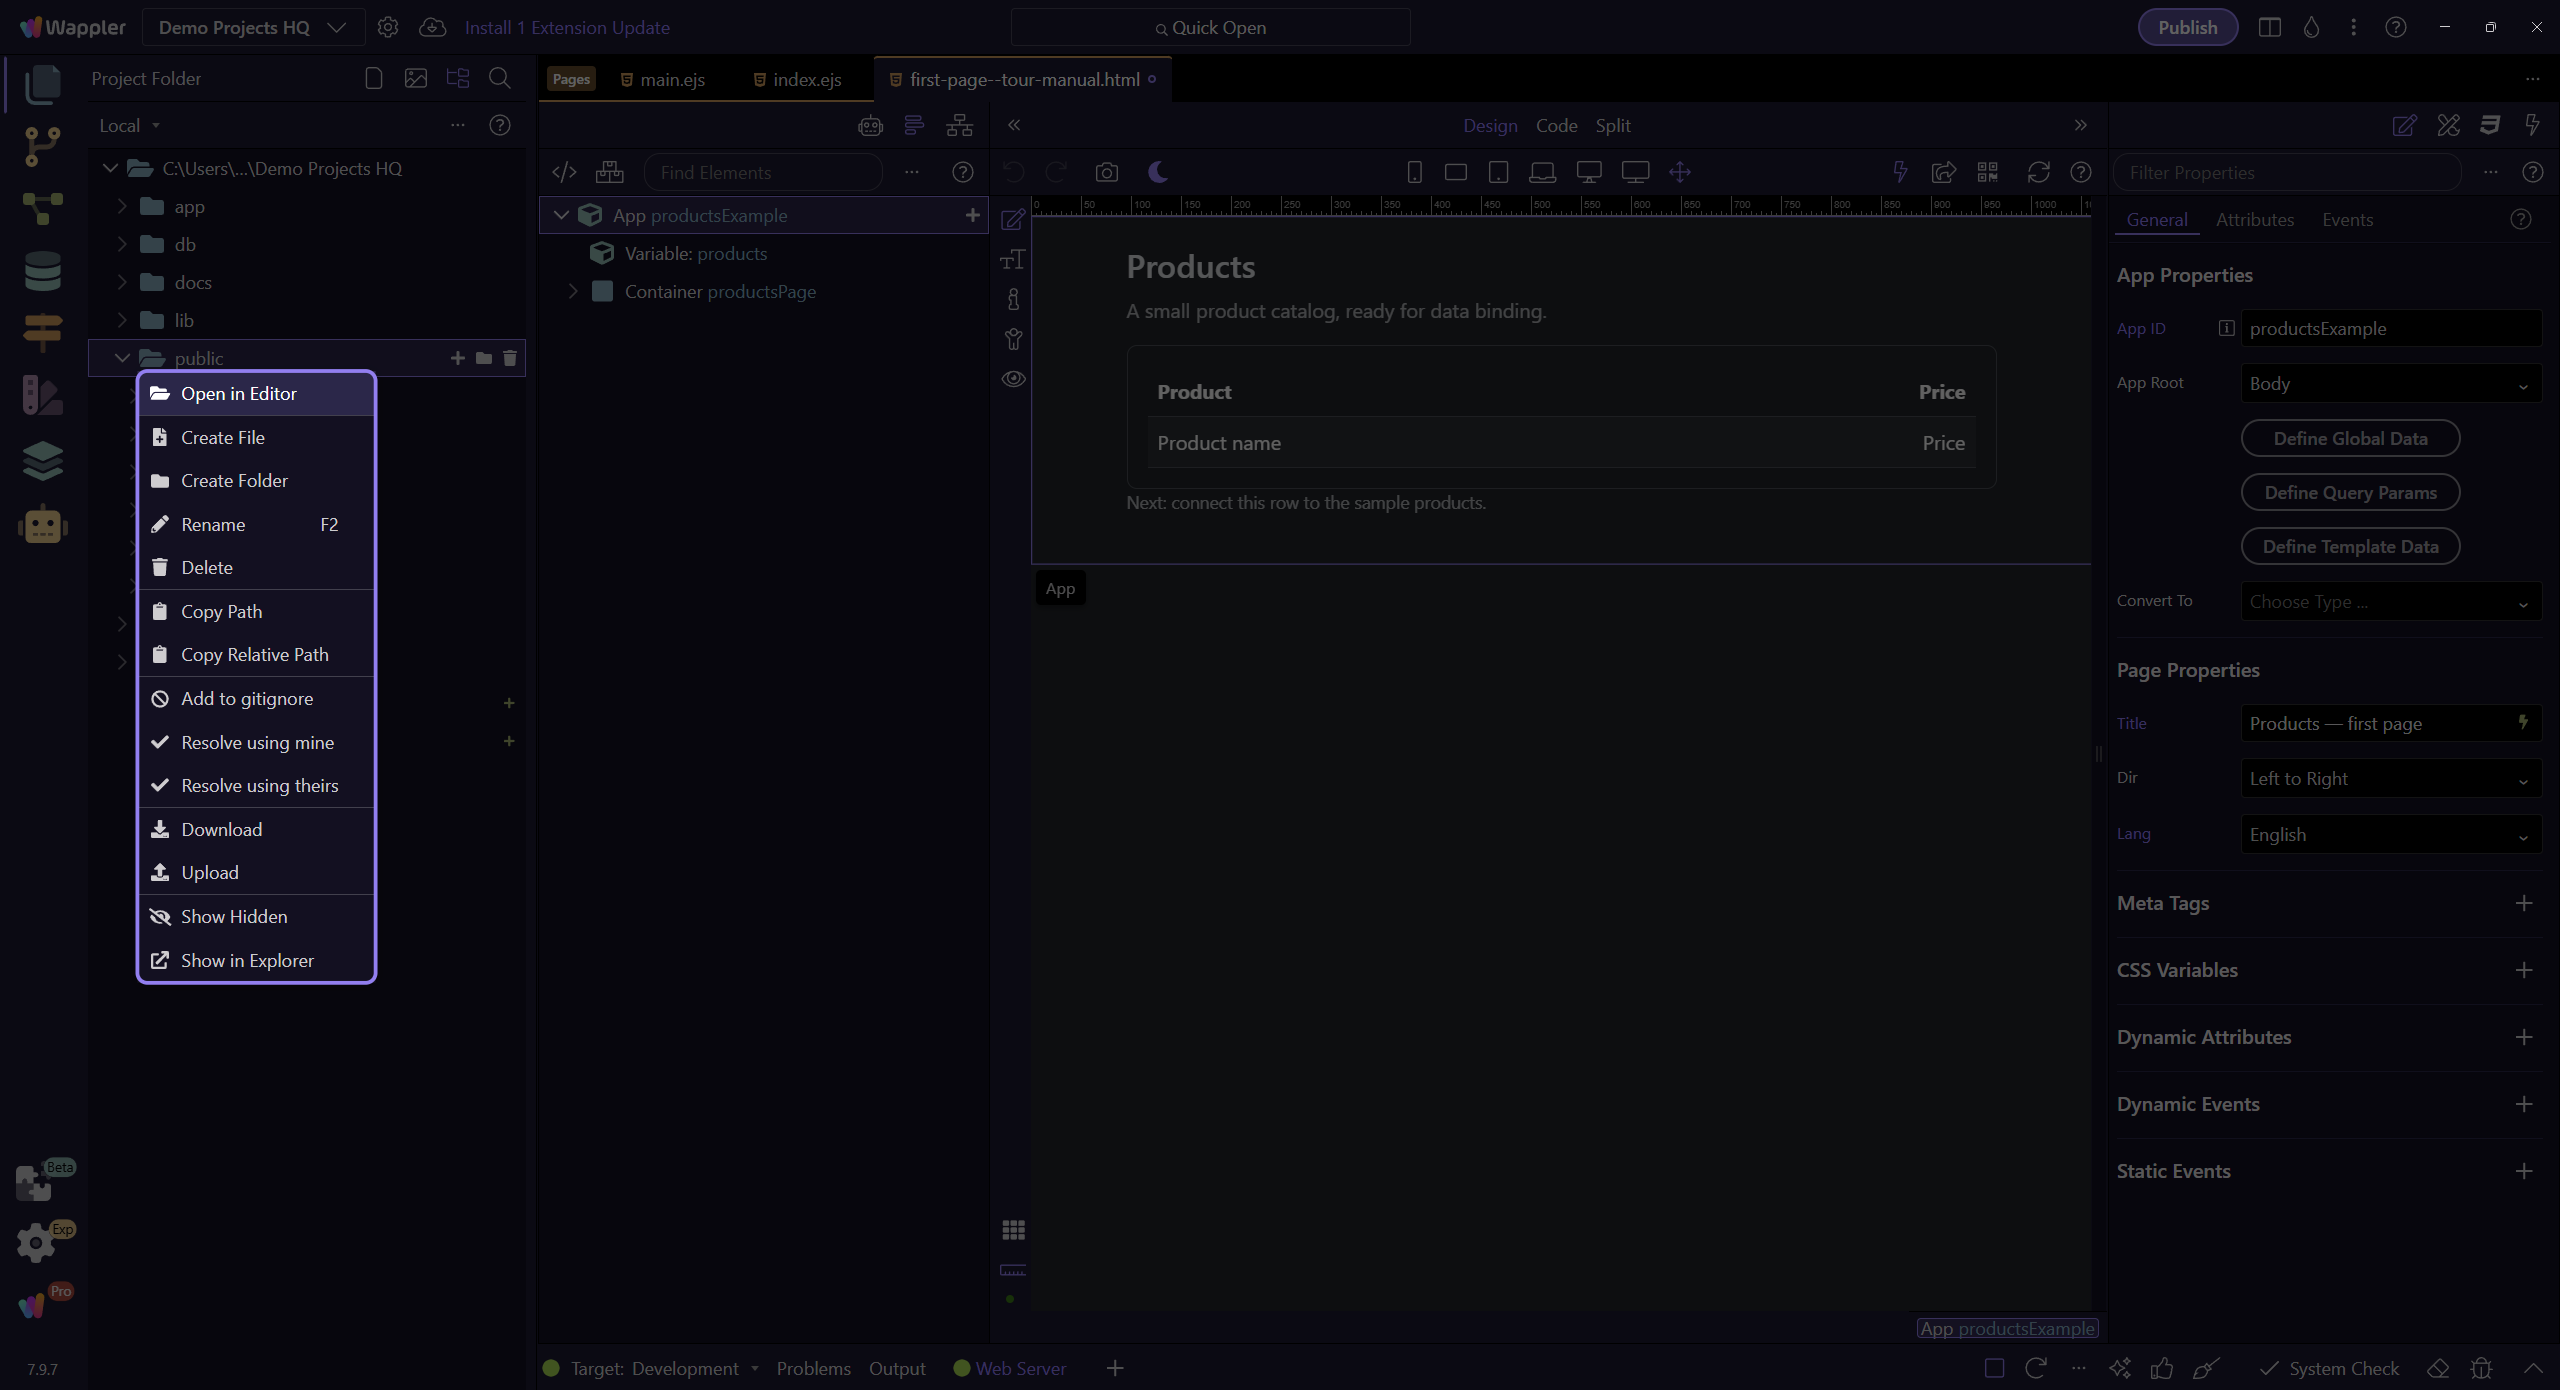
Find Manage Frameworks
Section titled “Find Manage Frameworks”Open App Structure. Manage Frameworks is the boxes button in its toolbar. A new HTML page inherits the project frameworks; check them here before adding components.

Check App Connect
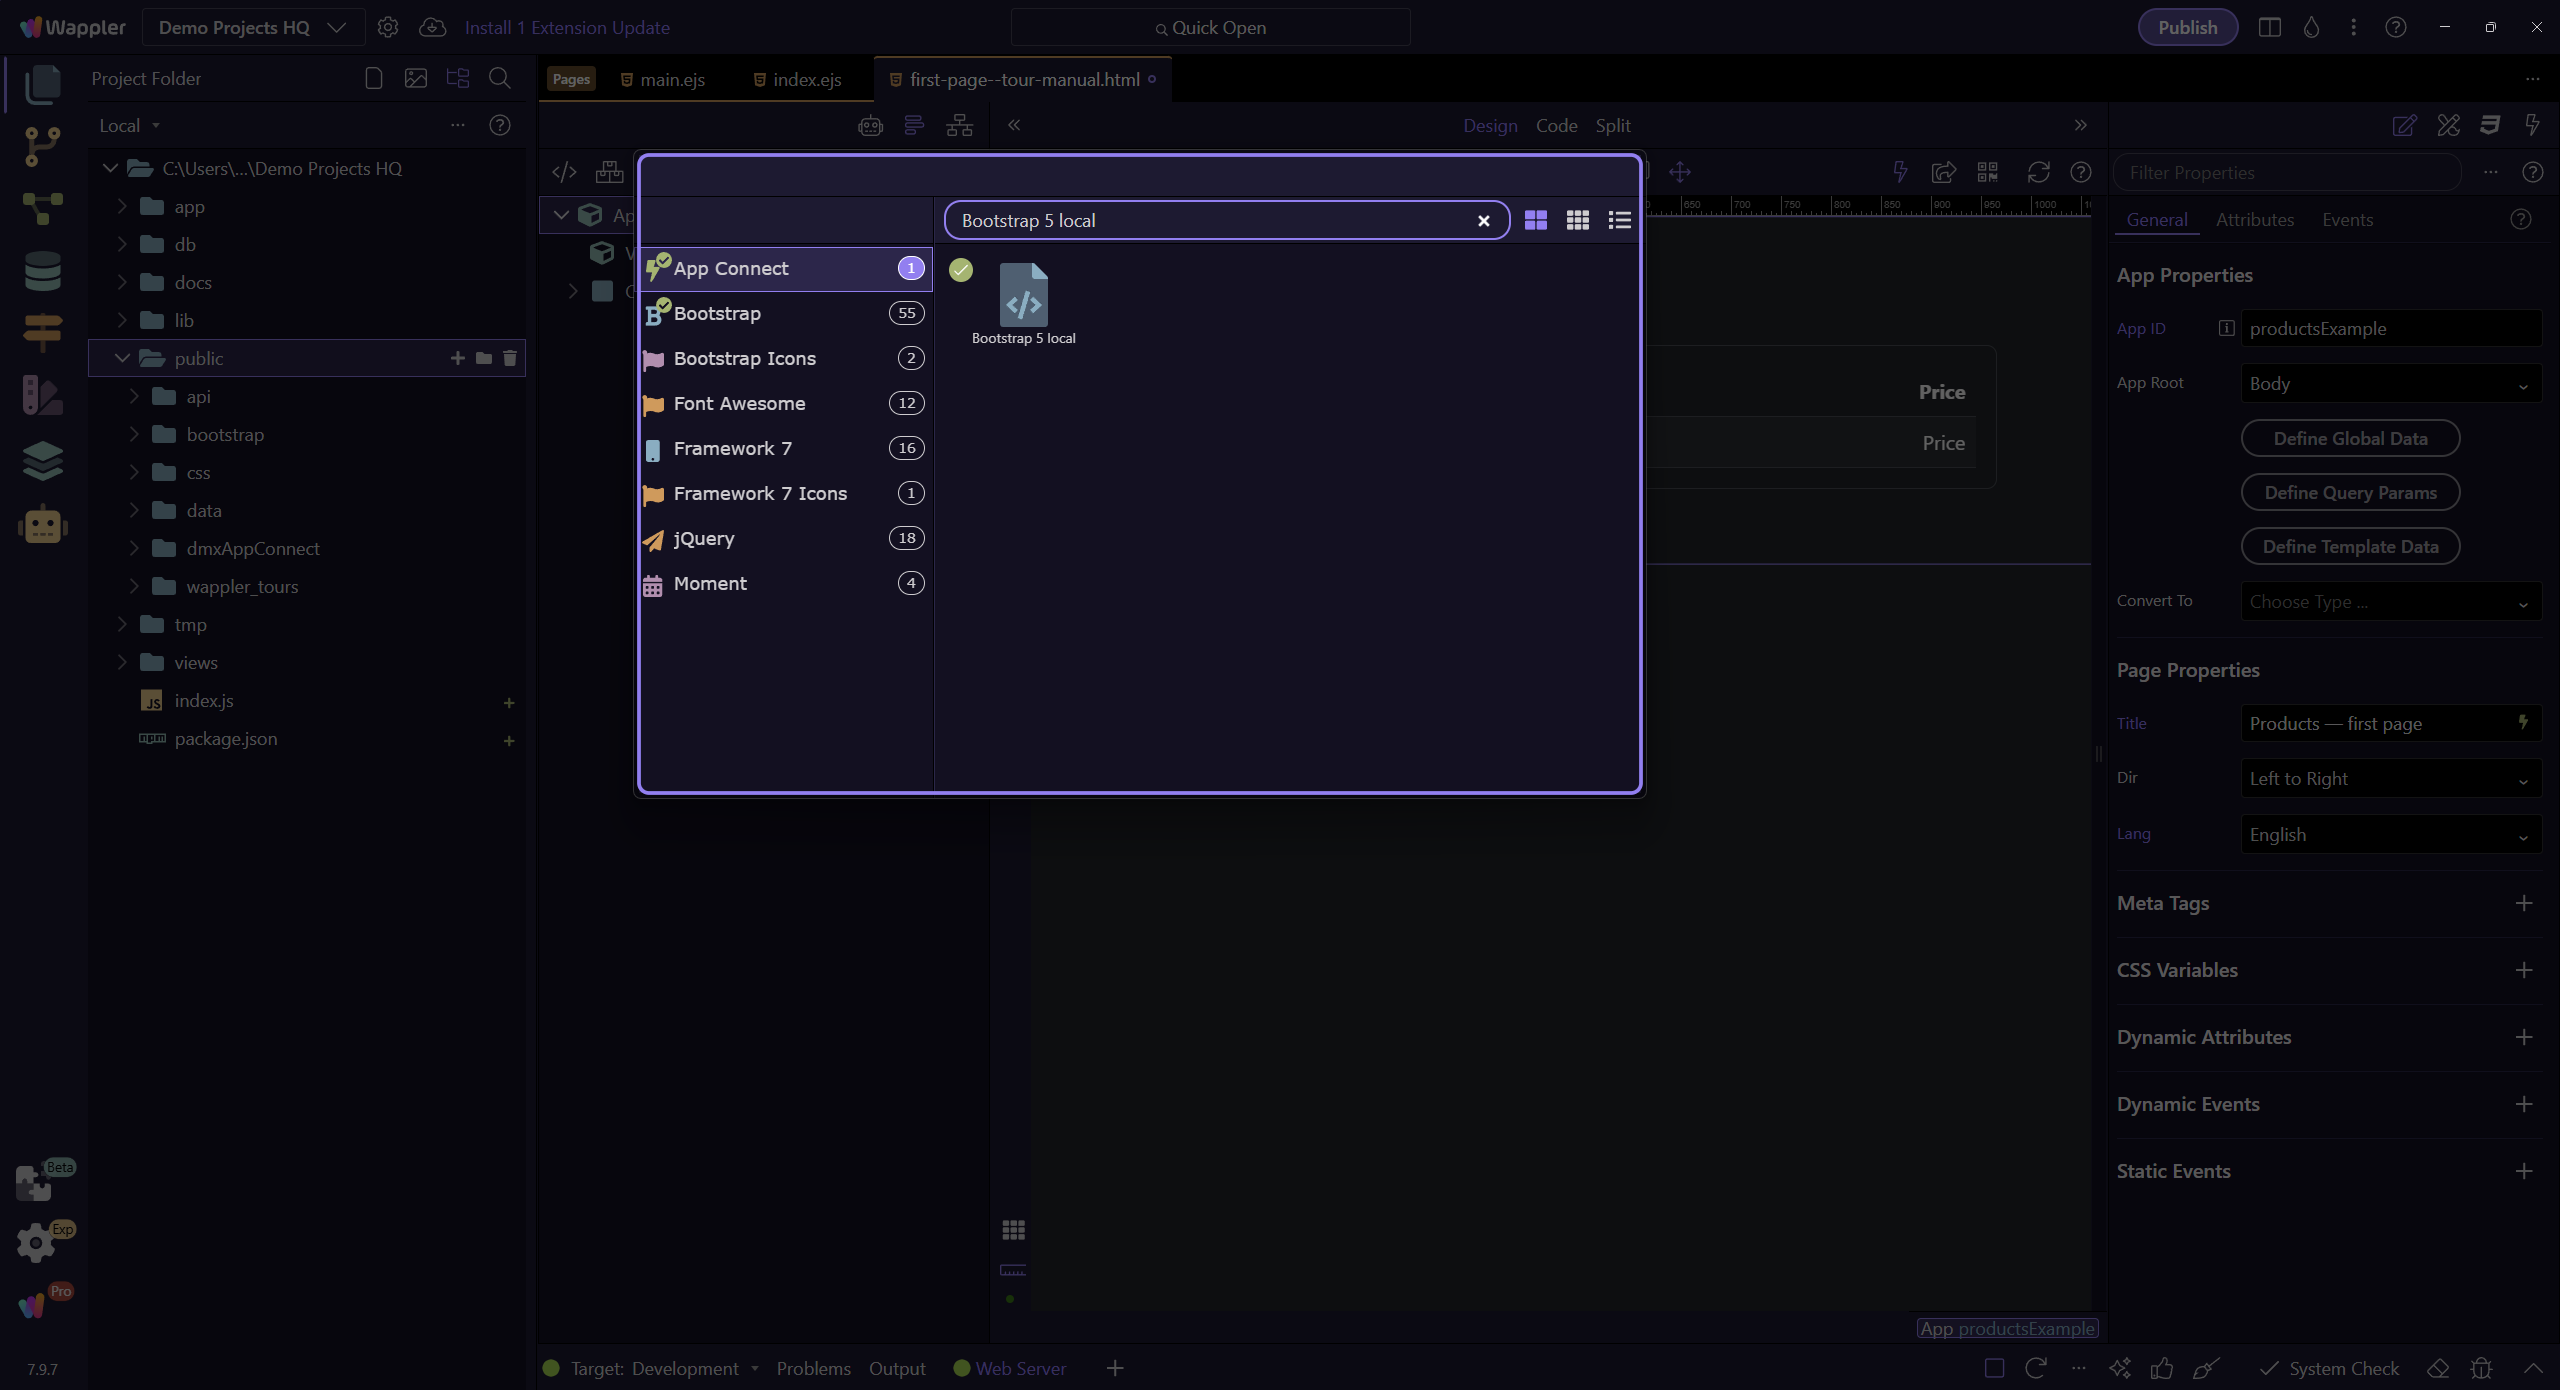
Section titled “Check App Connect”In Manage Frameworks, find App Connect local. A checked entry is already included; keep it. App Connect enables the page’s bindings. The sample already includes it.
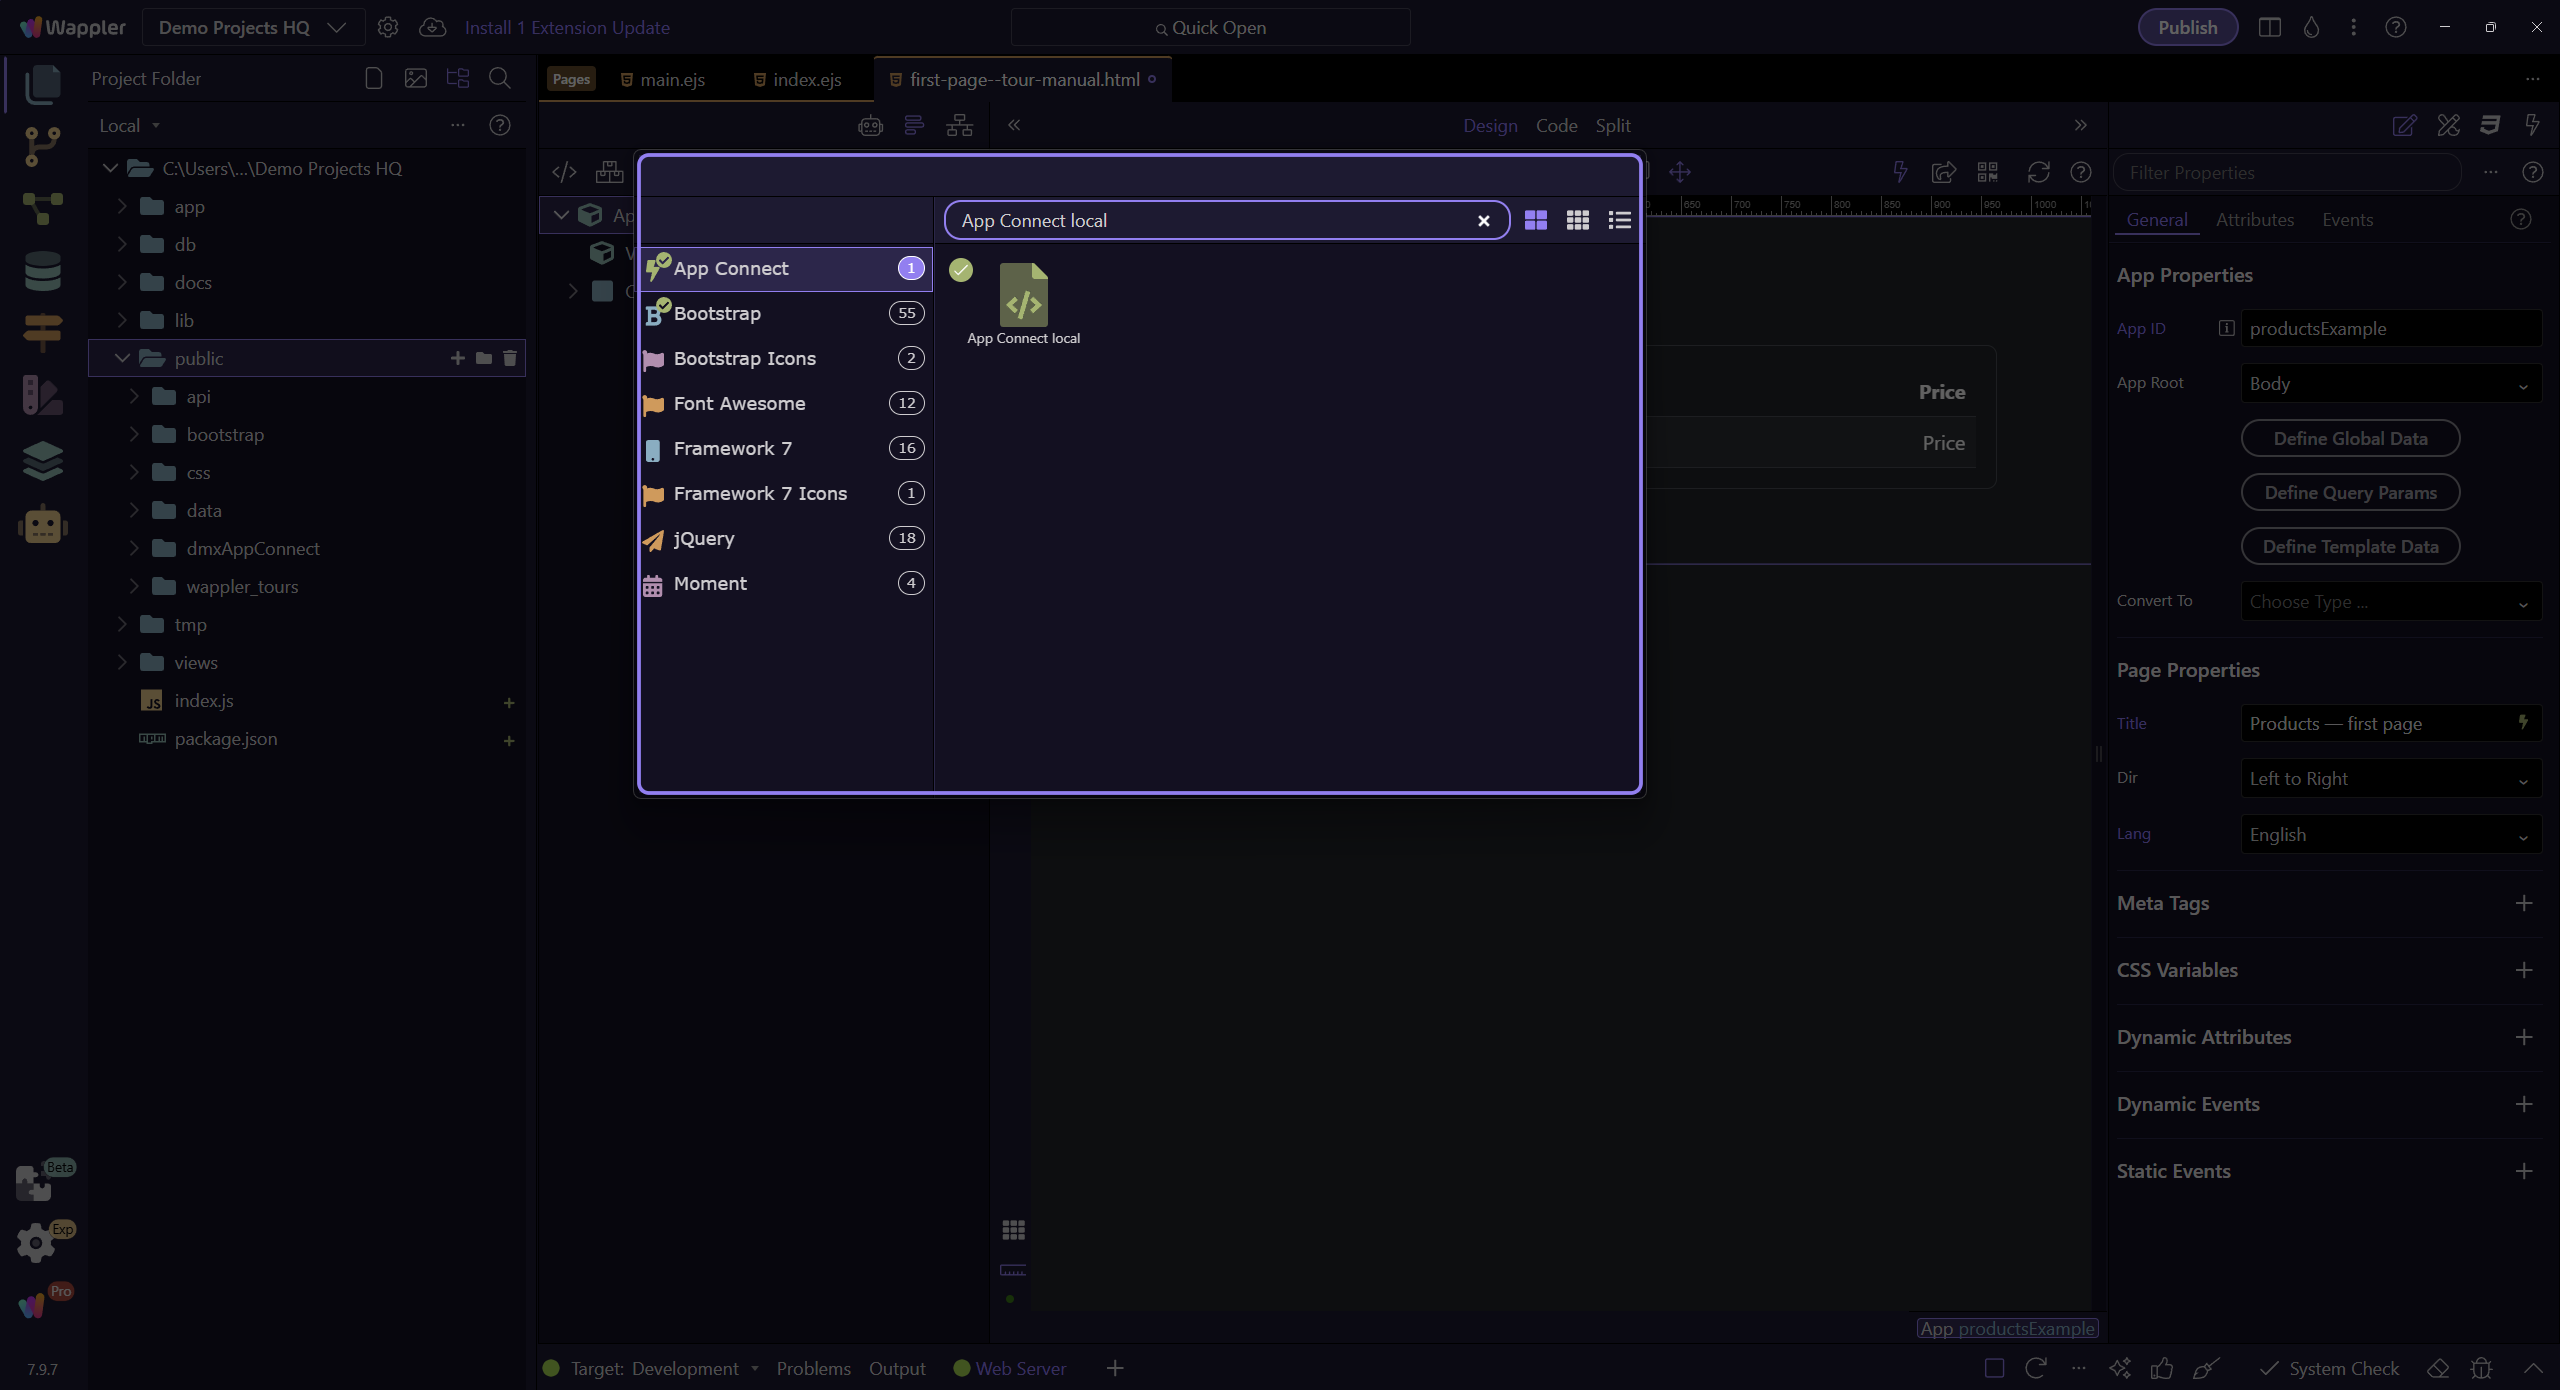
Check Bootstrap 5
Section titled “Check Bootstrap 5”Find Bootstrap 5 local and keep its checked include. Bootstrap supplies the page’s layout and table styling. Do not add a second Bootstrap version.
Insert a Container
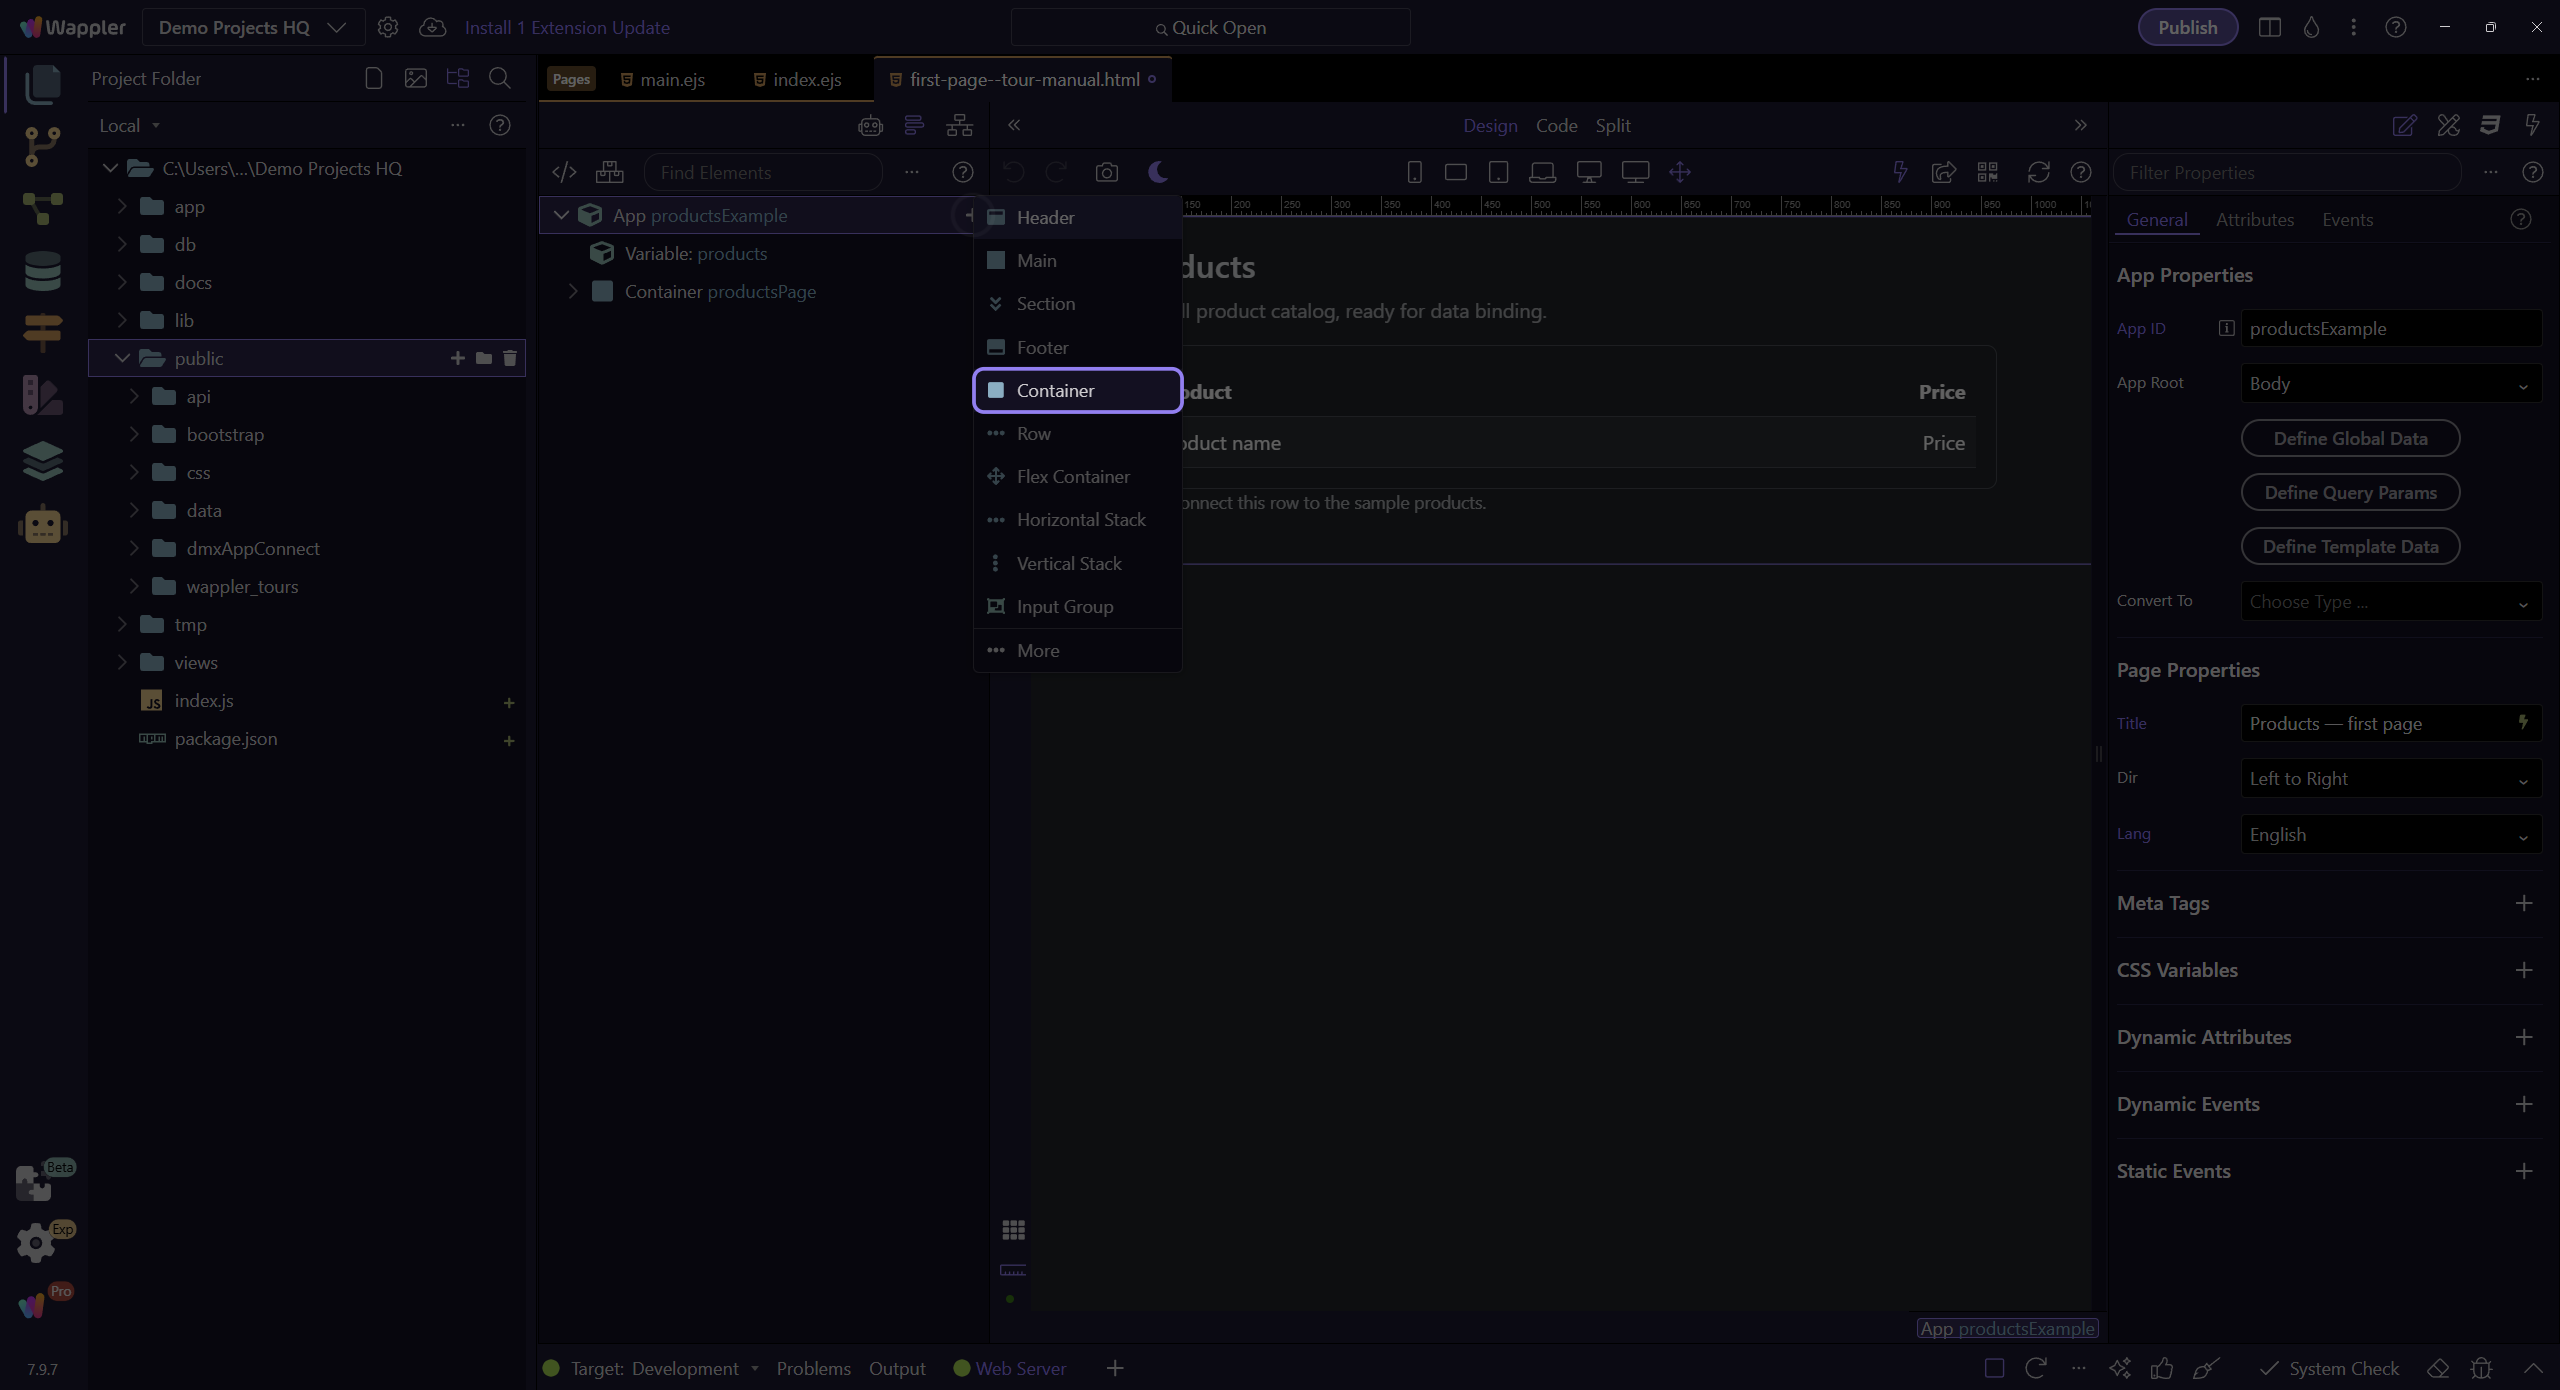
Section titled “Insert a Container”Select App (the page body) and use Insert Inside (+). Choose Container directly from this menu. The Container holds your heading and table. The example already has one, so the tour shows the choice without inserting another.
Choose Heading in Insert Inside
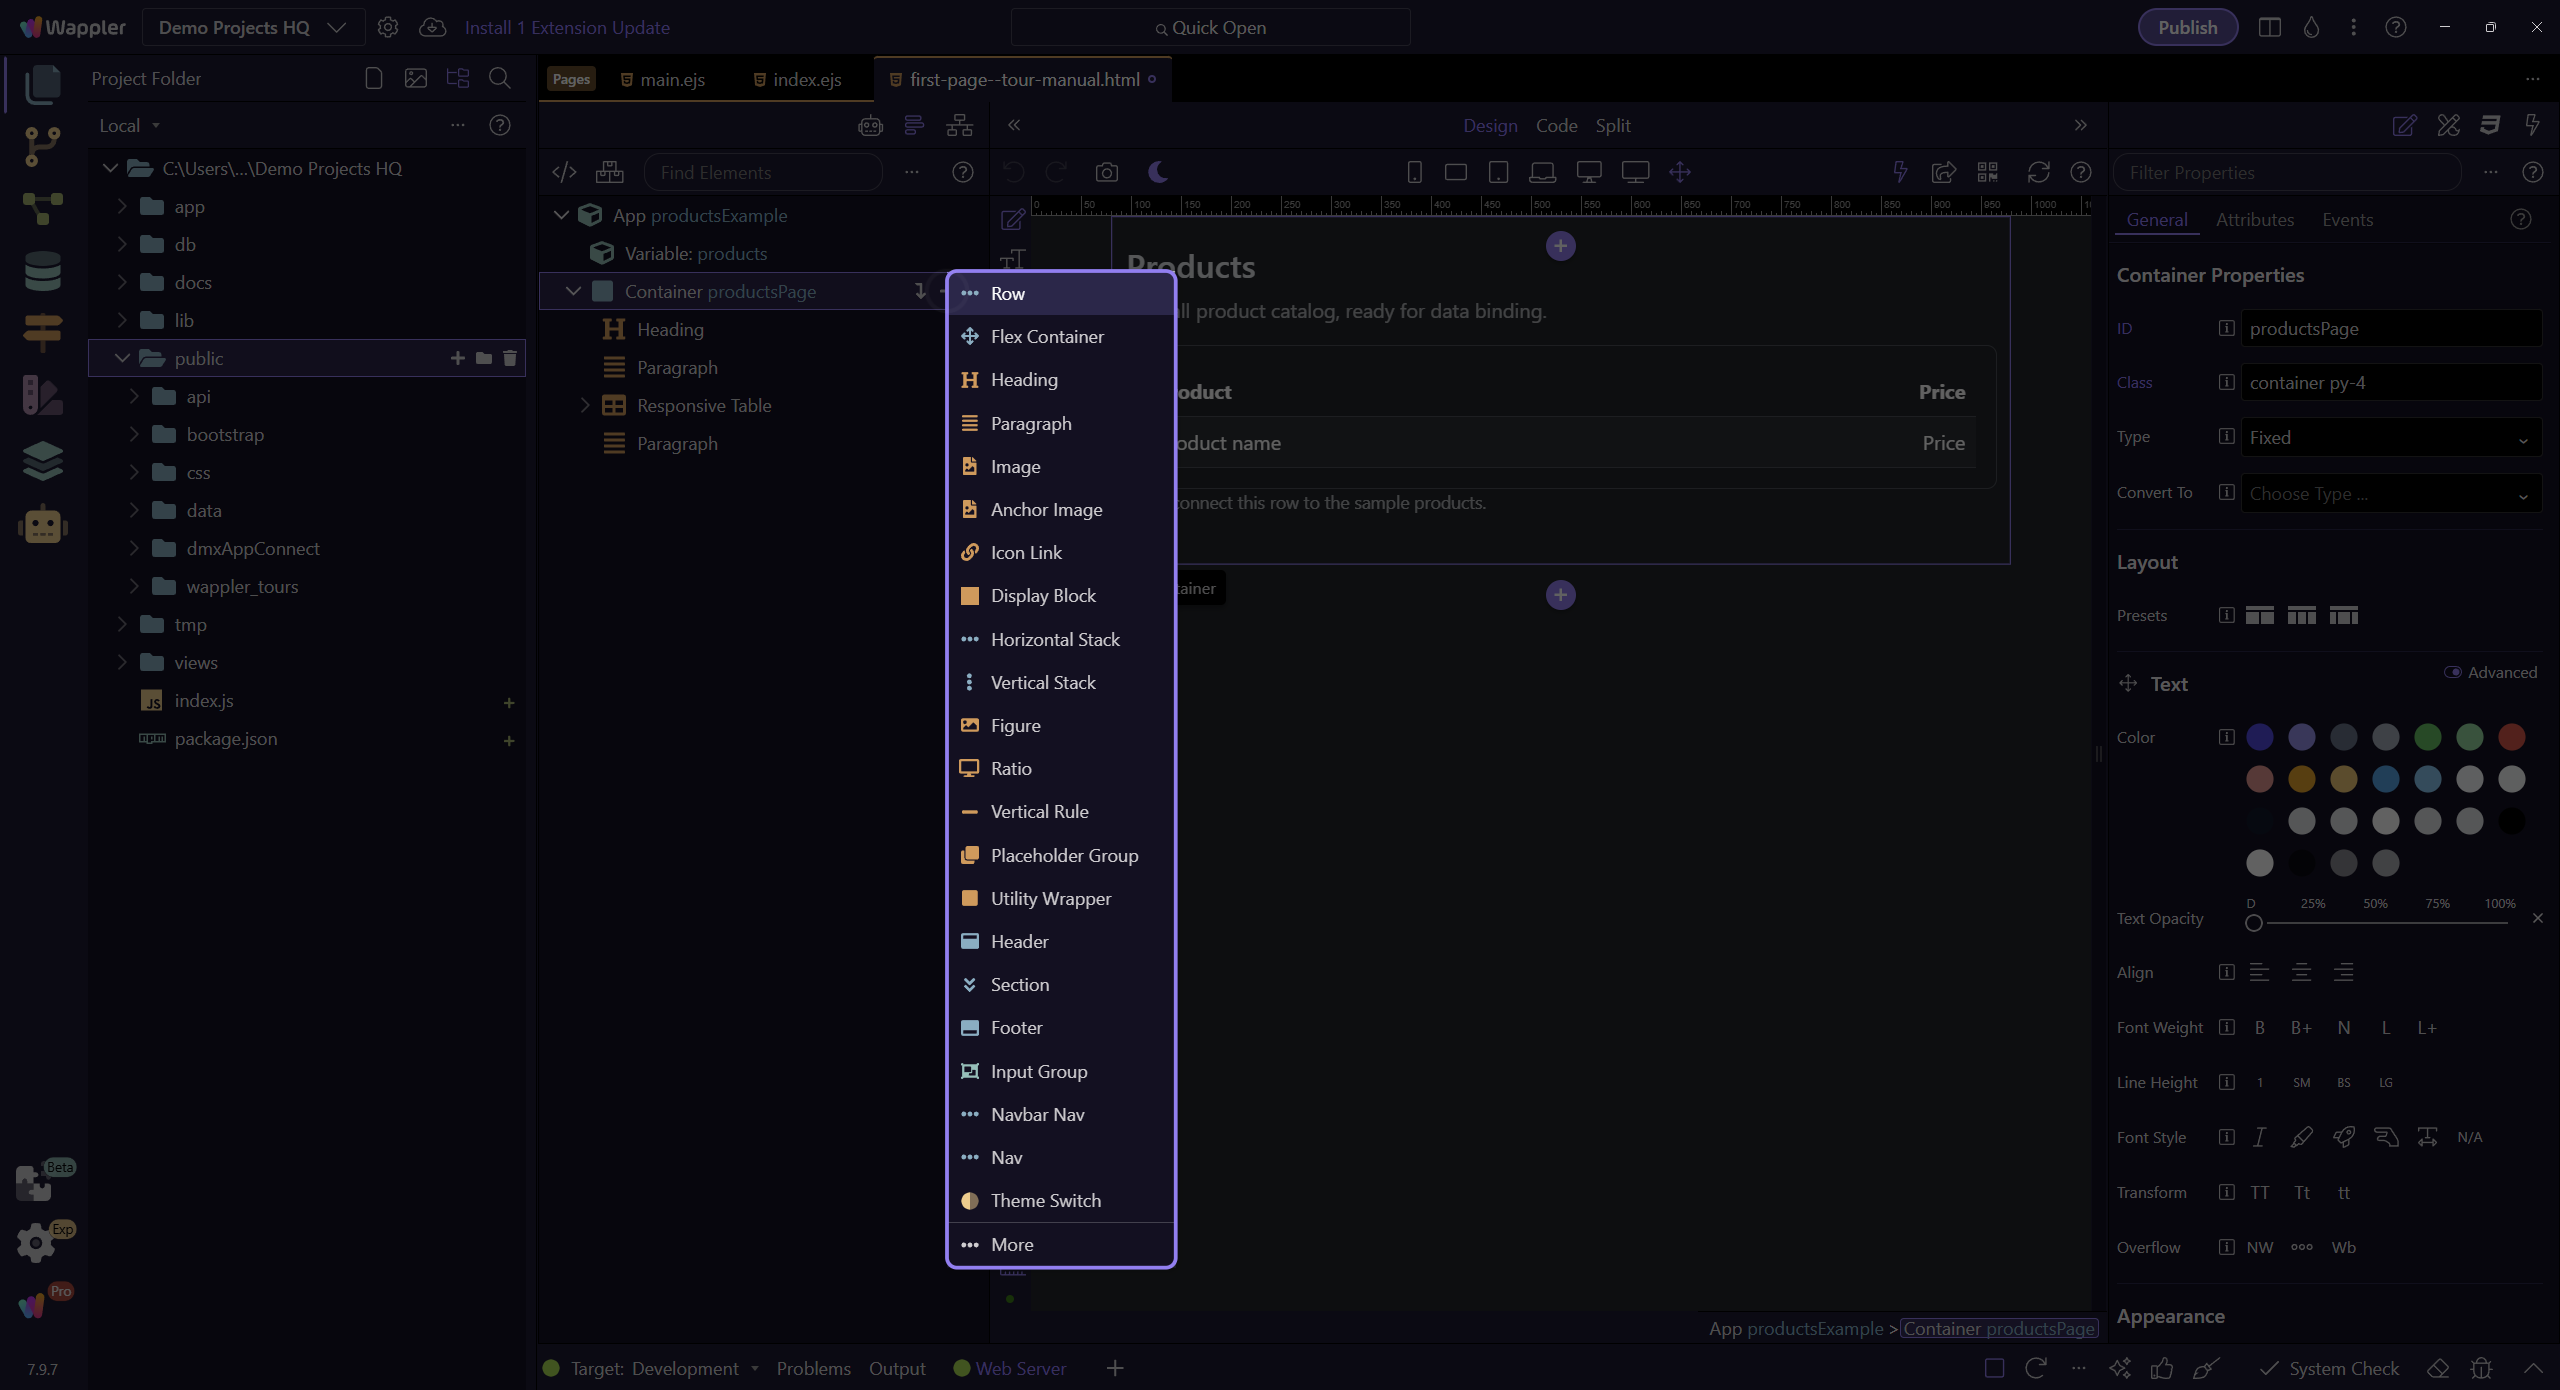
Section titled “Choose Heading in Insert Inside”Select the Container and use Insert Inside (+). Choose Heading from this menu; it starts as Heading 1. In your own page, keep it inside the Container. The tour shows the menu without inserting a second heading.
Enter Products in Text Edit Mode
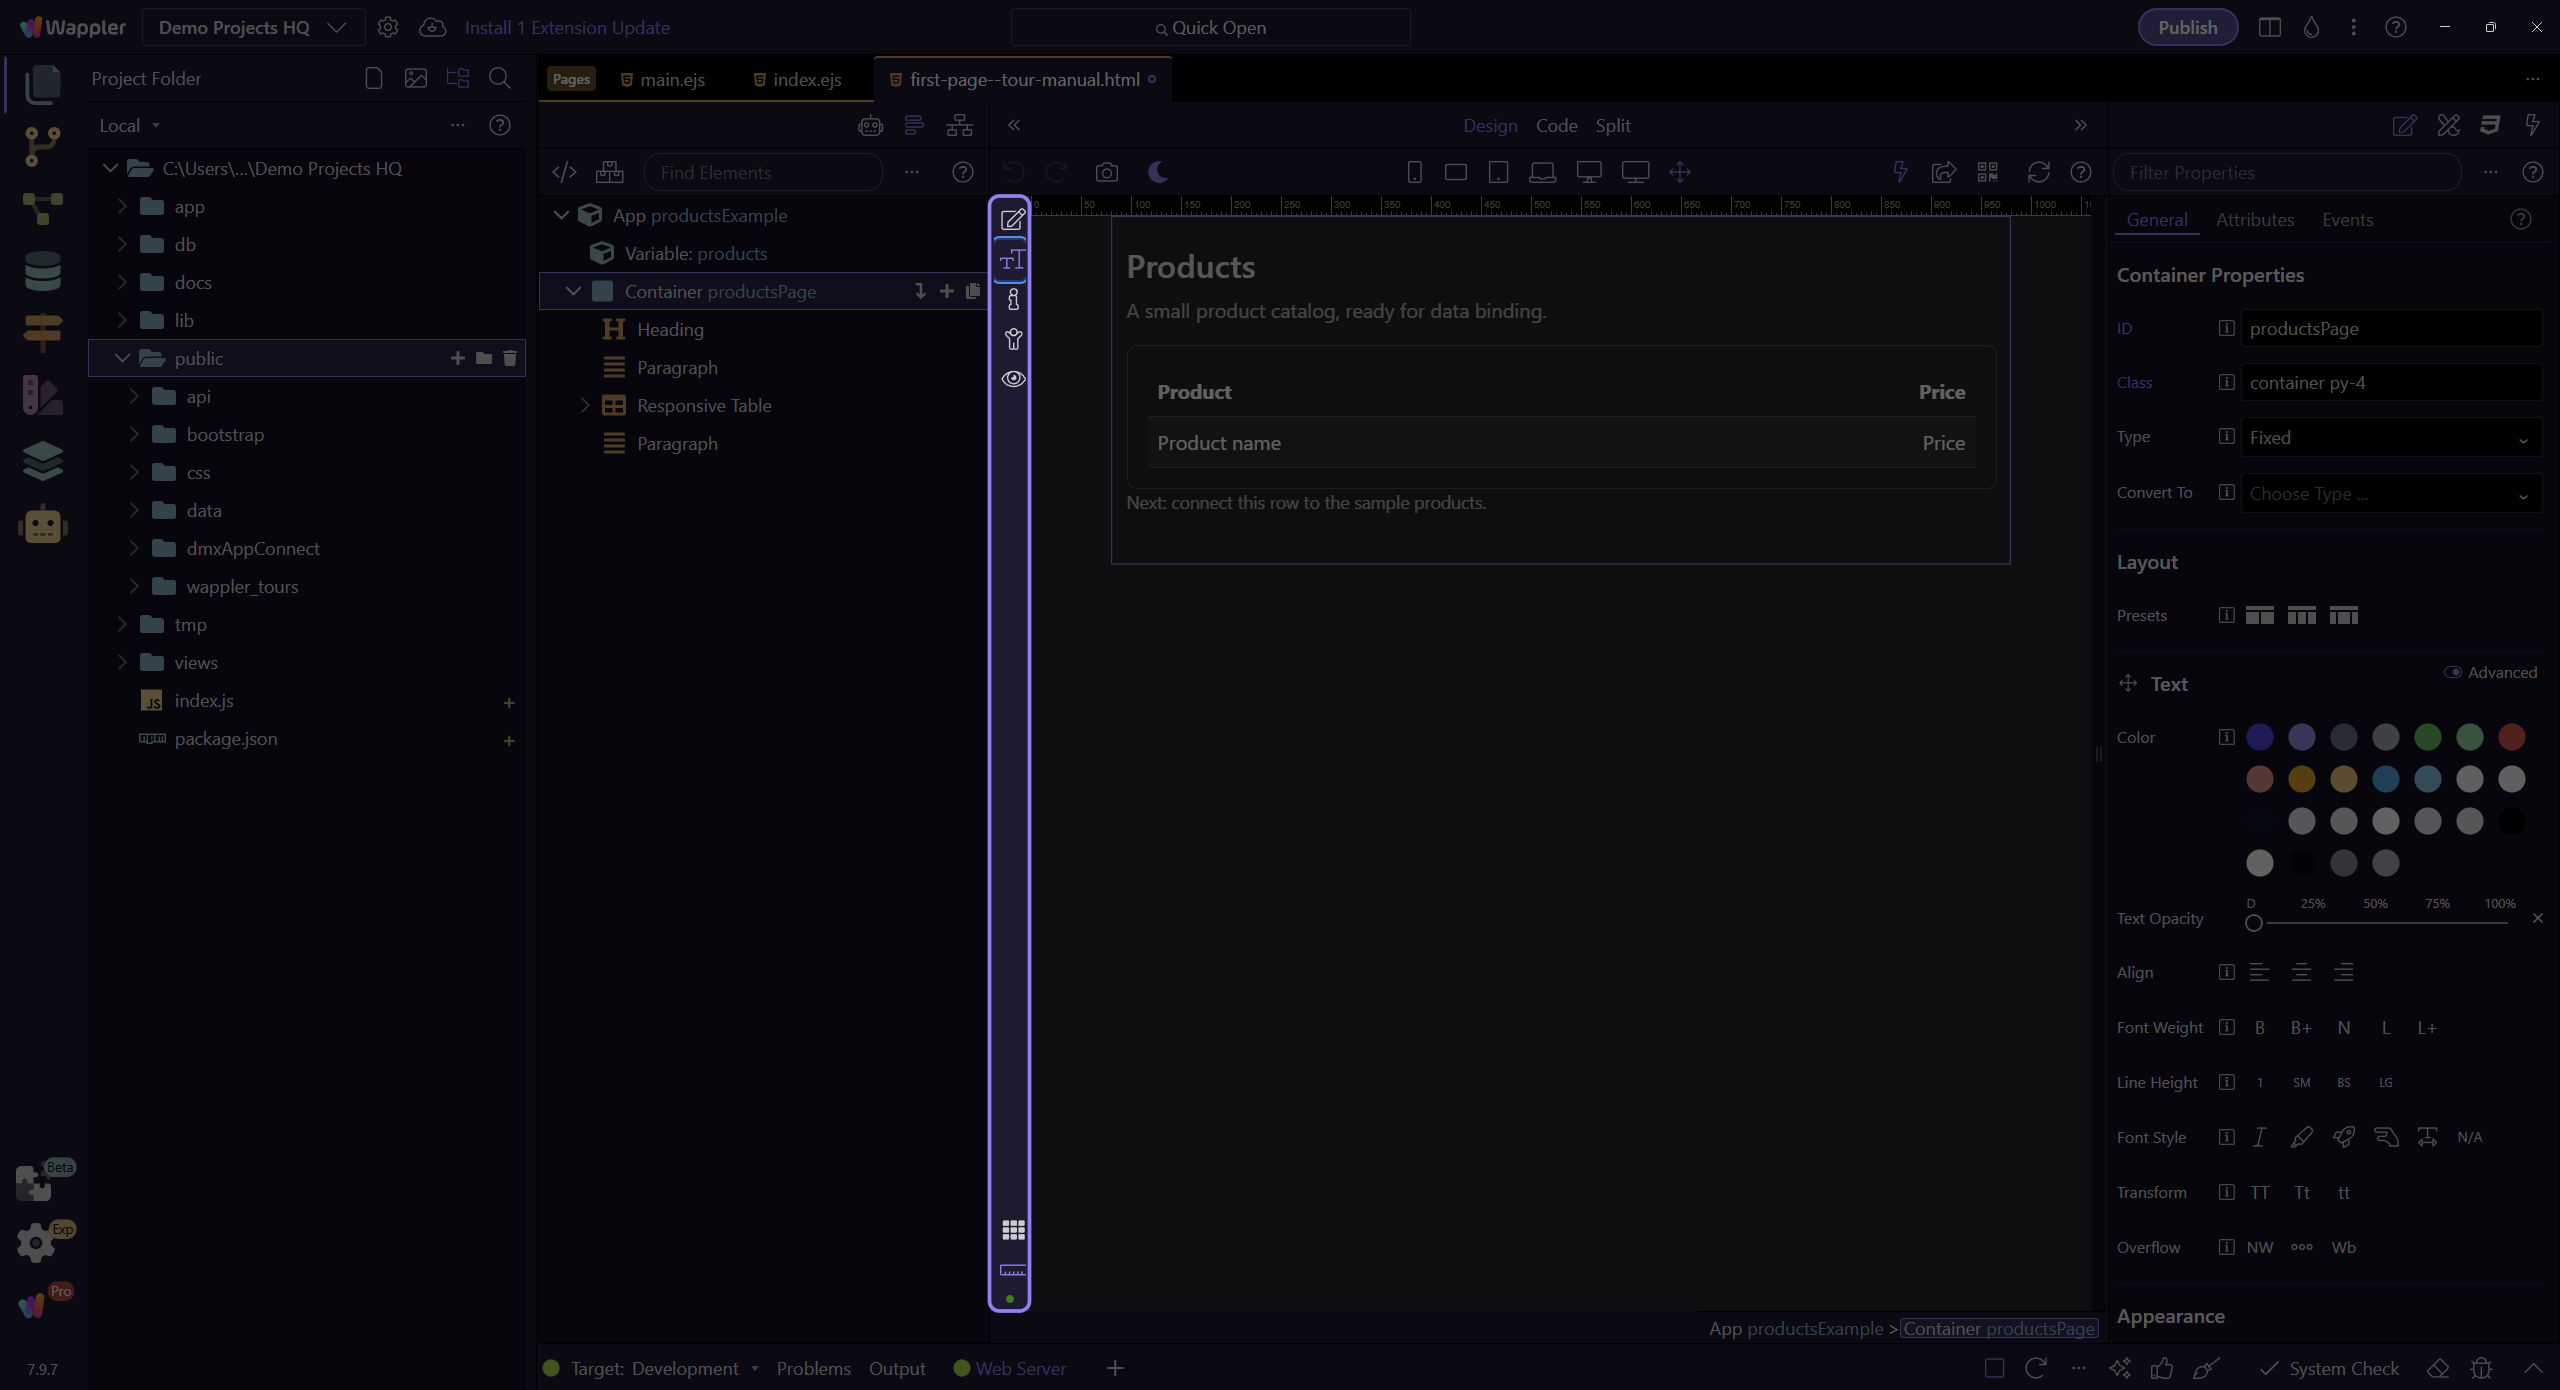
Section titled “Enter Products in Text Edit Mode”Use Text Edit Mode to replace the heading text with Products, then return to Component Edit Mode. The example already has this heading.
Insert the table after the heading
Section titled “Insert the table after the heading”Return to Component Edit Mode. Select the Products heading and use Insert After so the table appears below it. Choose More if the quick menu appears, then search for Table.
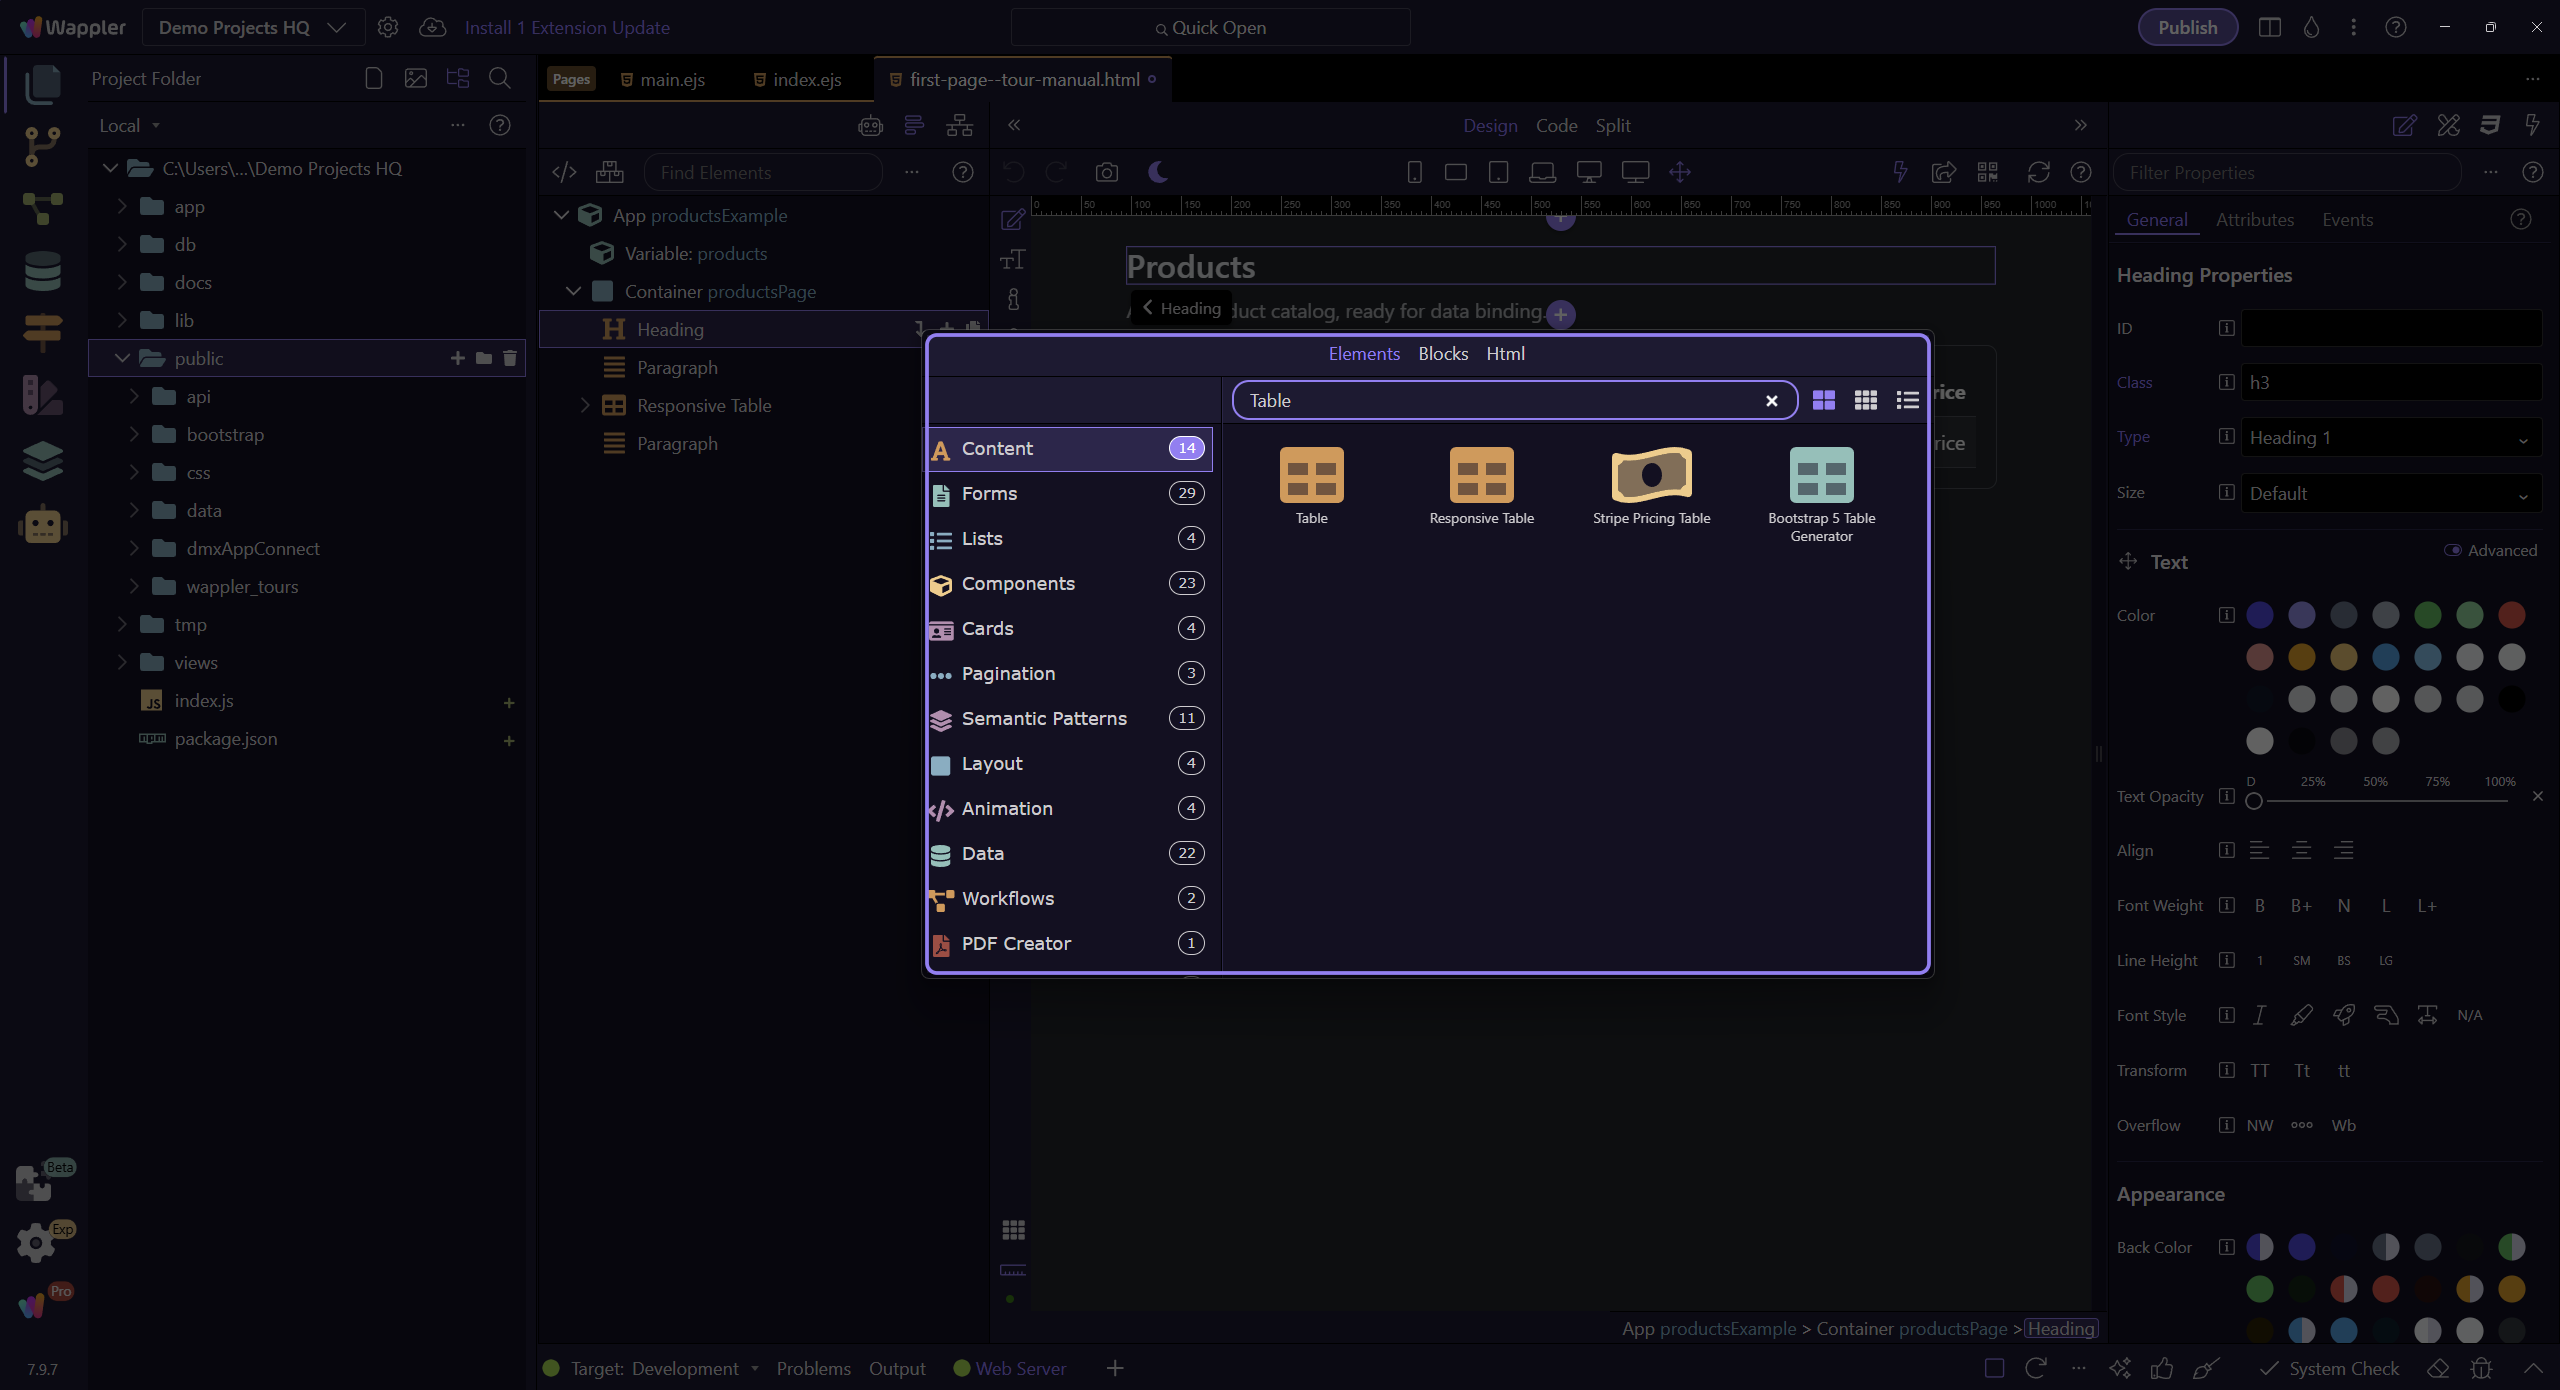
Keep two columns and one body row
Section titled “Keep two columns and one body row”The default Table has four columns and three body rows. In App Structure, delete the second and third body rows, then the third and fourth cells in both the header and remaining row. Set the headers to Product and Price, and the body labels to Product name and Price. The example already has this structure.
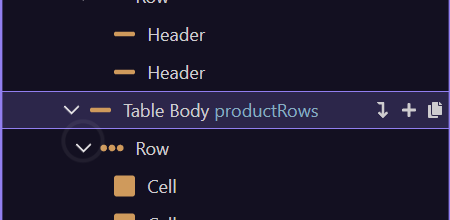
Choose a Variable
Section titled “Choose a Variable”Select App and use Insert Inside. In the Components picker, choose Data → Variable, or search for Variable. The example already has one; the next step shows its settings.
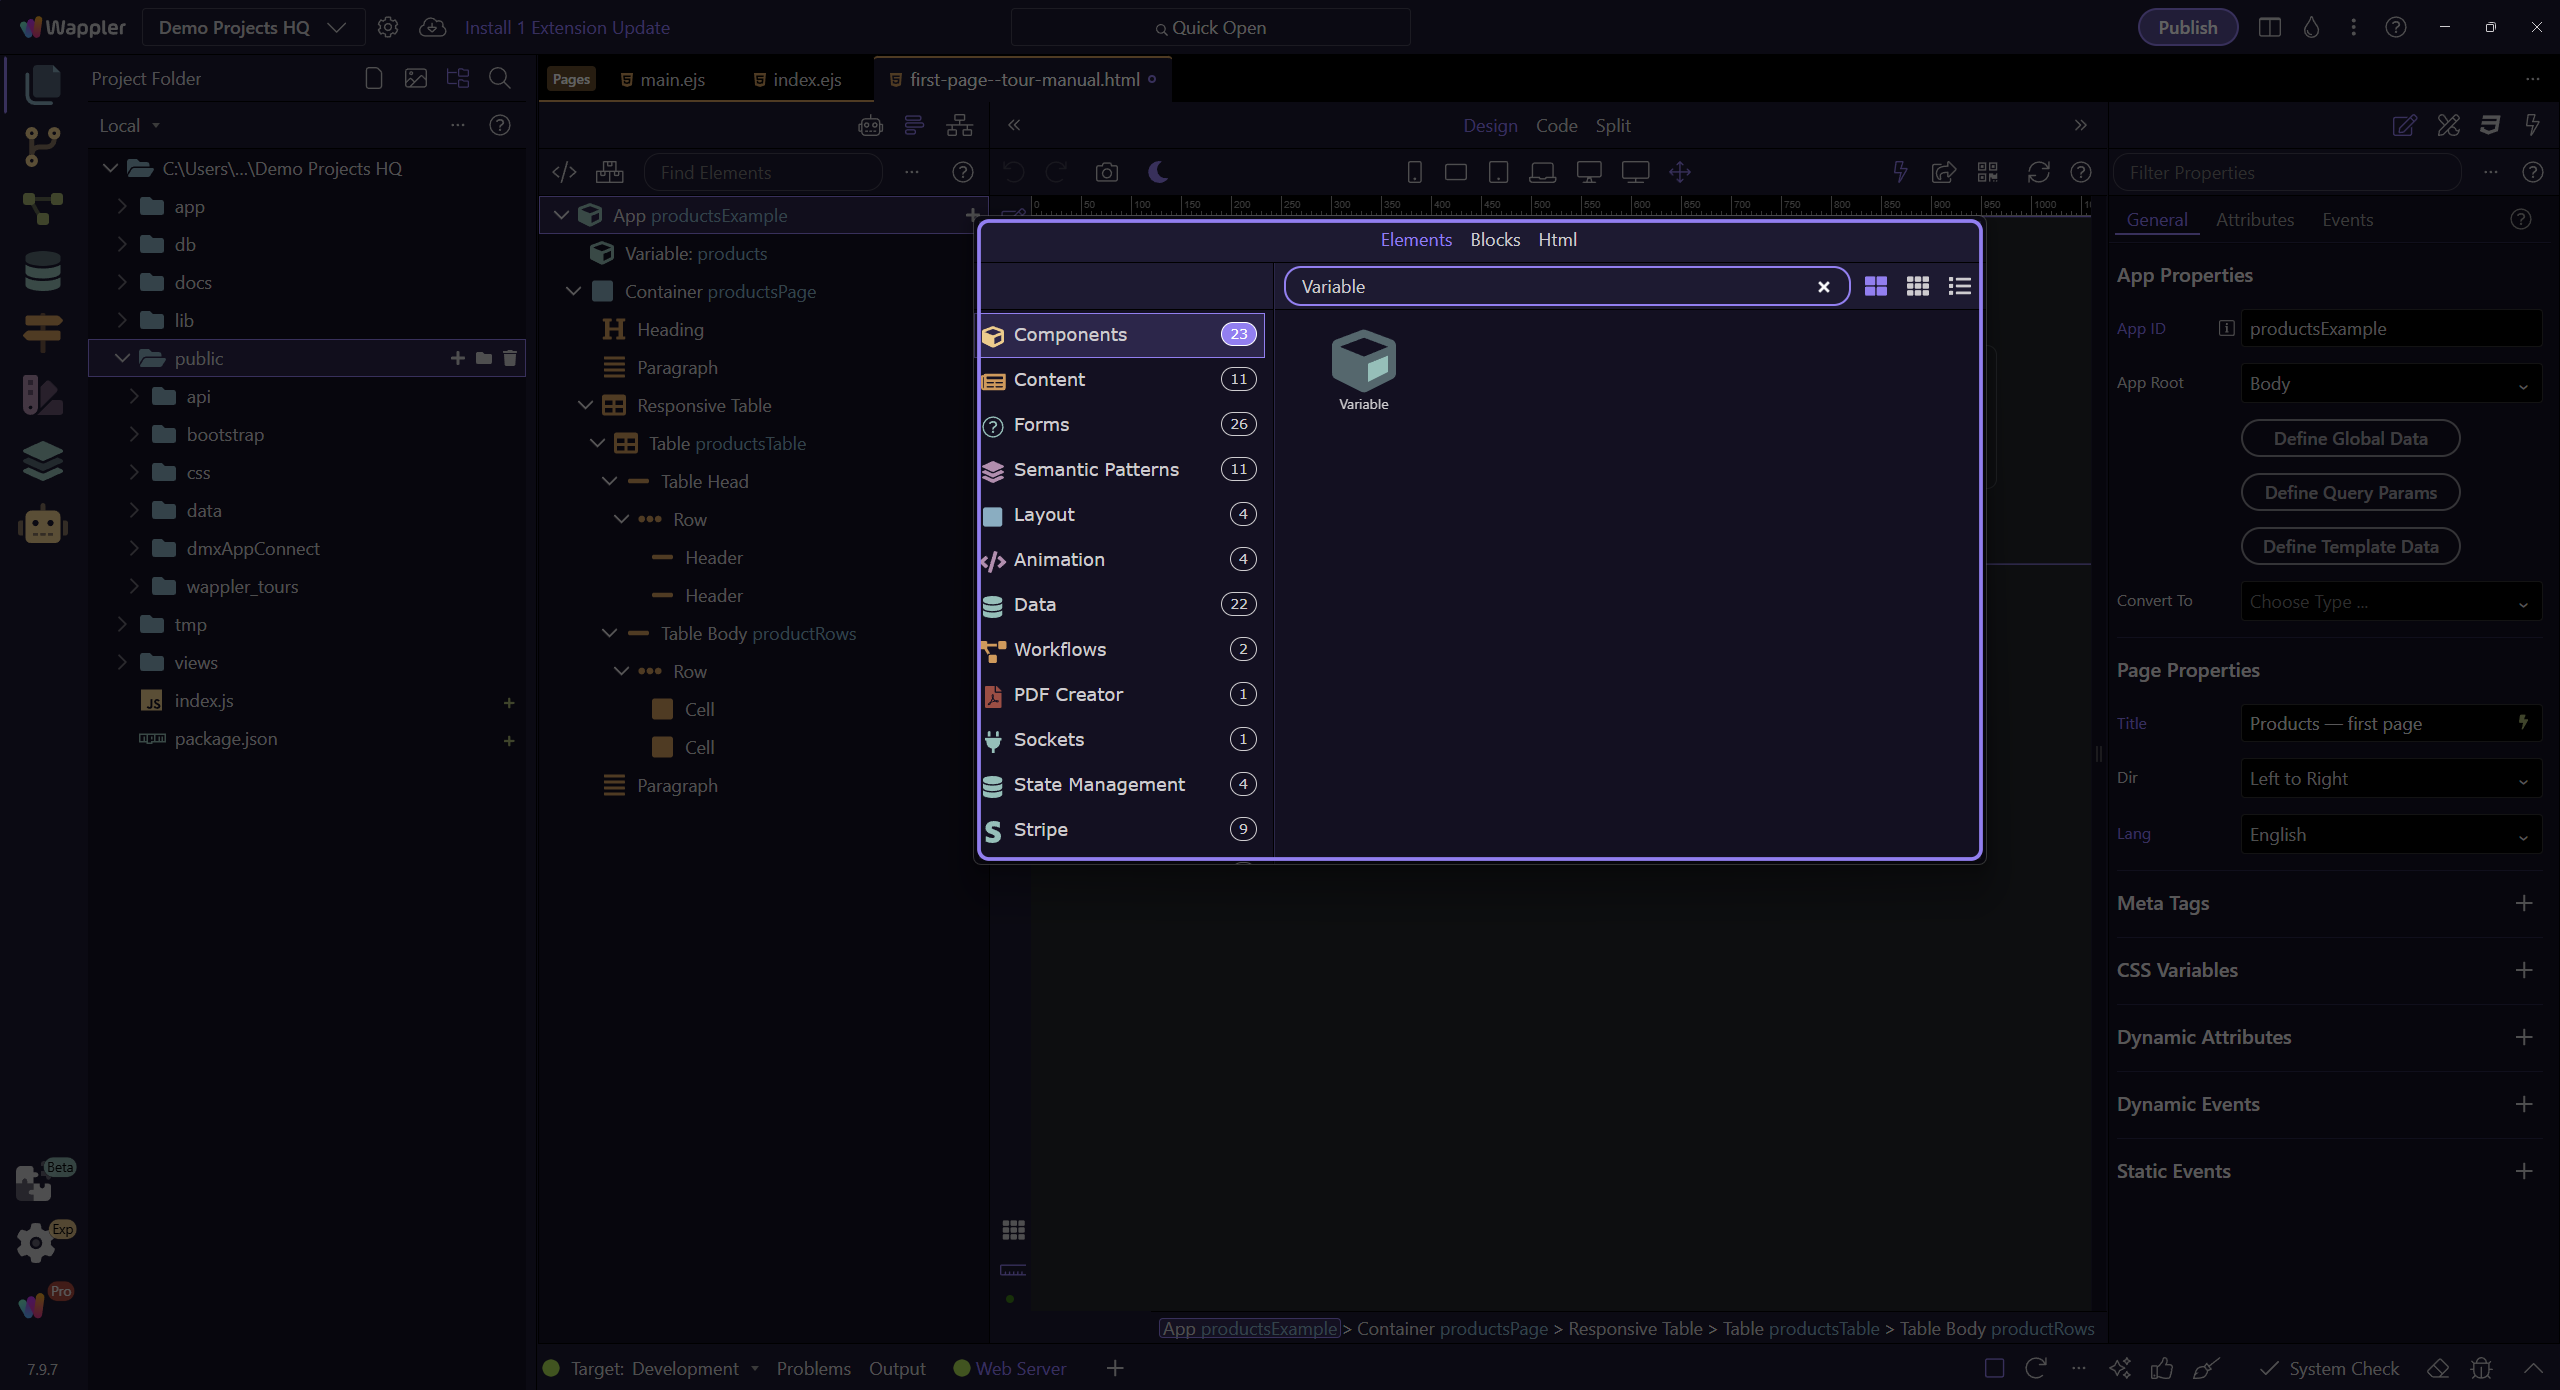
Add the products Variable
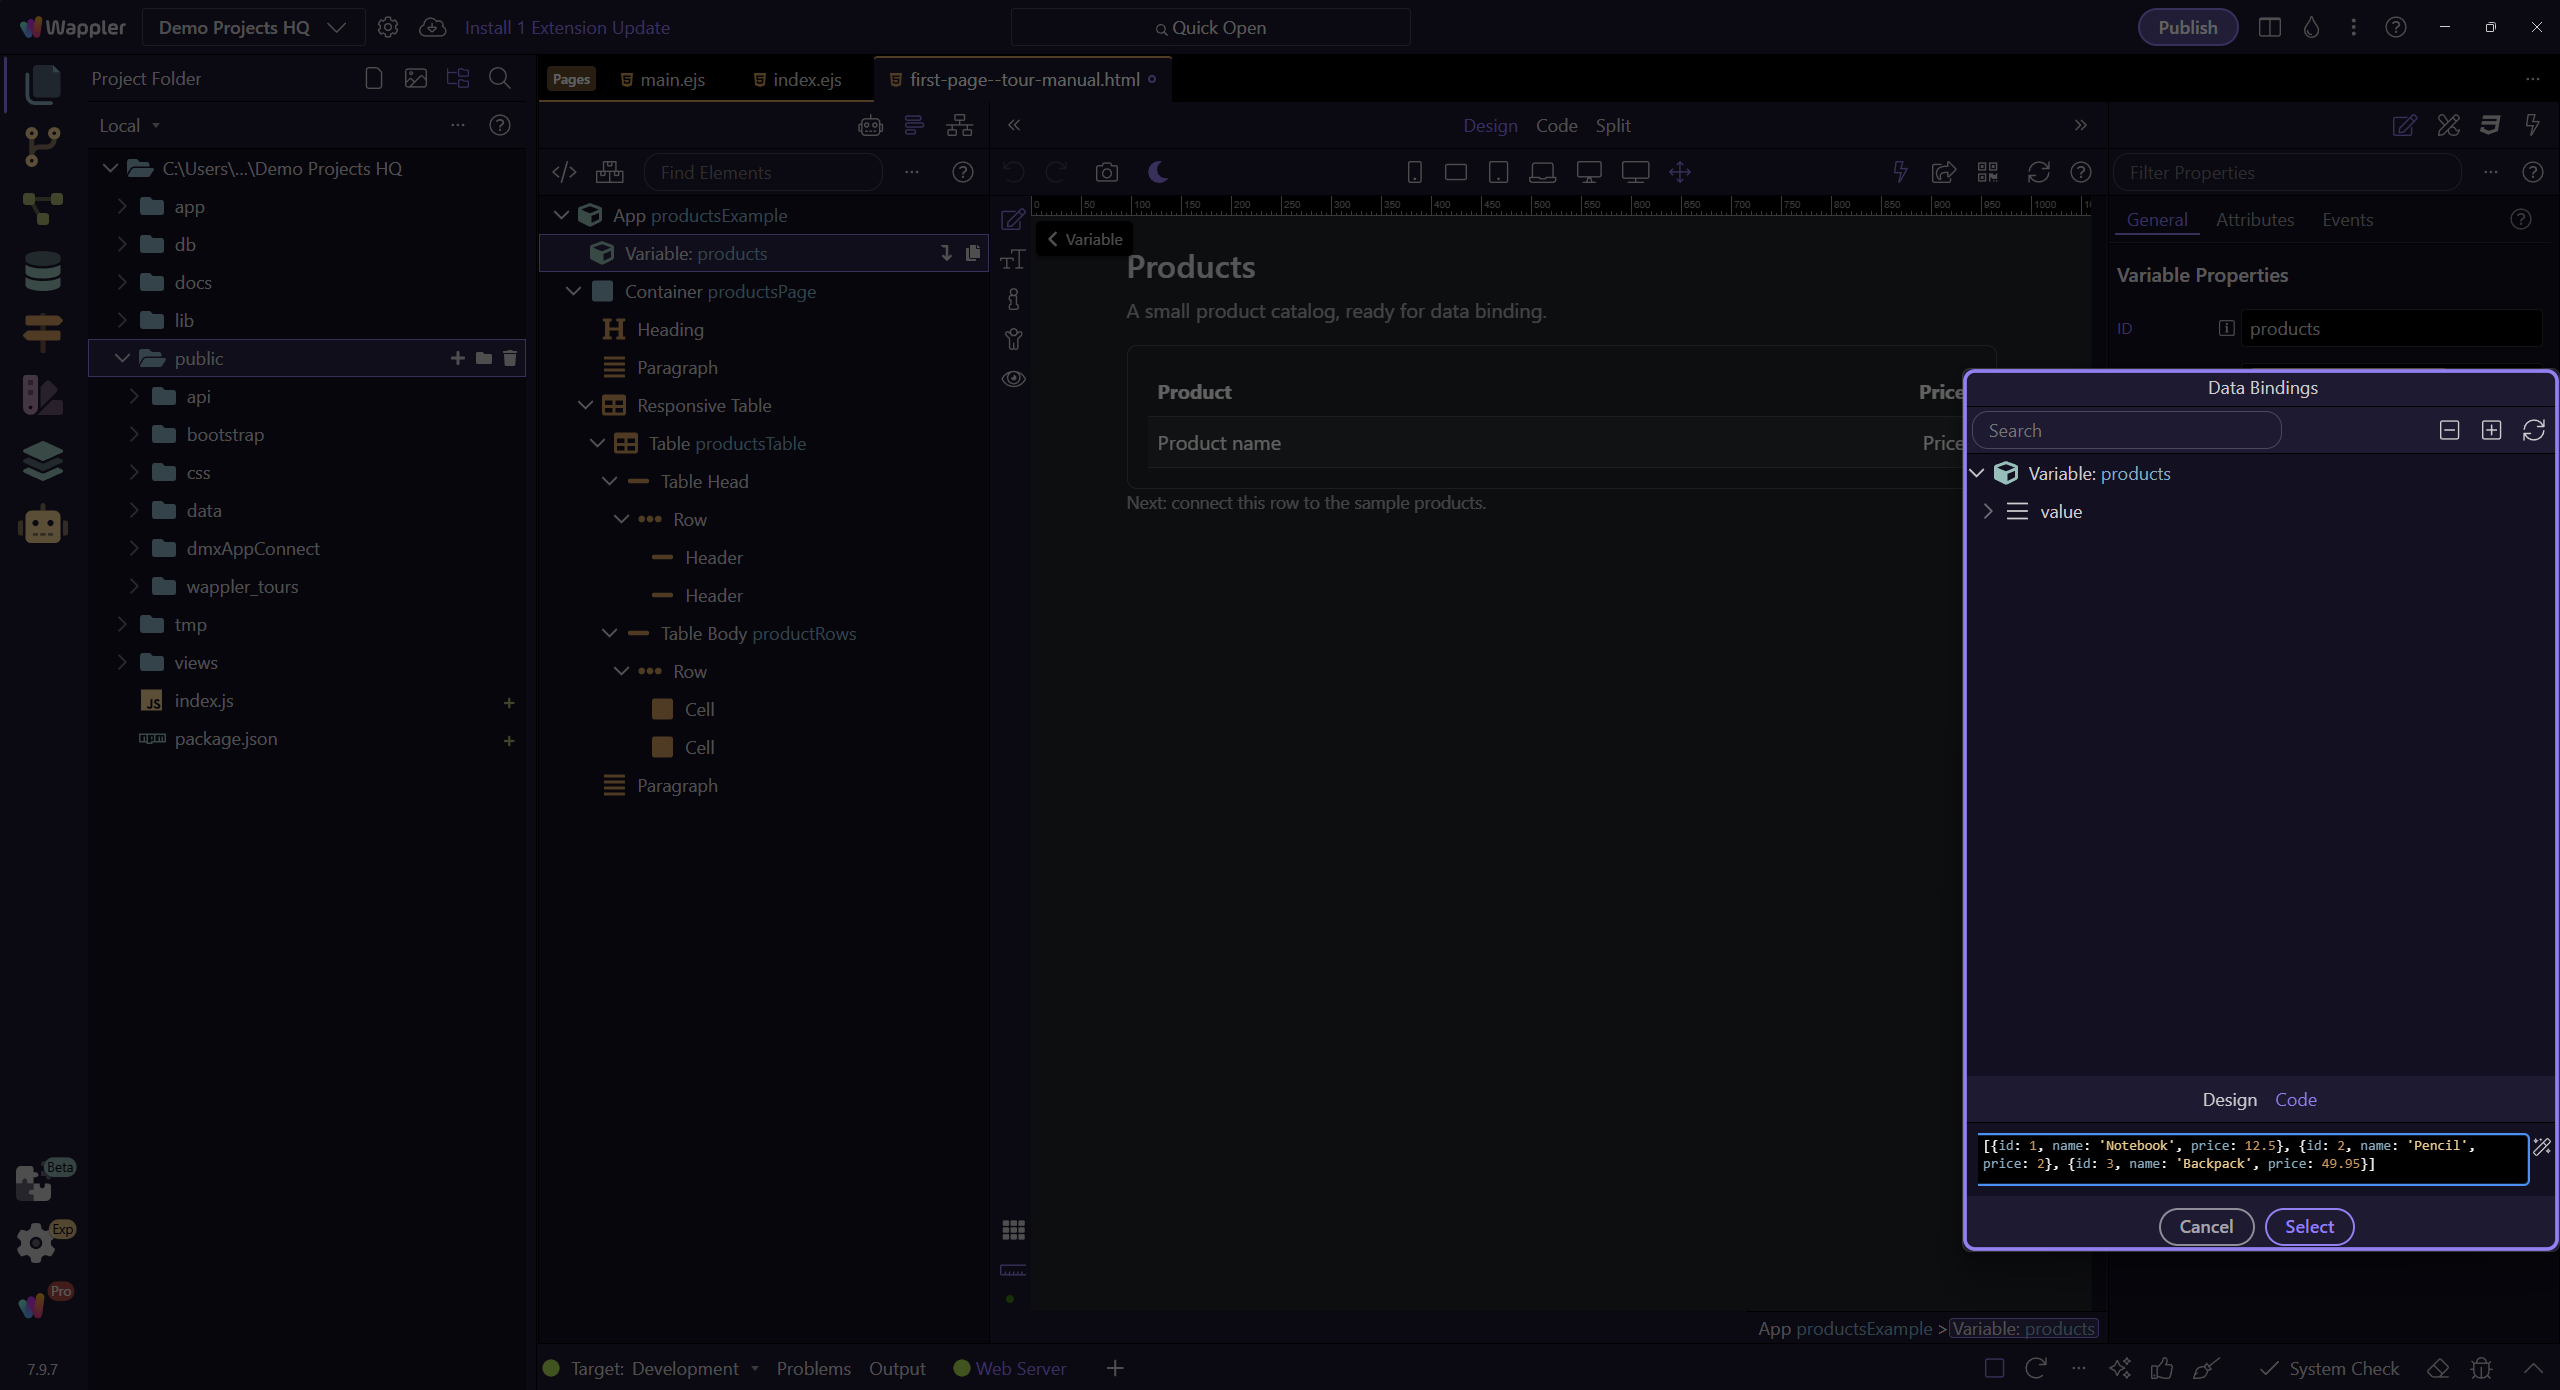
Section titled “Add the products Variable”Set the Variable ID to products. The example Variable is selected here. Open the dynamic picker next to Value to enter the array in the next step.
Enter the array in Code view
Section titled “Enter the array in Code view”In the Value picker, switch to Code and replace its contents with the array below, without surrounding quotes. Click Select to apply it. The plain Value field would store a pasted array as text. No database is needed for these three sample records.
[{id: 1, name: 'Notebook', price: 12.5}, {id: 2, name: 'Pencil', price: 2}, {id: 3, name: 'Backpack', price: 49.95}]
Save and Preview
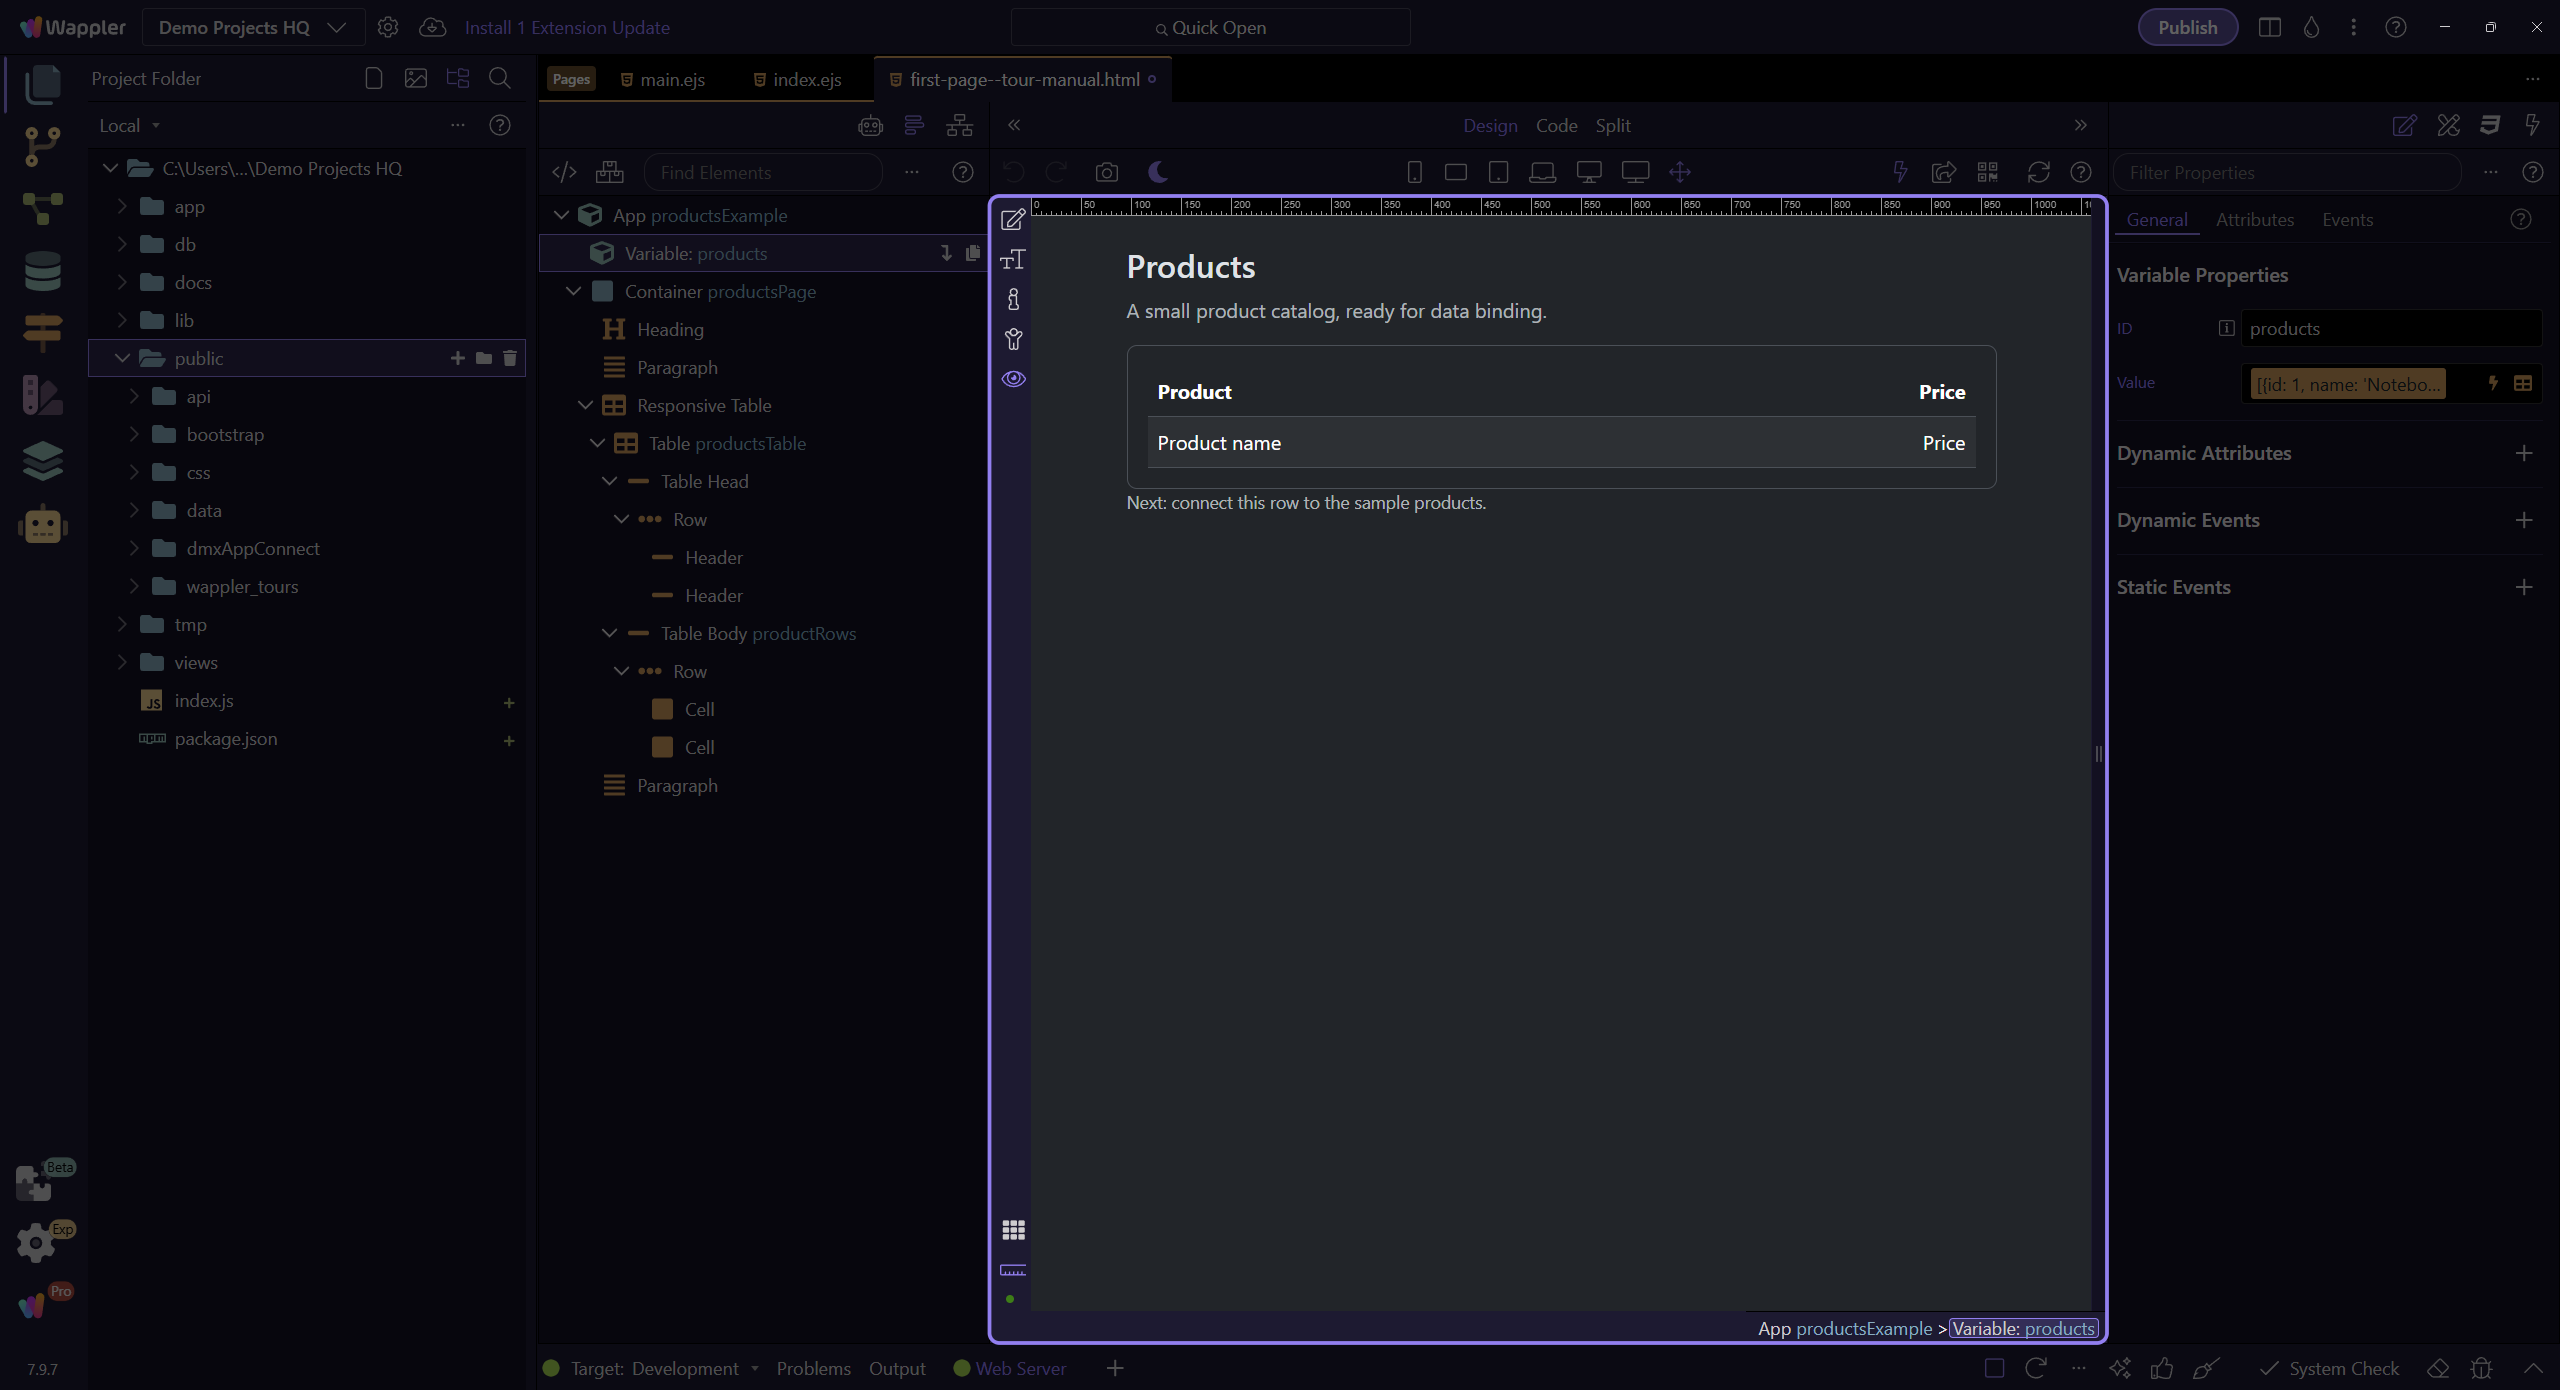
Section titled “Save and Preview”Save your page and switch to Preview. Check that Products and the two-column table are visible. This lesson ends with one placeholder row; the next lesson binds and repeats it for three products. If styling is missing, check Bootstrap 5; if the page cannot open, check the local server and public/learn.html.
Check your result
Section titled “Check your result”Your page opens with a Products heading and one sample table row. Saving and refreshing the page keeps the content.