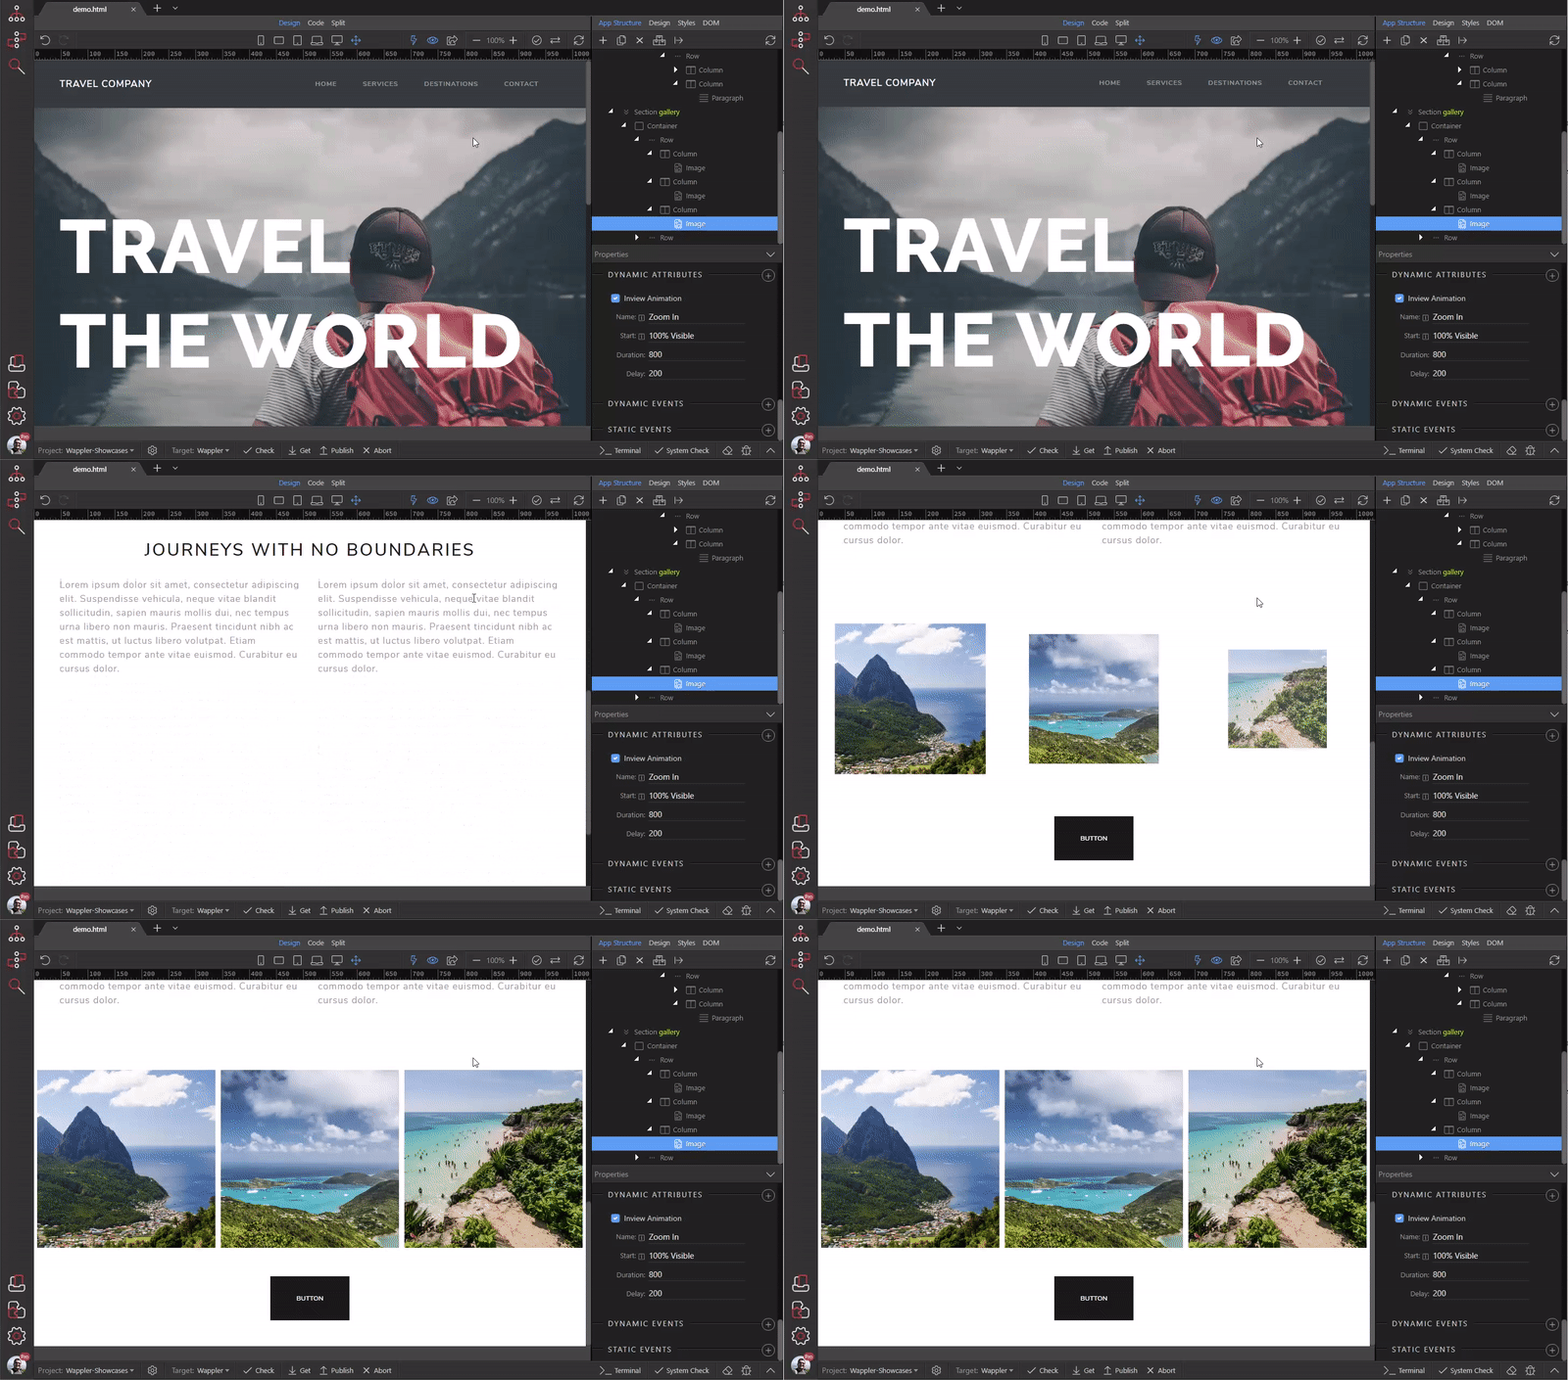
Animation Delay Options
You can create sequential animations using the delay option of the Animate component in Wappler. We added 3 images in a row on our page and we want to animate them sequentially when they enter the vie
You can create sequential animations using the delay option of the Animate component in Wappler.
Section titled “You can create sequential animations using the delay option of the Animate component in Wappler.”You can create sequential animations using the delay option of the Animate component in Wappler.
We added 3 images in a row on our page and we want to animate them sequentially when they enter the viewport.
Note - you can do this for any element on the page, it doesn't apply only to images.
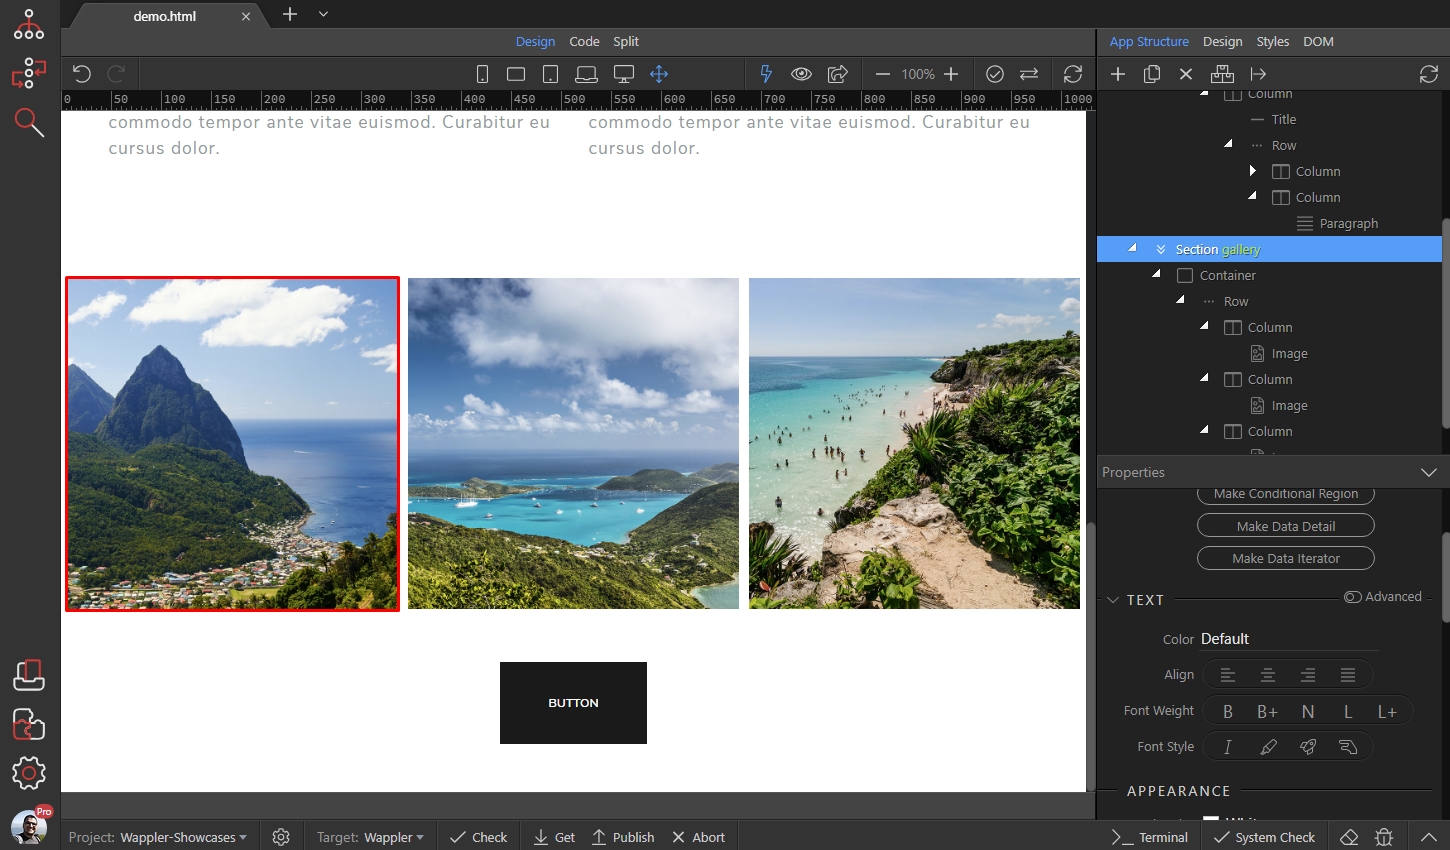
Select the first image:
Add new dynamic attribute:
Section titled “Add new dynamic attribute:”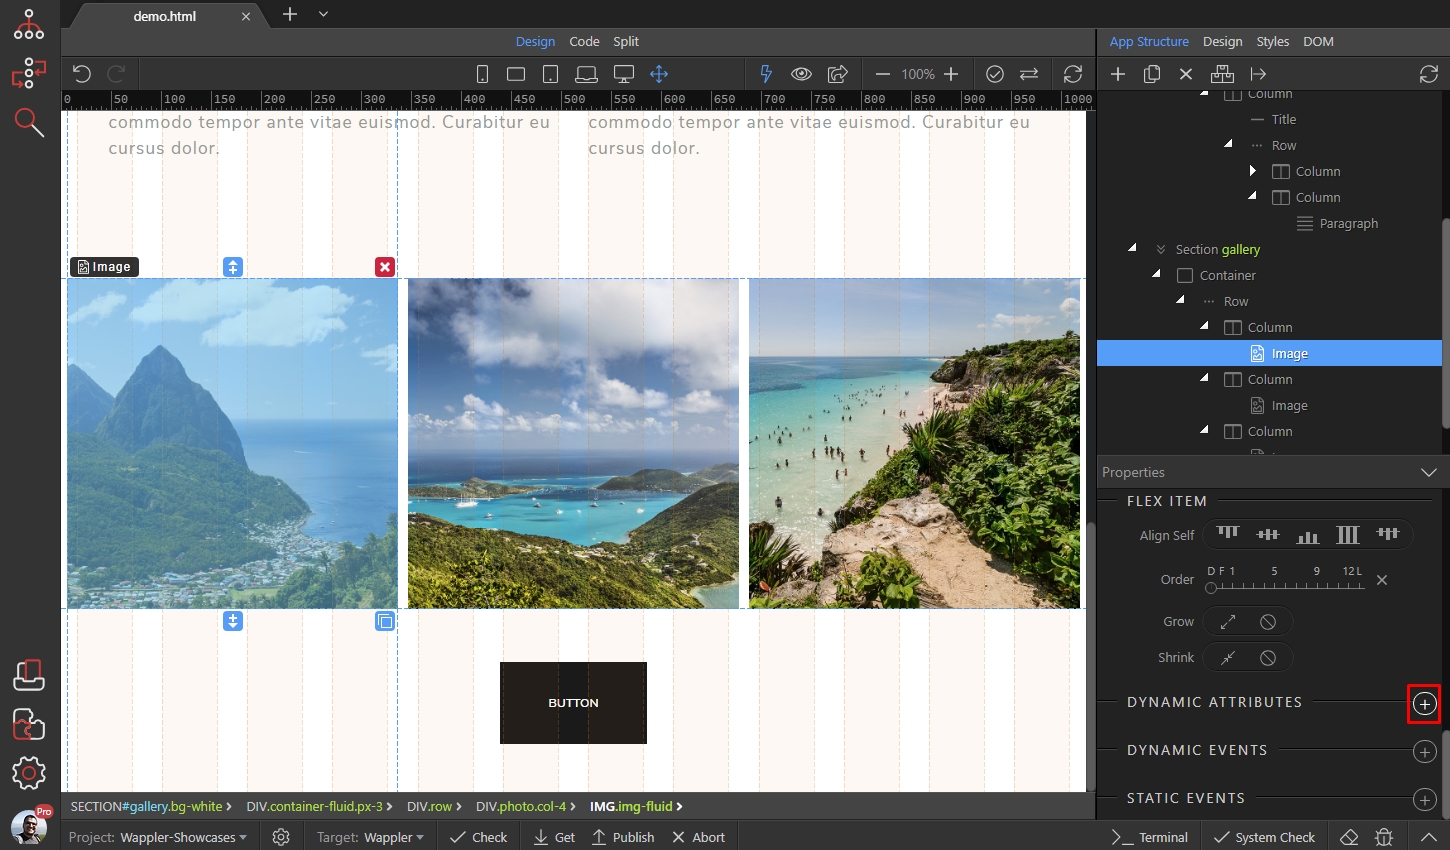
Add Inview Animation:
Section titled “Add Inview Animation:”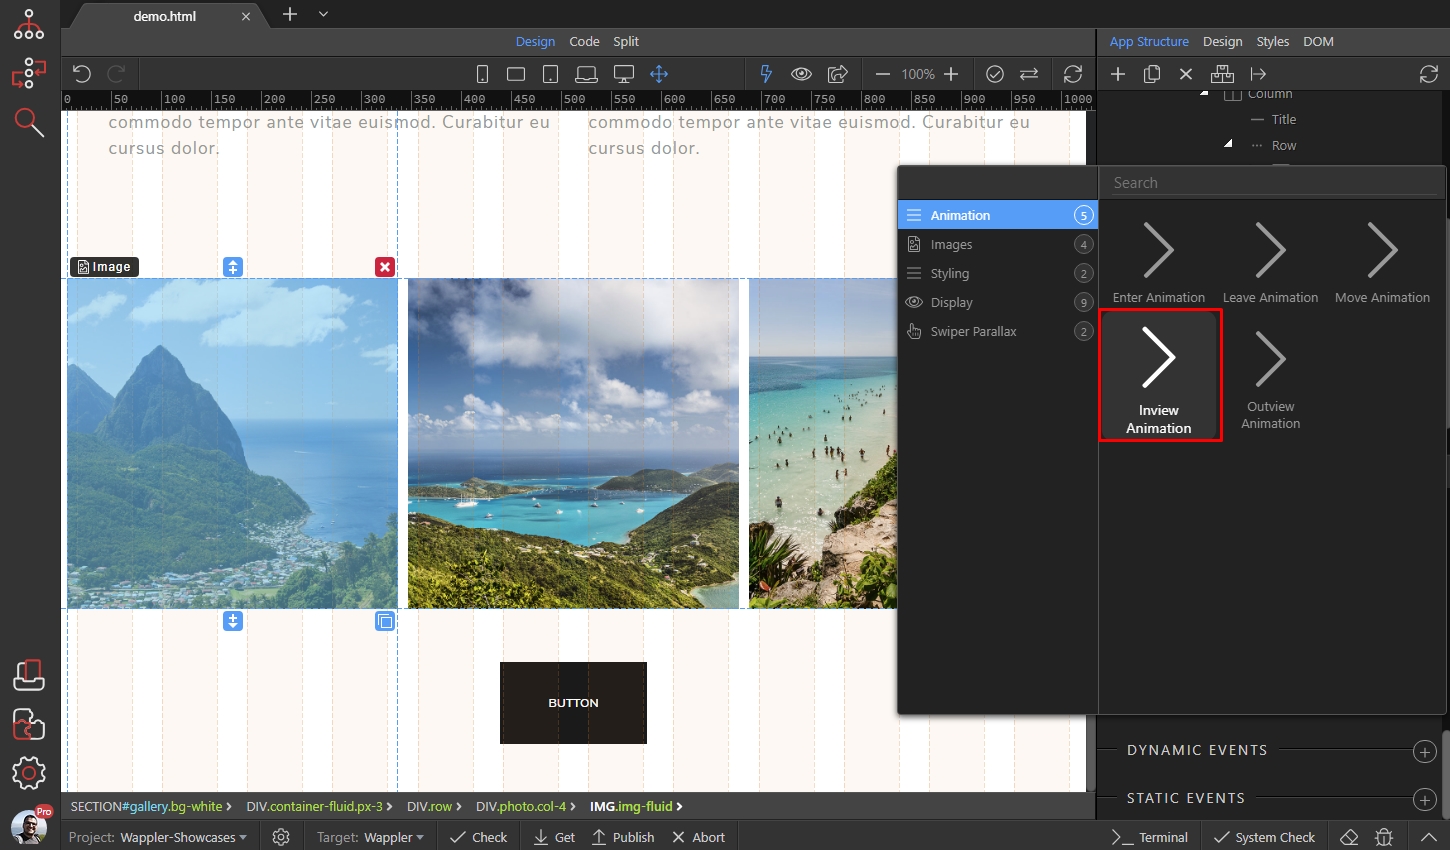
Select an animation effect. For this tutorial we use the Zoom In effect:
Section titled “Select an animation effect. For this tutorial we use the Zoom In effect:”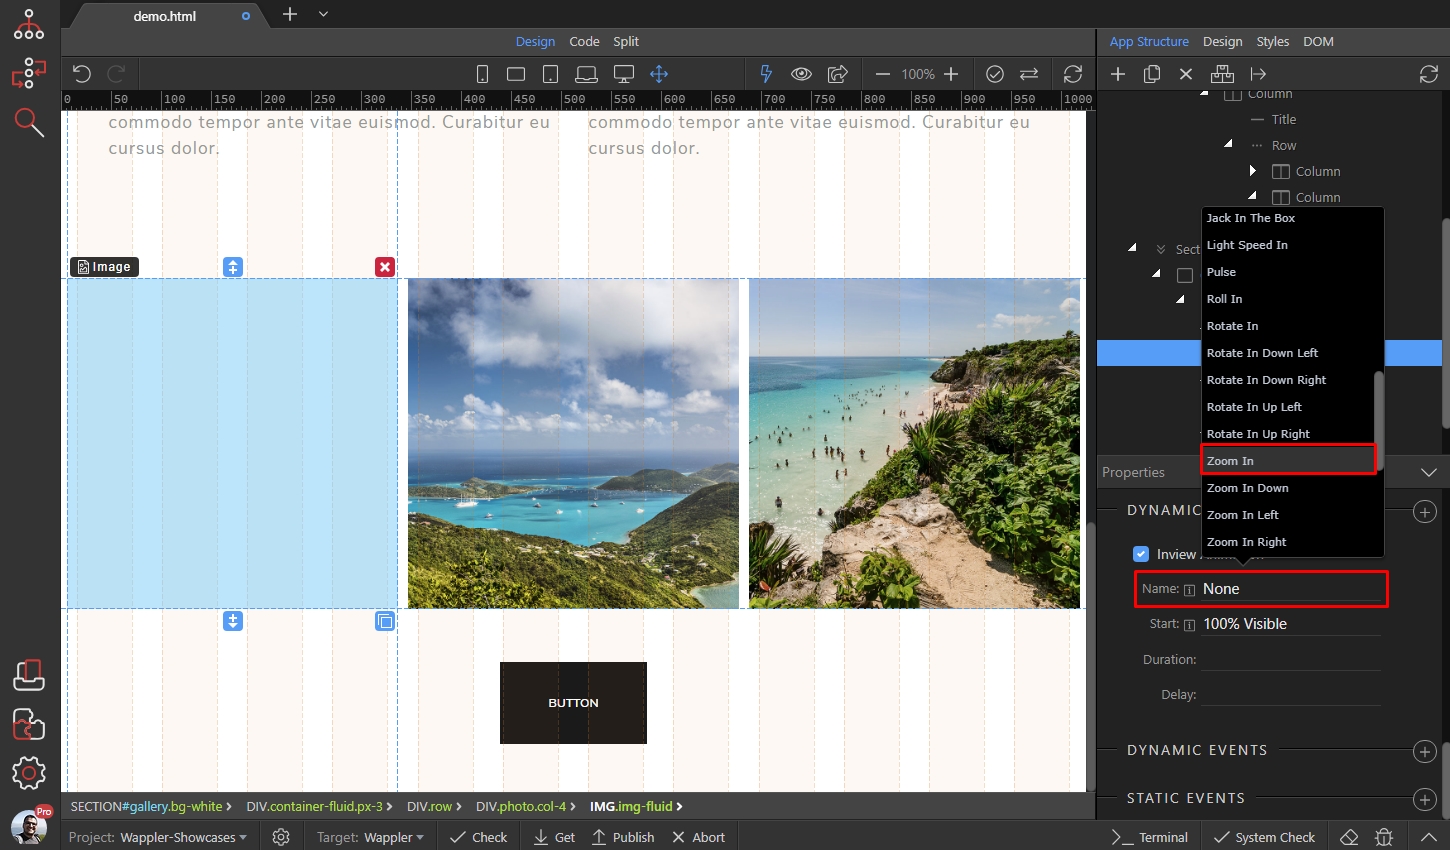
Then select when to apply the selected effect, we select when the image is 100% in the viewport:
Section titled “Then select when to apply the selected effect, we select when the image is 100% in the viewport:”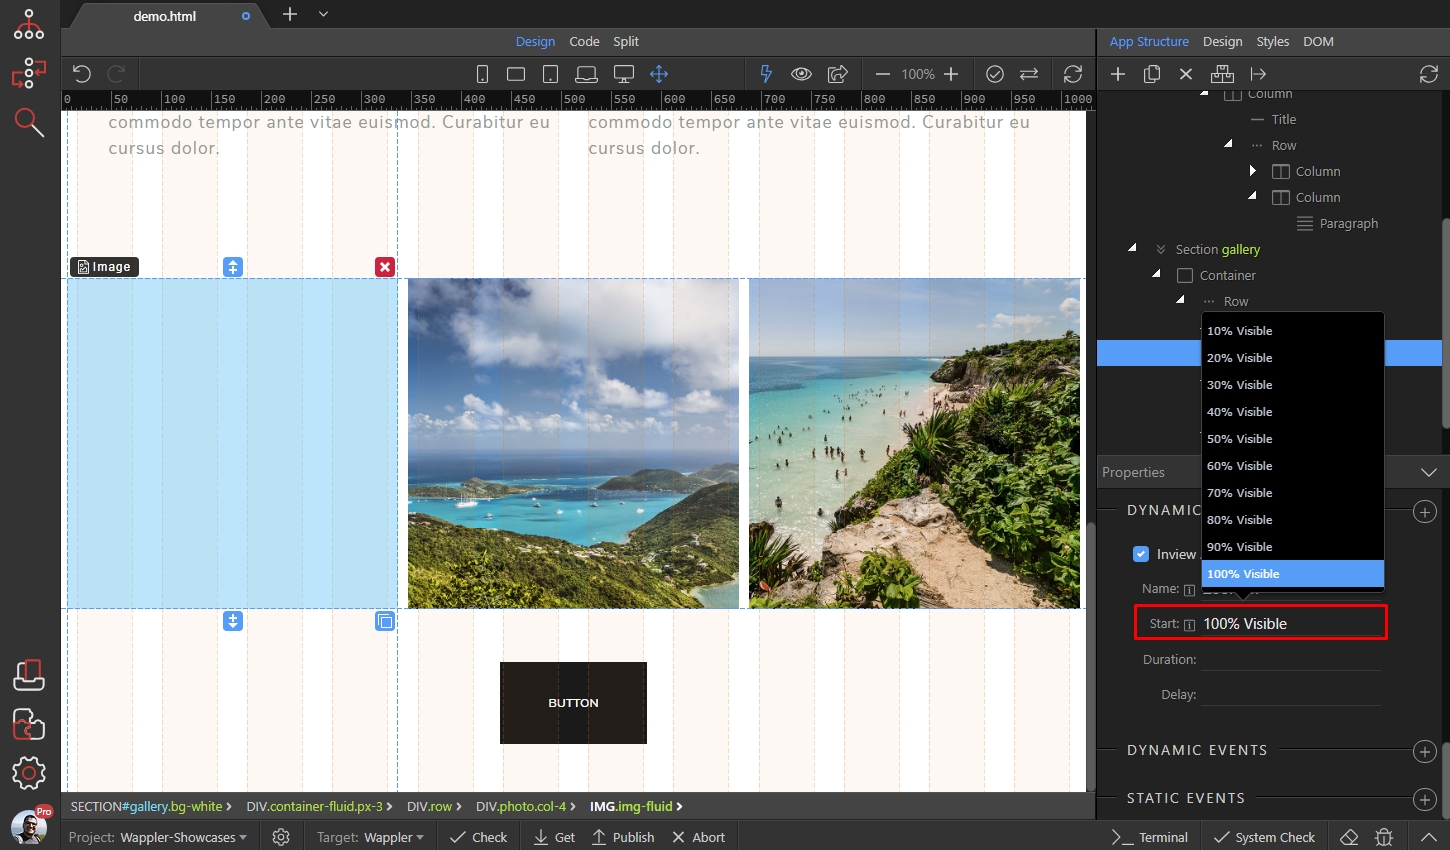
Step 6
Section titled “Step 6”You can override the default animation duration, which is 1000 milliseconds (1 second), if you wish. Set a value in milliseconds:
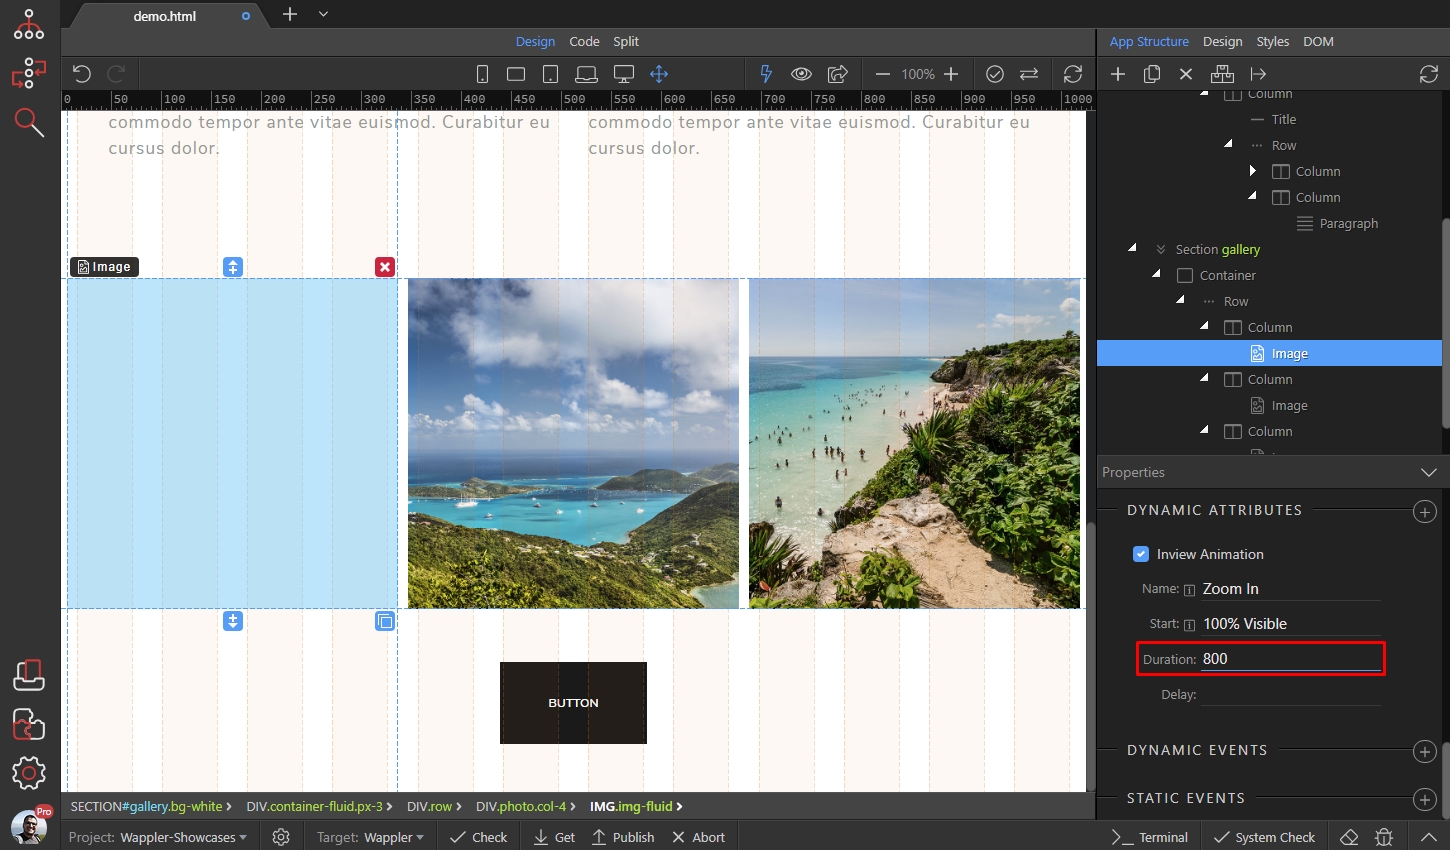
We don't need a delay set for the first image, so we leave this field empty:
Section titled “We don't need a delay set for the first image, so we leave this field empty:”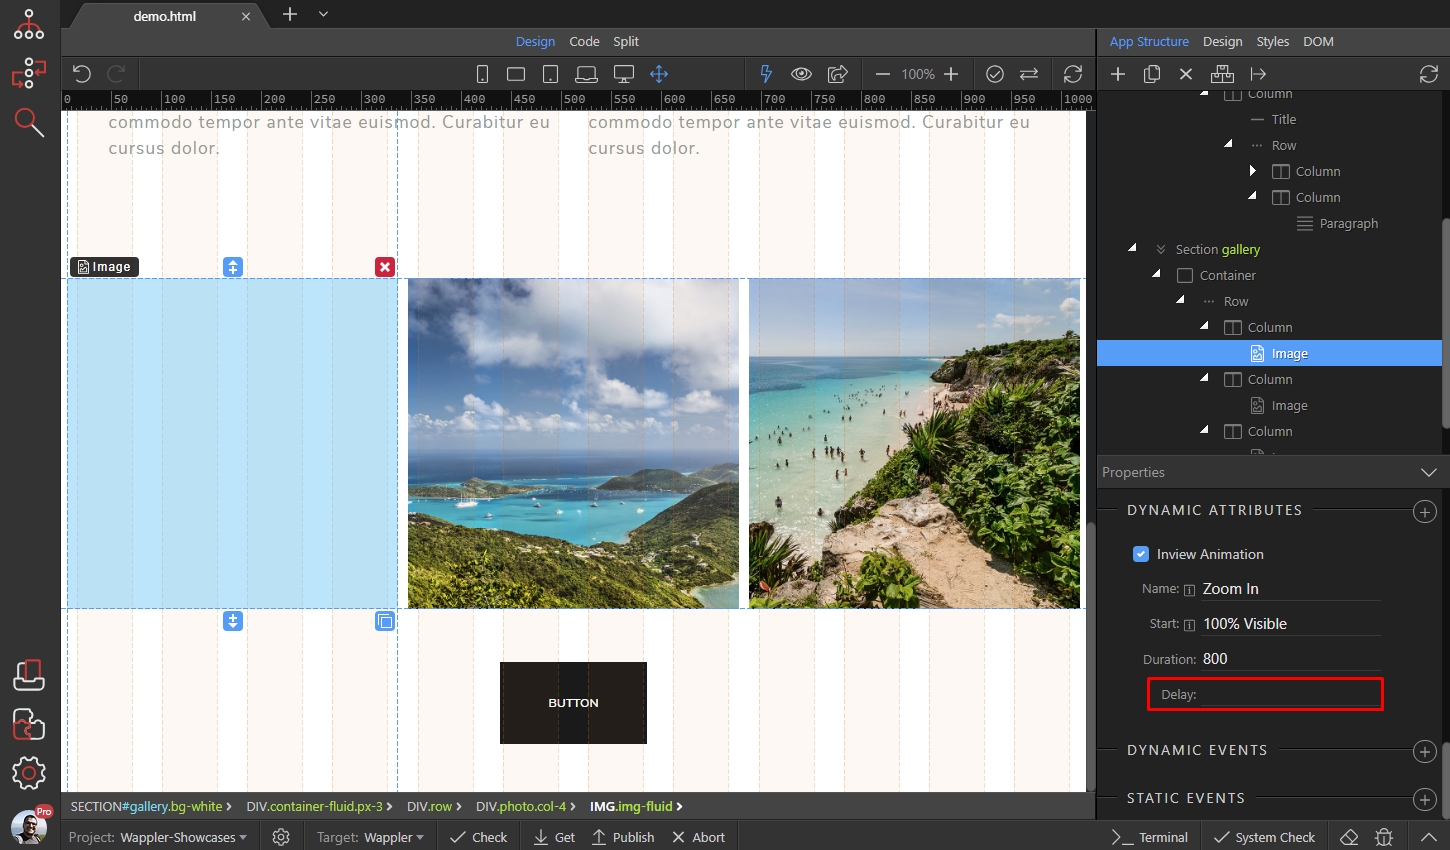
Select the second image and add the same animation here:
Section titled “Select the second image and add the same animation here:”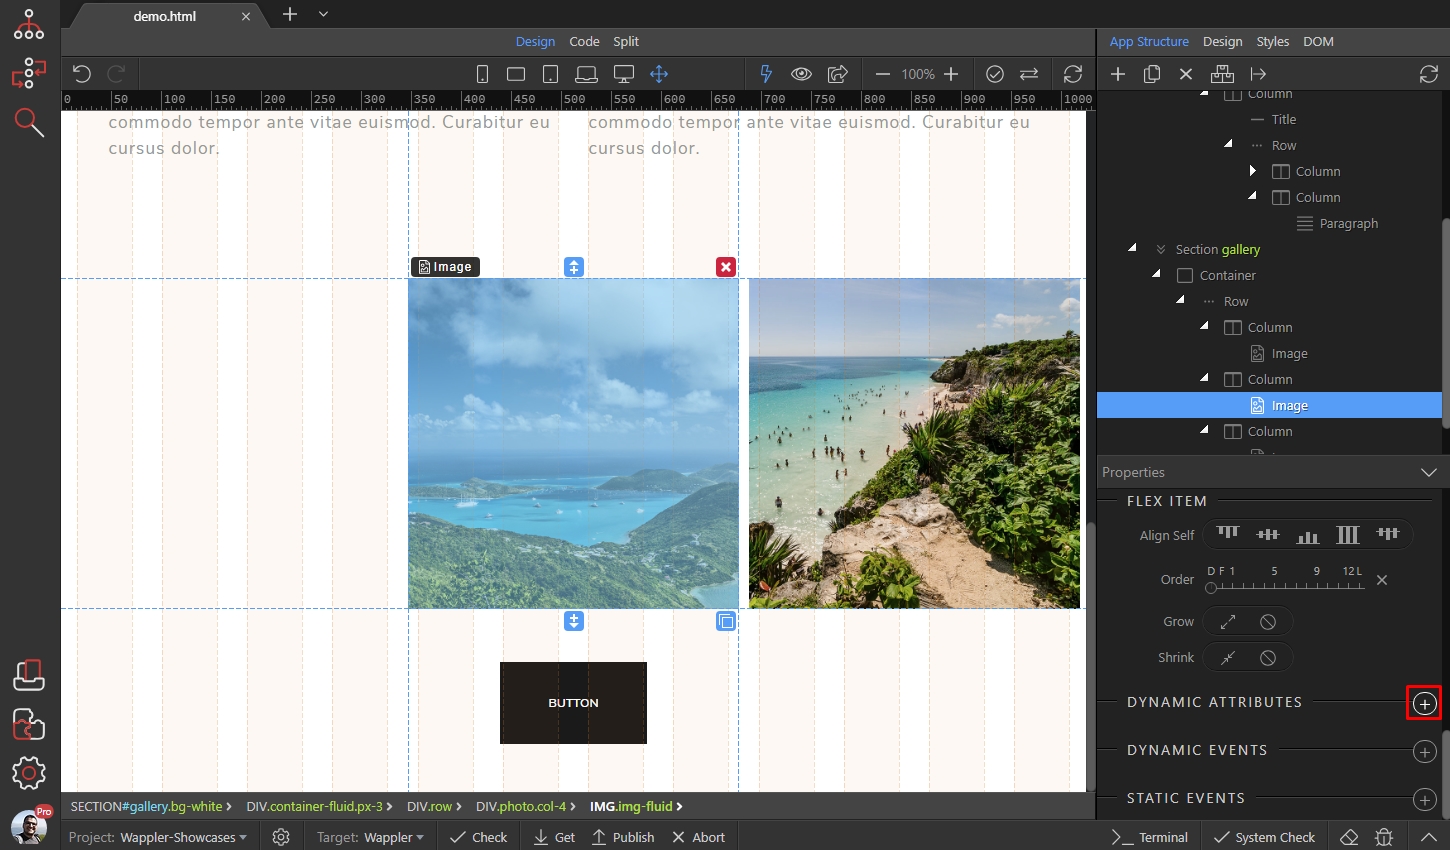
Step 9
Section titled “Step 9”The only difference here is the delay. In order to add the sequential effect, we add a delay of 100 milliseconds here. So the animation of this image will be applied 100 milliseconds after it enters 100% in the viewport:
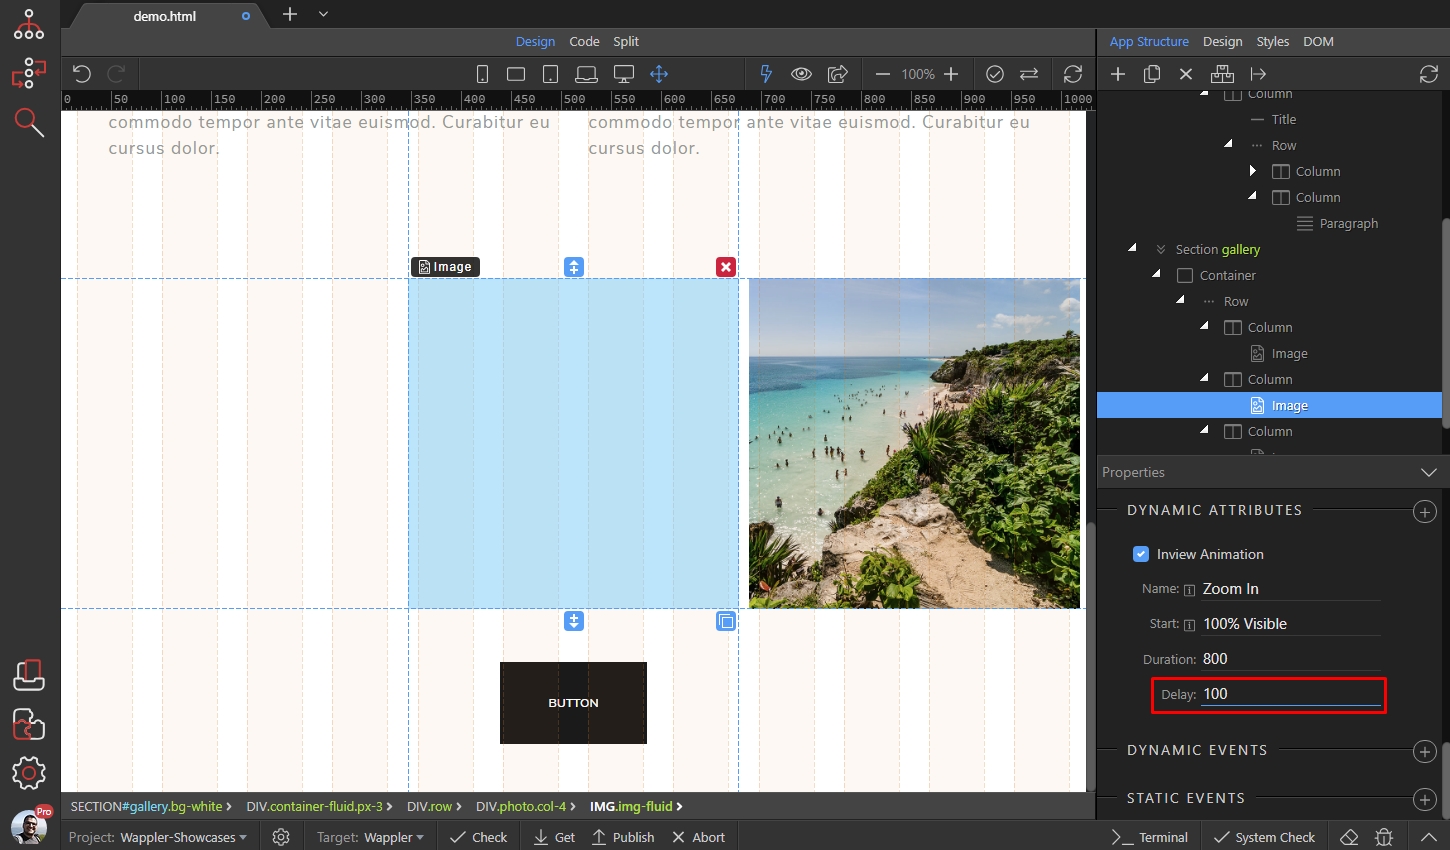
We do the same for the third image, this time adding a delay of 200 milliseconds:
Section titled “We do the same for the third image, this time adding a delay of 200 milliseconds:”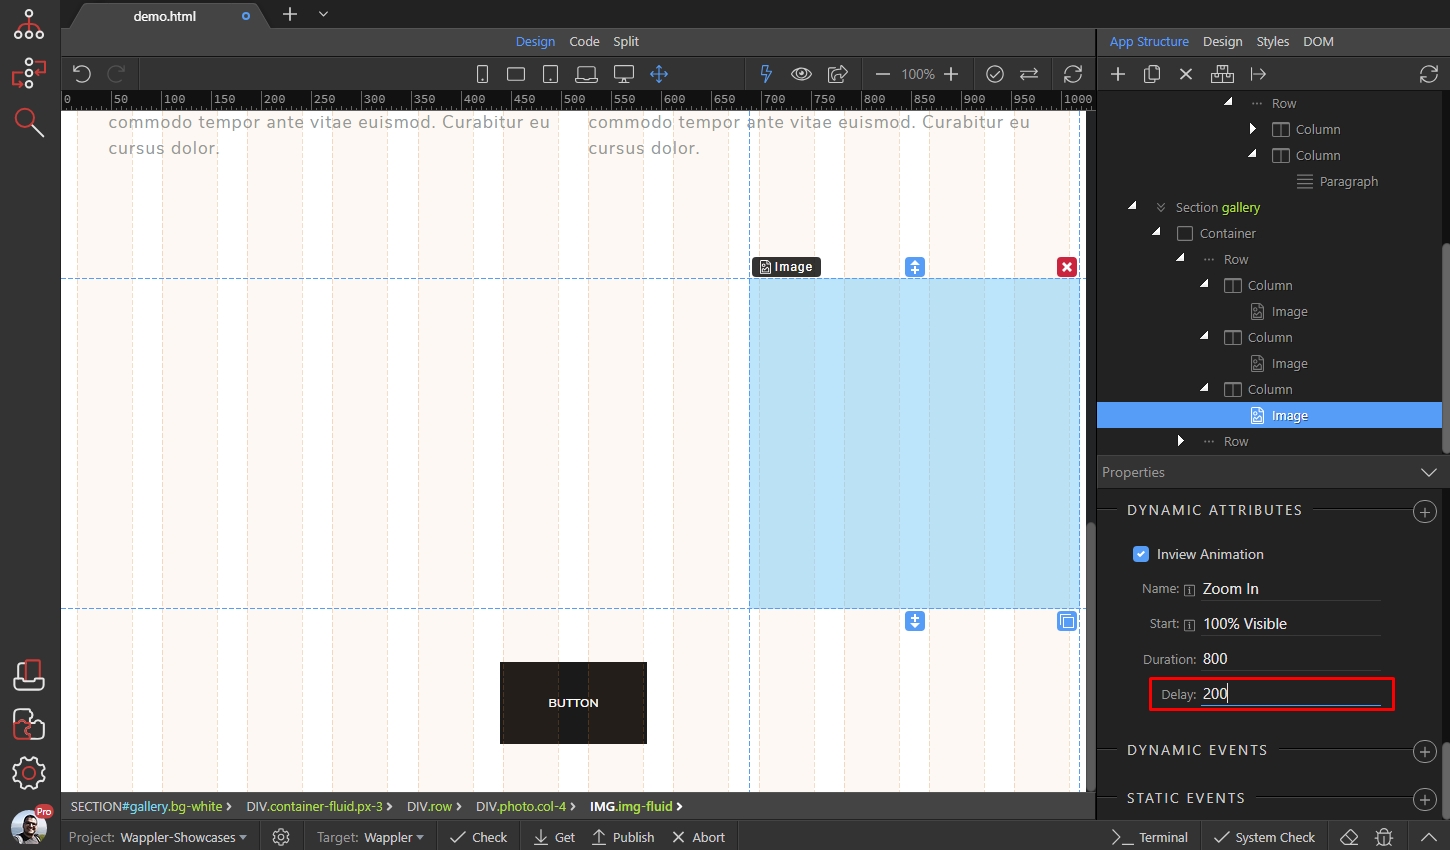
Here's the result:
Section titled “Here's the result:”When the 3 images enter the viewport the animation applied to the first one will begin immediately, then after a delay of 100 milliseconds the animation applied to the second image will run, and after 100 more milliseconds the third image will get animated.
Here's the result: