
Password Reset Functionality: Part 1
In Part 1 of Password Reset Functionality we will cover the following: Creating the request new password page User email validation Generating and sending the unique password reset link to user’s emai
In Part 1 of Password Reset Functionality we will cover the following:
Section titled “In Part 1 of Password Reset Functionality we will cover the following:”- Creating the request new password page
- User email validation
- Generating and sending the unique password reset link to user’s email
The Form
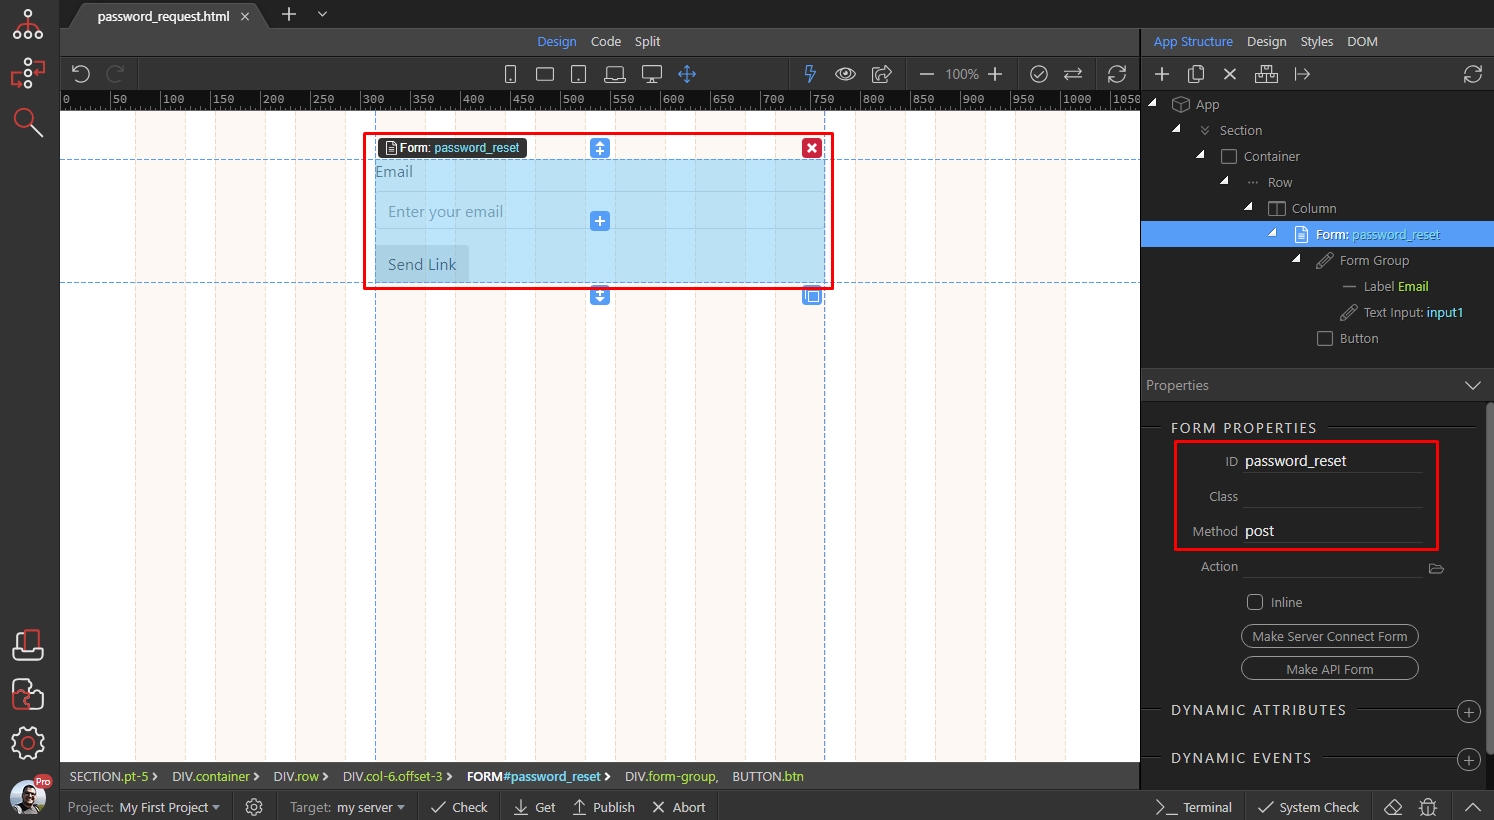
Section titled “The Form”First, let’s start with the request new password page. This is actually a pretty simple page containing a form with a single field and a submit button. You already know how to create a form and add elements inside it, so we won’t show this in details.
Form method is set to post:
The input is a simple text field:
Section titled “The input is a simple text field:”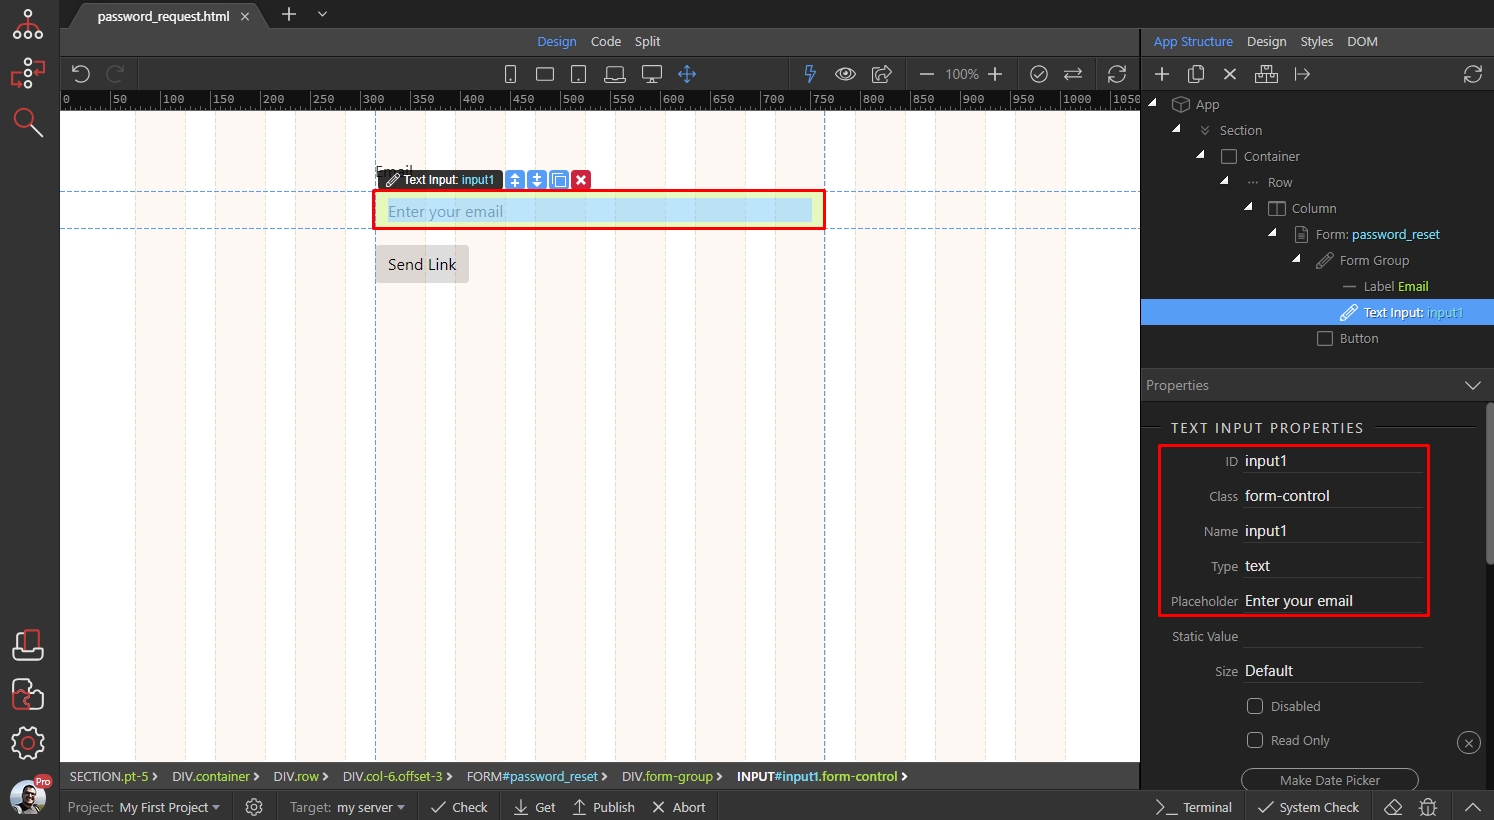
And the button is a submit button:
Section titled “And the button is a submit button:”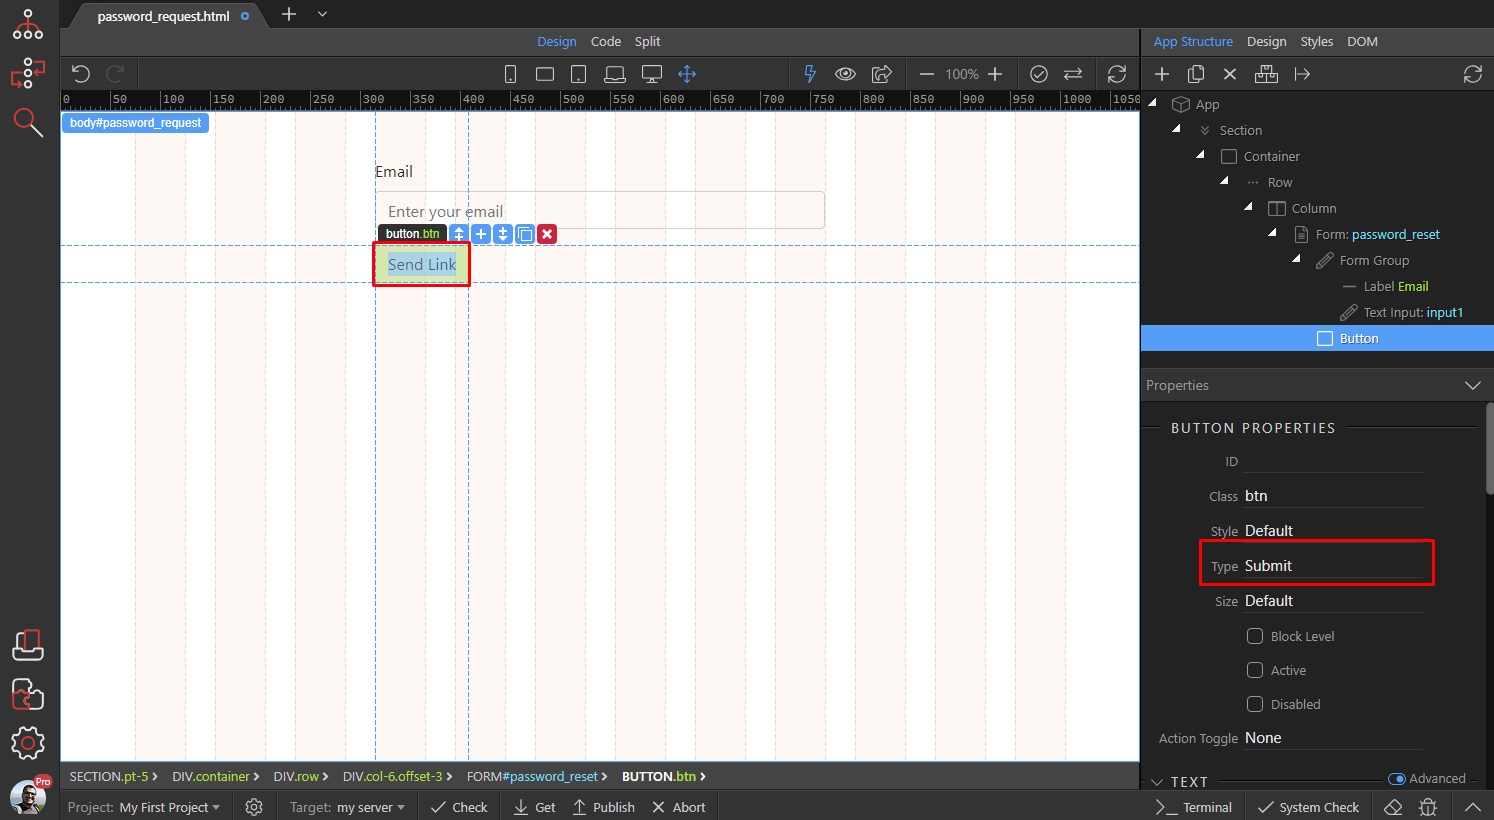
Step 5
Section titled “Step 5”We will use the field, to check user’s email, and if a valid email address and if it exists into our database, we will use it to send the password reset link to it. Let’s add the client-side validation first. Select the email field, and add new validation rule:
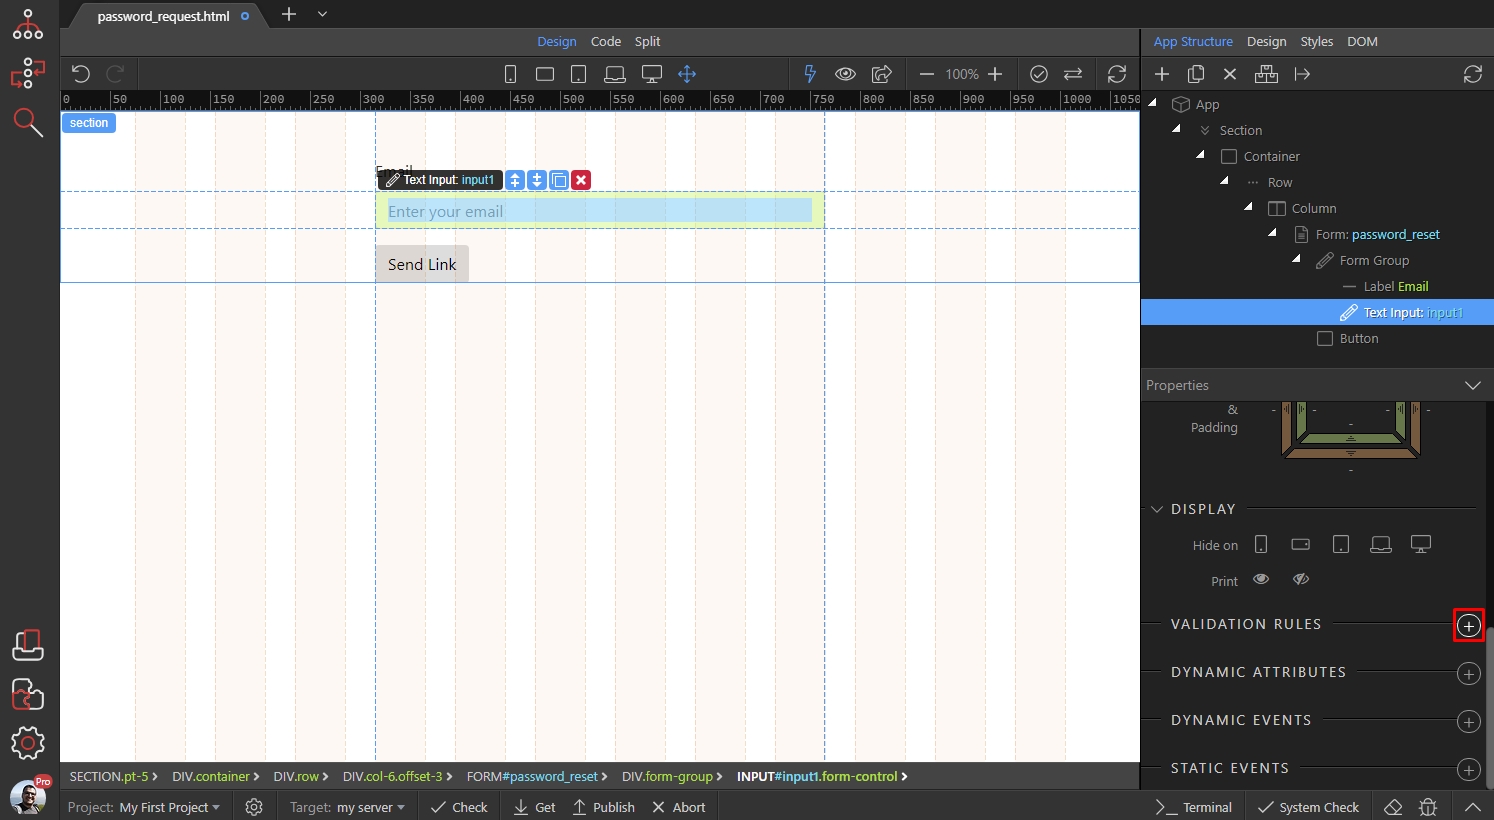
From the text category select the E-mail validation rule:
Section titled “From the text category select the E-mail validation rule:”
Then add new rule:
Section titled “Then add new rule:”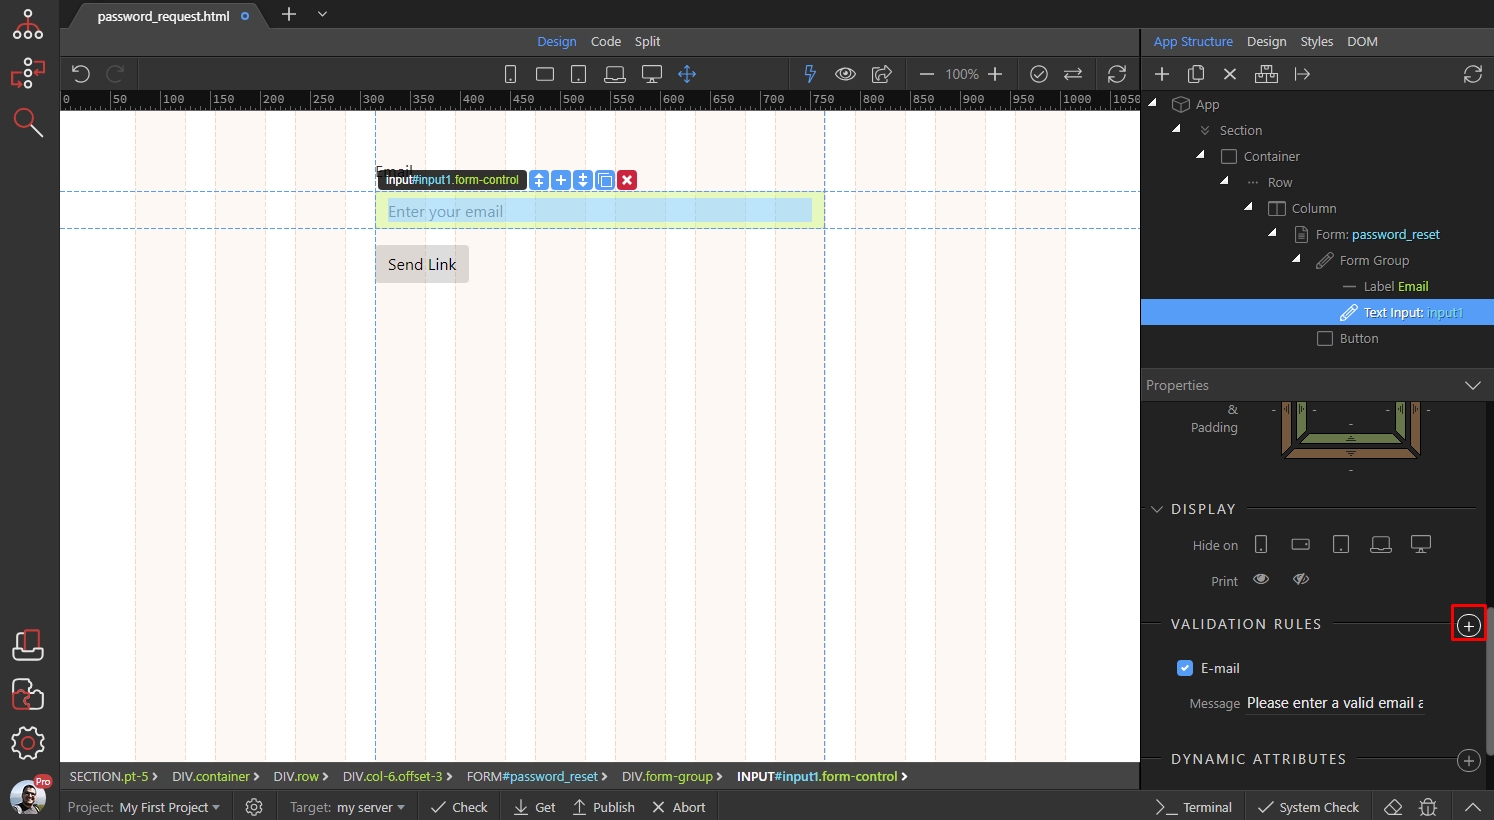
And select Required:
Section titled “And select Required:”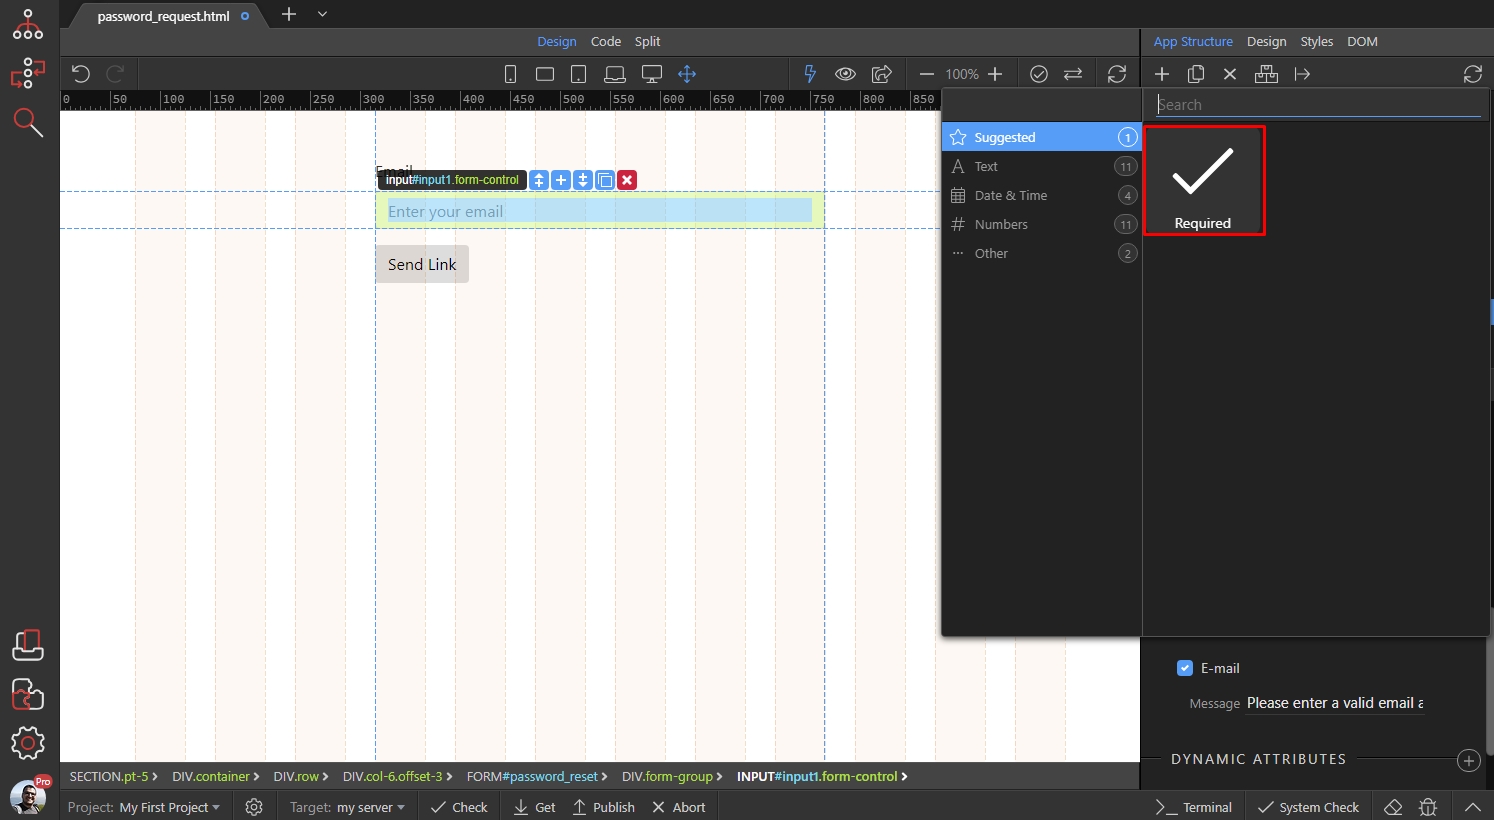
We are done with the client-side validation.
Section titled “We are done with the client-side validation.”The Server Action
Section titled “The Server Action”Save your page and open the Server Connect Panel:
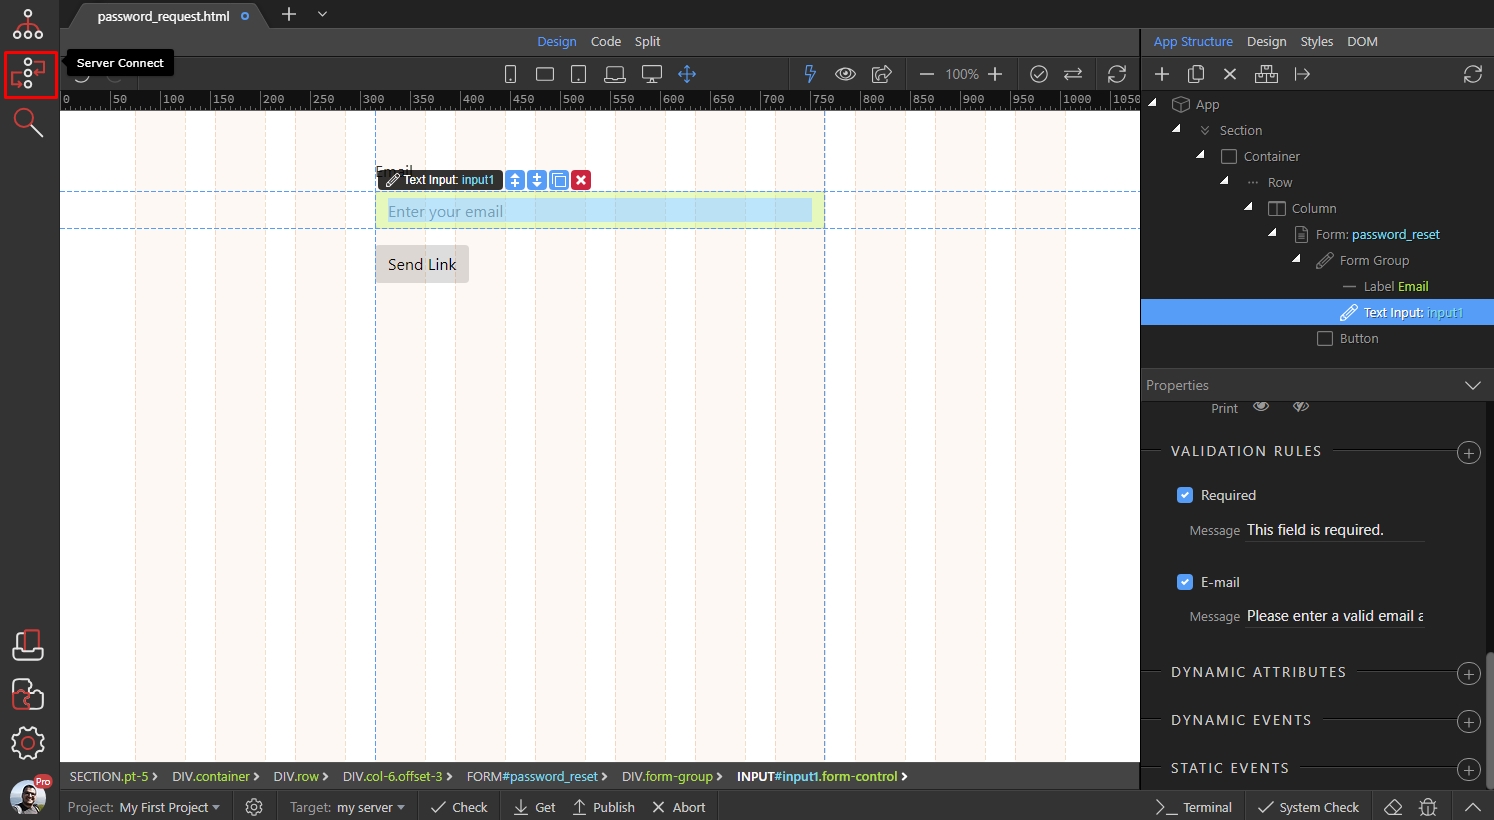
Create new server action:
Section titled “Create new server action:”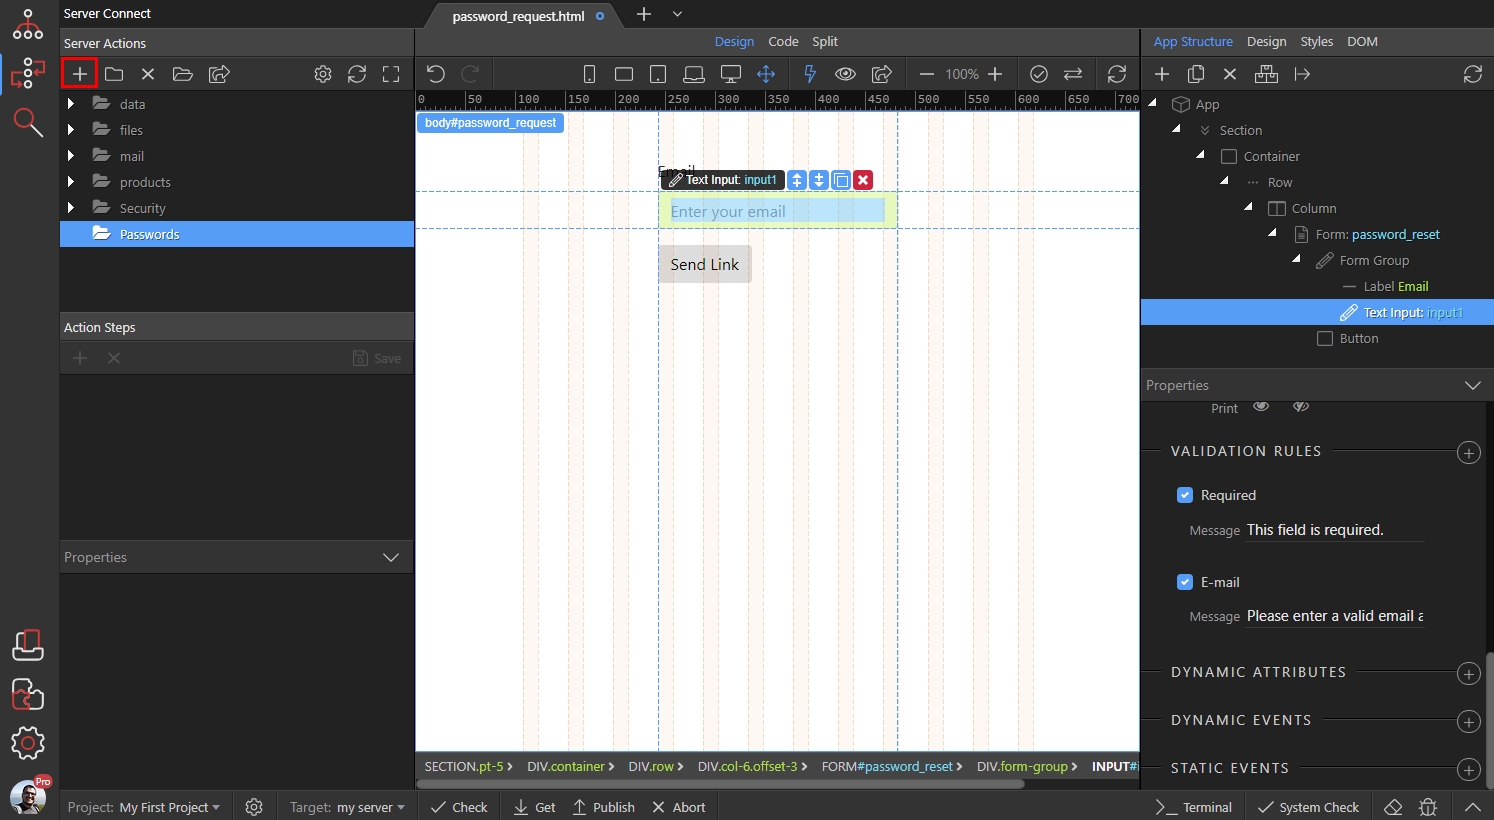
We create it in the Passwords folder and call it request_new:
Section titled “We create it in the Passwords folder and call it request_new:”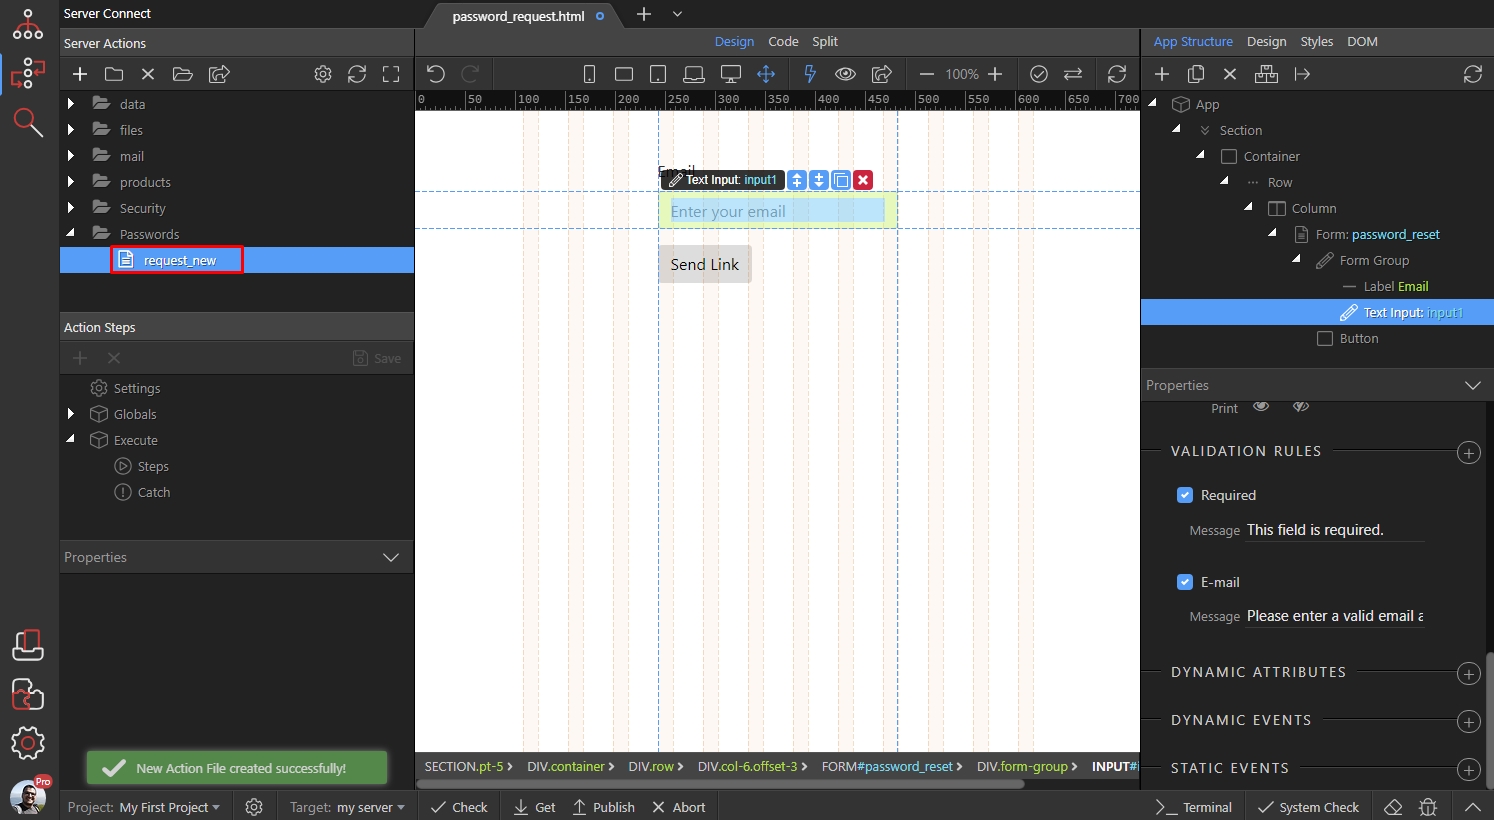
Click Globals and click the browse icon, next to the Linked Page field:
Section titled “Click Globals and click the browse icon, next to the Linked Page field:”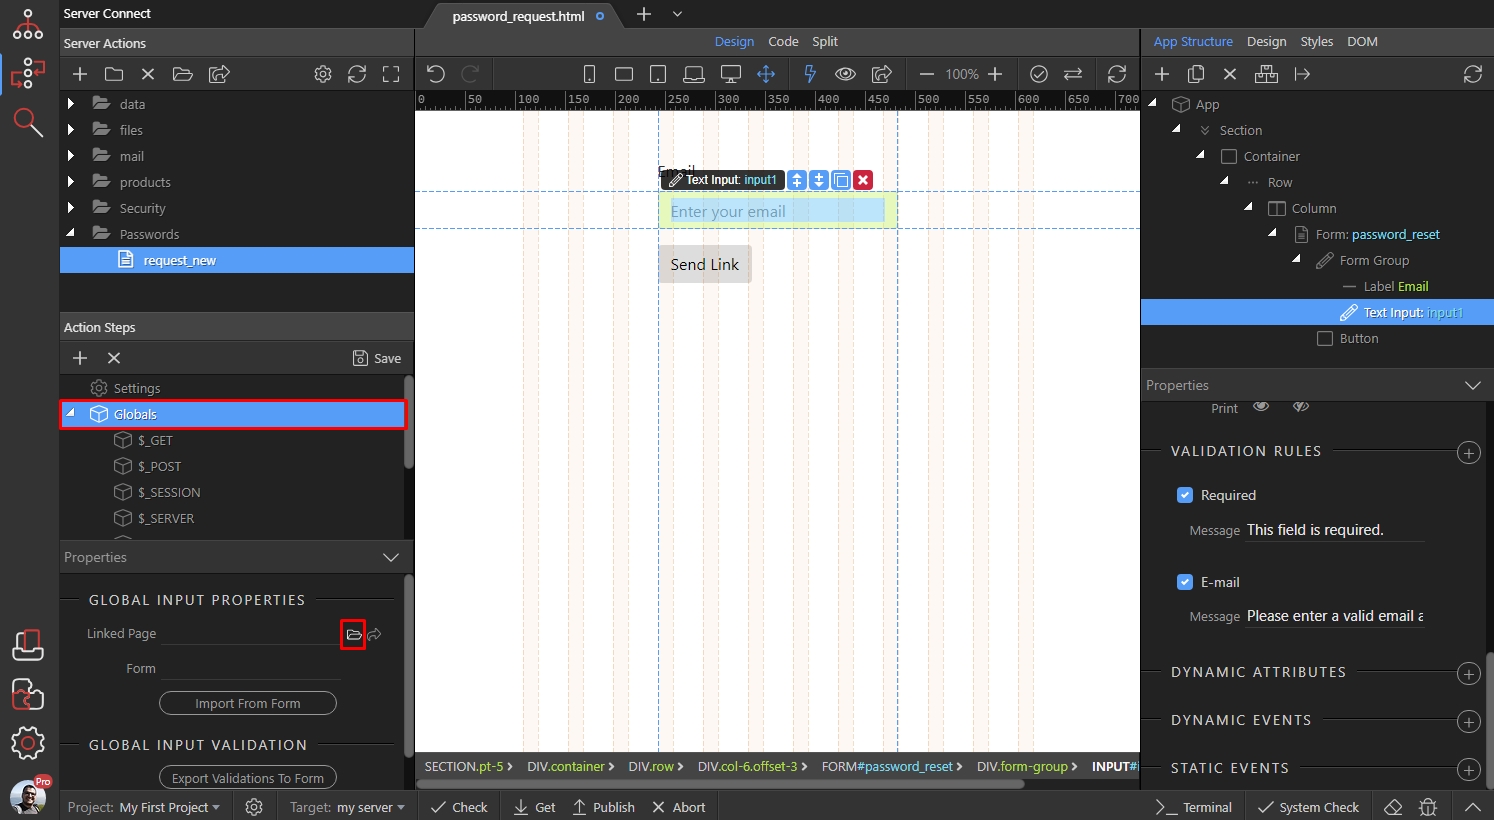
Step 14
Section titled “Step 14”Browse to your page, and select it (the password request page we just created).
Then select your form from the Form menu:
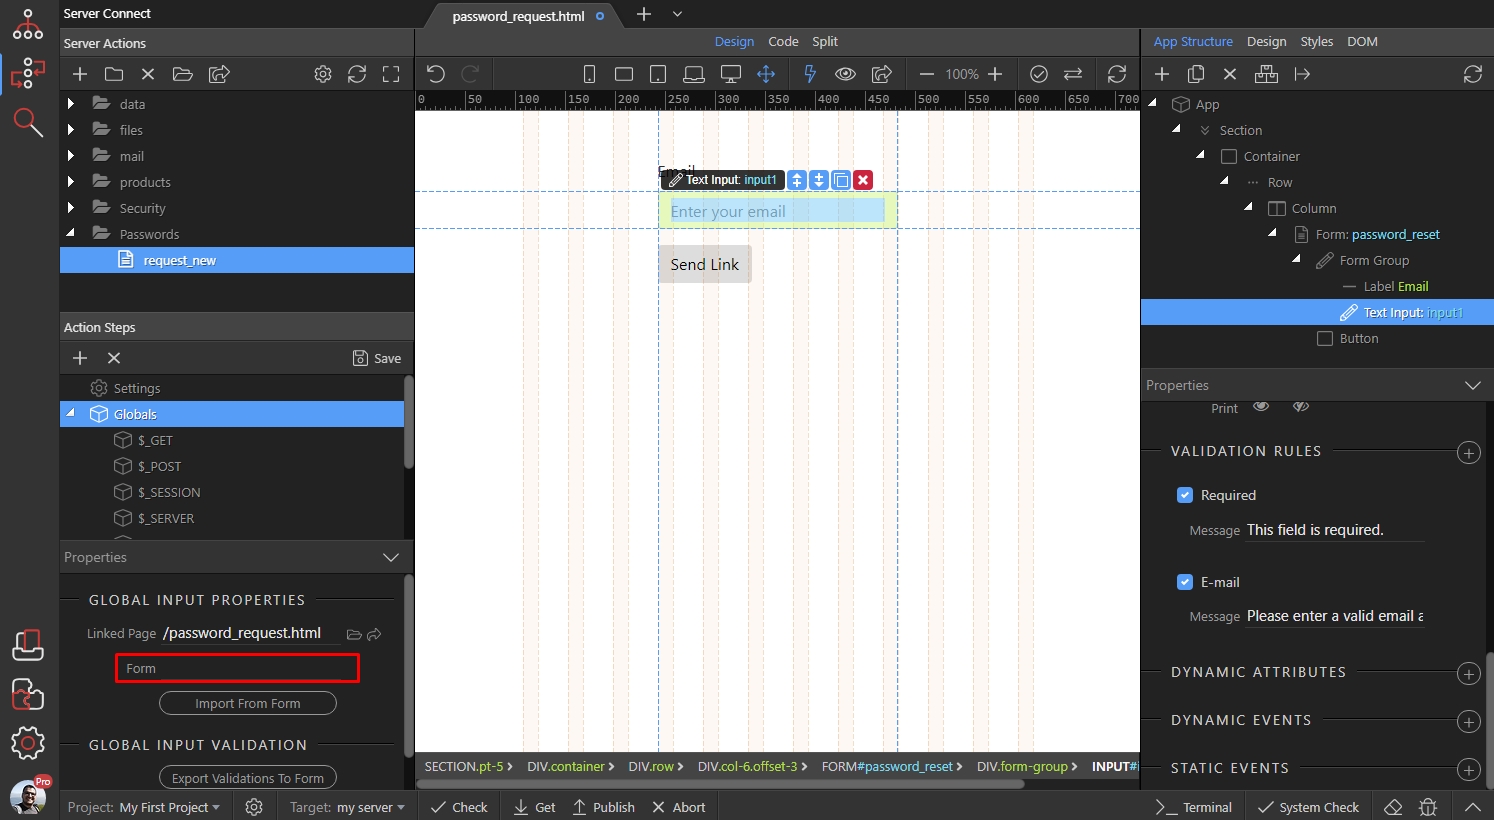
And click the Import from form button:
Section titled “And click the Import from form button:”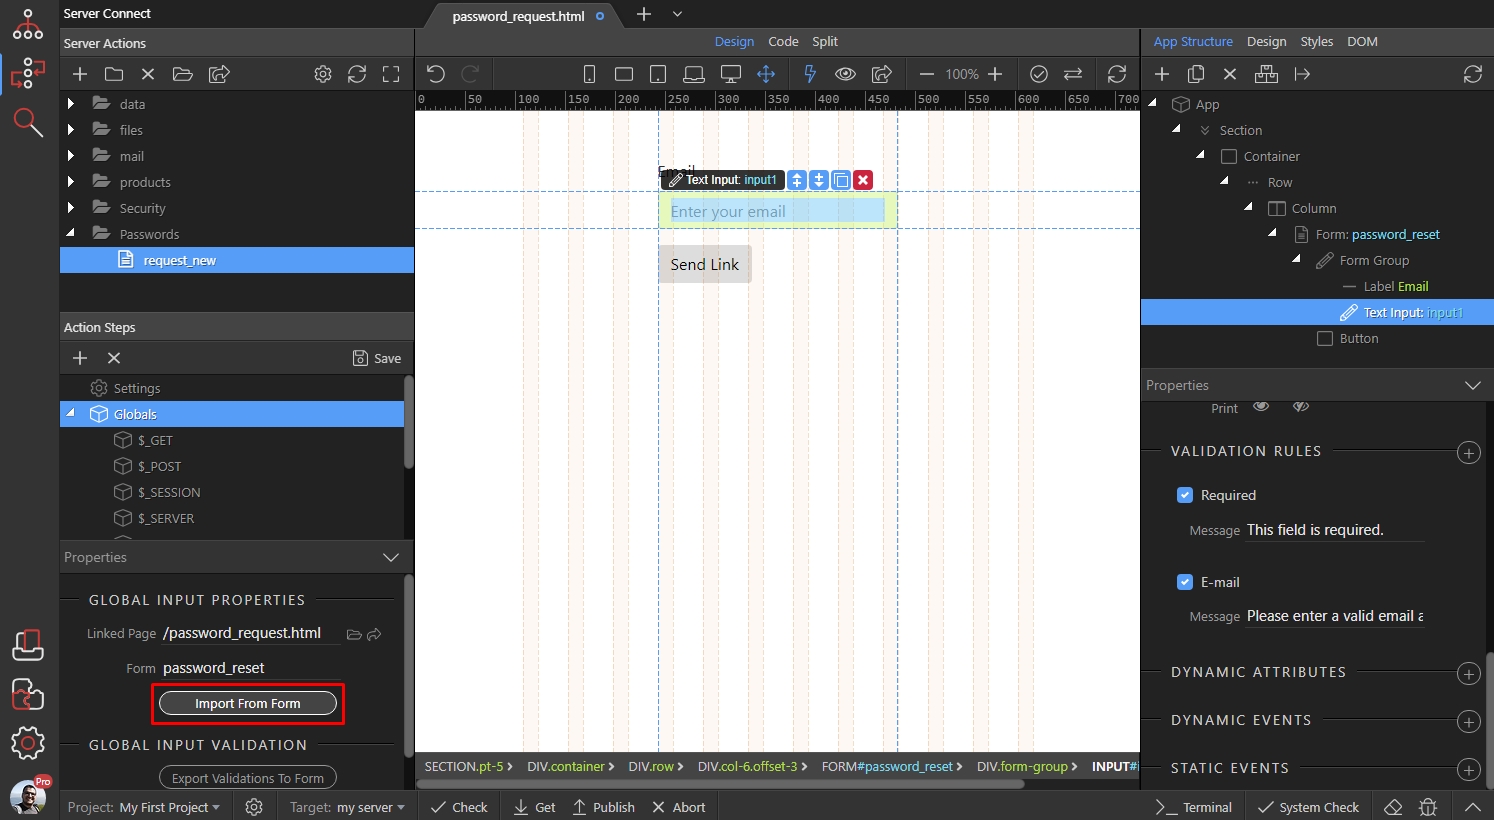
Right click steps:
Section titled “Right click steps:”
Add database connection:
Section titled “Add database connection:”
Select your connection if you already defined one, or setup a new one:
Section titled “Select your connection if you already defined one, or setup a new one:”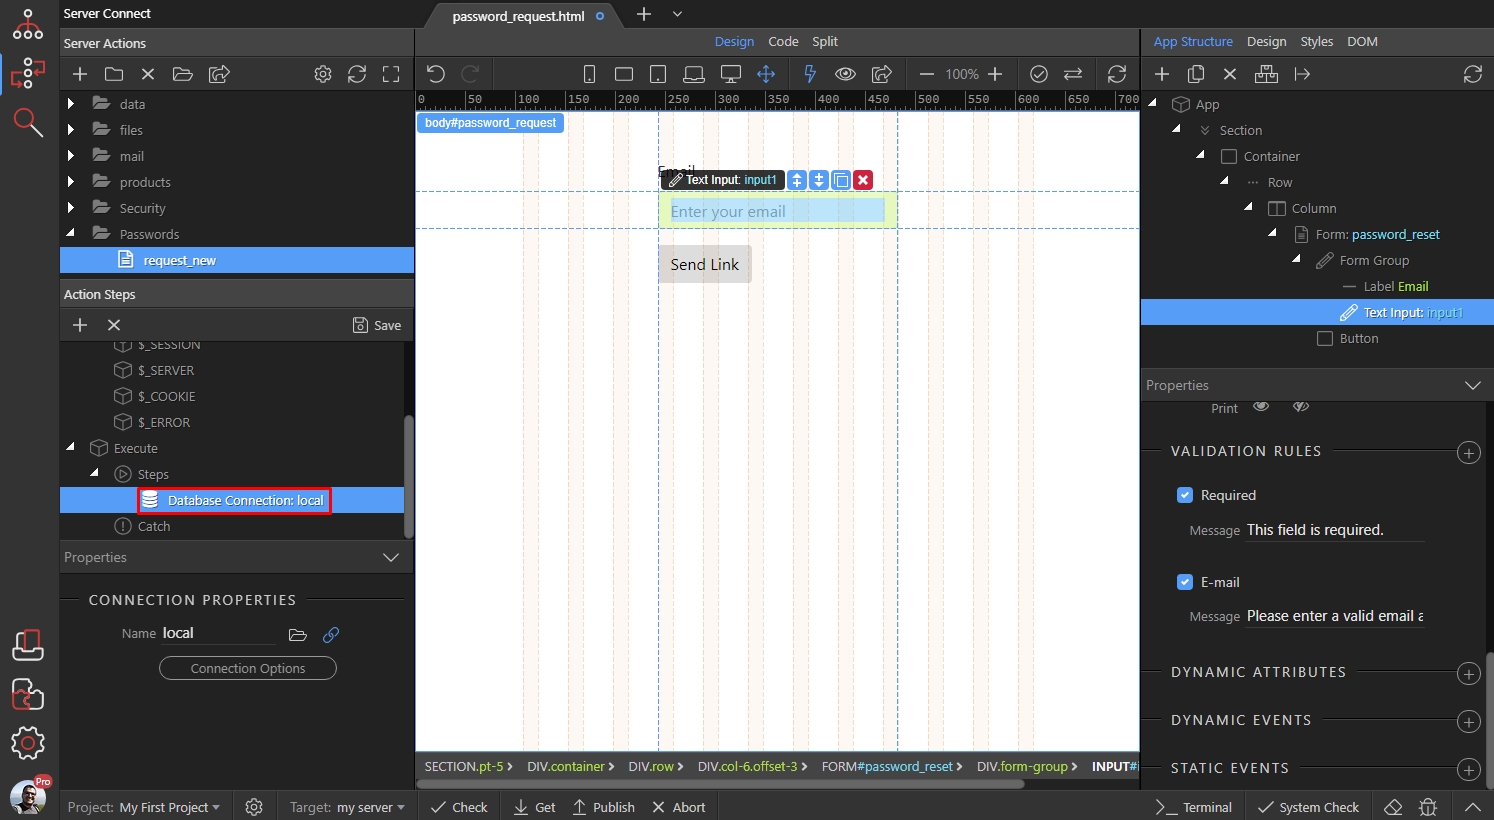
Right click the database connection step:
Section titled “Right click the database connection step:”And from the Validator category add Validate Data:
Section titled “And from the Validator category add Validate Data:”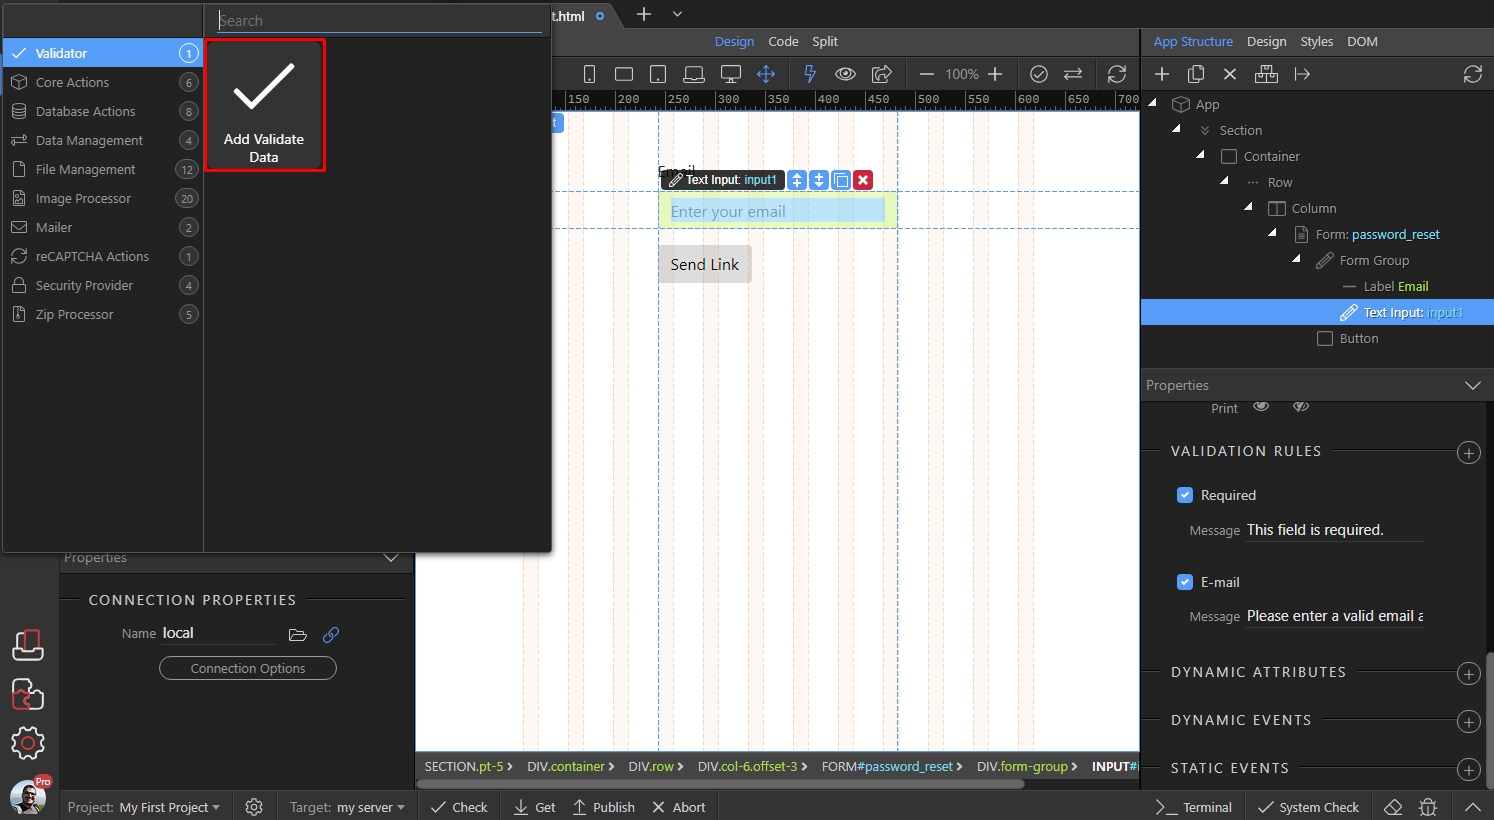
Click the validate options button:
Section titled “Click the validate options button:”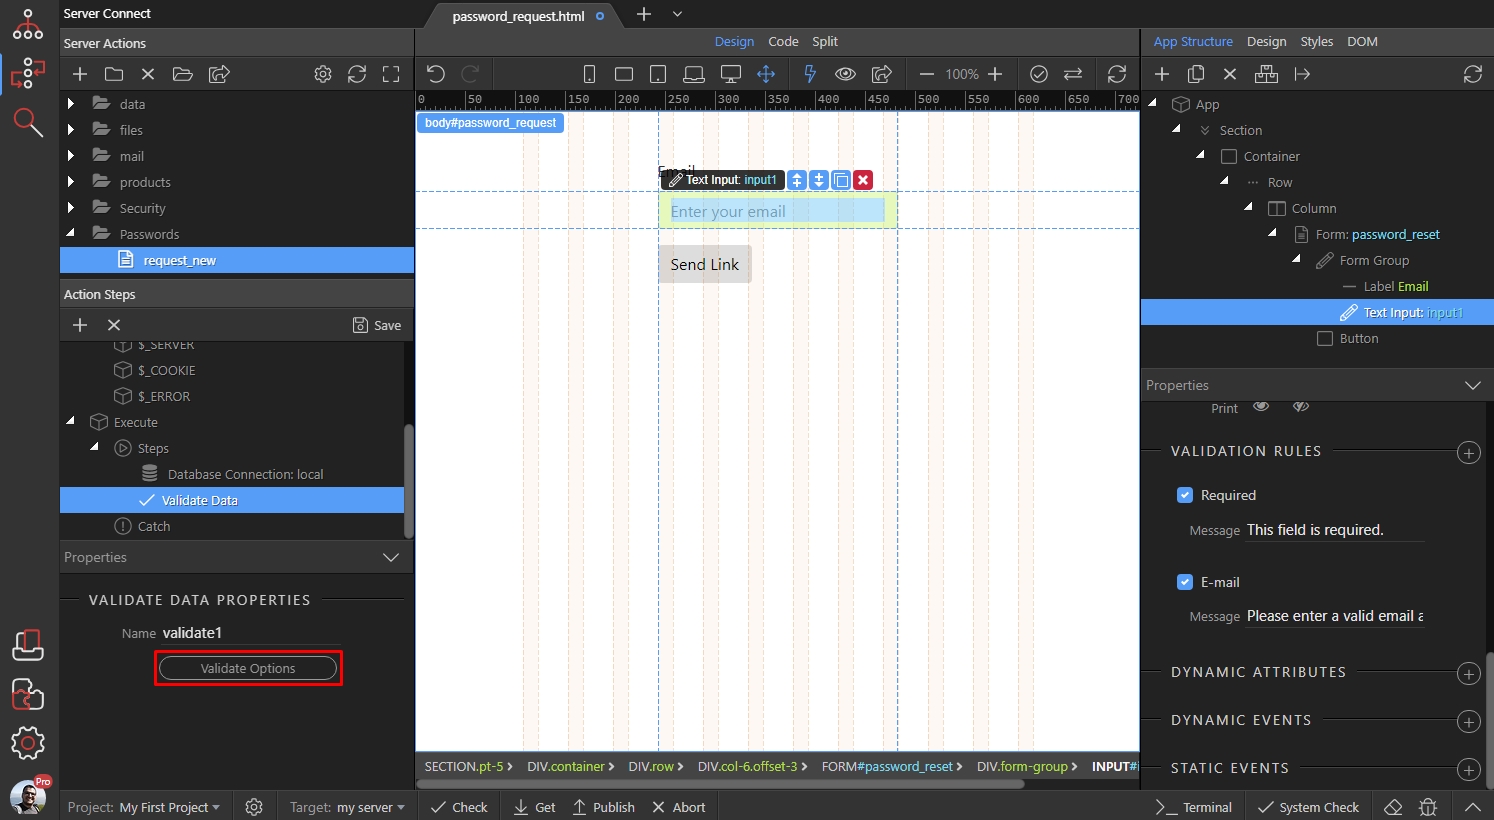
Add new validation rule:
Section titled “Add new validation rule:”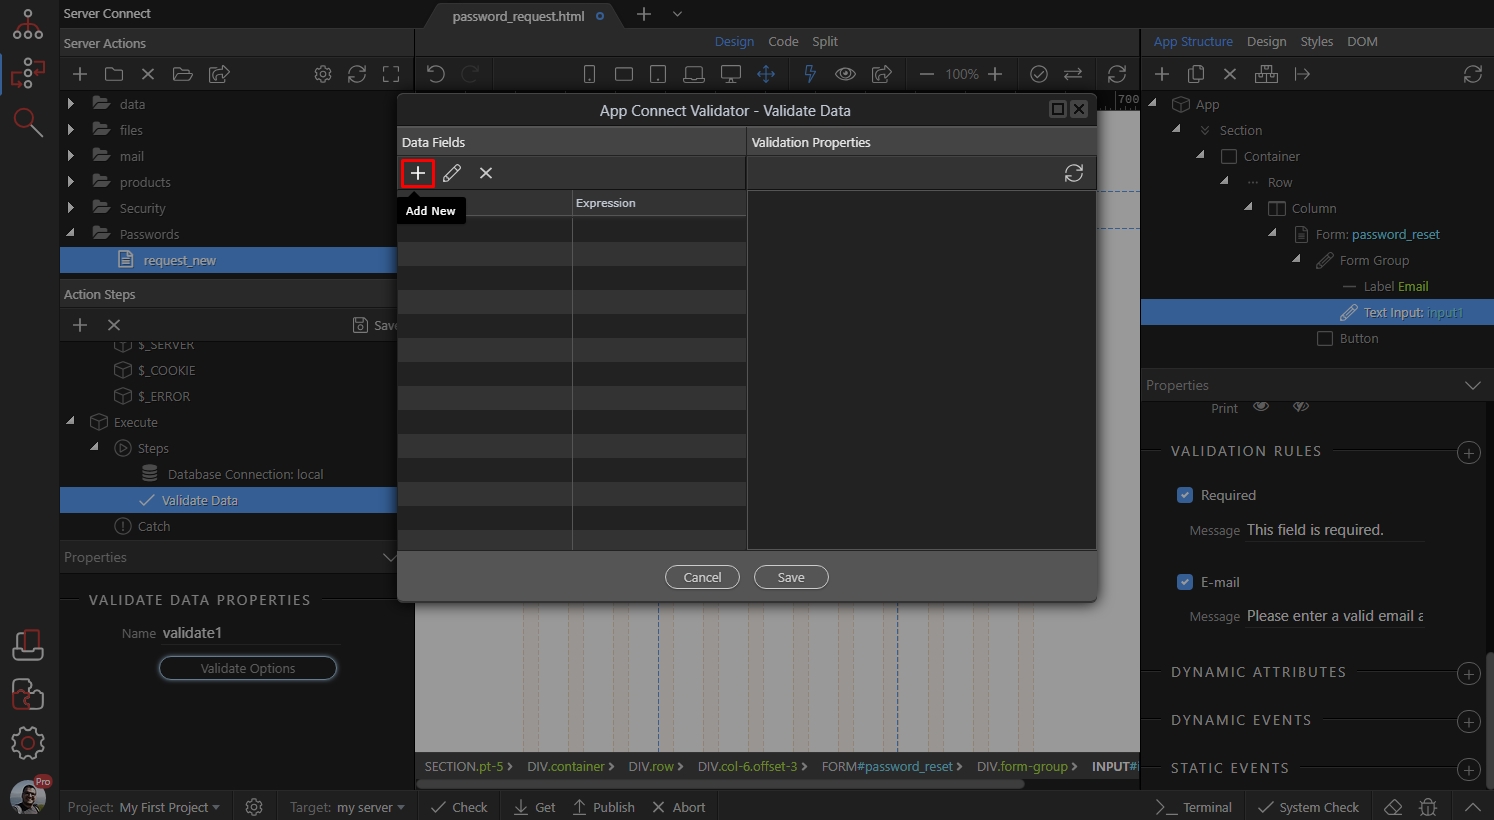
Double click the expression field and click the dynamic data picker:
Section titled “Double click the expression field and click the dynamic data picker:”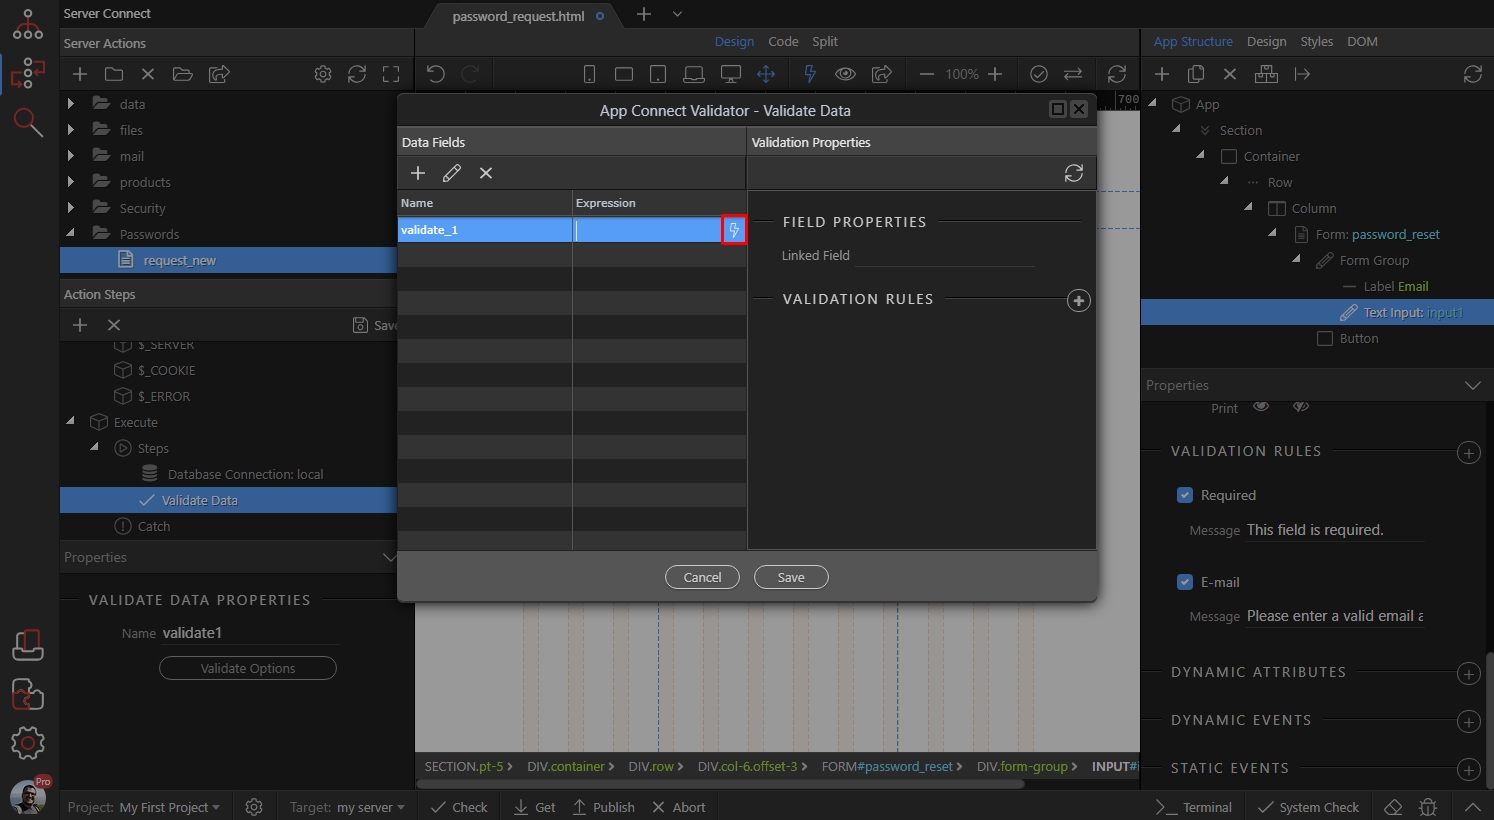
Choose your form input, under $_POST as a value:
Section titled “Choose your form input, under $_POST as a value:”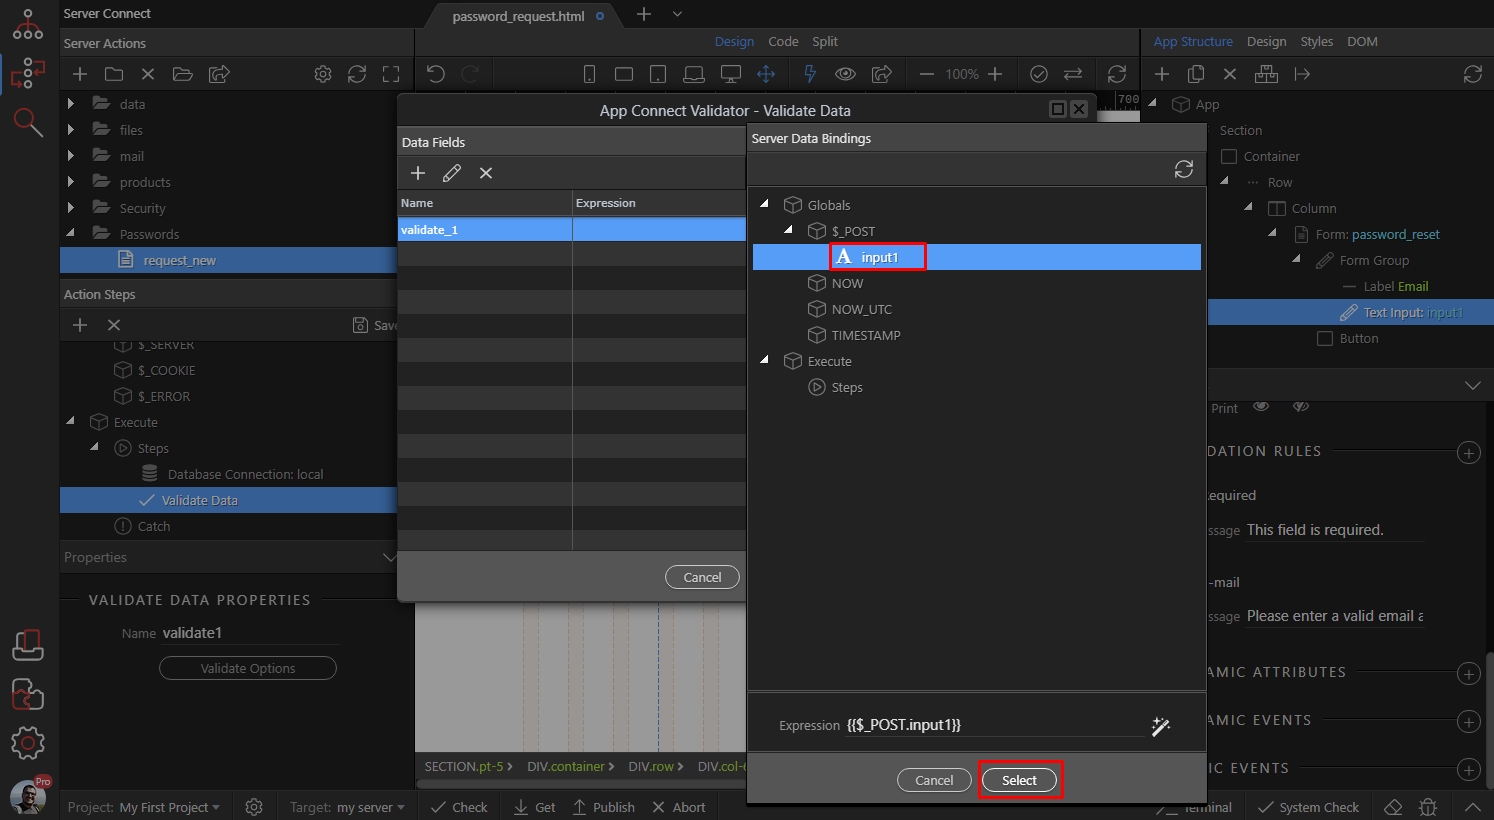
Step 25
Section titled “Step 25”In the linked field enter the form input name, this way the validation message will be displayed under the input and the validation styles will be applied to it:
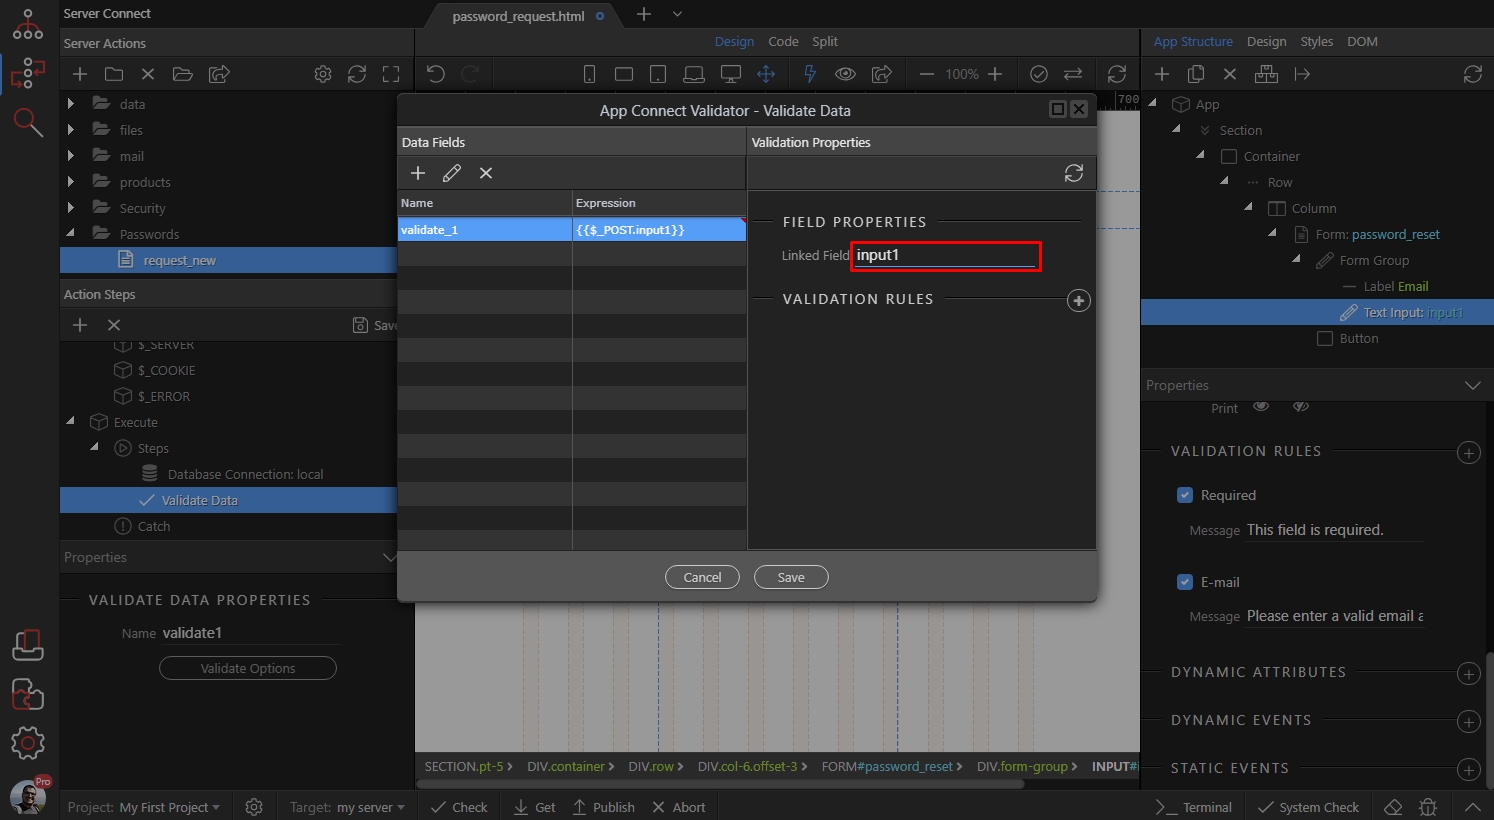
Then add a validation rule:
Section titled “Then add a validation rule:”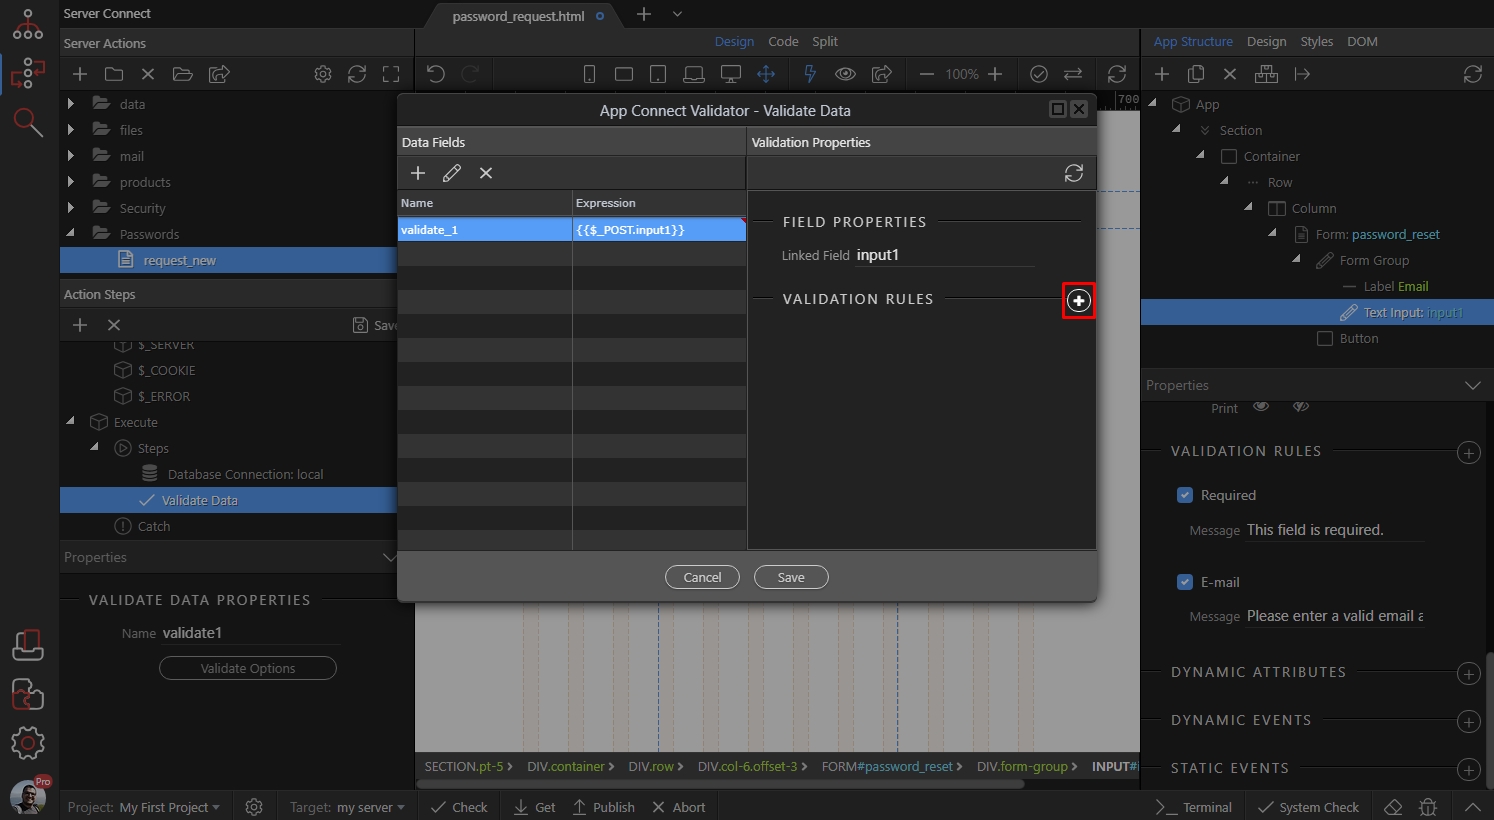
Step 27
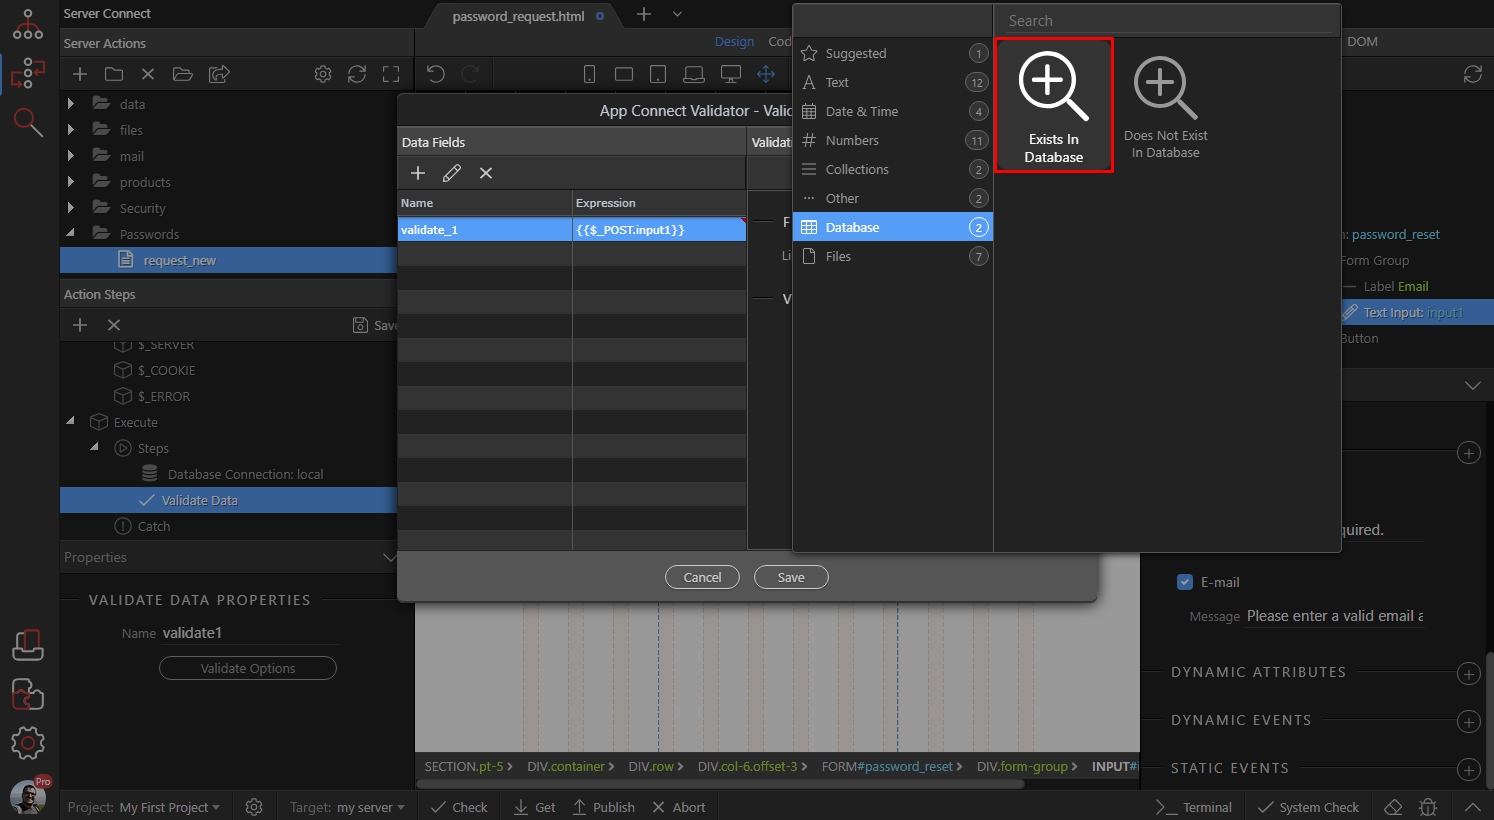
Section titled “Step 27”From the Databse category add Exists in Database rule. It checks if the field exists in the database and displays an error if does not exist:
Step 28
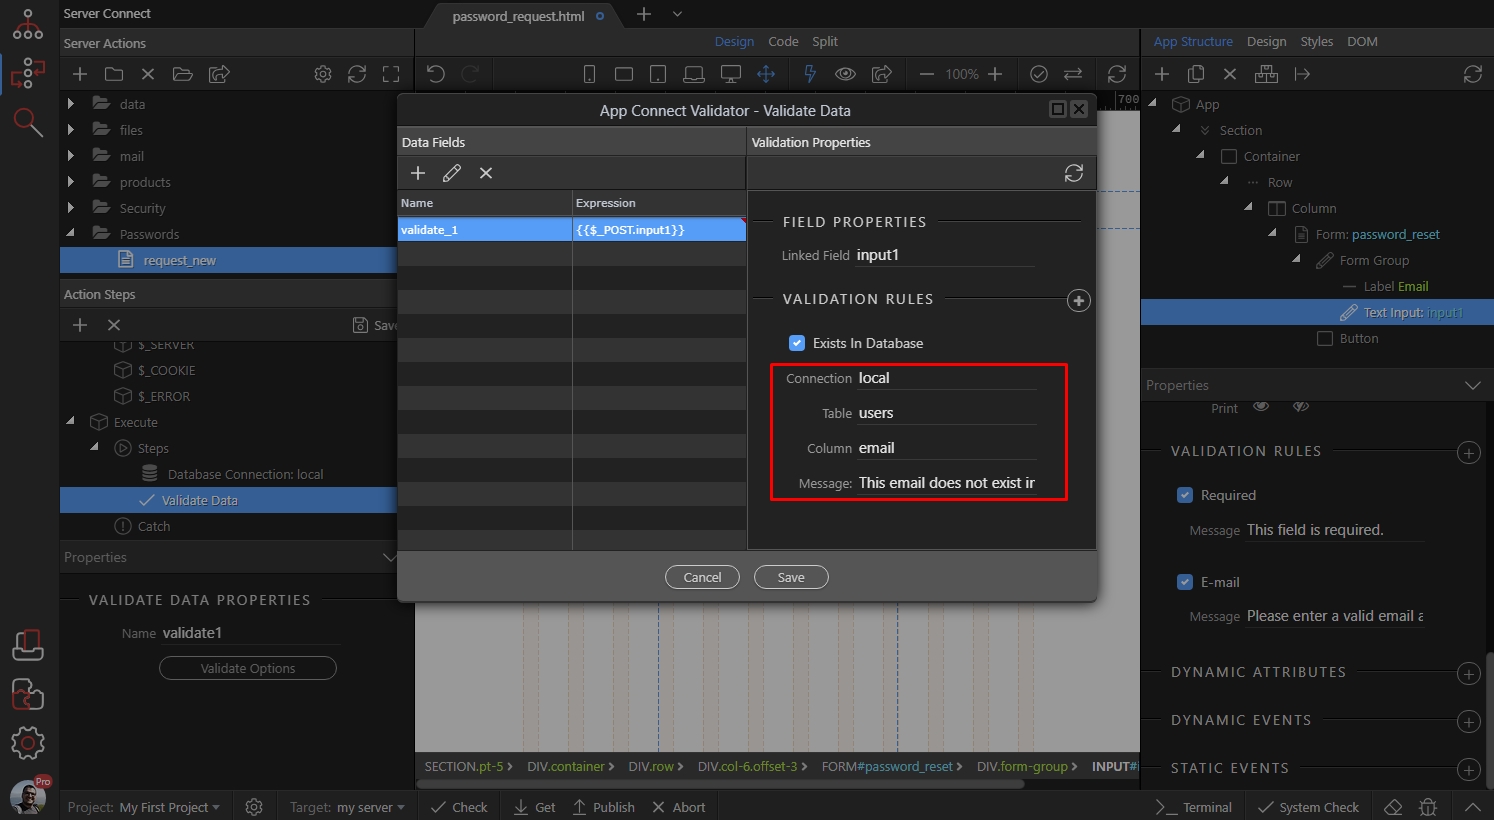
Section titled “Step 28”Select your database connection, the table containing your users details and the column you want to check. In our case this is the email column. Customize the error message per your needs:
Click the save button:
Section titled “Click the save button:”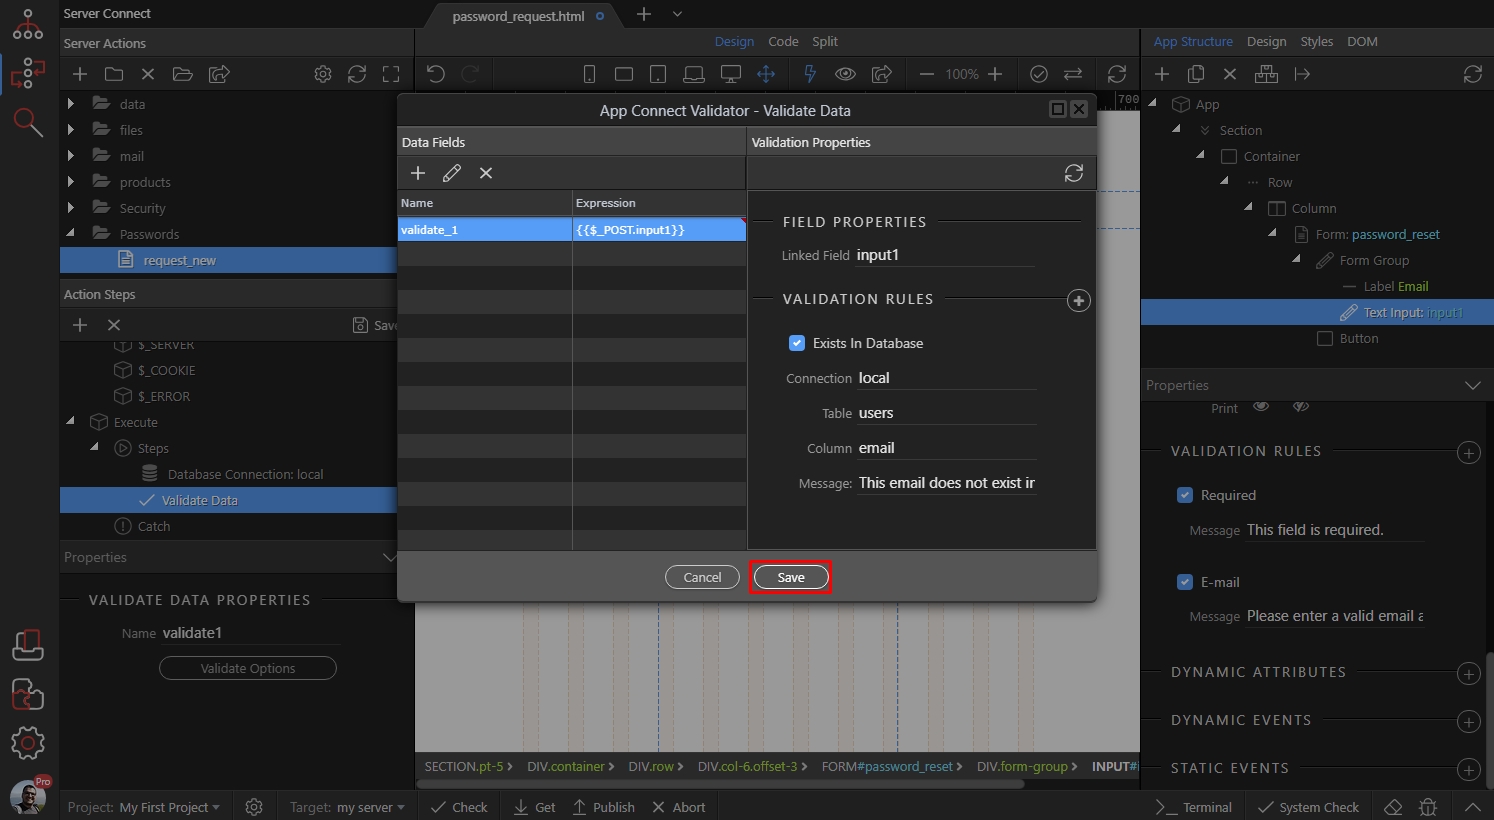
Step 30
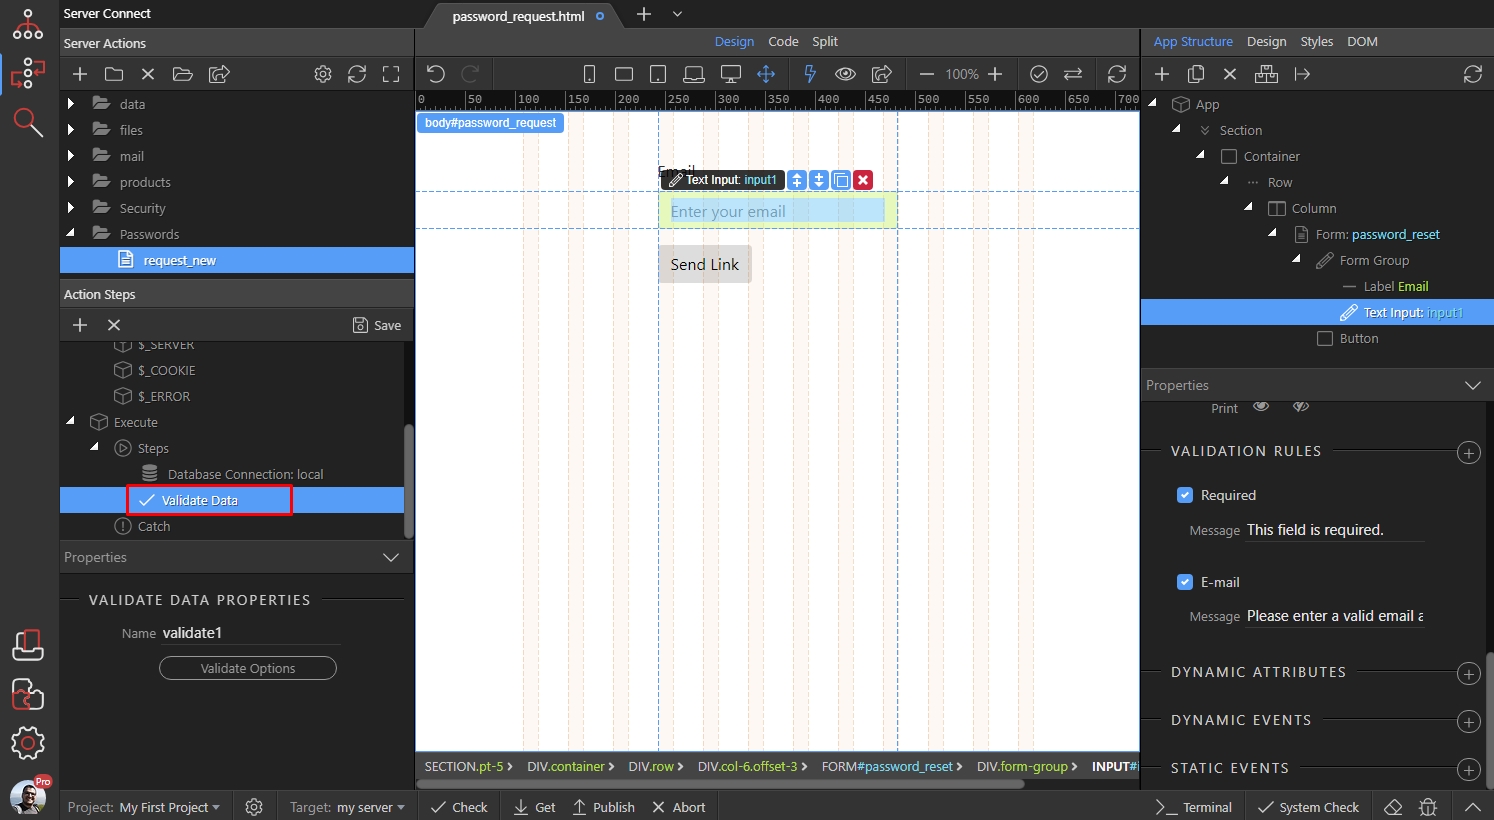
Section titled “Step 30”We are done with the validation. If the validation fails, the rest of the steps below it won’t run.
Right click the validation step:
Add Database query:
Section titled “Add Database query:”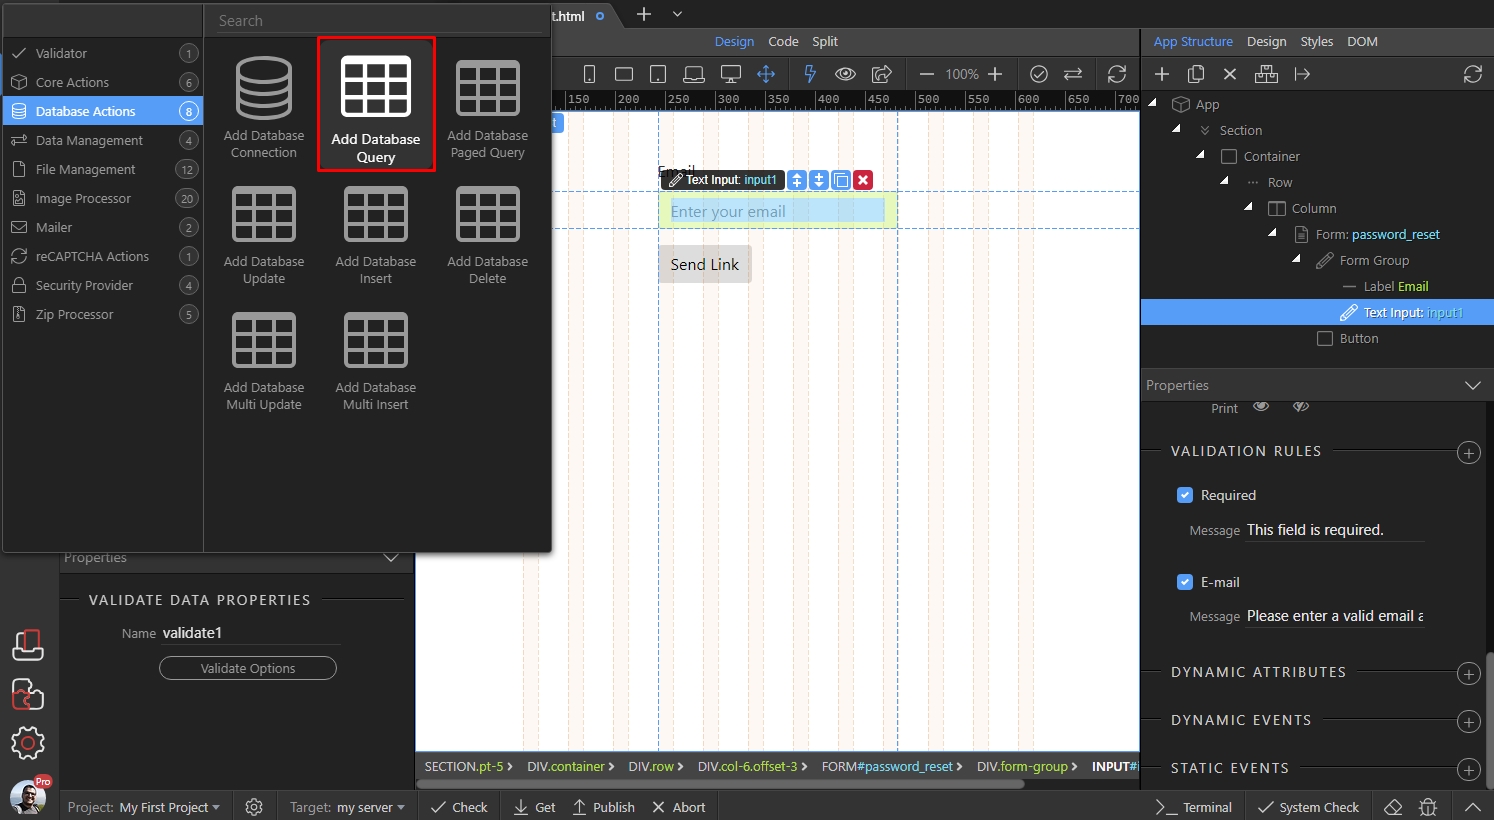
And click the query builder button, to setup the query:
Section titled “And click the query builder button, to setup the query:”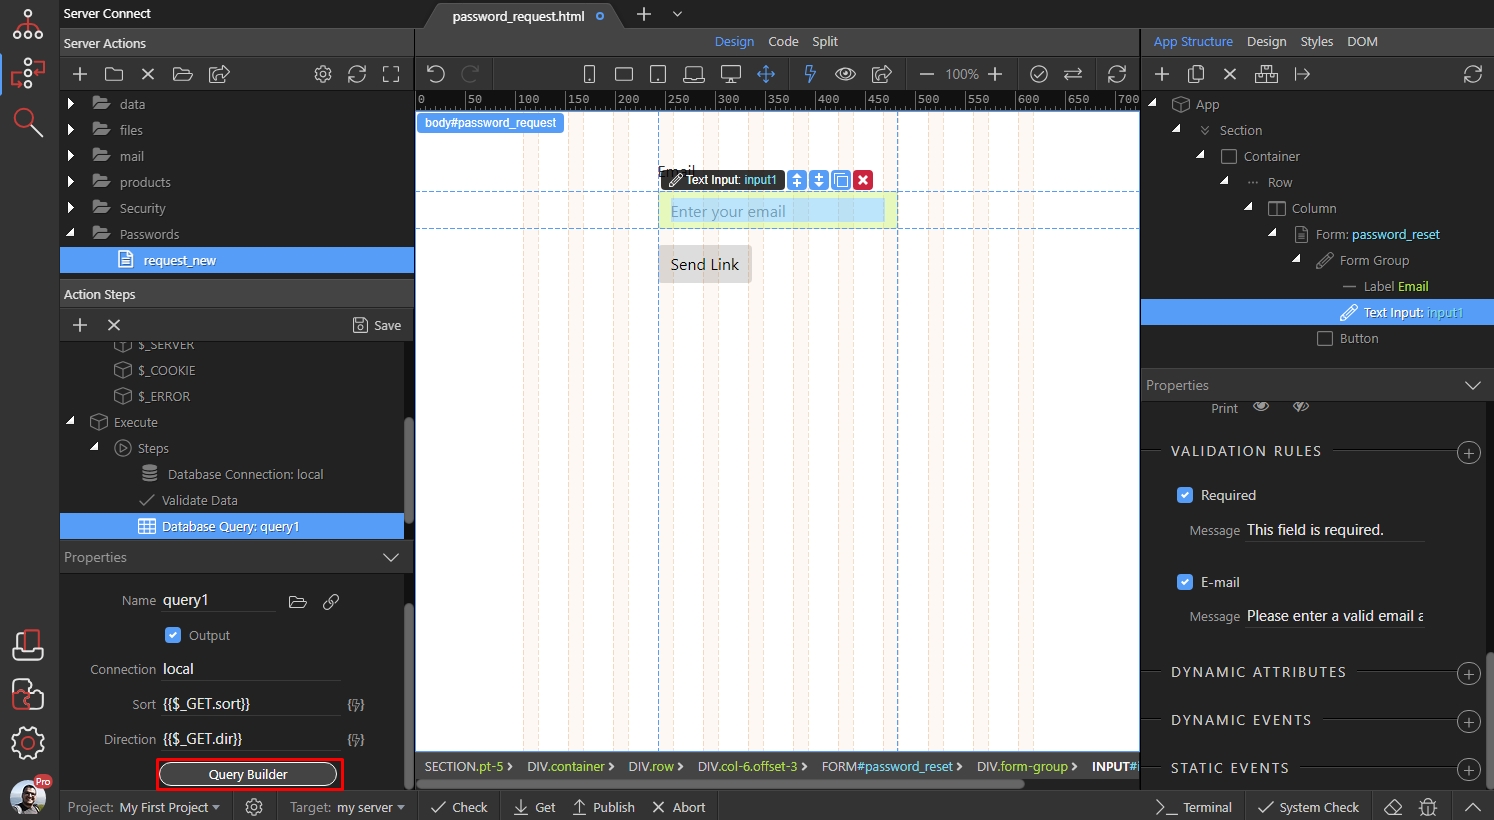
Select and add your users table:
Section titled “Select and add your users table:”
We will need the password and email fields only, so add them:
Section titled “We will need the password and email fields only, so add them:”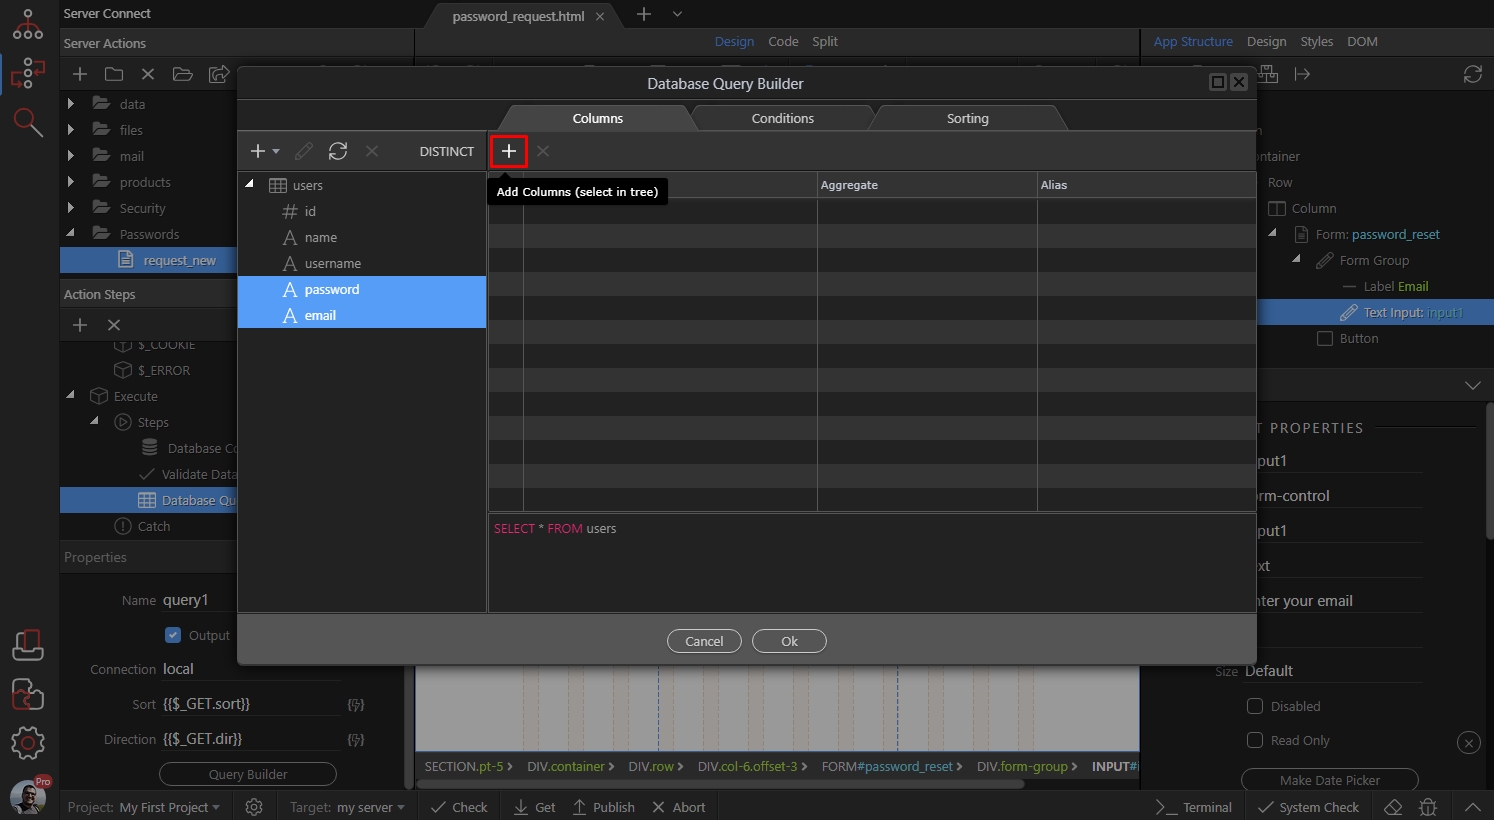
Then open the Conditions tab:
Section titled “Then open the Conditions tab:”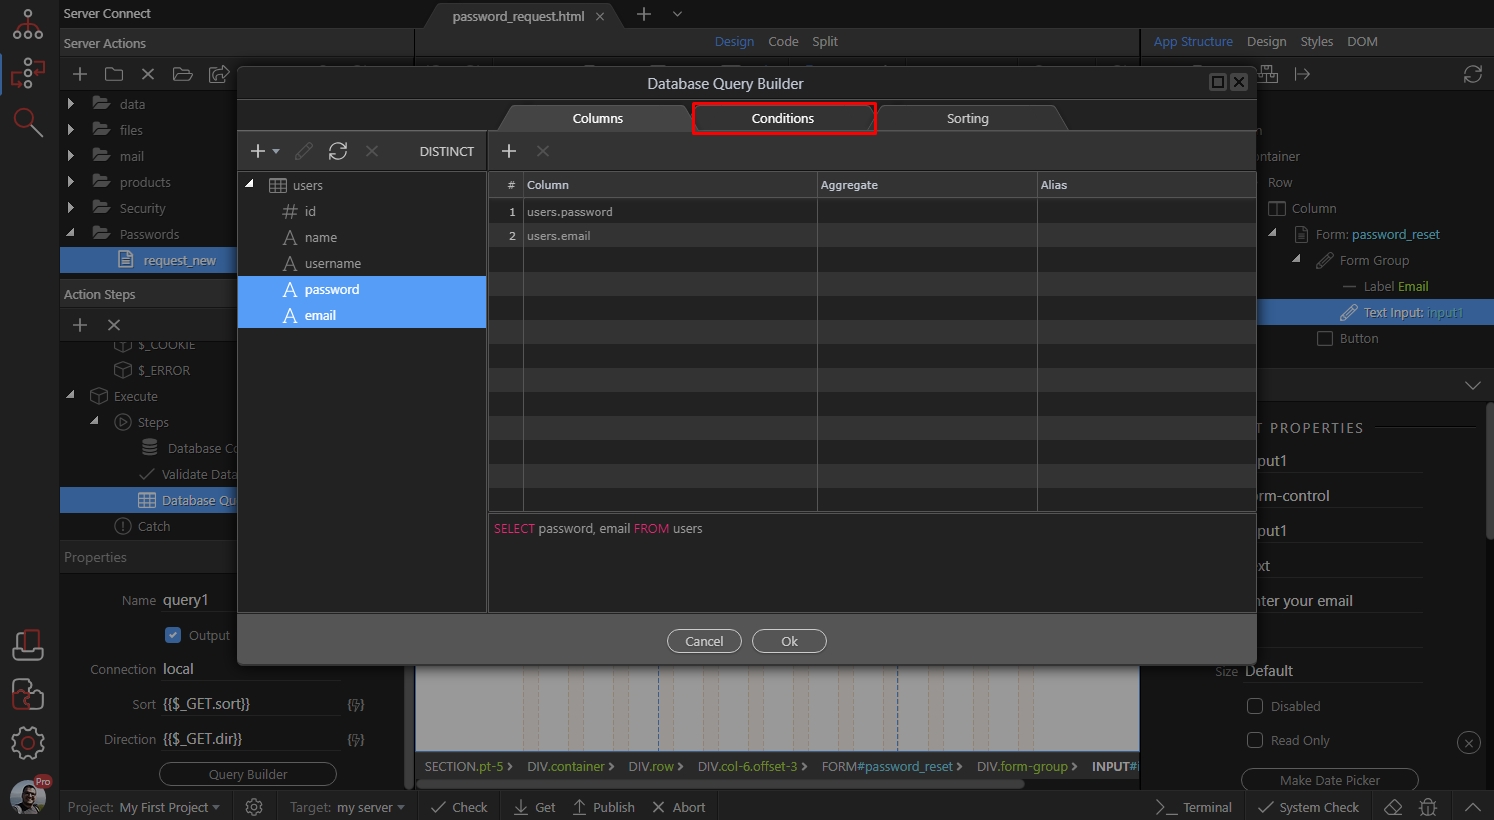
Step 36
Section titled “Step 36”We will filter the table by the email column, so select it from the dropdown and click the dynamic data picker button to select a filter value:
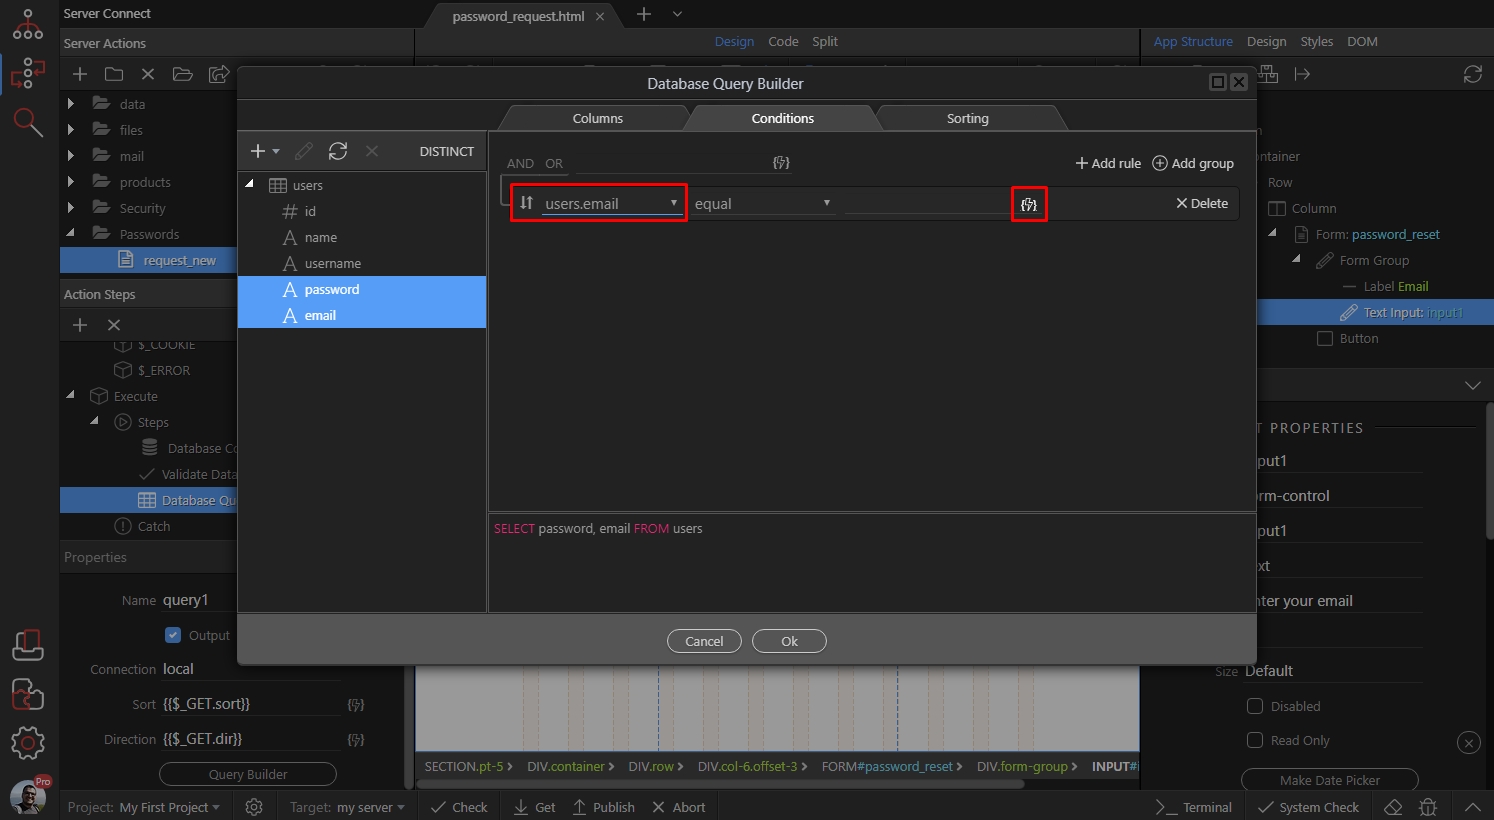
This should be the email form input, which validated in the previous step:
Section titled “This should be the email form input, which validated in the previous step:”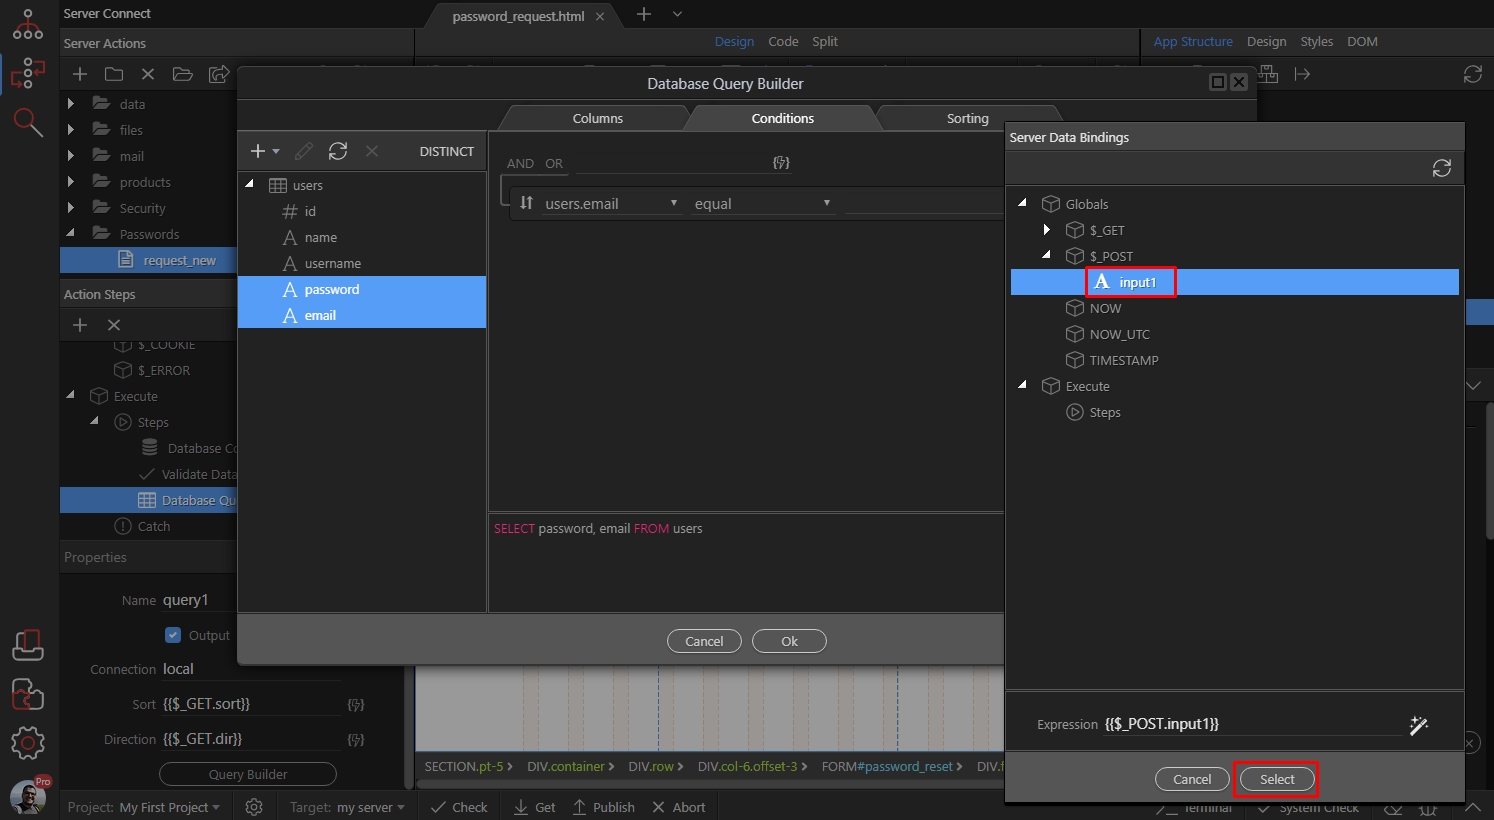
Click OK:
Section titled “Click OK:”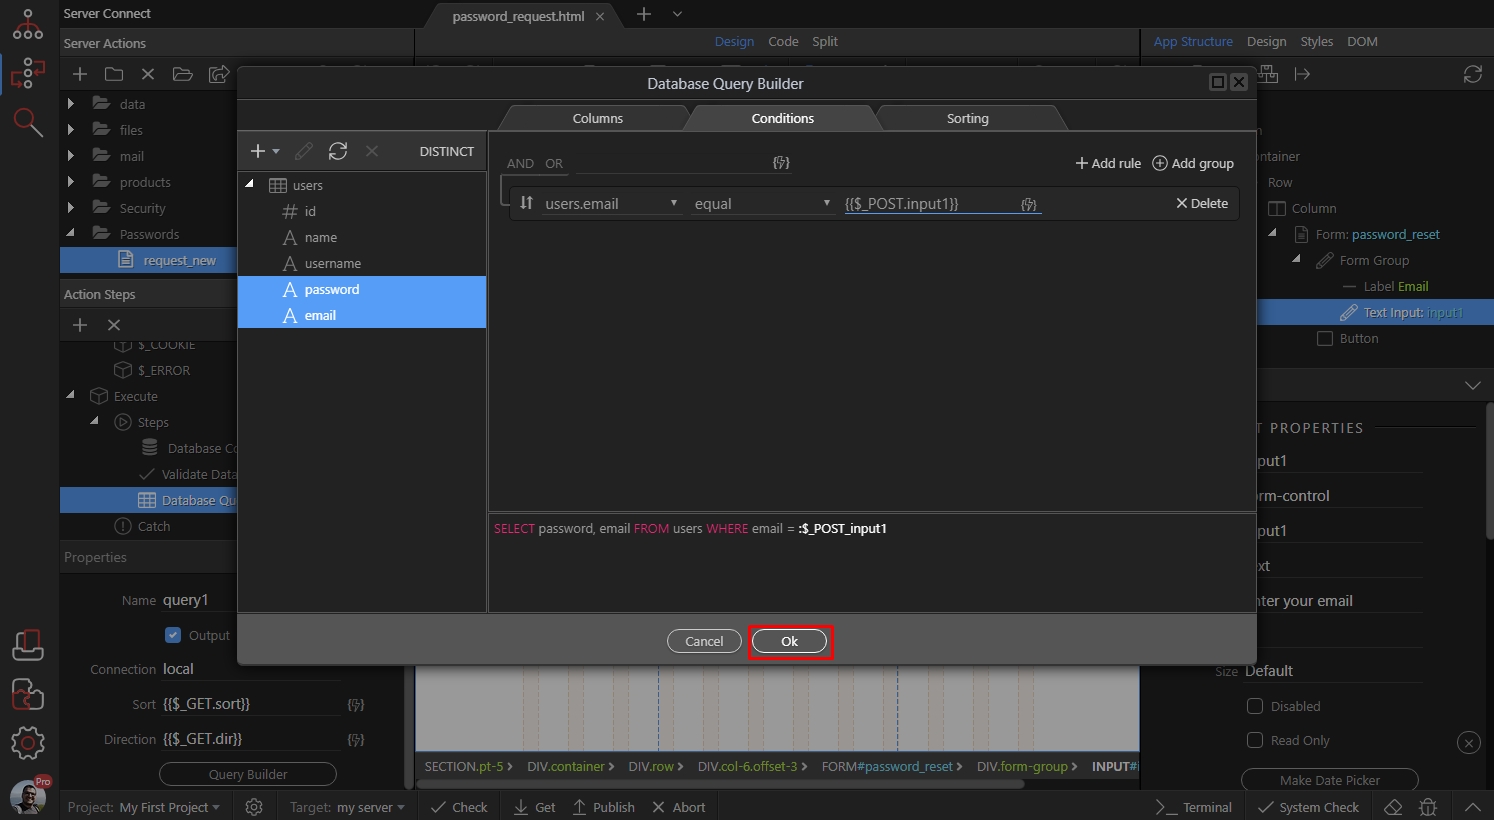
Step 39
Section titled “Step 39”IMPORTANT! TURN OFF THE OUTPUT OPTION FOR THE DATABASE QUERY STEP!
This is required as you don’t want your user details exposed in the browser console:
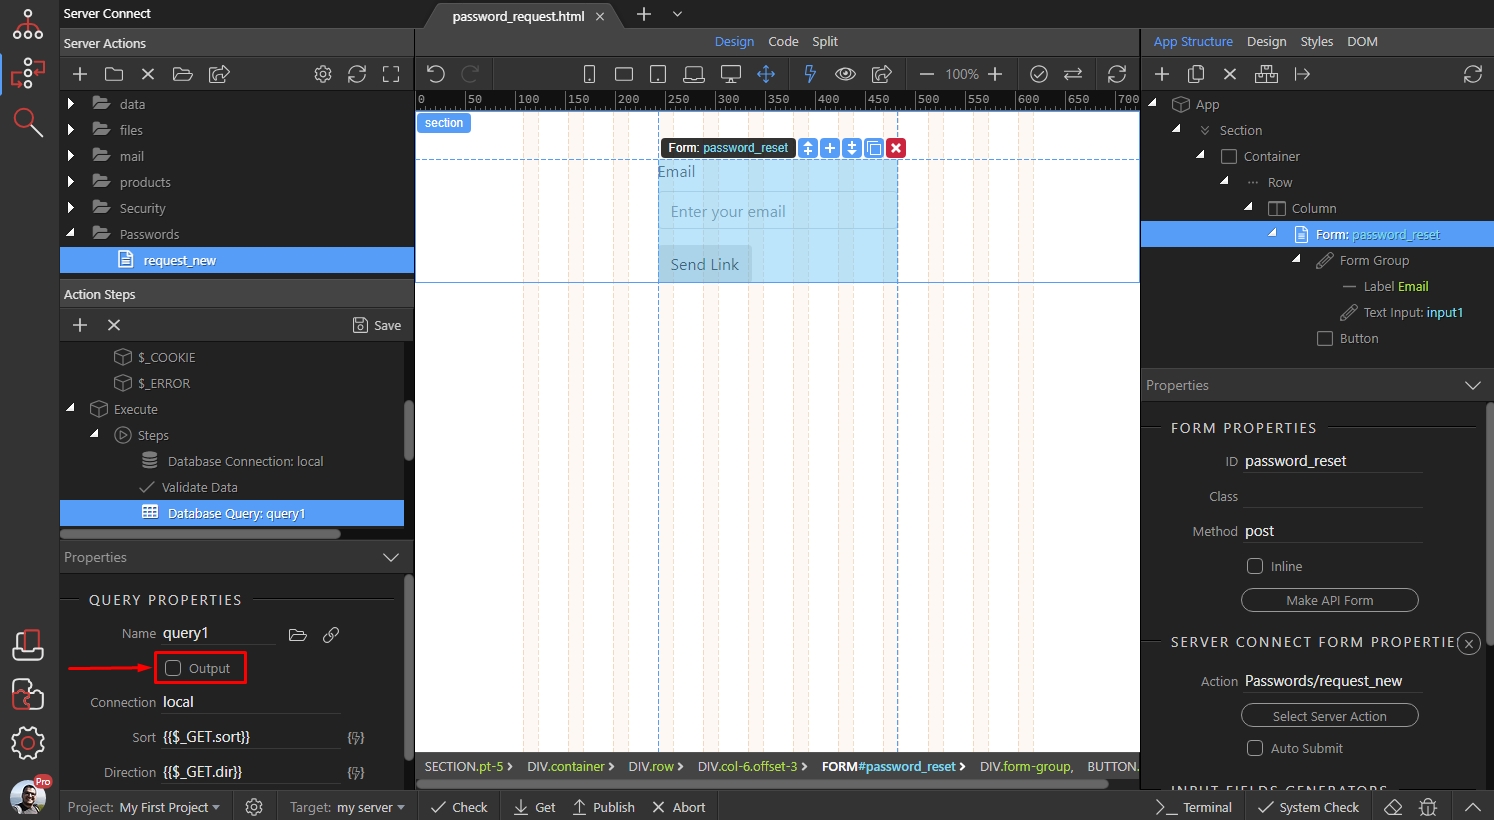
Then right click the query step:
Section titled “Then right click the query step:”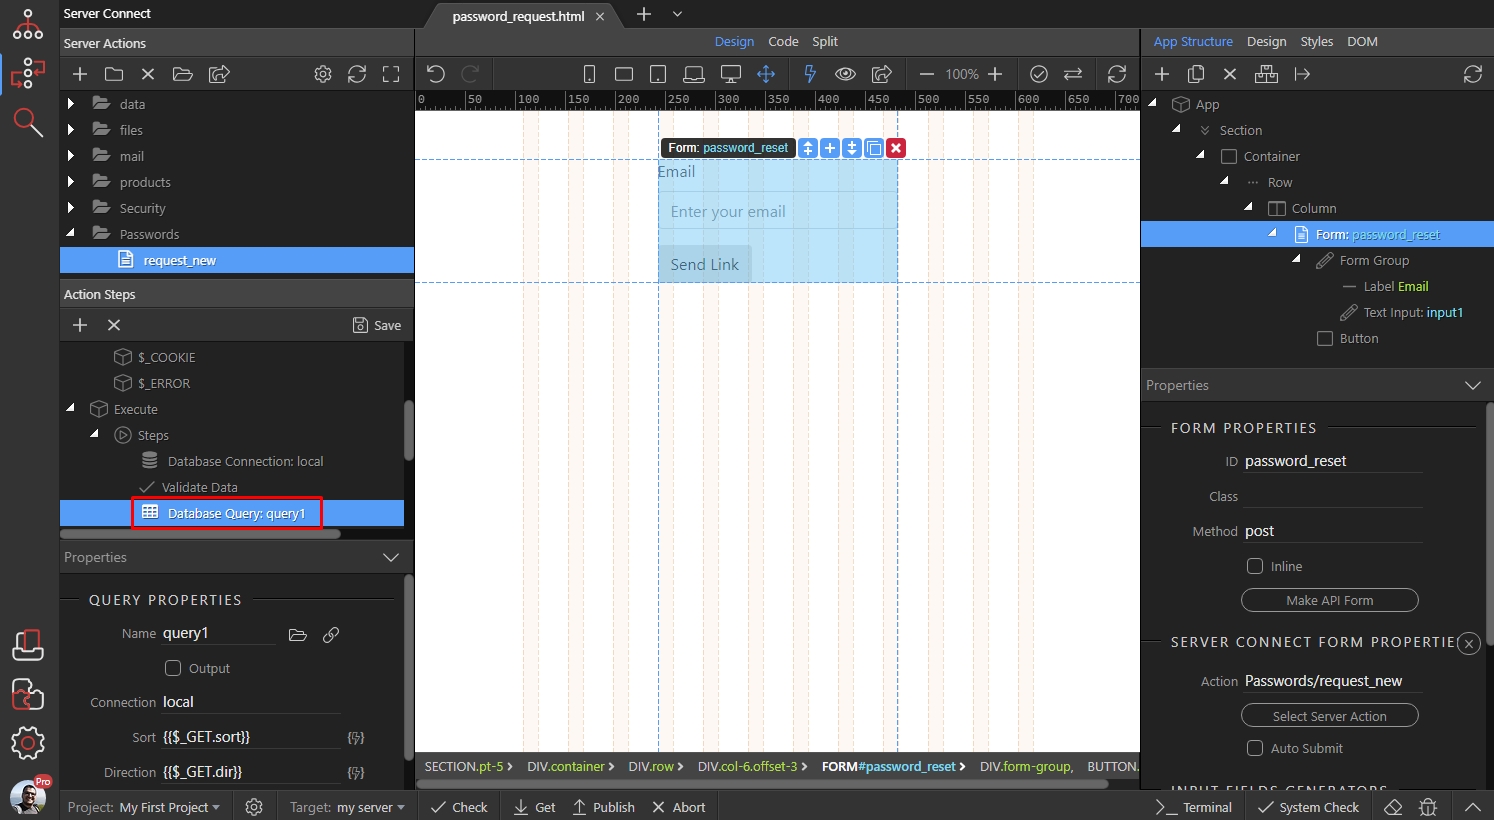
From the Core Actions add Repeat:
Section titled “From the Core Actions add Repeat:”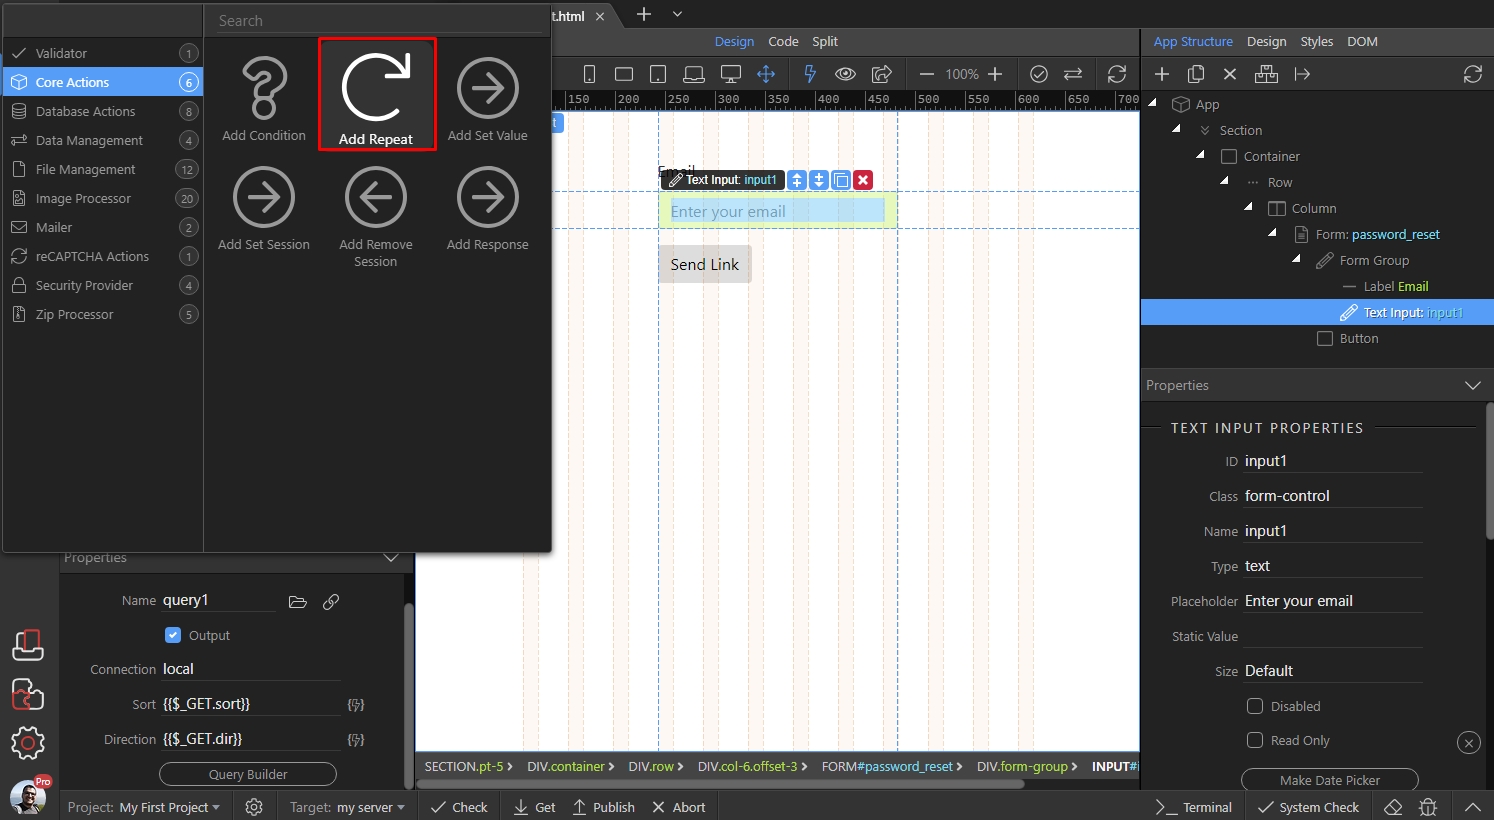
Click the dynamic data picker to select a value for the repeat:
Section titled “Click the dynamic data picker to select a value for the repeat:”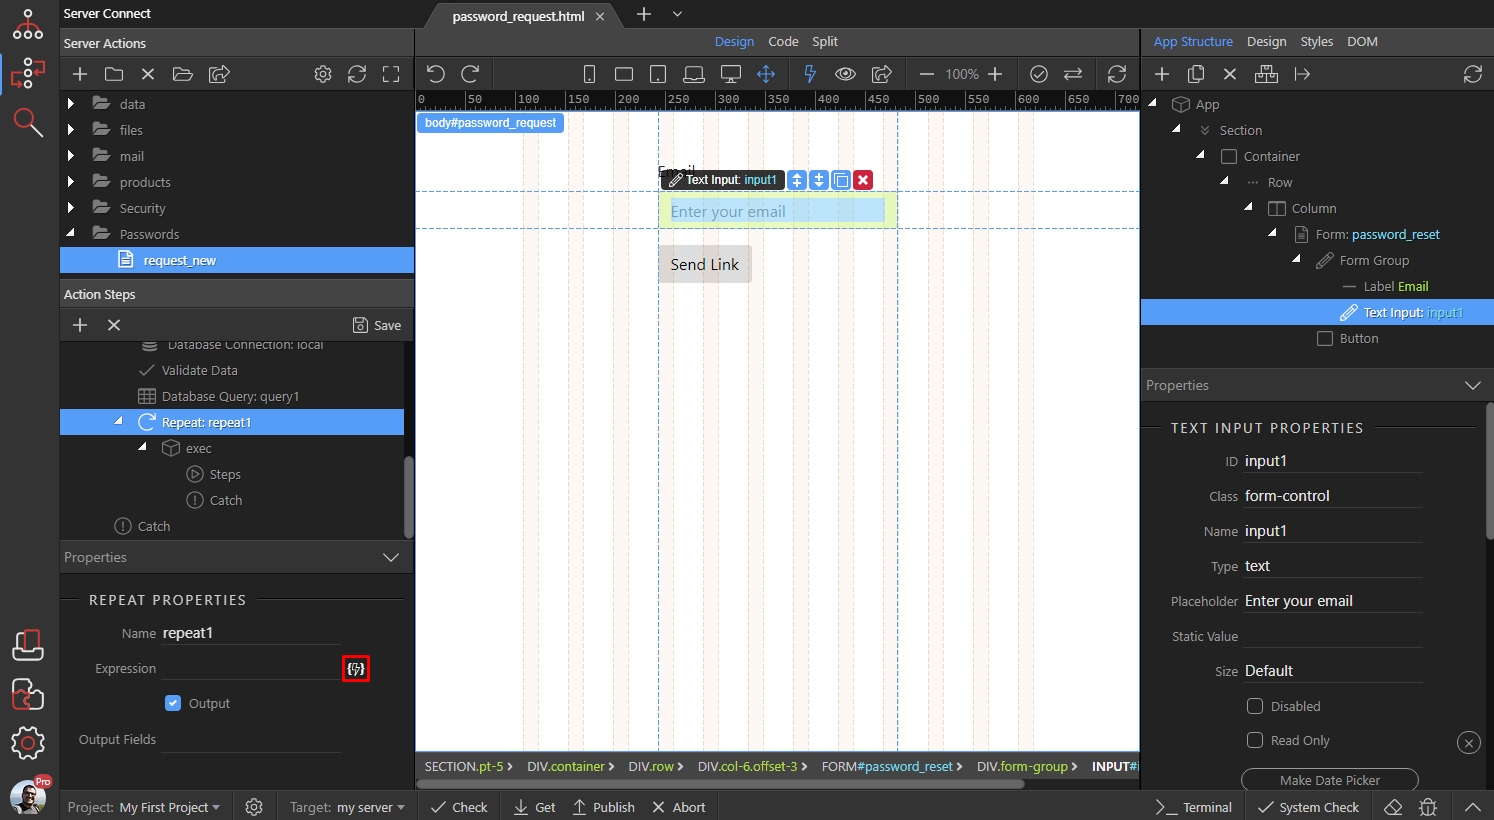
This should be your database query:
Section titled “This should be your database query:”
IMPORTANT! TURN OFF THE OUTPUT OPTION FOR THE REPEAT STEP!
Section titled “IMPORTANT! TURN OFF THE OUTPUT OPTION FOR THE REPEAT STEP!”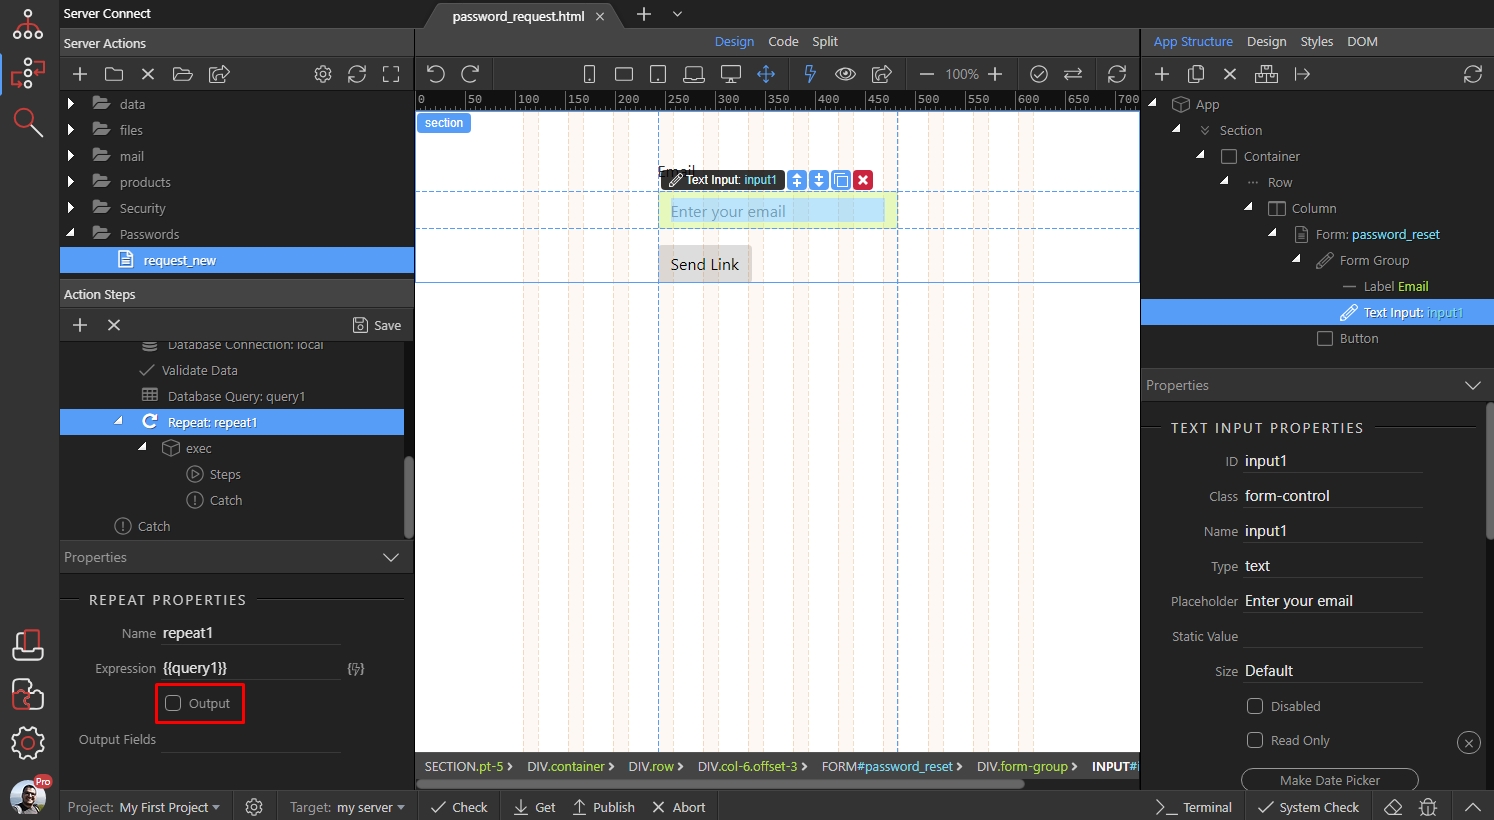
Then right click steps inside the repeat and from the Core Actions, add Set Value:
Section titled “Then right click steps inside the repeat and from the Core Actions, add Set Value:”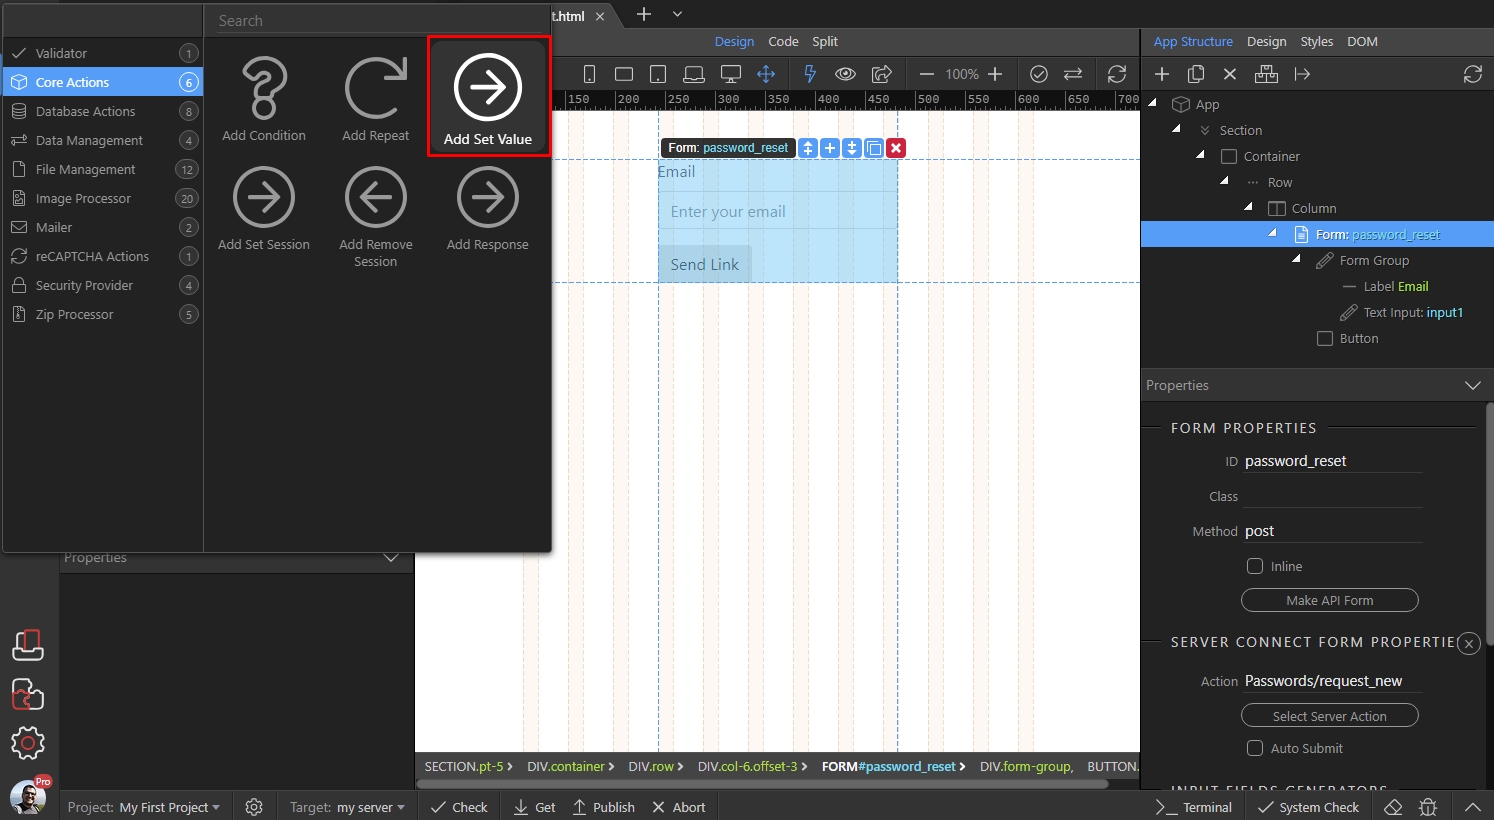
Step 46
Section titled “Step 46”Add same name in both Name and Global Name fields. This is what we are going to use later in the password reset link. We call this step hash:
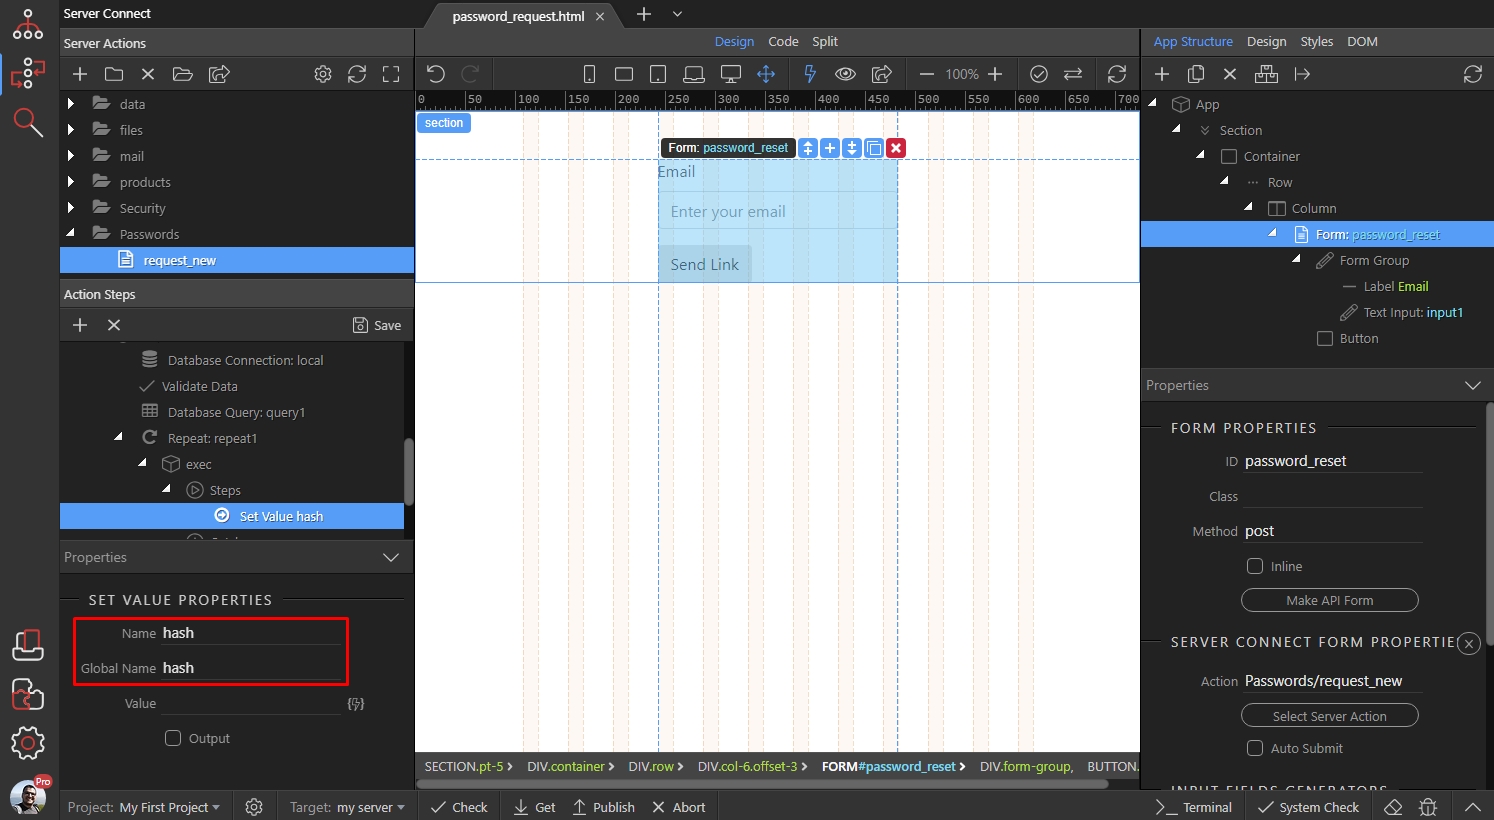
Select a dynamic value for it:
Section titled “Select a dynamic value for it:”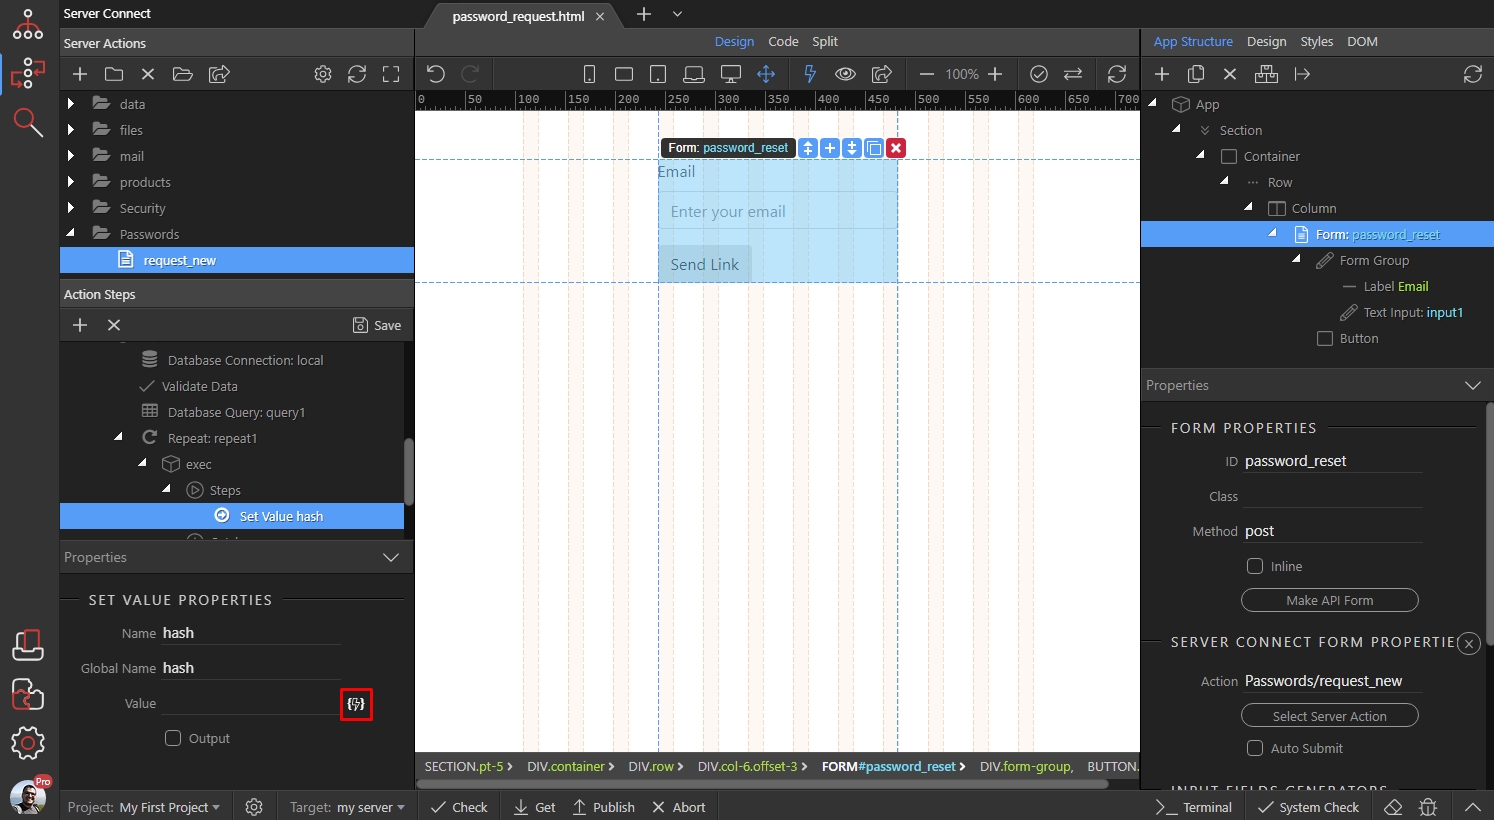
Step 48
Section titled “Step 48”We will create a hashed value using users email and the current password as a salt. Select the email, under repeat and click the formatter button:
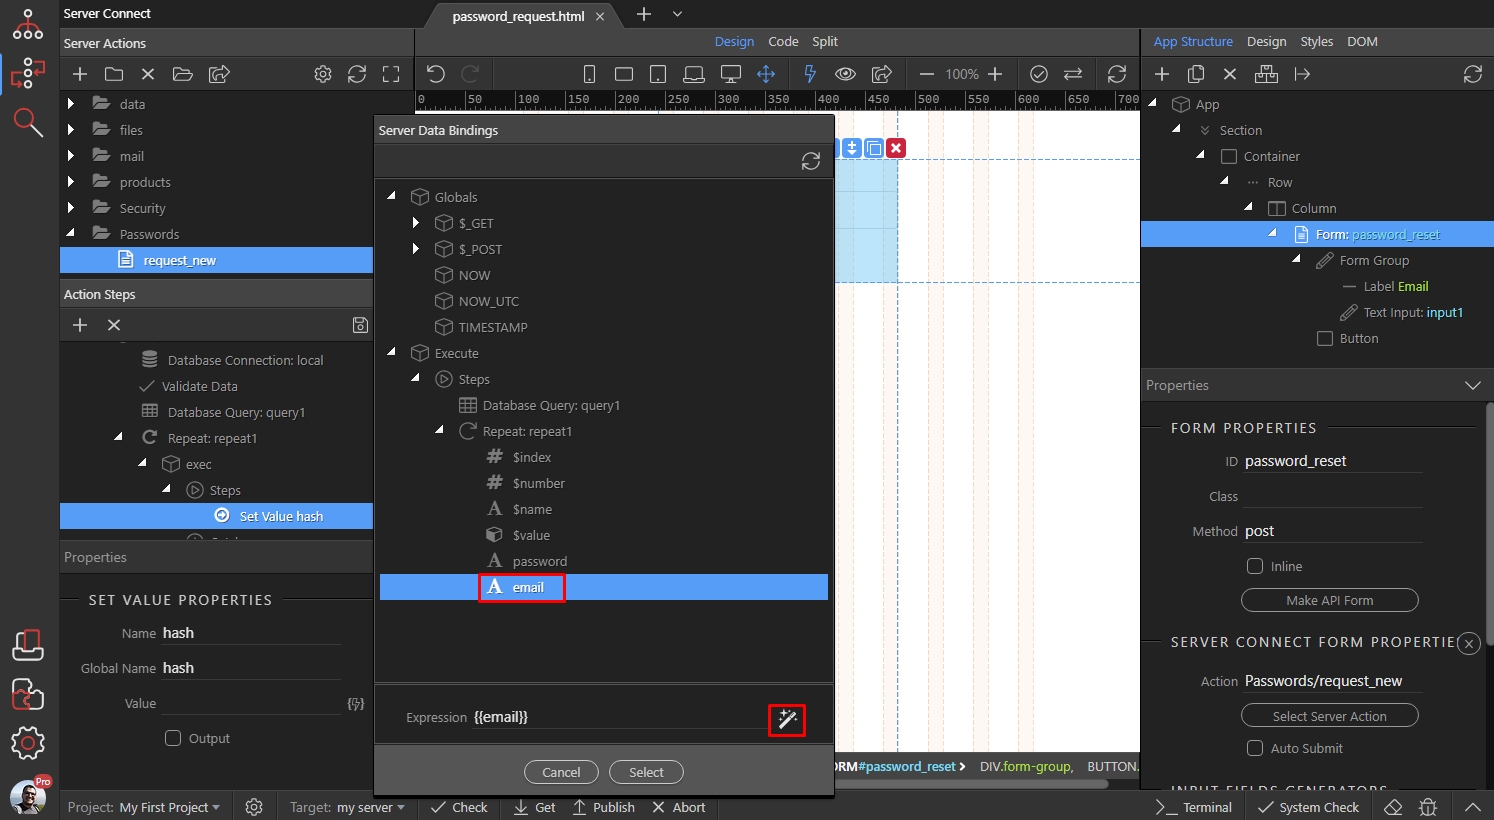
Right click email, open the cryptographic menu and select Generate SHA1 Hash:
Section titled “Right click email, open the cryptographic menu and select Generate SHA1 Hash:”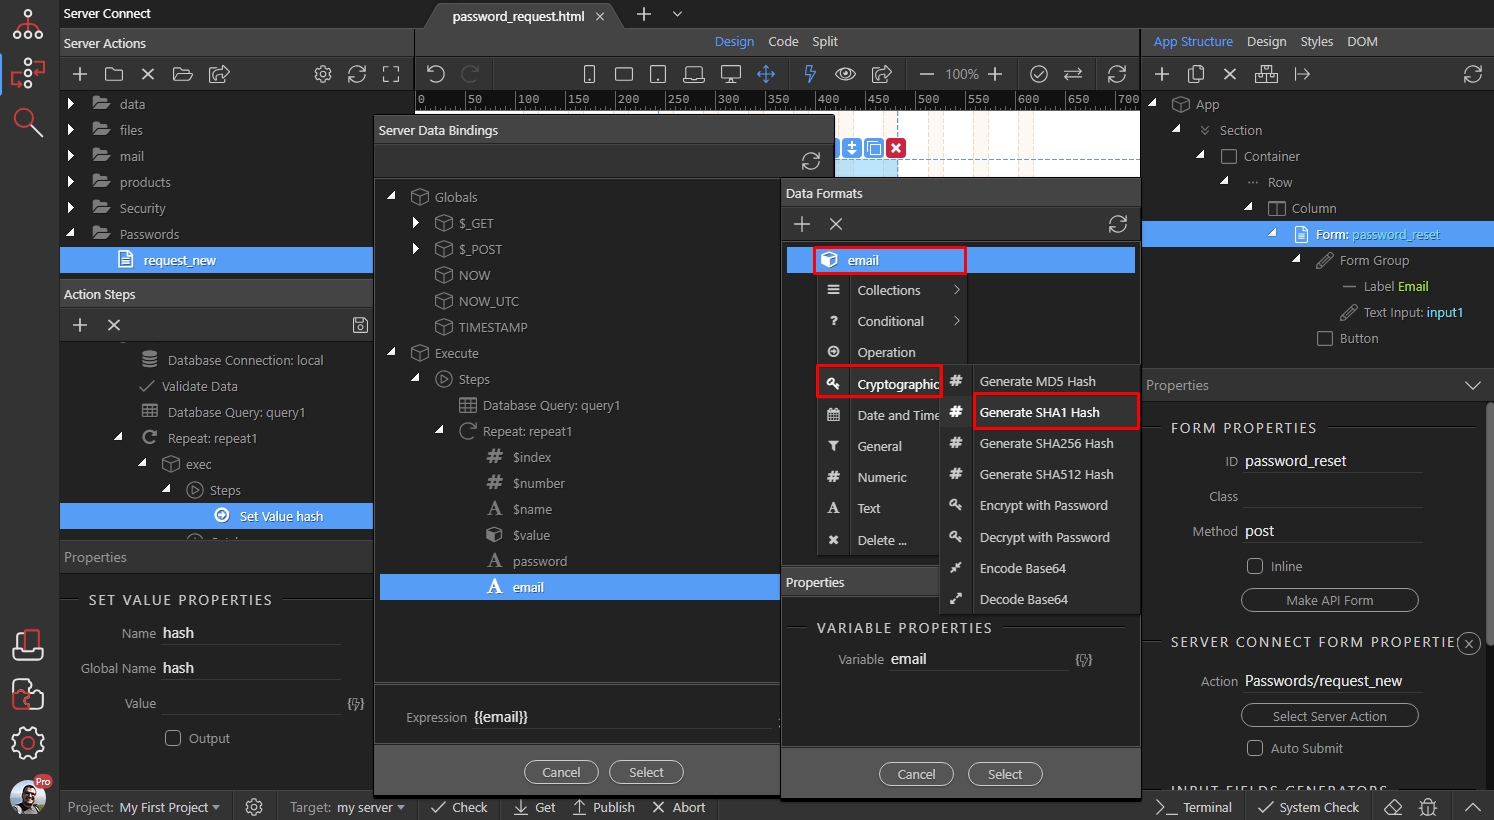
Select Salt and click the dynamic data picker button to select a value:
Section titled “Select Salt and click the dynamic data picker button to select a value:”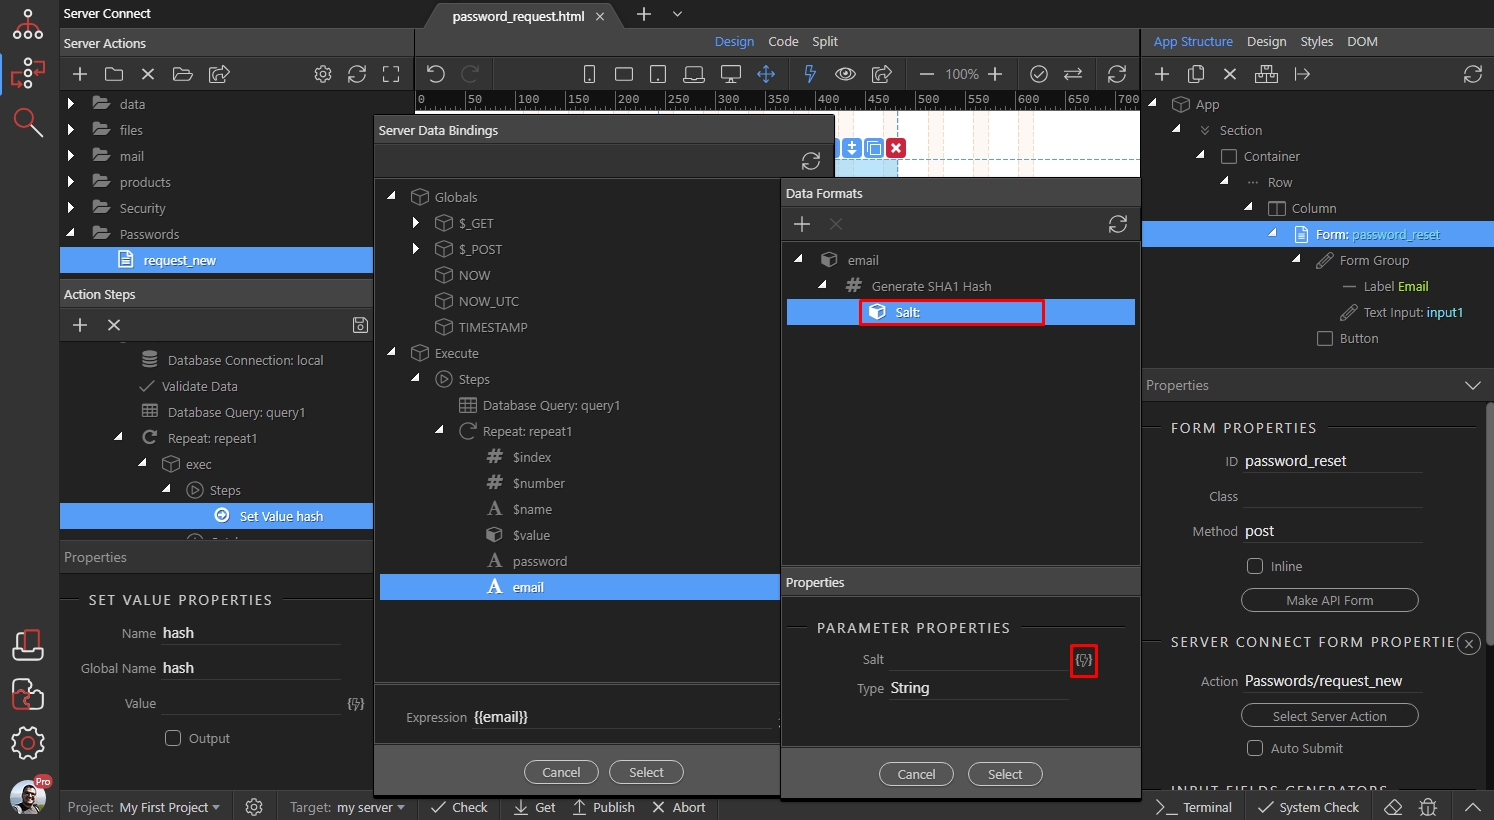
Select the password under repeat, and click the select button:
Section titled “Select the password under repeat, and click the select button:”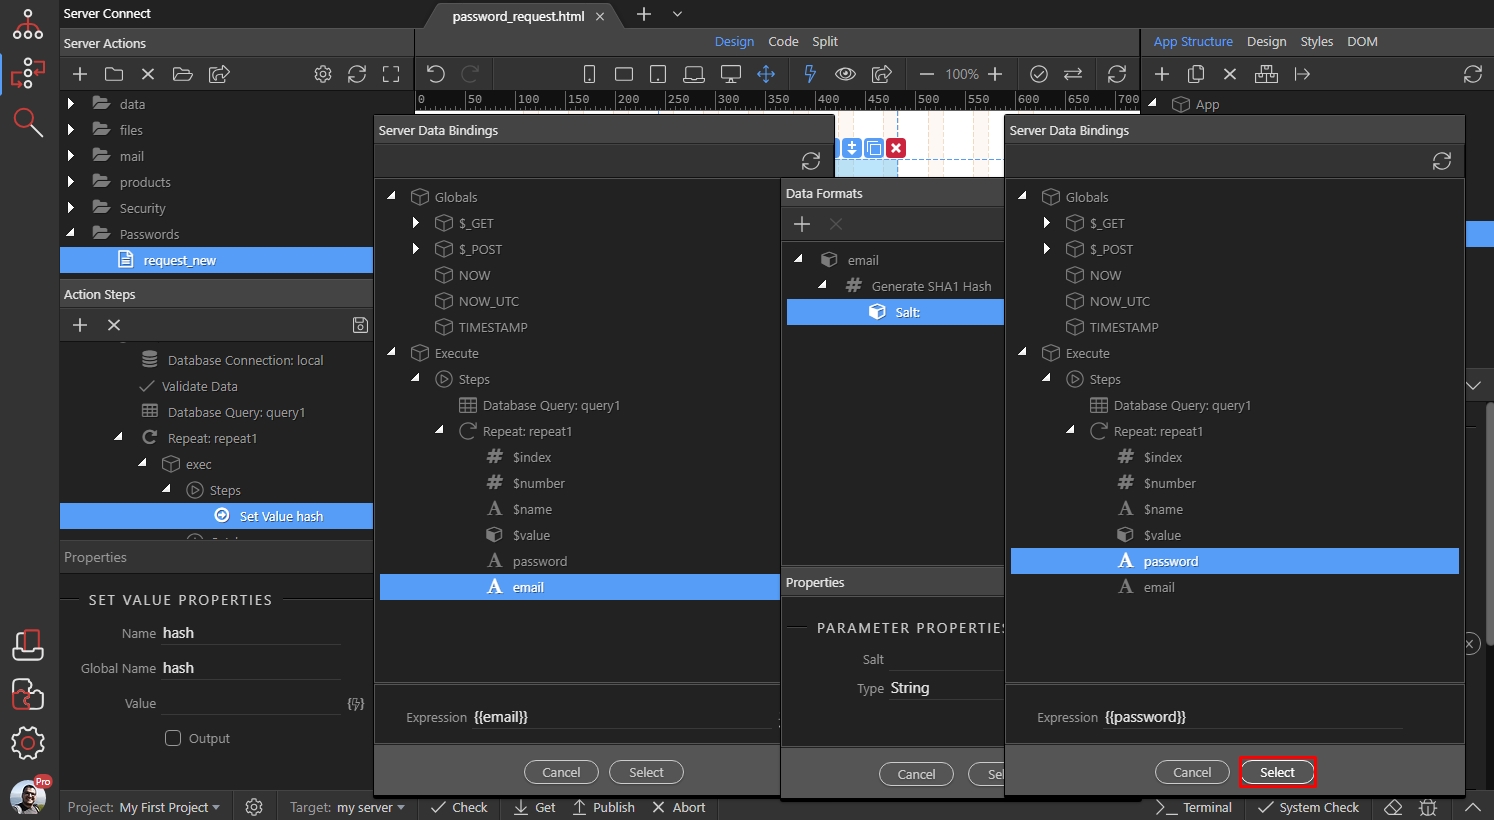
Click Select:
Section titled “Click Select:”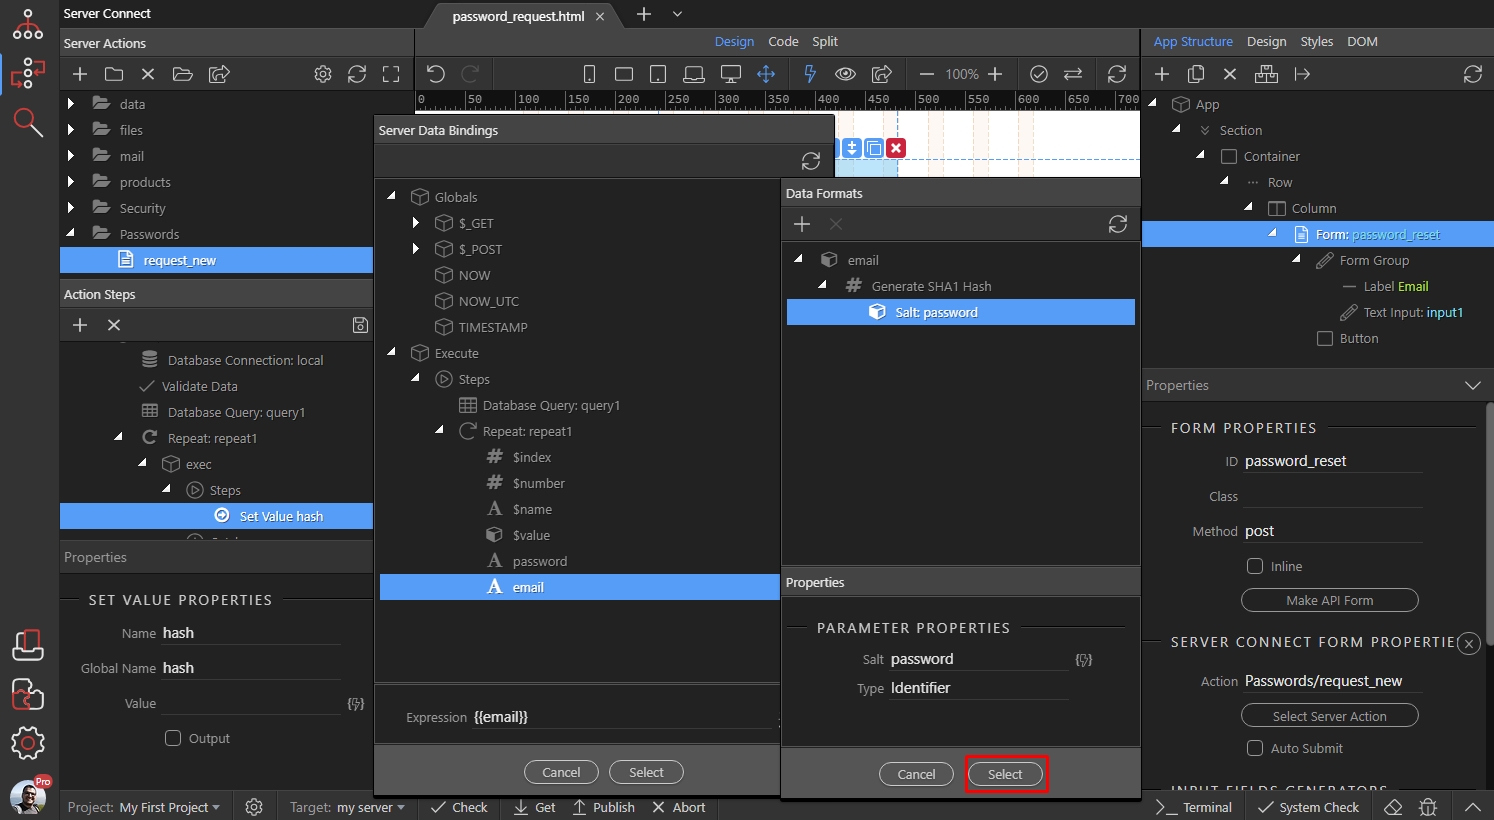
And click Select to apply the dynamic value for the Set Value step:
Section titled “And click Select to apply the dynamic value for the Set Value step:”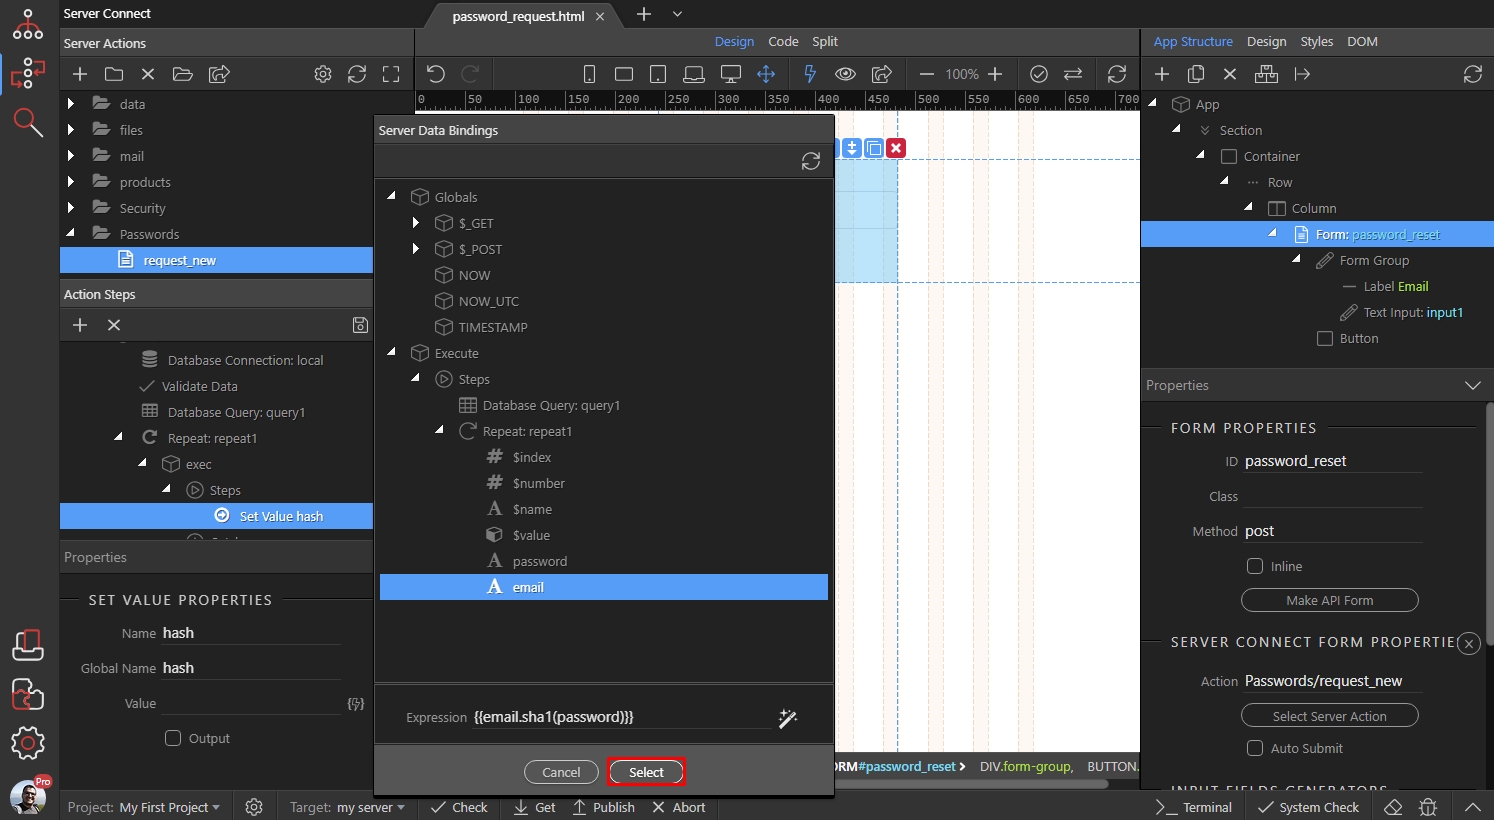
Step 54
Section titled “Step 54”The step generating the unique hash for the dynamic reset link is ready. We will also need the email, so right click the hash set value step:
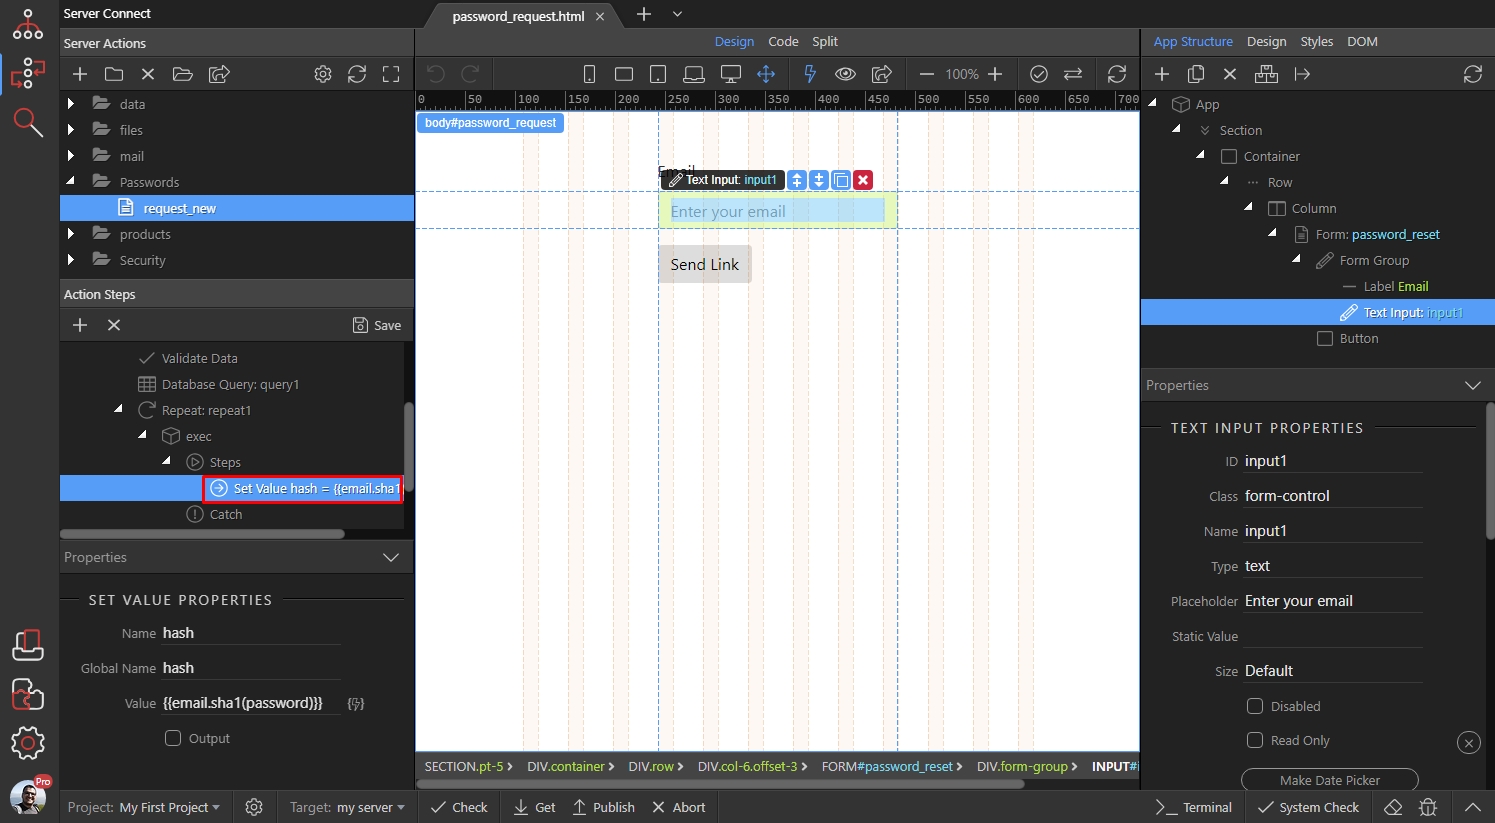
And add another Set Value step:
Section titled “And add another Set Value step:”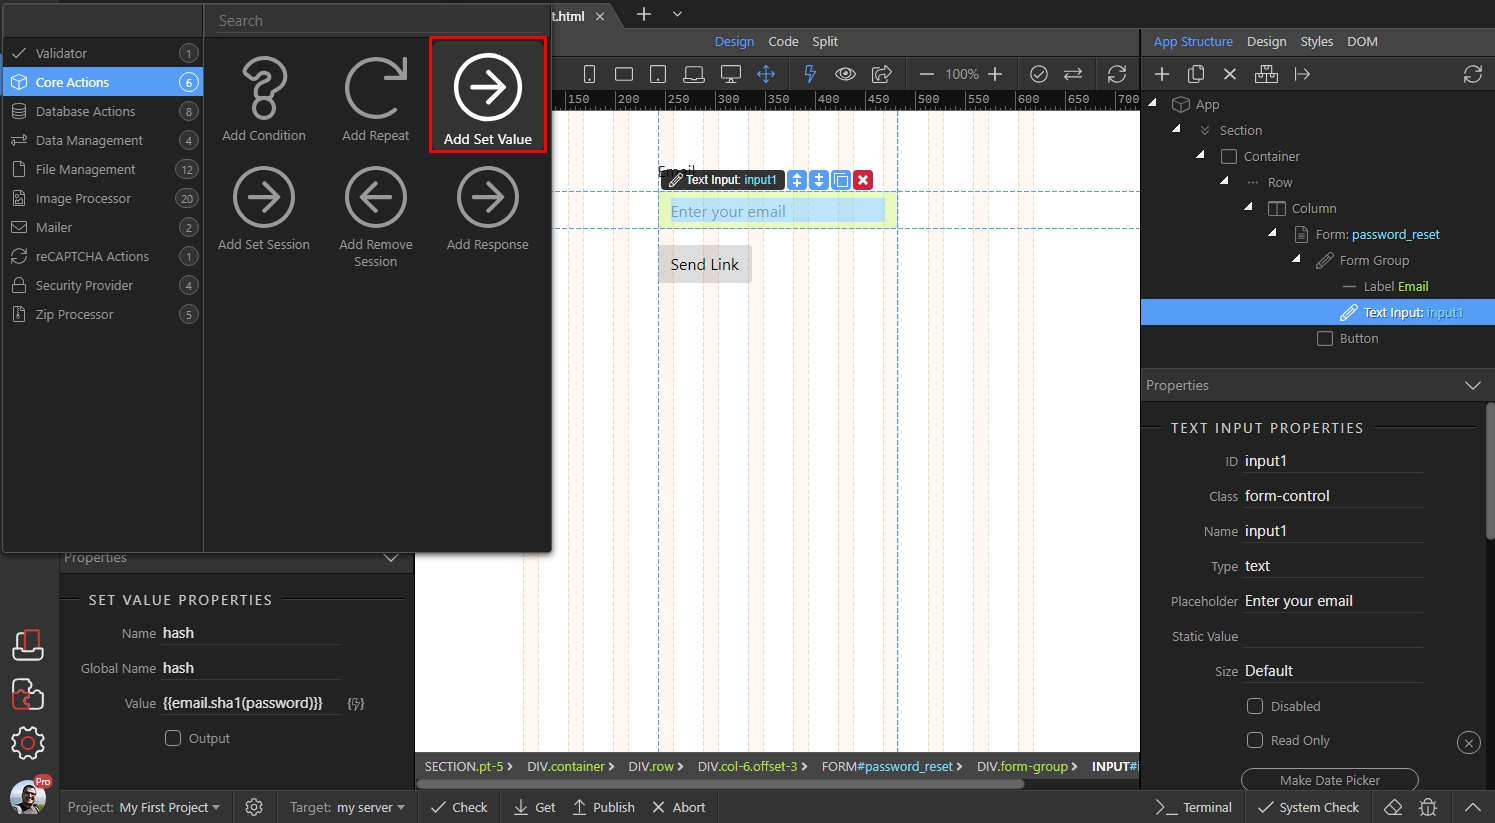
We enter email in the name and global name fields:
Section titled “We enter email in the name and global name fields:”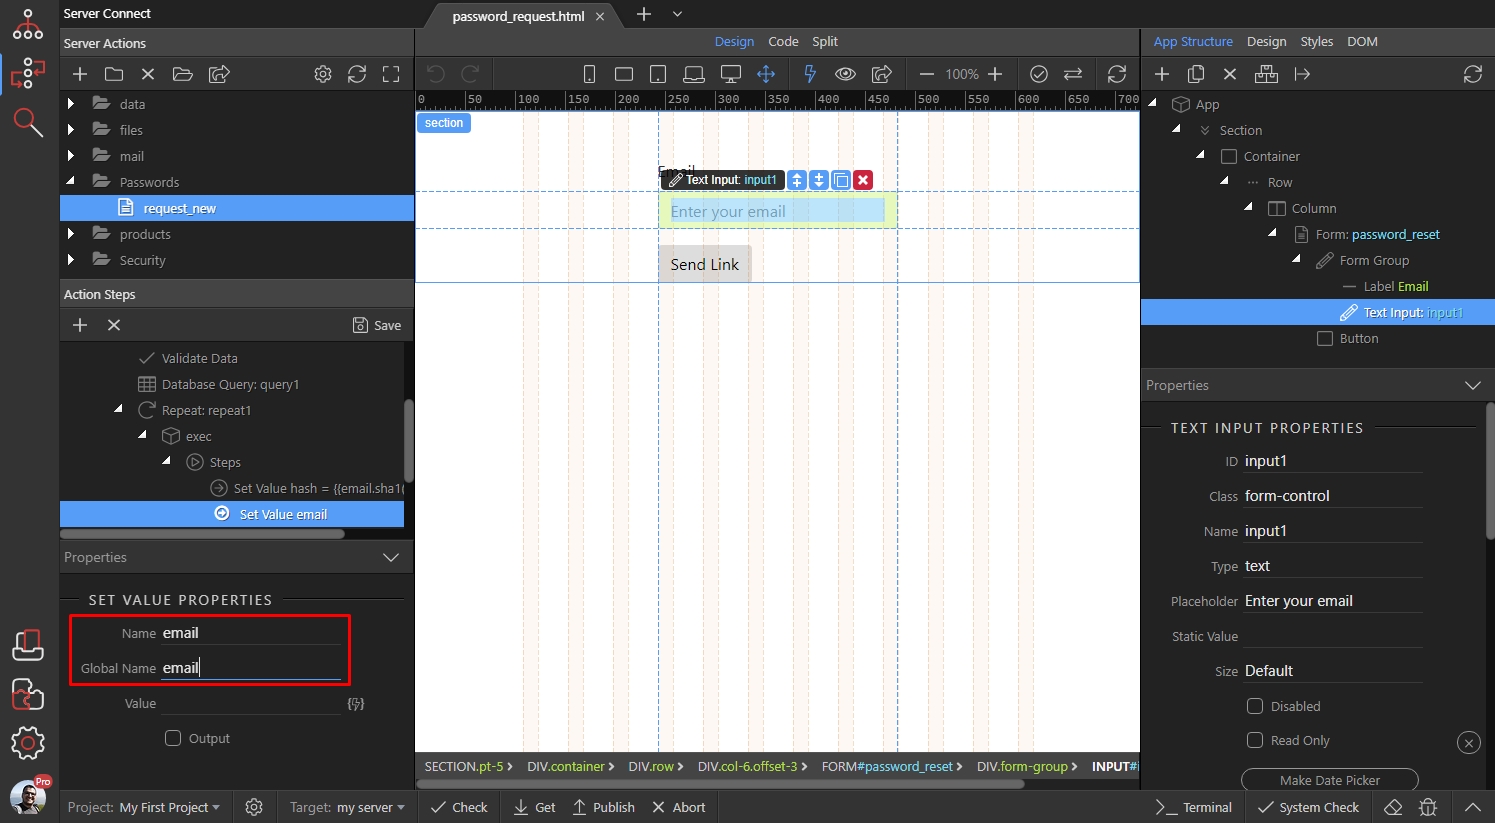
Step 57
Section titled “Step 57”Then click the dynamic data picker to select a value for it. The value should be the email returned by the repeat:
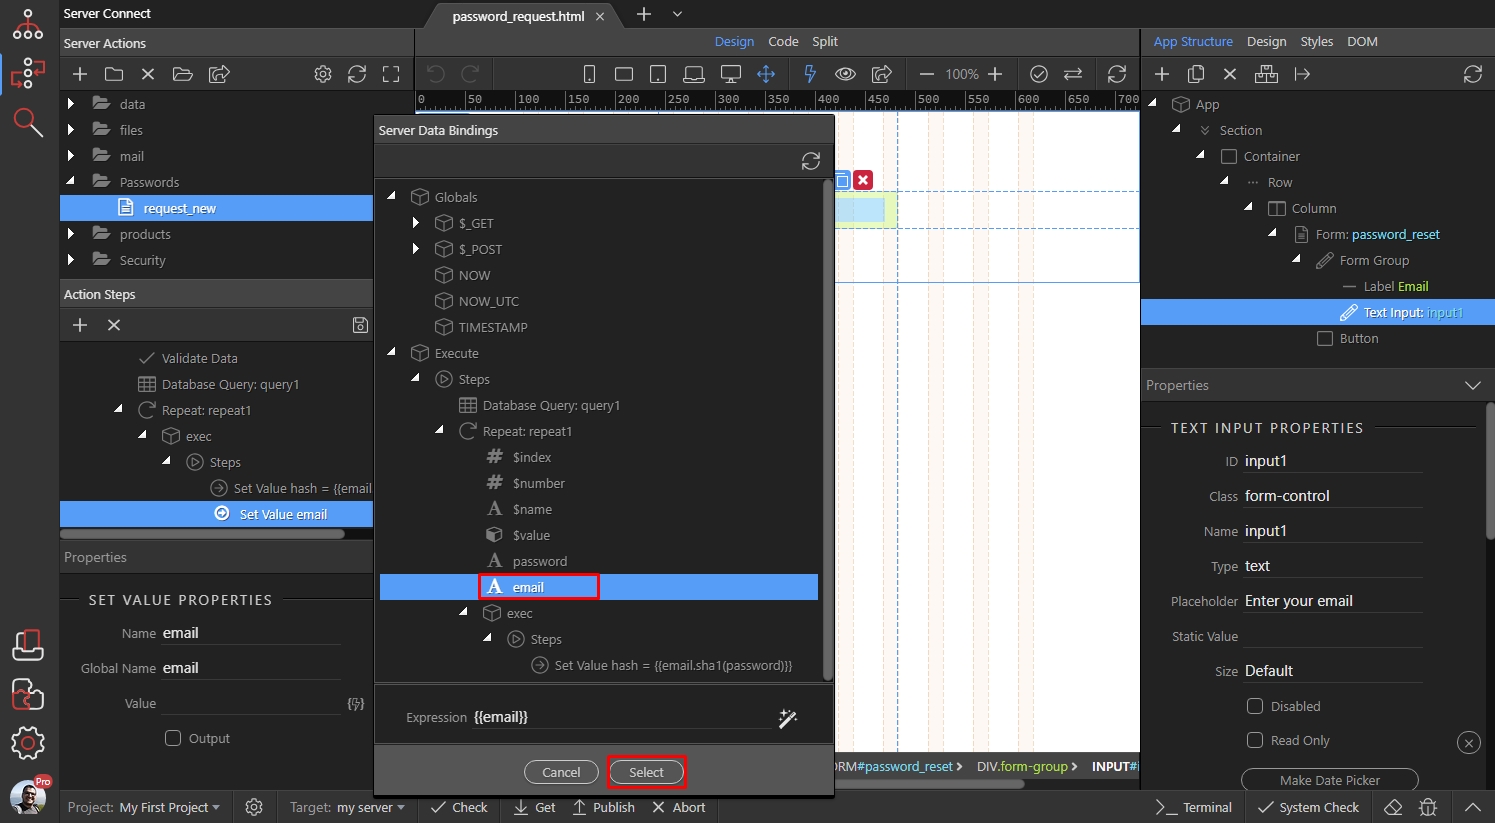
Now as we have our setvalue steps ready let’s setup mail options. Right click the Repeat step:
Section titled “Now as we have our setvalue steps ready let’s setup mail options. Right click the Repeat step:”Now as we have our setvalue steps ready let’s setup mail options.
Right click the Repeat step:
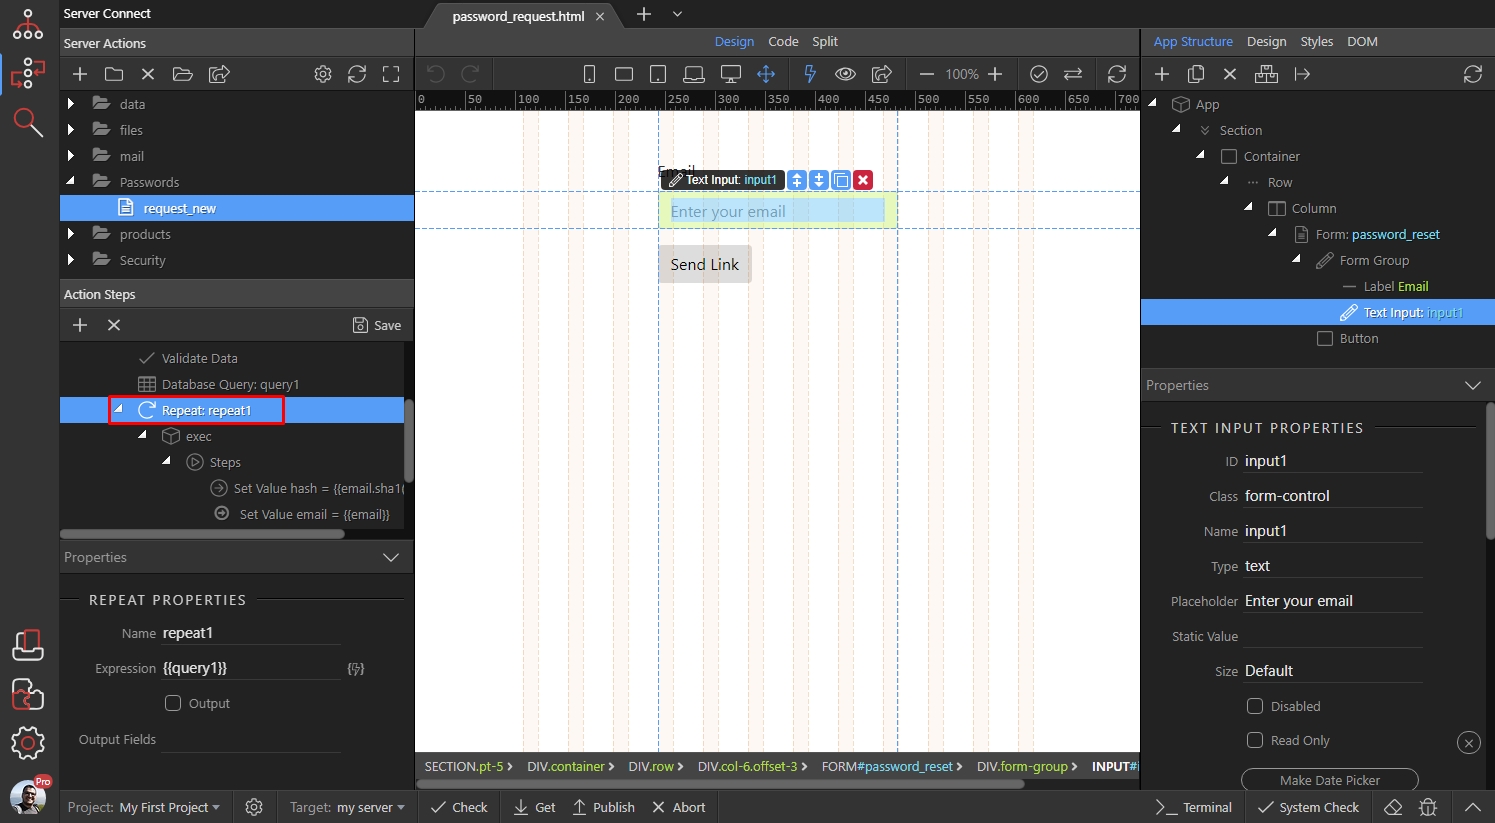
Add Setup Mailer:
Section titled “Add Setup Mailer:”
Step 60
Section titled “Step 60”Setup your send mail options (SMTP or default server mailer) and right click the Setup Mailer step, when you are done:
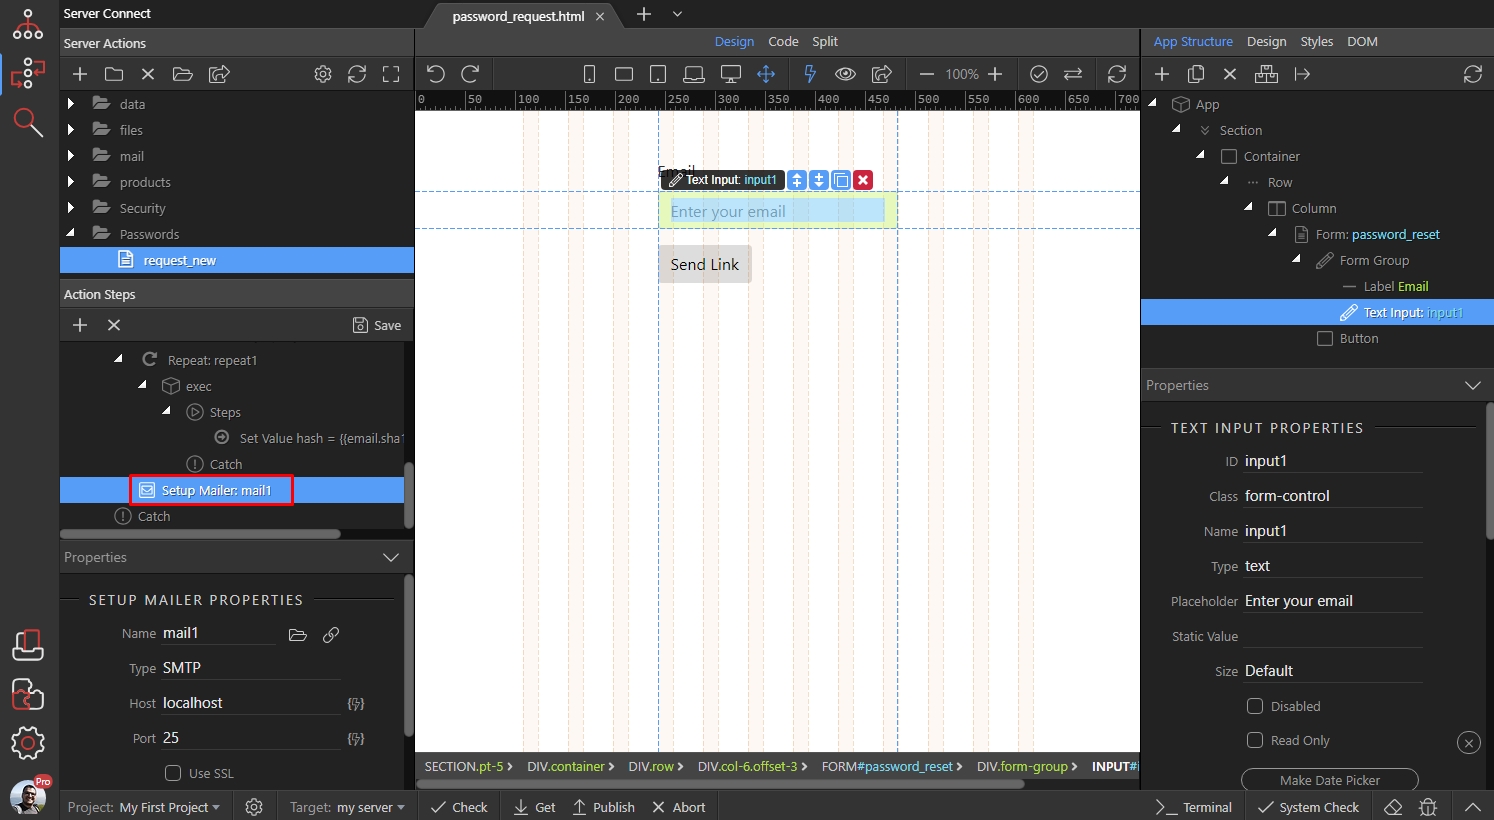
Add Send Mail:
Section titled “Add Send Mail:”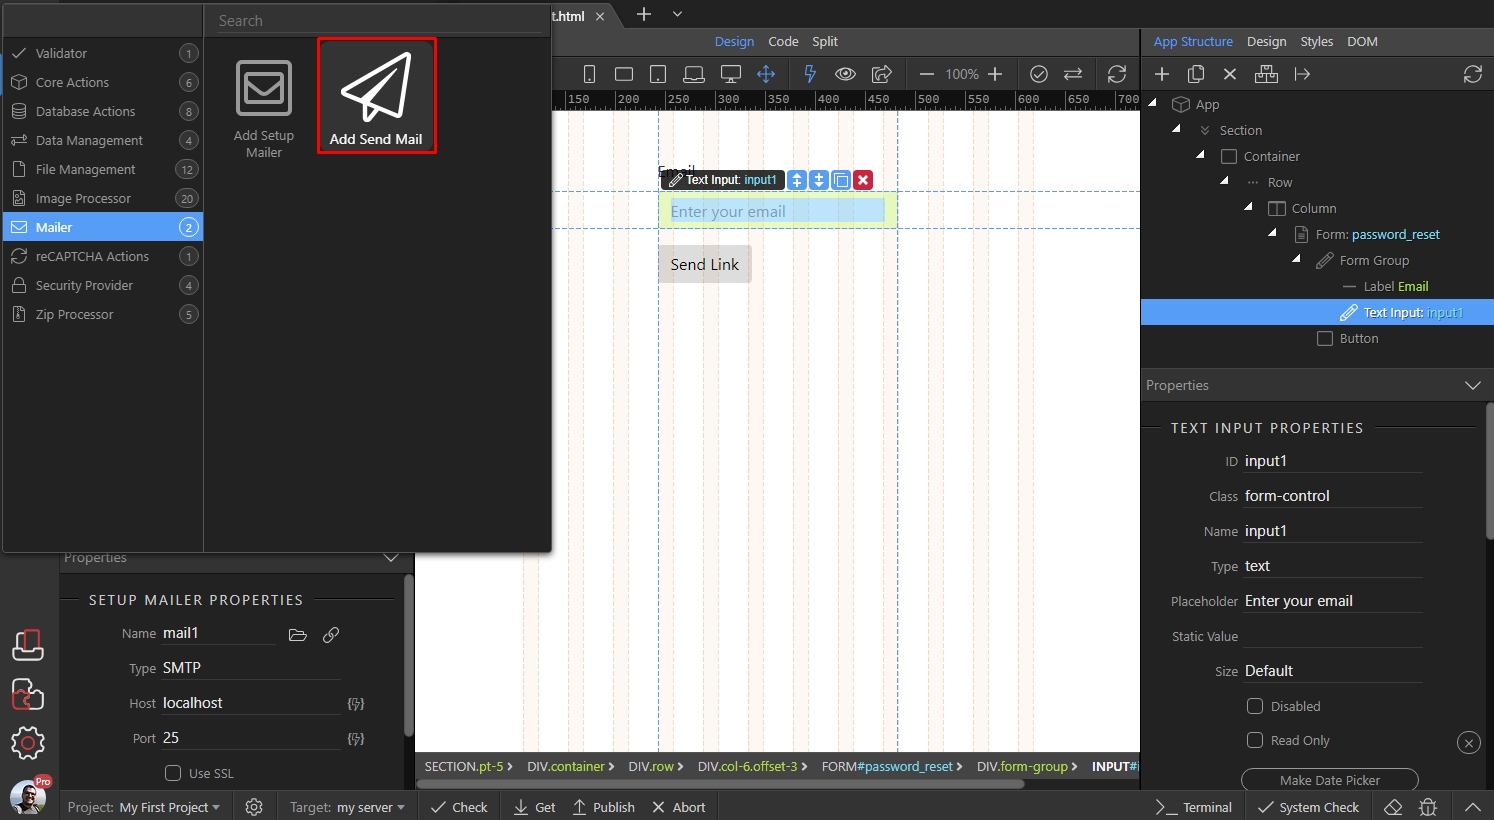
Select your mailer and enter your mail subject:
Section titled “Select your mailer and enter your mail subject:”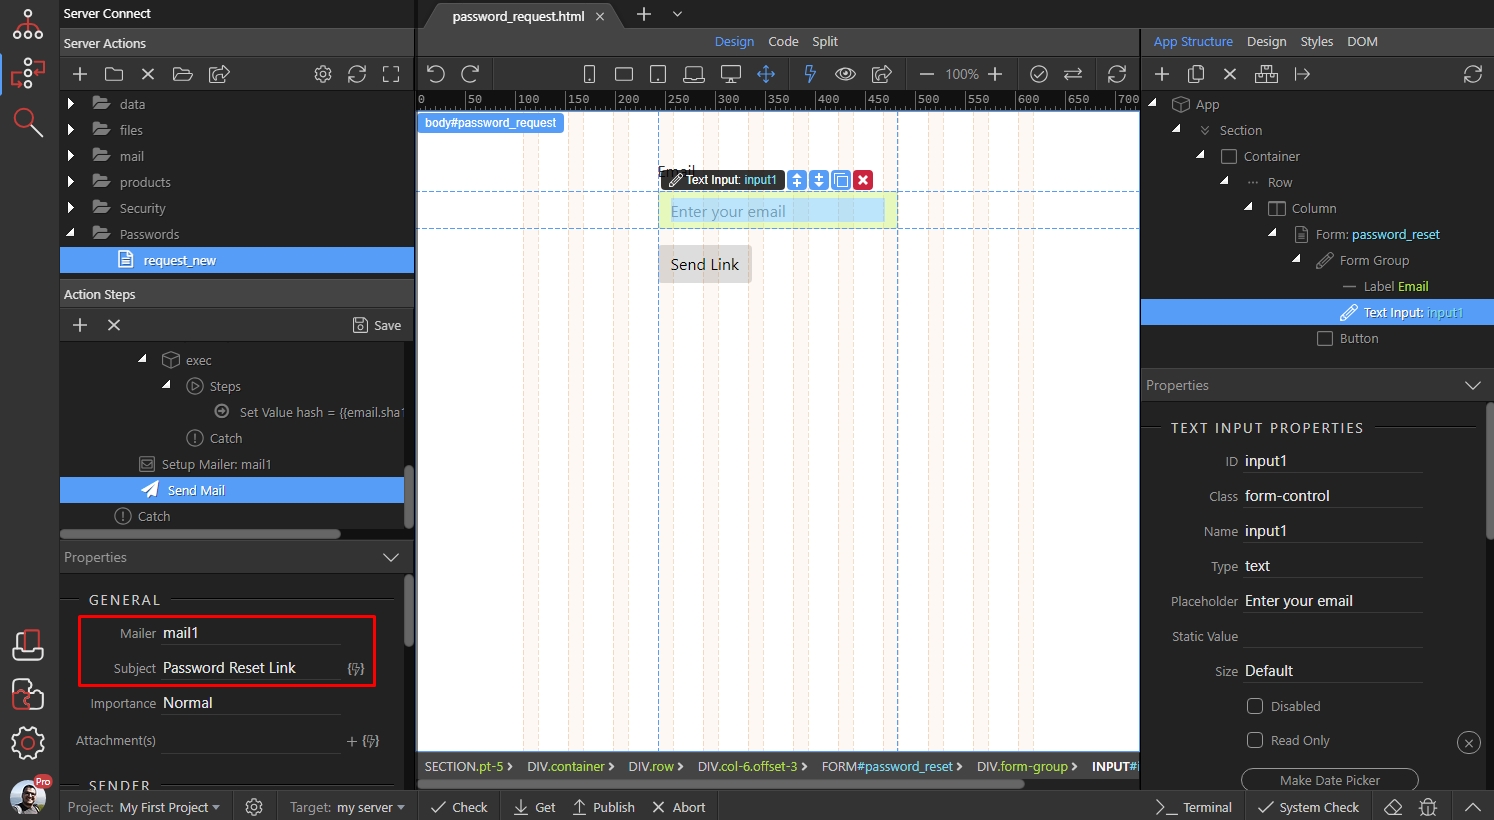
Then setup the sender name and email:
Section titled “Then setup the sender name and email:”
Click the dynamic data picker button, for the recipient email:
Section titled “Click the dynamic data picker button, for the recipient email:”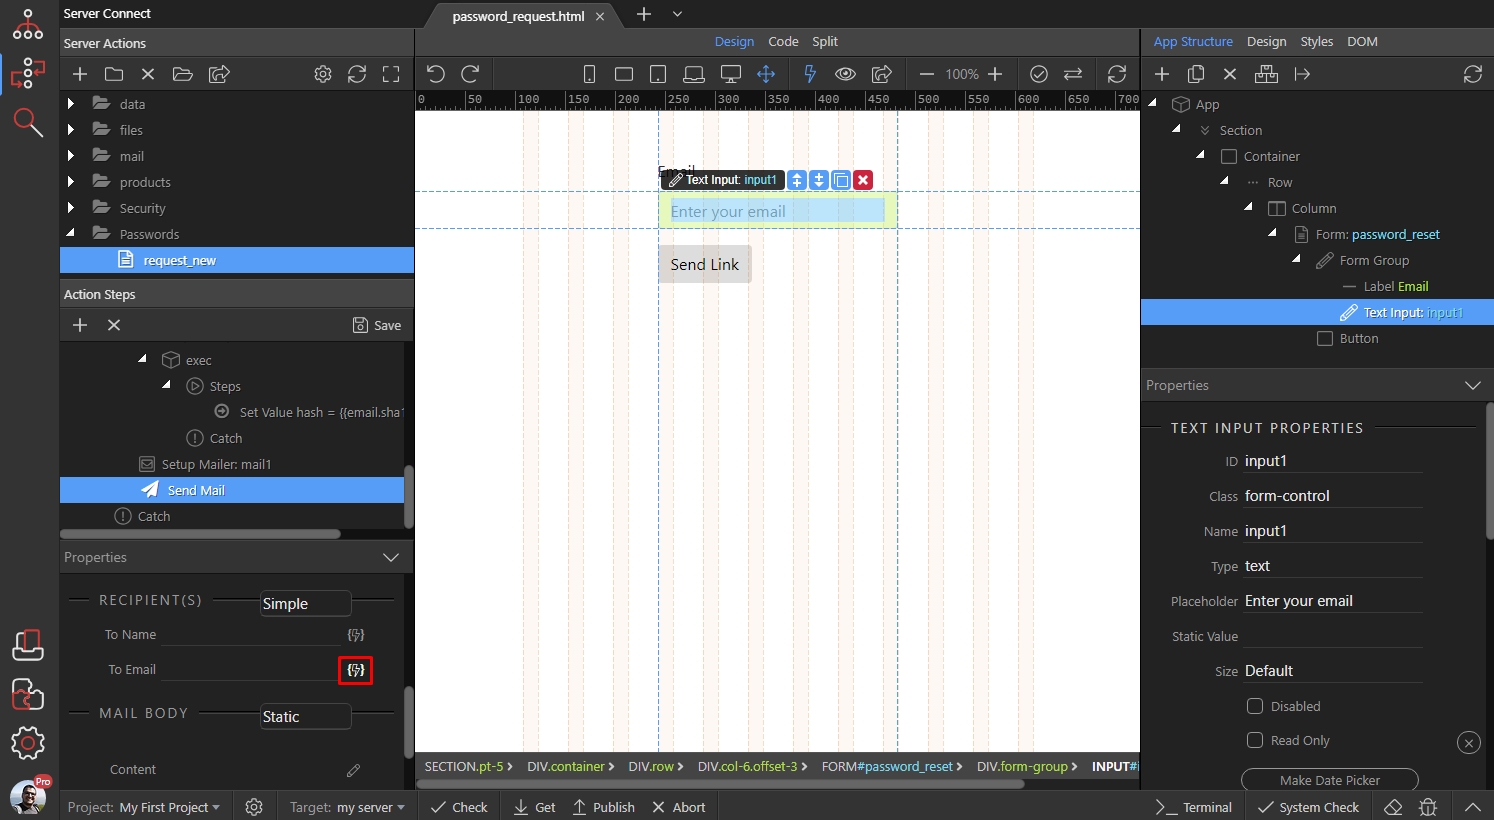
This is the email entered in the form input, so select it:
Section titled “This is the email entered in the form input, so select it:”
Change the Format to HTML:
Section titled “Change the Format to HTML:”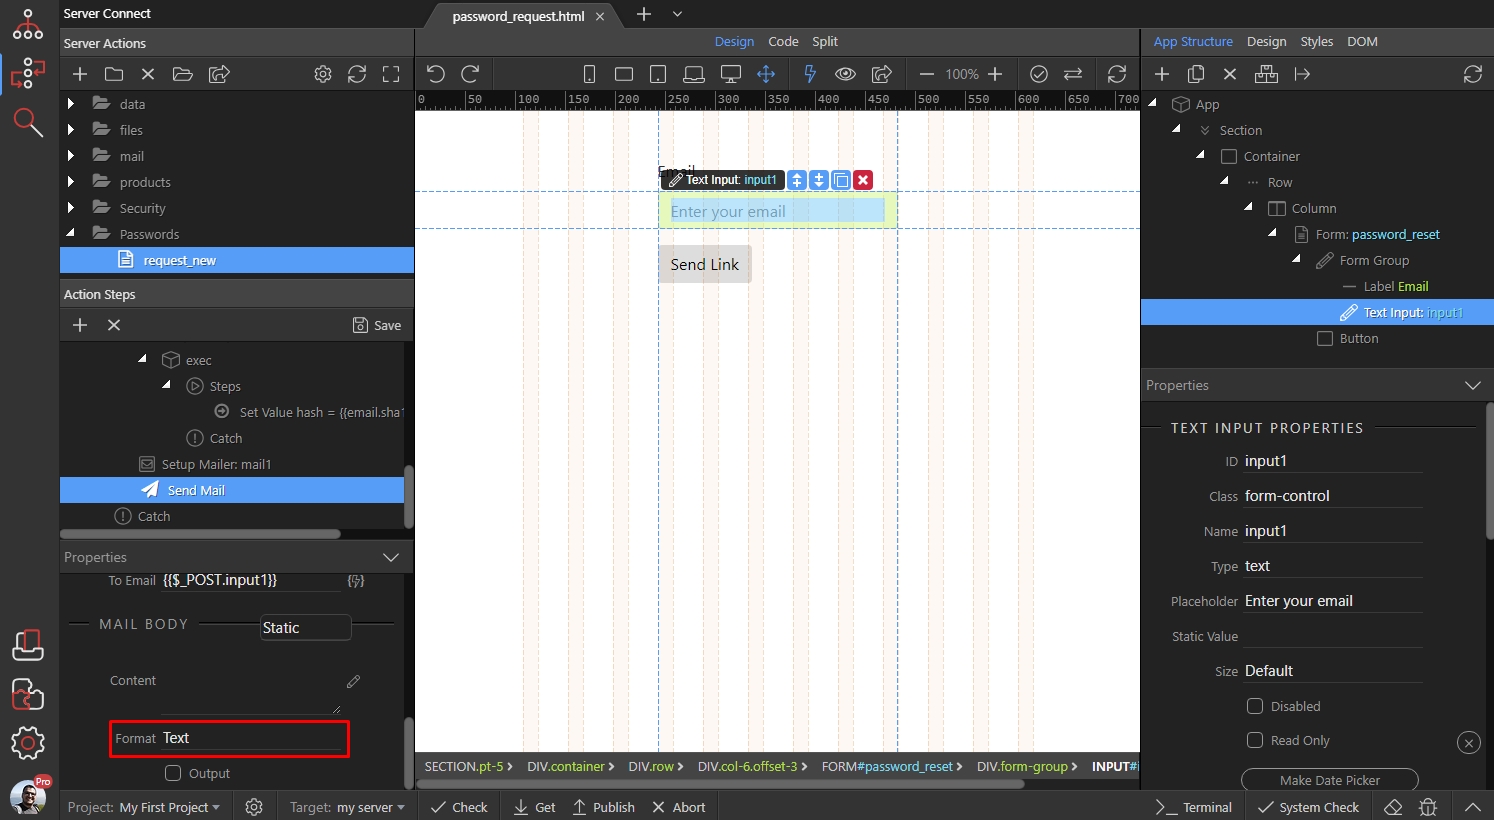
And click the edit content button:
Section titled “And click the edit content button:”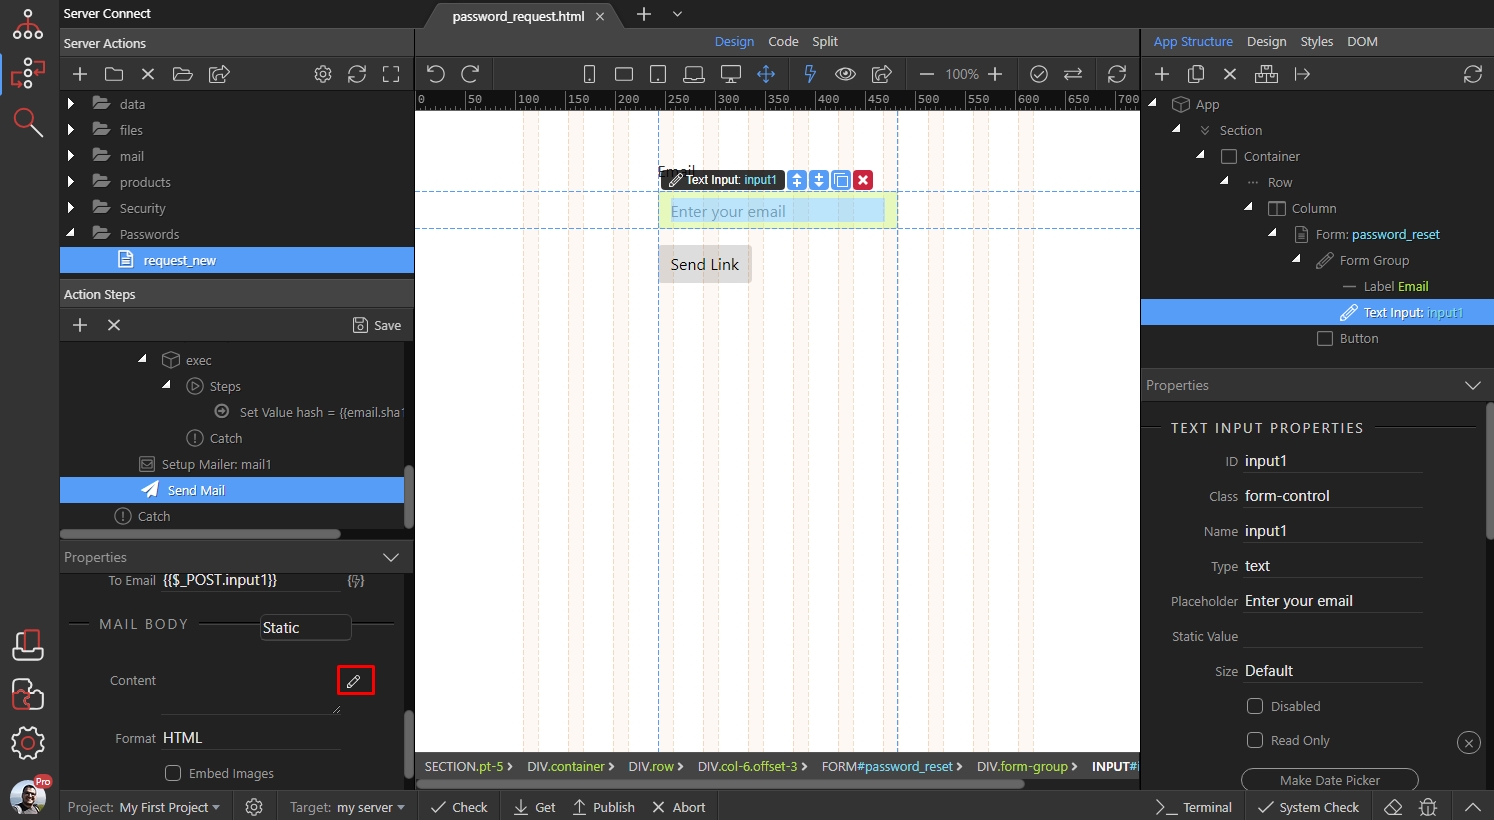
Step 68
Section titled “Step 68”Enter some text. For example Click here to reset your password. Then highlight some part of the text to convert to a link:
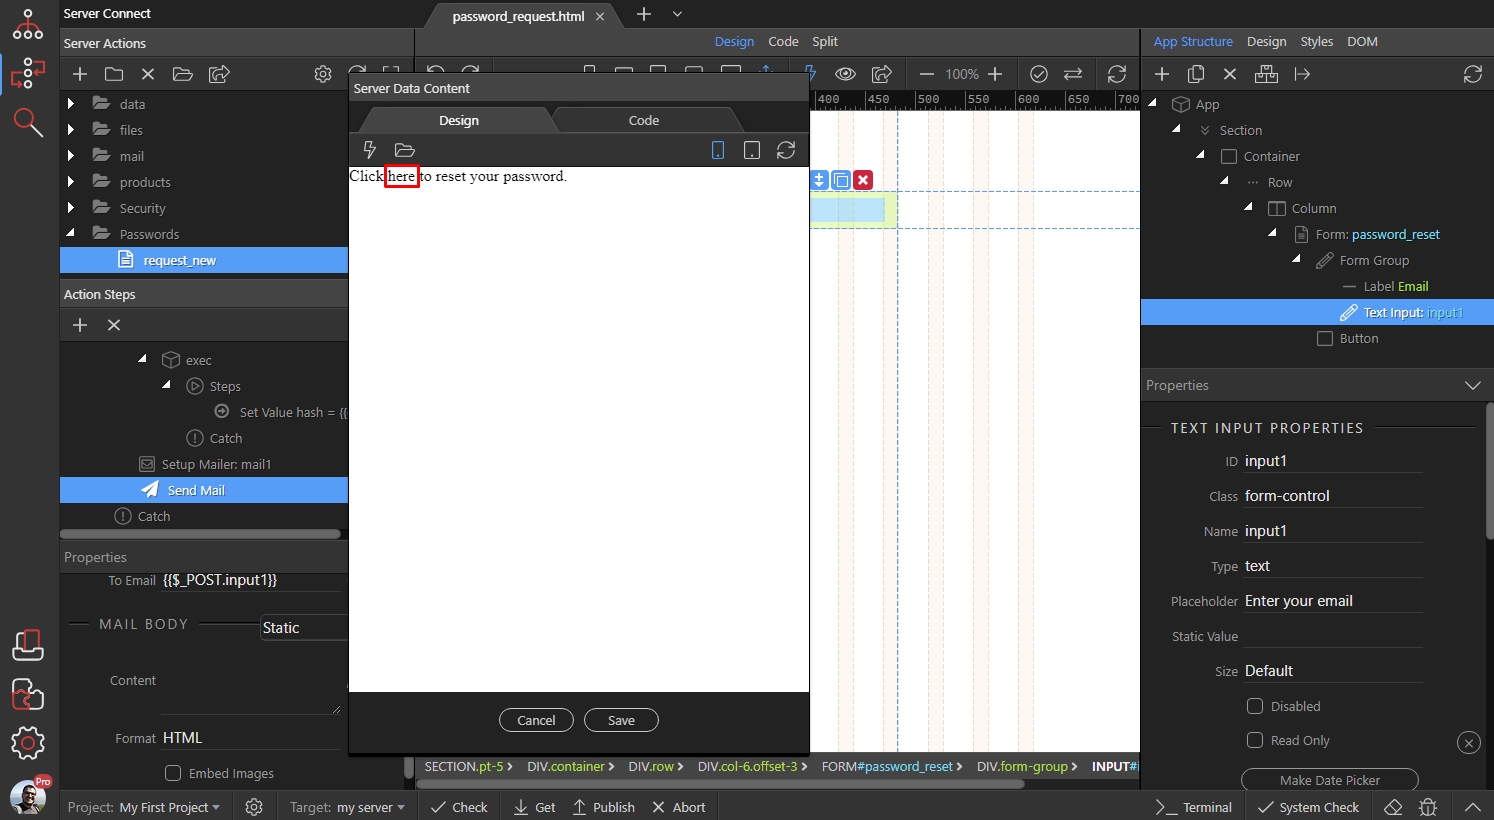
Click the link button from the editor toolbar:
Section titled “Click the link button from the editor toolbar:”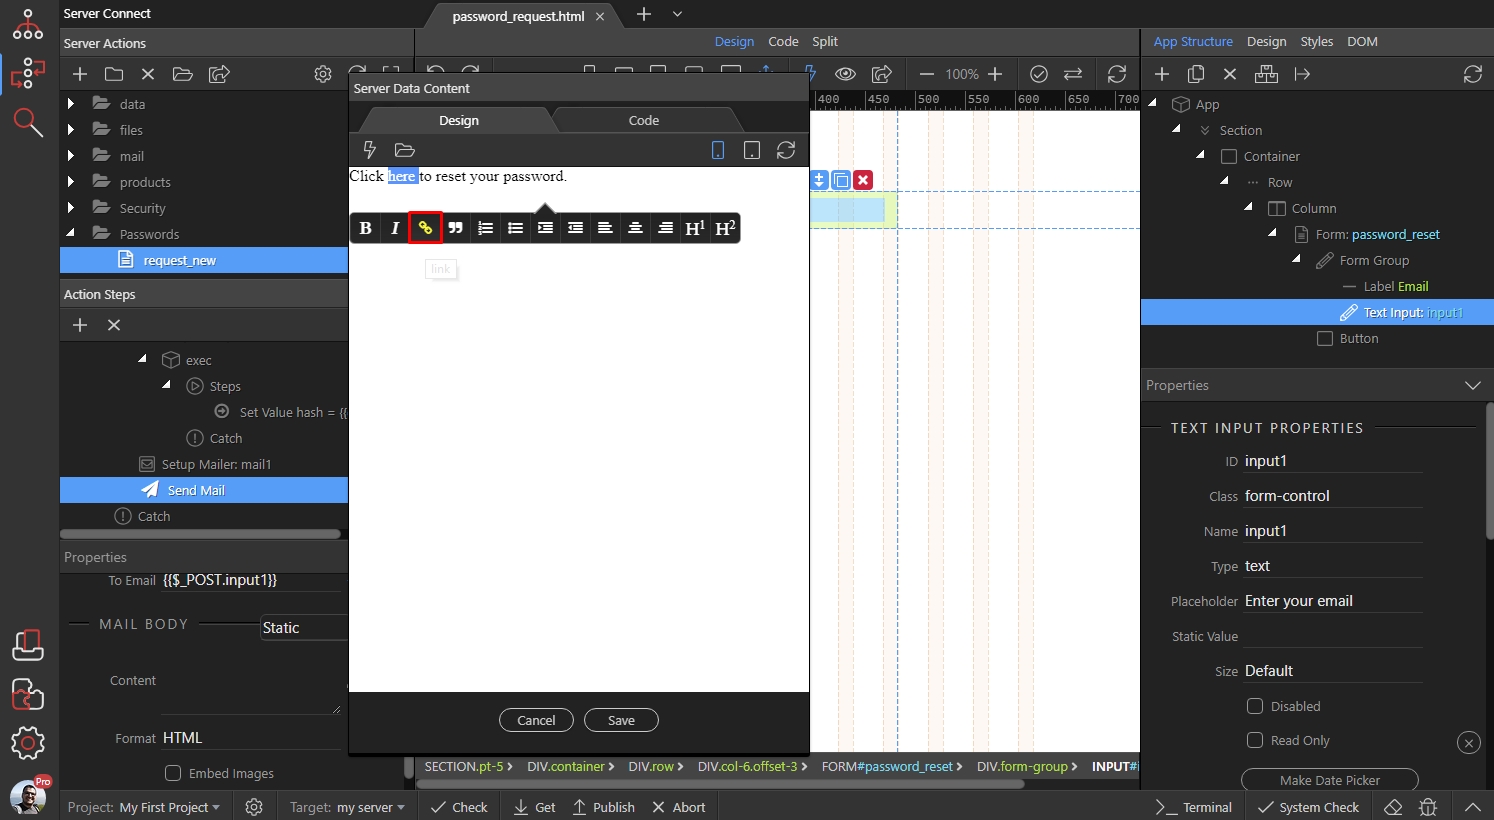
Step 70
Section titled “Step 70”Enter the link to the page, that will be used for entering the new password, and add ?email={{email}}&id={{hash}} after it.
We are going to use the email URL parameter to filter the users by the email and the id URL parameter to validate the user. So {{email}} and {{hash}}` here are the global names of the Set Value steps we created earlier. They will be replaced by the email and unique hash in the link:
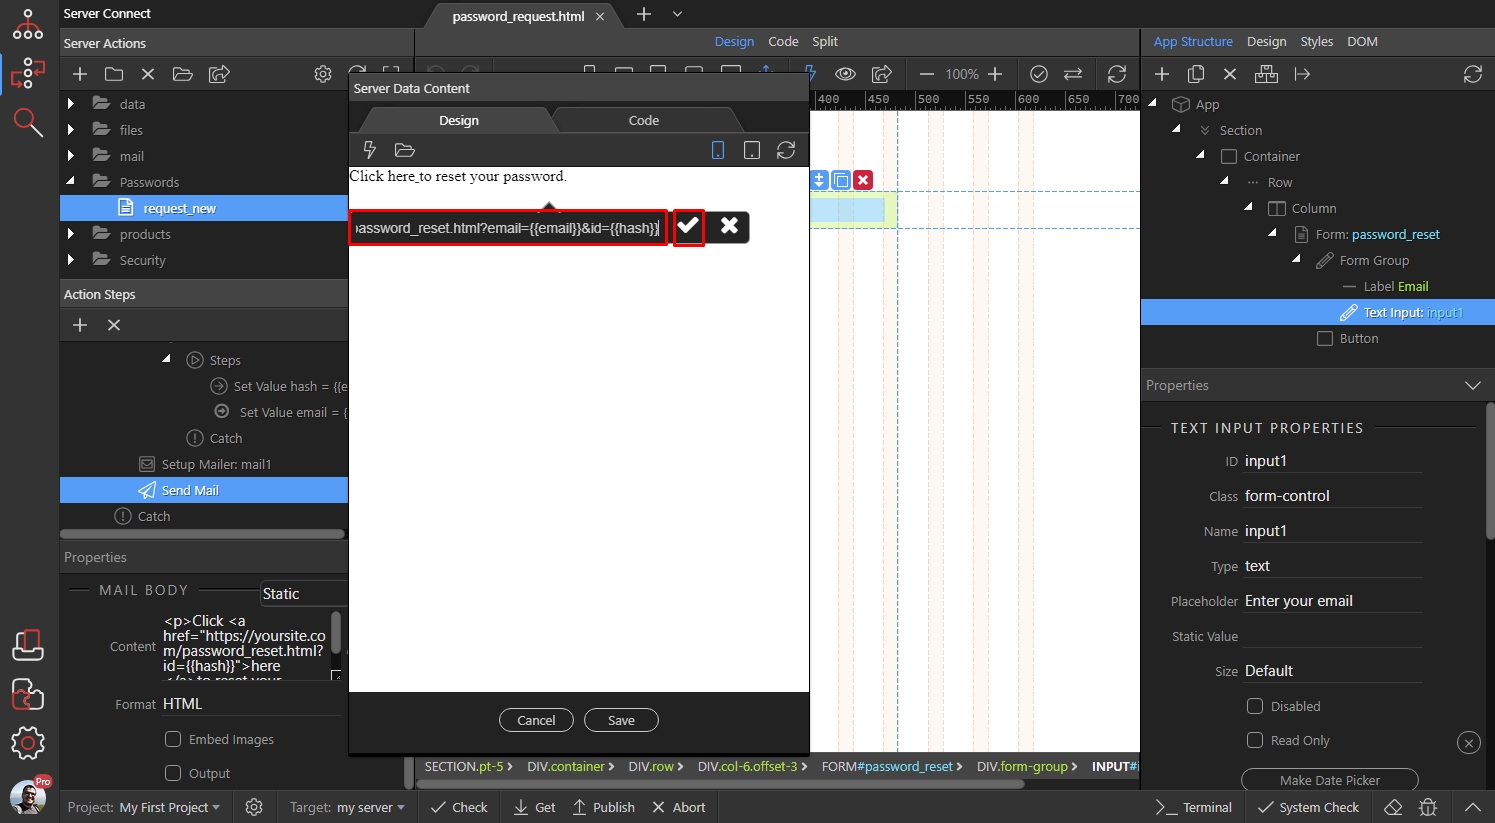
Example link: https://yoursite.com/password_reset.html?email={{email}}&id={{hash}}
Section titled “Example link: https://yoursite.com/password_reset.html?email={{email}}&id={{hash}}”Click Save when you are done:

Save your server action and close the server connect panel:
Section titled “Save your server action and close the server connect panel:”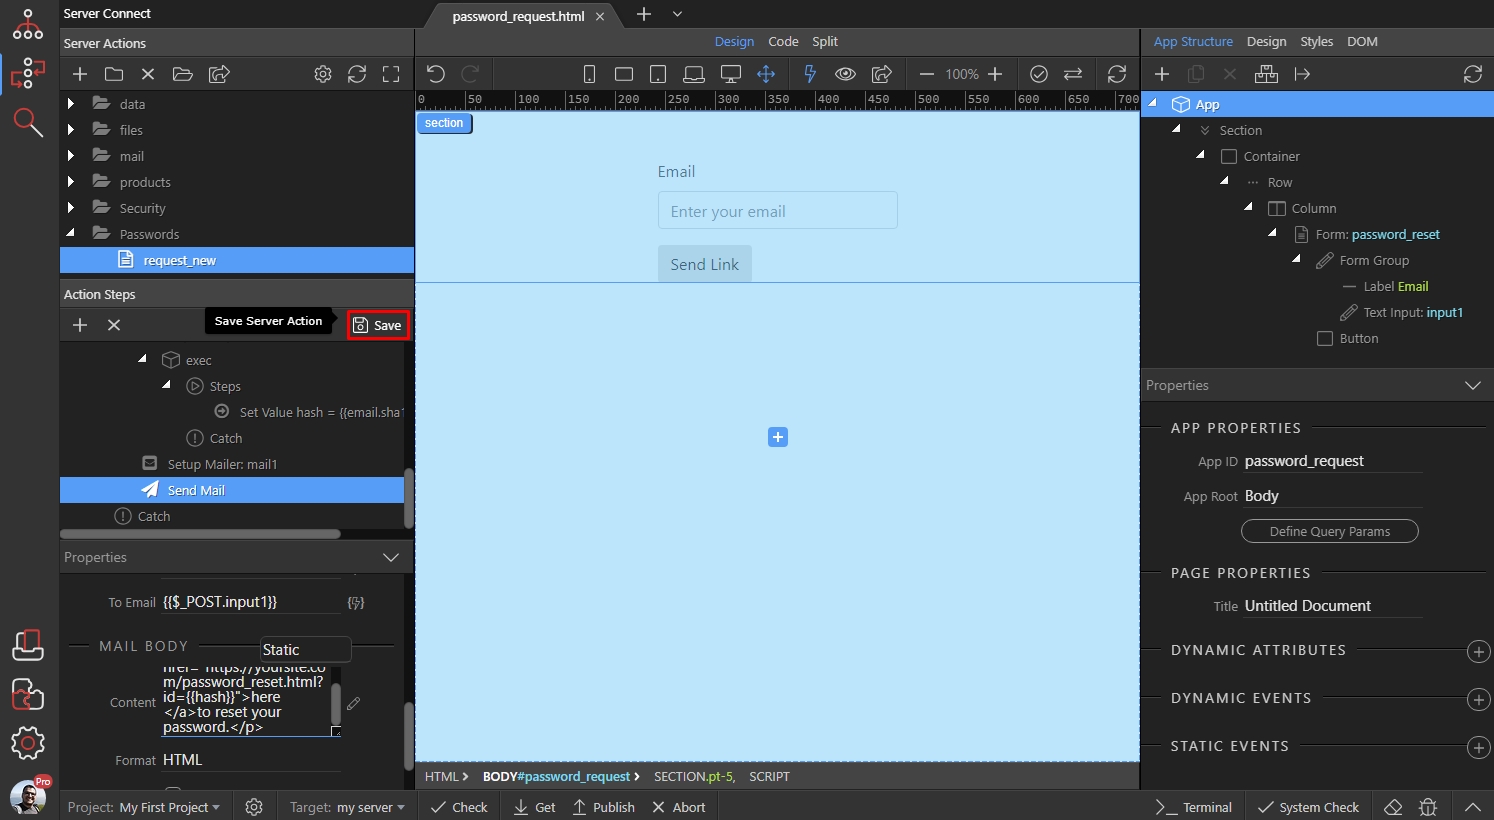
Back on the page, select the form and click the Make Server Connect Form button:
Section titled “Back on the page, select the form and click the Make Server Connect Form button:”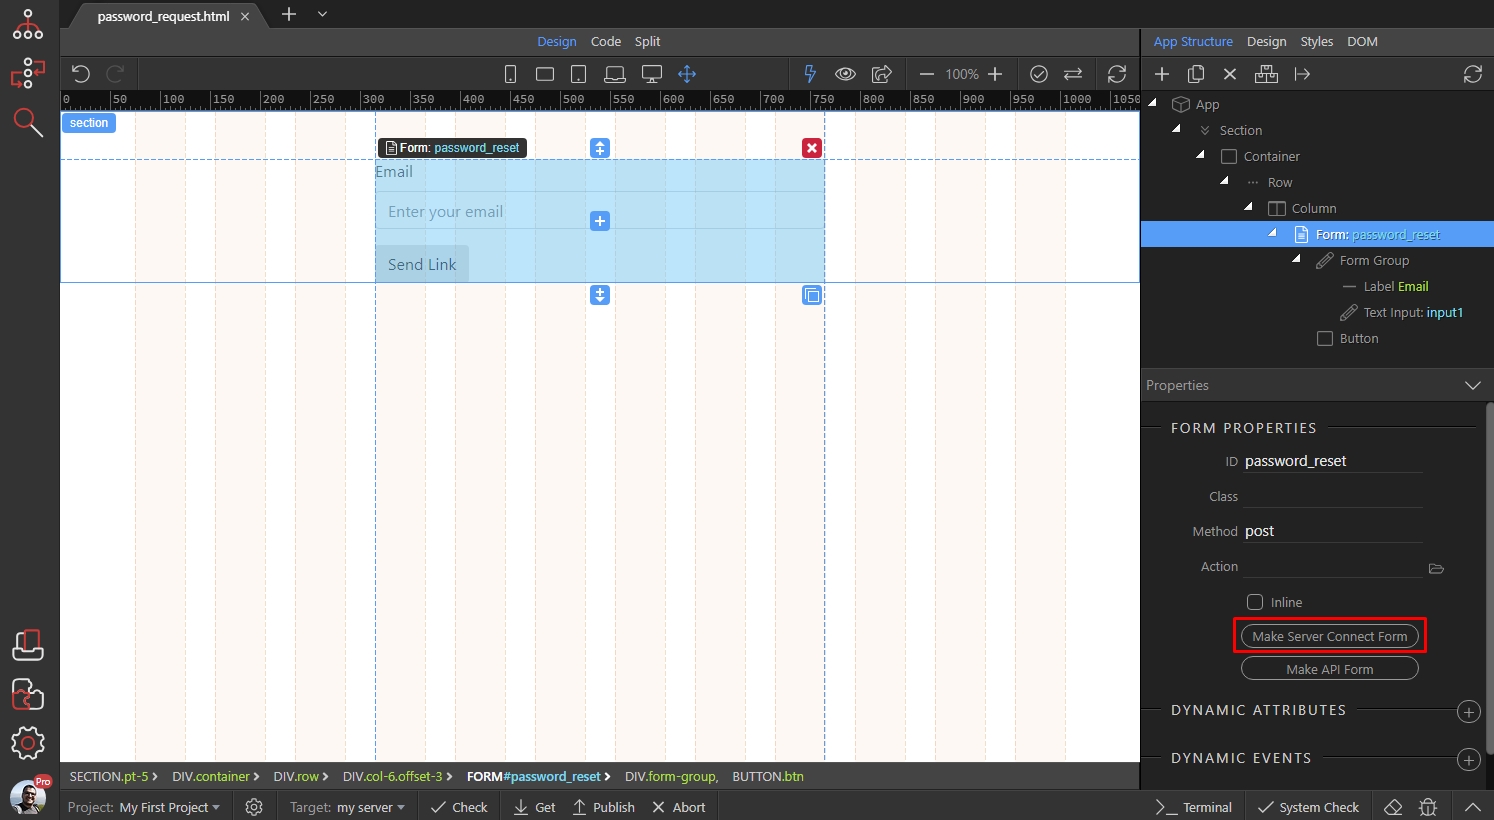
Then select your server action:
Section titled “Then select your server action:”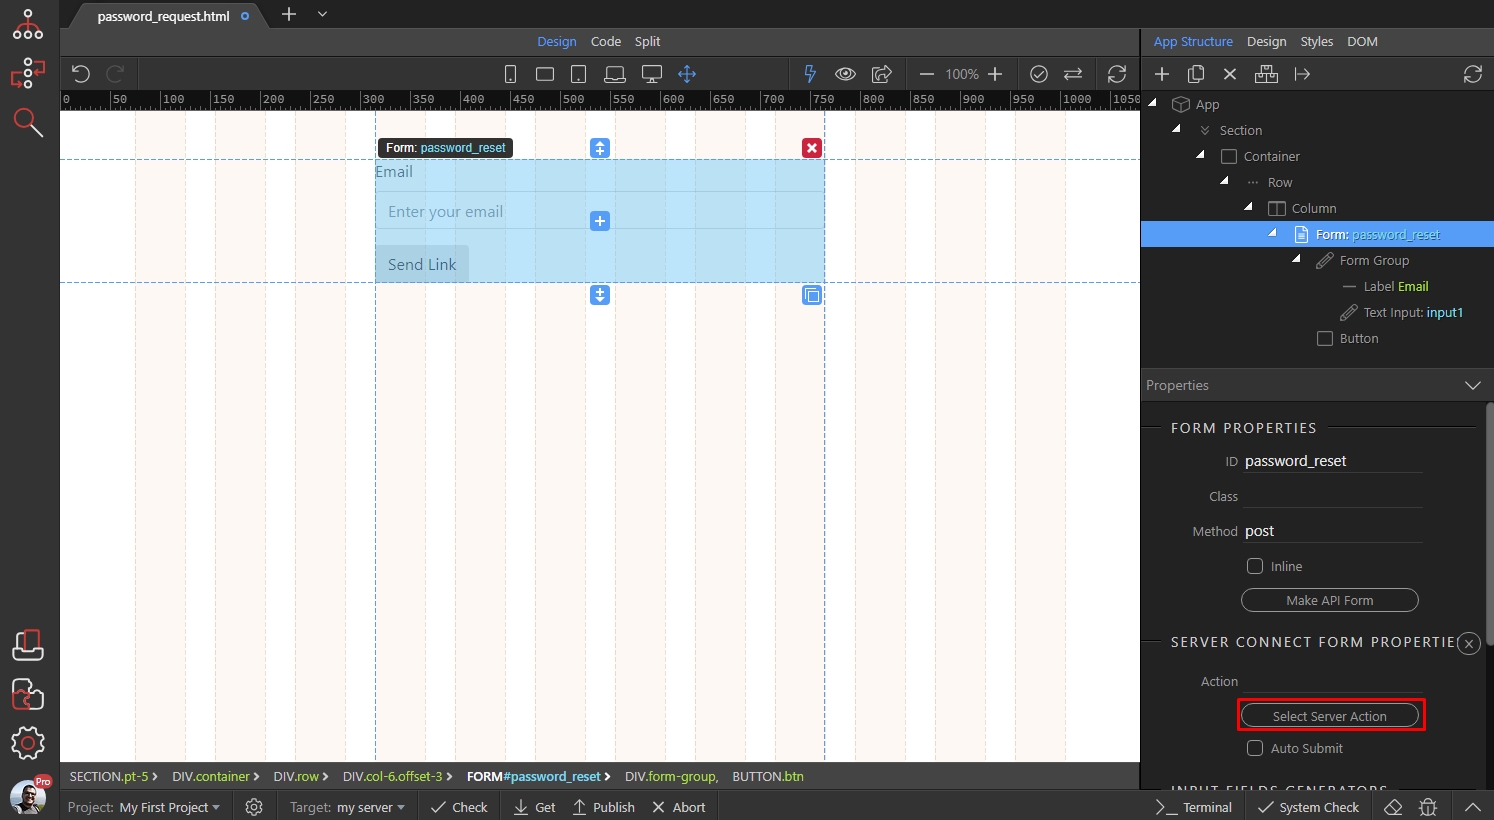
Select the server action which we just created and click the select button:
Section titled “Select the server action which we just created and click the select button:”
Step 76
Section titled “Step 76”And you are done, just save your page. The email with the dynamic reset page link will be generated and send to any user, which email exists in the database. For invalid emails you will see an error message:
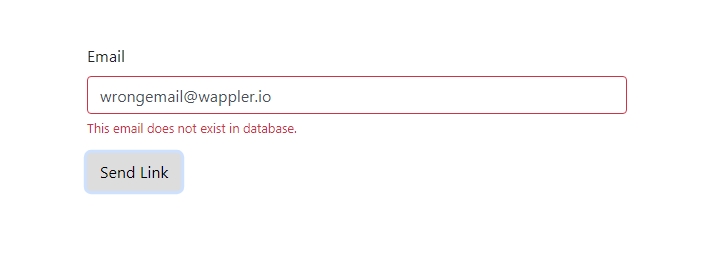
Of course you can add a form reset action on success, or redirect to any other page if you like.
Section titled “Of course you can add a form reset action on success, or redirect to any other page if you like.”In Part 2 we will show you how to create the password reset page and the server action which will update the password in the database.