
Setting up Site Security Settings
Using the Security Provider you can define the security settings for the whole project and reuse them on all of your pages. We will go through each of the available options - from single user to datab
Step 1
Section titled “Step 1”Using the Security Provider you can define the security settings for the whole project and reuse them on all of your pages. We will go through each of the available options - from single user to database users and explain how to set them up.
Setting Up Security Provider
Section titled “Setting Up Security Provider”The Security Settings you create are globally available for all your server actions across your project. You need to setup your Security Provider once, and then you can reuse it in all the steps which require any kind of security - log in, log out or restrict access.
You will find the security settings in the Server Connect Panel, under Globals:
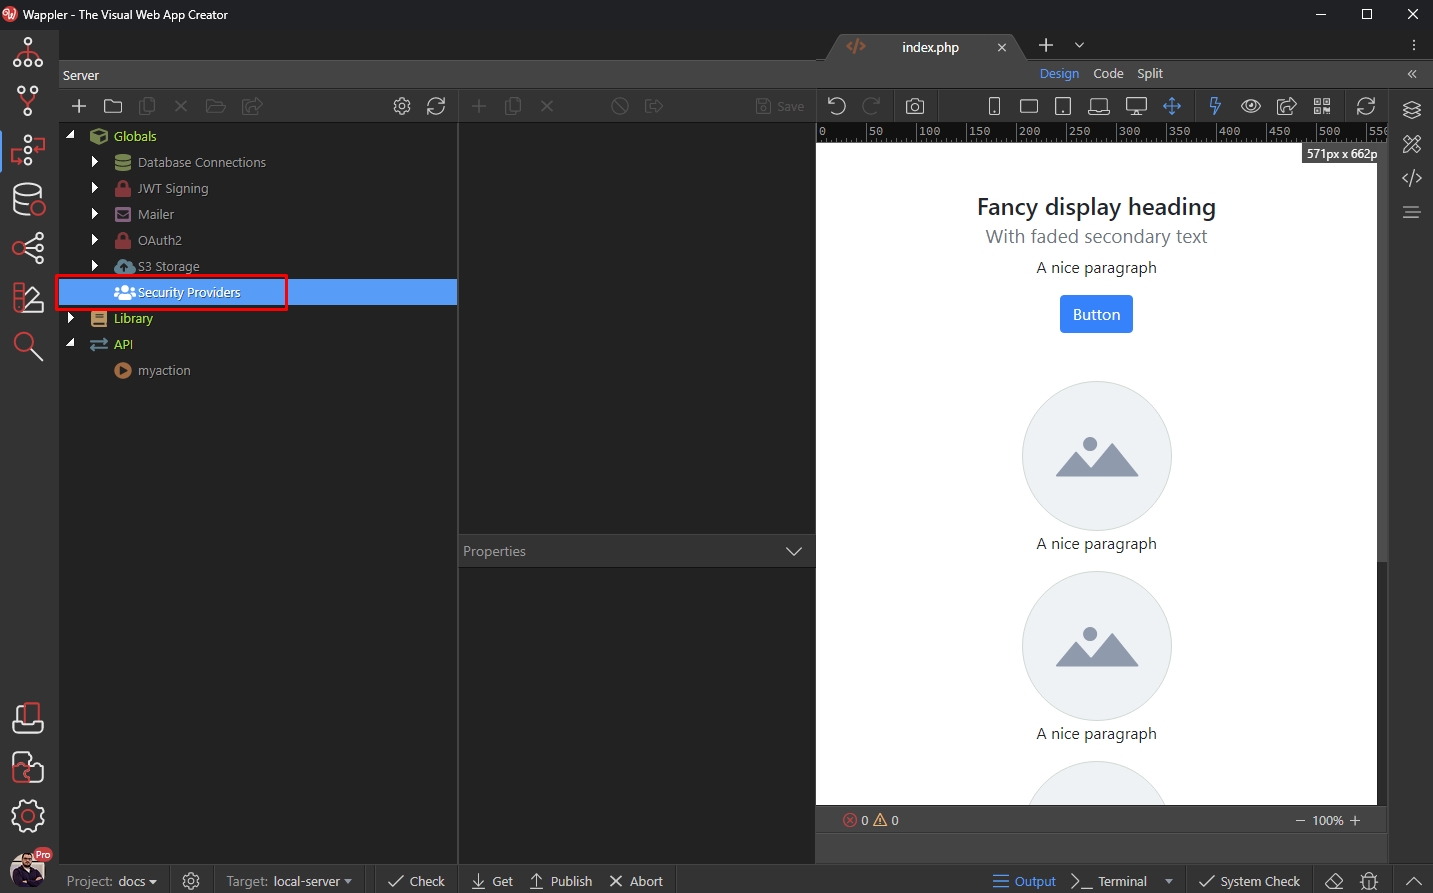
Right click Security Provider and click Add Security Provider:
Section titled “Right click Security Provider and click Add Security Provider:”
Step 4
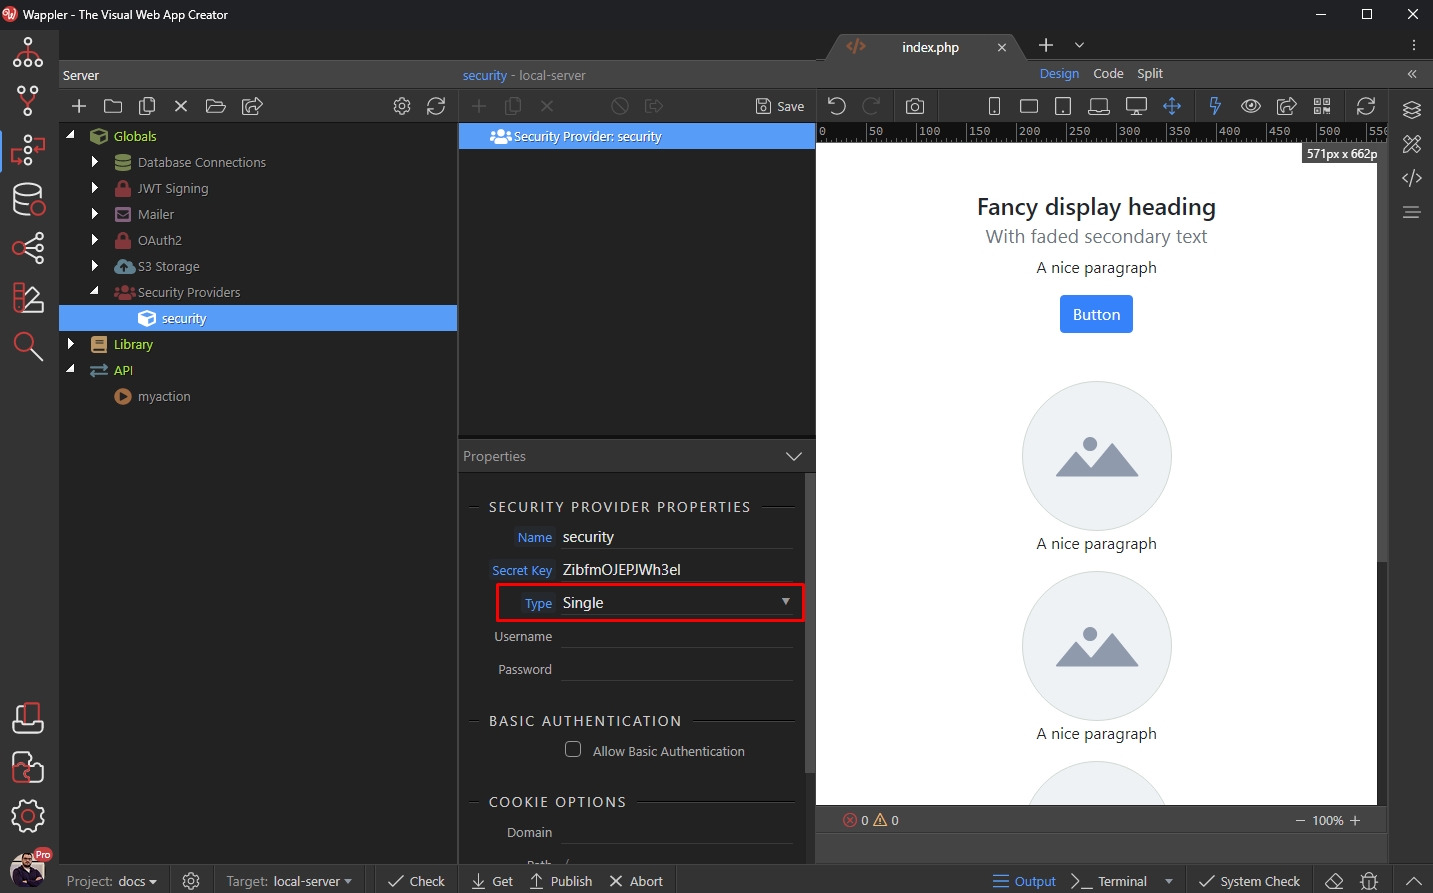
Section titled “Step 4”And you are done. Now we need to select the security provider type and set it up. There are 3 types of Security Provider - Single, Static List and Database.
Single User
Section titled “Single User”This is the simplest security option. Using it, you just define a single user for your site - so just enter the username and password here. This is very useful, when your site only has one user and you don’t need database to store usernames and passwords:
Just enter the username and password you want to use in order to log in:
Section titled “Just enter the username and password you want to use in order to log in:”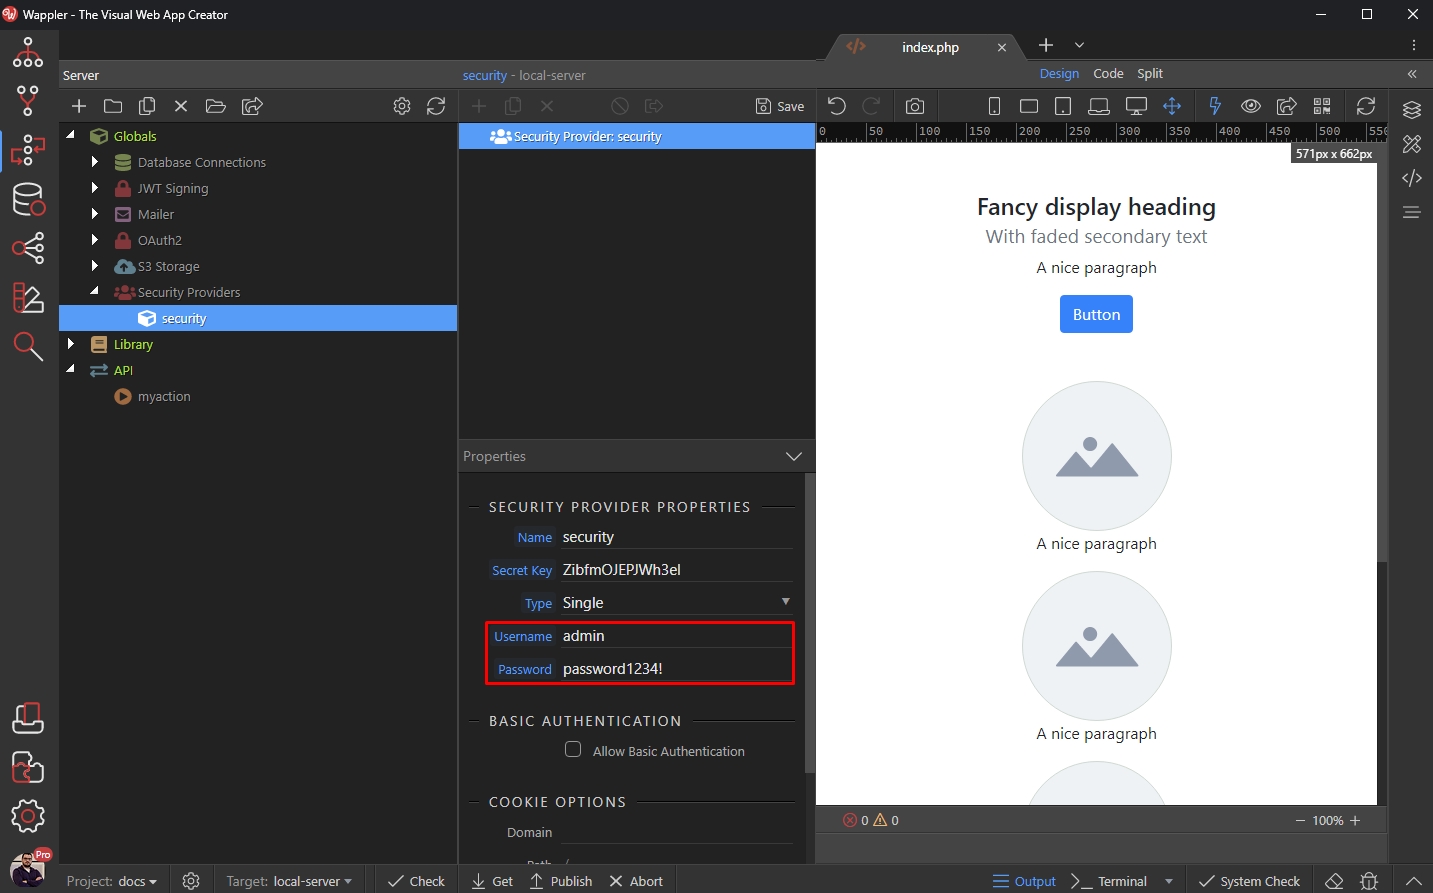
Static Users List
Section titled “Static Users List”The next option is Static Users list. Database is not required here as well. You define a list of users and permissions (optional) for them.:

Click the Users and Permissions button to create your users list:
Section titled “Click the Users and Permissions button to create your users list:”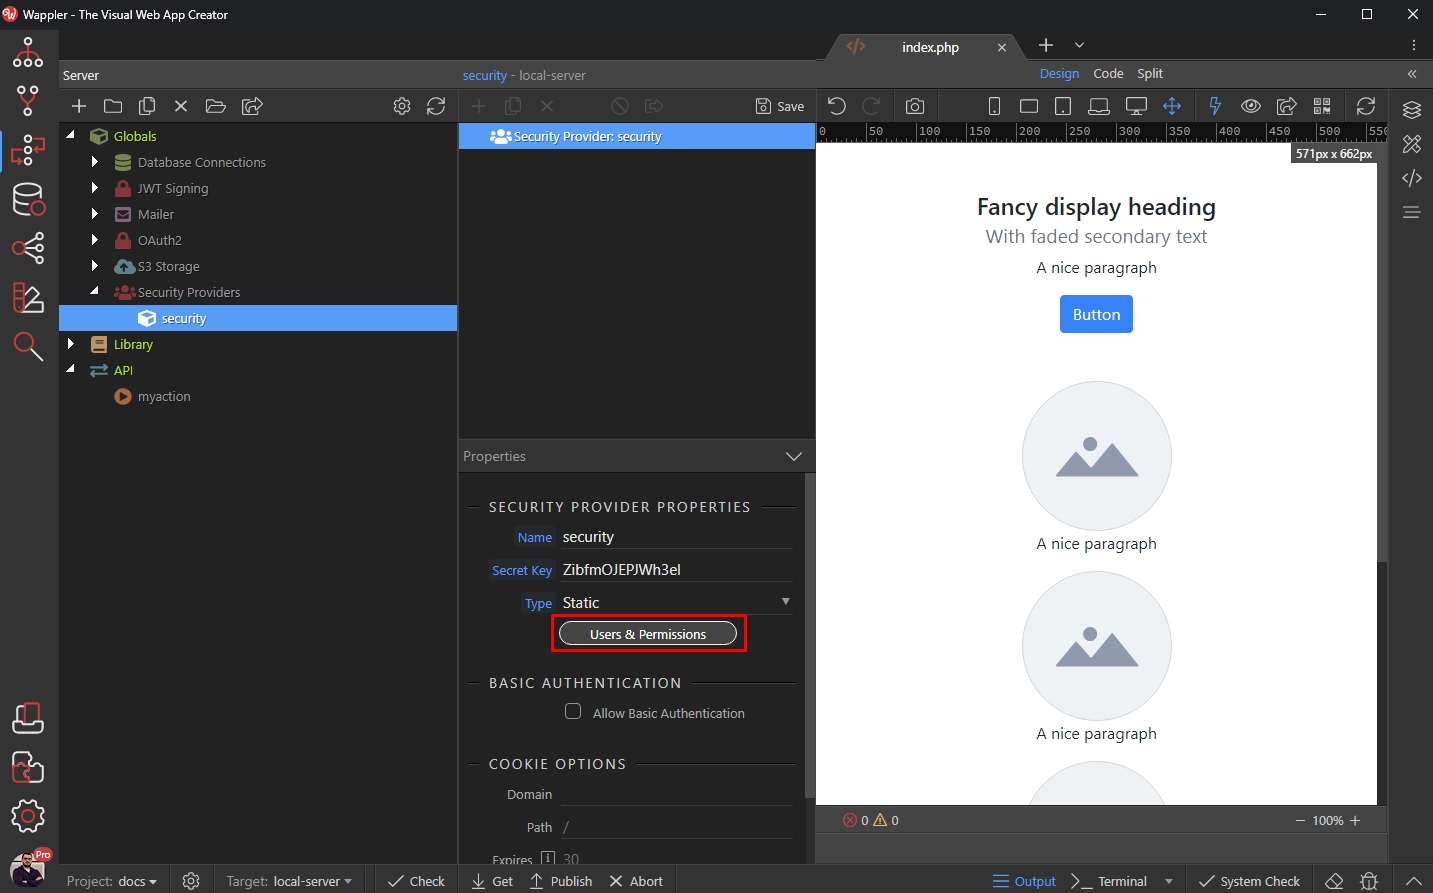
First define a new user:
Section titled “First define a new user:”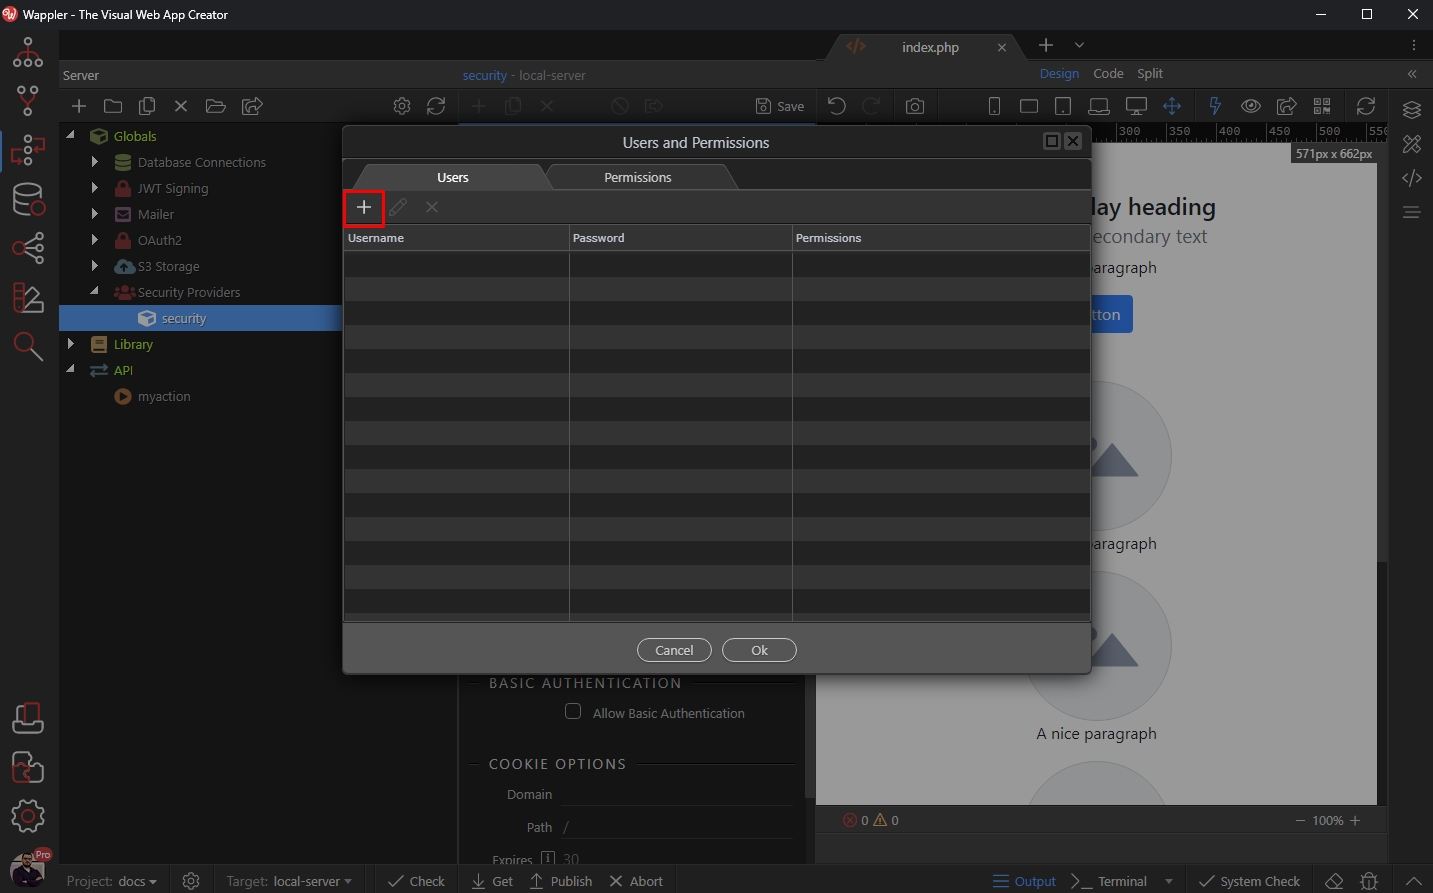
Enter a username and password, then click OK:
Section titled “Enter a username and password, then click OK:”
This way you can define as many users as you like:
Section titled “This way you can define as many users as you like:”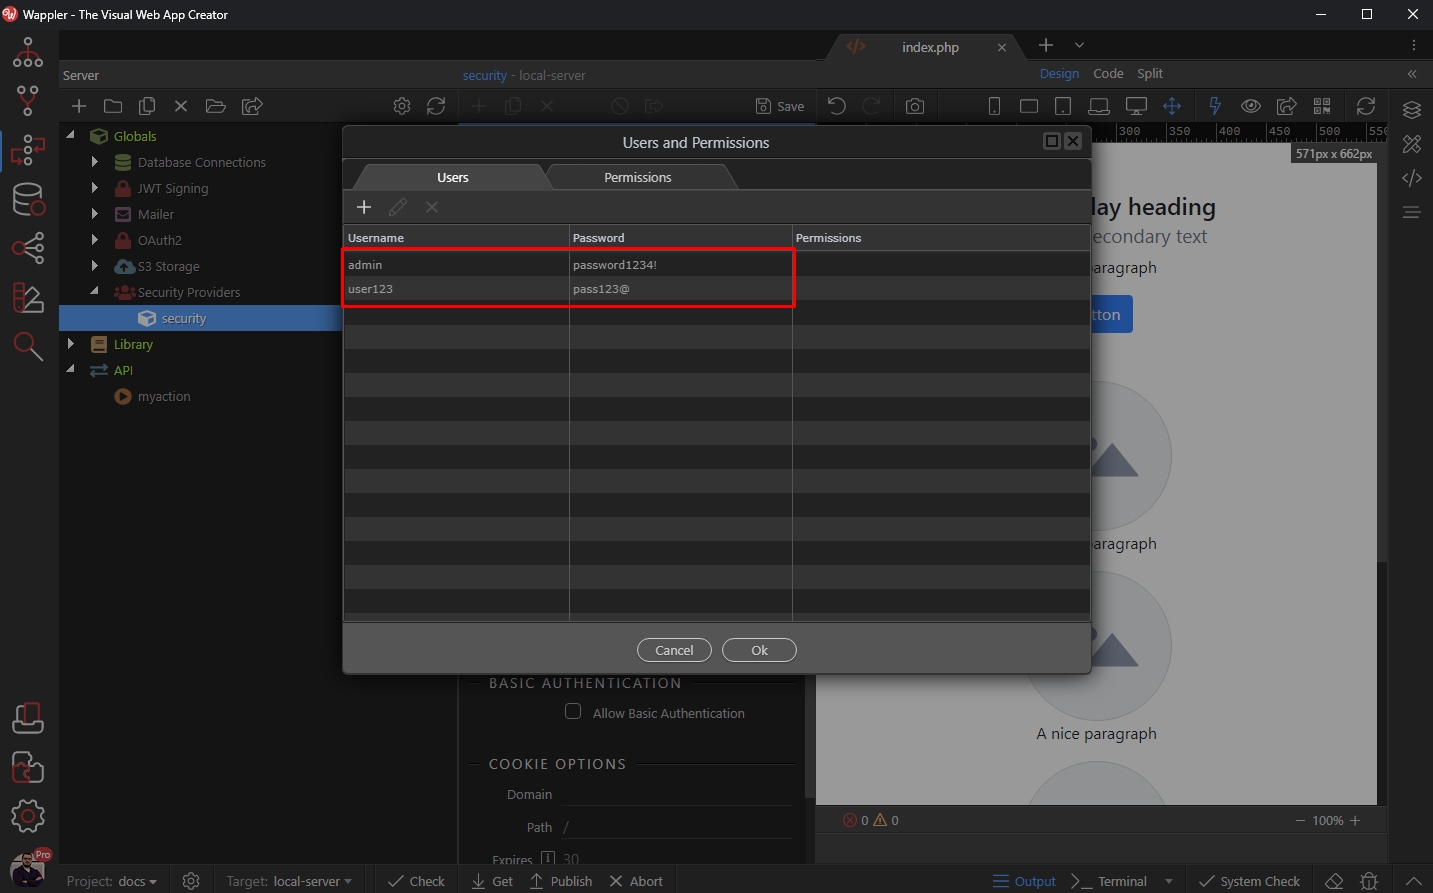
You can edit or remove any of the users you created:
Section titled “You can edit or remove any of the users you created:”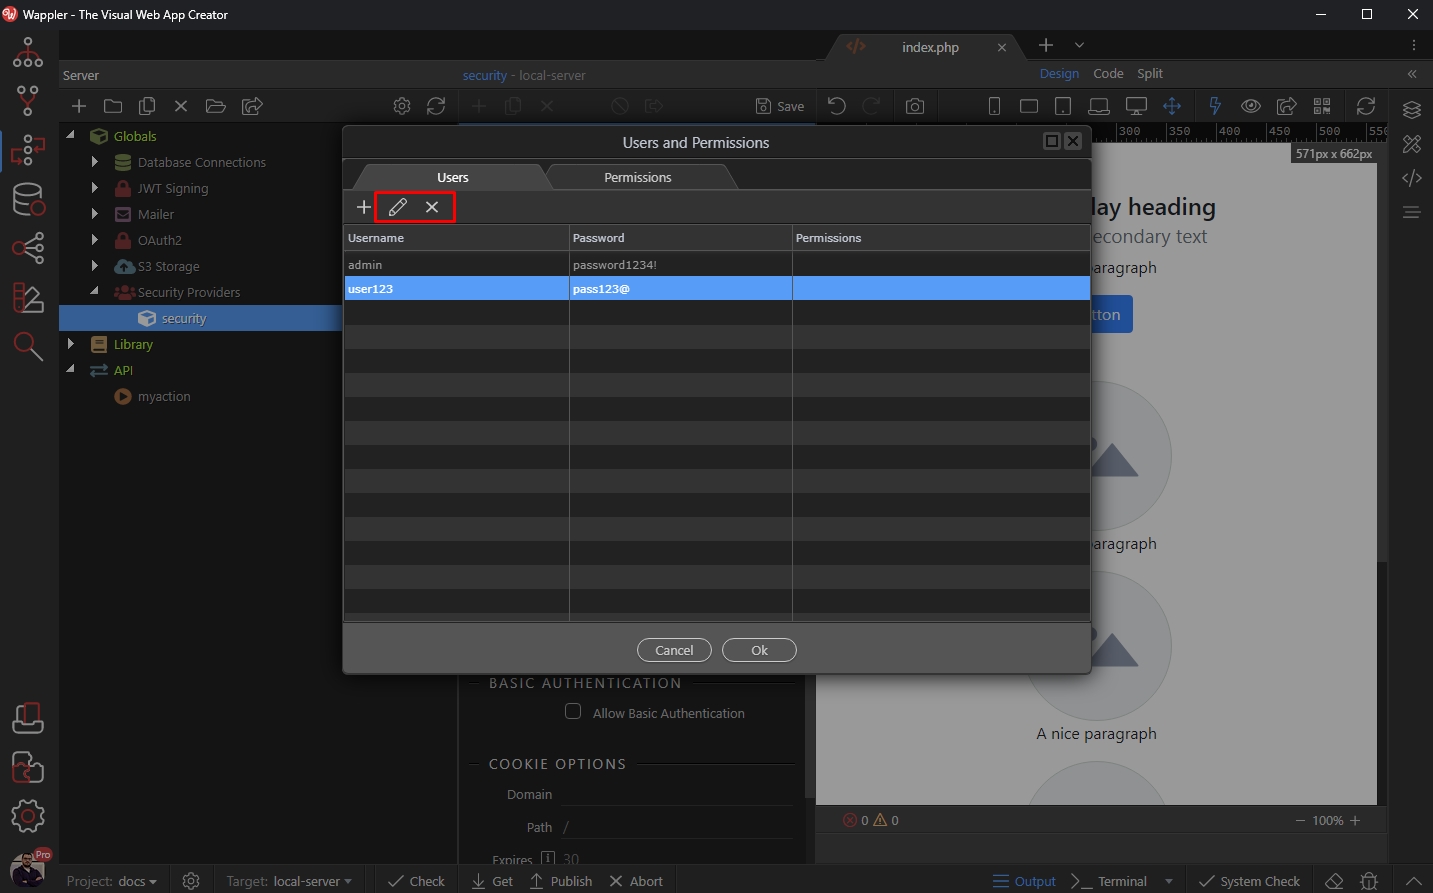
Step 14
Section titled “Step 14”You can setup different permissions and assign users to them. Later you can use these permissions to restrict access to the pages, depending on the permission or show/hide data on the page. Click the Permissions tab:
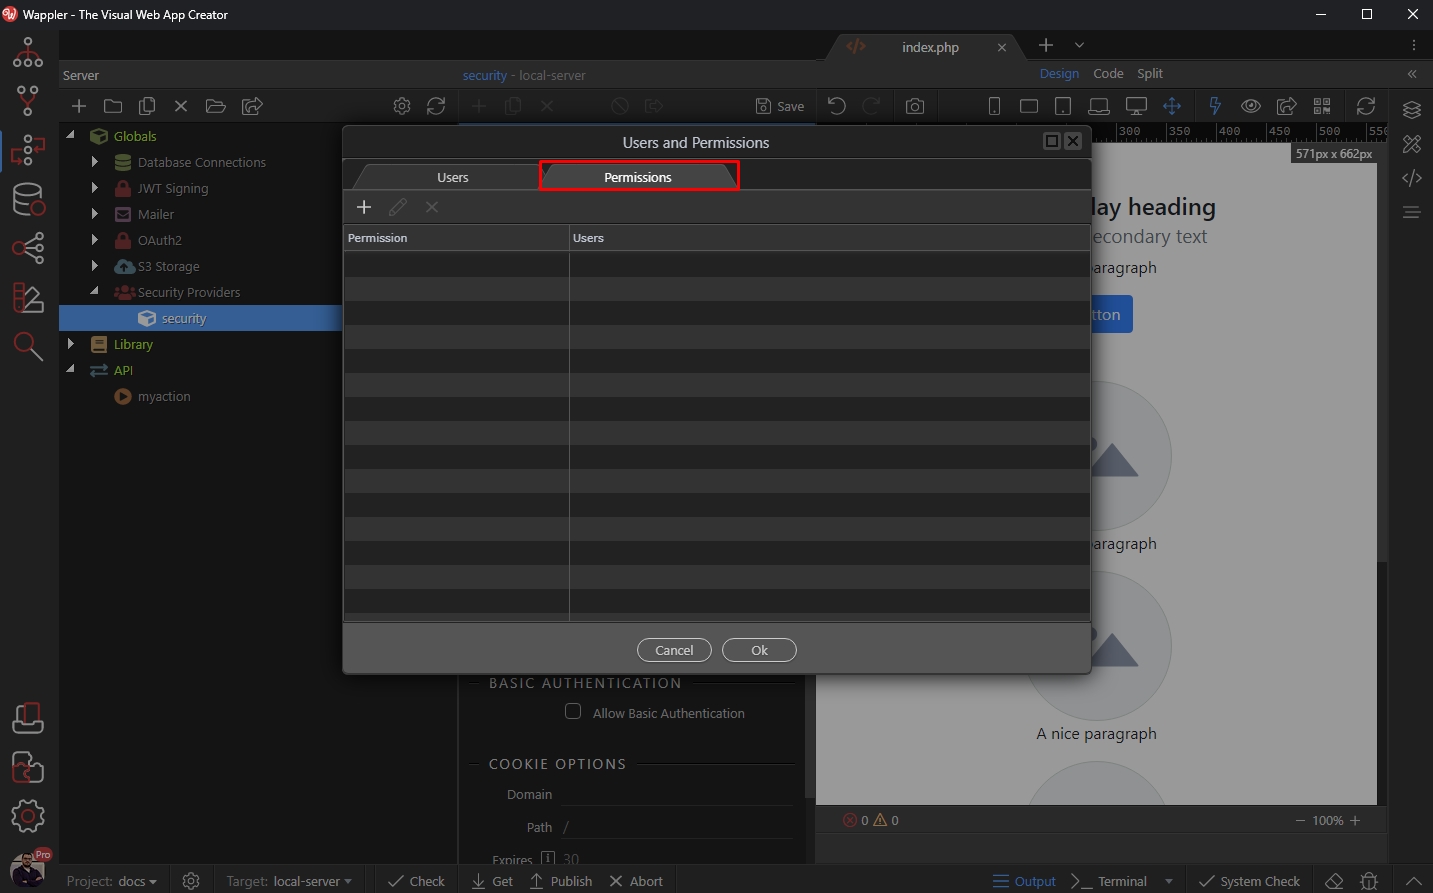
Then create a new one:
Section titled “Then create a new one:”
Enter a name for this permission:
Section titled “Enter a name for this permission:”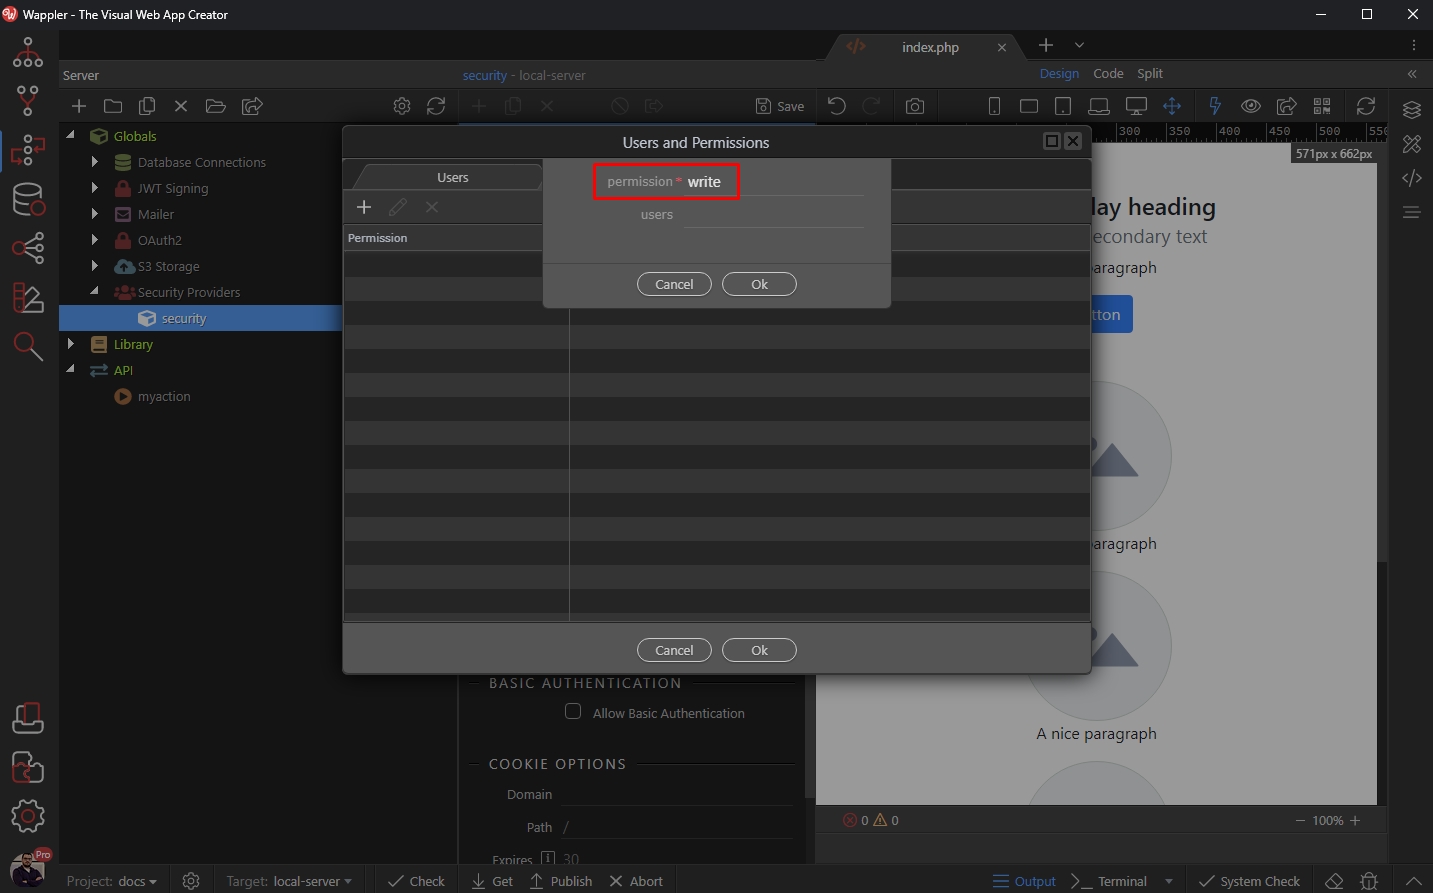
Then select which of the existing users to assign it to:
Section titled “Then select which of the existing users to assign it to:”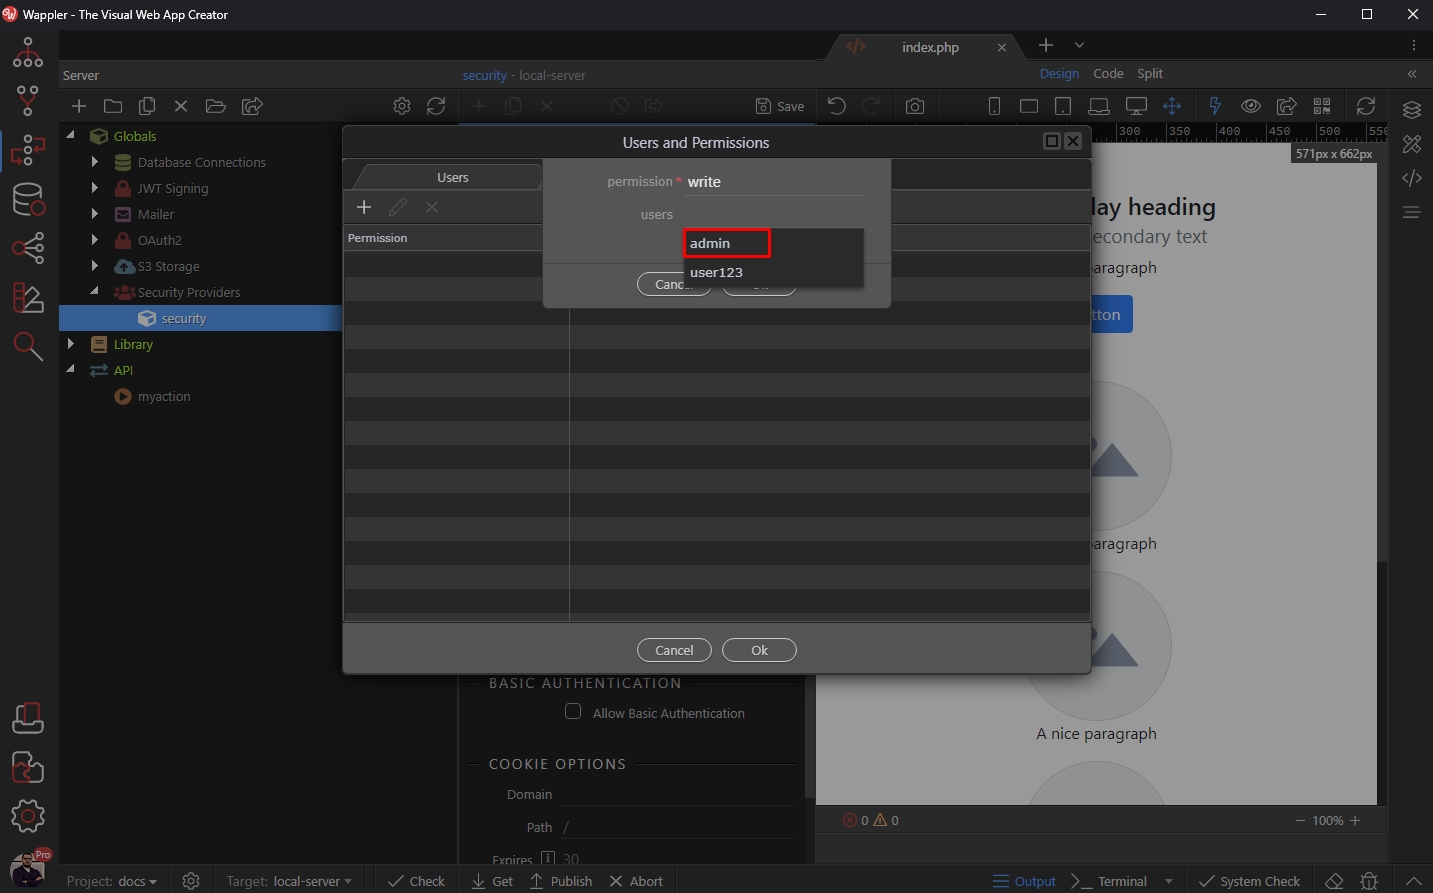
Click OK:
Section titled “Click OK:”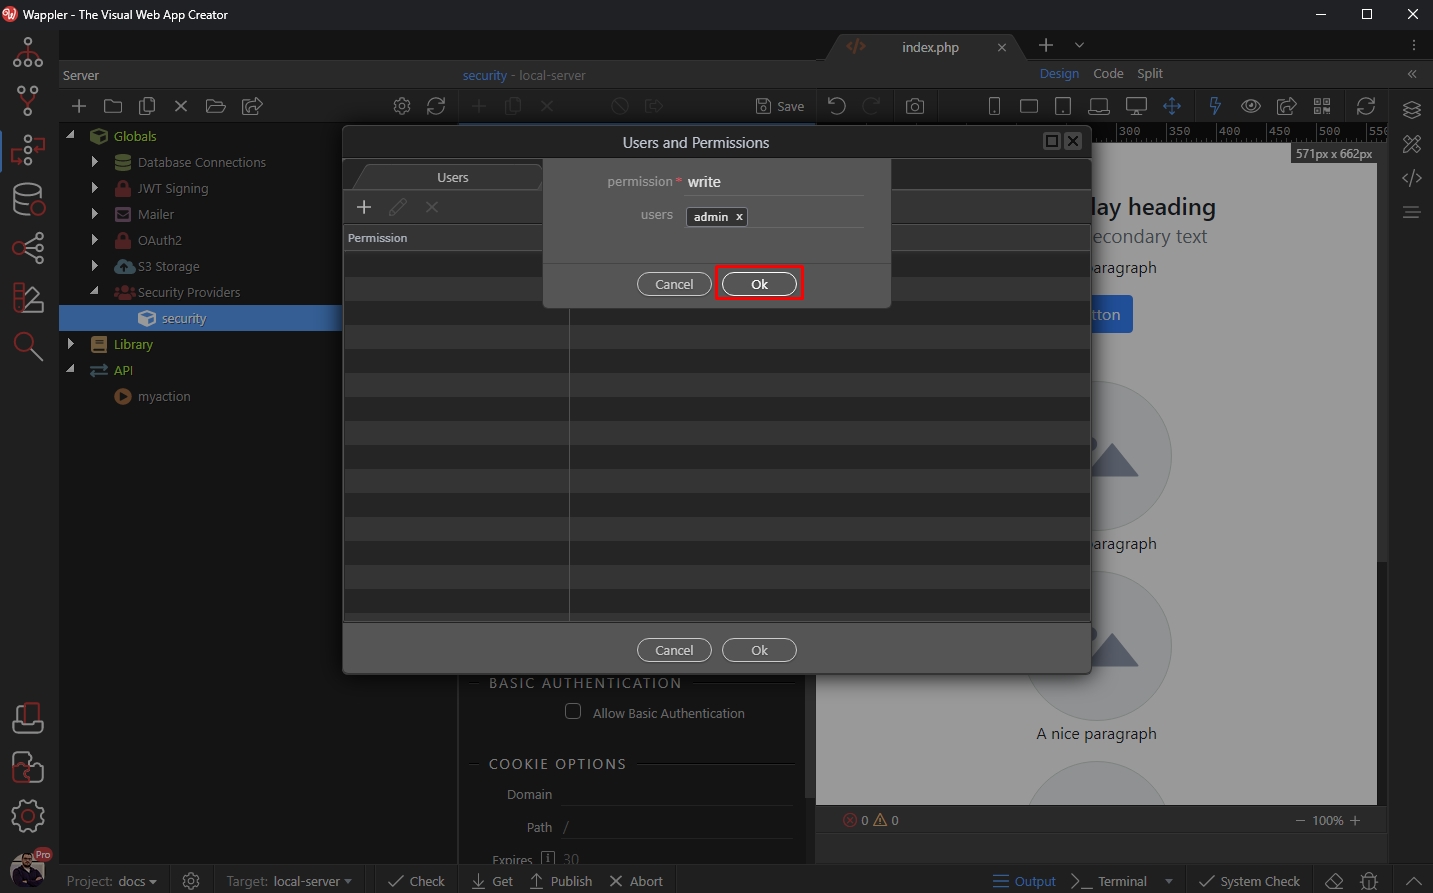
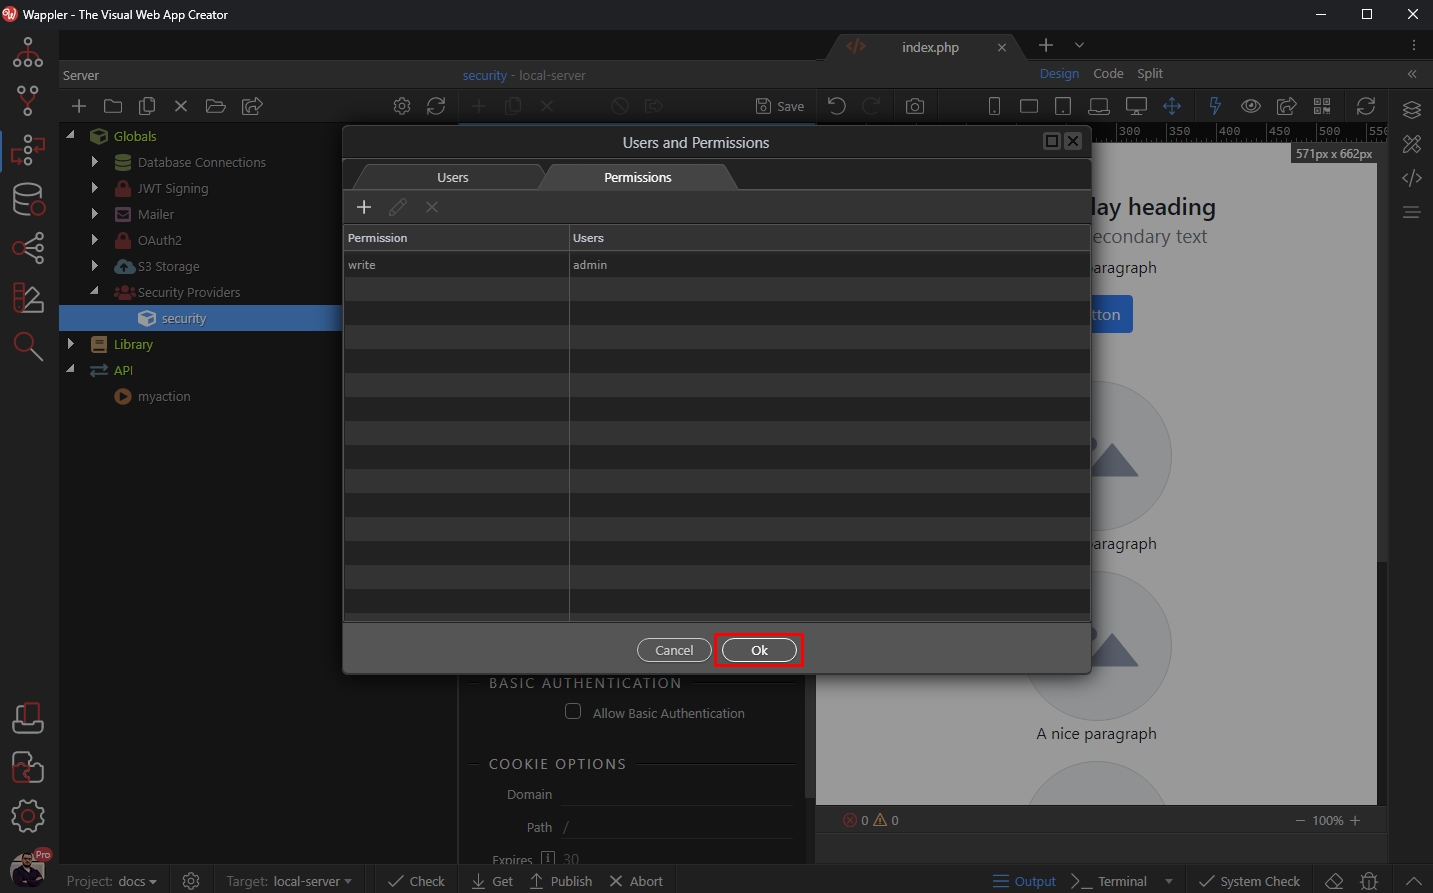
And you are done. You can create as many permissions as you need. Click the OK button:
Section titled “And you are done. You can create as many permissions as you need. Click the OK button:”And you are done. You can create as many permissions as you need.
Click the OK button:
Database Users
Section titled “Database Users”The last and most advanced Security Provider type is the Database one. Before using it, make sure you’ve defined a Database Connection:
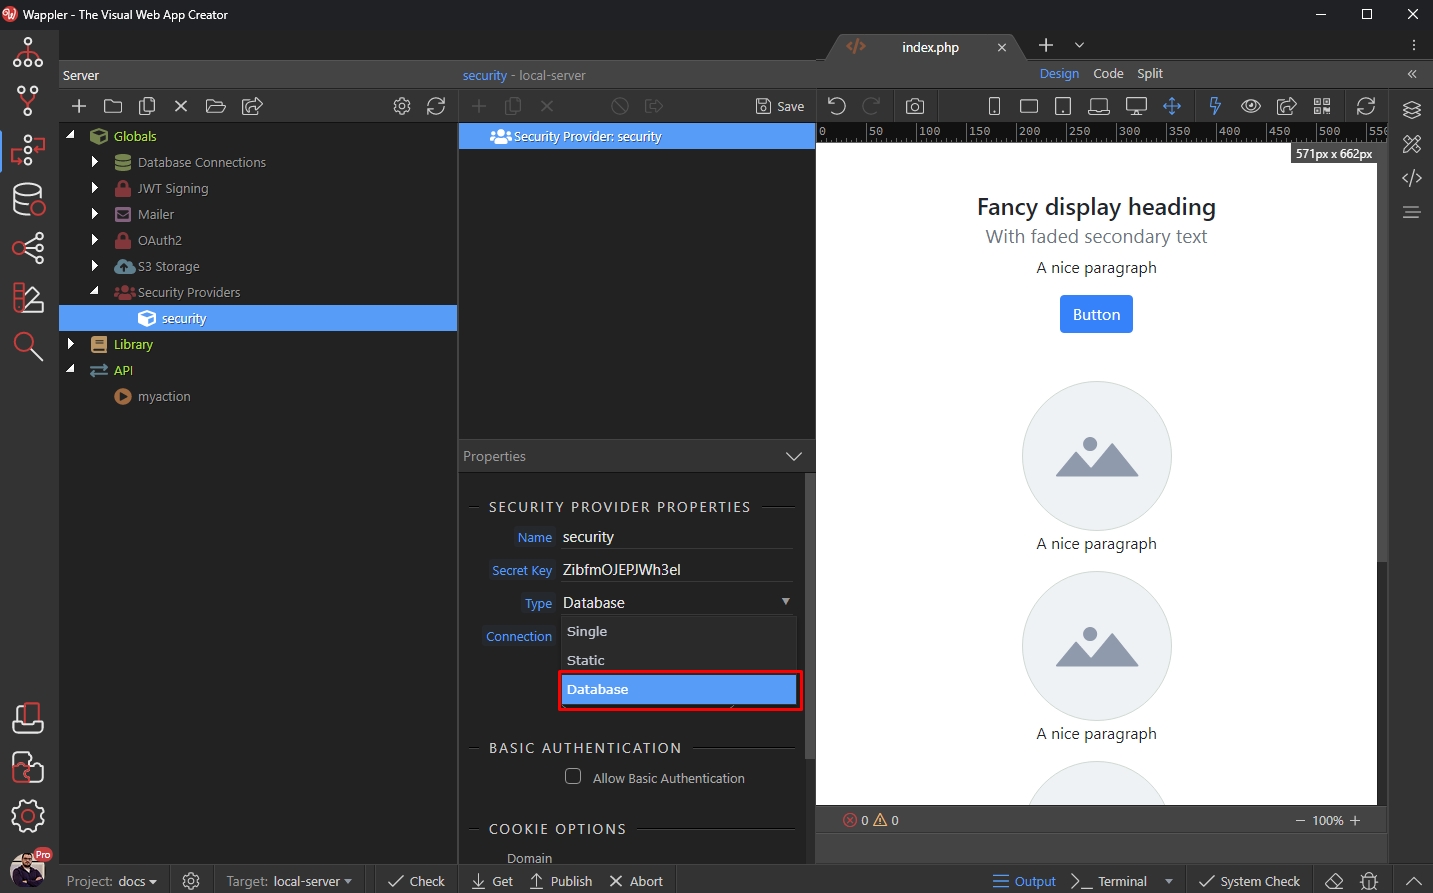
Select your database connection in the Connection field:
Section titled “Select your database connection in the Connection field:”
And open the Users & Permission options:
Section titled “And open the Users & Permission options:”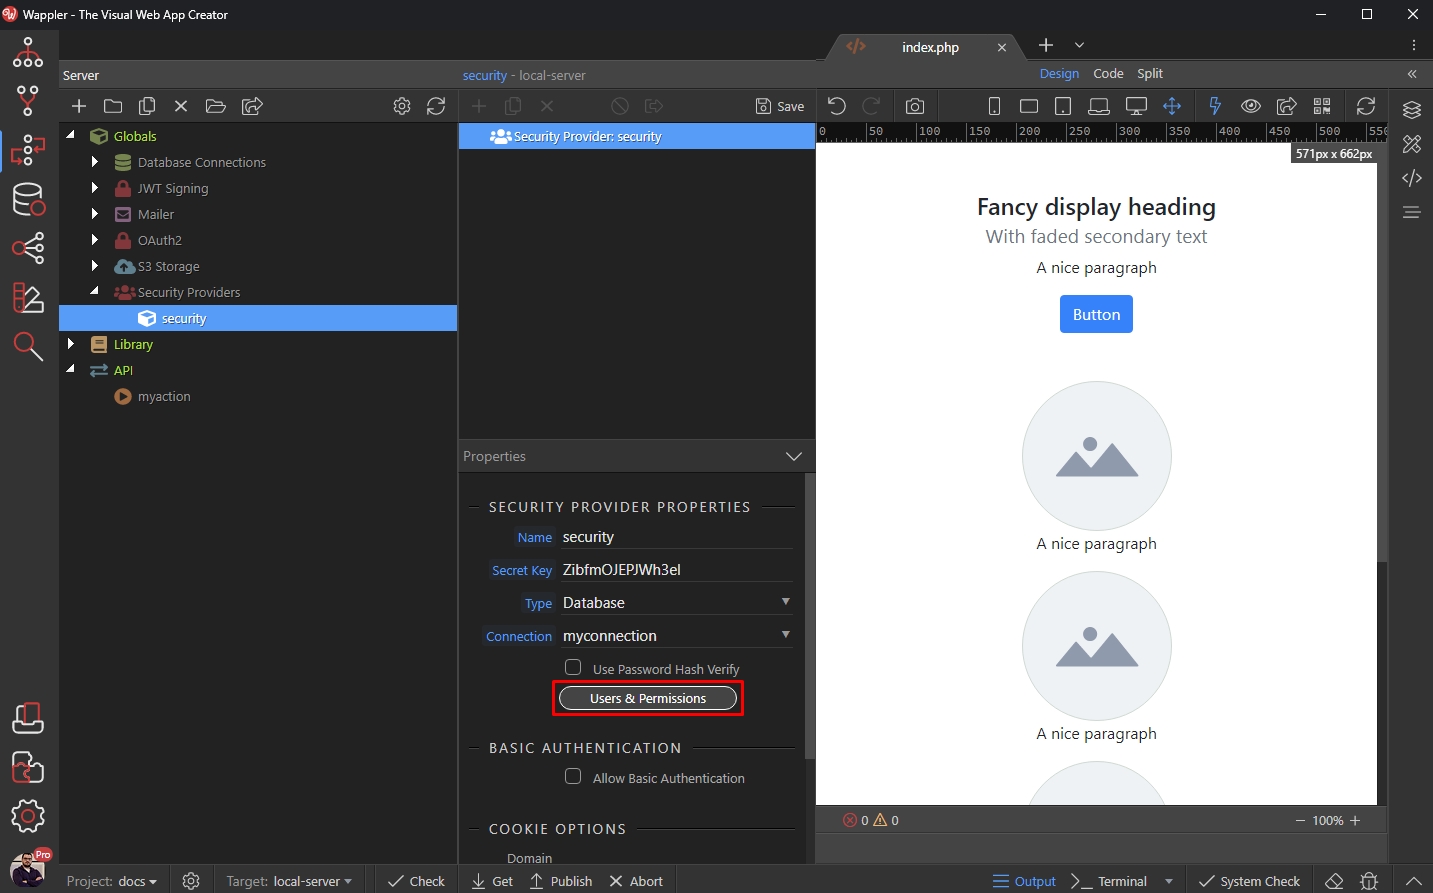
In the users panel, select the database table which stores your users data:
Section titled “In the users panel, select the database table which stores your users data:”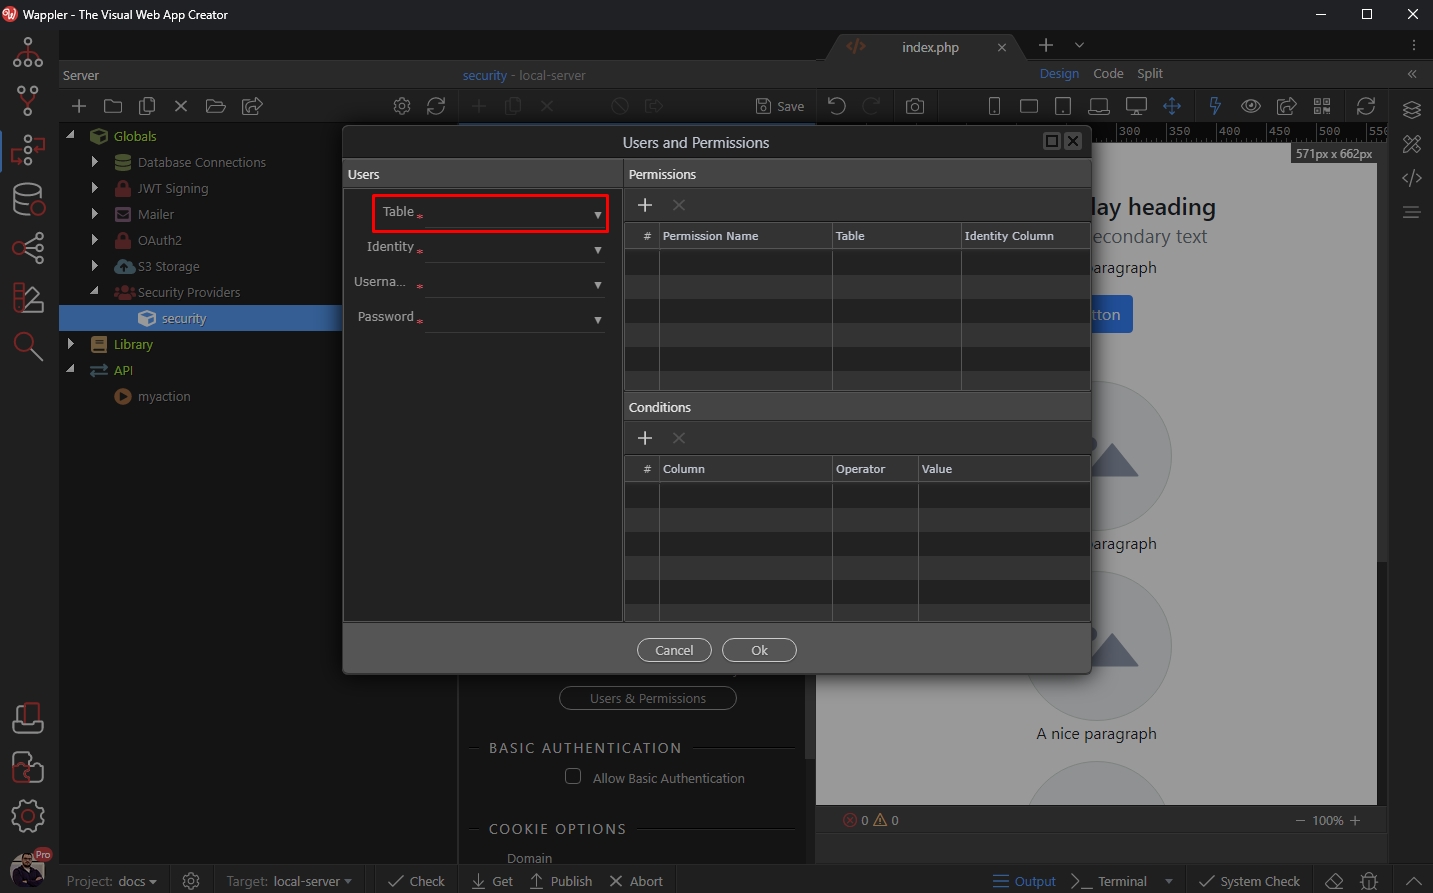
Select the identity column of your table:
Section titled “Select the identity column of your table:”
Step 26
Section titled “Step 26”Then select the table column which stores the usernames - the ones you ask users to enter on the login screen, do the same for the password field:
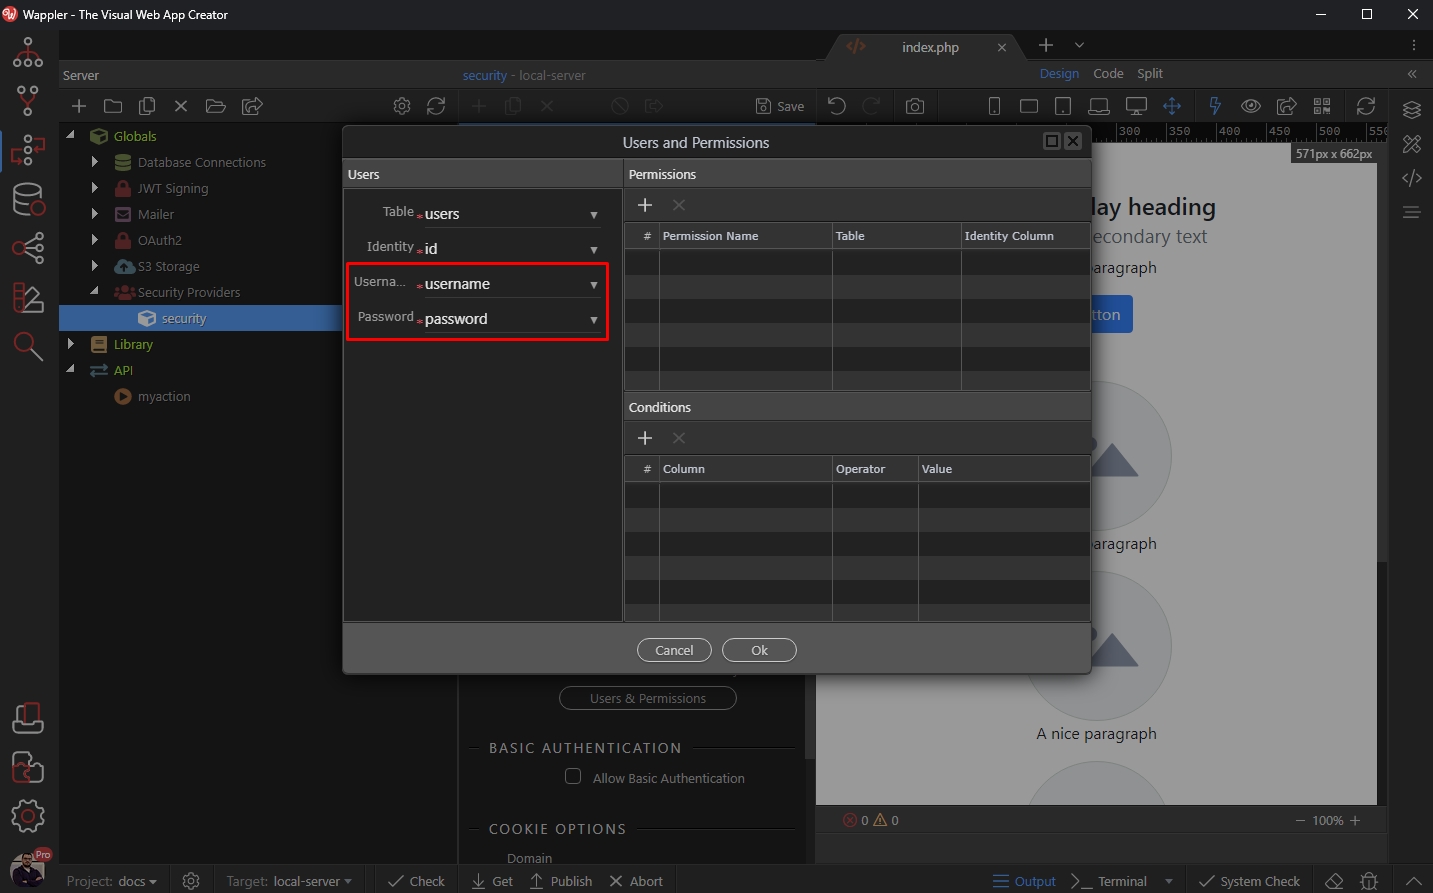
Step 27
Section titled “Step 27”And you are done. If you need, you can add permissions and conditions for them. Click the Add new permission button.
Note that this step is not mandatory, so if you don’t need different permissions for your site just skip it. :
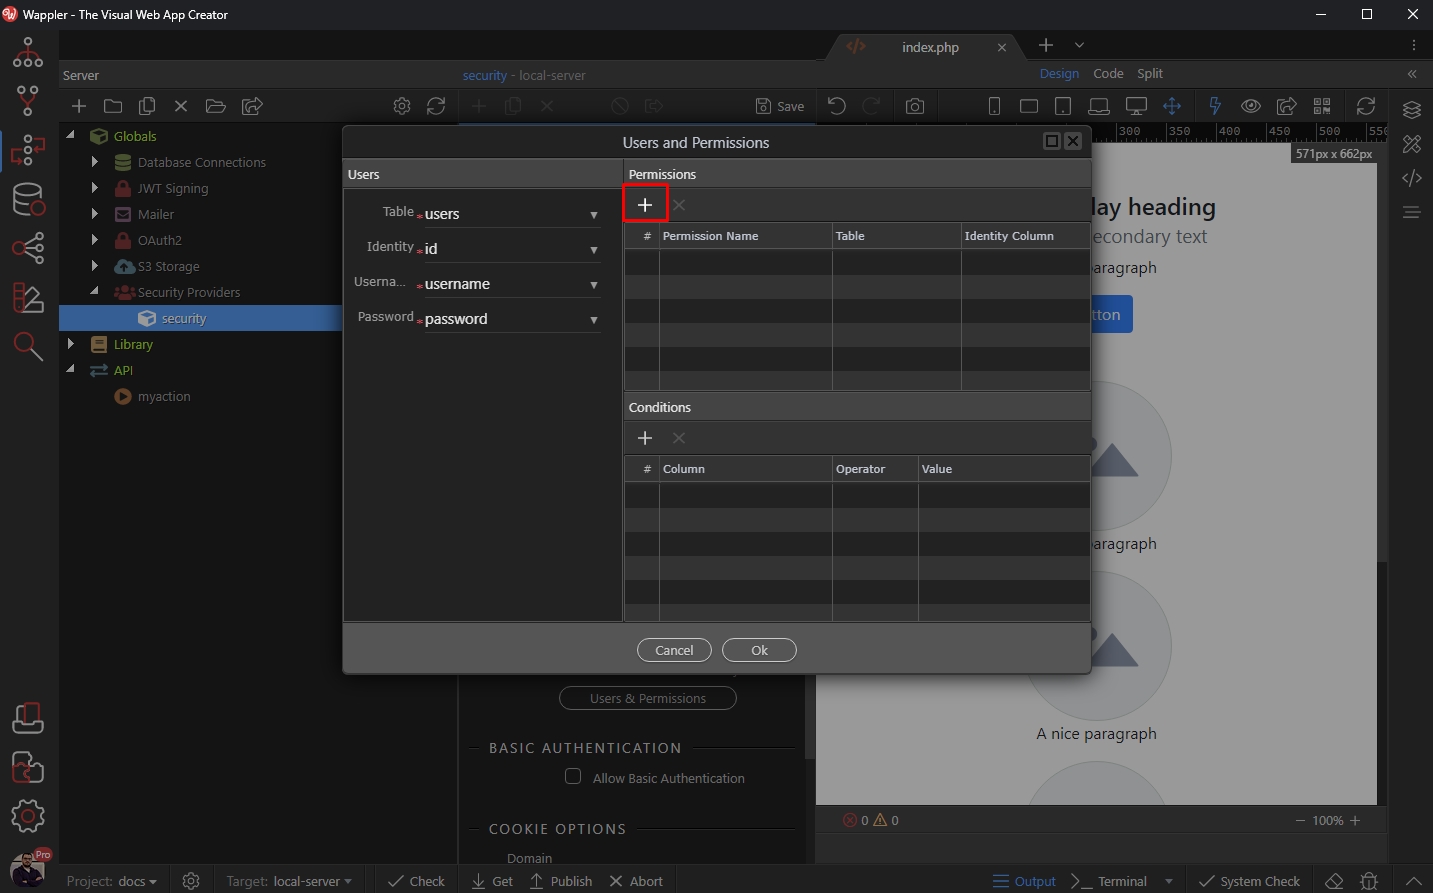
Add a name for this permission:
Section titled “Add a name for this permission:”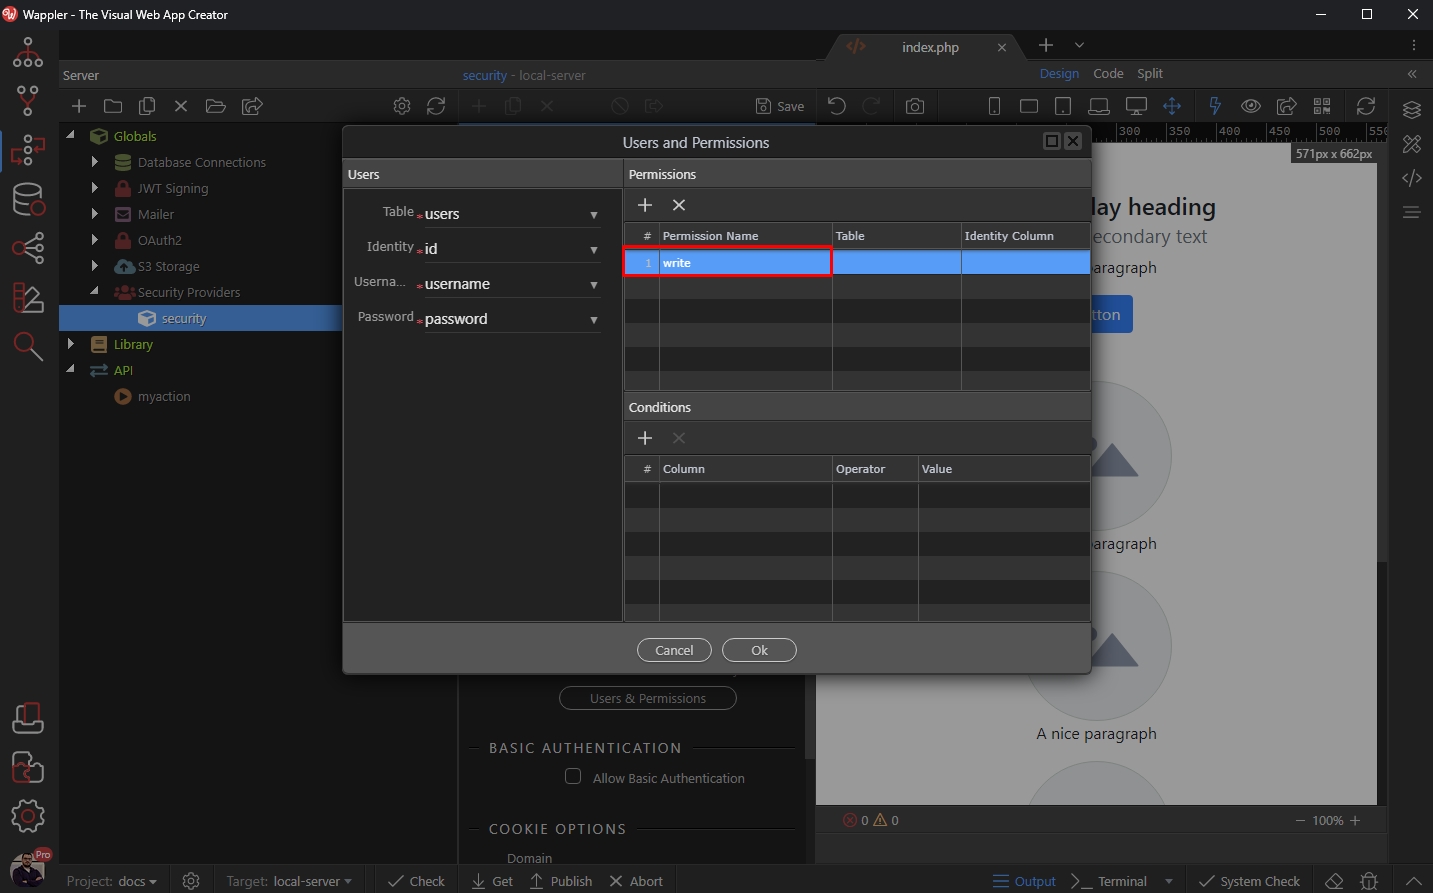
Step 29
Section titled “Step 29”Next, select the database table which you will use to check permissions. That is really useful if you have 2 different database tables - one for logins, and another which stores just the user ids with the permissions assigned to them. And then select the identity column of this database table:
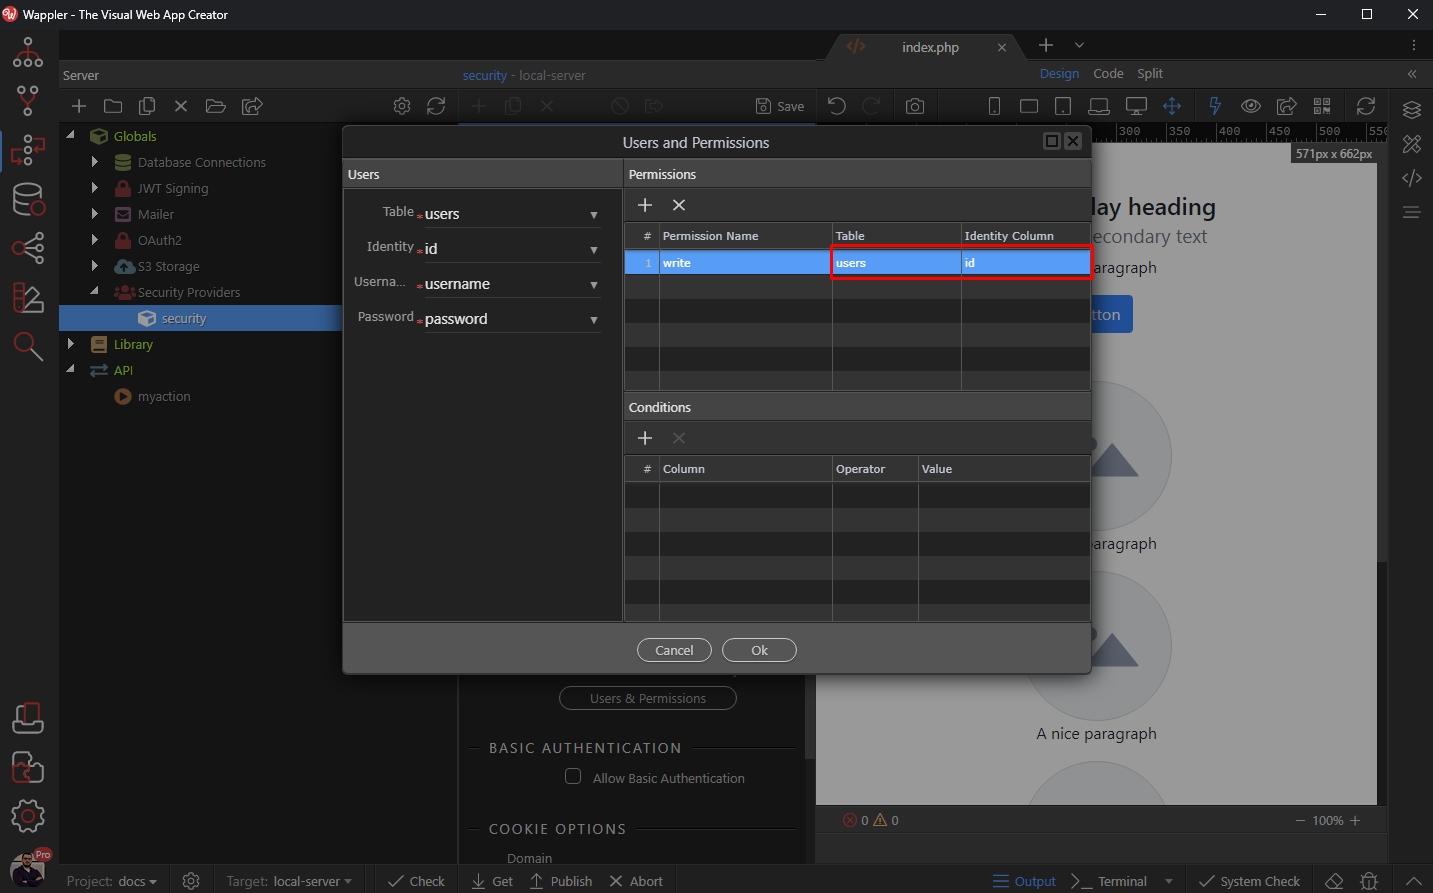
Add a condition for this permission i.e. when should this permission apply and for which users:
Section titled “Add a condition for this permission i.e. when should this permission apply and for which users:”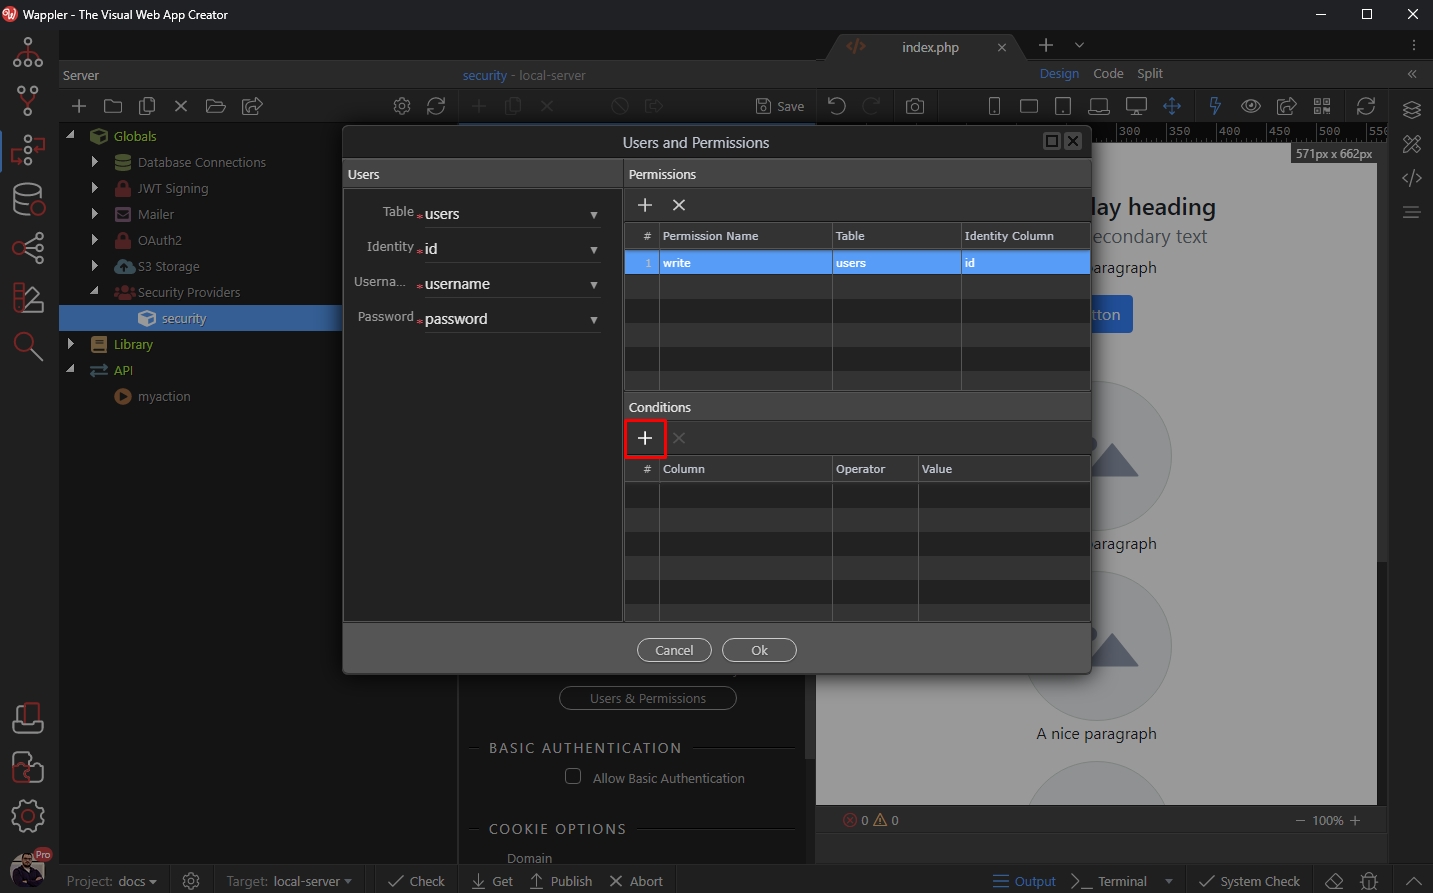
Step 31
Section titled “Step 31”Select a column, condition and a value. In our case, we select - when the column role equals 1. So the permission we created will affect all users which roles are set to 1:
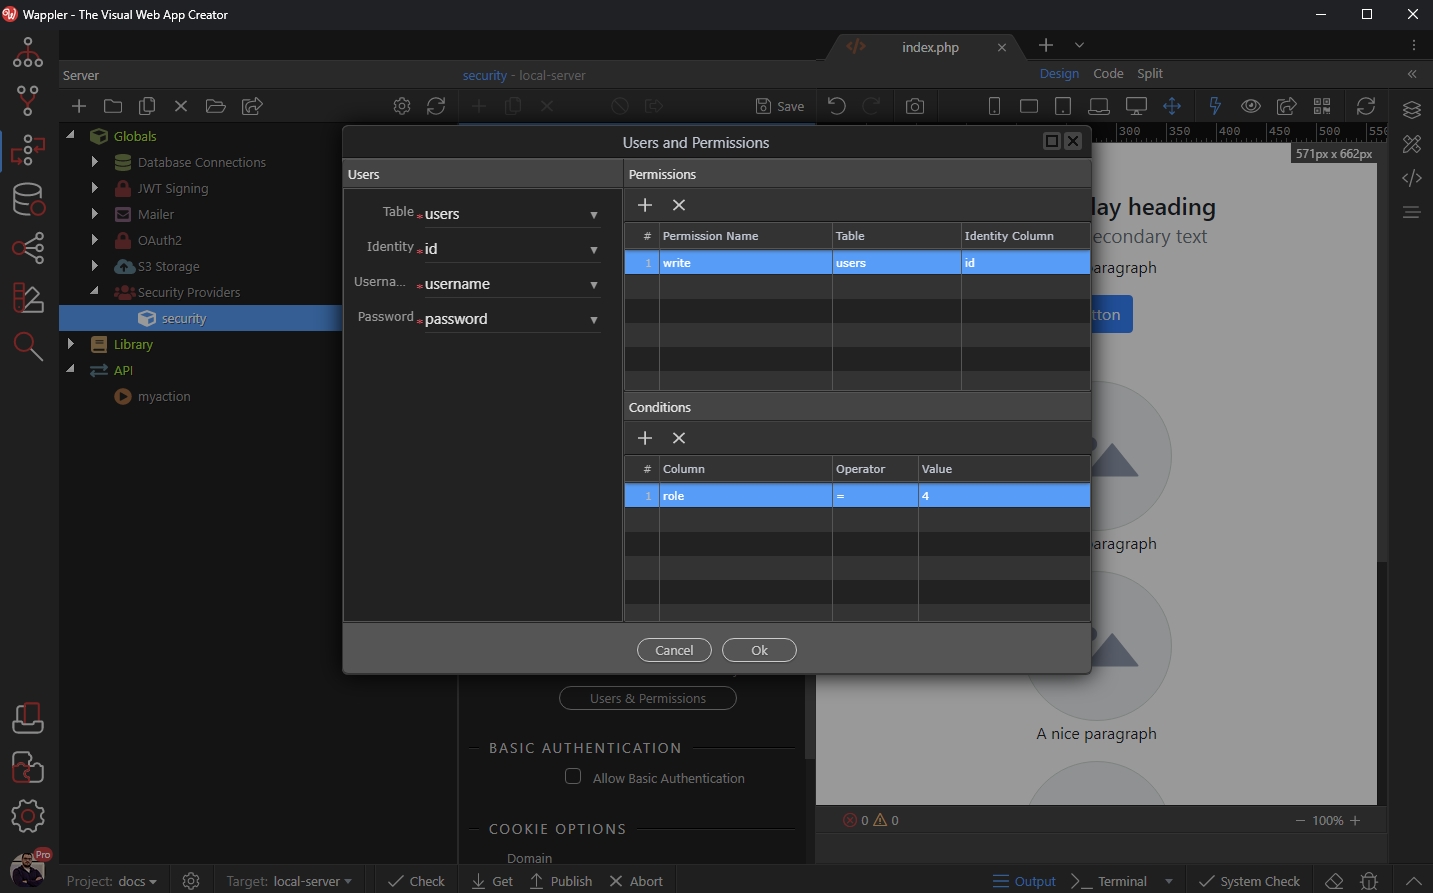
You can setup as many permissions and conditions as you need. Click Ok when you are done:
Section titled “You can setup as many permissions and conditions as you need. Click Ok when you are done:”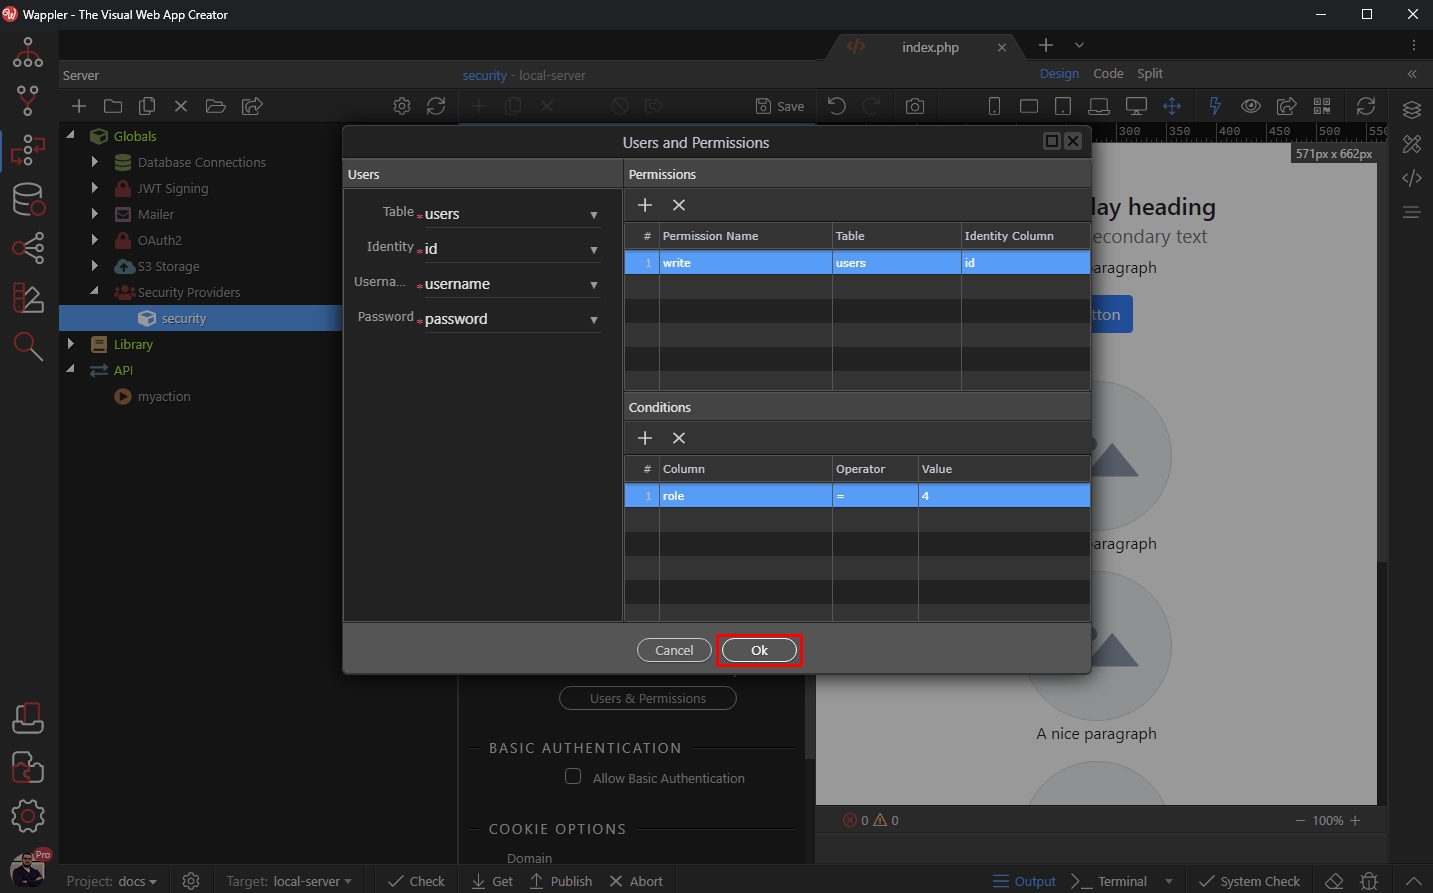
Cookie Options
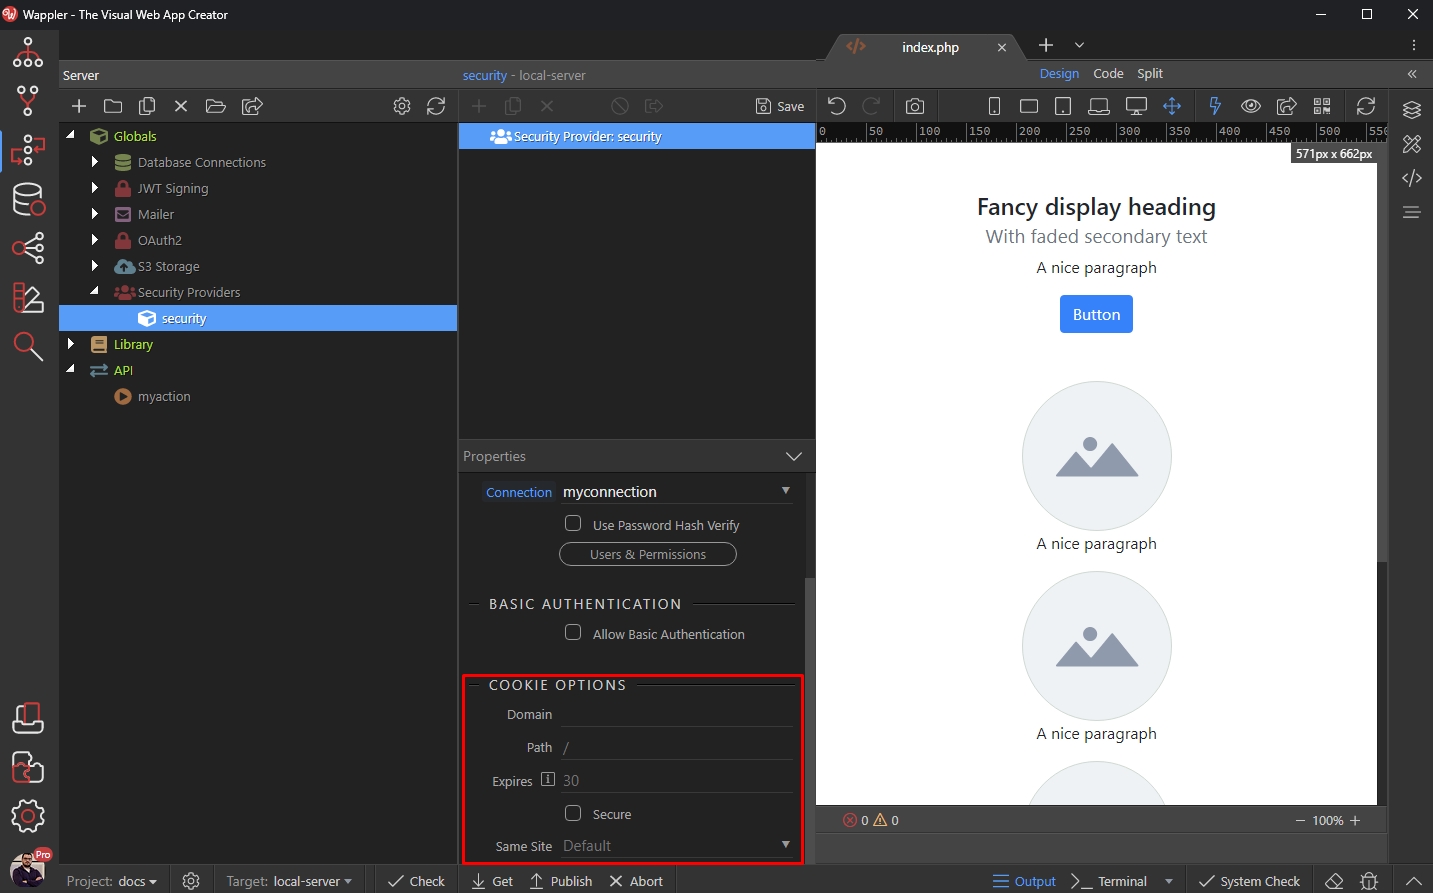
Section titled “Cookie Options”There are a few options for the cookies, created when your users log in:
Step 35
Section titled “Step 35”-
Domain: The domain for your cookie (e.g., ’
example.com’ or ’subdomain.example.com'). If not specified, this defaults to the host portion of the current document location. -
Path: (e.g., ’
/', ’/mydir') If not specified, defaults to the current path of the current document location. -
Expires: Set after how many days should the login cookie expire.
-
Secure: Signals to the browser that it should only include the cookie in requests transmitted over a secure channel.
-
Same Site: Learn more at https://developer.mozilla.org/en-US/docs/Web/HTTP/Headers/Set-Cookie/SameSite
And you are done. Don’t forget to click the Save button in Server Connect panel. Now you can use this security provider to log users in, protect your data APIs and protect your pages.