Using a Single Local Database Server for all Your Projects
Intro You can have a single (global) database server, create in Wappler’s Resource Manager, that runs locally and can be used for all your Wappler projects. Note: this requires Docker Desktop to be in
You can have a single (global) database server, create in Wappler’s Resource Manager, that runs locally and can be used for all your Wappler projects.
Note: this requires Docker Desktop to be installed and running on your computer.
Setting Up the Database Server
Section titled “Setting Up the Database Server”You can easily set up your local database server in the Resource Manager:
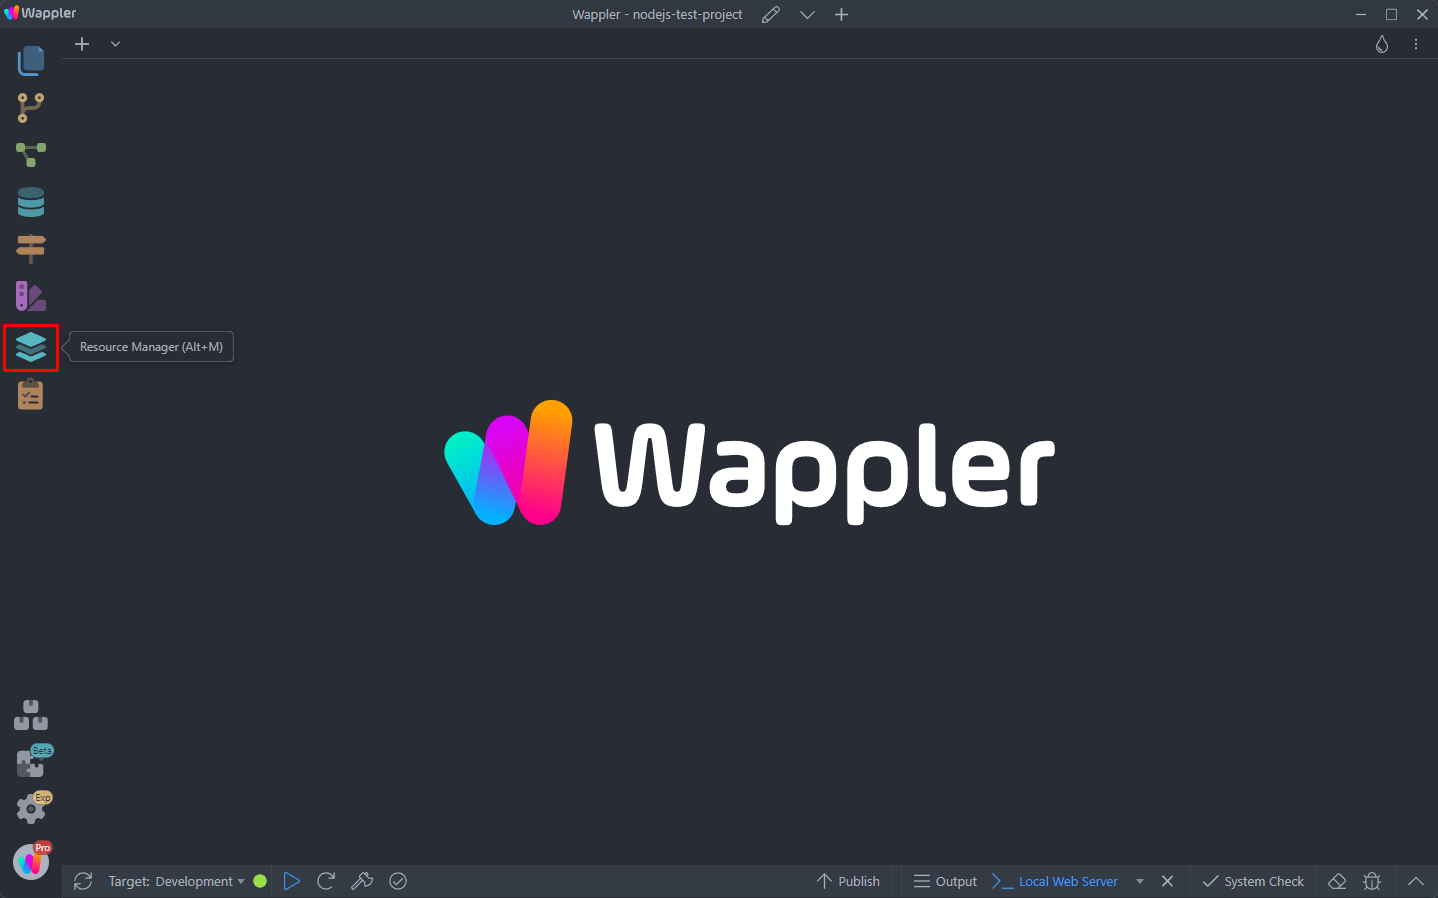
Expand Local and right click Services:
Section titled “Expand Local and right click Services:”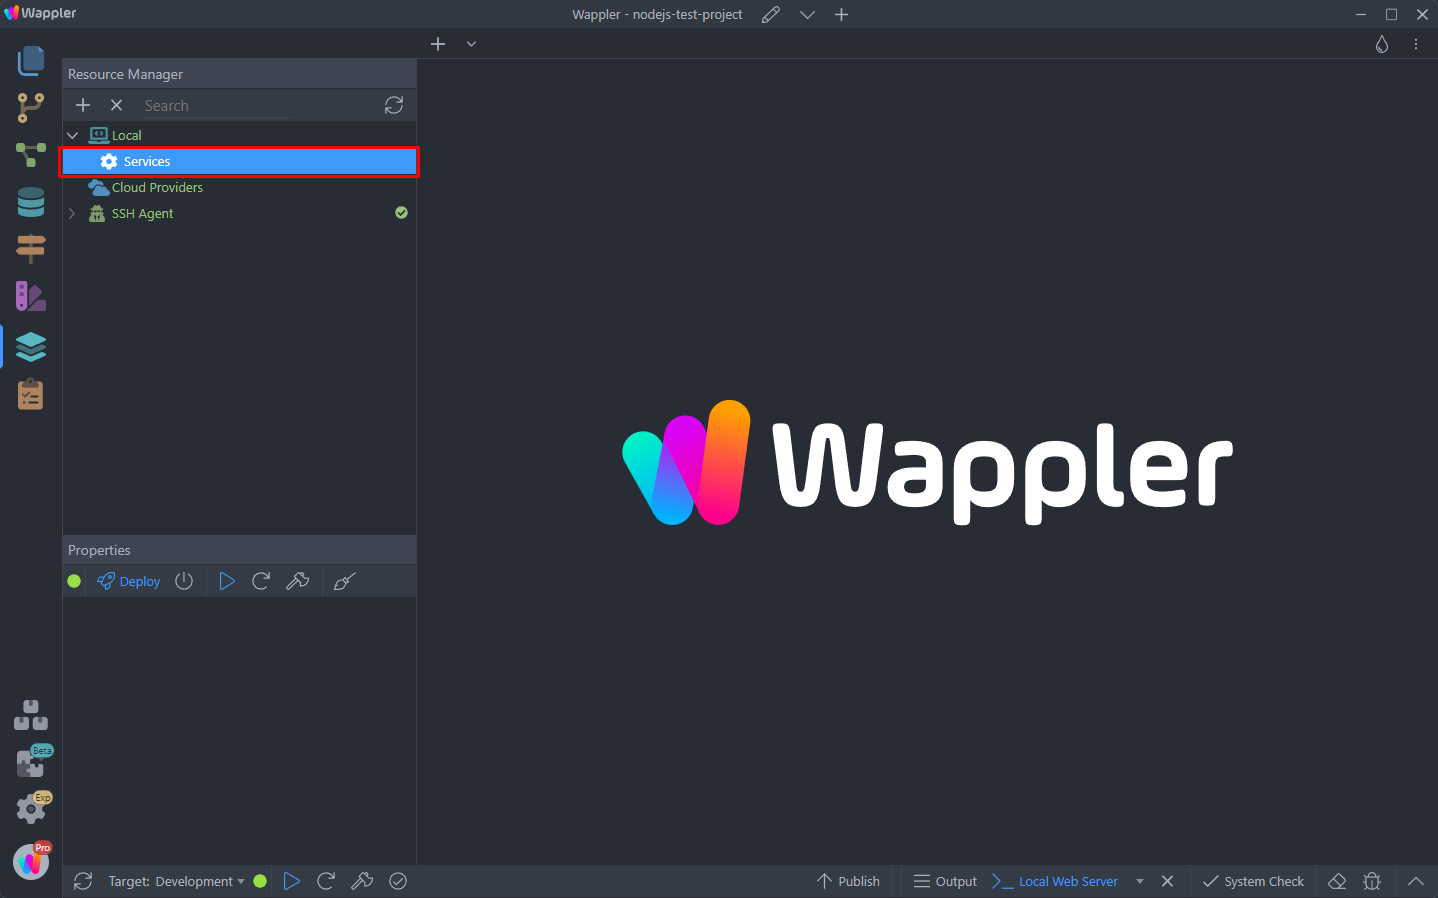
Open Add Service > Databases and select a database type. In our example we choose MySQL:
Section titled “Open Add Service > Databases and select a database type. In our example we choose MySQL:”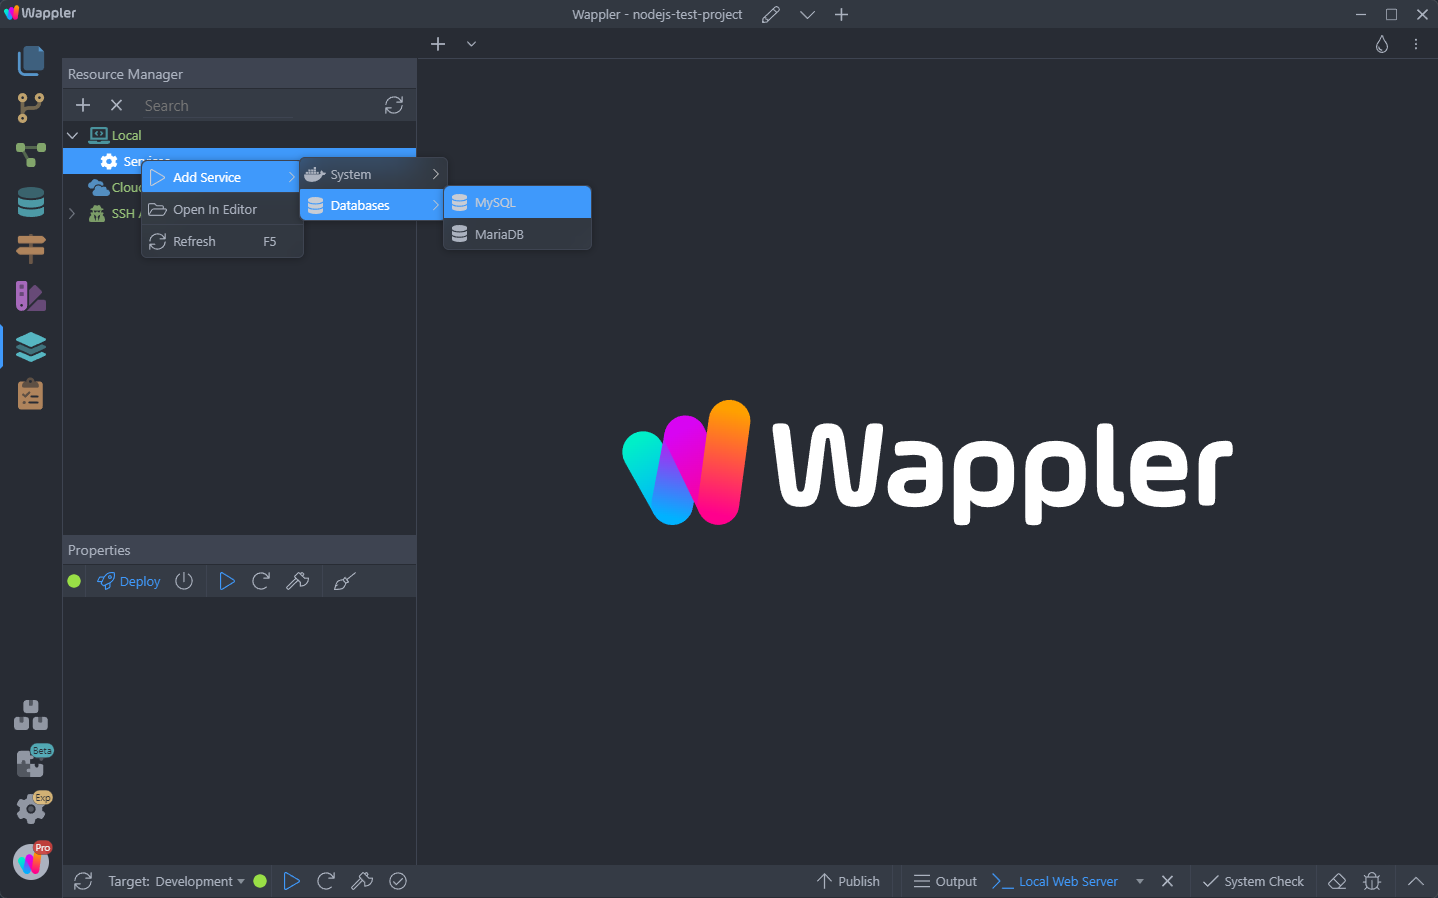
And we add a name for the server:
Section titled “And we add a name for the server:”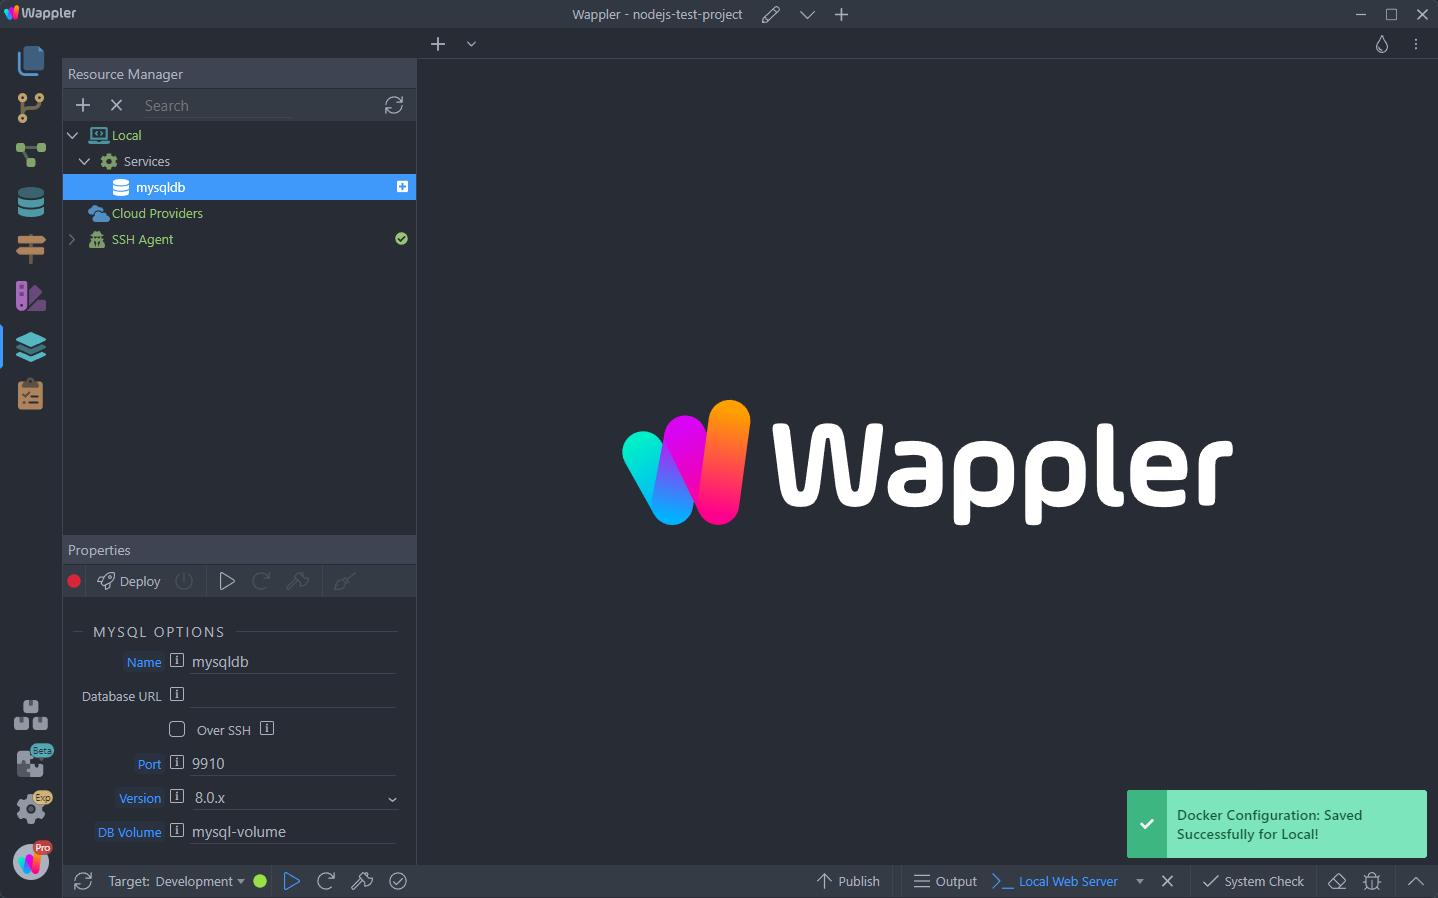
Click the Deploy button:
Section titled “Click the Deploy button:”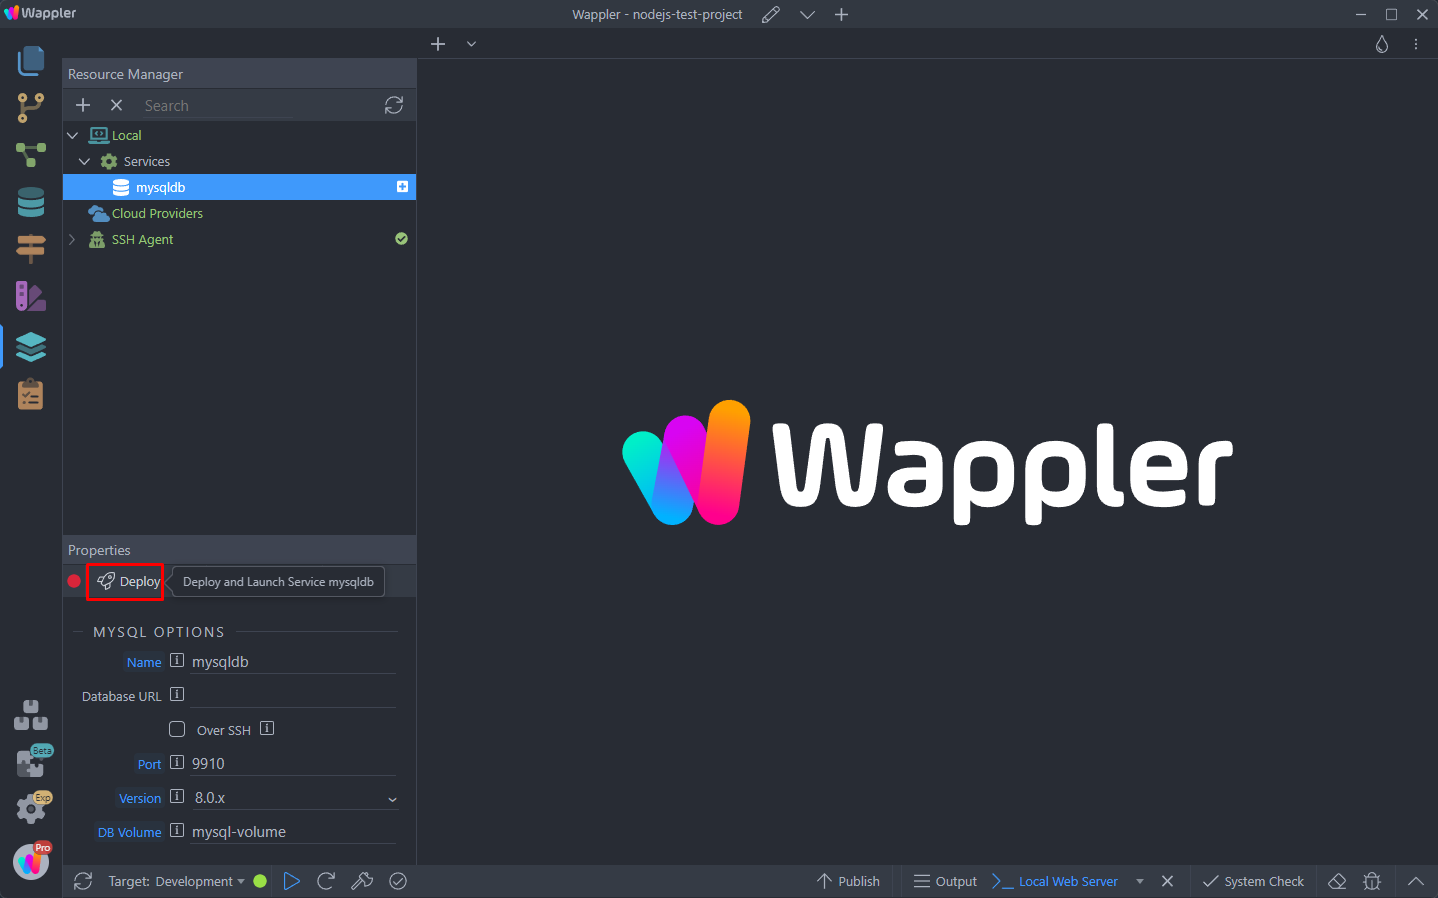
Step 8
Section titled “Step 8”You will see the progress in the bottom panel. A success notification appears when all the required services have been started:
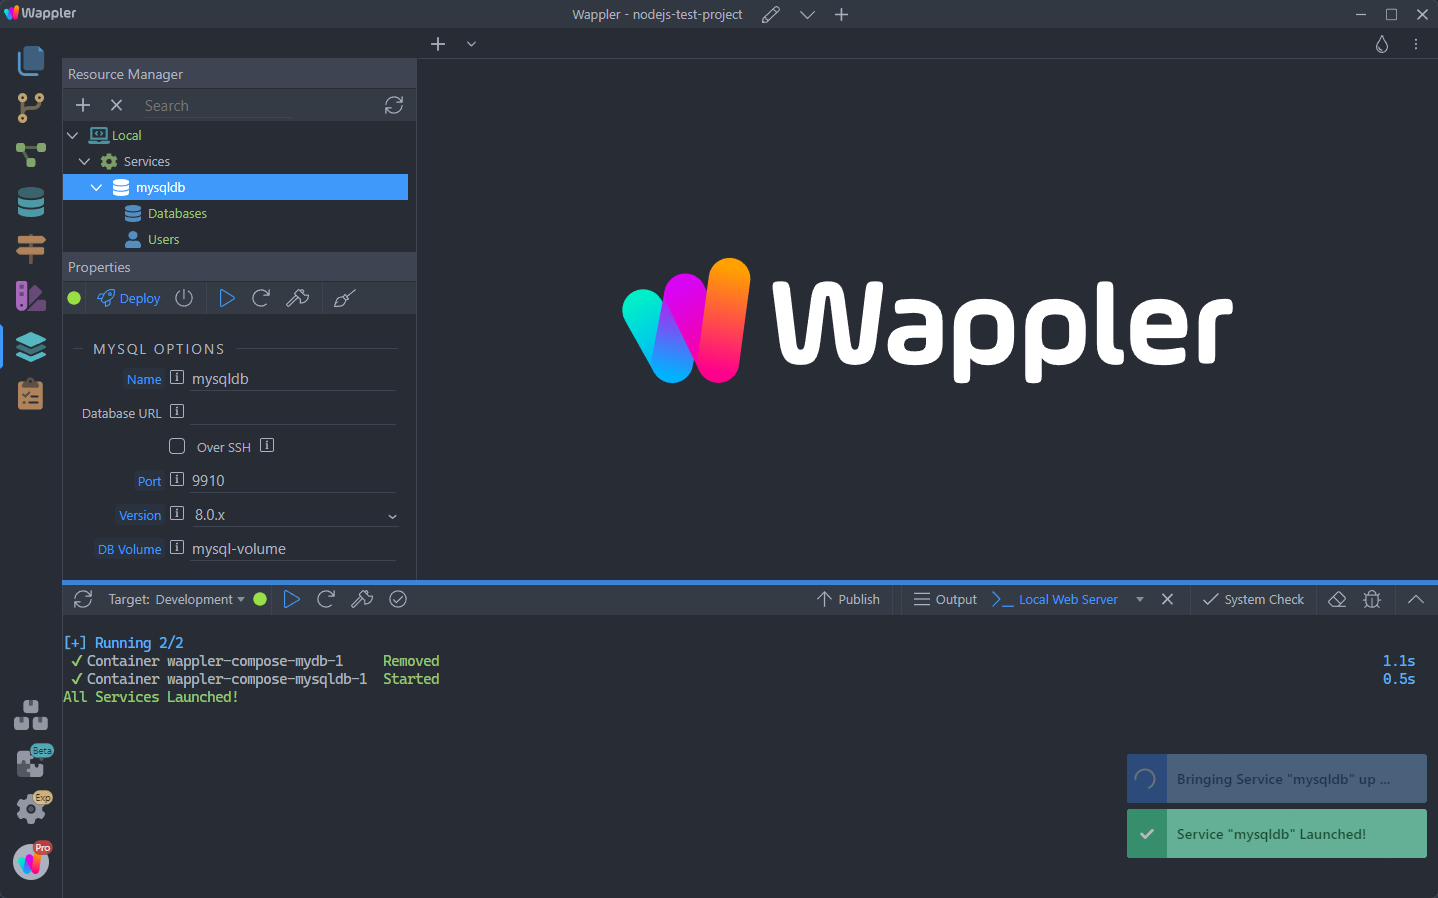
Create a Database
Section titled “Create a Database”With the database server up and running, you can create a database, by right clicking the Databases and selecting Add New Database:
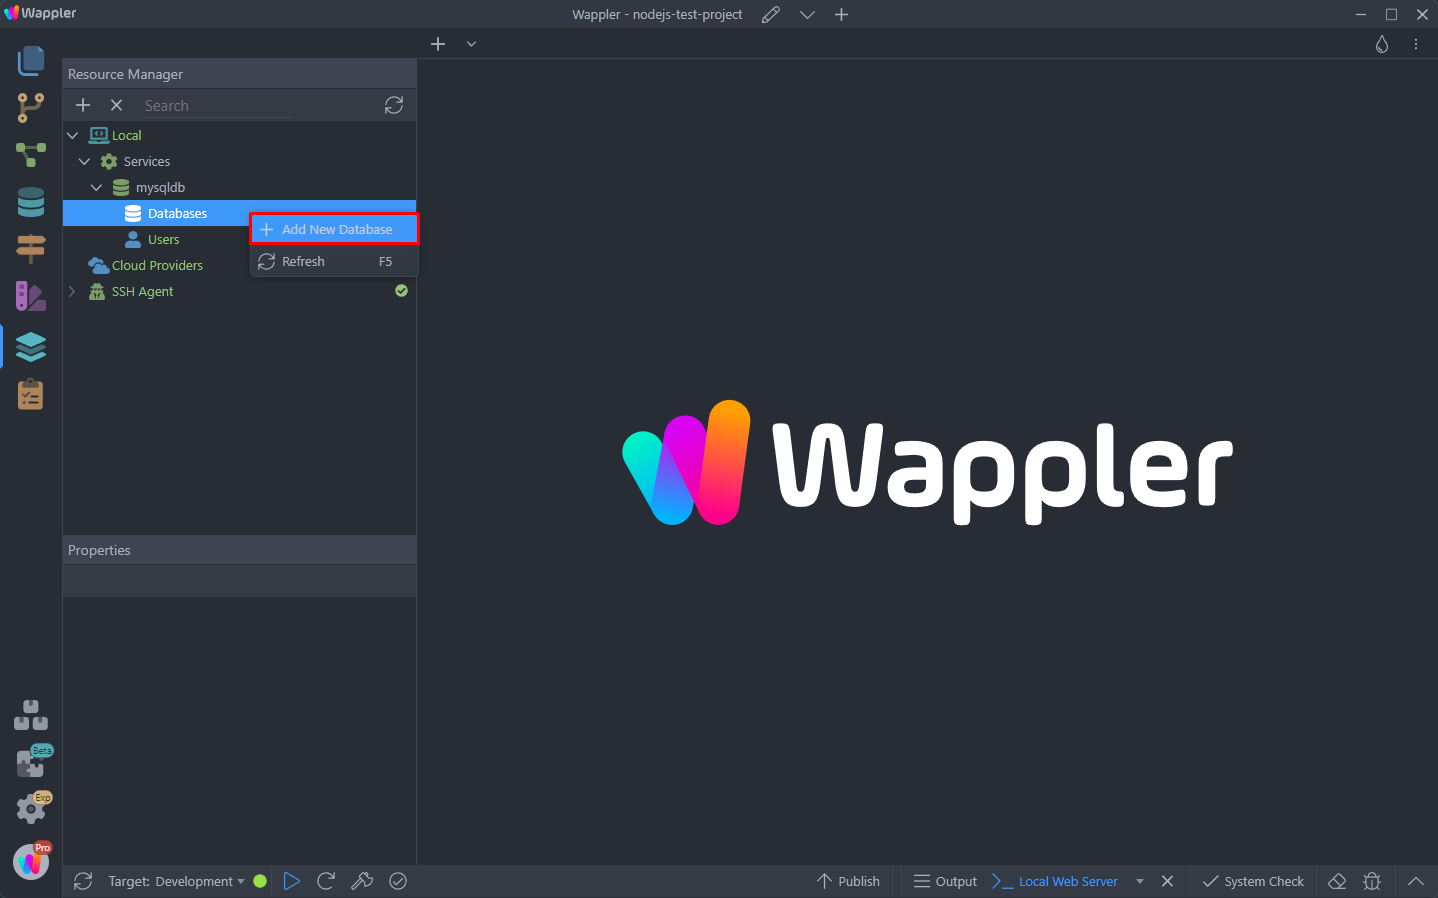
Step 11
Section titled “Step 11”A good practice is to create a separate database for your different Wappler projects.
Add a name for your database:
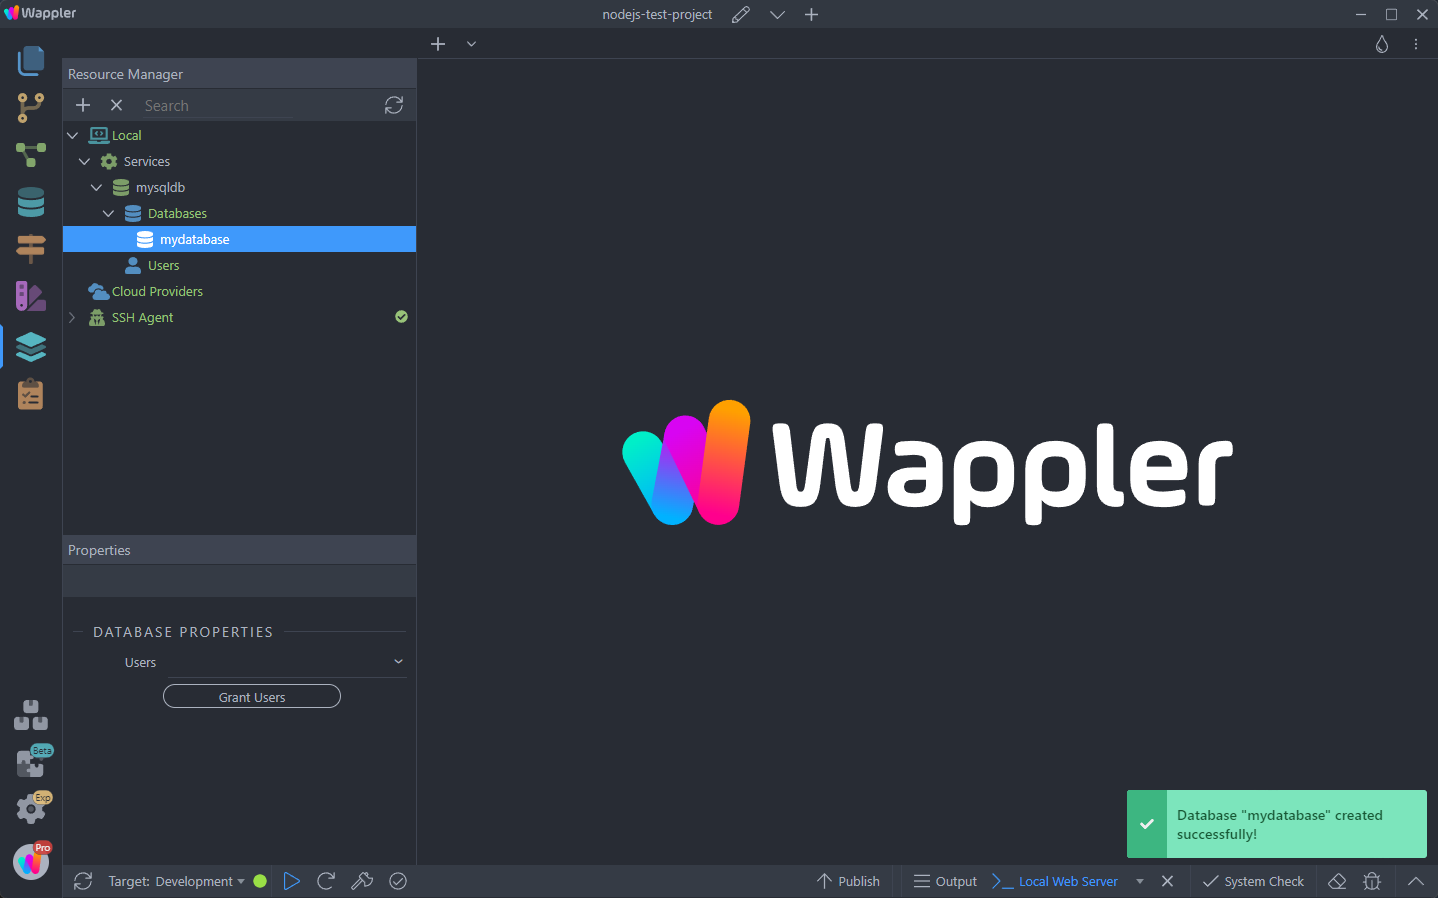
Create a Database User
Section titled “Create a Database User”The next step is to create a user for the database and give the user rights to access your database.
Right click Users and select Add New User:
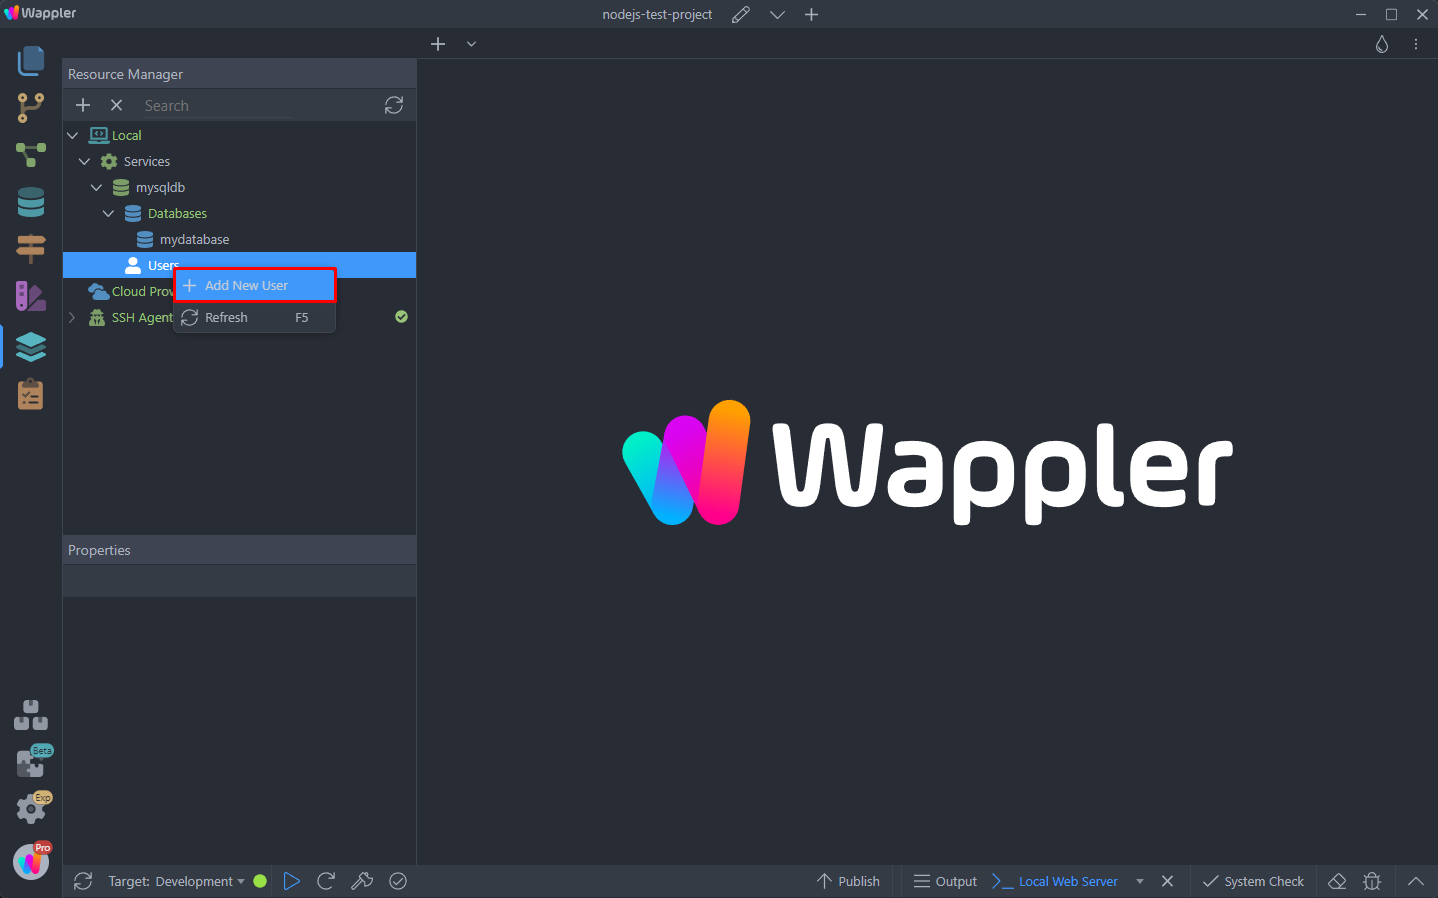
Add a name for the user:
Section titled “Add a name for the user:”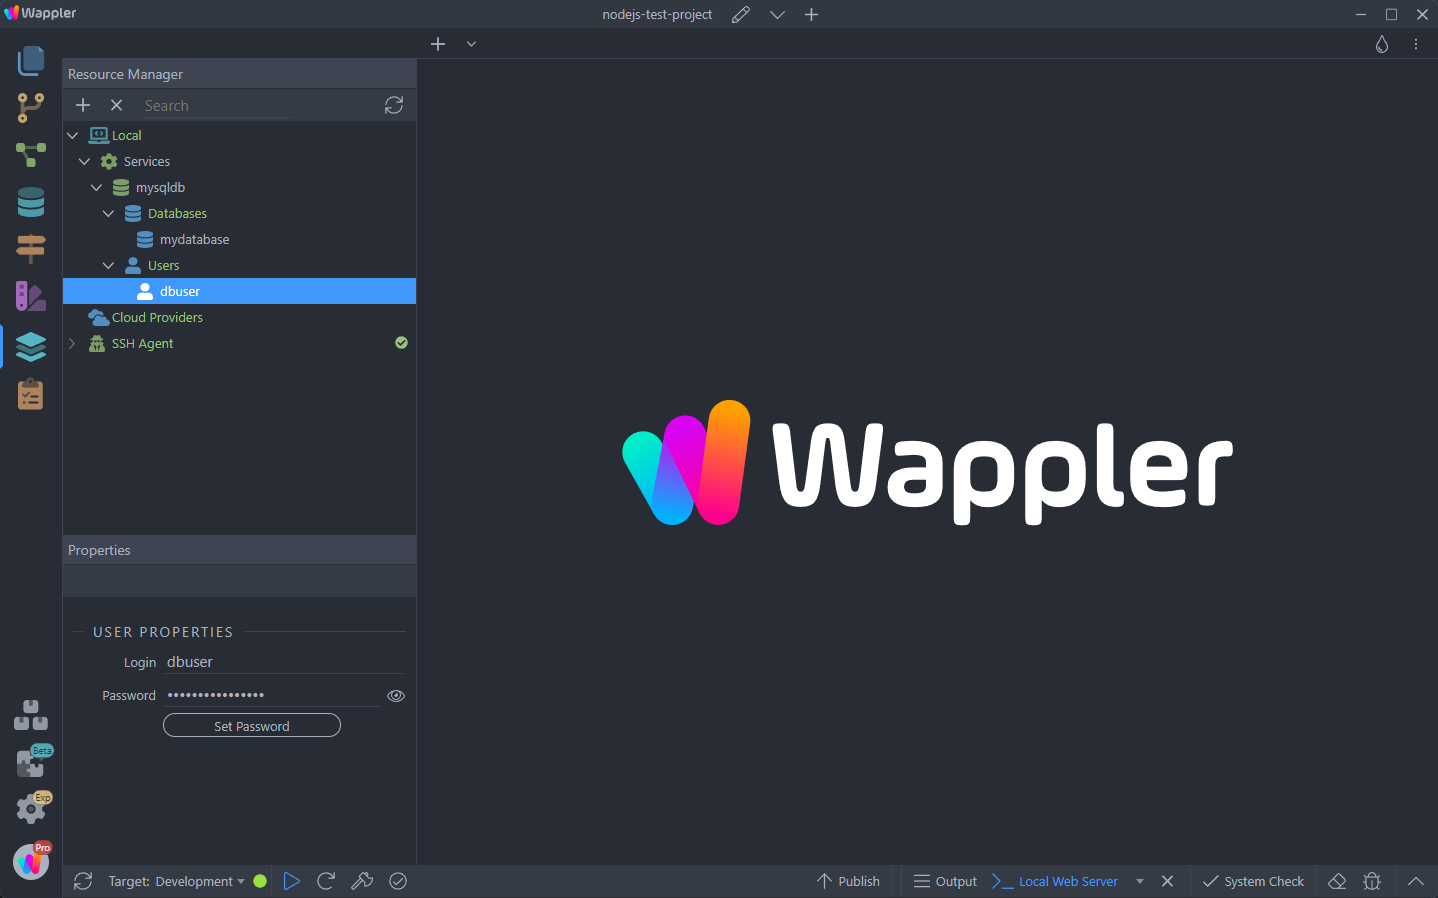
A password will be auto-generated for the users, you’ve just created:
Section titled “A password will be auto-generated for the users, you’ve just created:”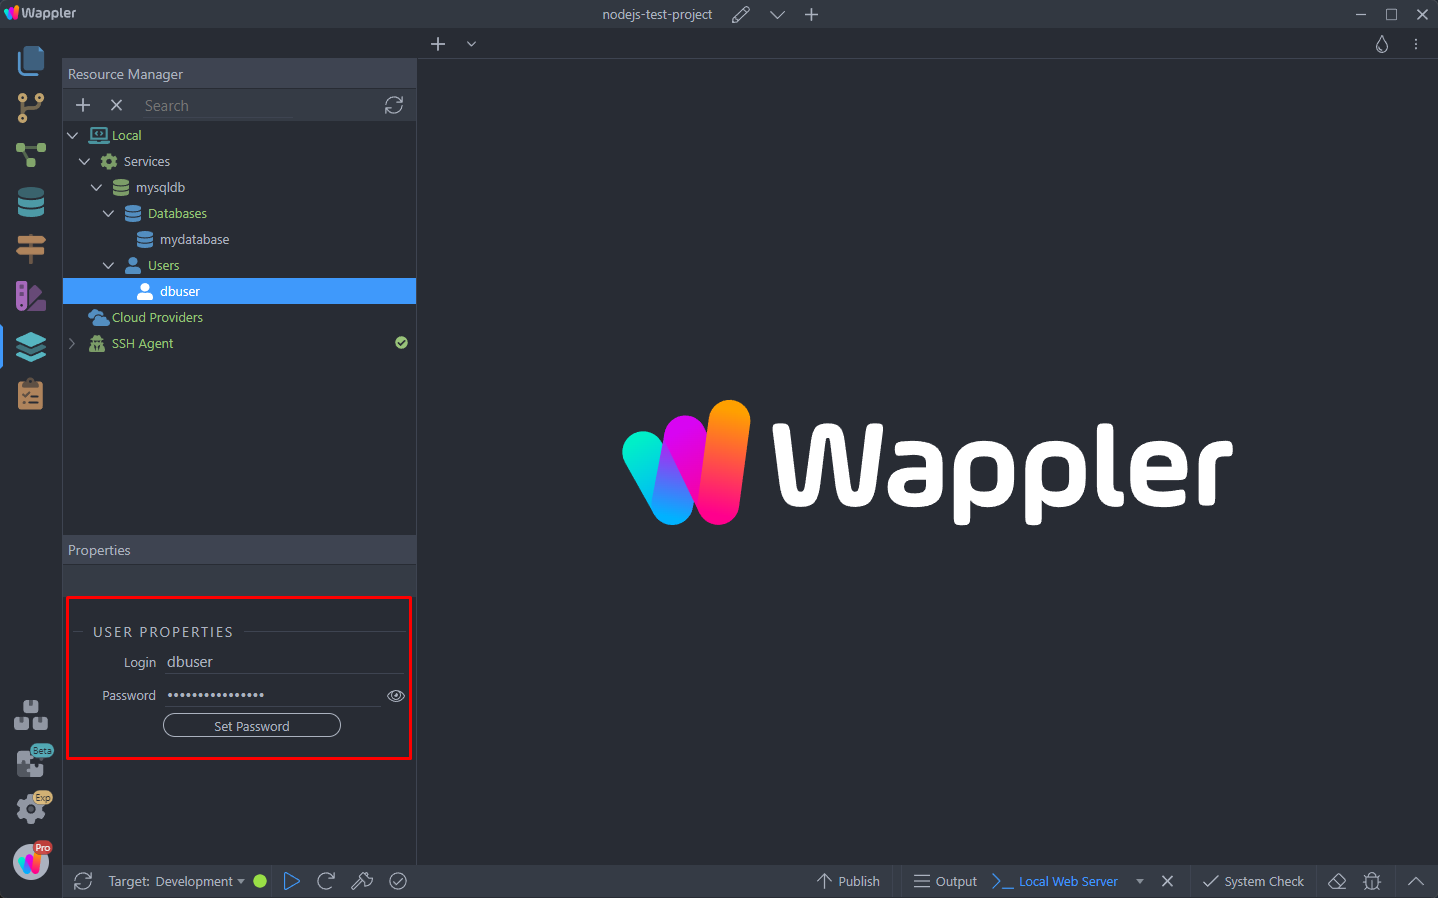
Go back to the database and pen the Users dropdown:
Section titled “Go back to the database and pen the Users dropdown:”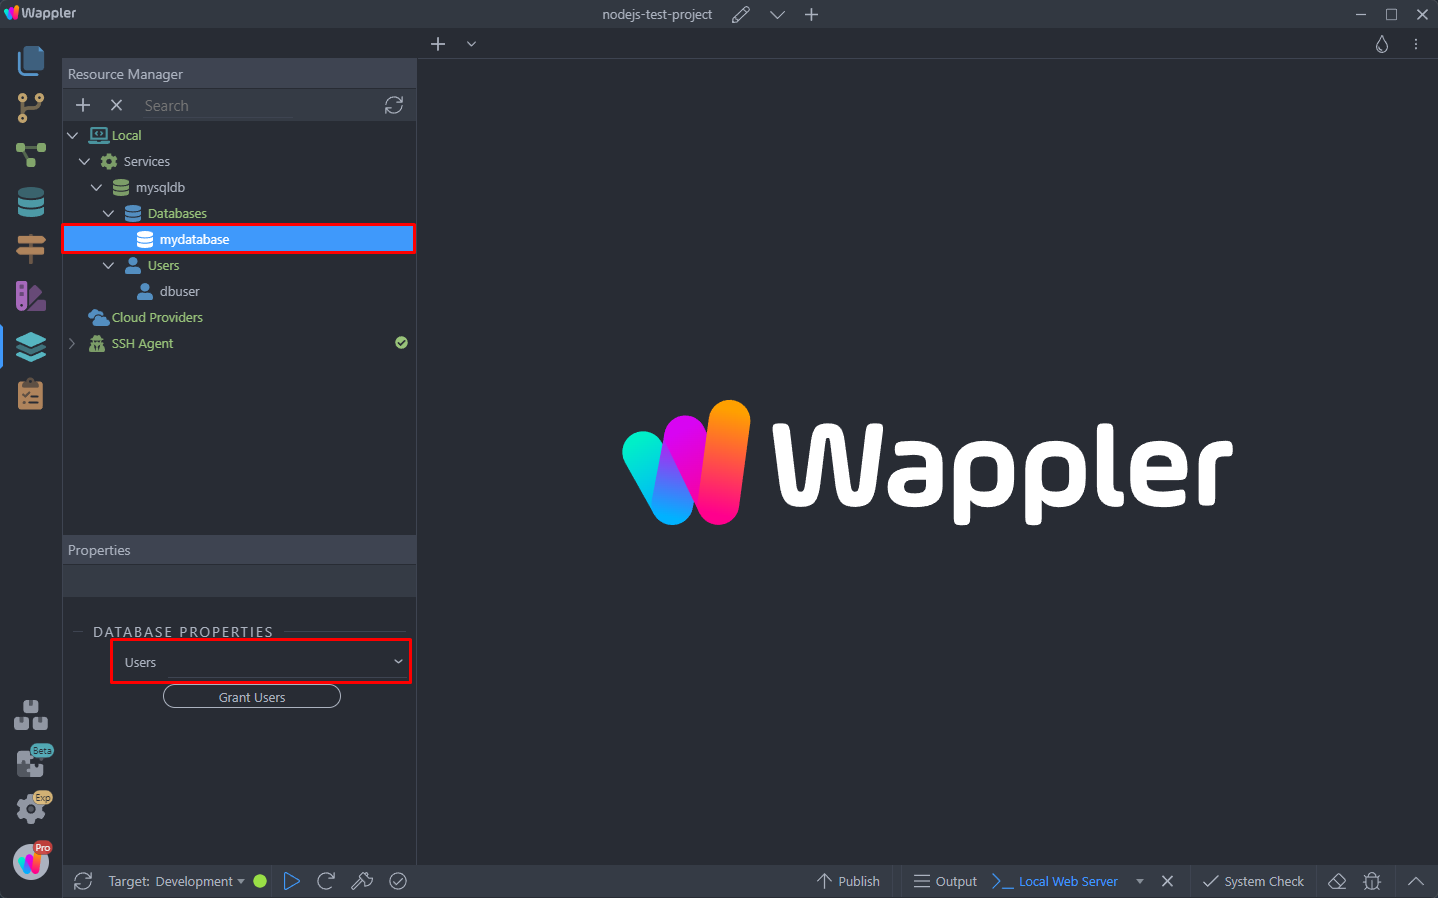
Select your user there and click the Grant Users button:
Section titled “Select your user there and click the Grant Users button:”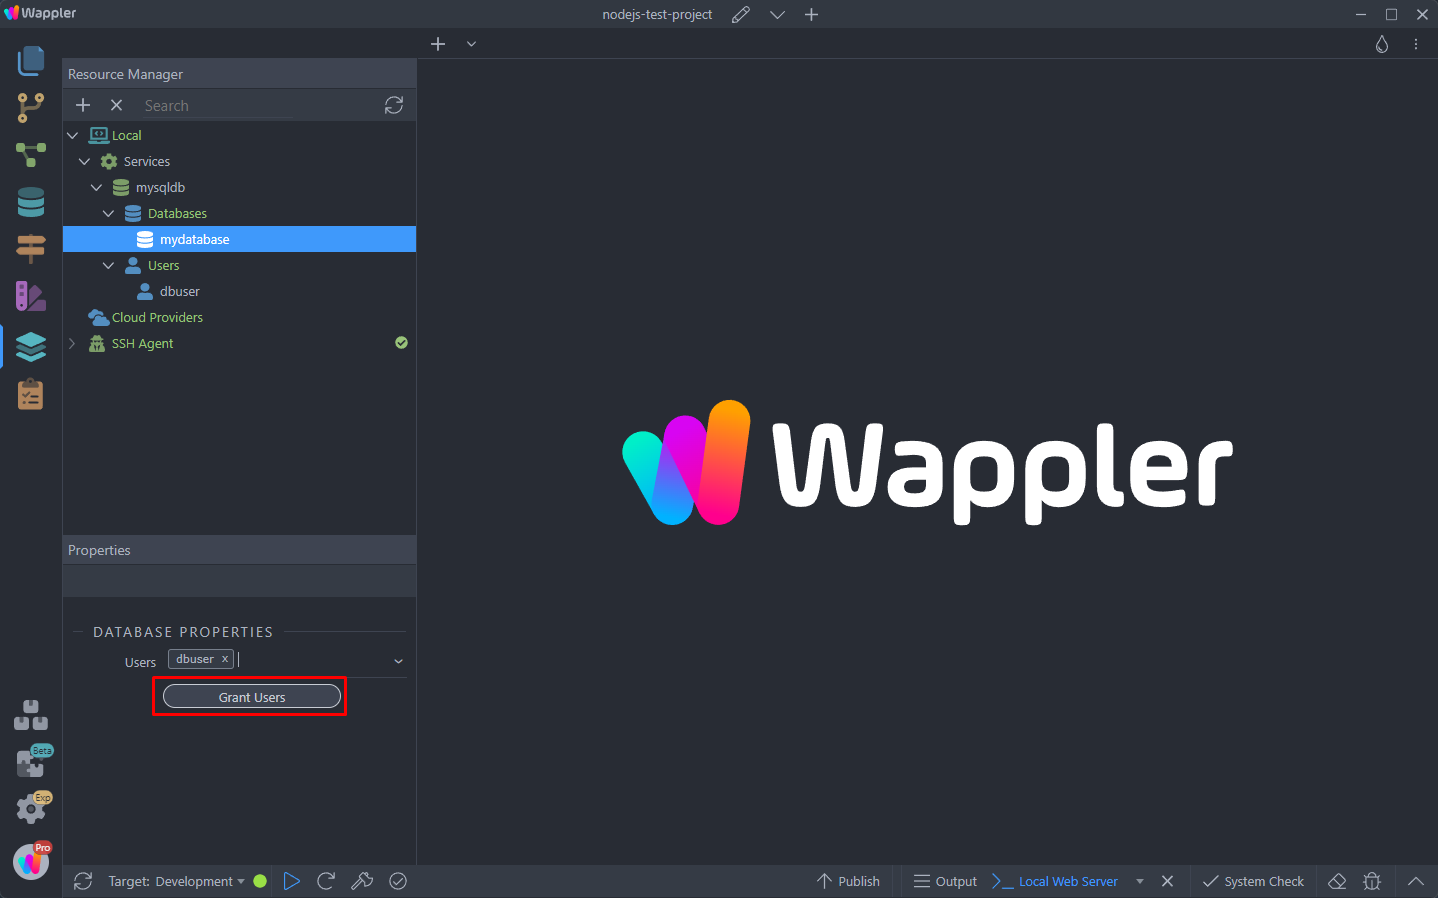
You will see a success notification, when the user is granted access to the database:
Section titled “You will see a success notification, when the user is granted access to the database:”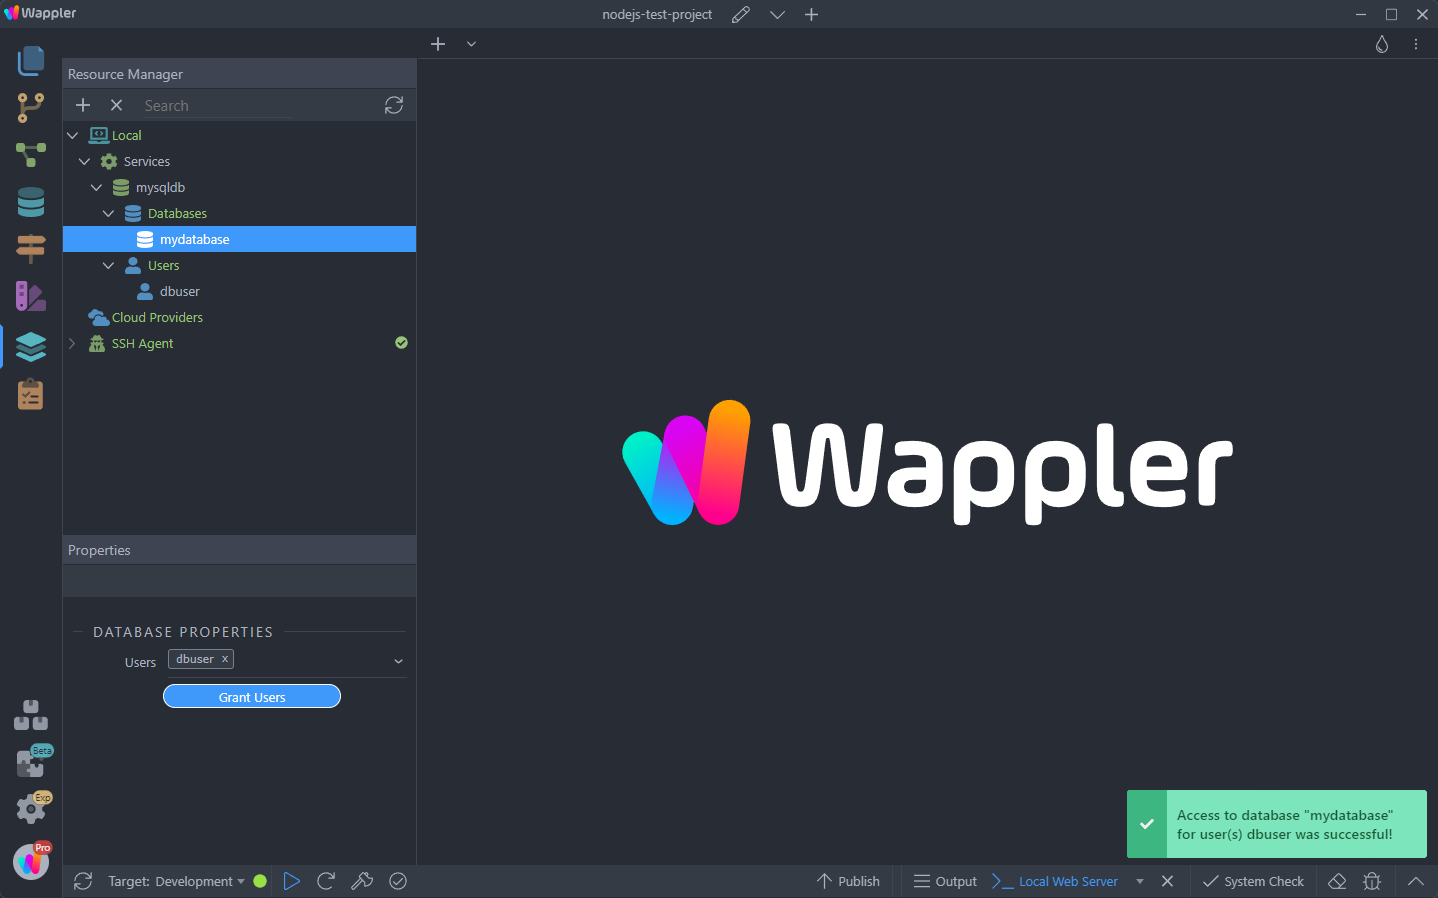
Adding Database to a Project
Section titled “Adding Database to a Project”The next step is to add the database we created to our project. Then you will be able to add tables and data using the Database Manager and use them in your Server Actions.
Open the Project Settings:
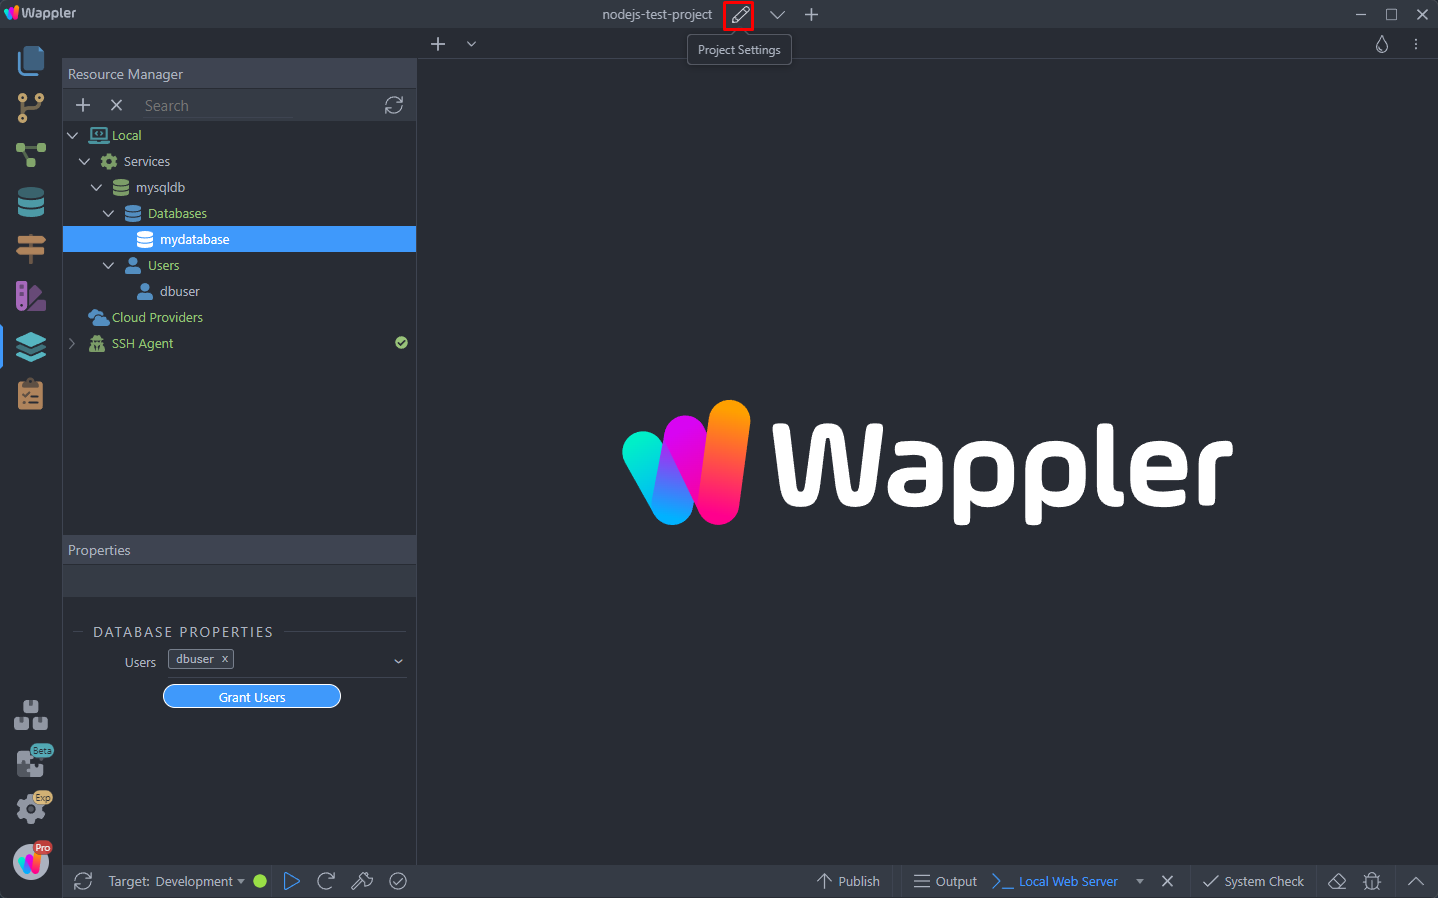
Go to Targets and open the Database Type dropdown, select Cloud Database:
Section titled “Go to Targets and open the Database Type dropdown, select Cloud Database:”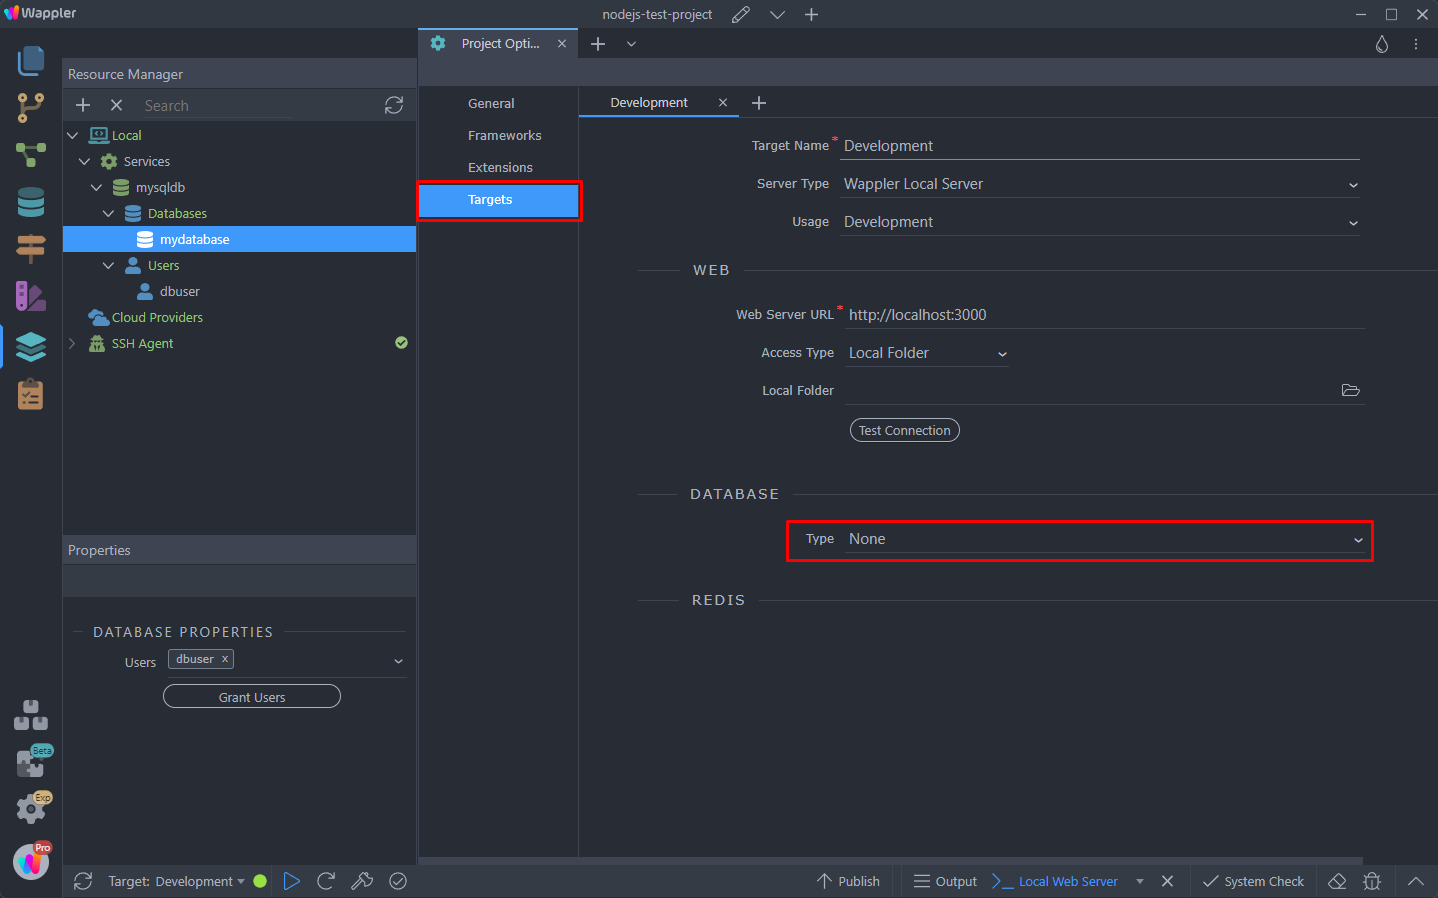
Then open the Database Server menu and select the server you created:
Section titled “Then open the Database Server menu and select the server you created:”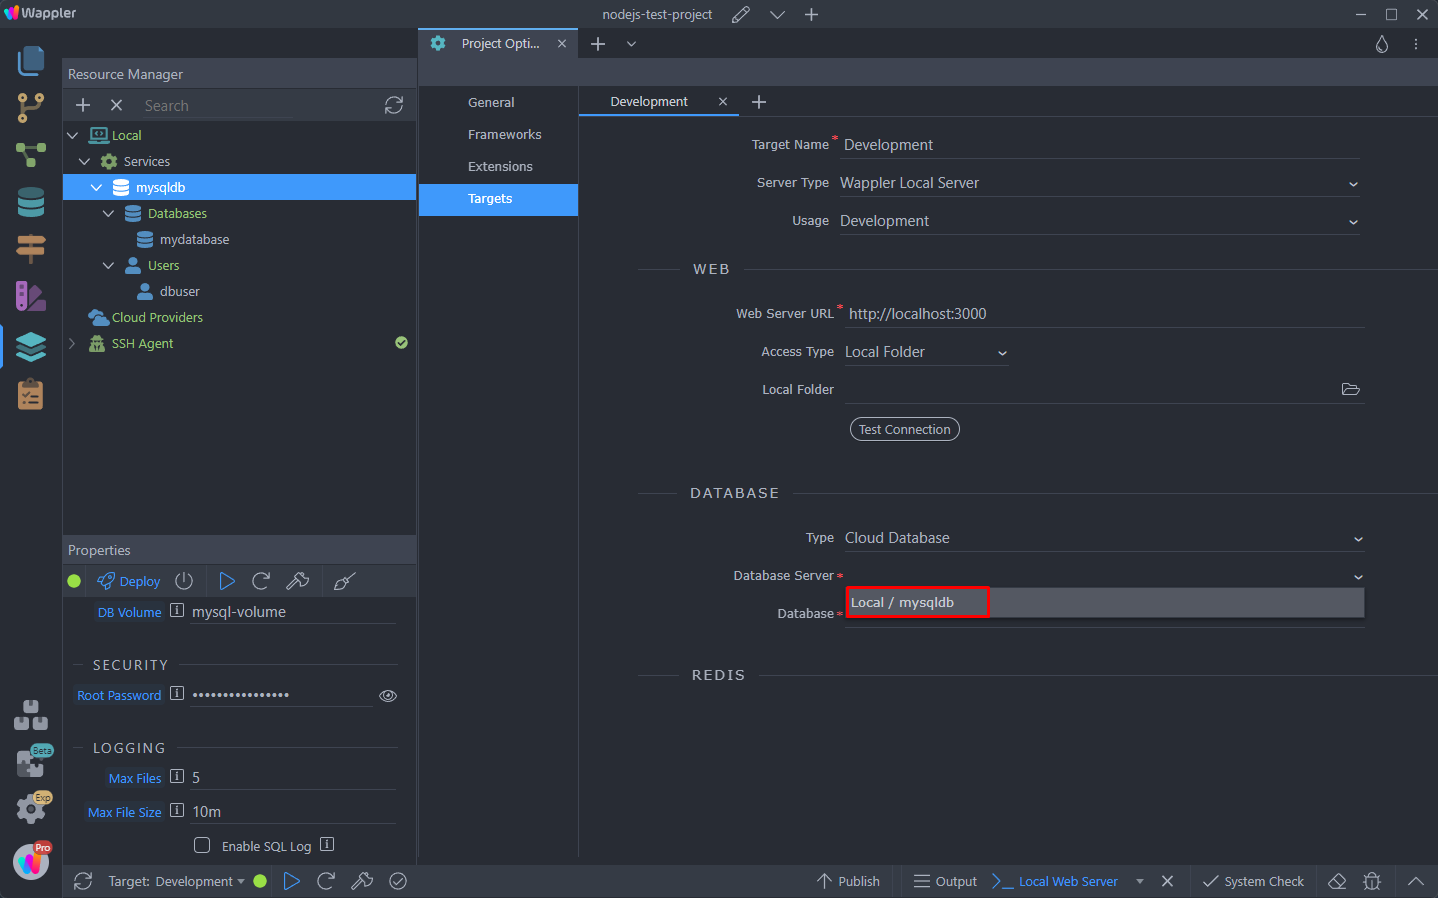
And select your database:
Section titled “And select your database:”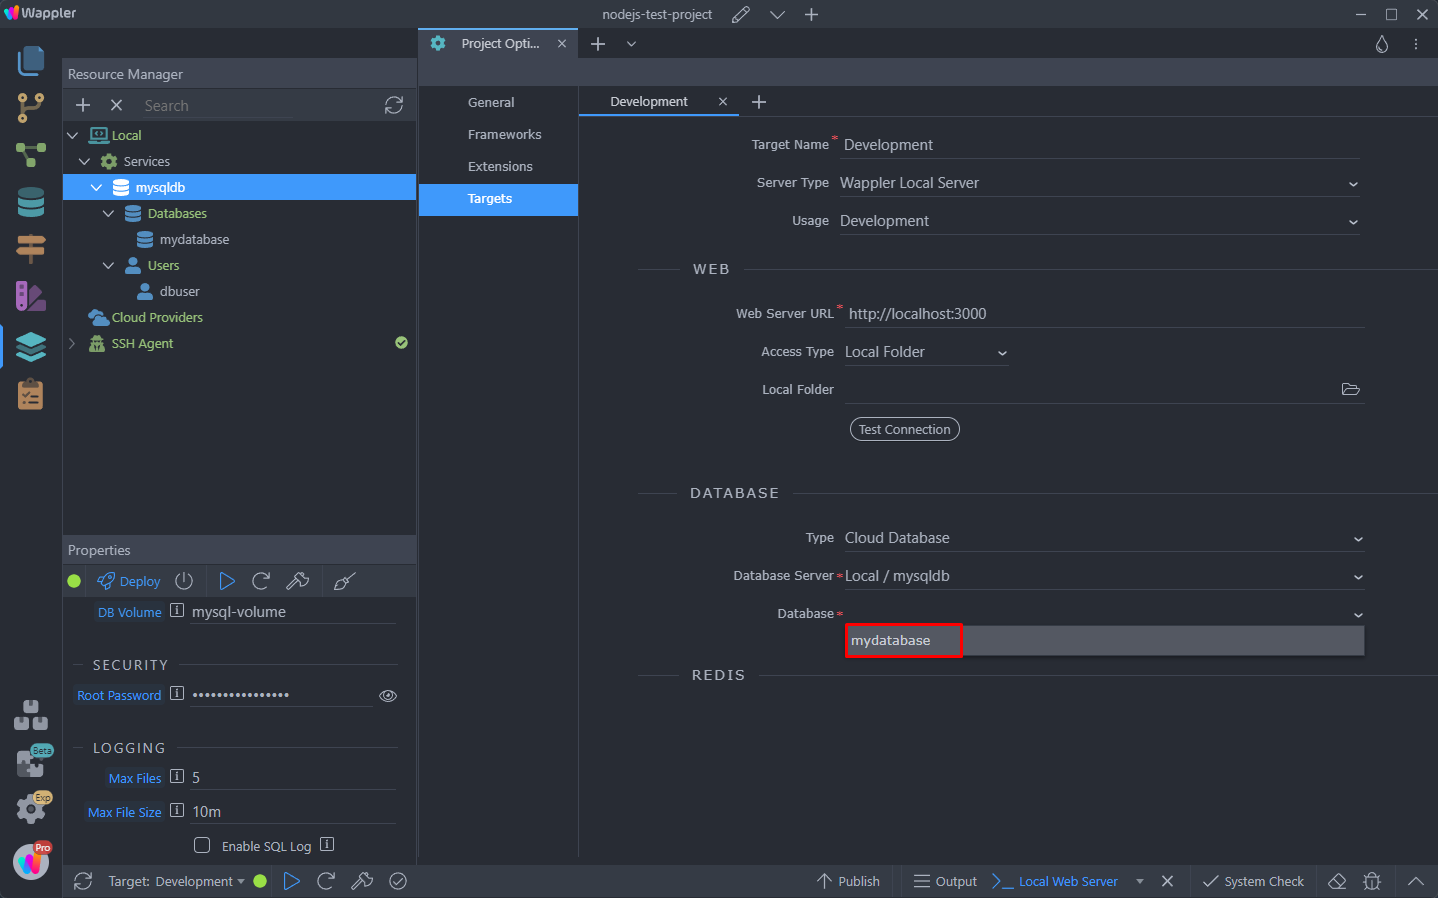
Save your project settings.
Section titled “Save your project settings.”Now you can open the Database Manager and you can see that a Database Connection to your database has been created. You can create your tables, add data and also use it in your Server Actions: