
Node.js Integration in Wappler
One of the most anticipated features is already here! Say hello to Node.js in Wappler! Getting Started To get started we need to create a project and select Node.js as a server technology. Creata a ne
One of the most anticipated features is already here! Say hello to Node.js in Wappler!
Section titled “One of the most anticipated features is already here! Say hello to Node.js in Wappler!”One of the most anticipated features is already here! Say hello to Node.js in Wappler!
Getting Started
Section titled “Getting Started”To get started we need to create a project and select Node.js as a server technology.
Creata a new project
Section titled “Creata a new project”Click the Projects icon in the left sidebar:
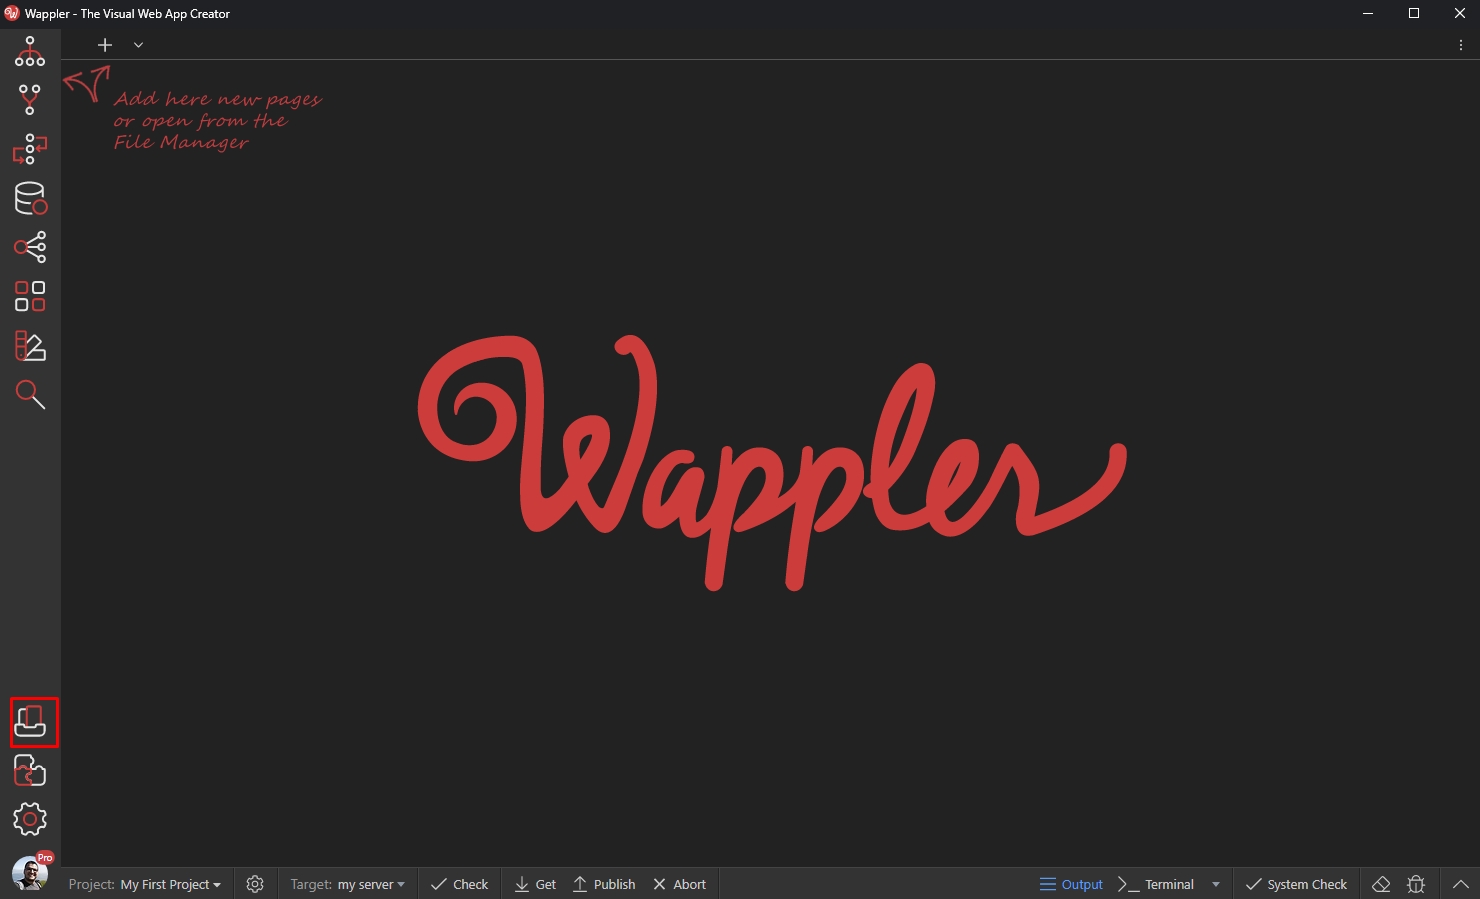
Open the New Project tab (1) and add a new blank project (2):
Section titled “Open the New Project tab (1) and add a new blank project (2):”
Add a name to your project:
Section titled “Add a name to your project:”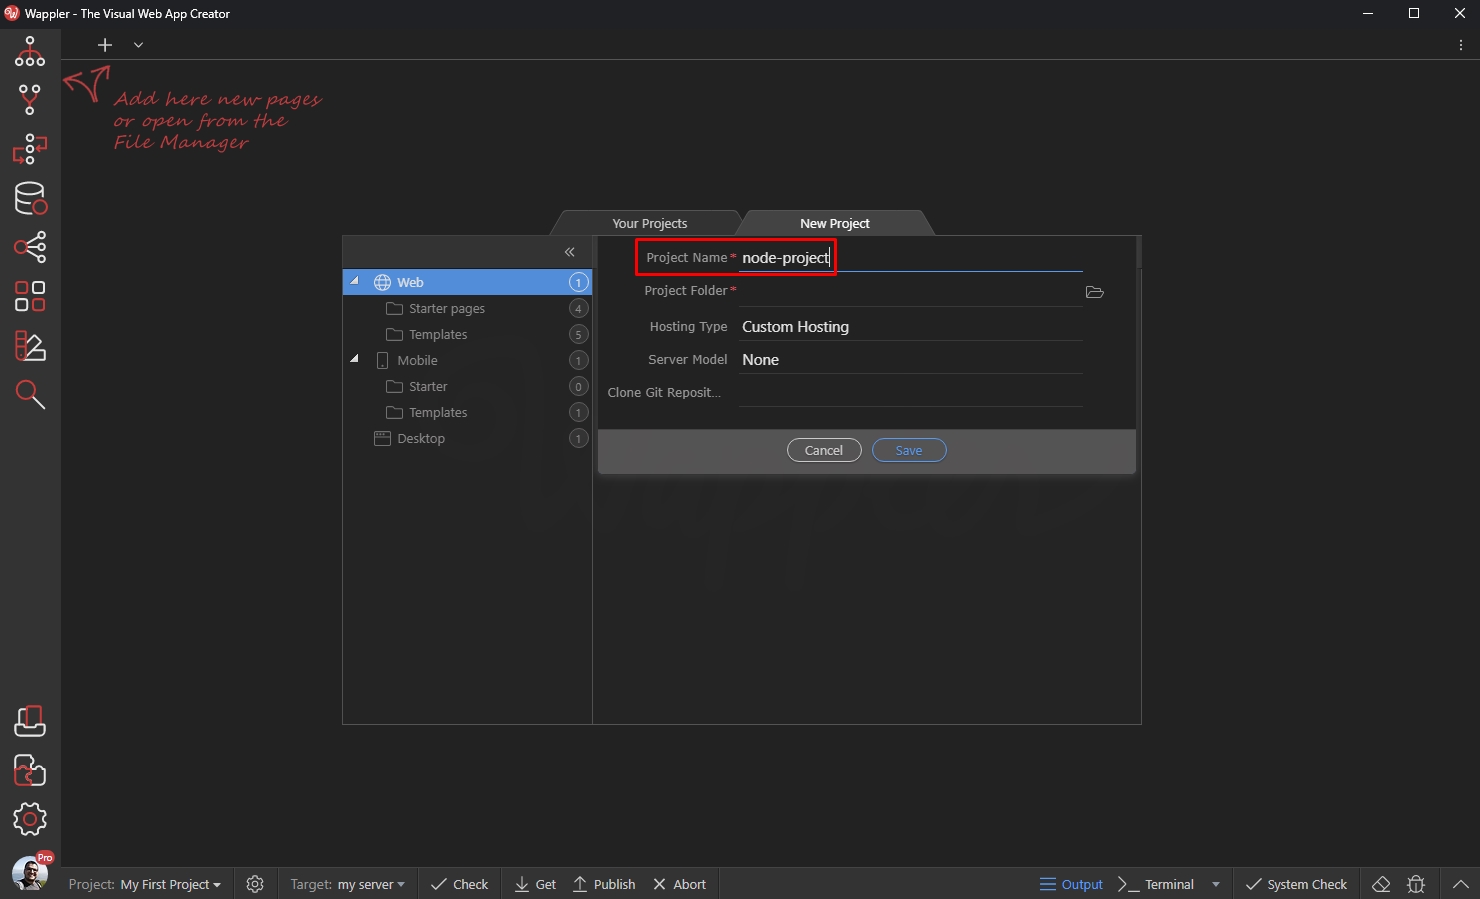
Create an empty folder on your hard drive and select it:
Section titled “Create an empty folder on your hard drive and select it:”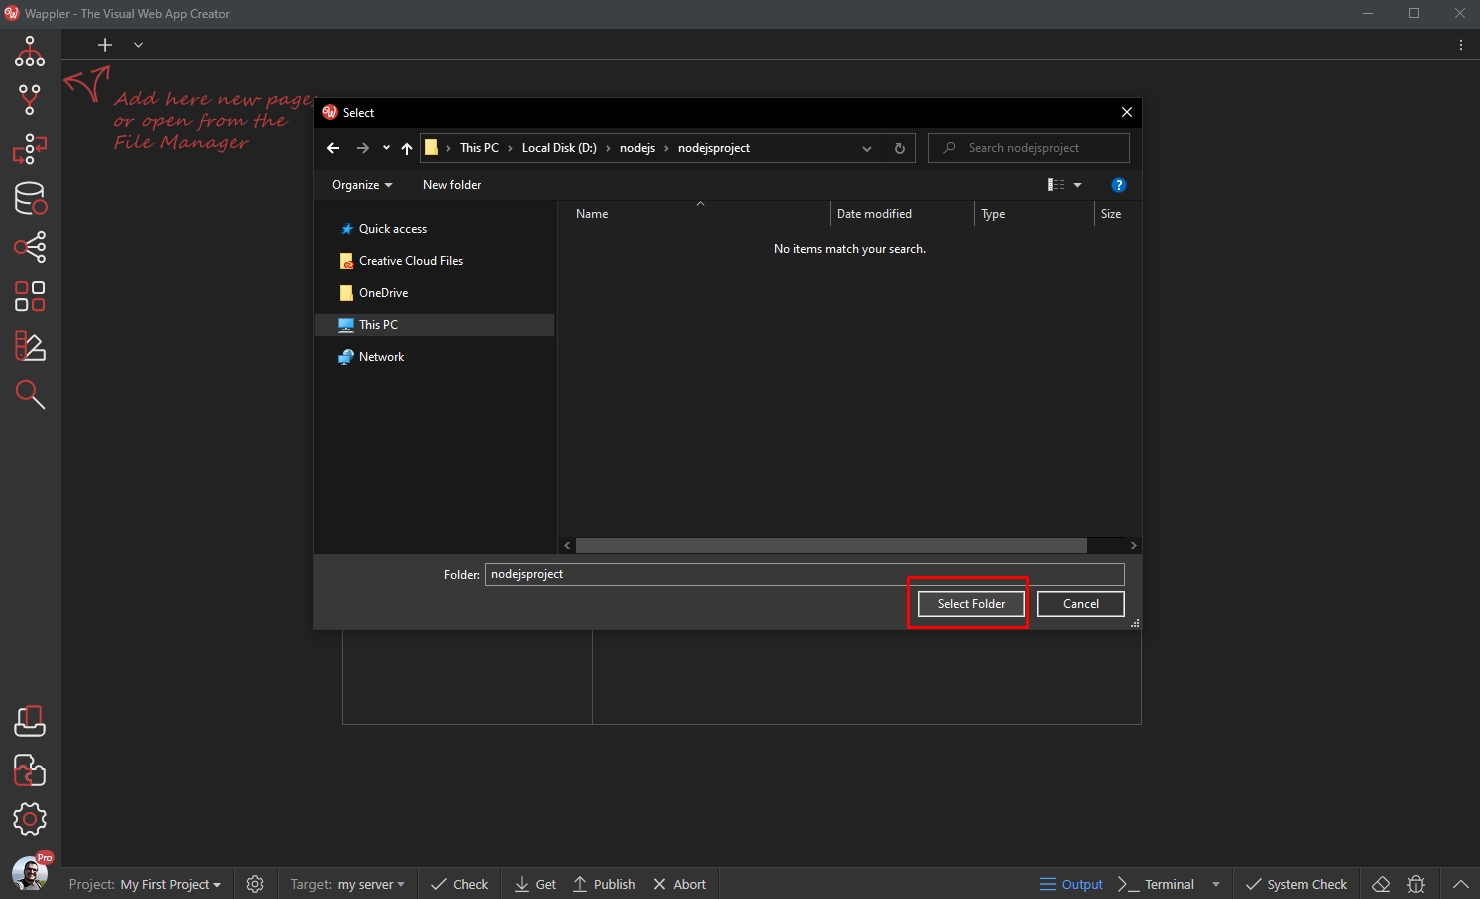
Open the Server Model menu:
Section titled “Open the Server Model menu:”
And select NodeJS:
Section titled “And select NodeJS:”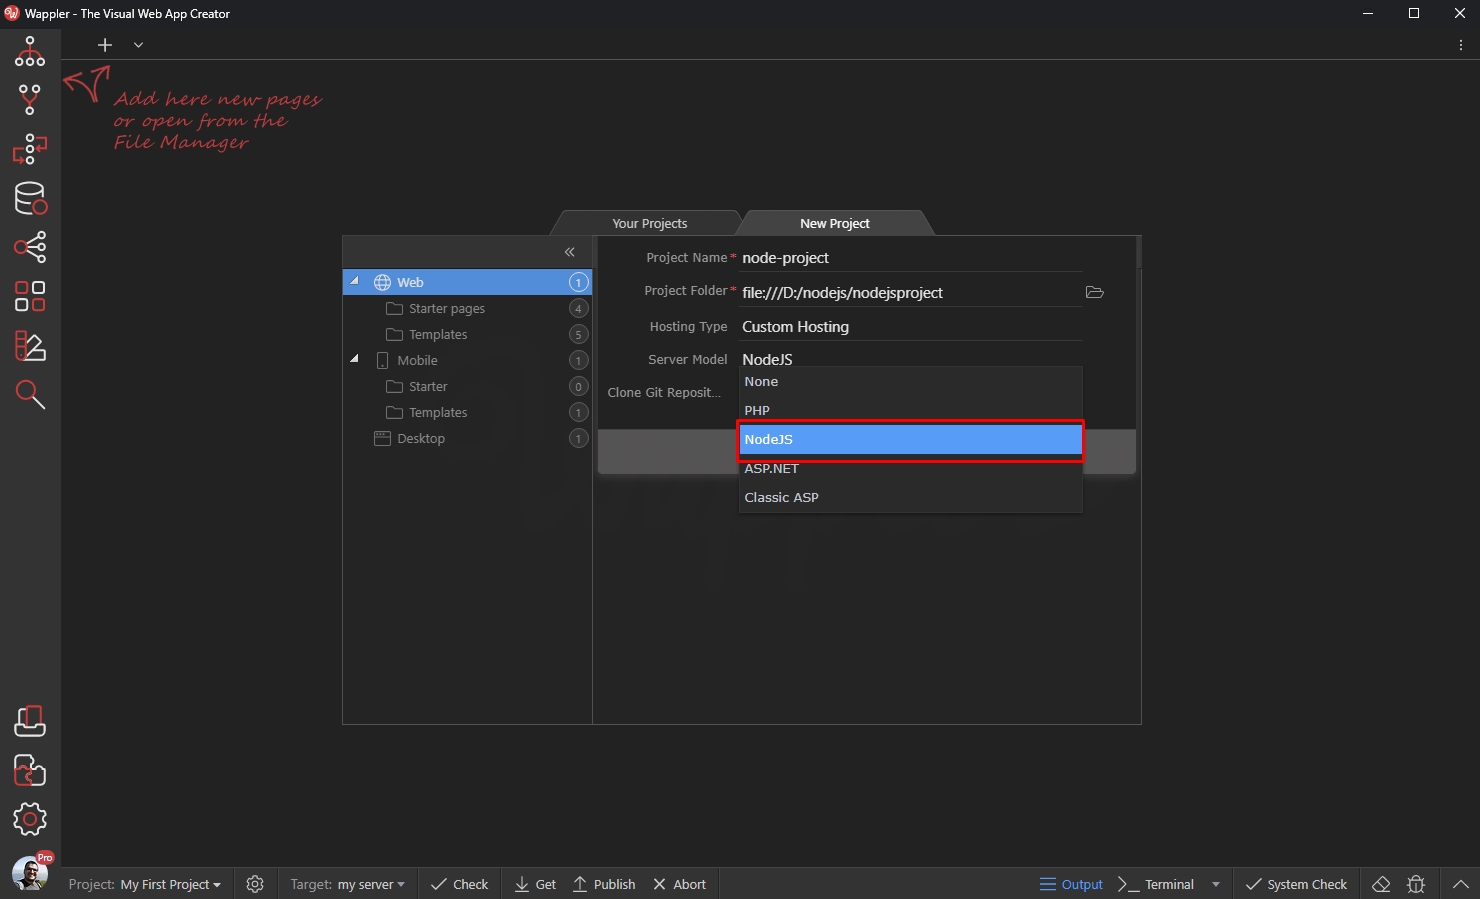
Click Save:
Section titled “Click Save:”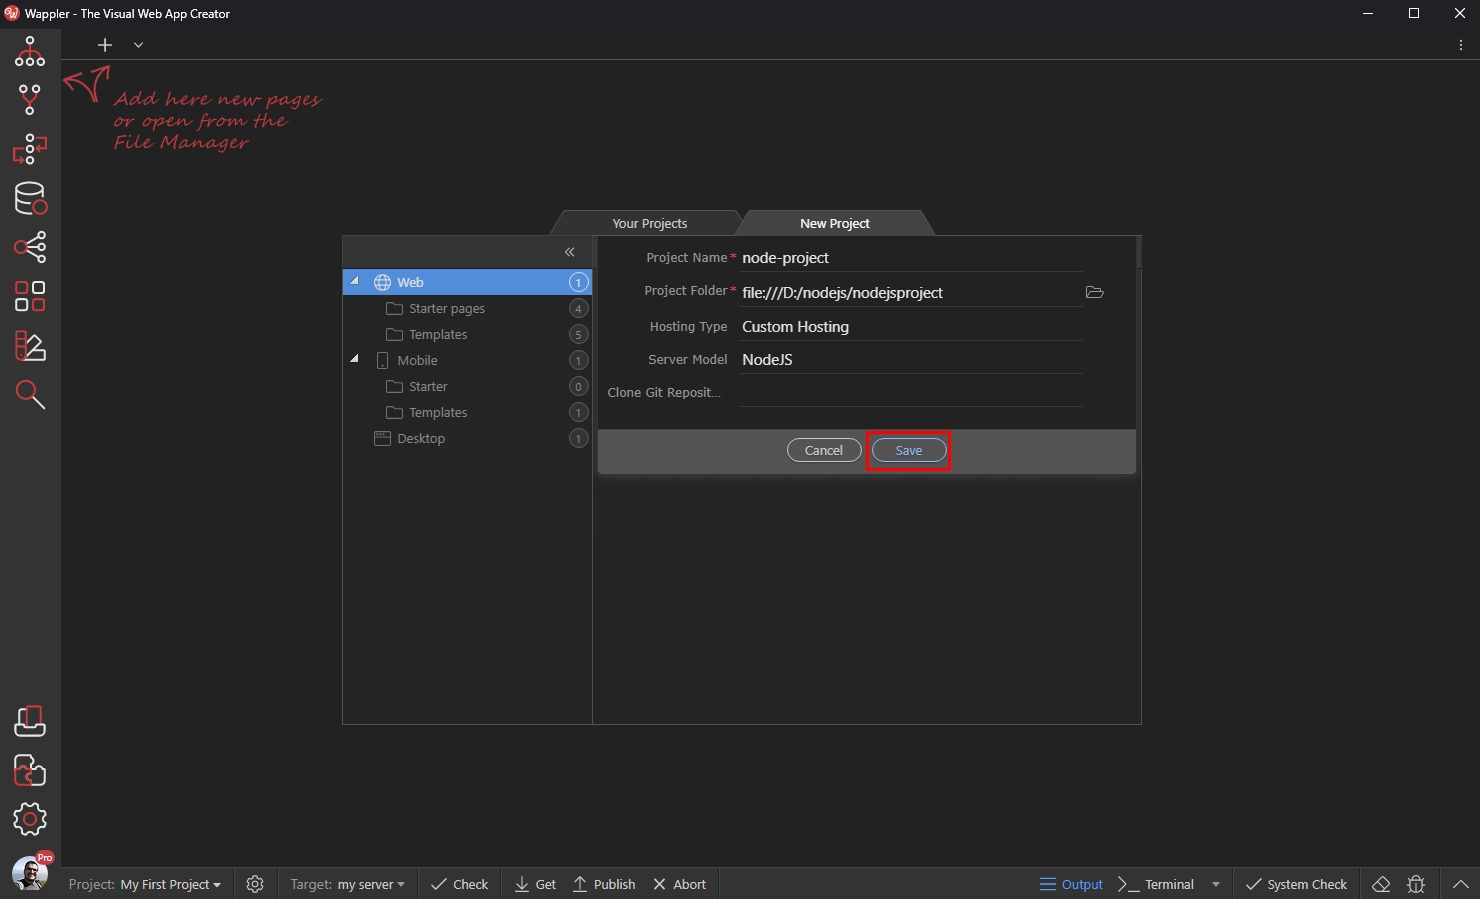
Installing the required packages
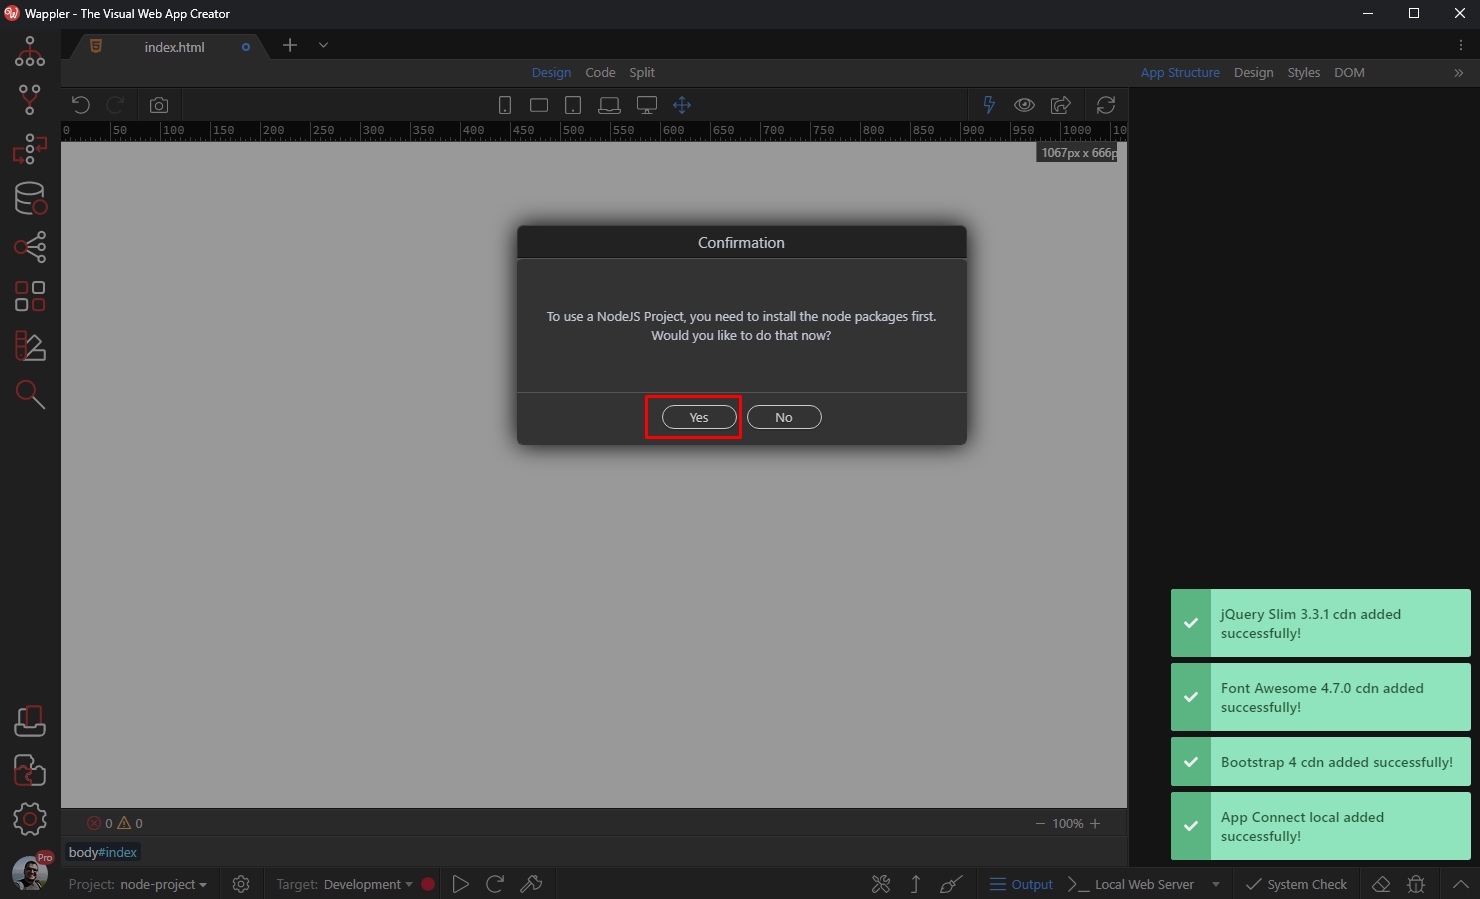
Section titled “Installing the required packages”When you create your project, you will see a confirmation dialog asking you to install the required Node.js packages. Click Yes:
The Terminal opens you can see the progress of the Node packages installation:
Section titled “The Terminal opens you can see the progress of the Node packages installation:”
You will see a notification, once the packages have been installed successfully:
Section titled “You will see a notification, once the packages have been installed successfully:”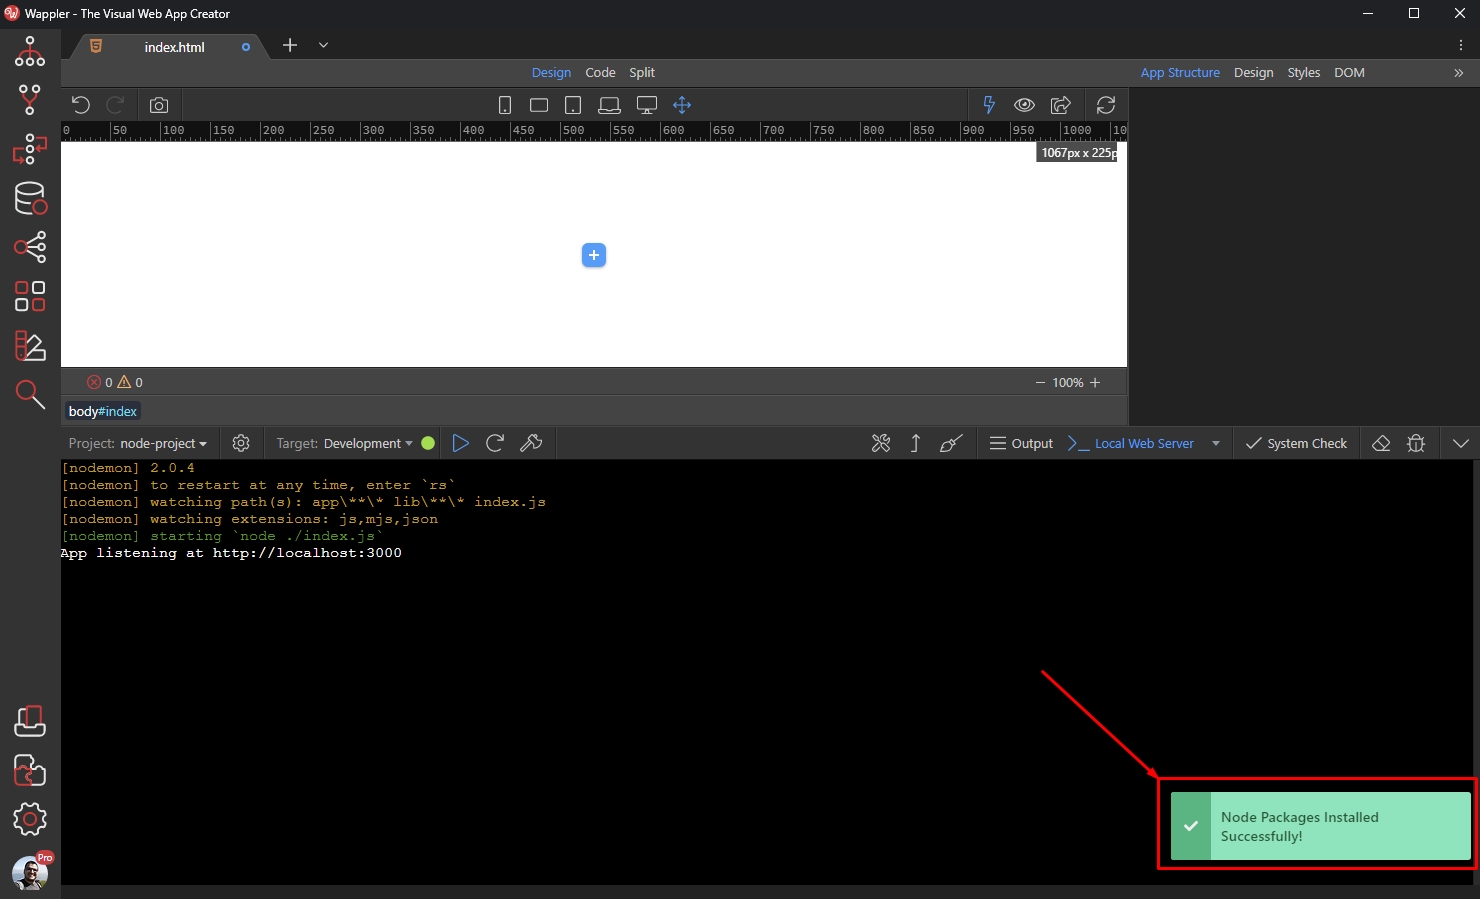
Your local Node.js server is now started!
Section titled “Your local Node.js server is now started!”Managing Node.js server
Section titled “Managing Node.js server”You can manage your local server by using the toolbar. It allows you to Start, Restart and Kill the server:
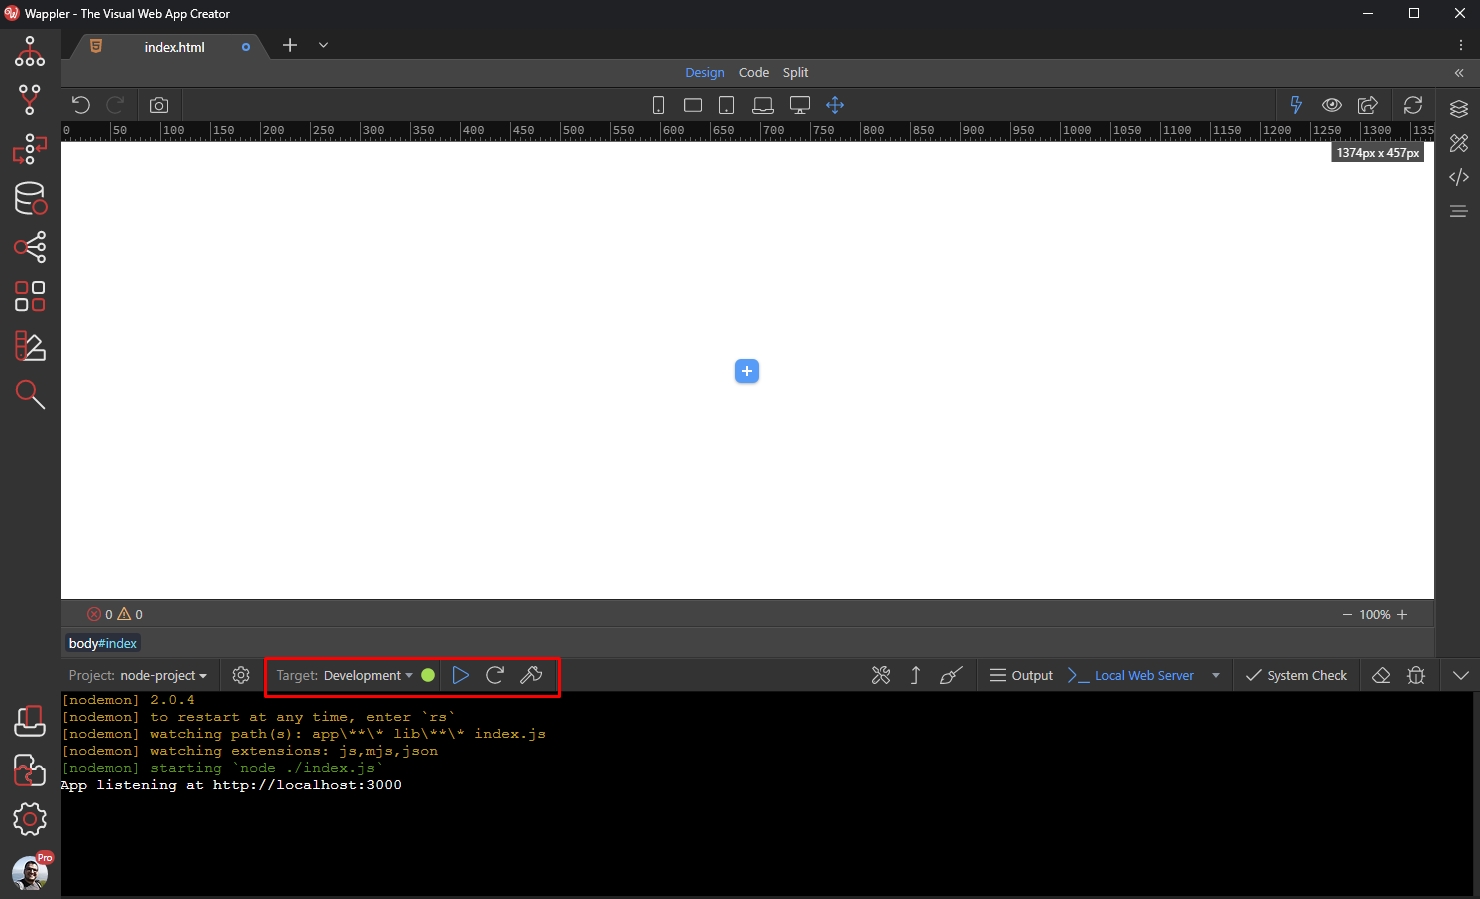
You can also Install, Update or Clean Node packages:
Section titled “You can also Install, Update or Clean Node packages:”
Clicking the project settings button, you can see how’s your Development target set up:
Section titled “Clicking the project settings button, you can see how’s your Development target set up:”
Setting up a Database Connection
Section titled “Setting up a Database Connection”In order to create a server action which uses data from your database, you need to set up a database connection for this target in the Database Manager first.
Create a database connection
Section titled “Create a database connection”Open the Database Manager panel:

Right click Database Connections and add new connection:
Section titled “Right click Database Connections and add new connection:”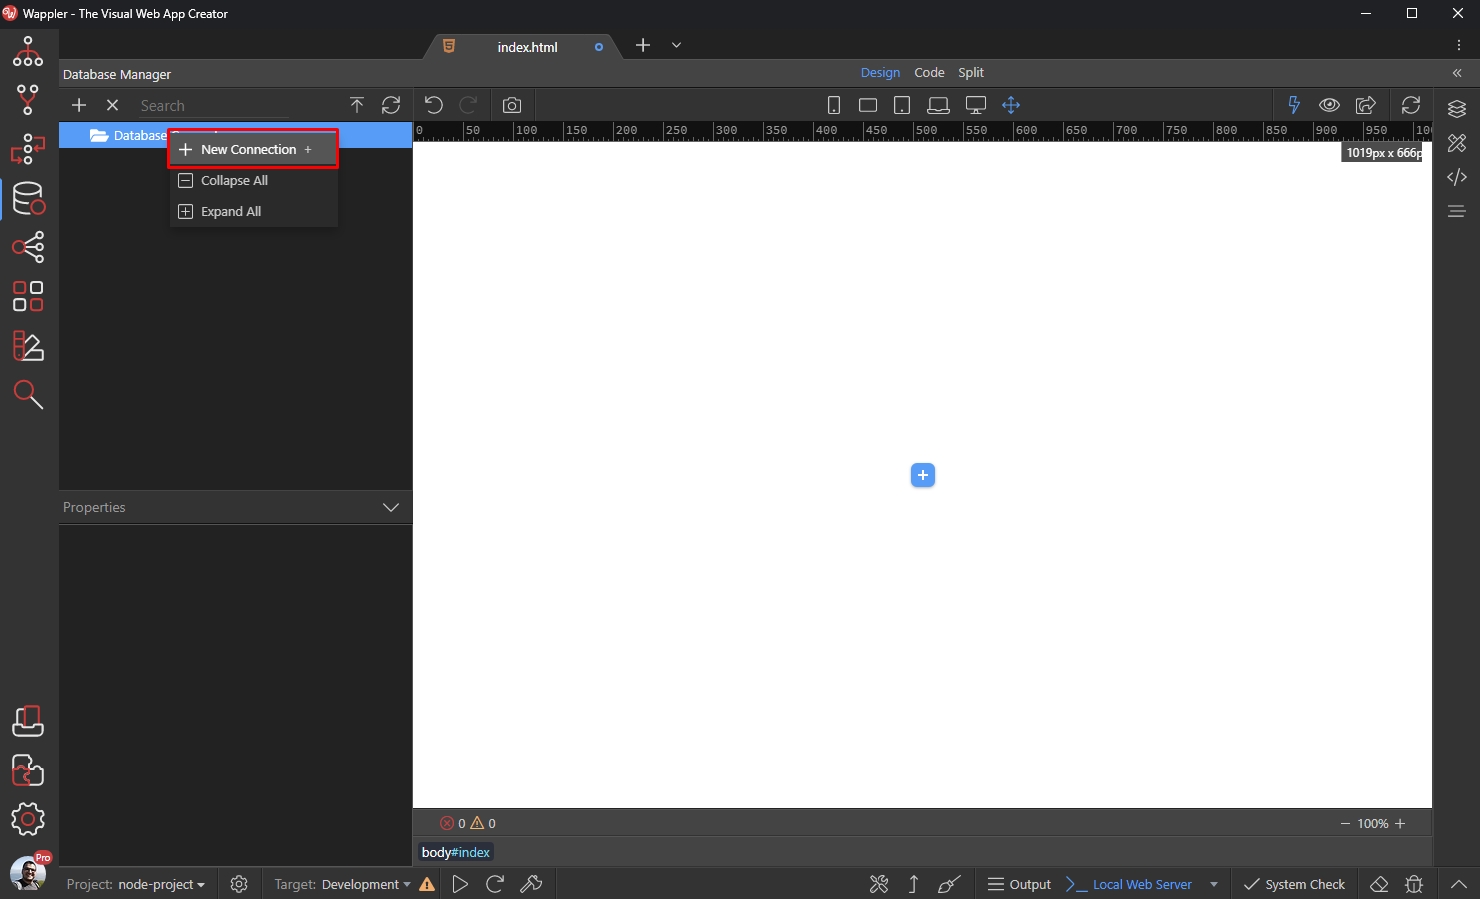
Add a name for your connection and click the Server Connect Connection button:
Section titled “Add a name for your connection and click the Server Connect Connection button:”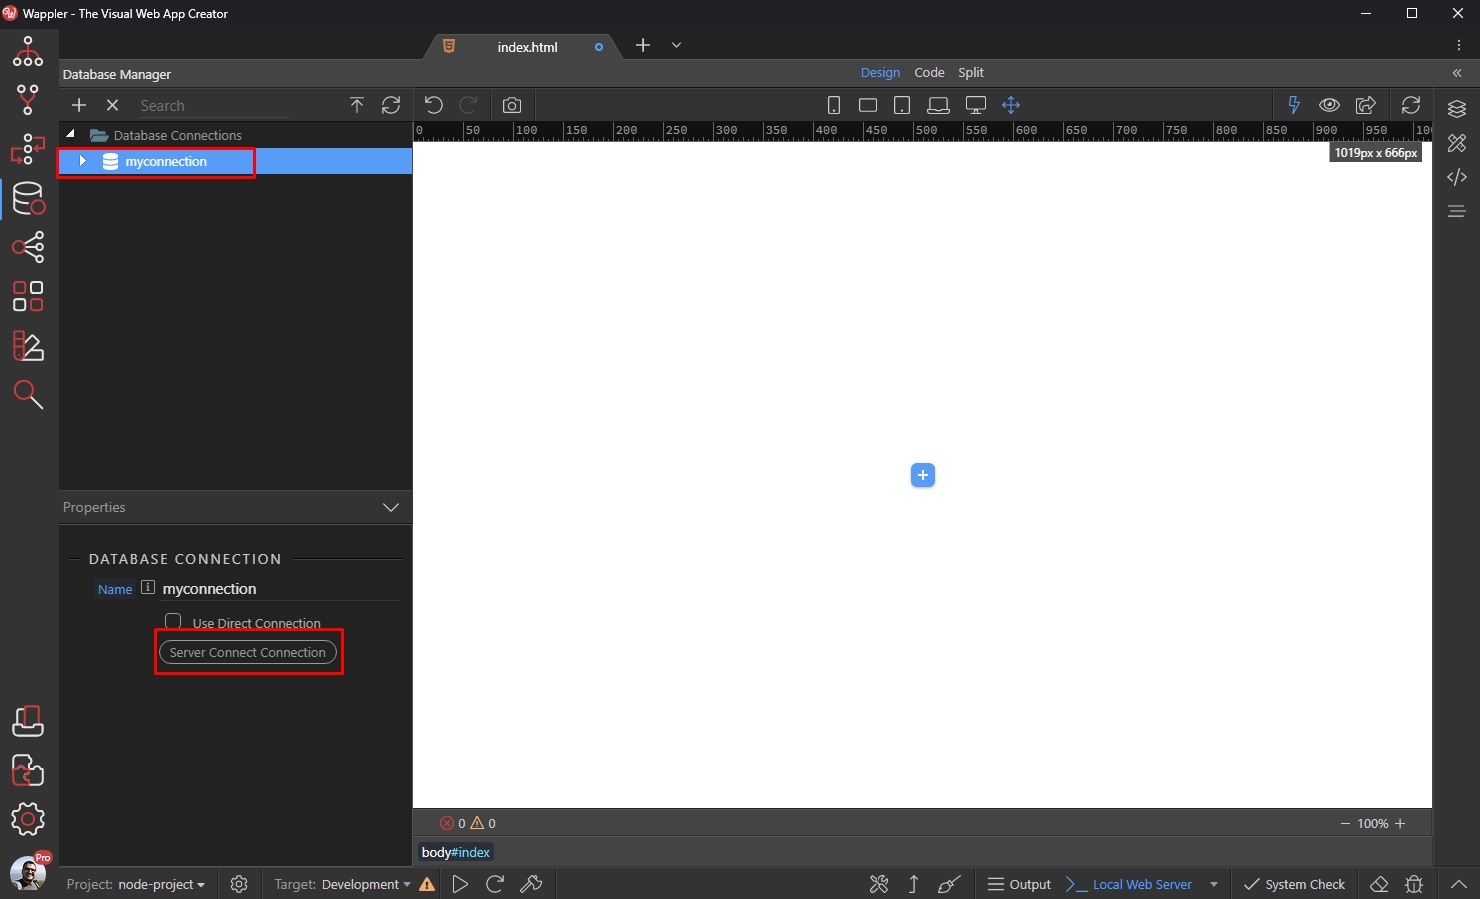
Select your database type and enter the connection details in order to connect to your database server:
Section titled “Select your database type and enter the connection details in order to connect to your database server:”
You can test the connection. Click Save when you are done:
Section titled “You can test the connection. Click Save when you are done:”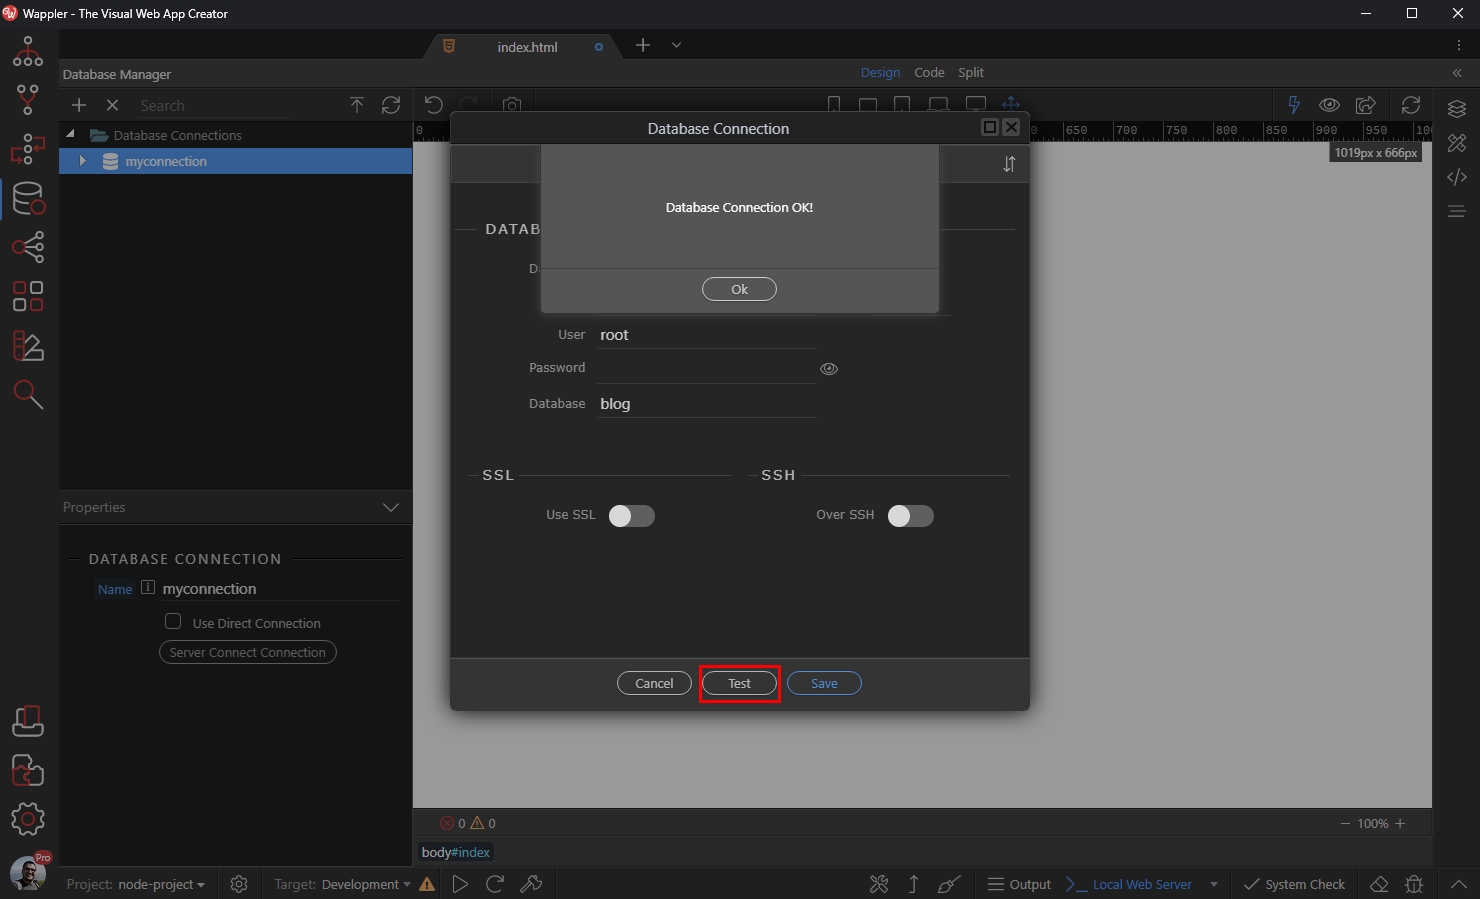
Use the database connection in server actions
Section titled “Use the database connection in server actions”Your database connection is now available in Server Connect, so you can select it in Server Connect.
Open the Server Connect panel:
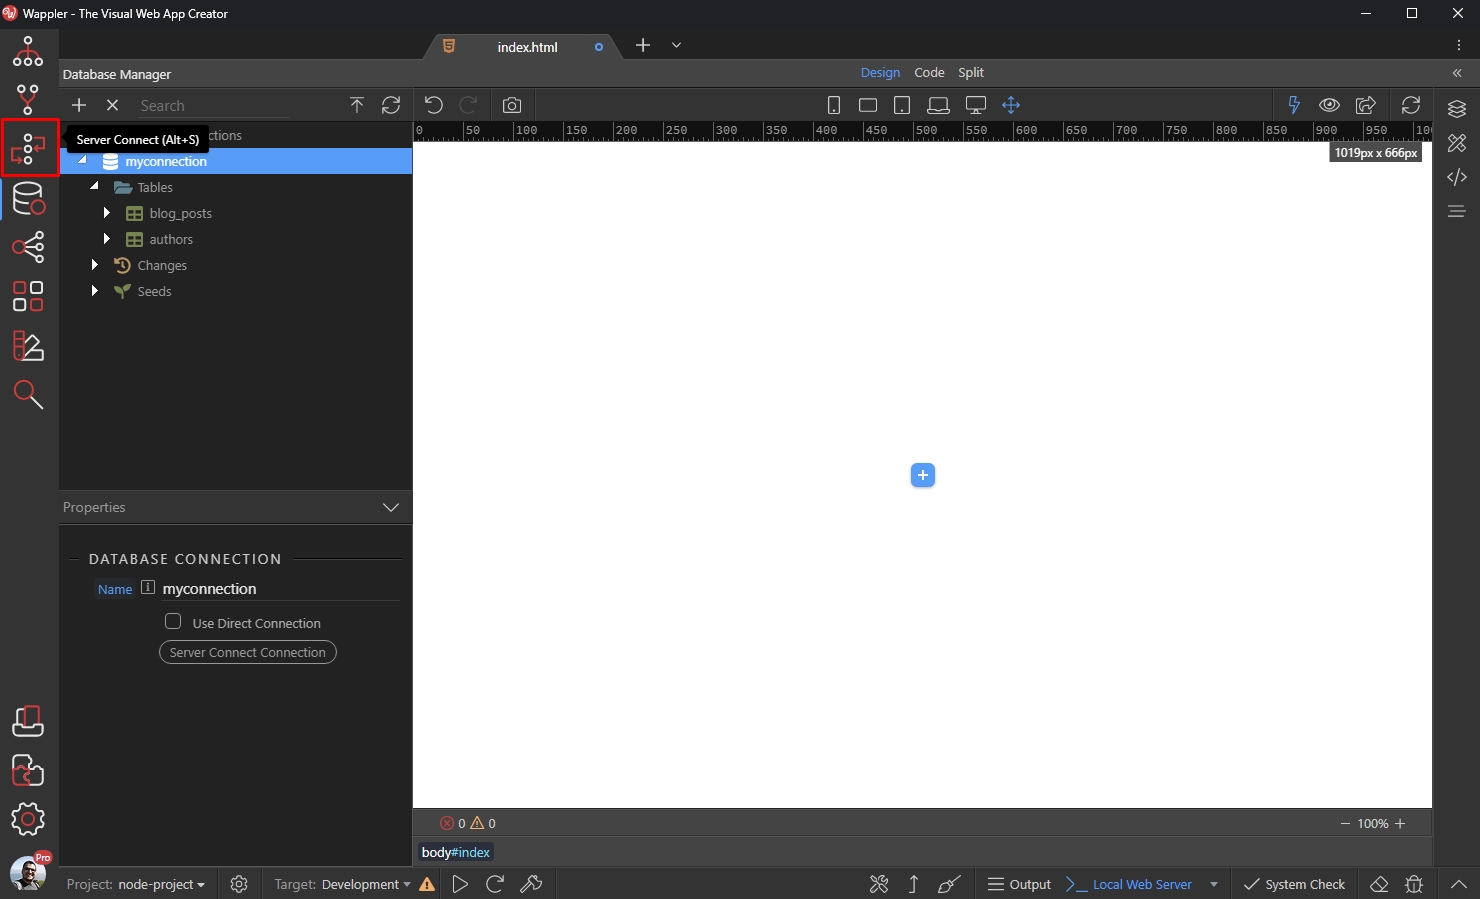
Create a new Server Action and add a name for it. Right click its steps:
Section titled “Create a new Server Action and add a name for it. Right click its steps:”Create a new Server Action and add a name for it. Right click its steps:
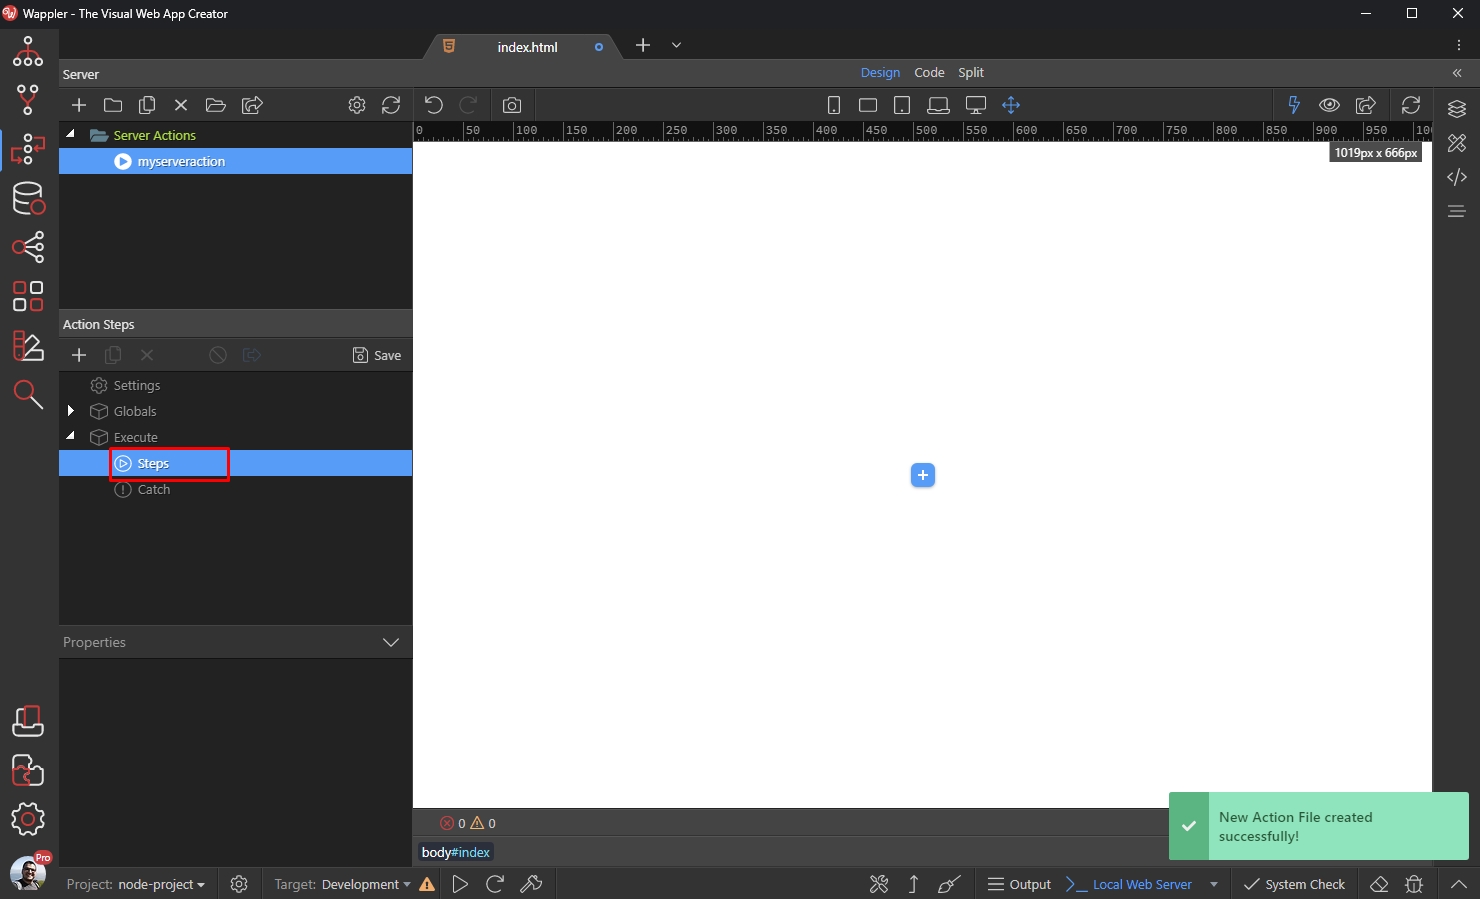
And add a new Database Connection step:
Section titled “And add a new Database Connection step:”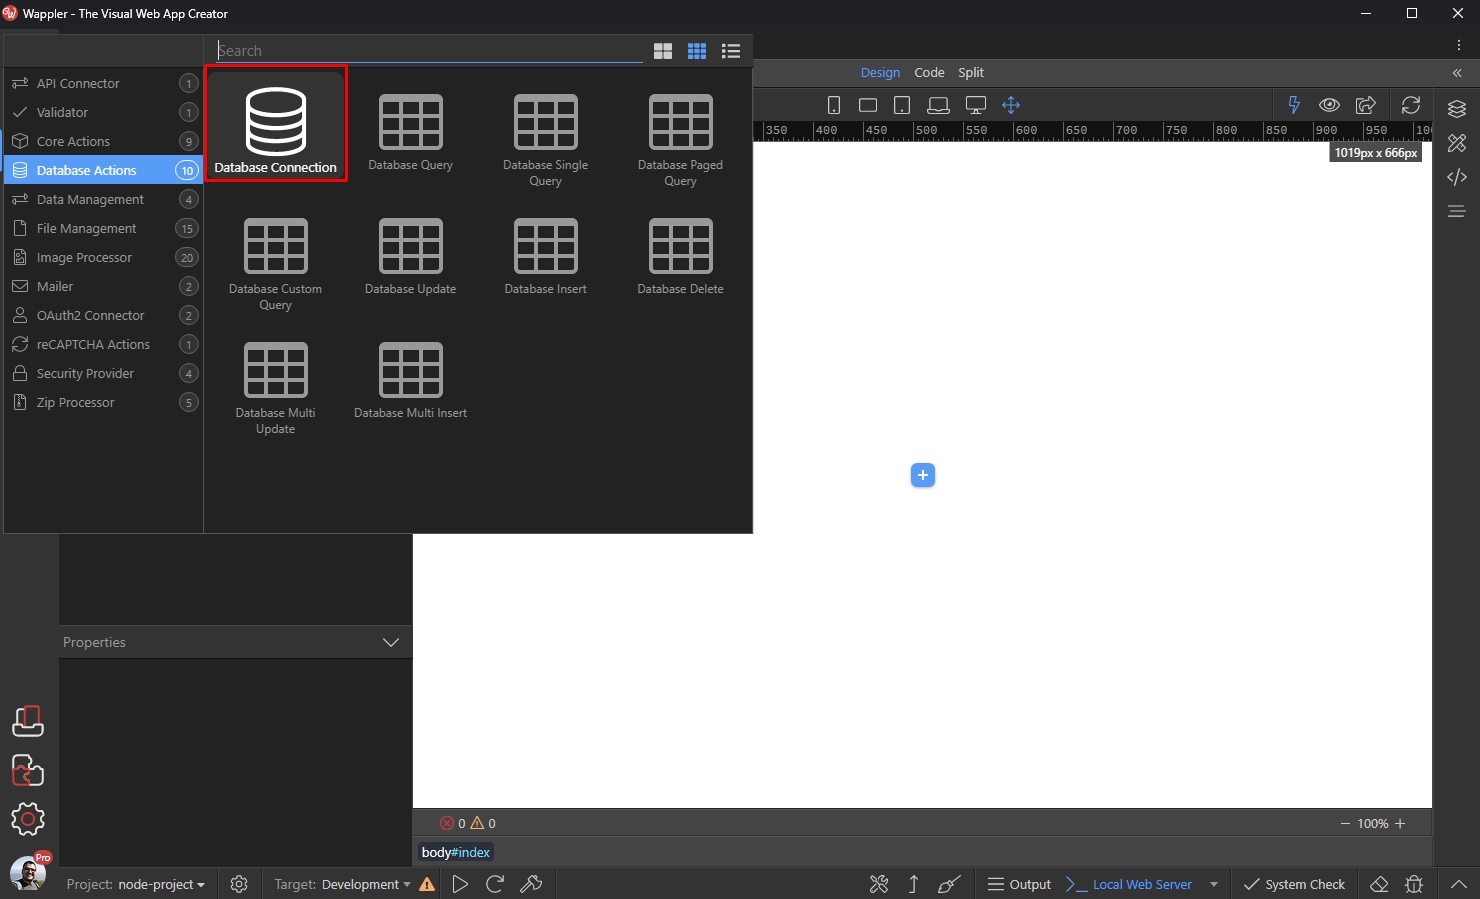
Then you will see your database connection in the dropdown and you can select it:
Section titled “Then you will see your database connection in the dropdown and you can select it:”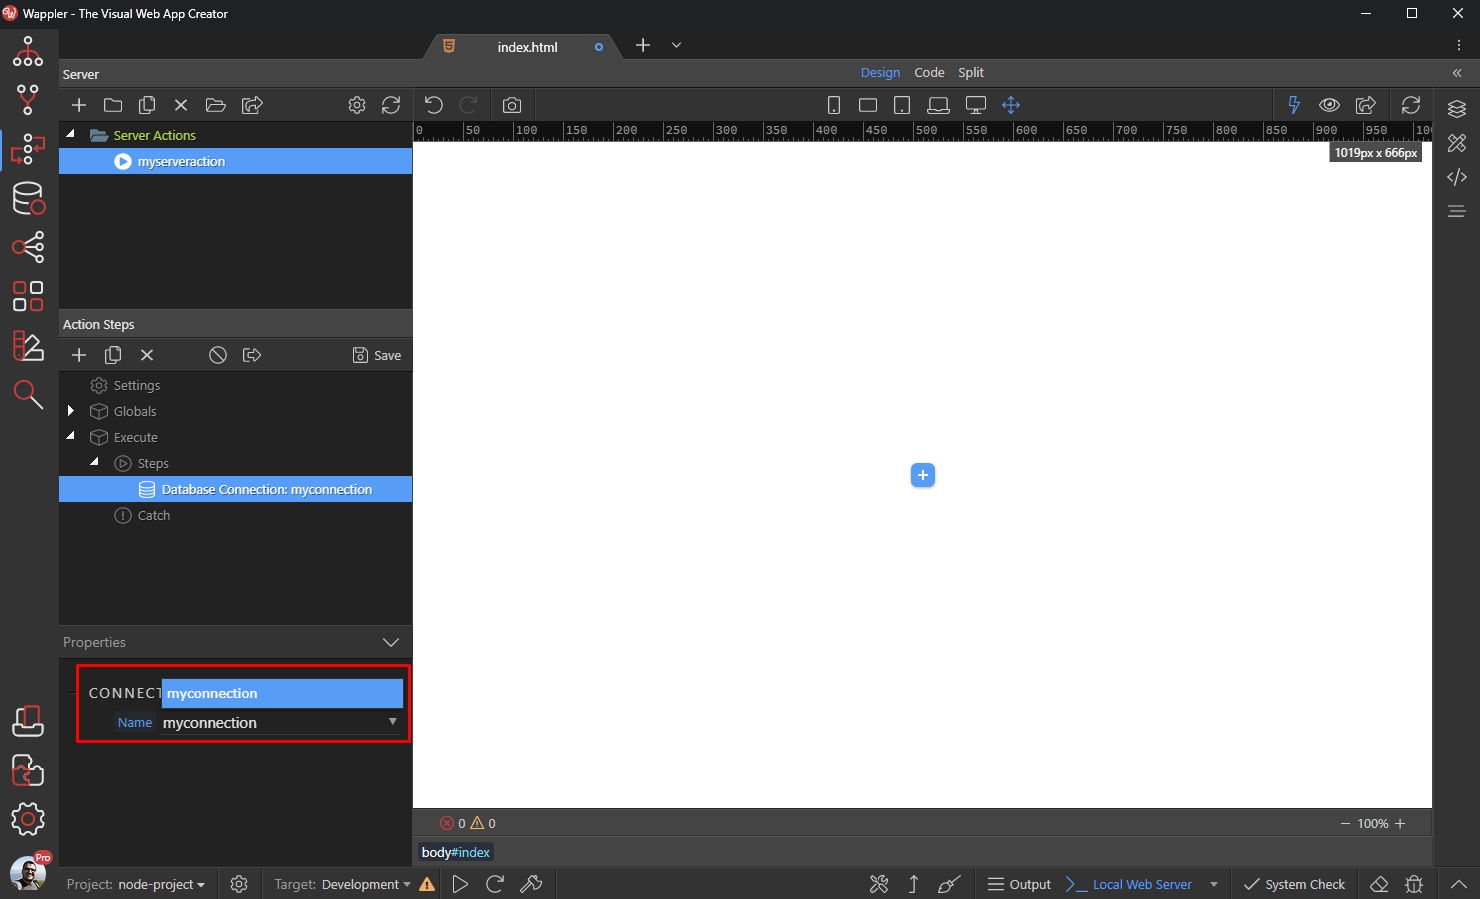
Site structure
Section titled “Site structure”With Node.js your site structure is as follows.
Your site public files like html pages, css files, js plugins are located in the public folder:
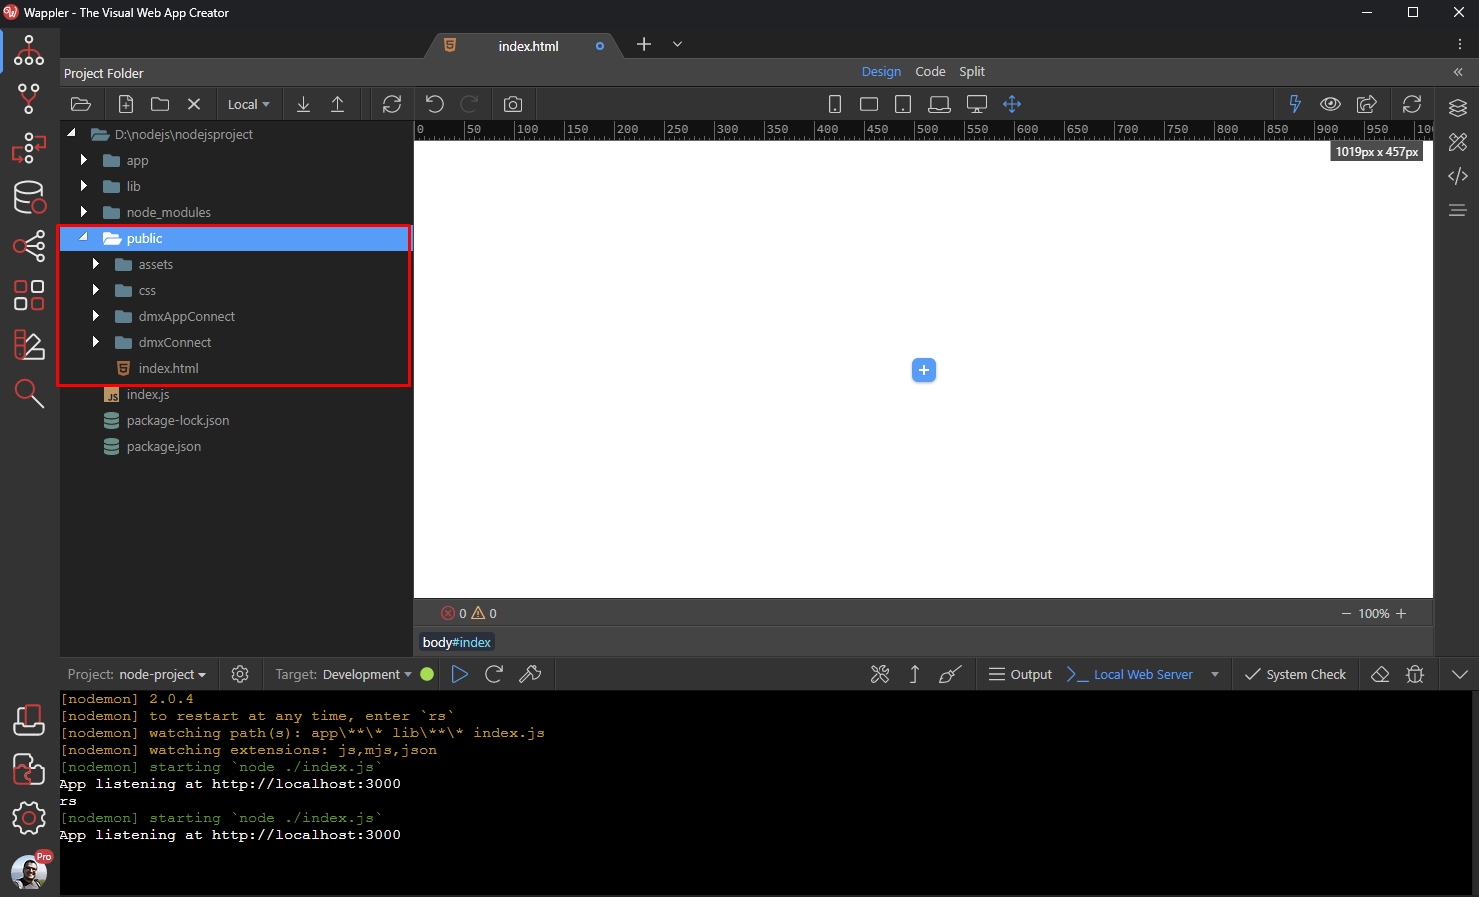
The actions are located in the app/api folder
Section titled “The actions are located in the app/api folder”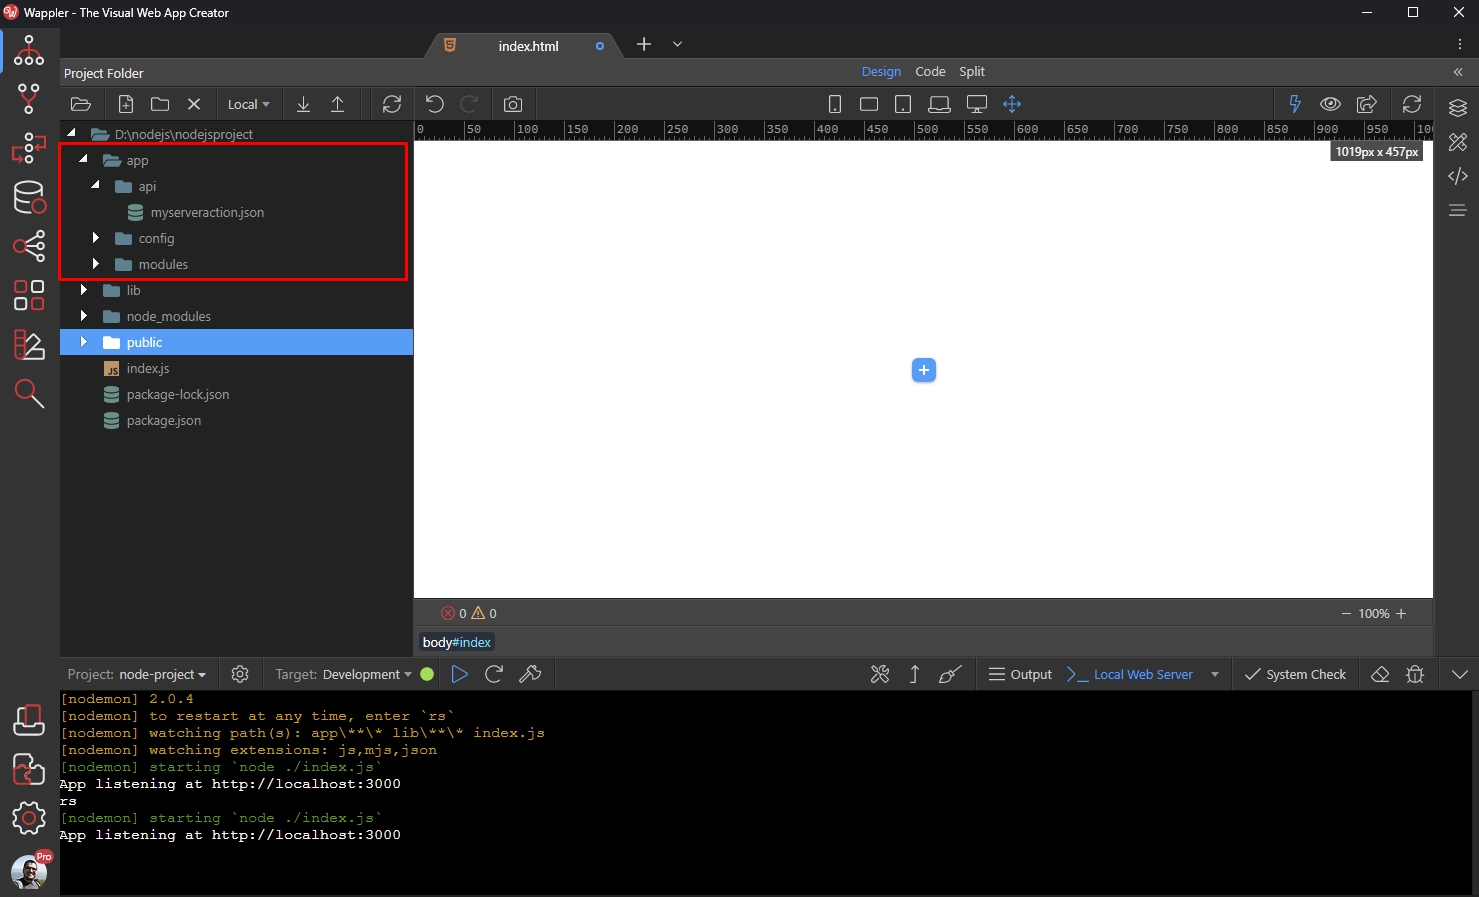
Routing
Section titled “Routing”Routing is supported out of the box with the Node.js server model. You can easily create routes for your website pages without configuring anything or setting up additional options.
You can directly create a new route in the Routing Panel:
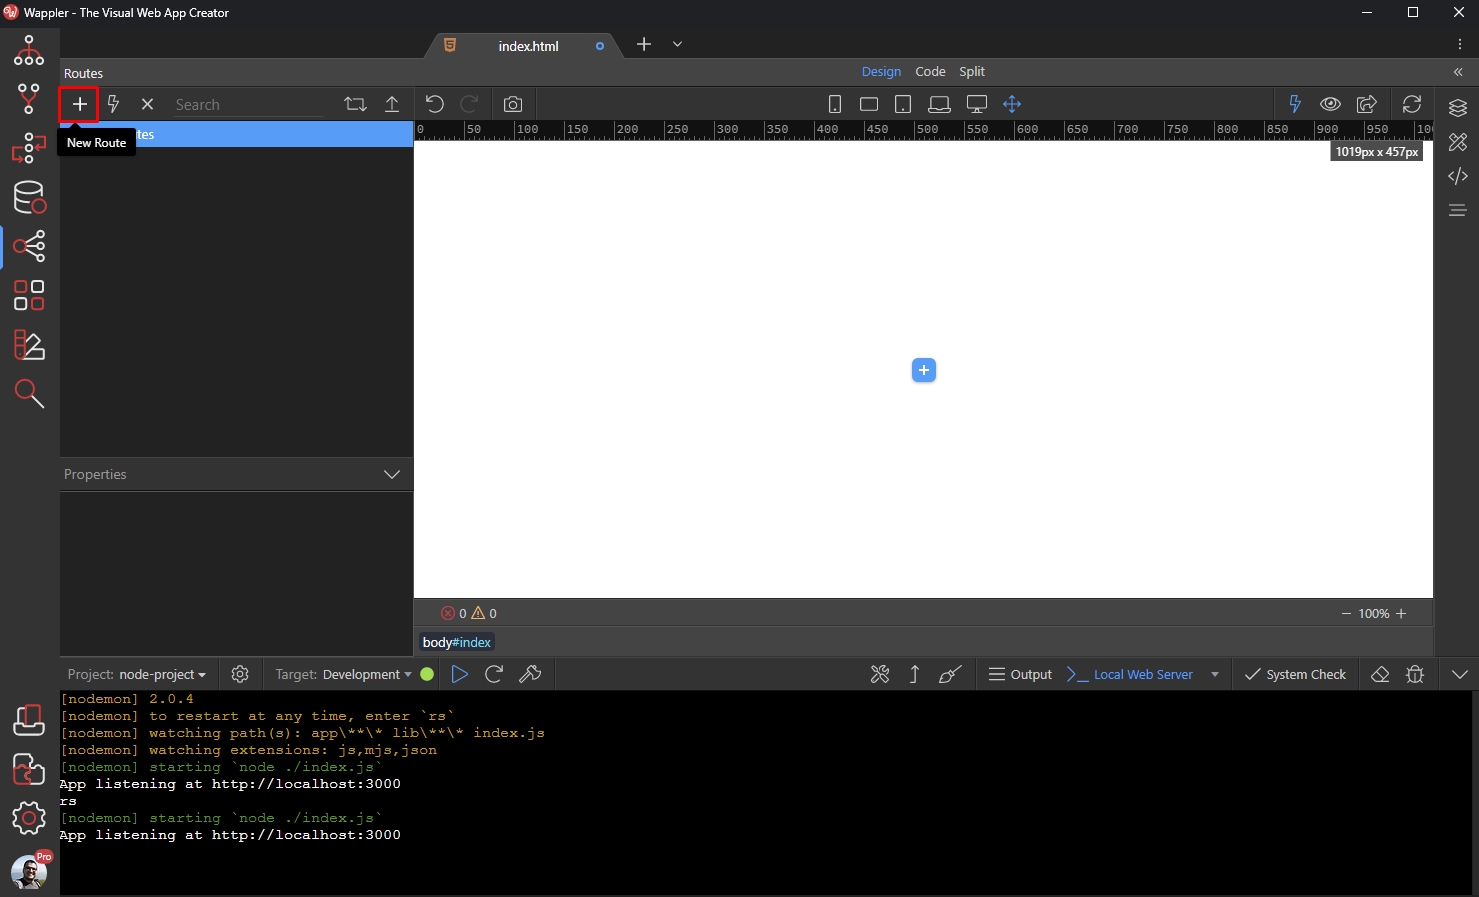
Select your html file:
Section titled “Select your html file:”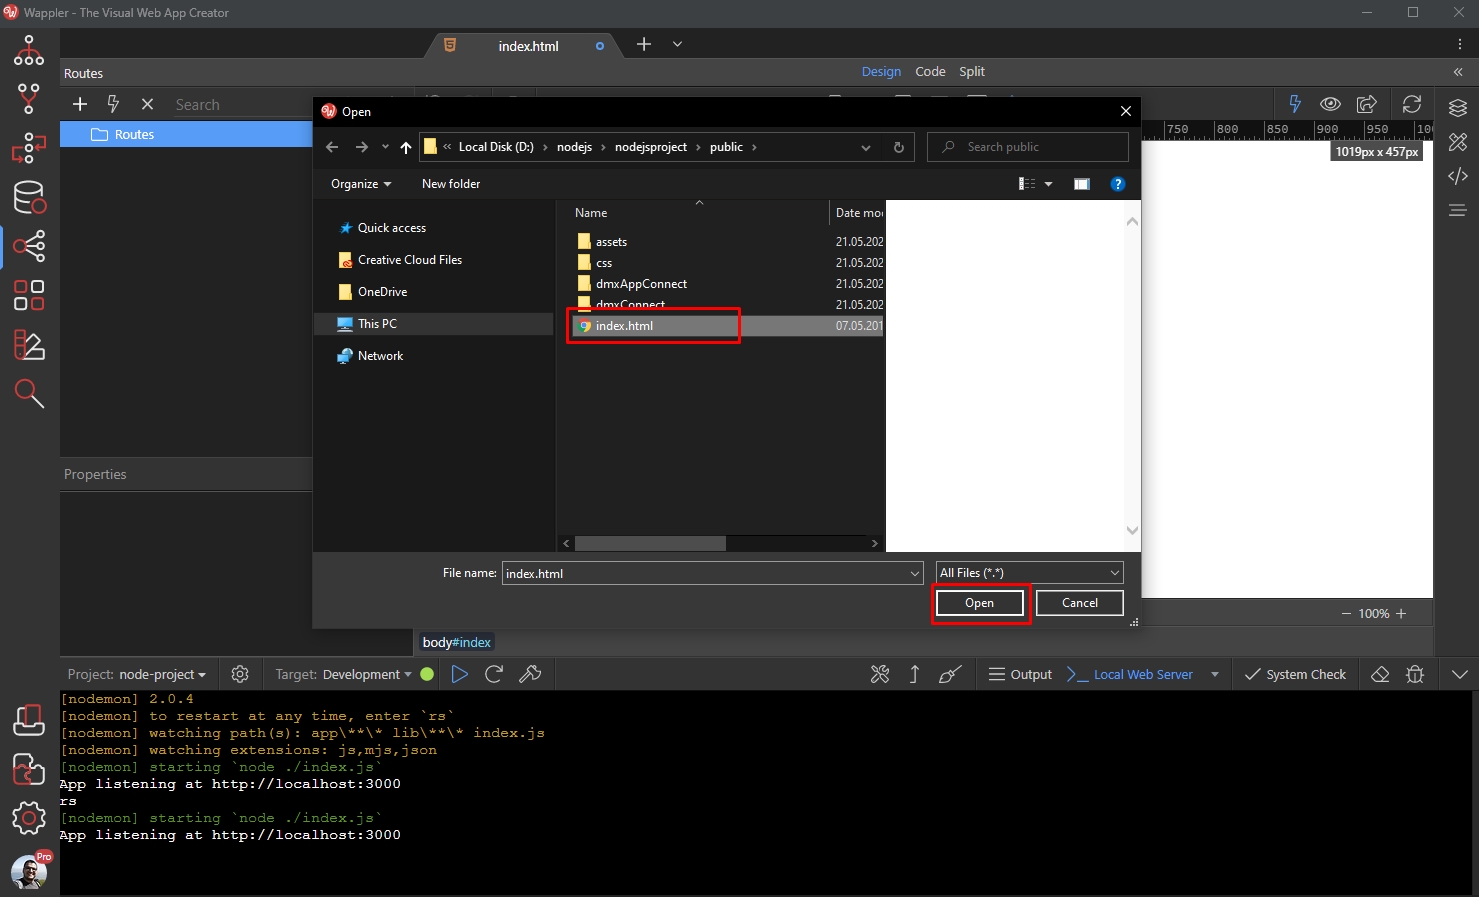
And enter the route path:
Section titled “And enter the route path:”