WebSockets - Realtime Messaging
Intro Thanks to the NodeJS and Socket.IO integration in Wappler now you can build apps which use real-time messaging, so you can send messages to all users, or only to specific users. Messaging Basics
Thanks to the NodeJS and Socket.IO integration in Wappler now you can build apps which use real-time messaging, so you can send messages to all users, or only to specific users.
Messaging Basics
Section titled “Messaging Basics”There are a few different options available for sending events between the server and the client - emit, broadcast or direct message.
Emit - sends to all the clients including the sender.
Broadcast - sends to all clients excluding the sender.
Direct Message - sends to specific client.
Socket Actions
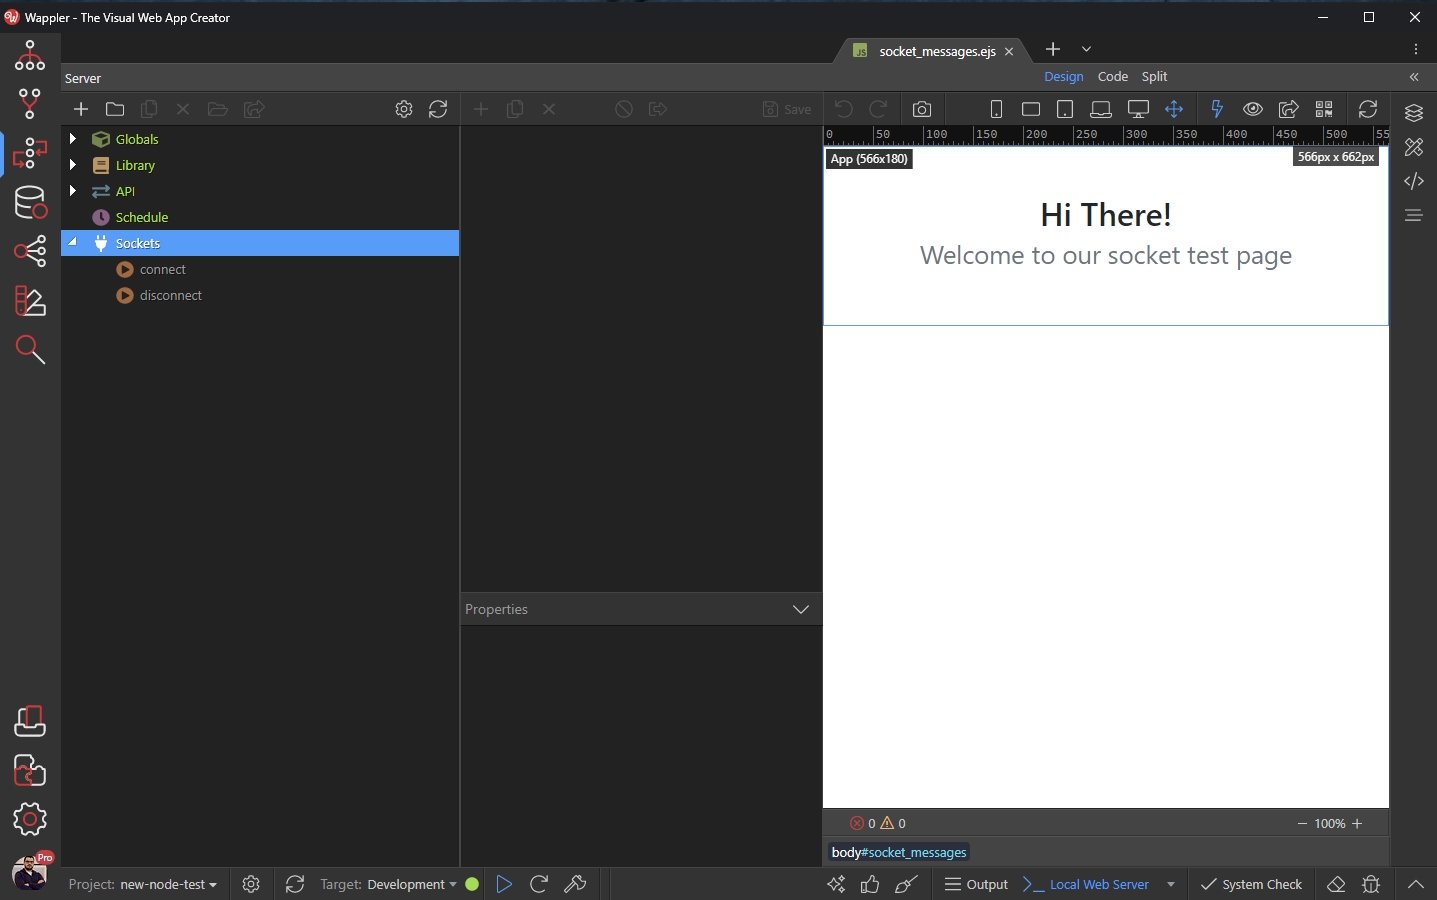
Section titled “Socket Actions”You can find the Socket Actions under Sockets in Server Connect panel. There are two predefined Socket Actions - Connect and Disconnect. They run automatically for every client which connects to the server or disconnects from it:
Step 5
Section titled “Step 5”So these two actions are really useful, when you want to send some messages when the users connect or disconnect from the server.
Emit Messages
Section titled “Emit Messages”We will show you a simple example showing how to send a message to all the connected clients, when a new client joins the server.
Server Side
Section titled “Server Side”First, we need to define a message (think of it like a message template) which will be sent to the clients, when a new client joins.
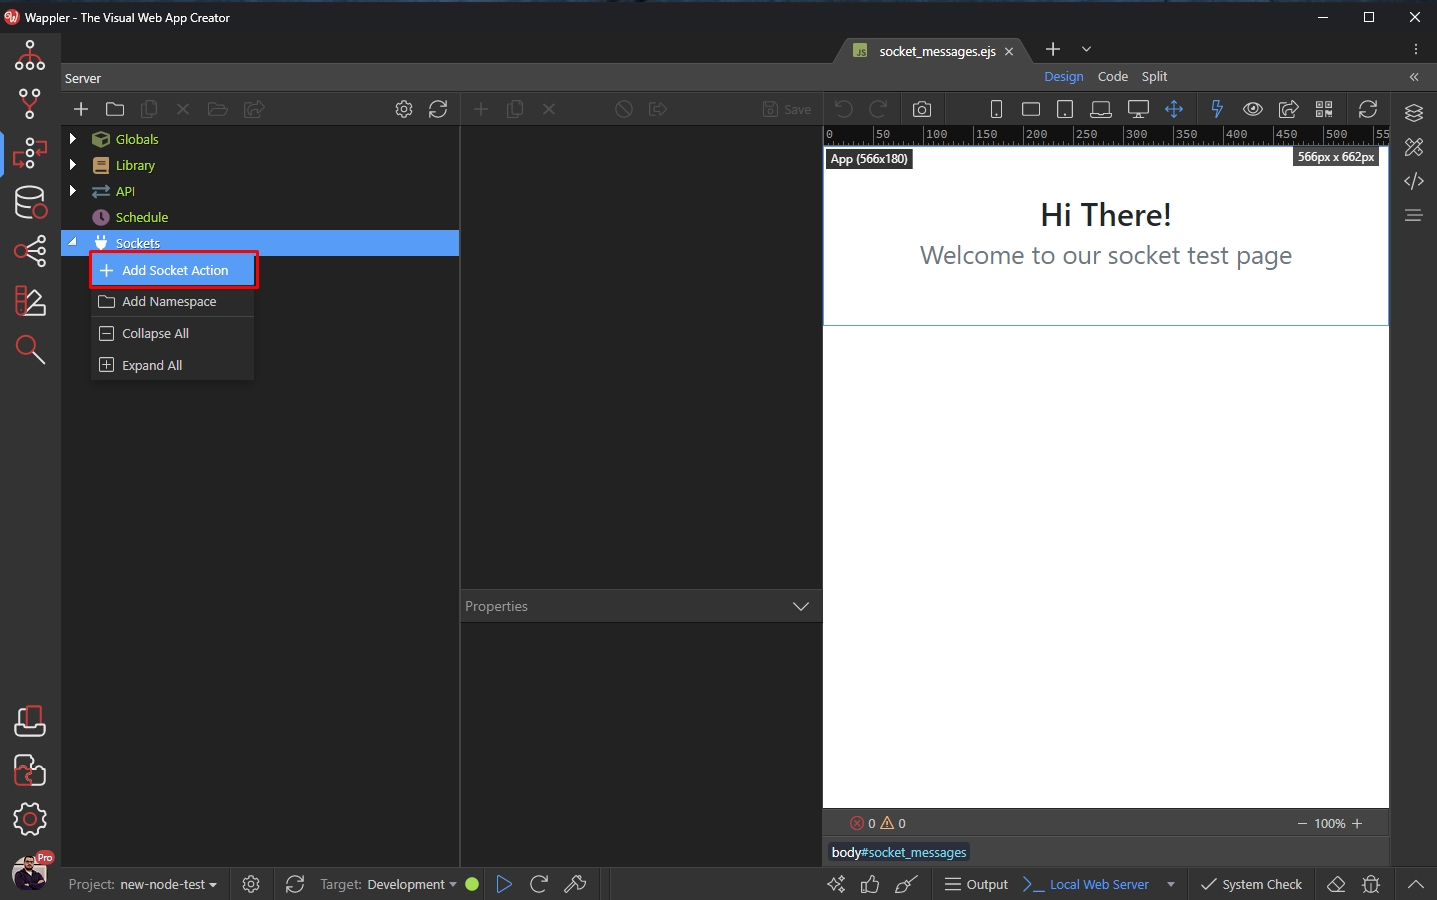
Right click Sockets in the Server Connect panel and add new Socket Action:
Step 8
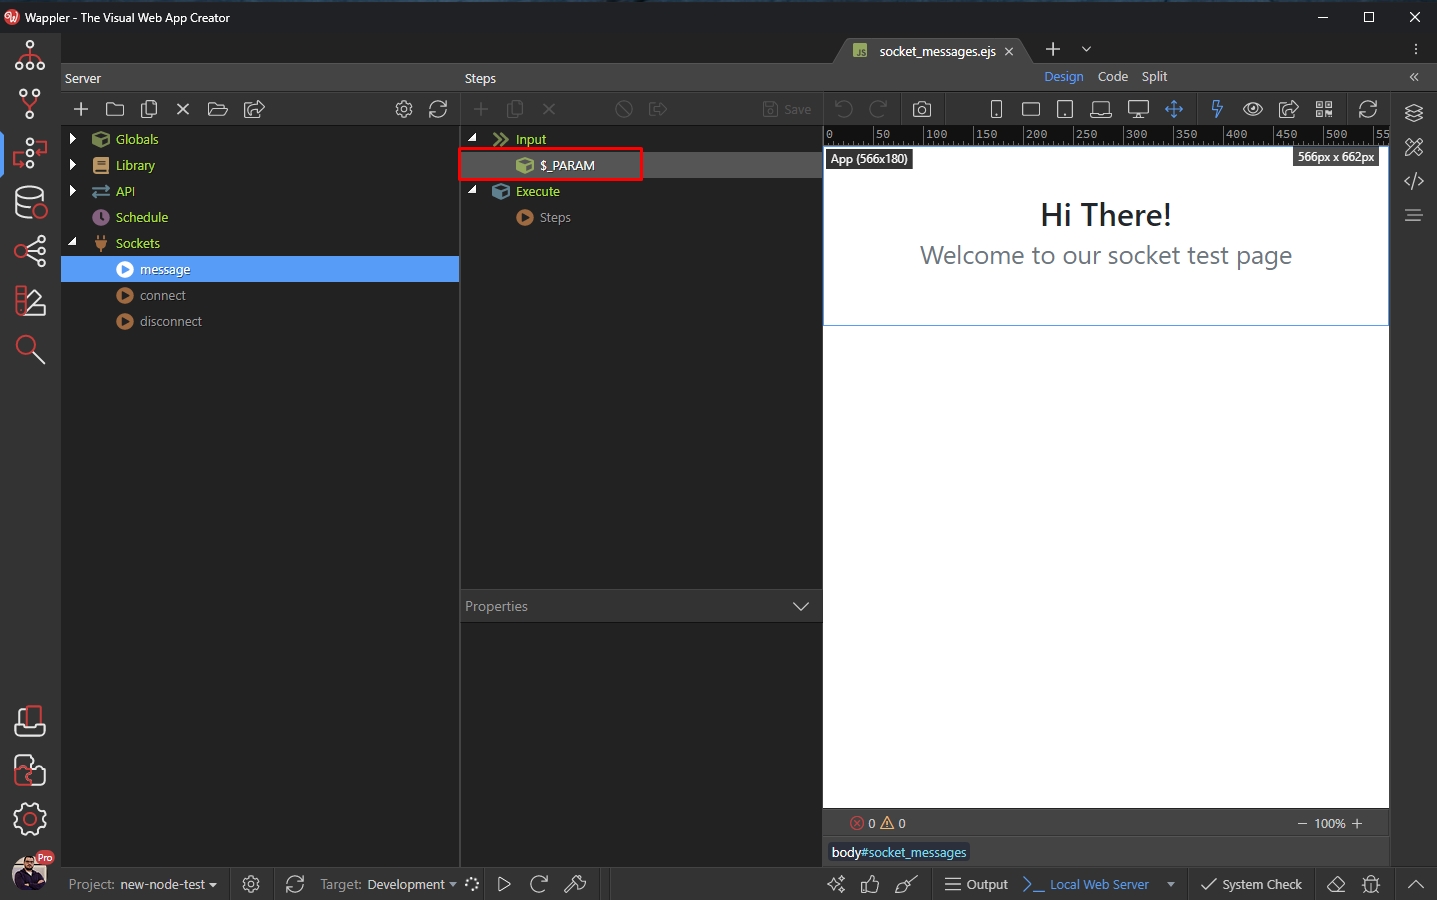
Section titled “Step 8”We call it message. We need to define input data for it, so right click $_PARAM under input for this Socket Action:
And add new variable:
Section titled “And add new variable:”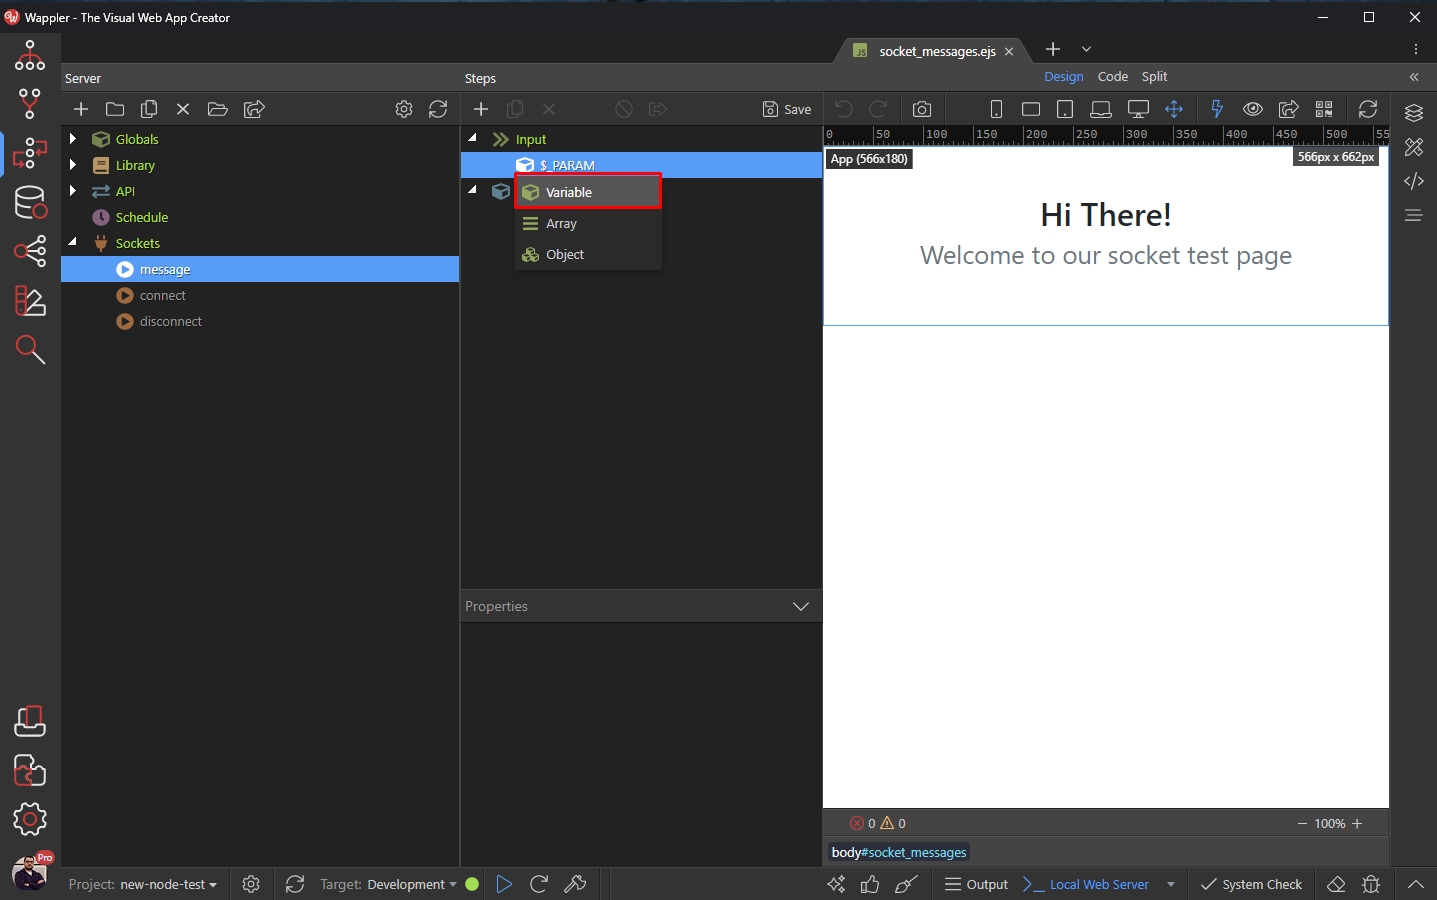
We call it message_text as this will be the text of the message we want to send to the clients:
Section titled “We call it message_text as this will be the text of the message we want to send to the clients:”
Save your Socket Action:
Section titled “Save your Socket Action:”
Select the Connect Socket Action (1) and right click its Steps (2):
Section titled “Select the Connect Socket Action (1) and right click its Steps (2):”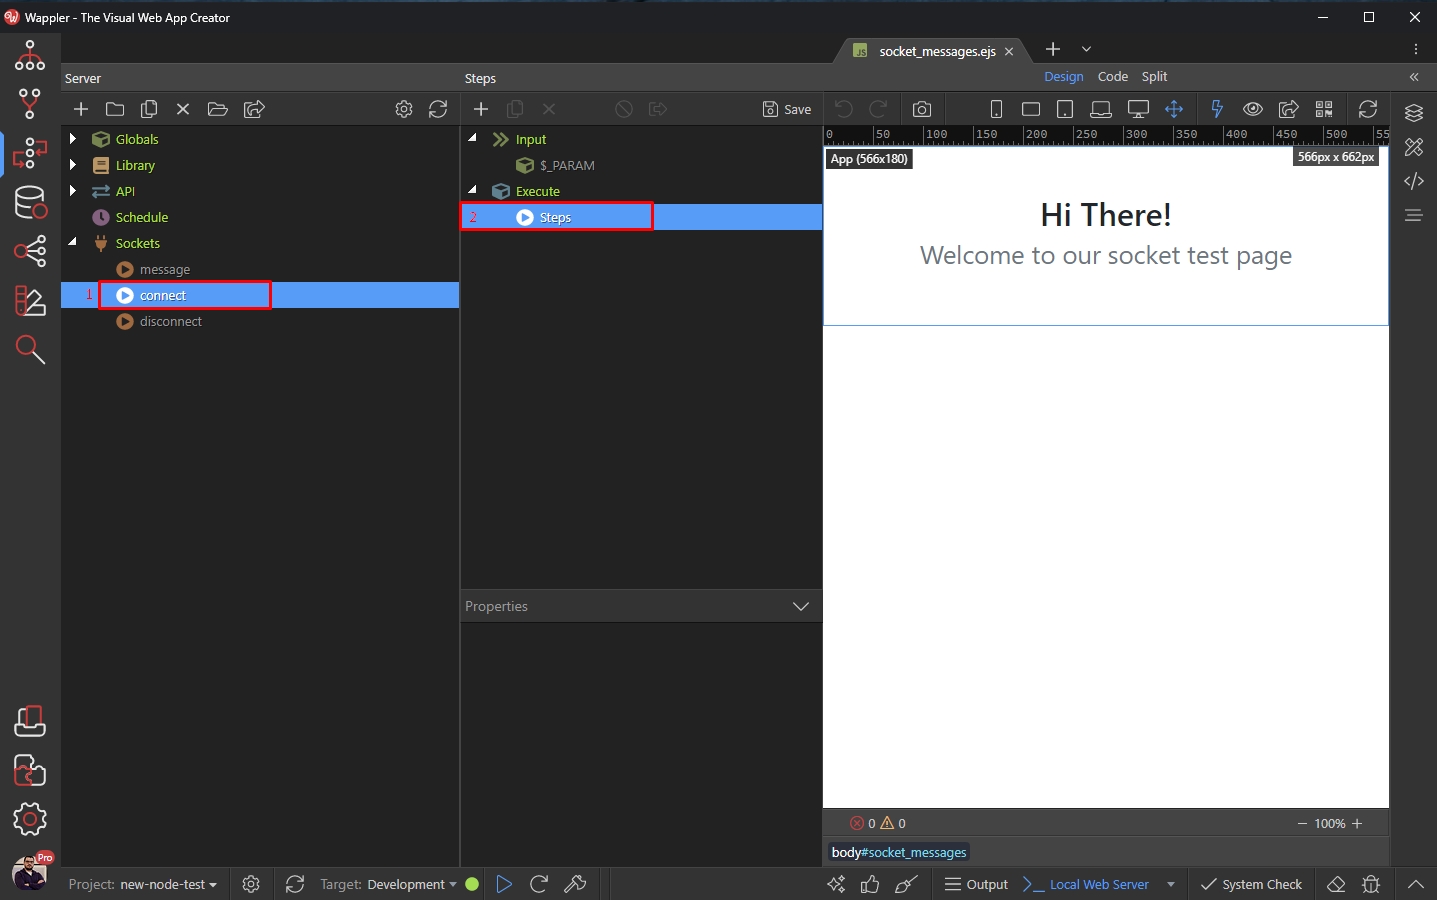
Open the Sockets category and select Emit:
Section titled “Open the Sockets category and select Emit:”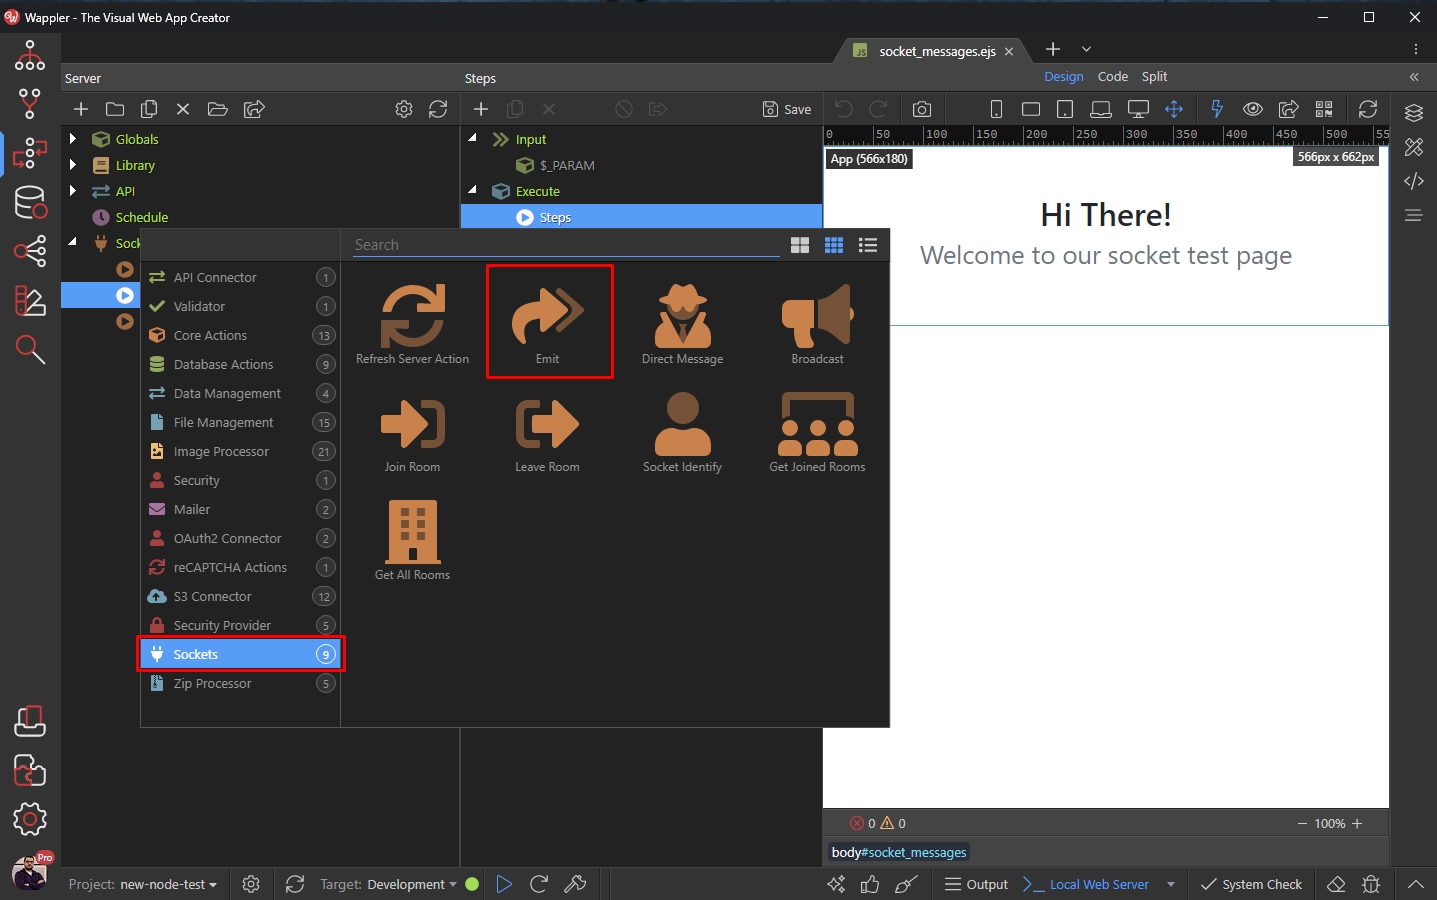
You can find the emit step properties in the properties panel:
Section titled “You can find the emit step properties in the properties panel:”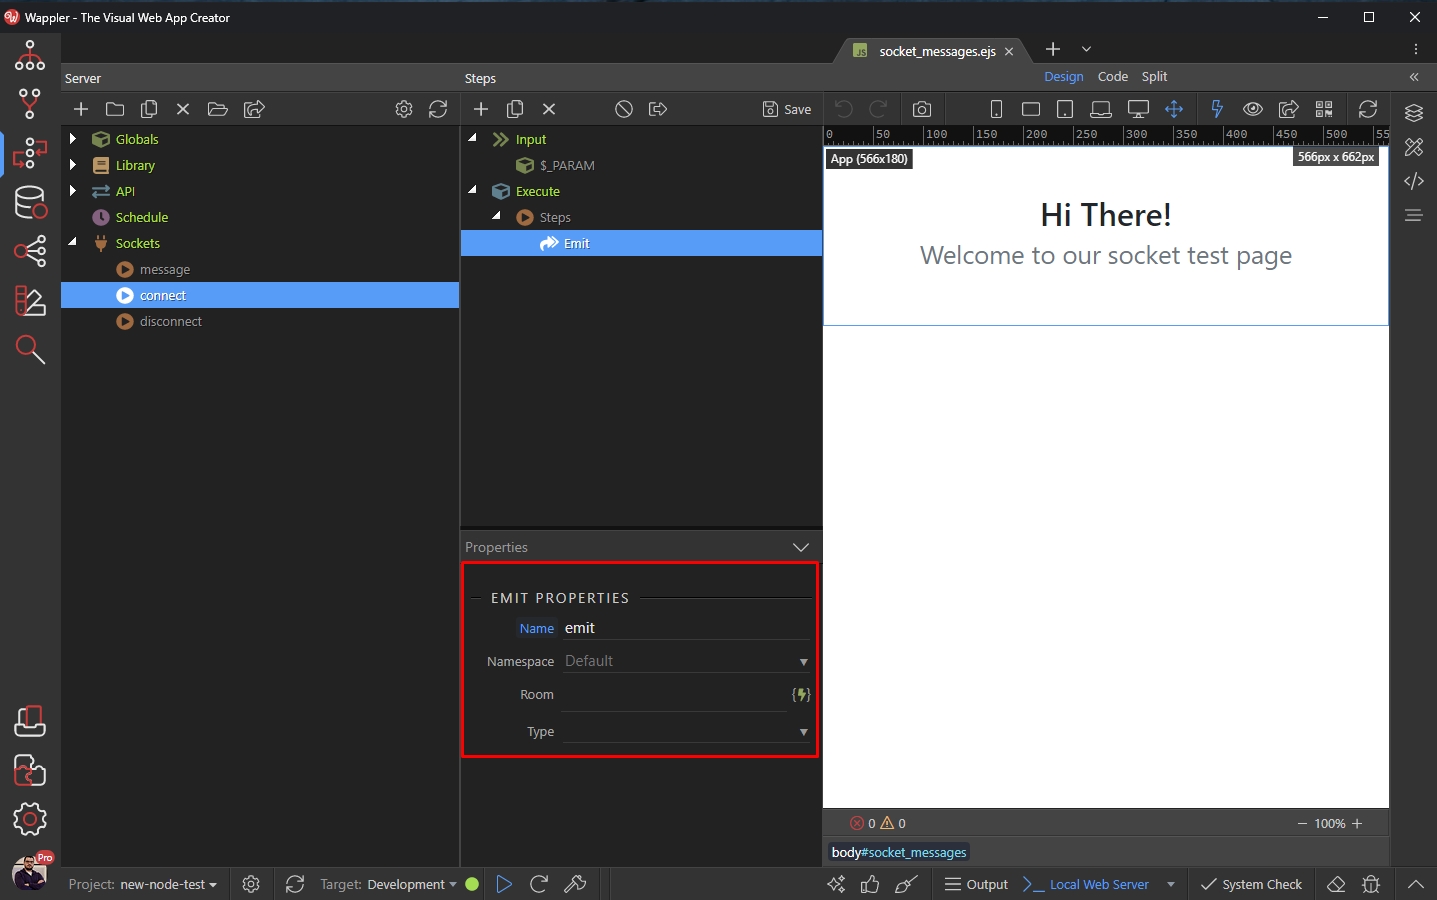
Select the message type you want to send:
Section titled “Select the message type you want to send:”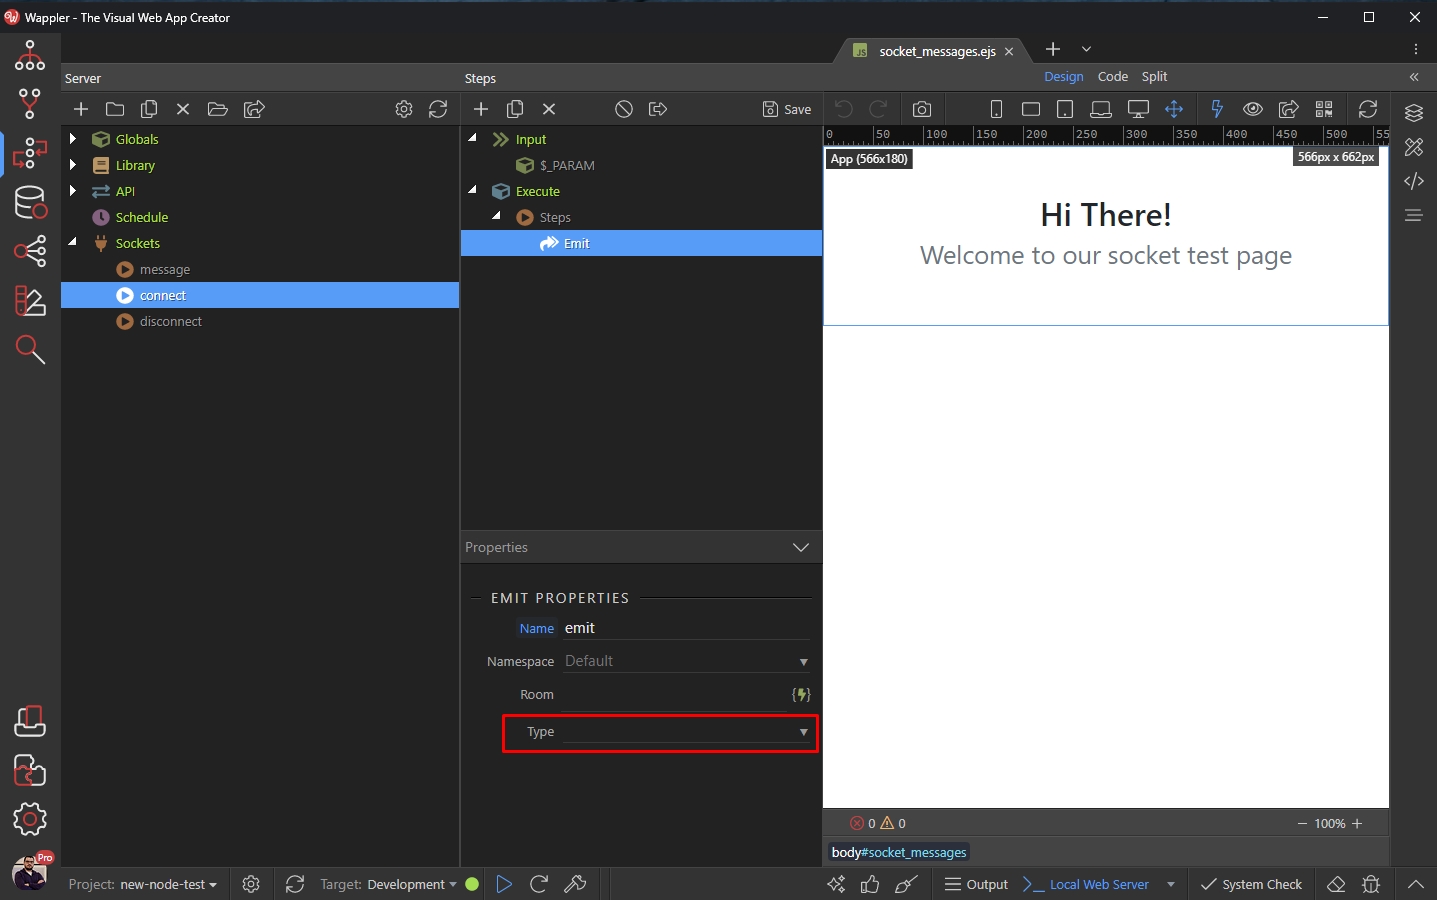
We select the message which we created a few steps above:
Section titled “We select the message which we created a few steps above:”
And enter the text you want to send, in the input parameter field:
Section titled “And enter the text you want to send, in the input parameter field:”
We enter A new user has joined! and click Save:
Section titled “We enter A new user has joined! and click Save:”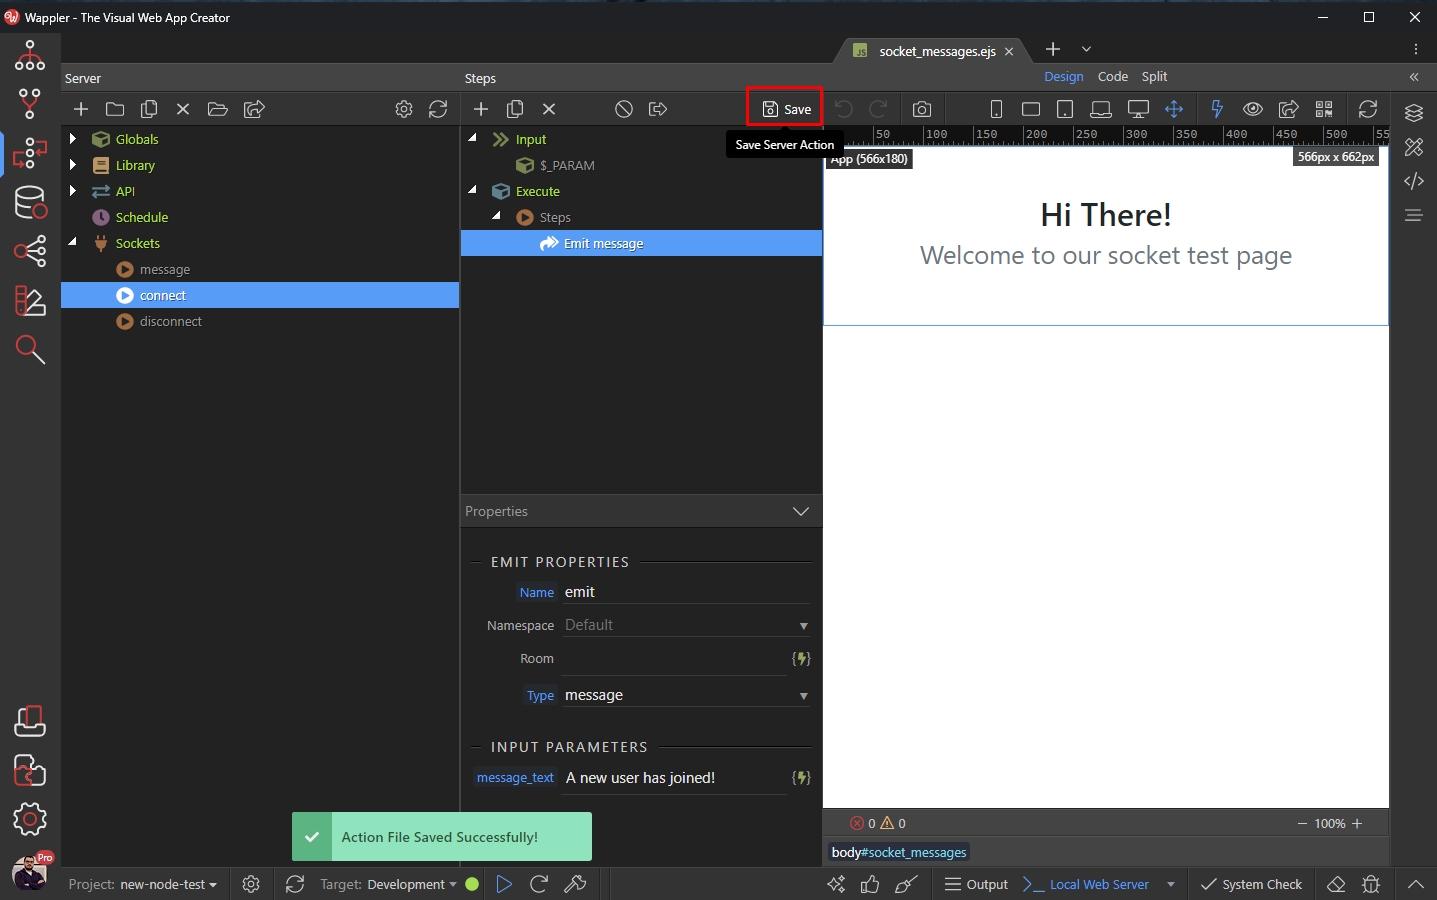
Client Side
Section titled “Client Side”Close the Server Connect panel, load your page and open the App Connect Panel.
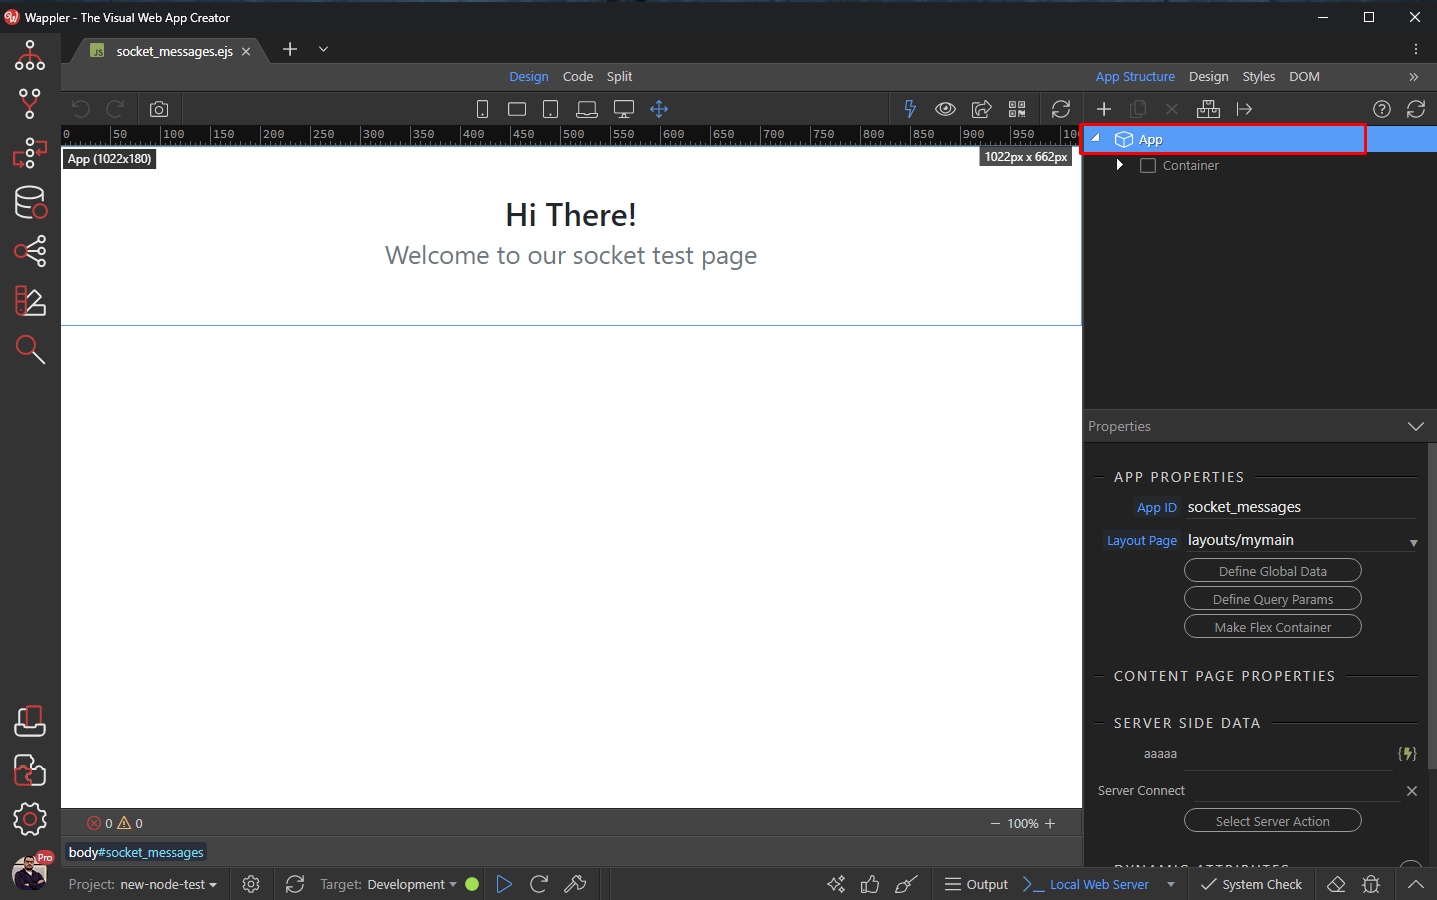
There are many ways to show a message to the clients, but in our example we will show you how to do this with the Toasts component. So right click App:
Open Components and add Toasts:
Section titled “Open Components and add Toasts:”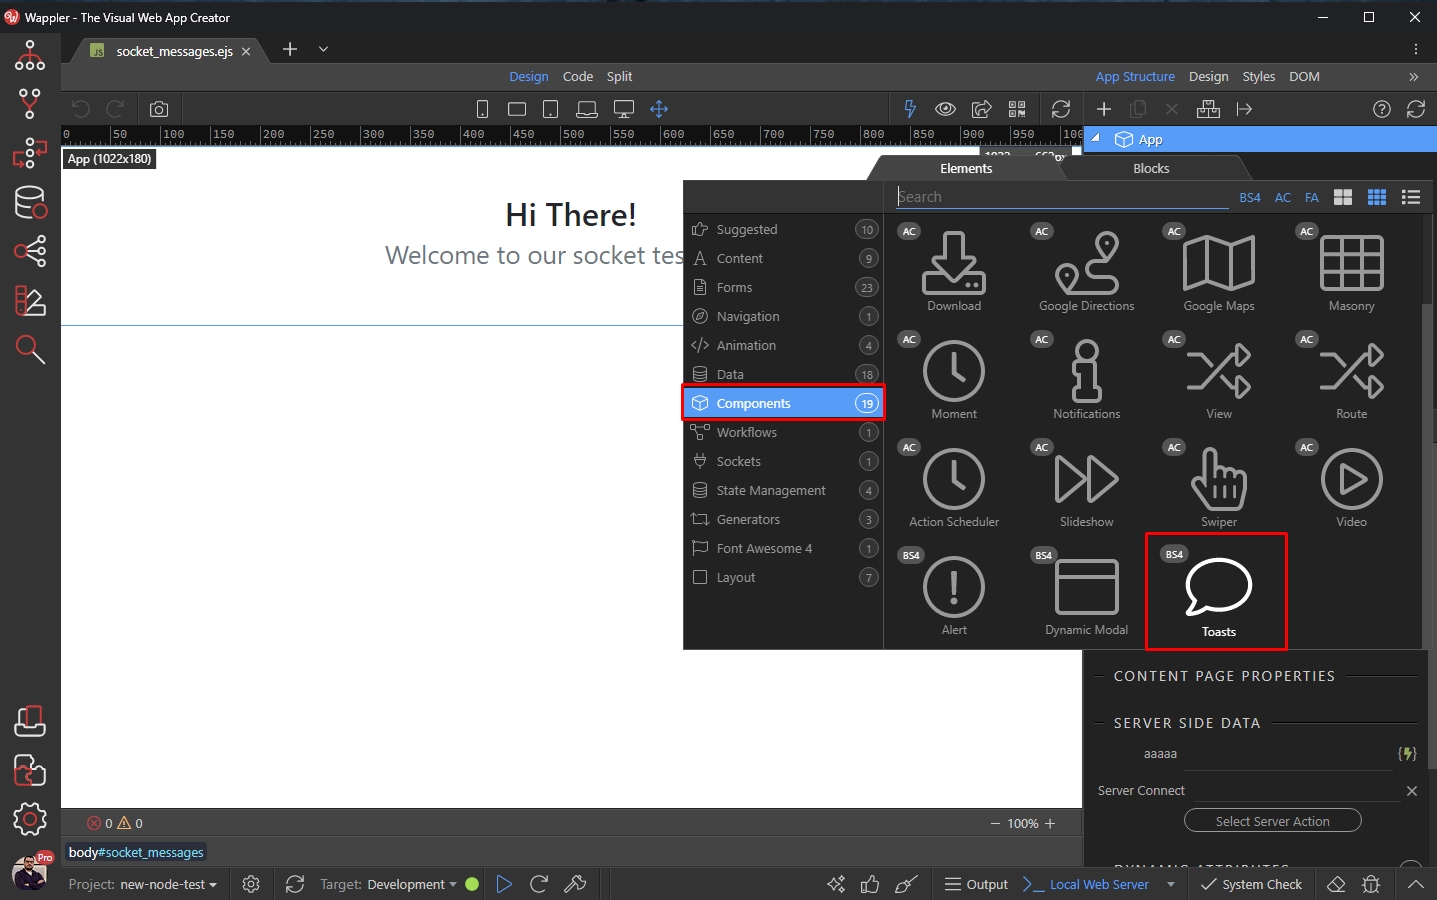
Then right click App again:
Section titled “Then right click App again:”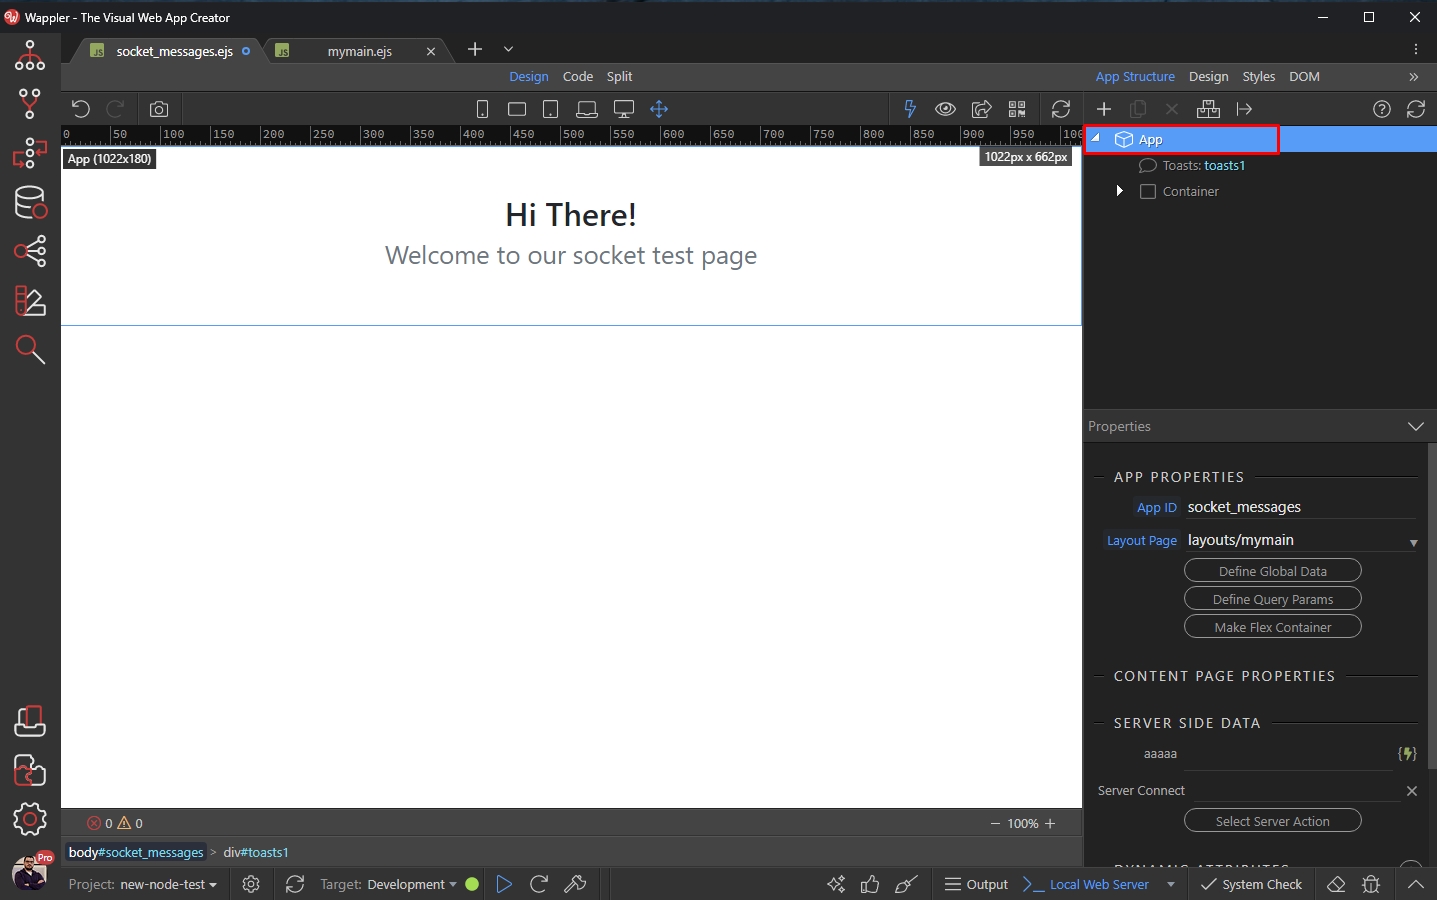
Open Sockets and select the Socket component:
Section titled “Open Sockets and select the Socket component:”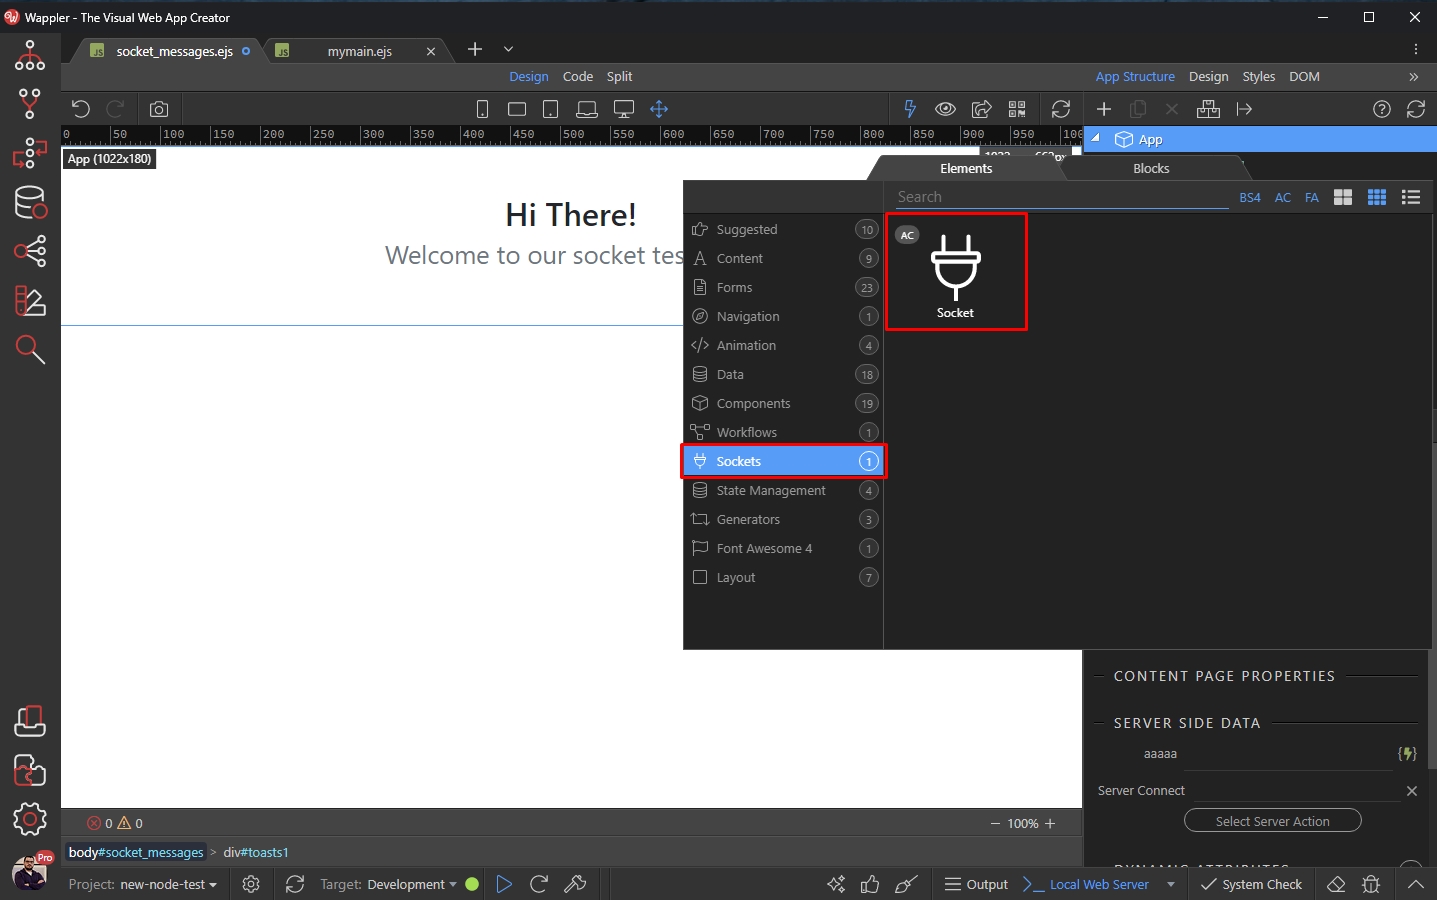
Add new dynamic event:
Section titled “Add new dynamic event:”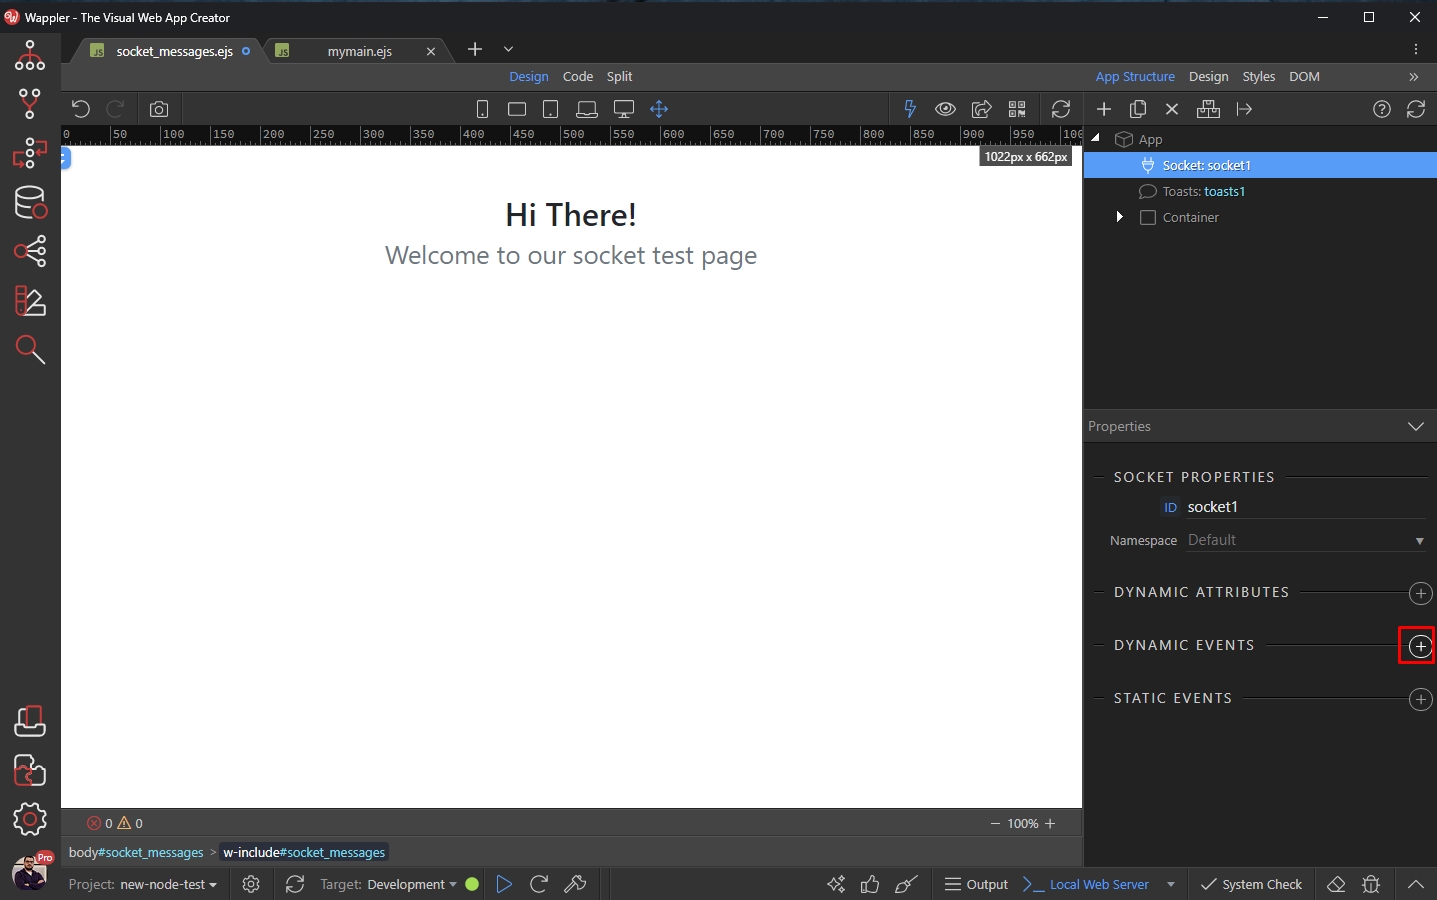
Step 25
Section titled “Step 25”Select Sockets > Message. This event triggers when a new message is received. In our example when a user connects, the Emit Message will trigger it:
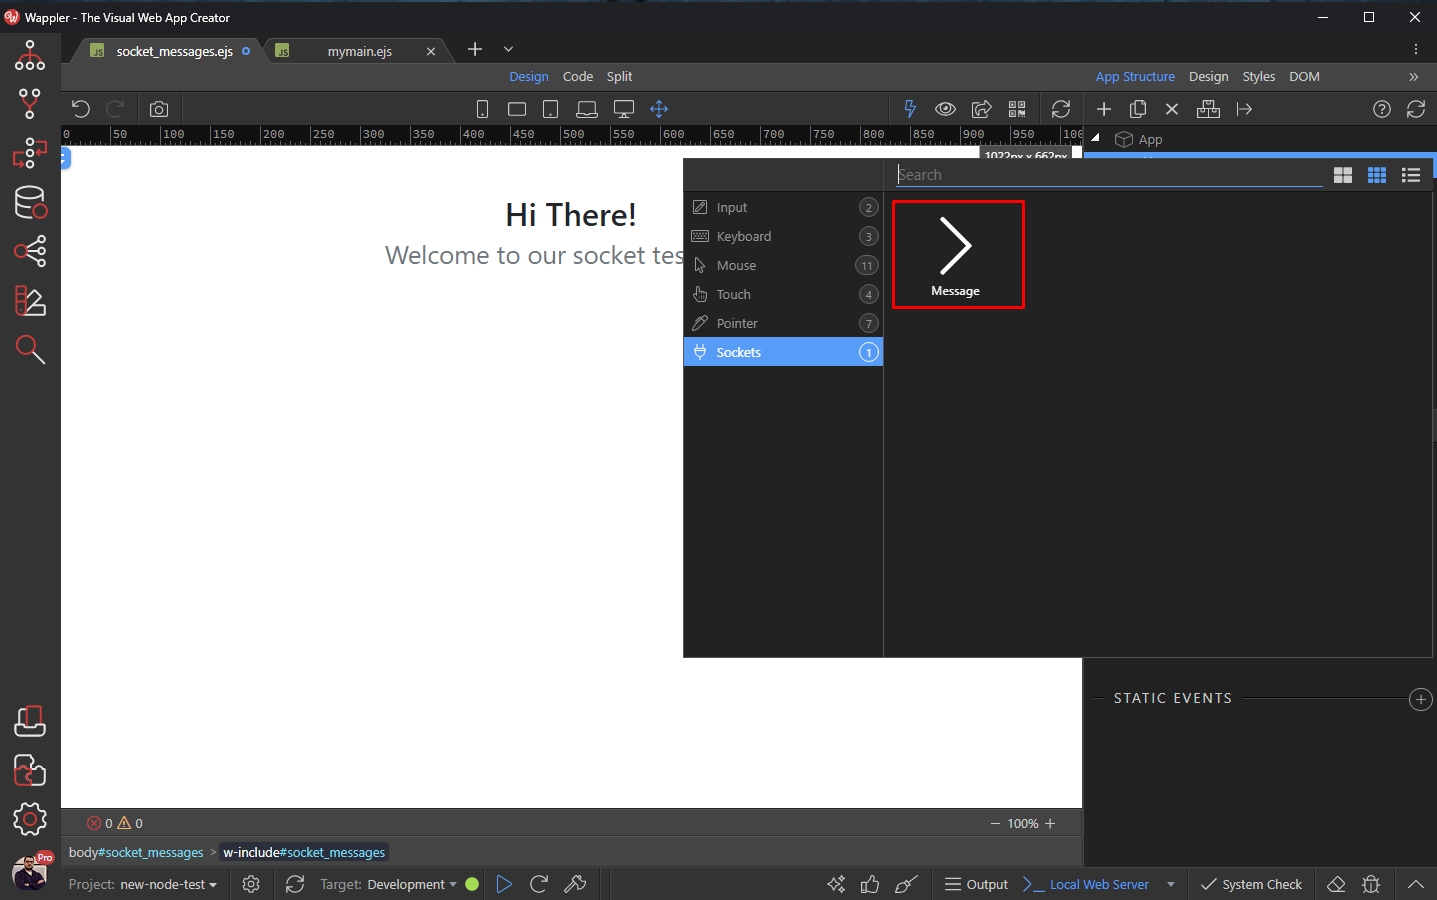
Select the message type, so that the dynamic event knows where to gets its data from:
Section titled “Select the message type, so that the dynamic event knows where to gets its data from:”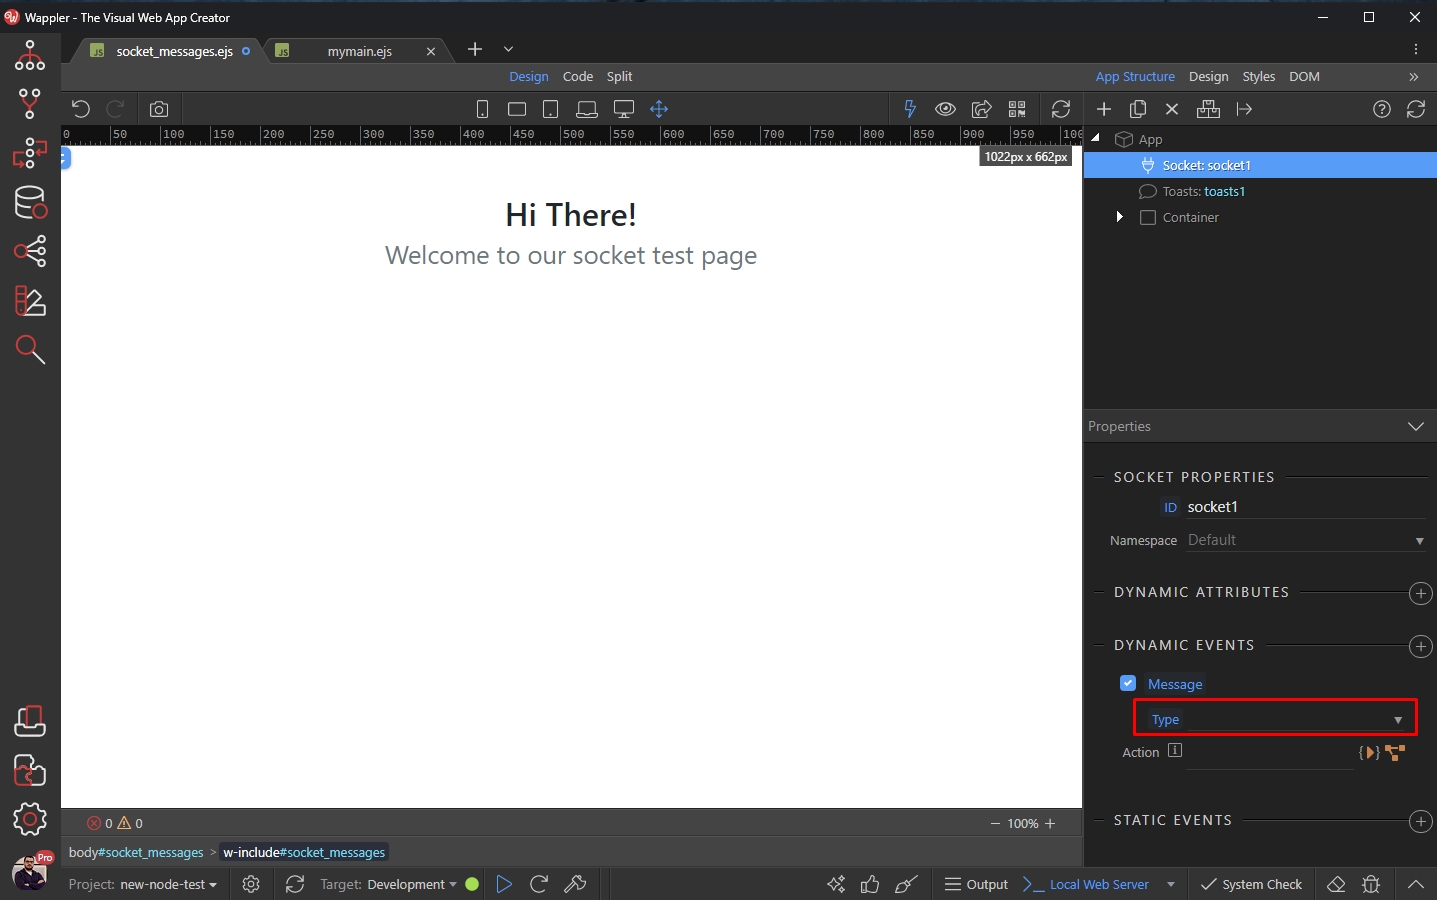
Then click the dynamic action picker button:
Section titled “Then click the dynamic action picker button:”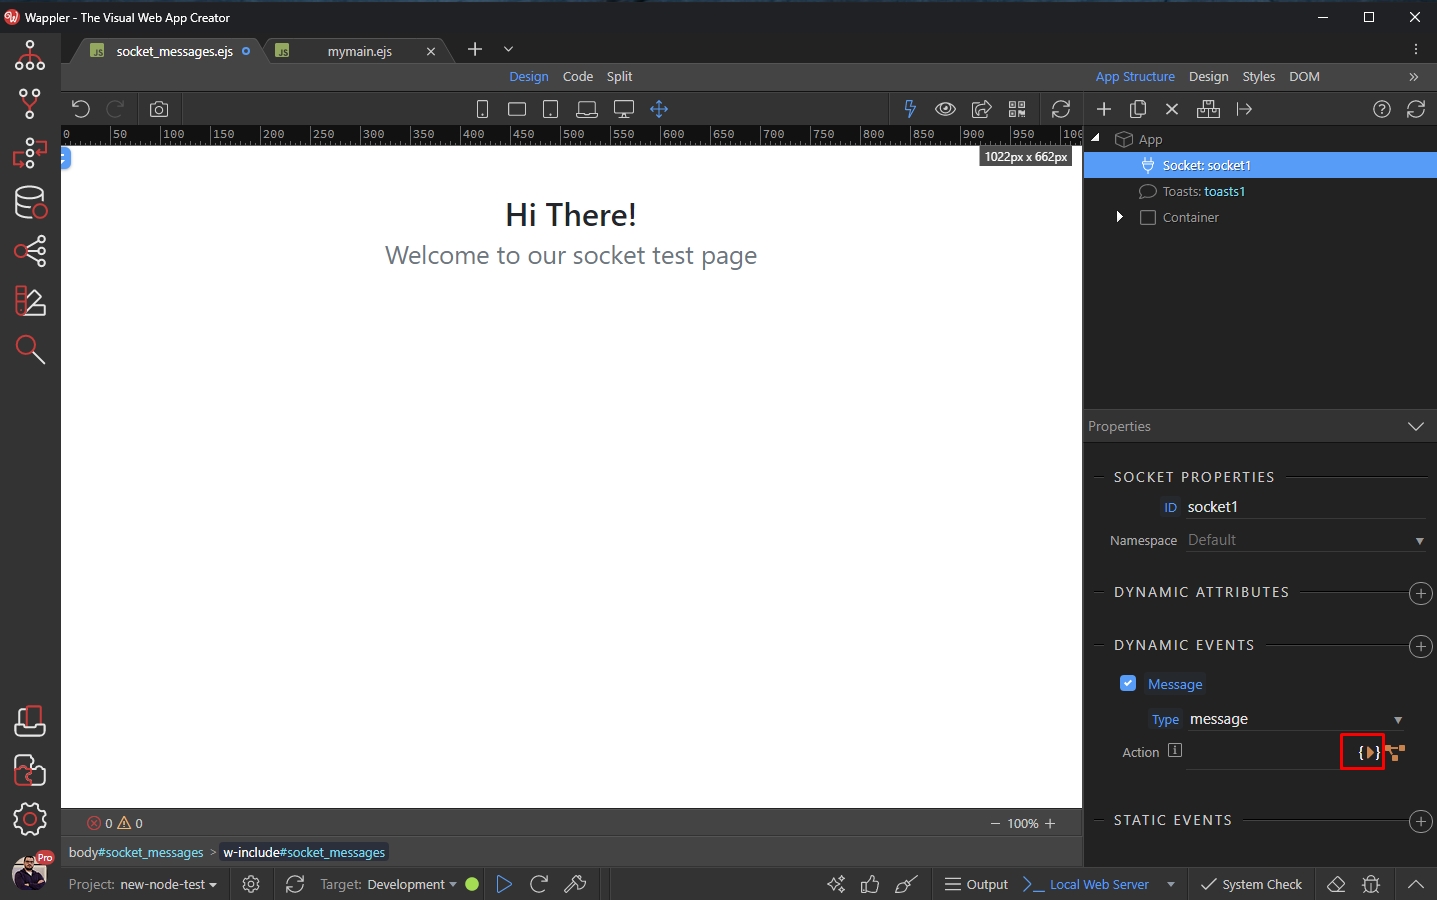
We want to show a Toast message, when the message is received. So select Toasts > Show:
Section titled “We want to show a Toast message, when the message is received. So select Toasts > Show:”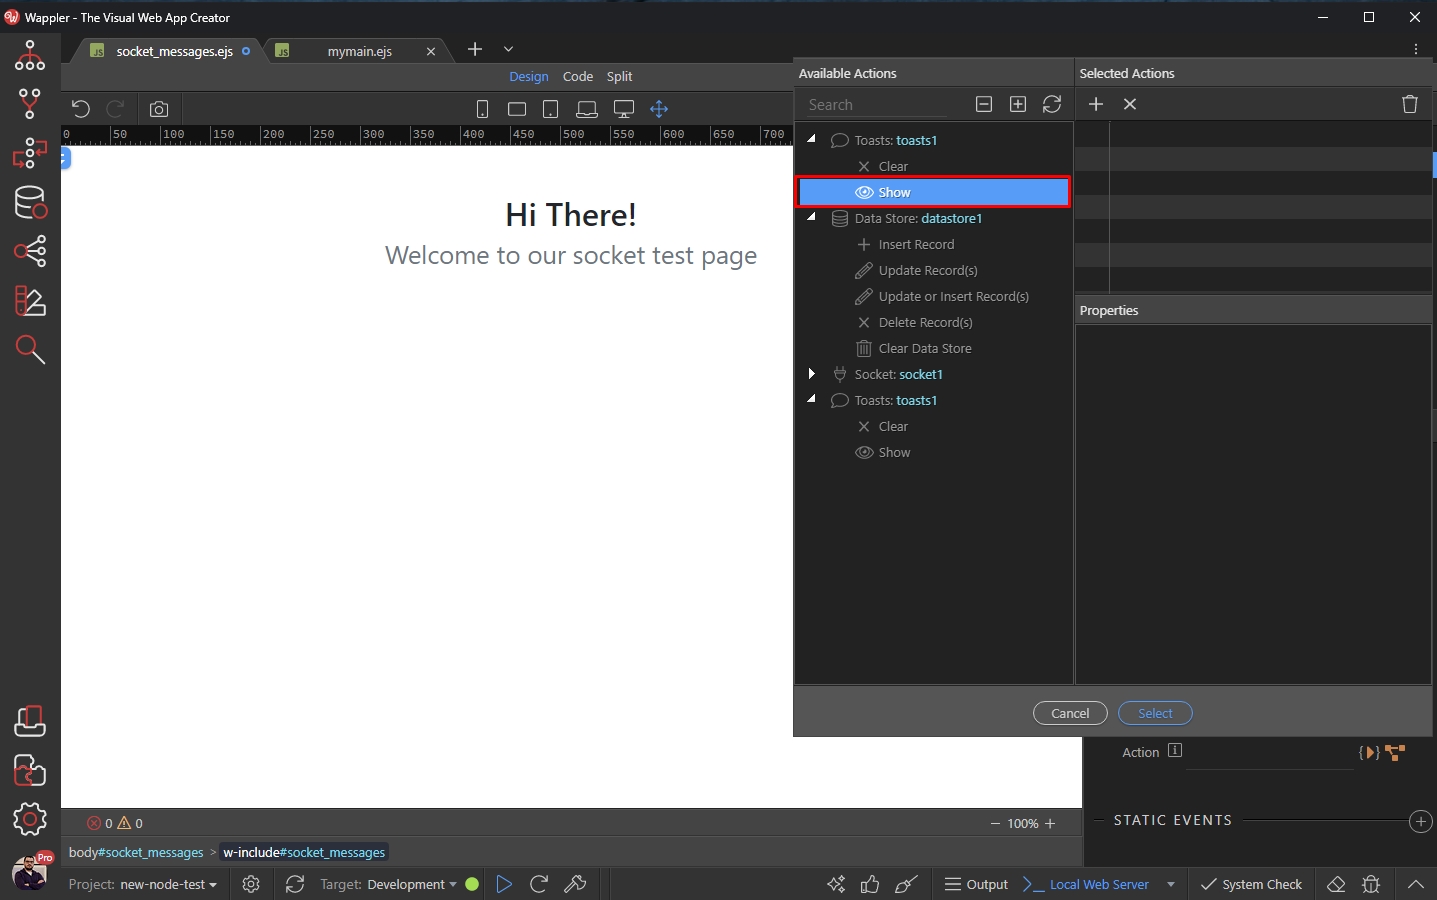
And click the dynamic data picker to select a message to be displayed inside the Toast:
Section titled “And click the dynamic data picker to select a message to be displayed inside the Toast:”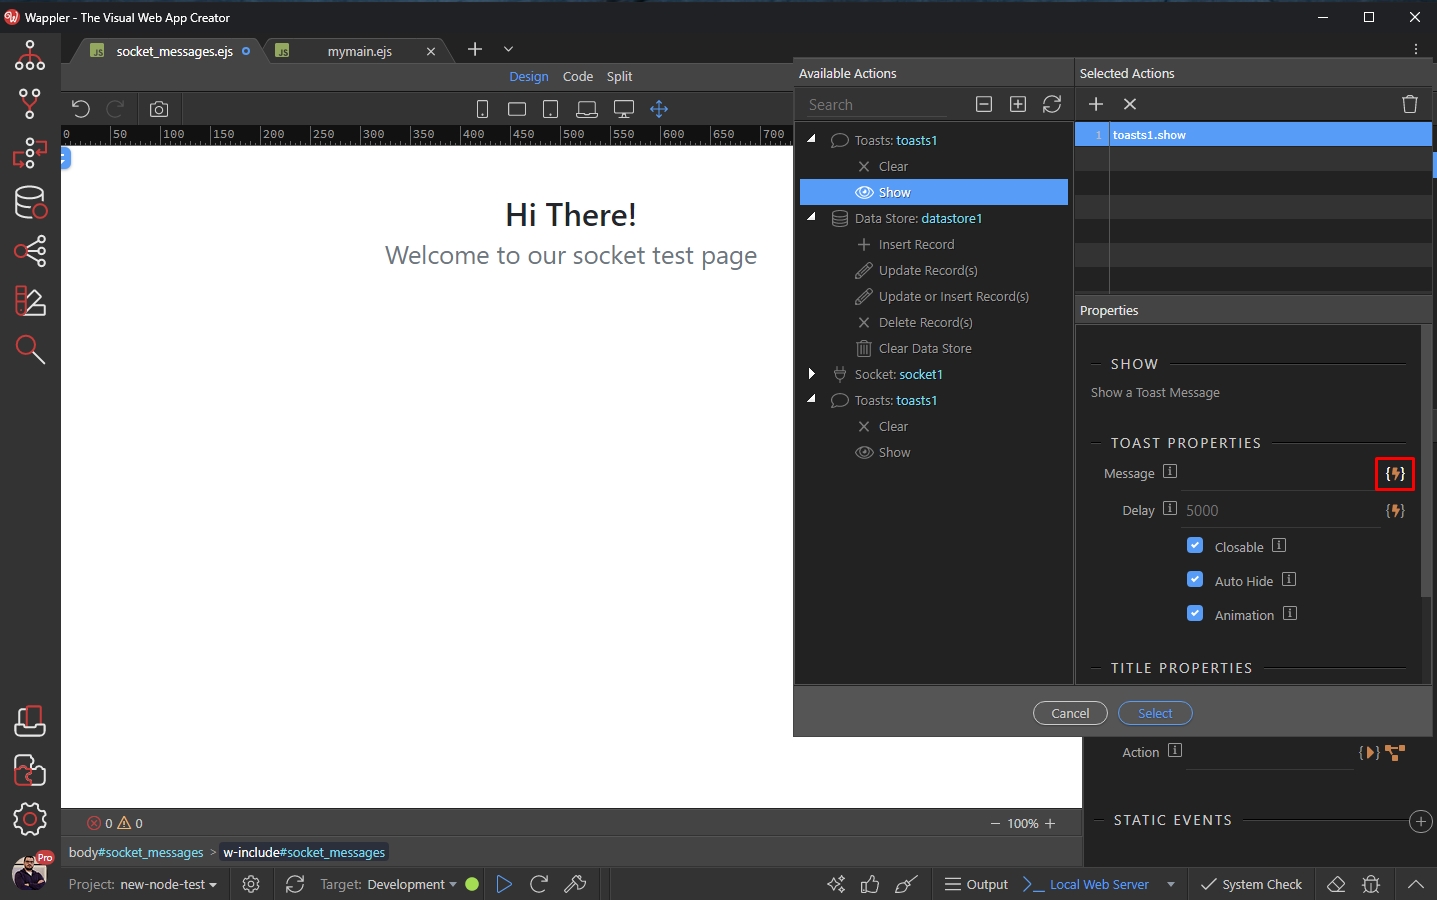
Step 30
Section titled “Step 30”Under the Message Event you will see the input parameter message_text we created in the Socket Action called message. Select it:
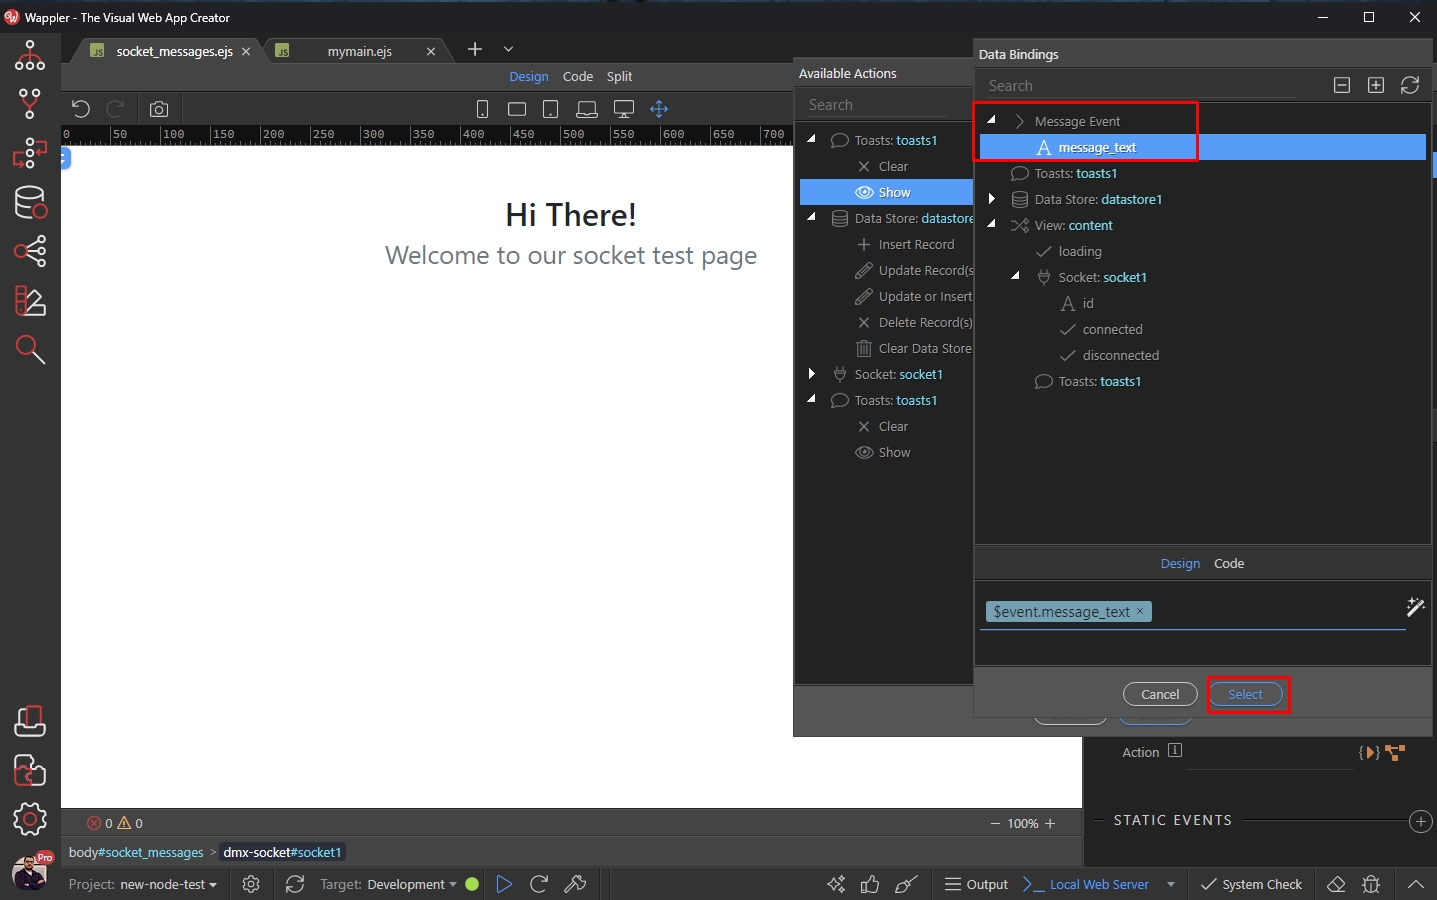
Click Select:
Section titled “Click Select:”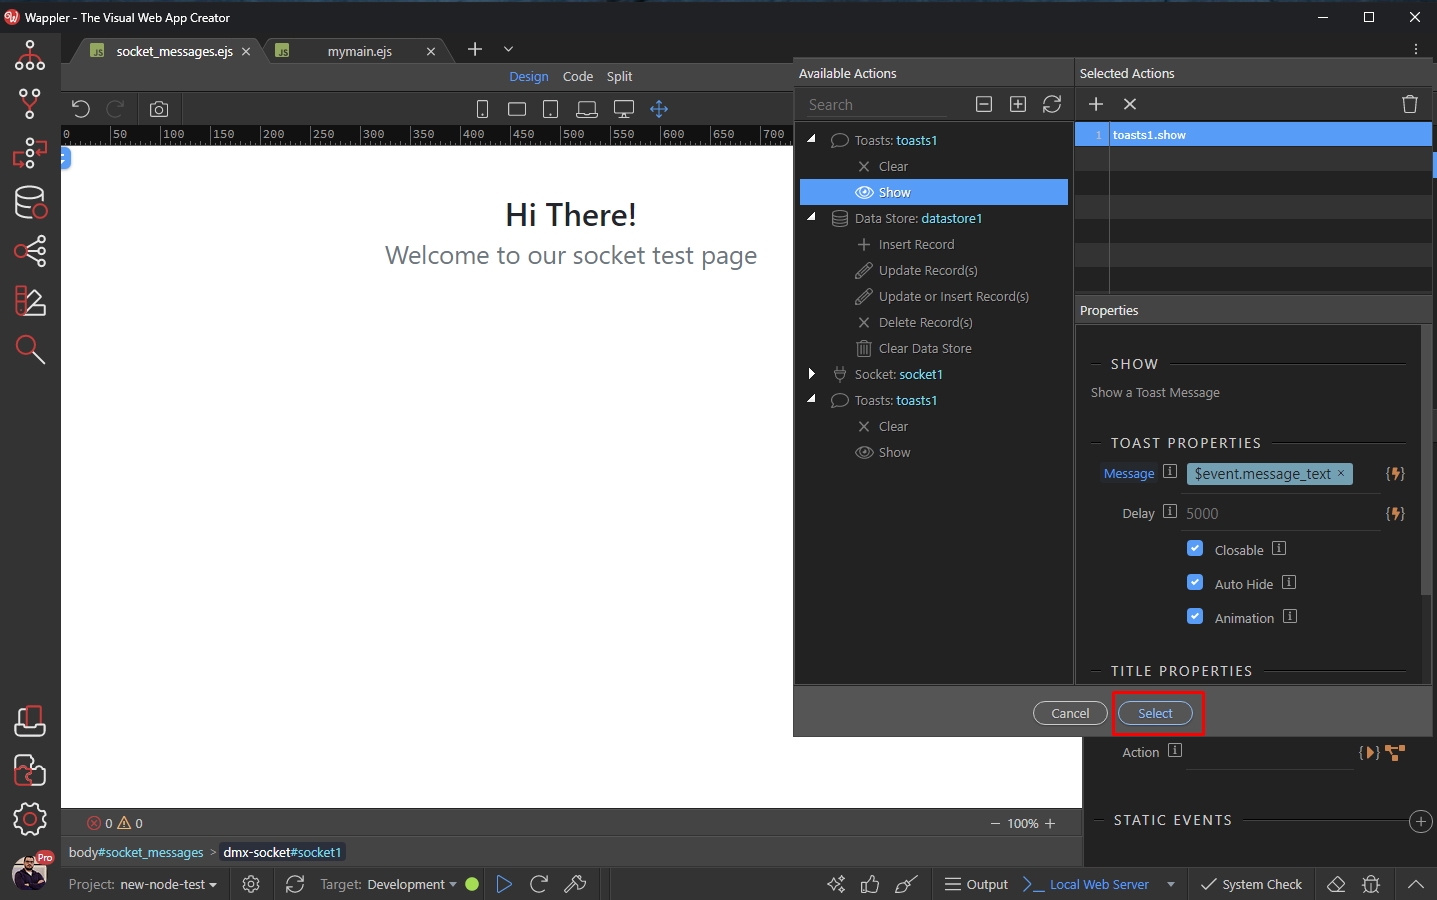
Step 32
Section titled “Step 32”
Broadcast Message
Section titled “Broadcast Message”Broadcast works the same way as Emit, the only different is that it sends a message to all the clients except for the one which sends it (or the one that joined the server):
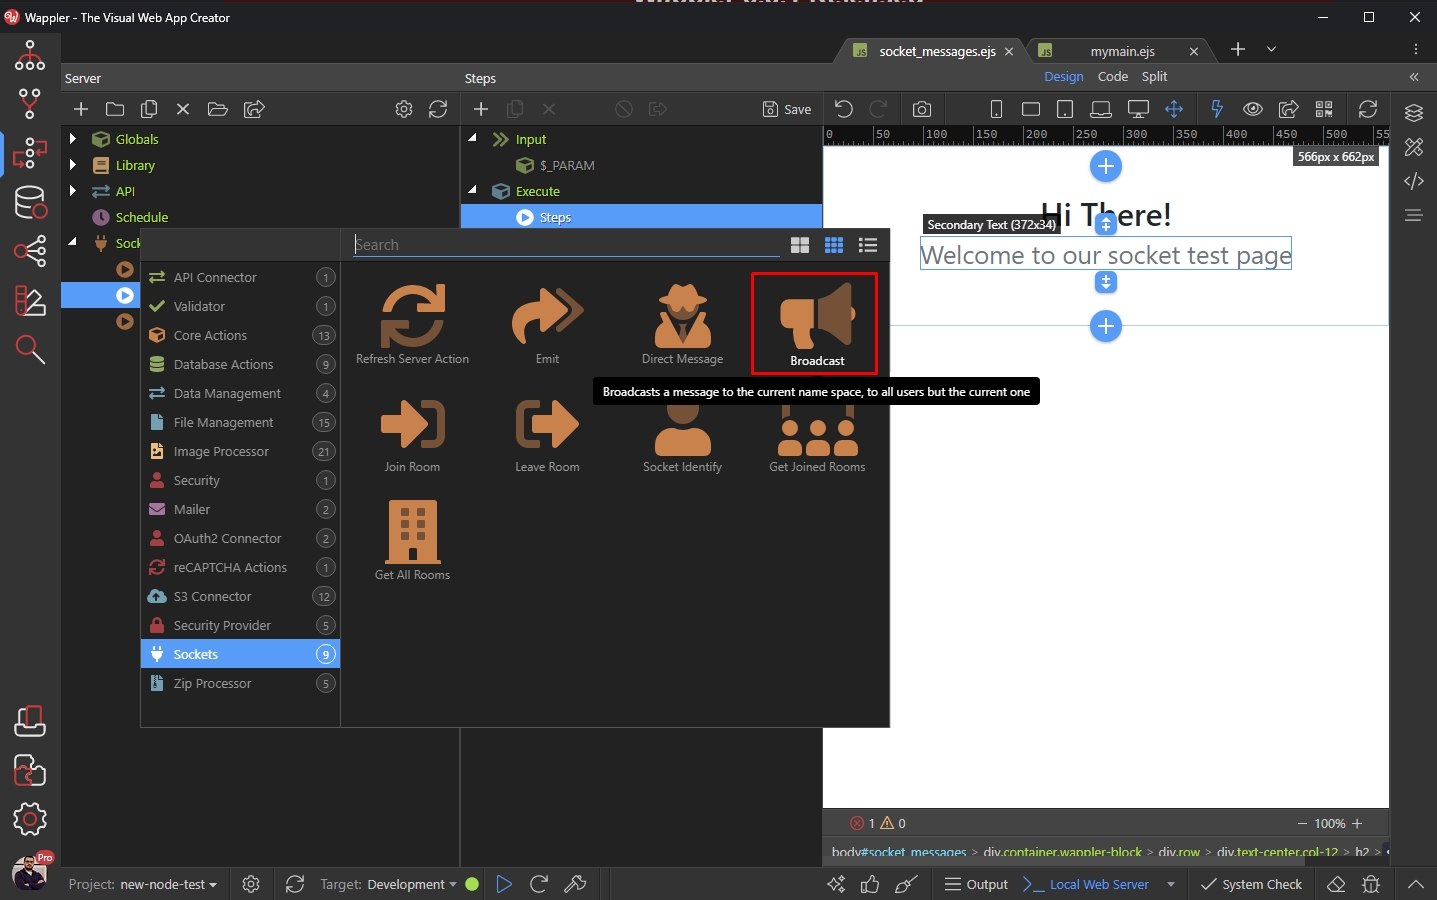
Step 34
Section titled “Step 34”You can set up the Broadcast exactly the same as Emit - the properties and options are the same, so we won't show this step by step again:
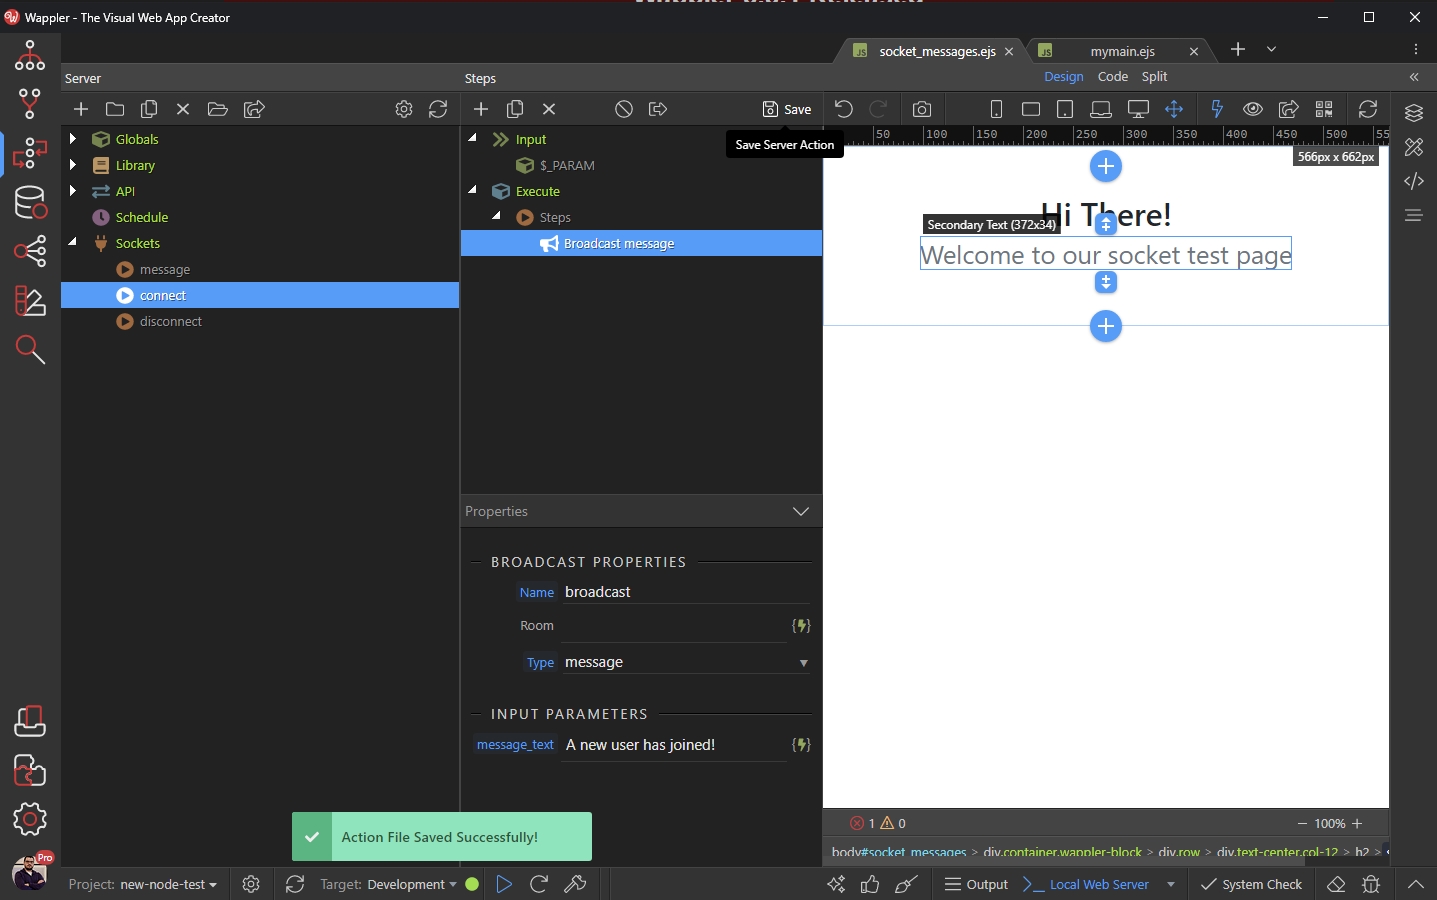
Step 35
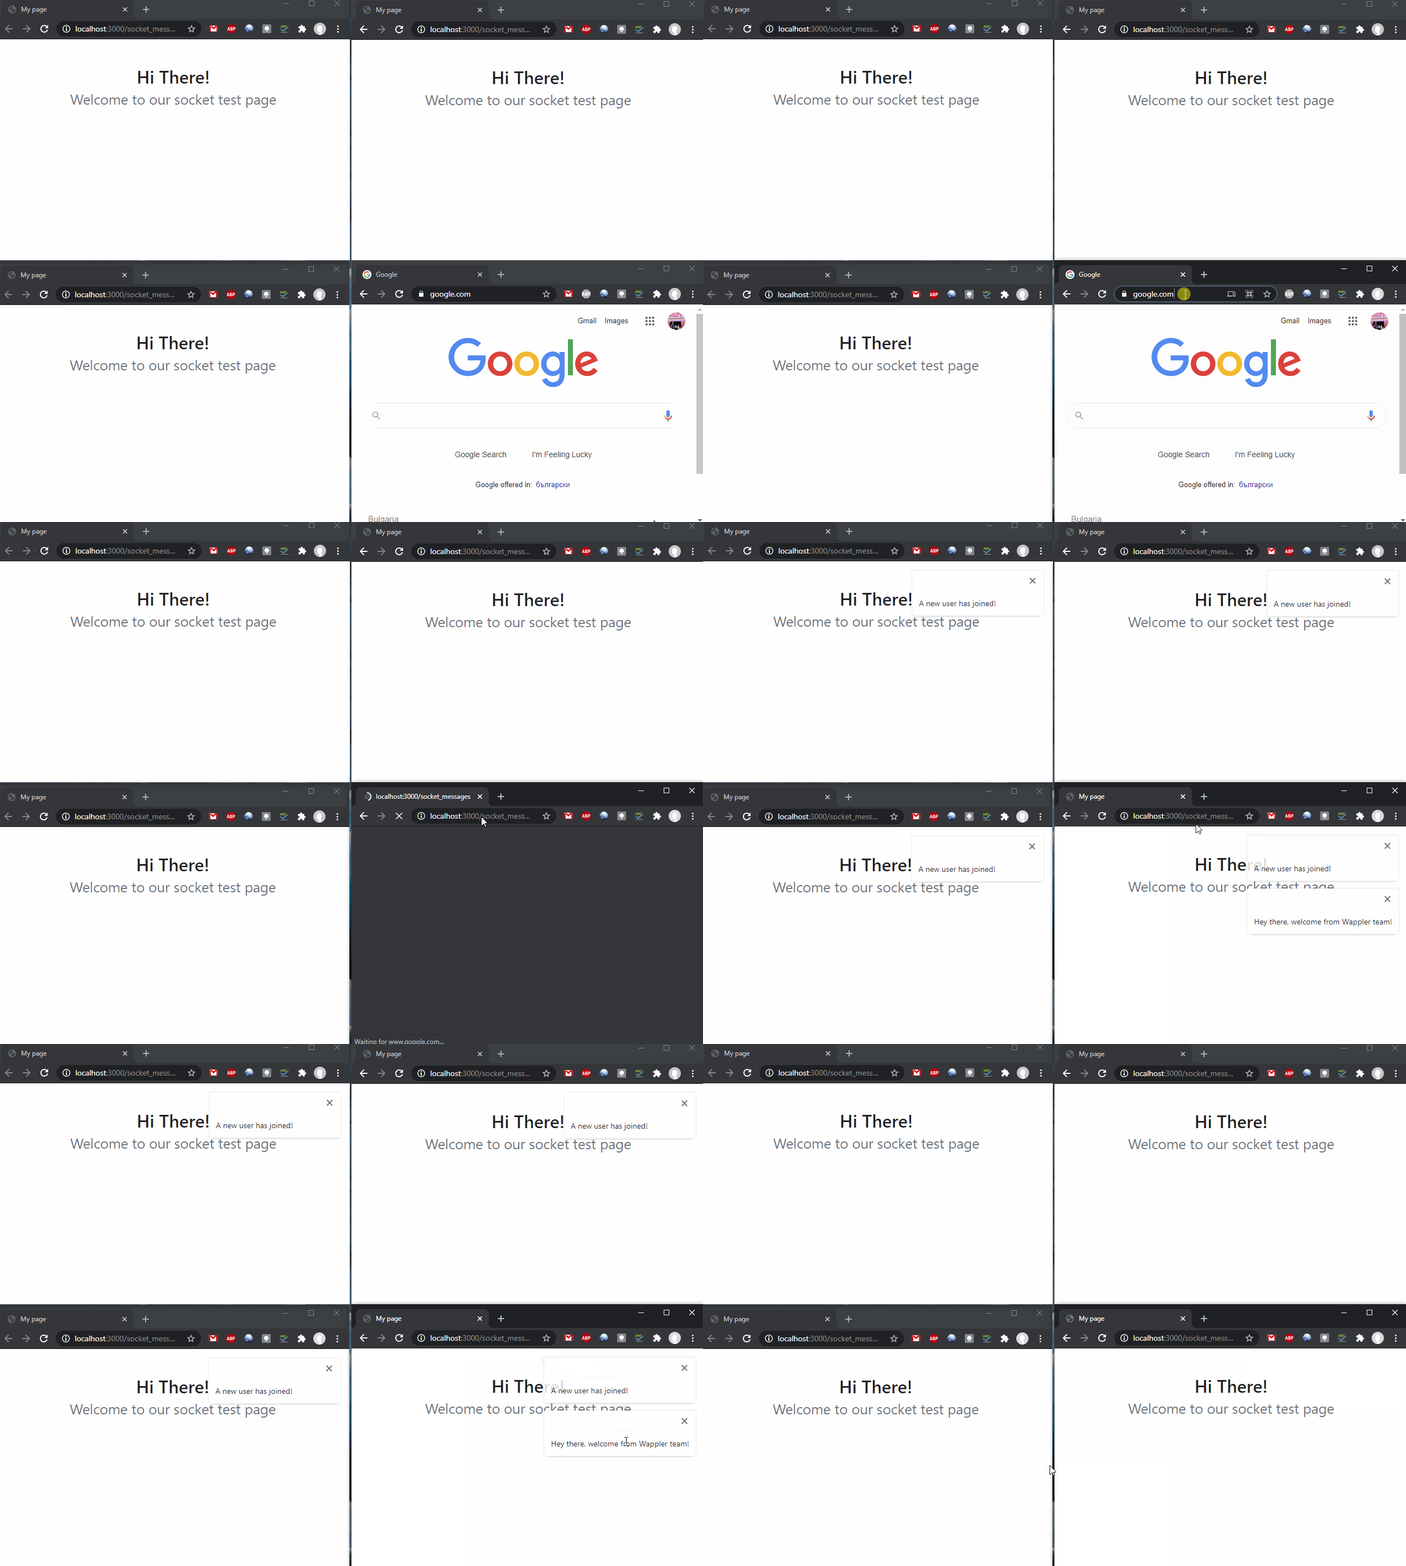
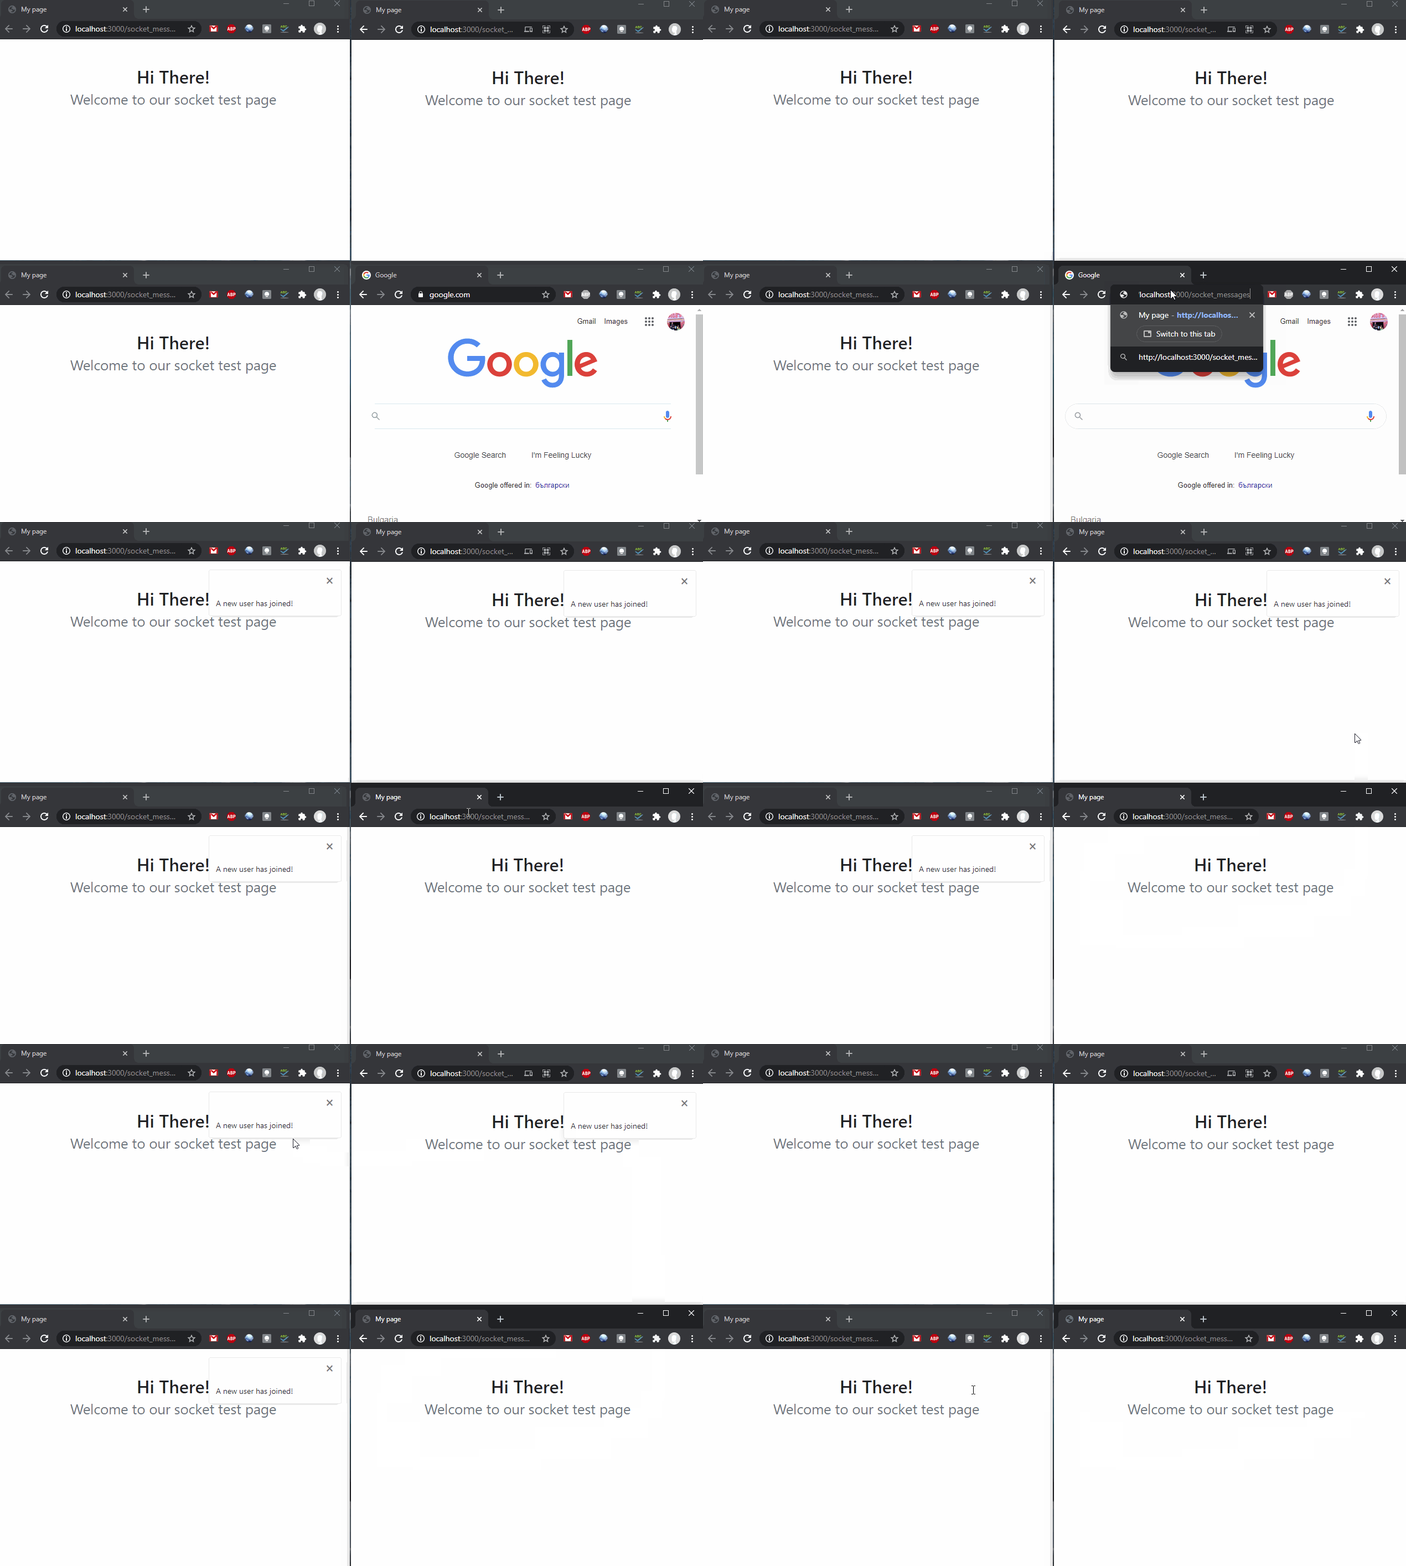
Section titled “Step 35”Previewing the results in our browser, shows that a message is displayed to all the clients connected to the server excluding the sender (or the one that joins the server):
Direct Message
Section titled “Direct Message”Direct message allows you to send a message to a specific user.
In our example we will extend what we've already done until now by sending a direct message to the client who joins our server.
Identifying Clients
Section titled “Identifying Clients”In order to send a direct message to the client we need to identify it. There is a special Socket Identify step, which returns the connected client id.
Select the Connect action, which we used to Emit messages:
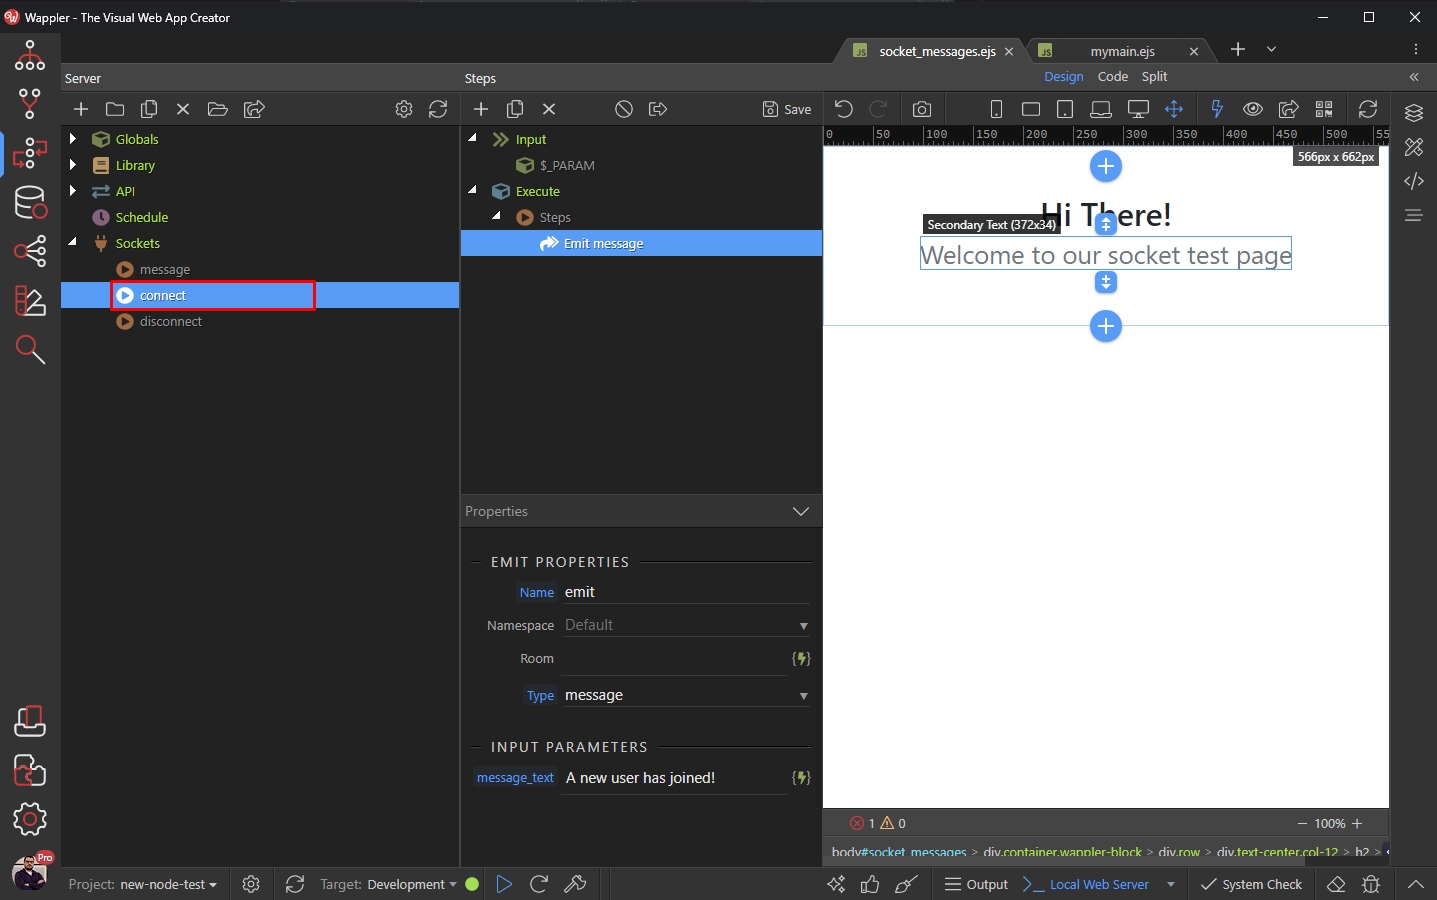
Right click the Emit step and select Sockets > Socket Identify:
Section titled “Right click the Emit step and select Sockets > Socket Identify:”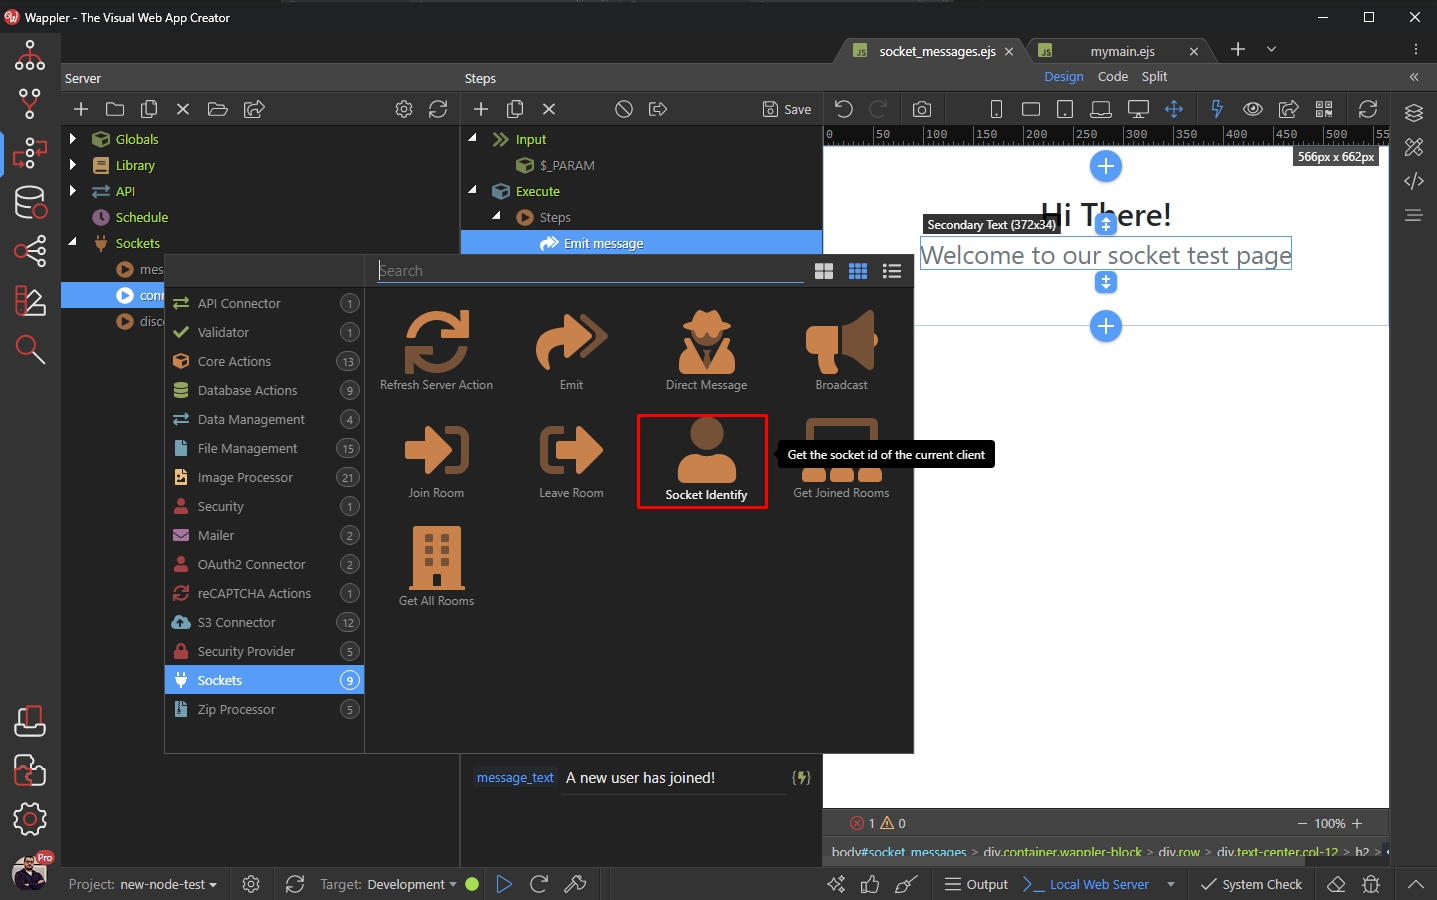
Sending a Direct Message
Section titled “Sending a Direct Message”Now as we have added the Identify step, we can send a message to this specific client.
Right click the Socket Identify step:
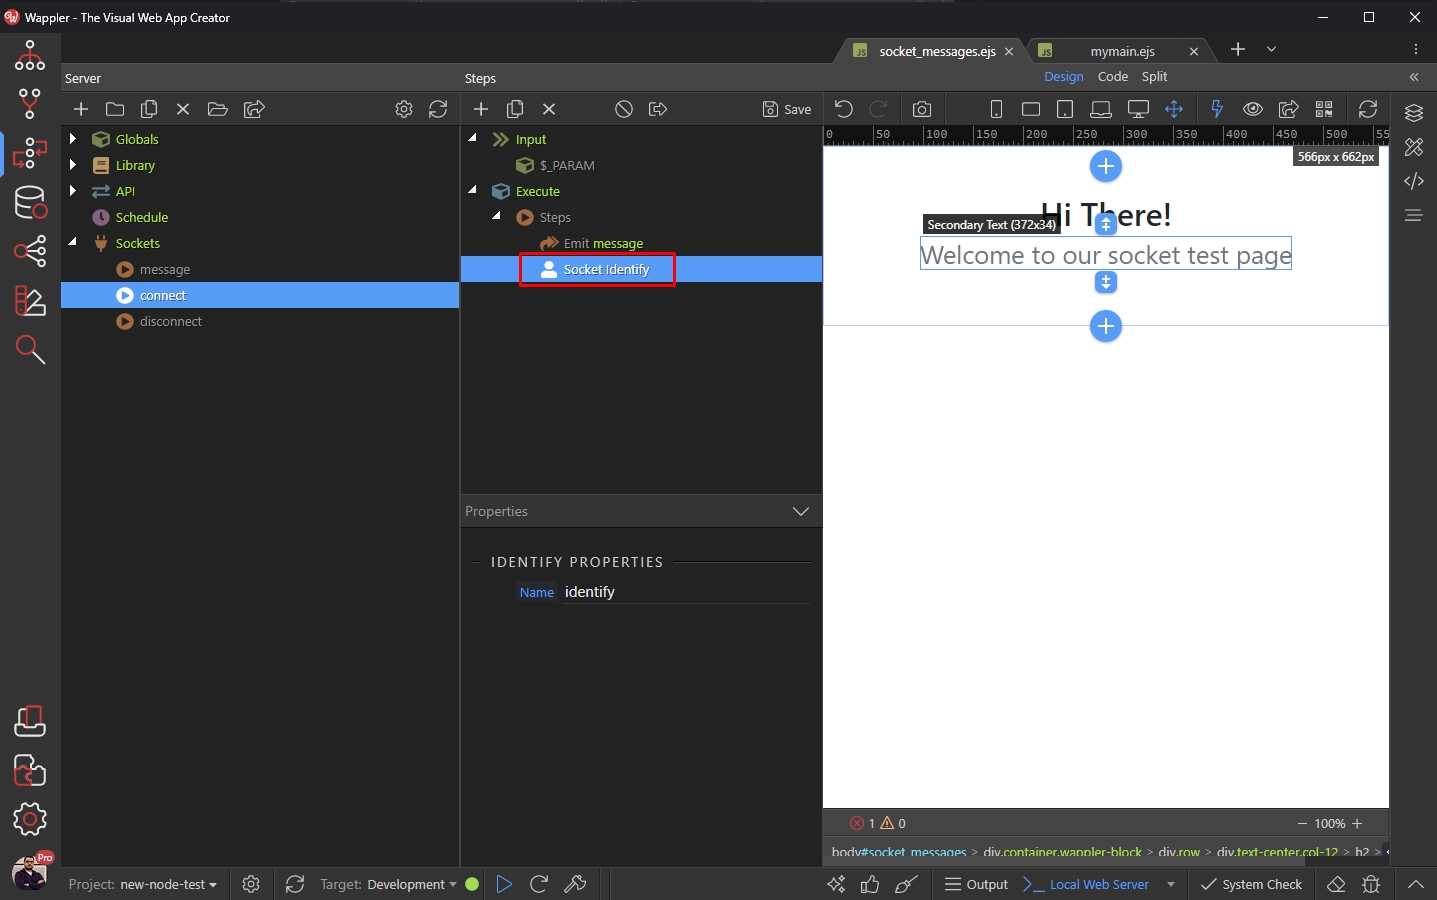
Open Sockets and select Direct Message:
Section titled “Open Sockets and select Direct Message:”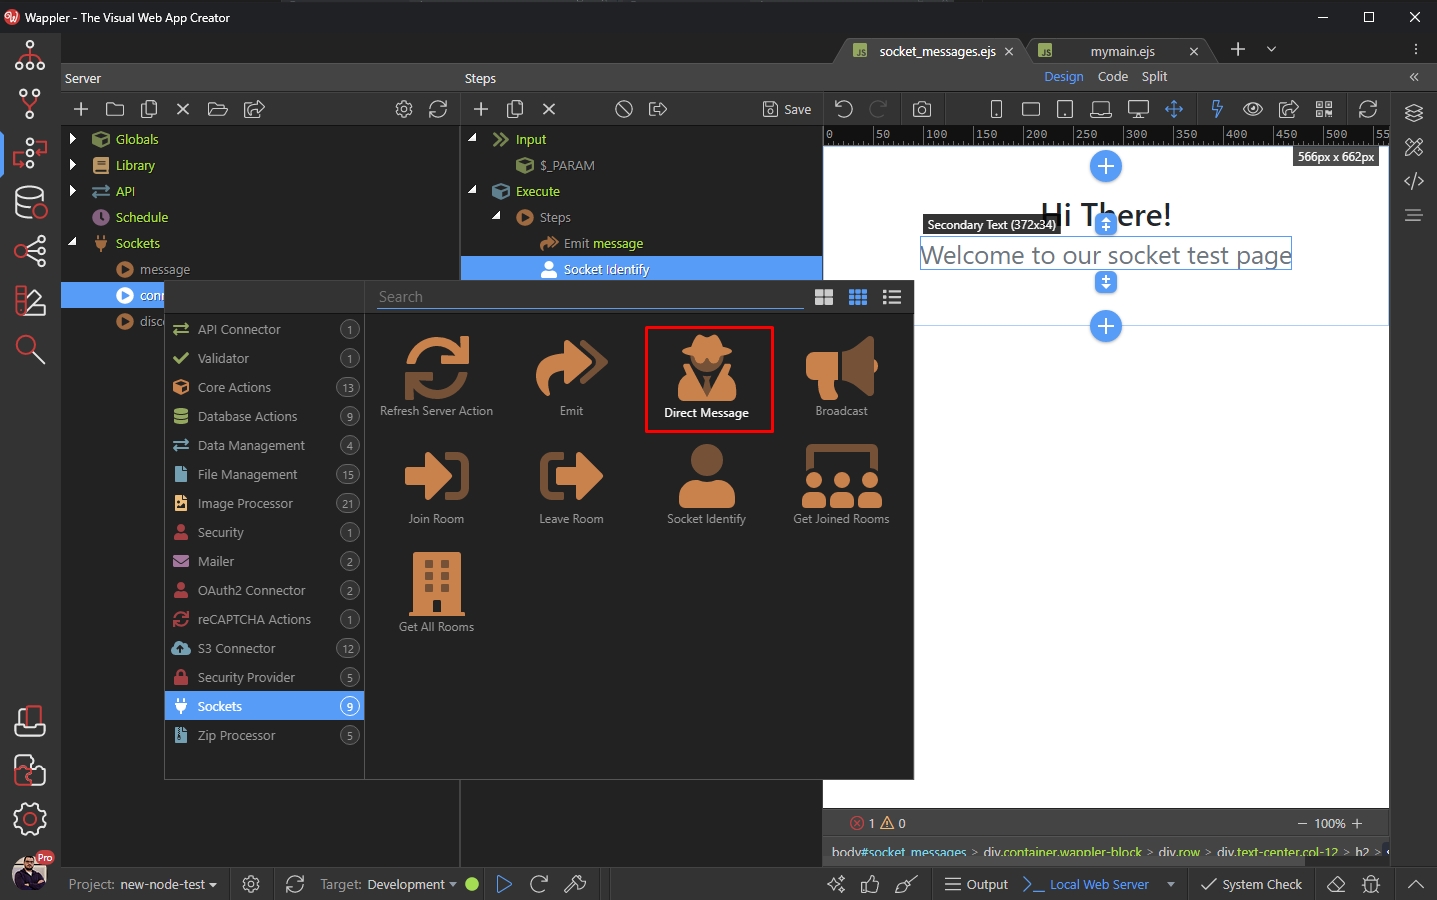
Click the dynamic data picker to select the Socket ID:
Section titled “Click the dynamic data picker to select the Socket ID:”
And select the Socket Identify step which we added already:
Section titled “And select the Socket Identify step which we added already:”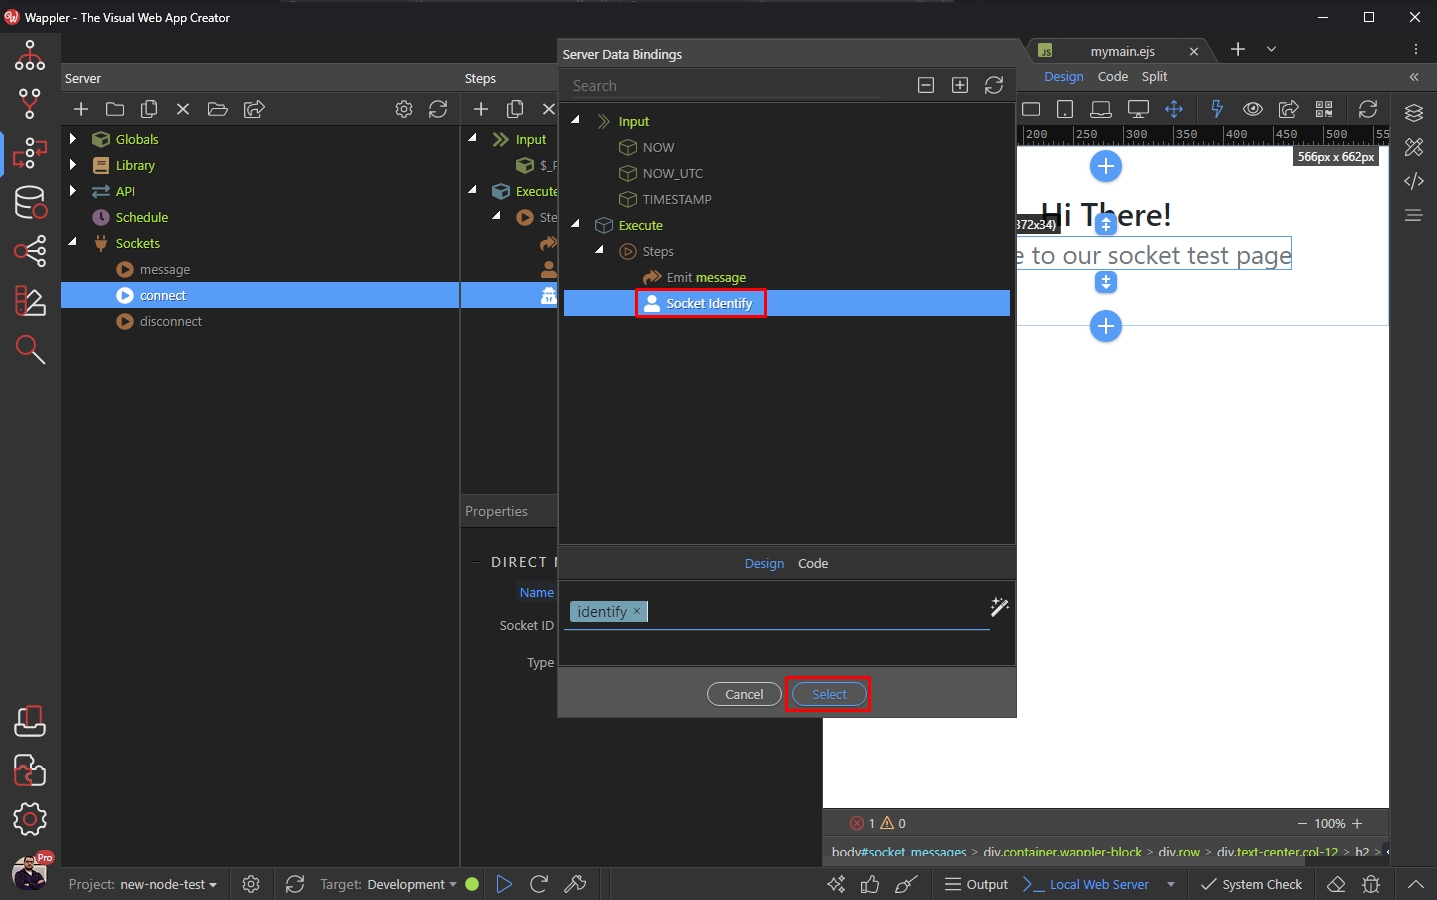
Then select the Message Type from the dropdown:
Section titled “Then select the Message Type from the dropdown:”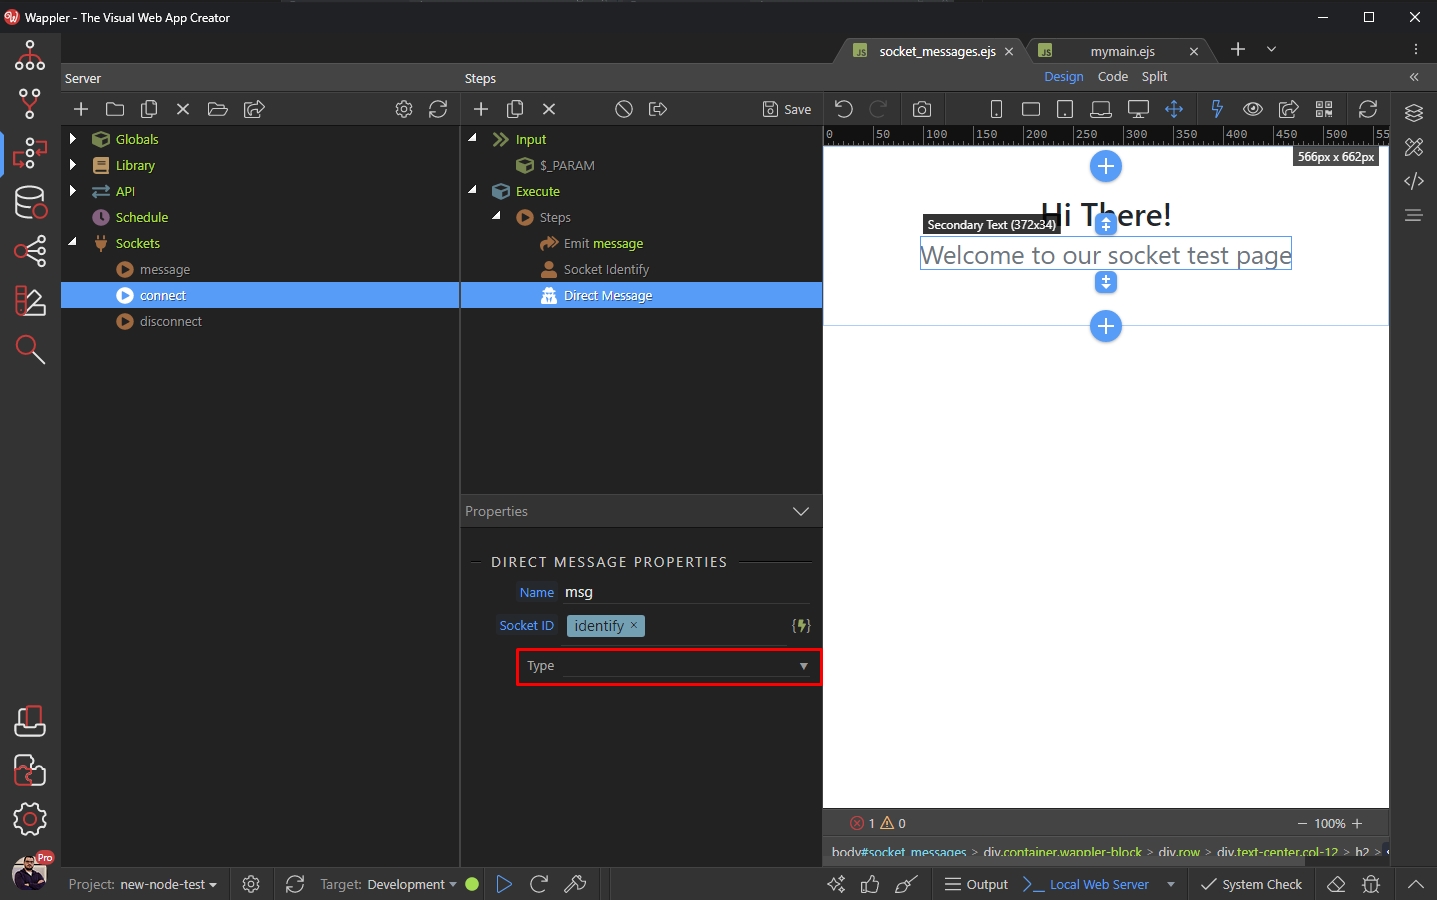
Step 45
Section titled “Step 45”We select the message Socket Action, which we created in the first part of this tutorial. Then we add the text for the Direct Message, which will be shown to the client when joining the server:
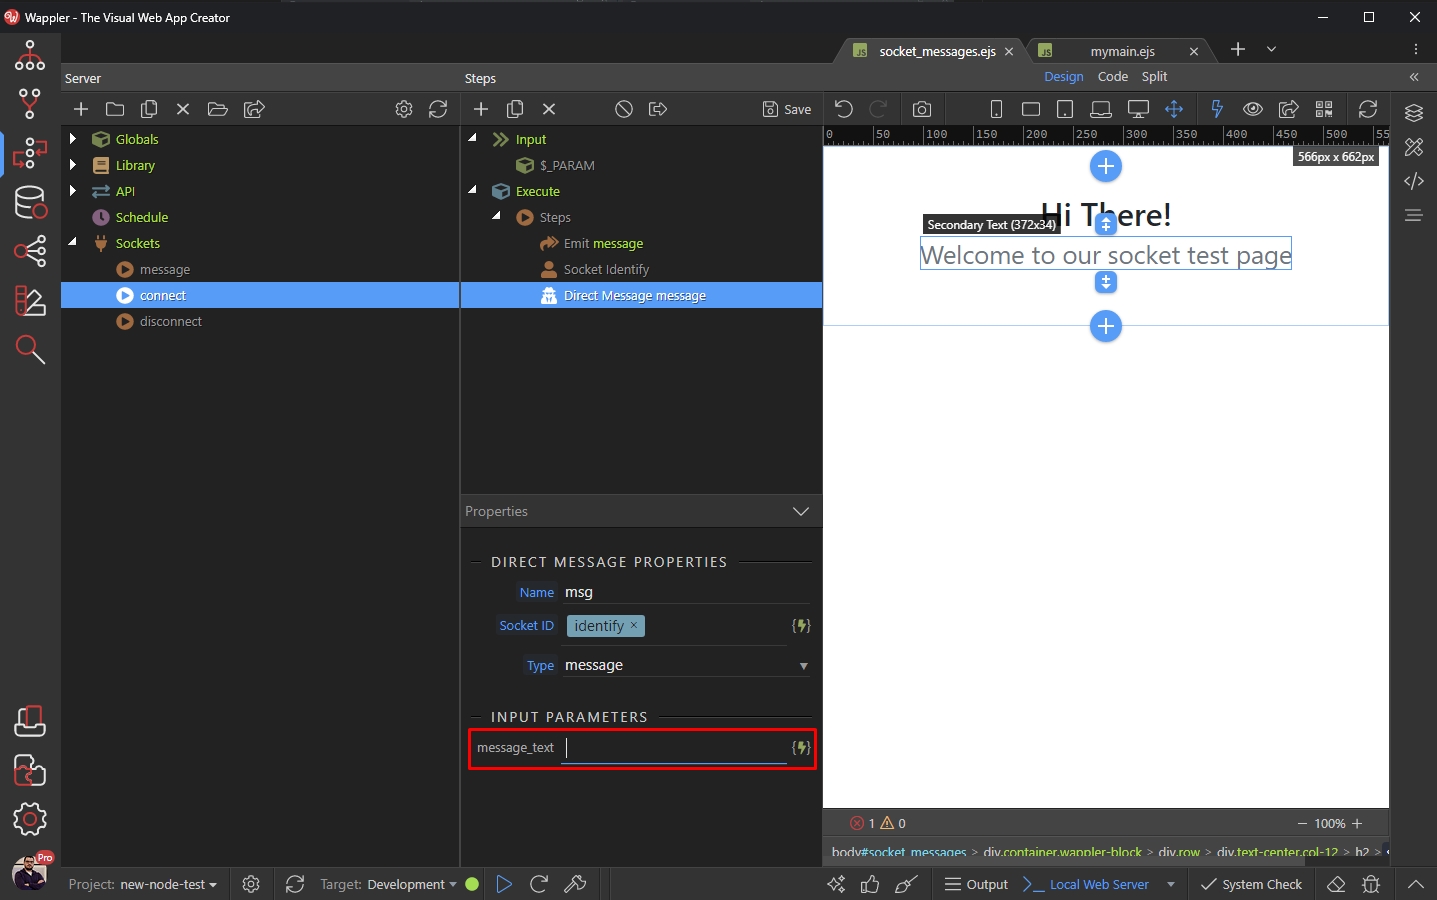
Click Save and you are done:
Section titled “Click Save and you are done:”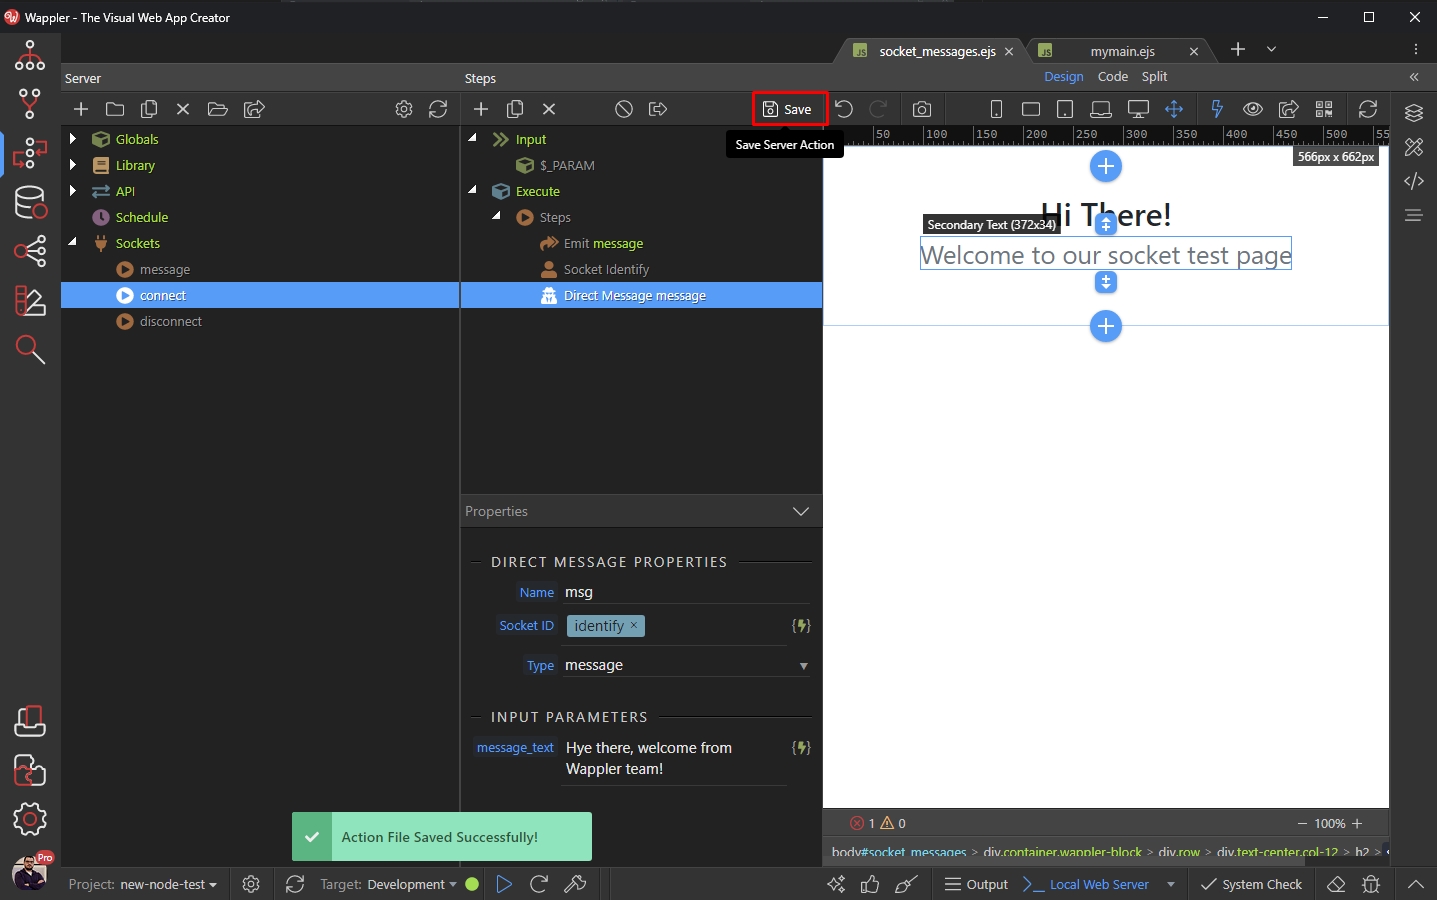
Step 47
Section titled “Step 47”Previewing the results in our browser, shows that the Emit message is displayed to all the clients connected to the server, but the Direct Message is displayed only to the client which joins the server: