NodeJS FTP deploy on shared hosting with Plesk and cPanel
NodeJS requires a specific setup on your hosting, which is different than the standard Linux or Windows server where you most likely upload everything in the public_html or www folder. Set Up Site in
Step 1
Section titled “Step 1”NodeJS requires a specific setup on your hosting, which is different than the standard Linux or Windows server where you most likely upload everything in the public_html or www folder.
Set Up Site in your Hosting Panel
Section titled “Set Up Site in your Hosting Panel”In this tutorial we will show you how to setup your hosting through the Plesk panel, but it’s quite similar in cPanel.
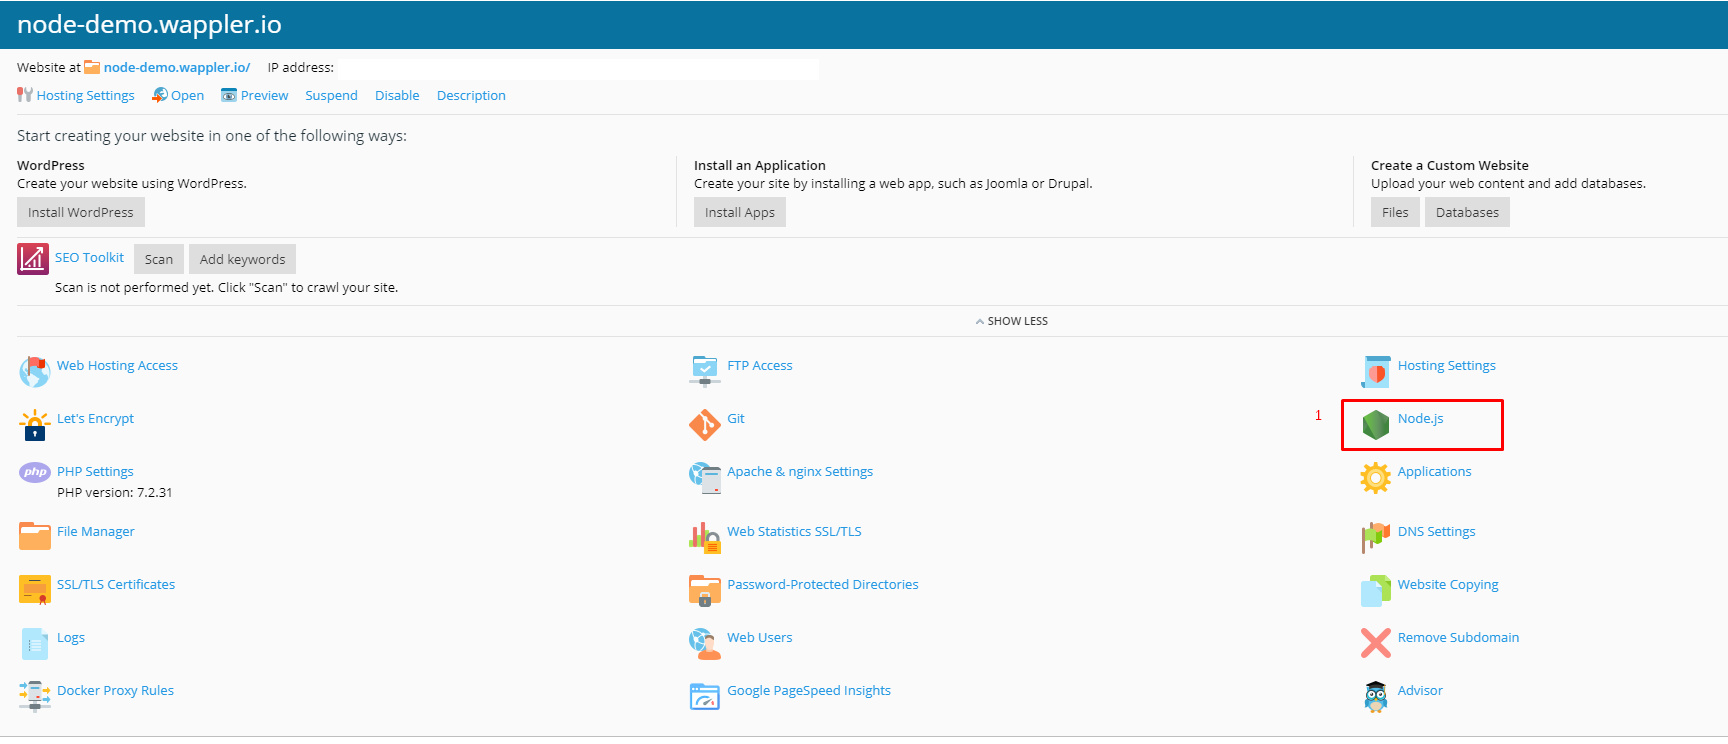
Create your site in the hosting panel and add NodeJS to it:
FTP account
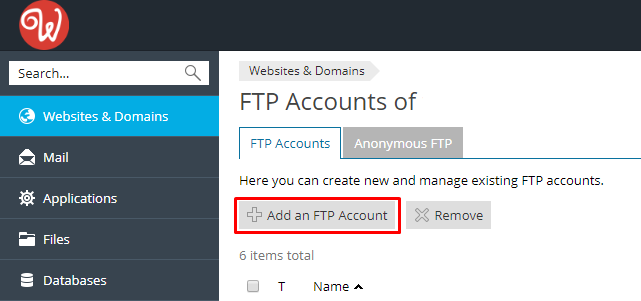
Section titled “FTP account”Then setup your FTP account:
It should be pointing to this website root folder.
Section titled “It should be pointing to this website root folder.”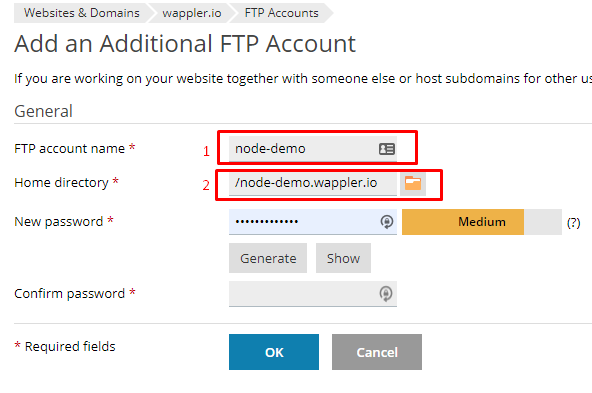
Node files folder
Section titled “Node files folder”In your site root create a new folder, called /app
NOTE: Do not create this folder in the public_html folder.
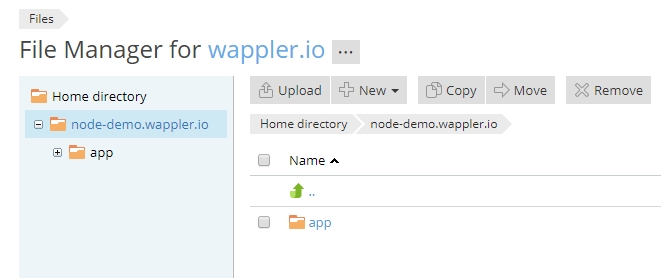
this folder will be used for your NodeJS project files.
Section titled “this folder will be used for your NodeJS project files.”Setup Wappler Remote Target
Section titled “Setup Wappler Remote Target”The next step is to setup your Wappler target, pointing to the remote hosting. Create a new target and enter your ftp details.
Important - the remote folder should be set to /app - the folder which we created in the previous step:
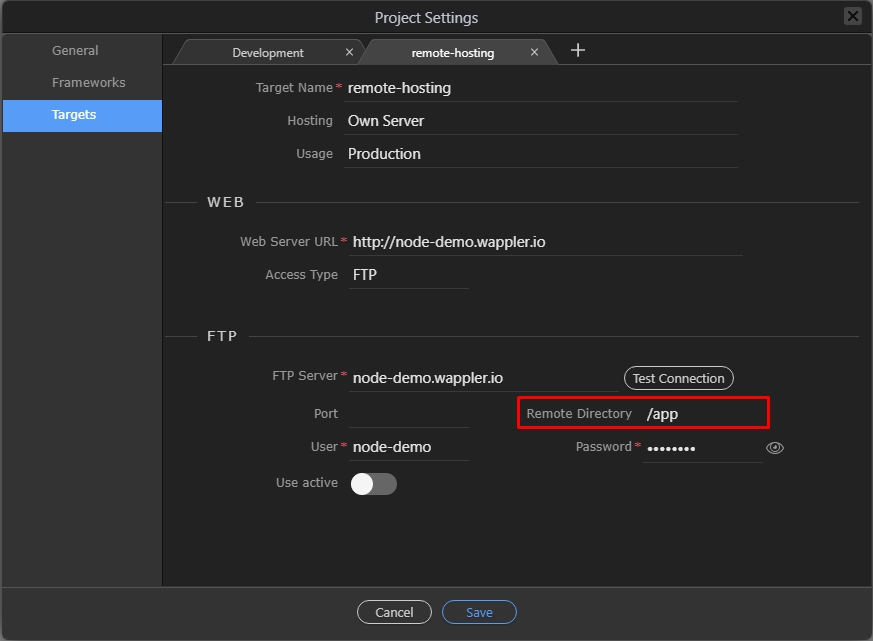
Click Save.
Section titled “Click Save.”Switch to the remote target (1) and click publish (2):
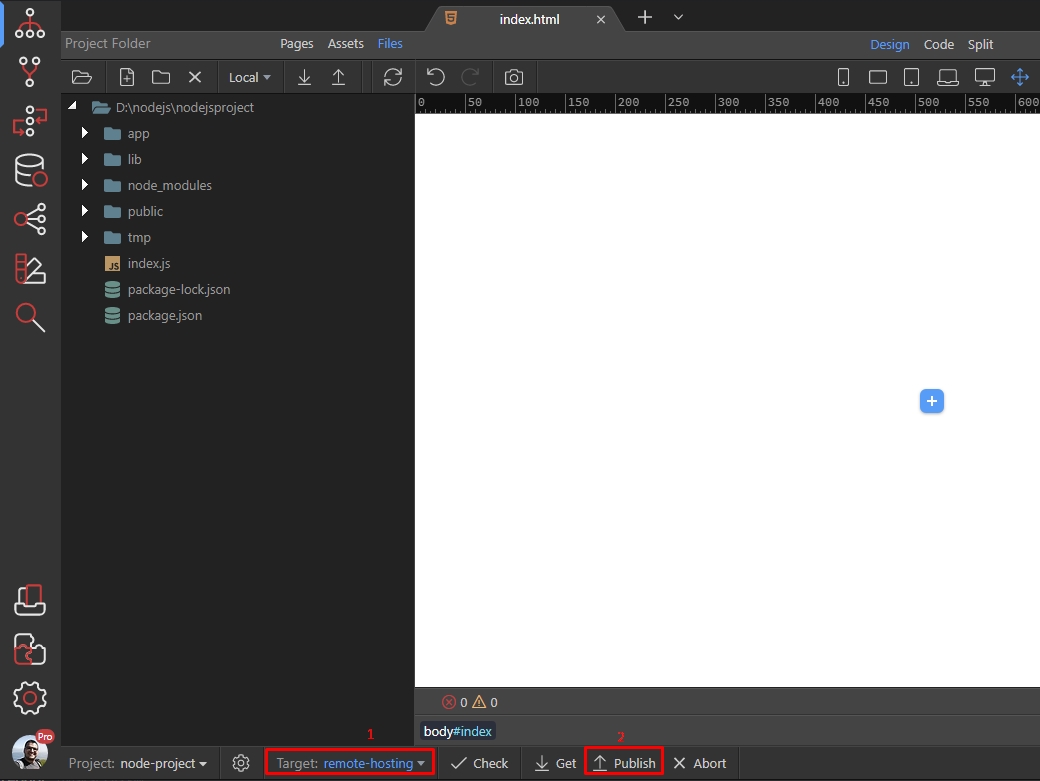
Your files will be uploaded to the remote target.
Section titled “Your files will be uploaded to the remote target.”Configuring NodeJS options on your hosting
Section titled “Configuring NodeJS options on your hosting”Now, let’s go back to the Plesk panel, we need to configure NodeJS settings. There are 3 things you need to setup:
- Set document root - to the
/publicfolder - Set application root - to the
/appfolder - Change
app.jsfile toindex.js
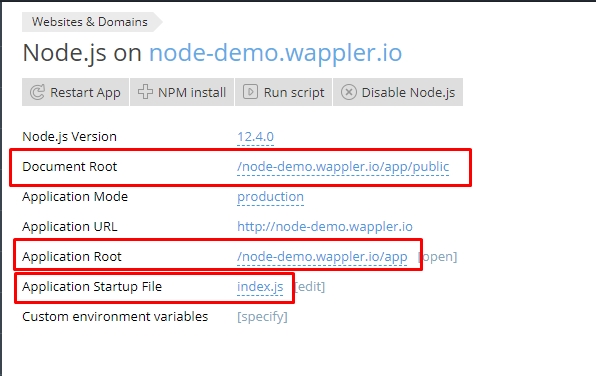
Then click the Enable NodeJS button:
Section titled “Then click the Enable NodeJS button:”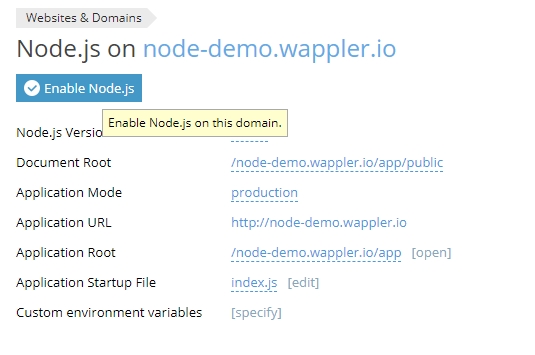
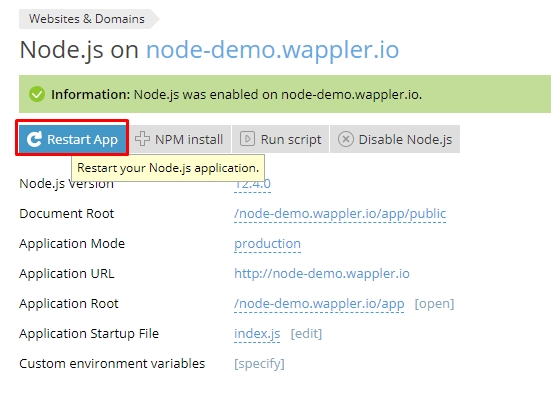
You will see a notification that NodeJS has been enabled for your site:
Section titled “You will see a notification that NodeJS has been enabled for your site:”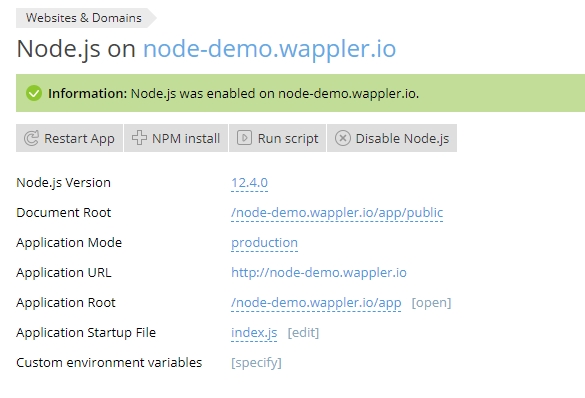
Next step is to install the required packages. Click NPM install:
Section titled “Next step is to install the required packages. Click NPM install:”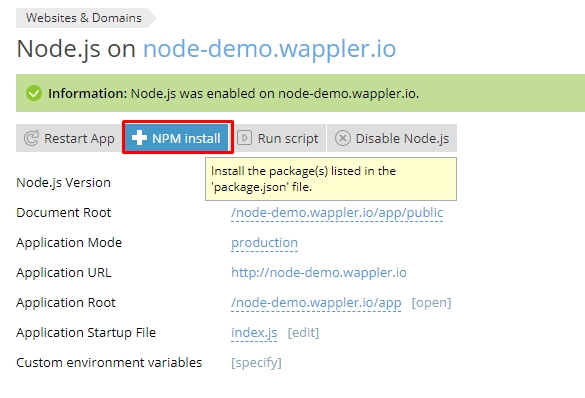
Wait for the packages to be installed and click the Restart App after that:
Section titled “Wait for the packages to be installed and click the Restart App after that:”