Using Stripe Embedded Checkout
Intro Stripe's Embedded Checkout Form offers a powerful solution, allowing you to integrate a customizable and responsive payment form directly into your website. This enhances the user experience and
Stripe's Embedded Checkout Form offers a powerful solution, allowing you to integrate a customizable and responsive payment form directly into your website. This enhances the user experience and ensures secure transactions.
The Stripe Embedded Checkout Form simplifies the payment process for customers, allowing them to complete their purchases without being redirected to an external site. Whether you are running a small business, an online store, or a large enterprise, Stripe’s Embedded Checkout Form can be tailored to fit your specific needs and branding requirements.
Stripe Embedded Checkout supports one-time payments and subscriptions and accepts over 40 local payment methods.
Here's a diagram, which explains the checkout flow:
---
title: Checkout lifecycle
---
sequenceDiagram
  participant Client
  participant Server
  participant Stripe API
  participant Stripe Checkout

  Client->>+Server: Send order information
  Server->>+Stripe API: Create Checkout Session
  Stripe API->>-Server: Return Checkout Session
  Server->>-Client: Return Checkout Session client secret
  Client->>Stripe Checkout: Render Checkout component
  Note right of Stripe Checkout: Customer completes payment
  Stripe Checkout->>Client: Customer returns to website
- The embedded checkout component sends order information to a server action.
- The server action creates a Checkout Session with
ui_modeset toembedded. - Store client secret in a variable and return it to the client.
- The embedded checkout component renders the checkout page with the client secret
- The customer enters their payment details on the checkout page and complete the transaction.
- The customer is returns to the website (to the defined return_url).
Optionally you can use the checkout.session.completed event in webhooks to add the order in your database.
Account
Section titled “Account”In order to start using Stripe you need an account. If you don't have one go to: https://dashboard.stripe.com/register and create your account.
Then you need to give your business a name. This is required so that you can sell your products.
Products
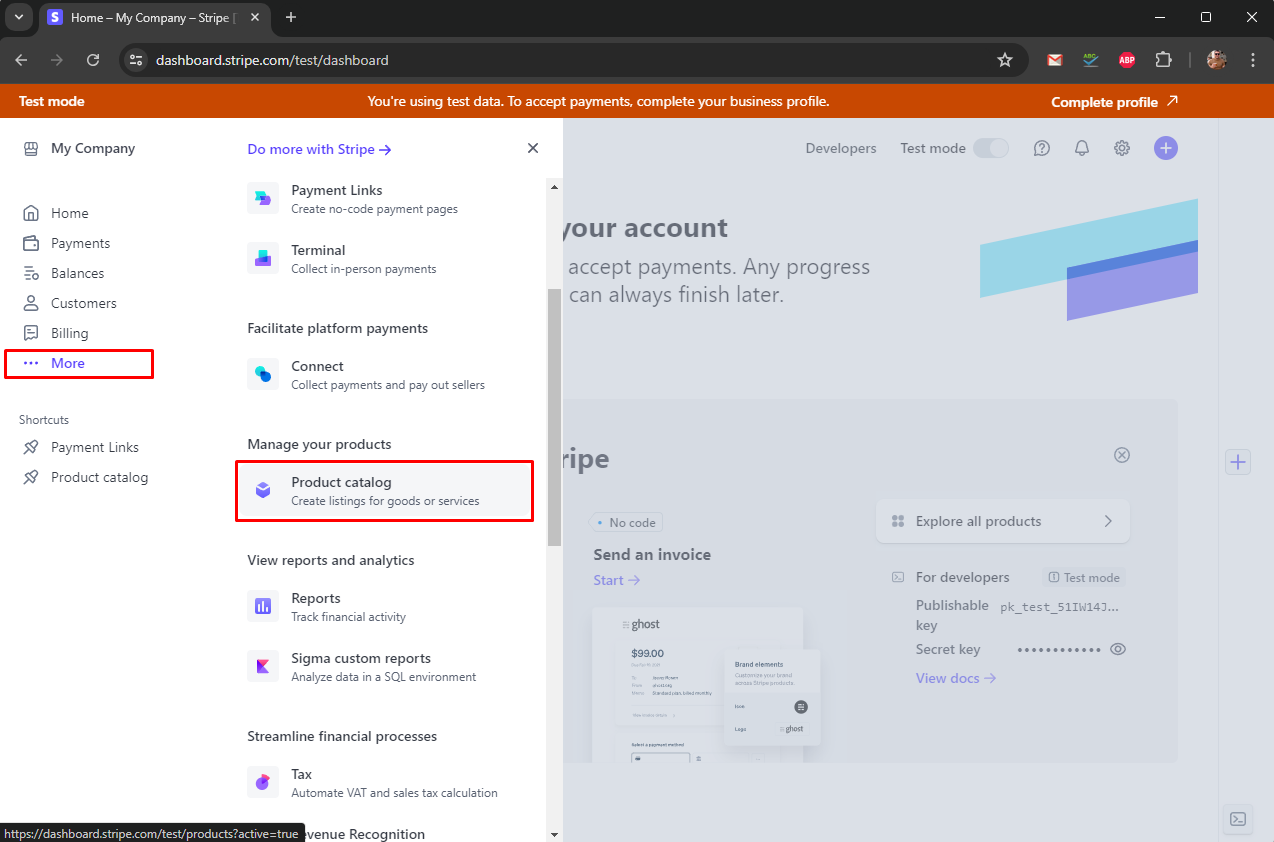
Section titled “Products”The next step is to create a product and add price to it. Open the Products Catalog:
Here you can find all your products and add more:
Section titled “Here you can find all your products and add more:”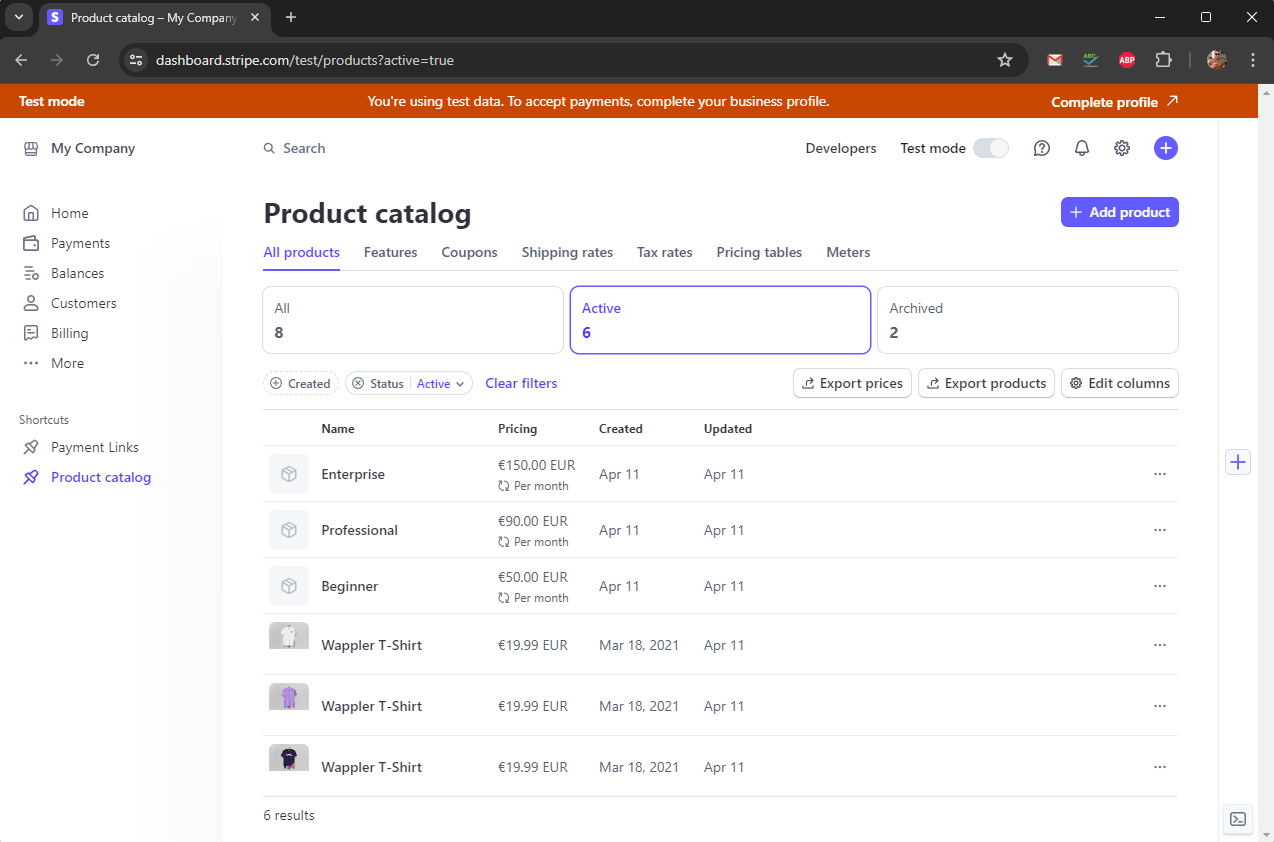
Click the Add New Product button in order to create a product:
Section titled “Click the Add New Product button in order to create a product:”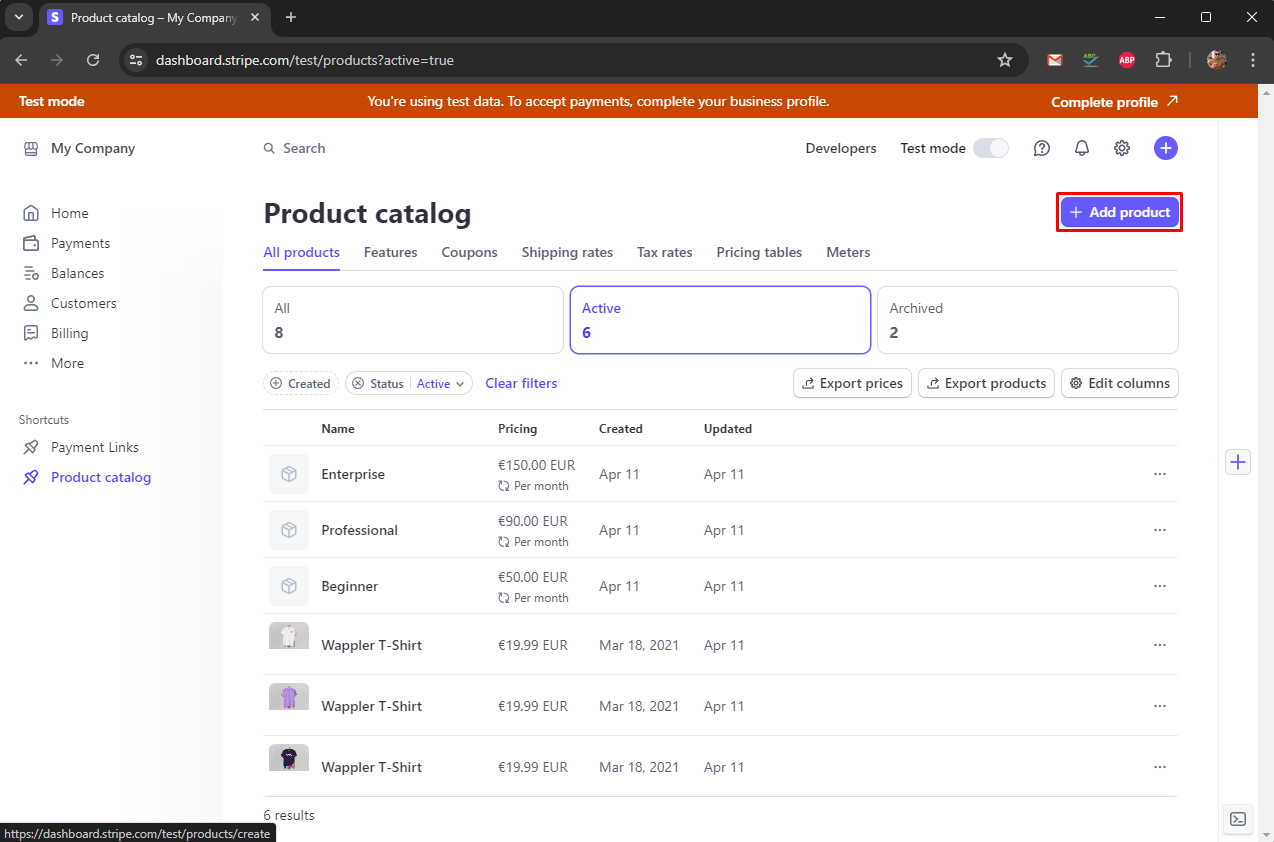
Here you can enter your product information:
Section titled “Here you can enter your product information:”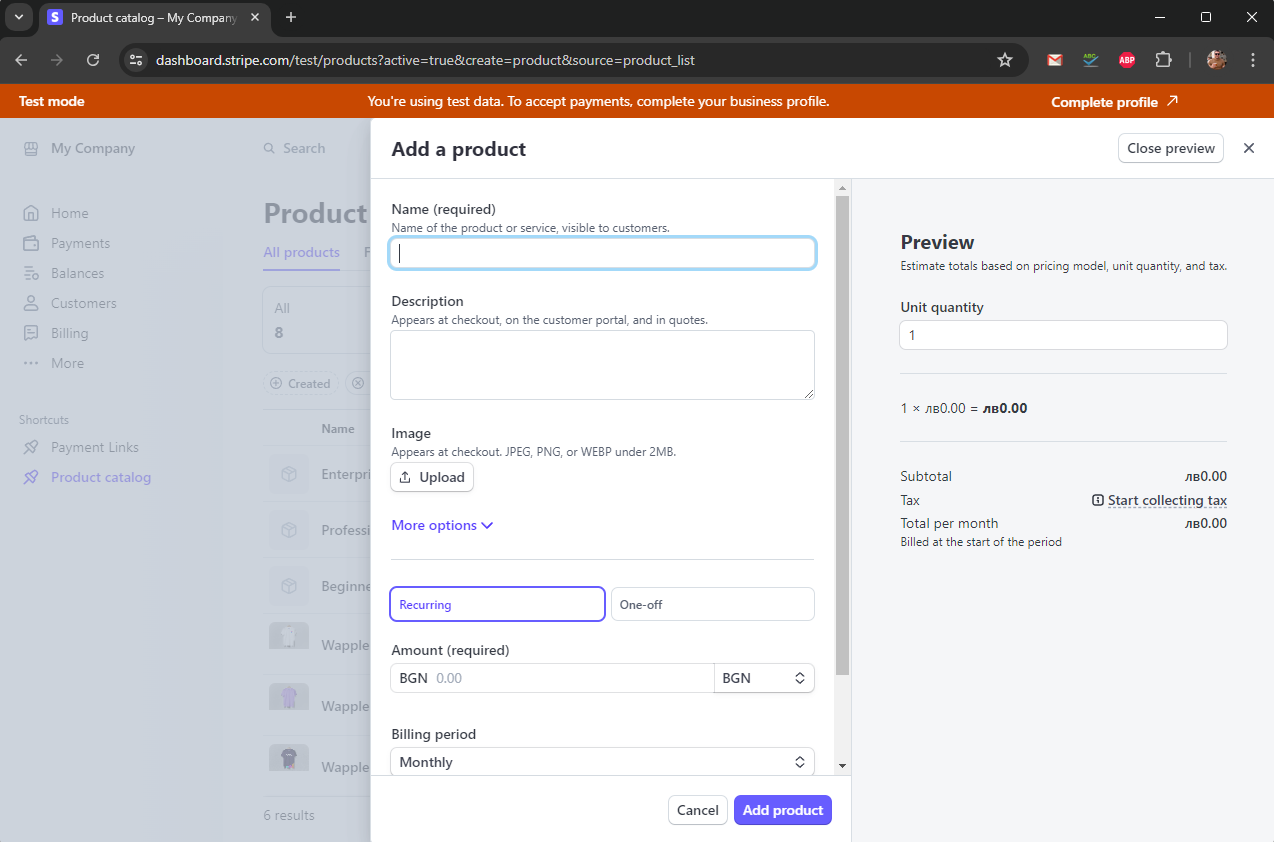
Step 8
Section titled “Step 8”Enter the Name of your product and add an optional Description. Both of these will be displayed on the checkout page:
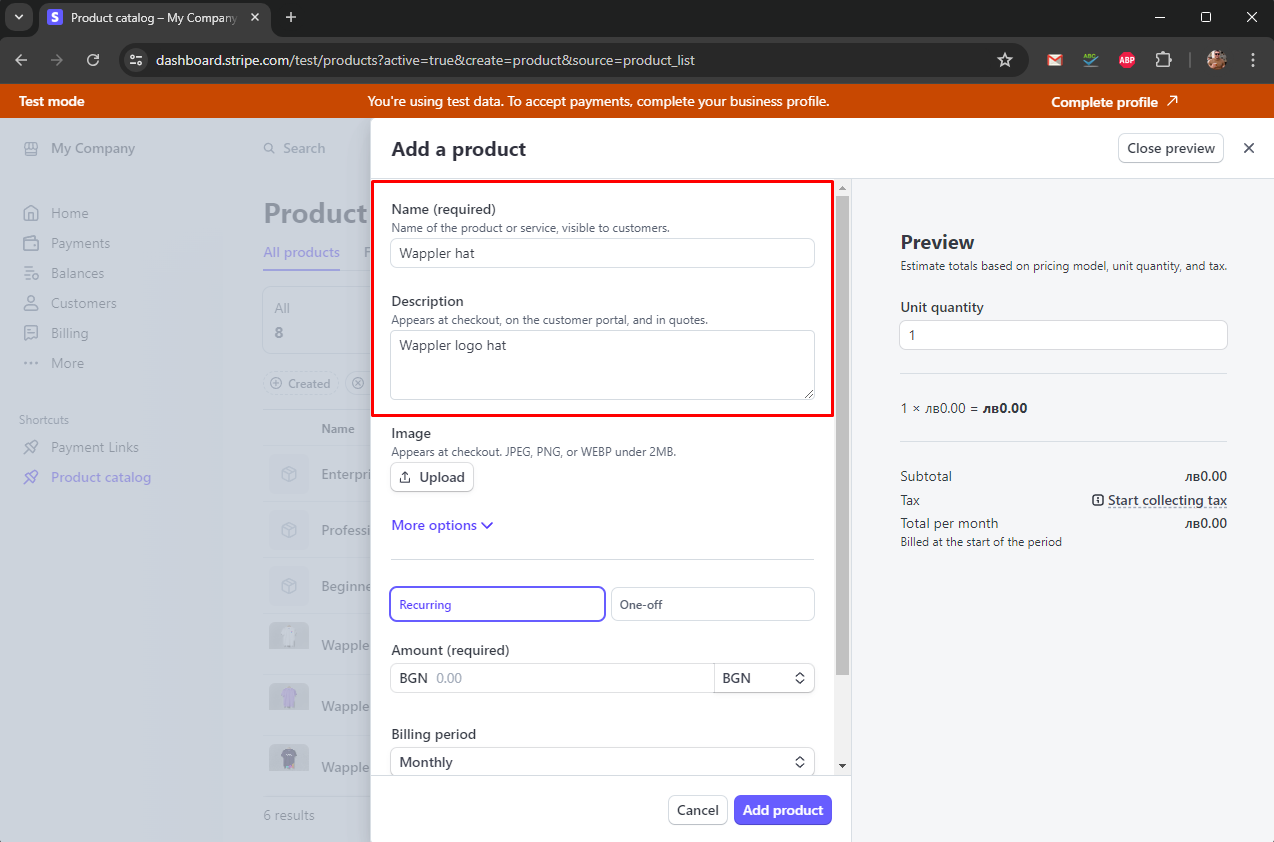
You can also add an image for your product, which will also be displayed on the checkout page:
Section titled “You can also add an image for your product, which will also be displayed on the checkout page:”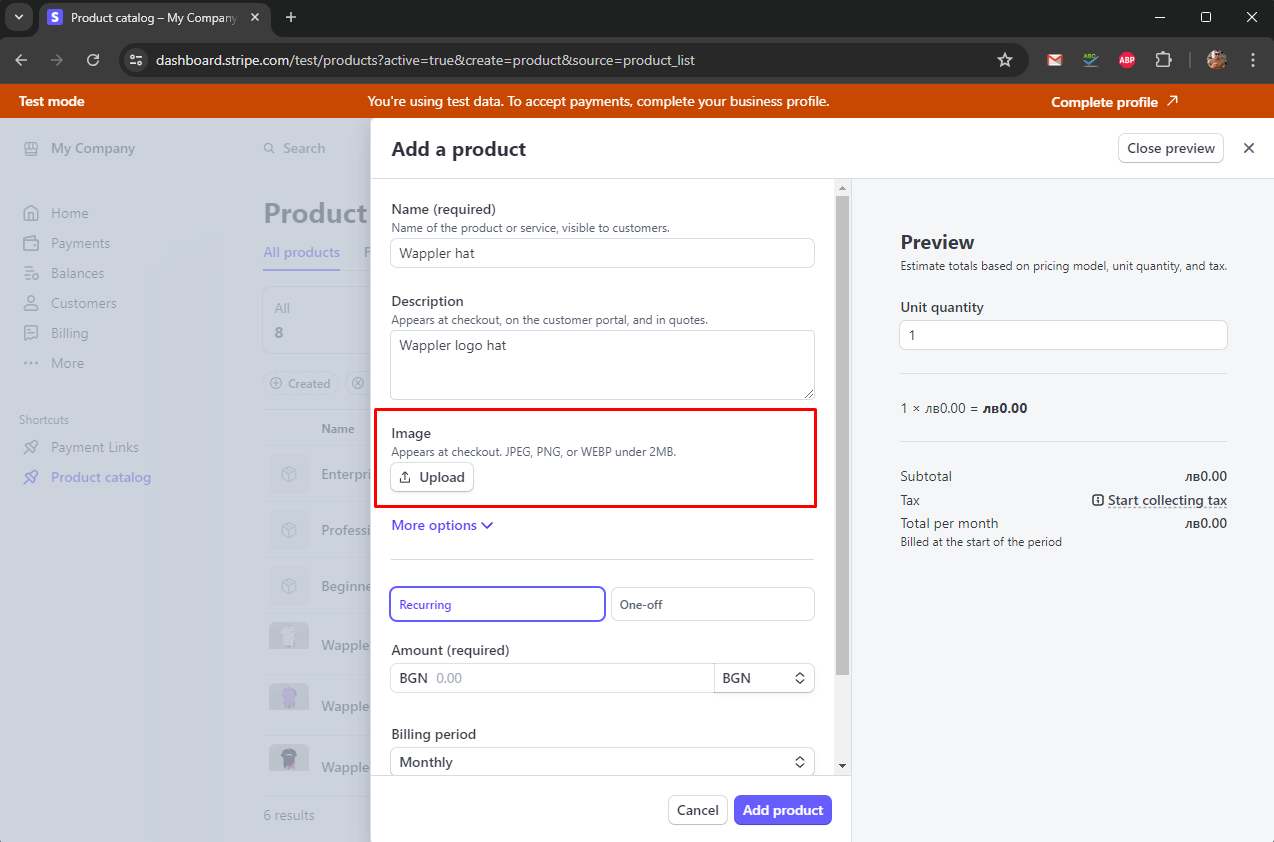
We are done with the product basic info:
Section titled “We are done with the product basic info:”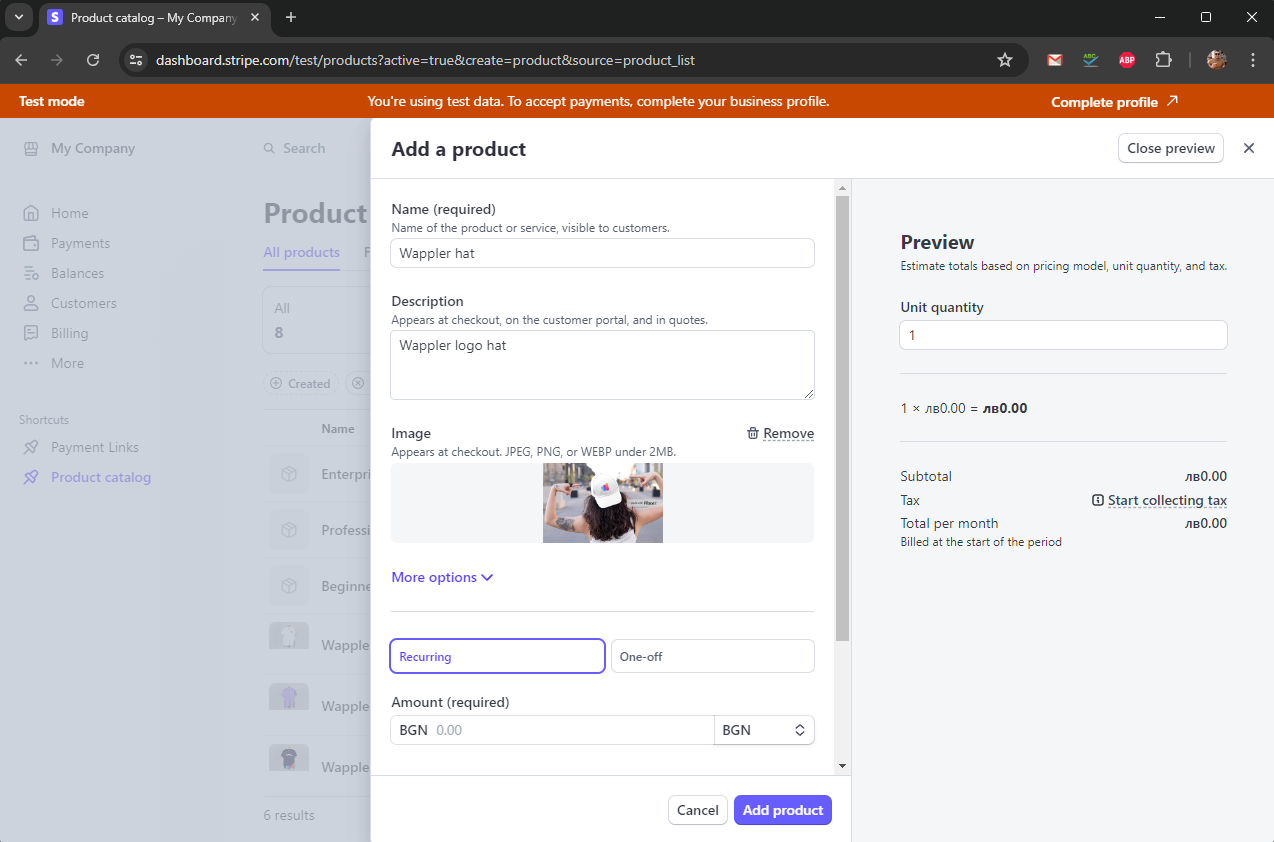
Now, let’s add a price for this product. Select One-off:
Section titled “Now, let’s add a price for this product. Select One-off:”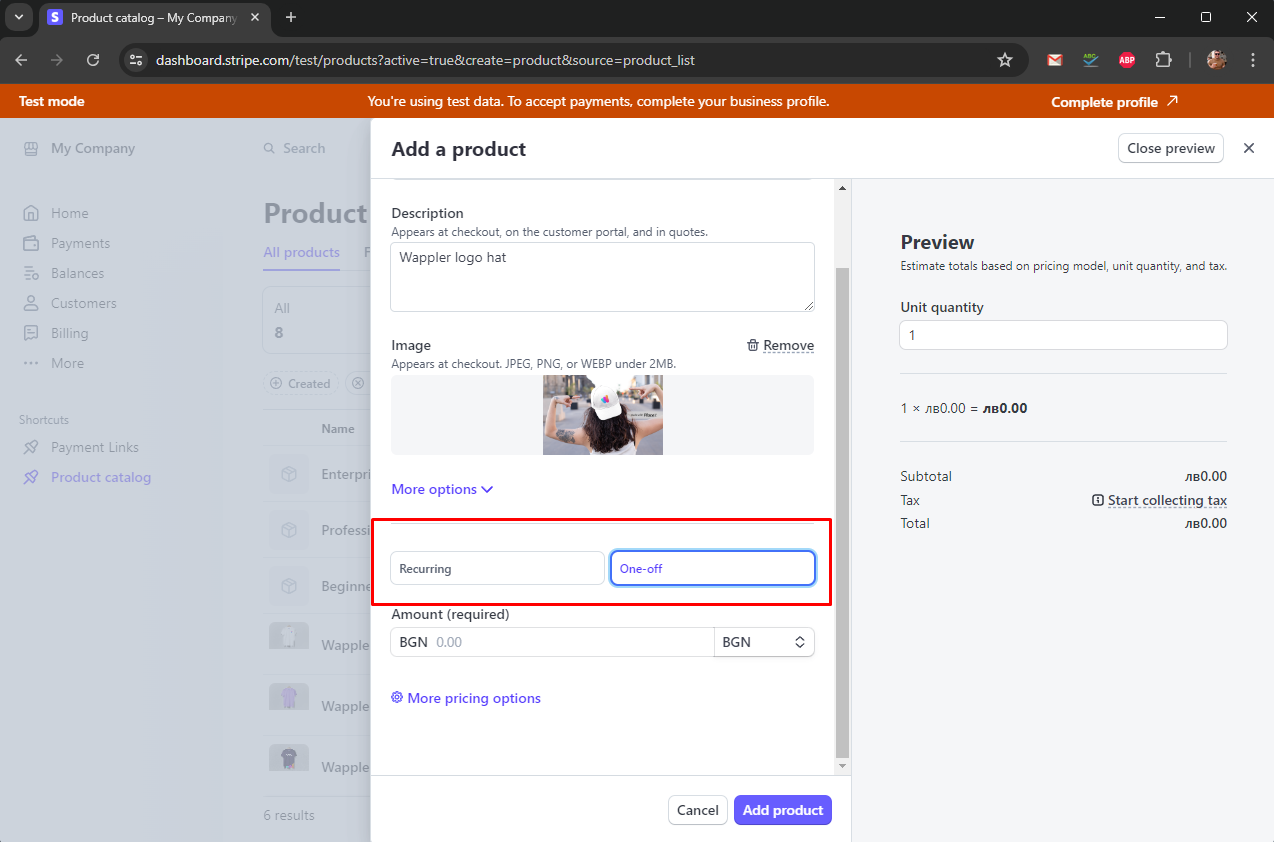
Enter the price and select the currency:
Section titled “Enter the price and select the currency:”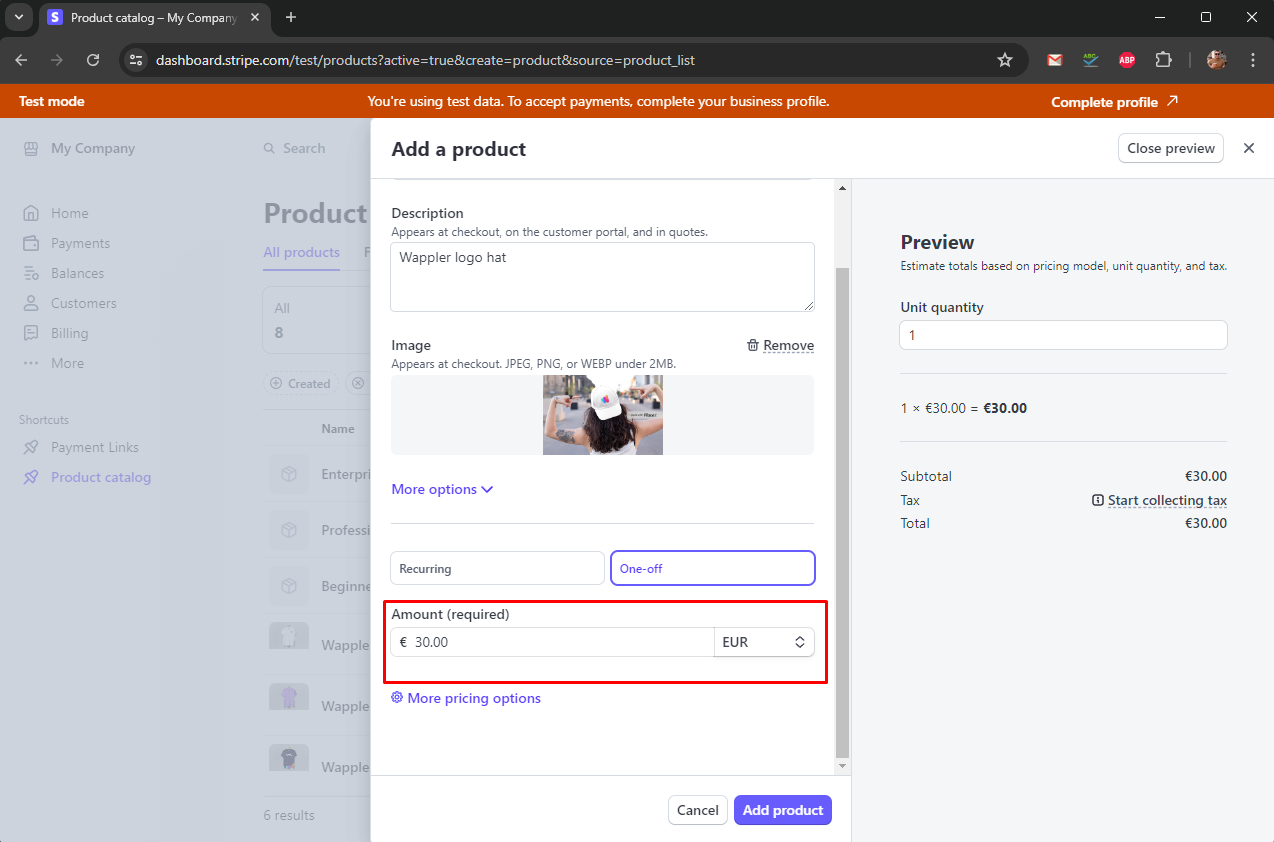
Click Add Product and you are done:
Section titled “Click Add Product and you are done:”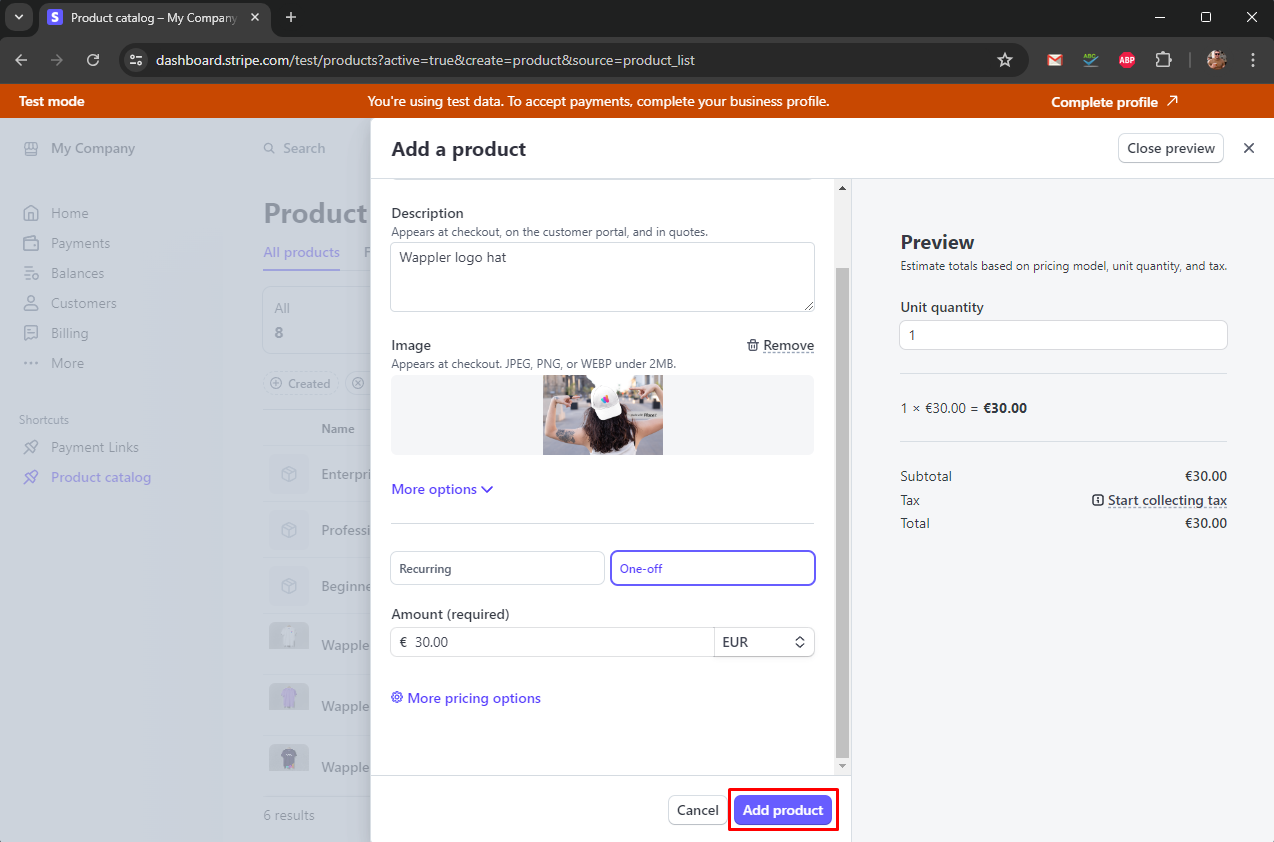
You can see your product in the product catalog. Click it:
Section titled “You can see your product in the product catalog. Click it:”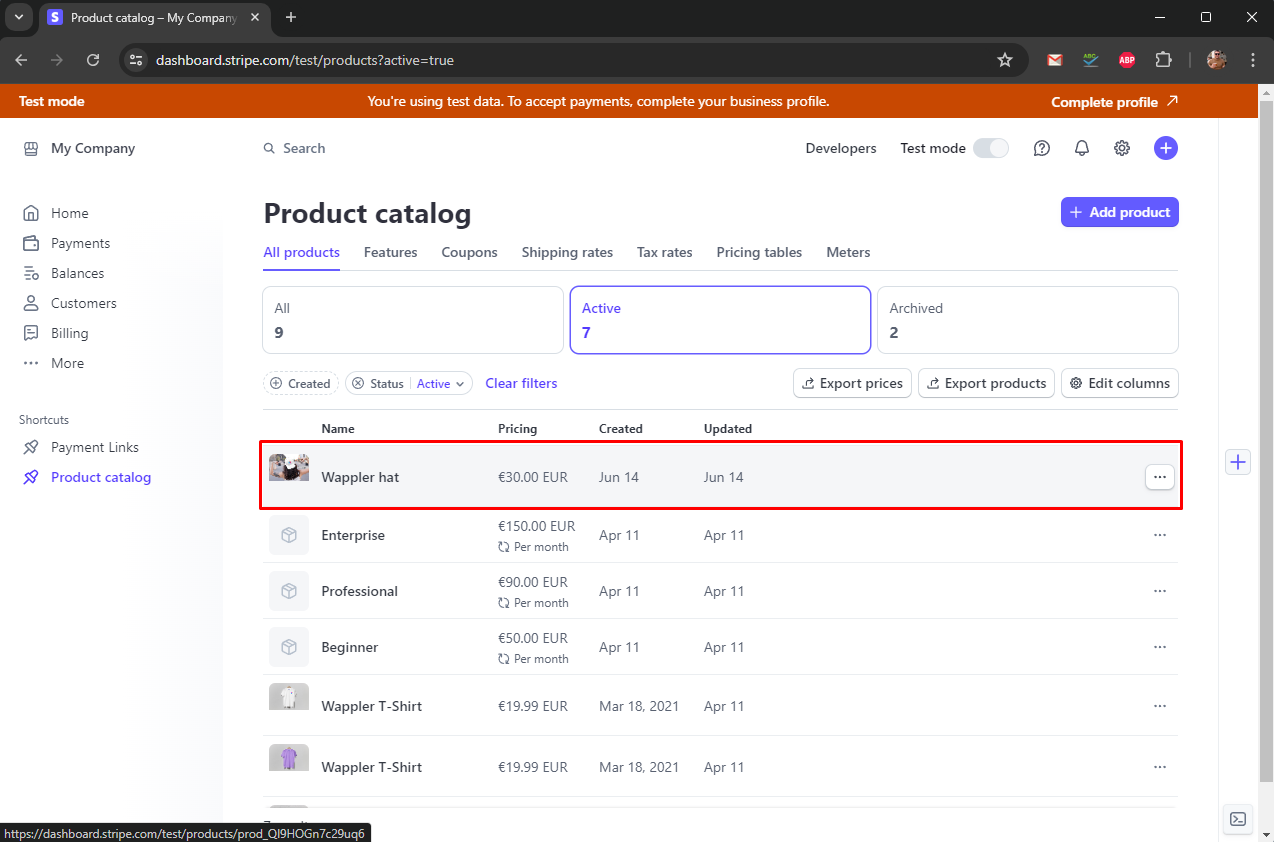
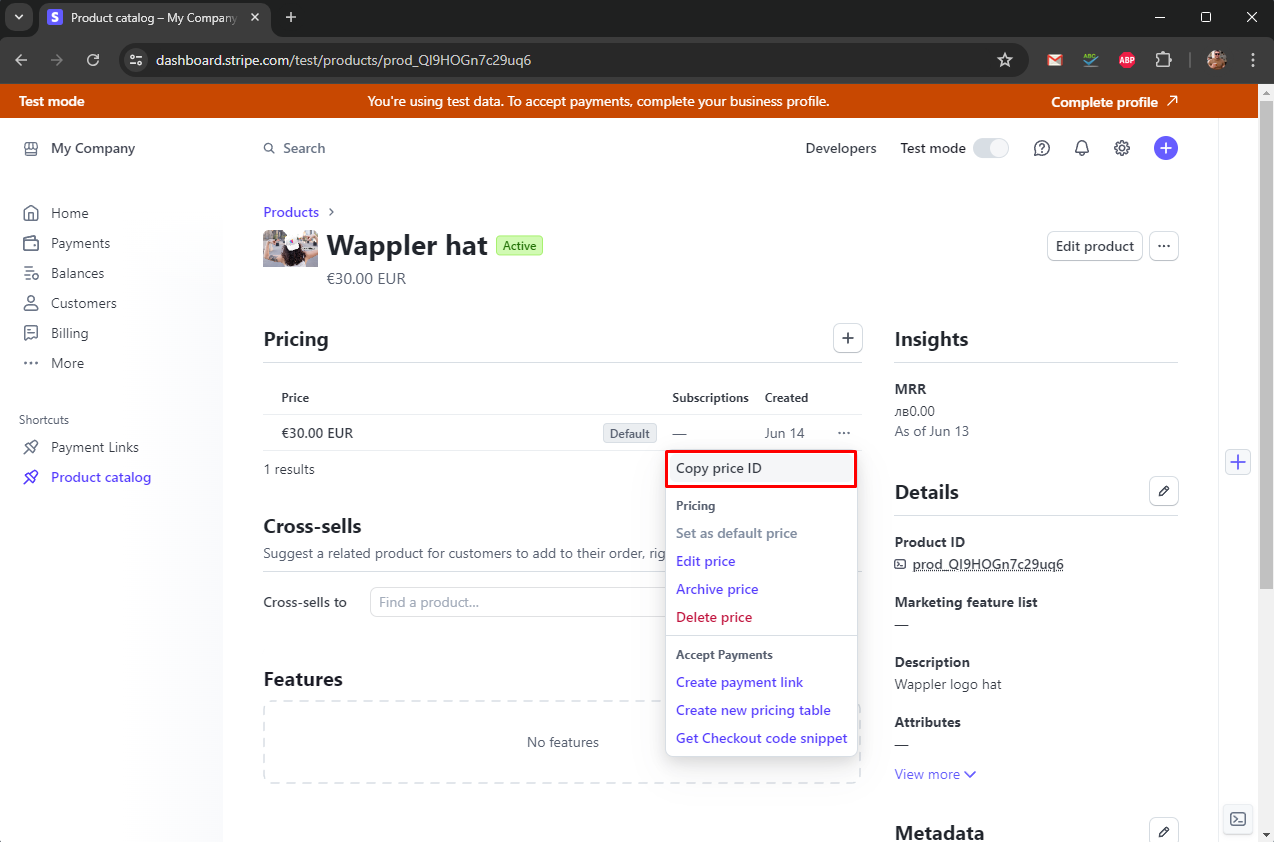
This will open the product details page. Open the dropdown next to the price:
Section titled “This will open the product details page. Open the dropdown next to the price:”
Step 16
Section titled “Step 16”And select Copy price ID. This ID is needed for the checkout process, so if you are using database to store your products, save it there along with the rest of the product info.
That's pretty much everything required for the products on the Stripe Dashboard.
Section titled “That's pretty much everything required for the products on the Stripe Dashboard.”Custom Shopping Cart
Section titled “Custom Shopping Cart”You can build your own shopping cart using the Data Store component as explained in the docs: Creating a Shopping Cart with the Data Store Component
There are two mandatory properties required for the checkout: price and quantity, which must be available when initiating the checkout process.
price is the price ID which we copied earlier from the stripe dashboard.
quantity is the quantity of the products that will be purchased.
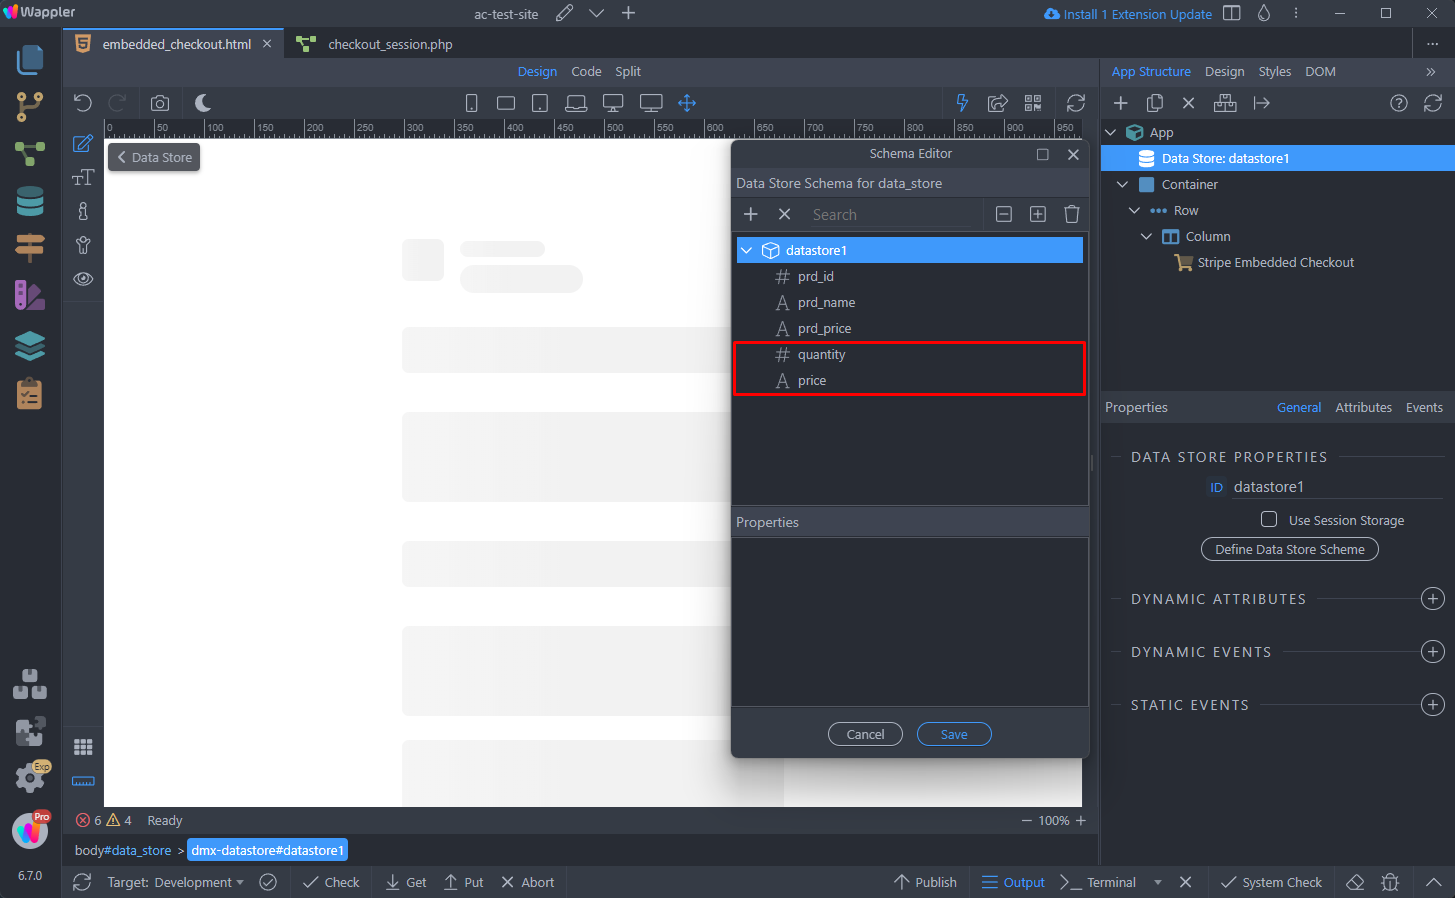
the rest of the shopping cart properties can be whatever you need for your shopping cart look and feel.
Section titled “the rest of the shopping cart properties can be whatever you need for your shopping cart look and feel.”Server Side
Section titled “Server Side”The server side flow requires us to create a checkout session. For this we need to create a server action. Open Server Connect and create a new Server Action:
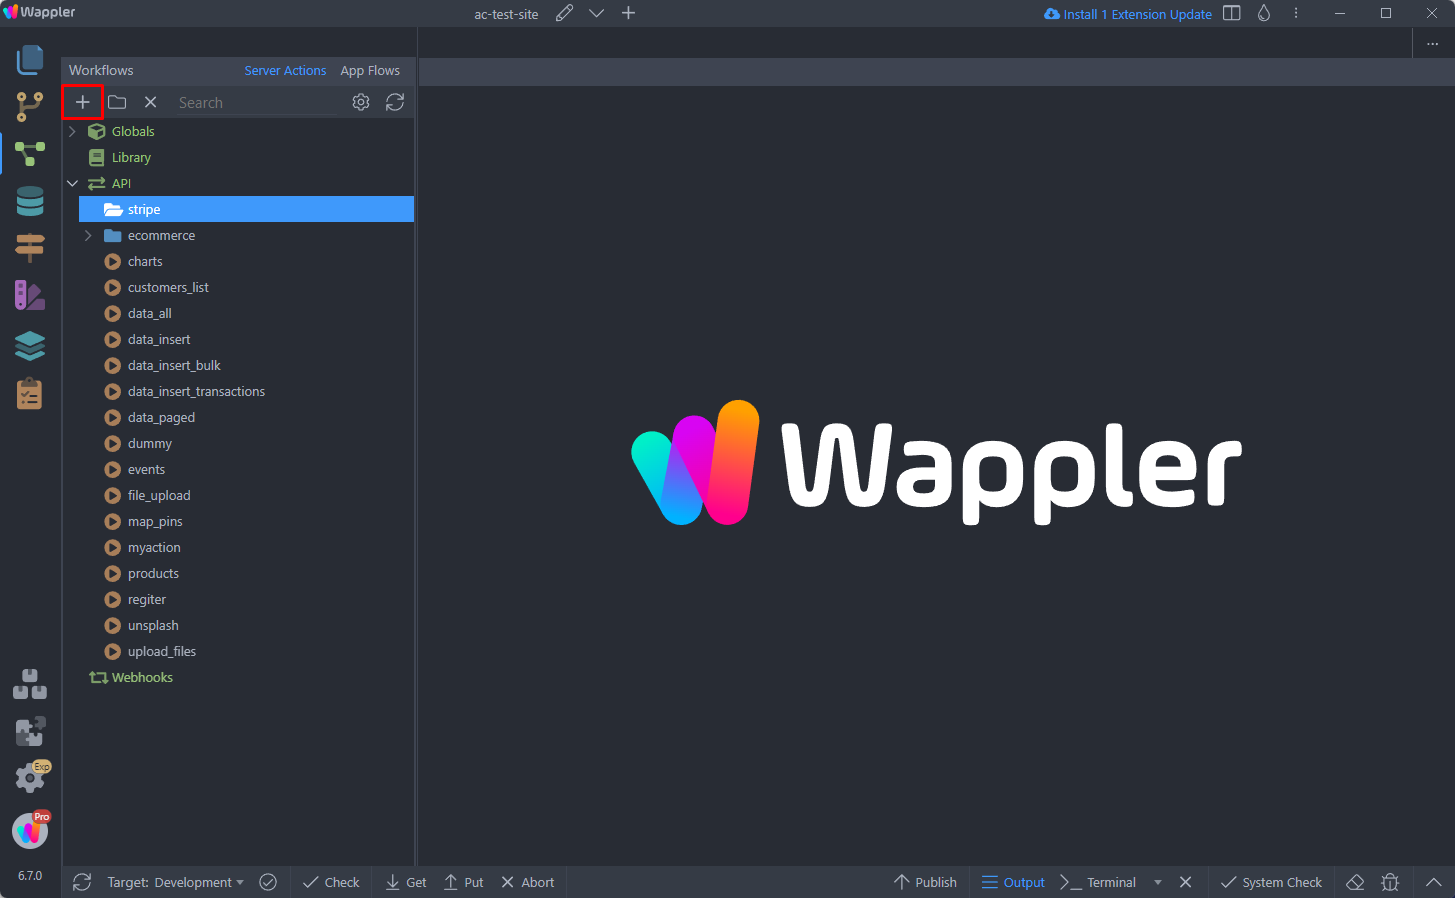
Add a name to it:
Section titled “Add a name to it:”
And then we use the special Create Embedded Checkout Session Template. Add it to the server action steps:
Section titled “And then we use the special Create Embedded Checkout Session Template. Add it to the server action steps:”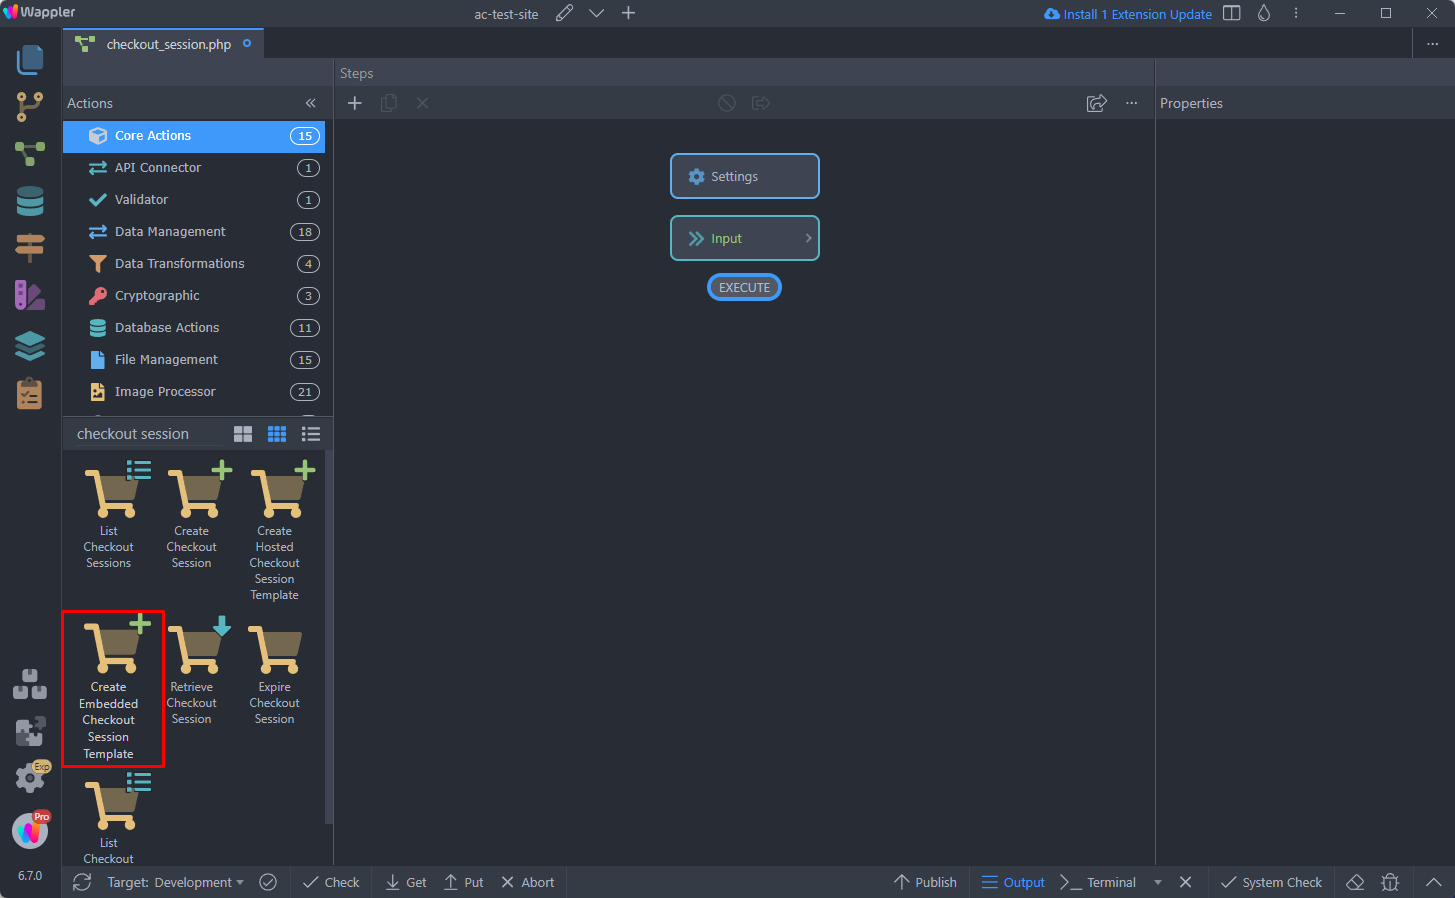
And you can see it adds all the required steps for the checkout session creation:
Section titled “And you can see it adds all the required steps for the checkout session creation:”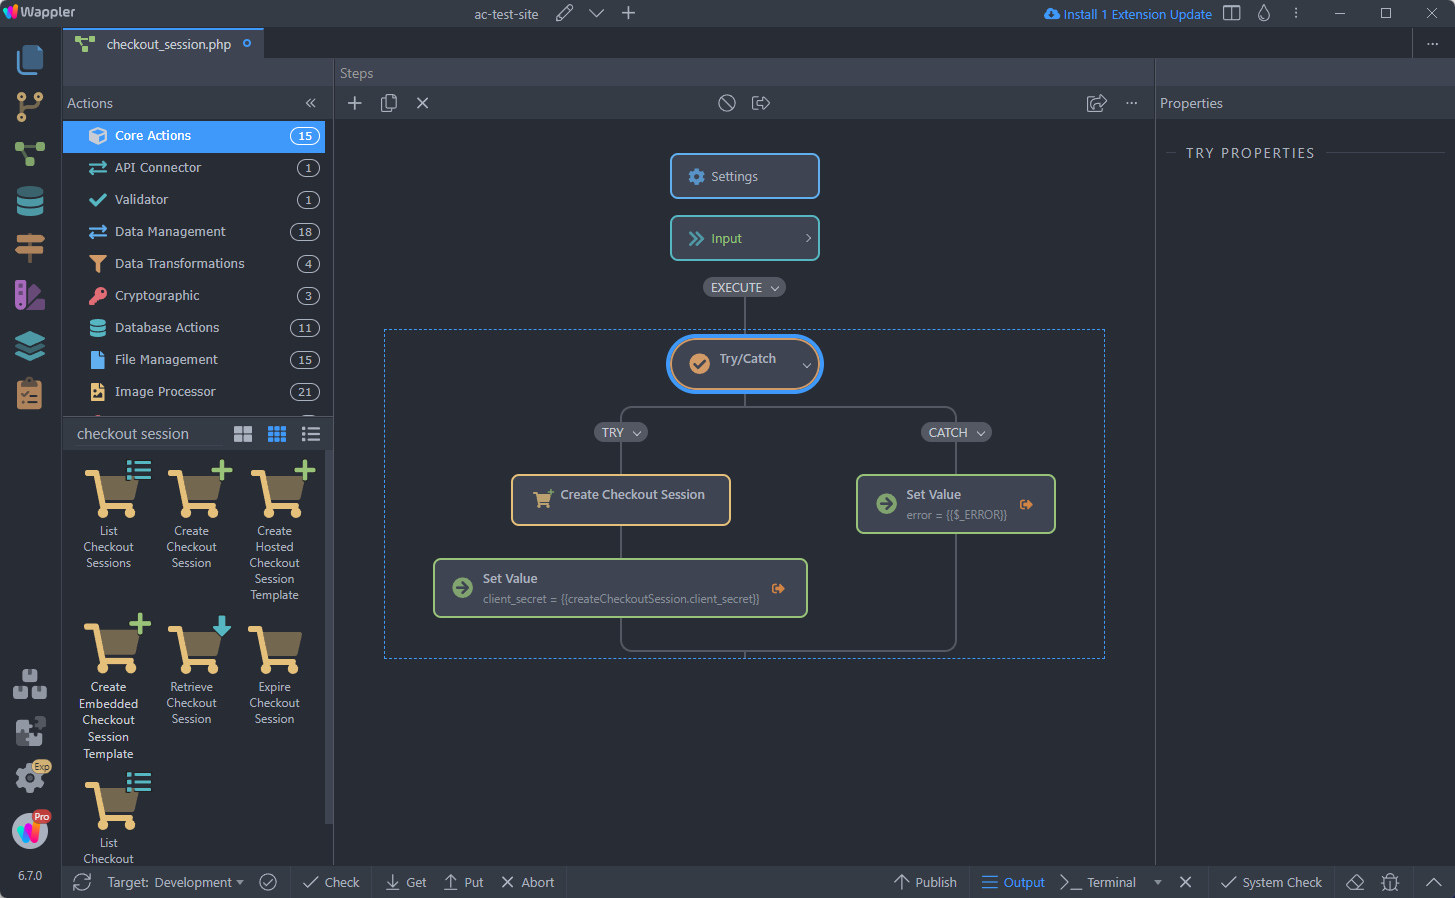
Step 24
Section titled “Step 24”Click the Create Checkout Session step and you can see its properties. First add the Payment methods which you want to use:
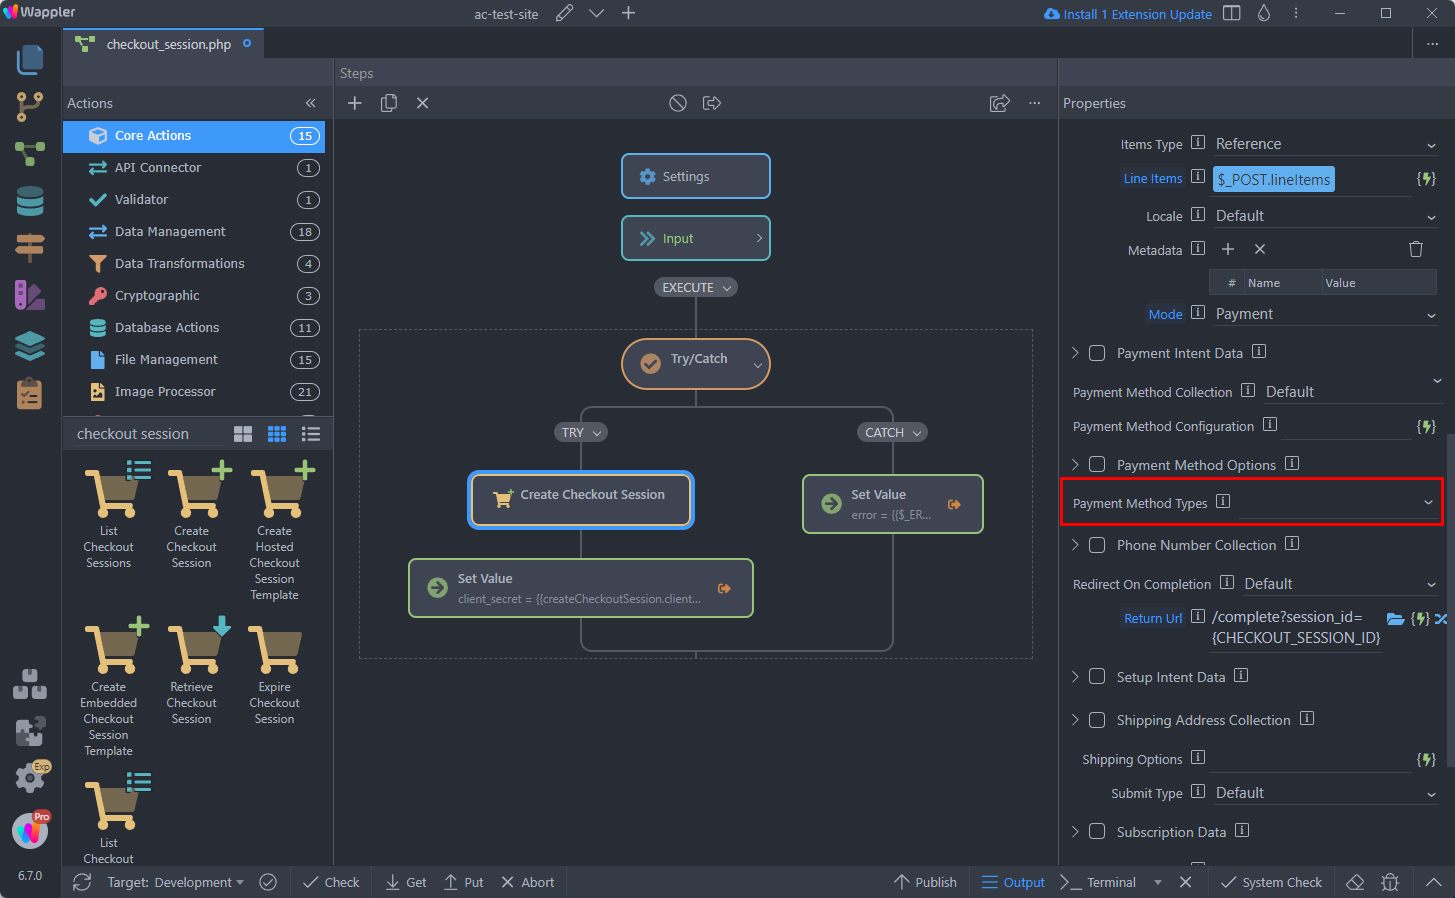
We select card:
Section titled “We select card:”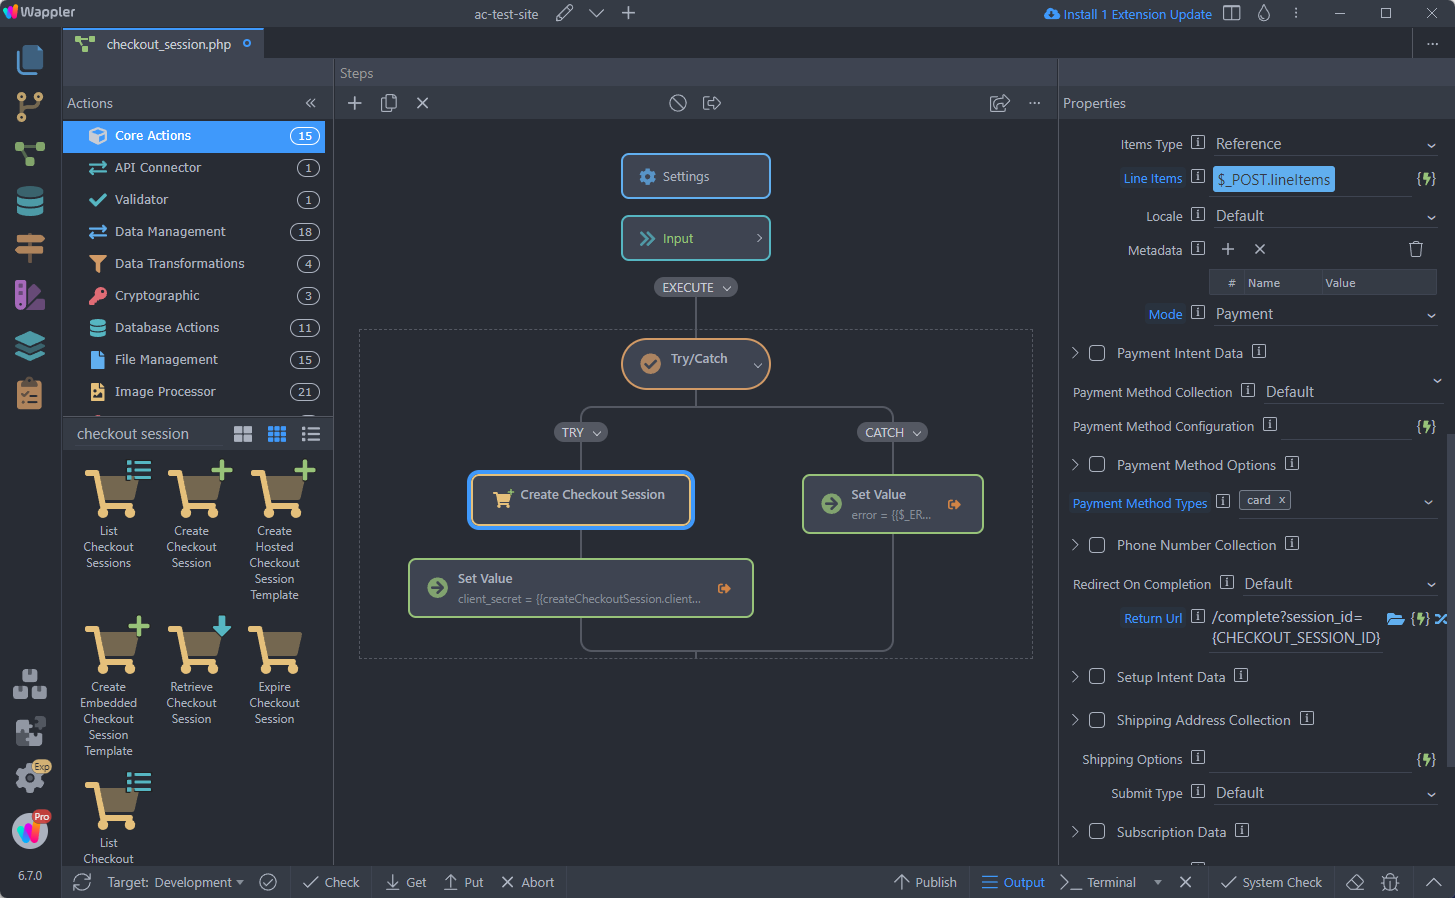
Step 26
Section titled “Step 26”Then setup the redirect URL, which will be loaded after a successful or cancelled payment. You can see that it contains the dynamic {CHECKOUT_SESSION_ID} which is the Checkout Session ID:
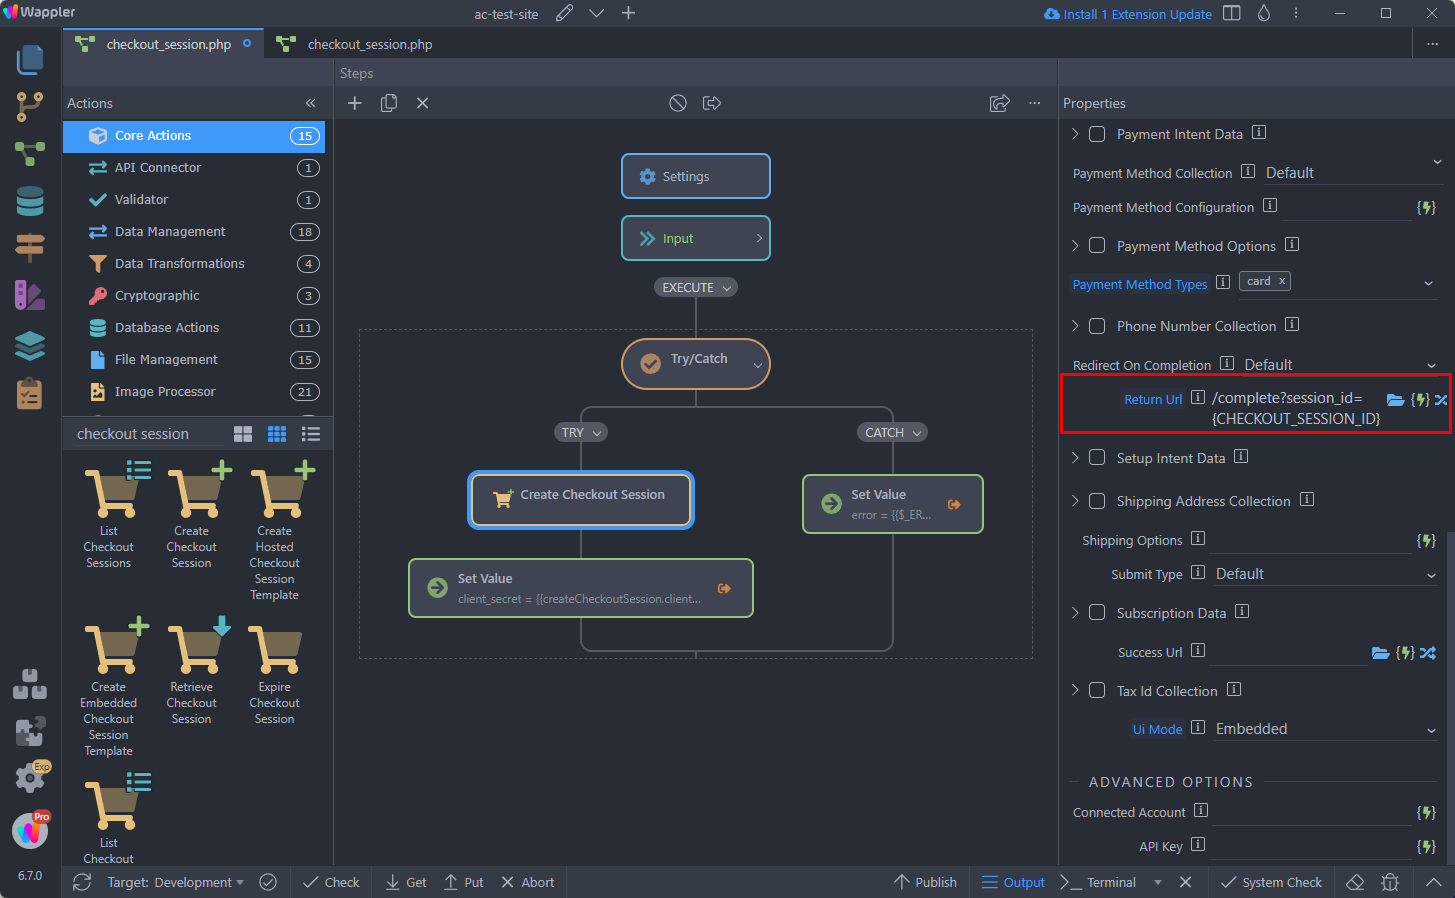
The UI Mode should be set to Embedded for Embedded Checkout:
Section titled “The UI Mode should be set to Embedded for Embedded Checkout:”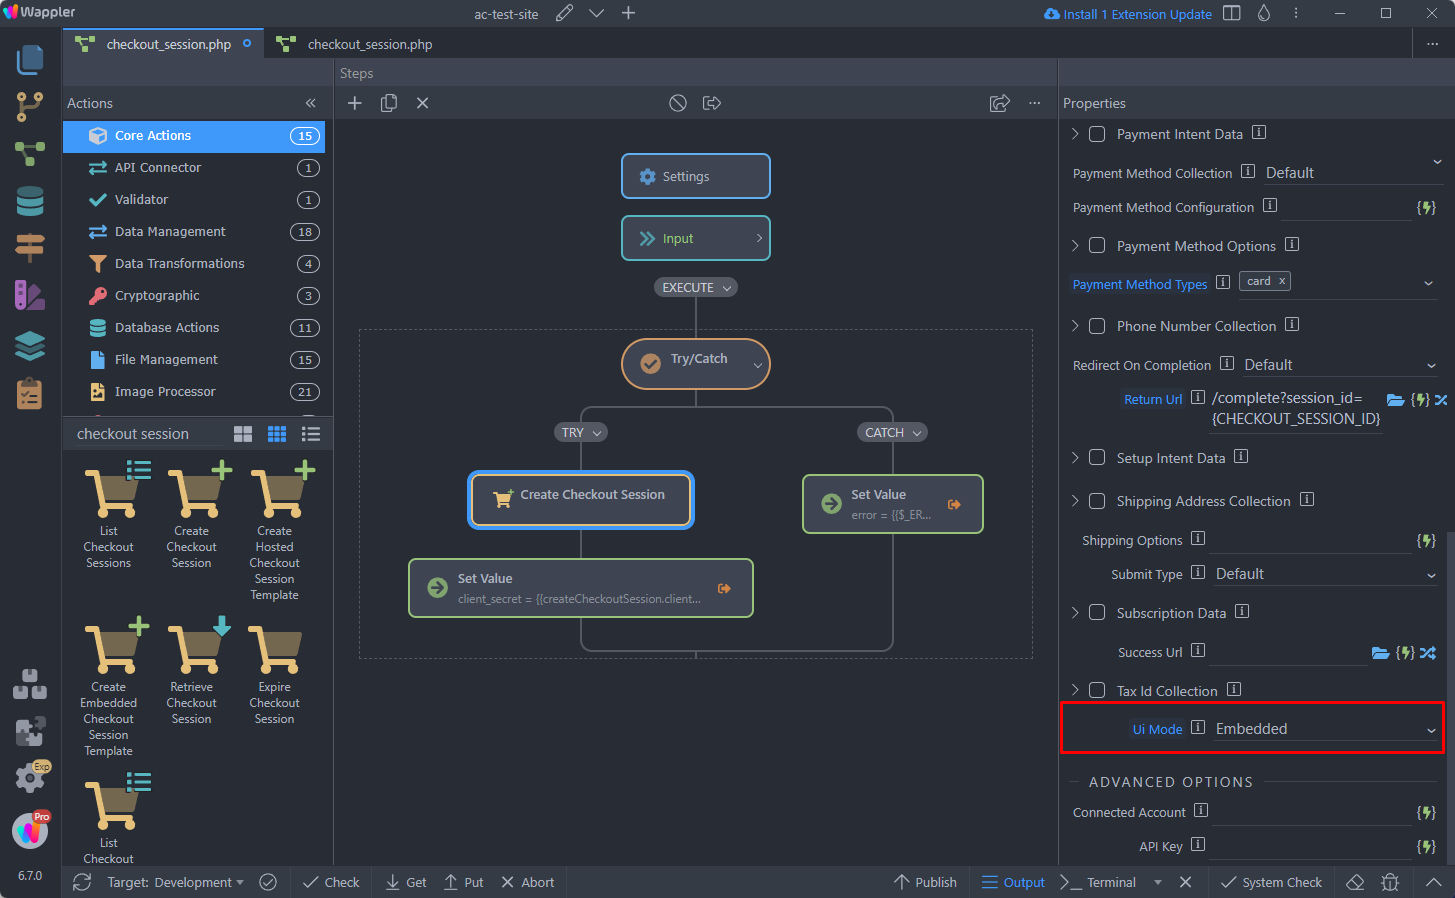
Save your server action and you are done.
Section titled “Save your server action and you are done.”Client Side
Section titled “Client Side”You need to create a page where the Embedded Checkout Form will be displayed. In our case we are using the data store component for a shopping cart, so we added it on an empty page:
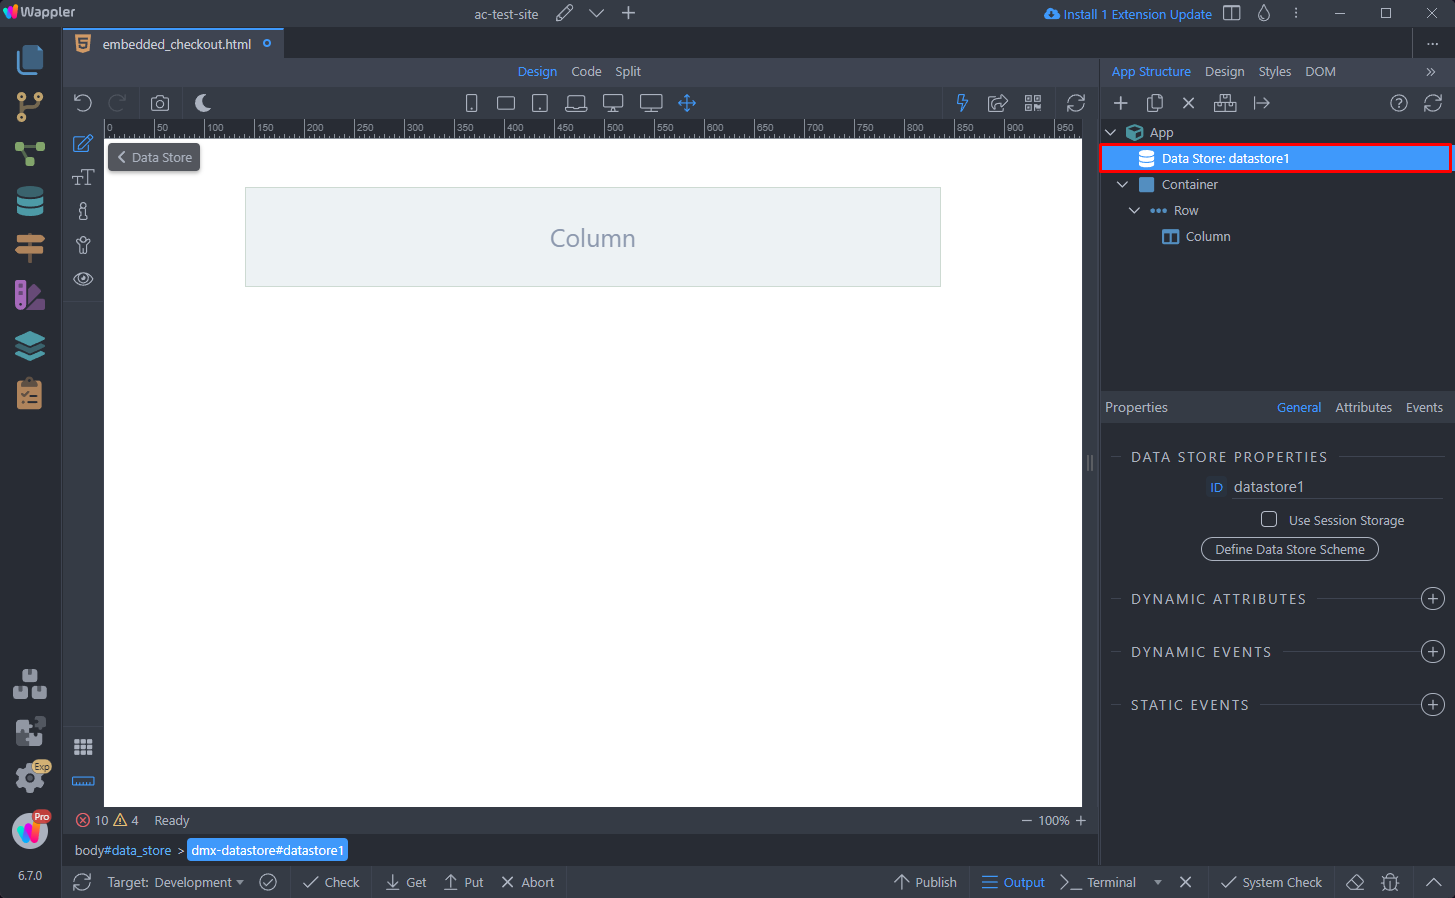
Add a new component > Stripe > Stripe Embedded Checkout:
Section titled “Add a new component > Stripe > Stripe Embedded Checkout:”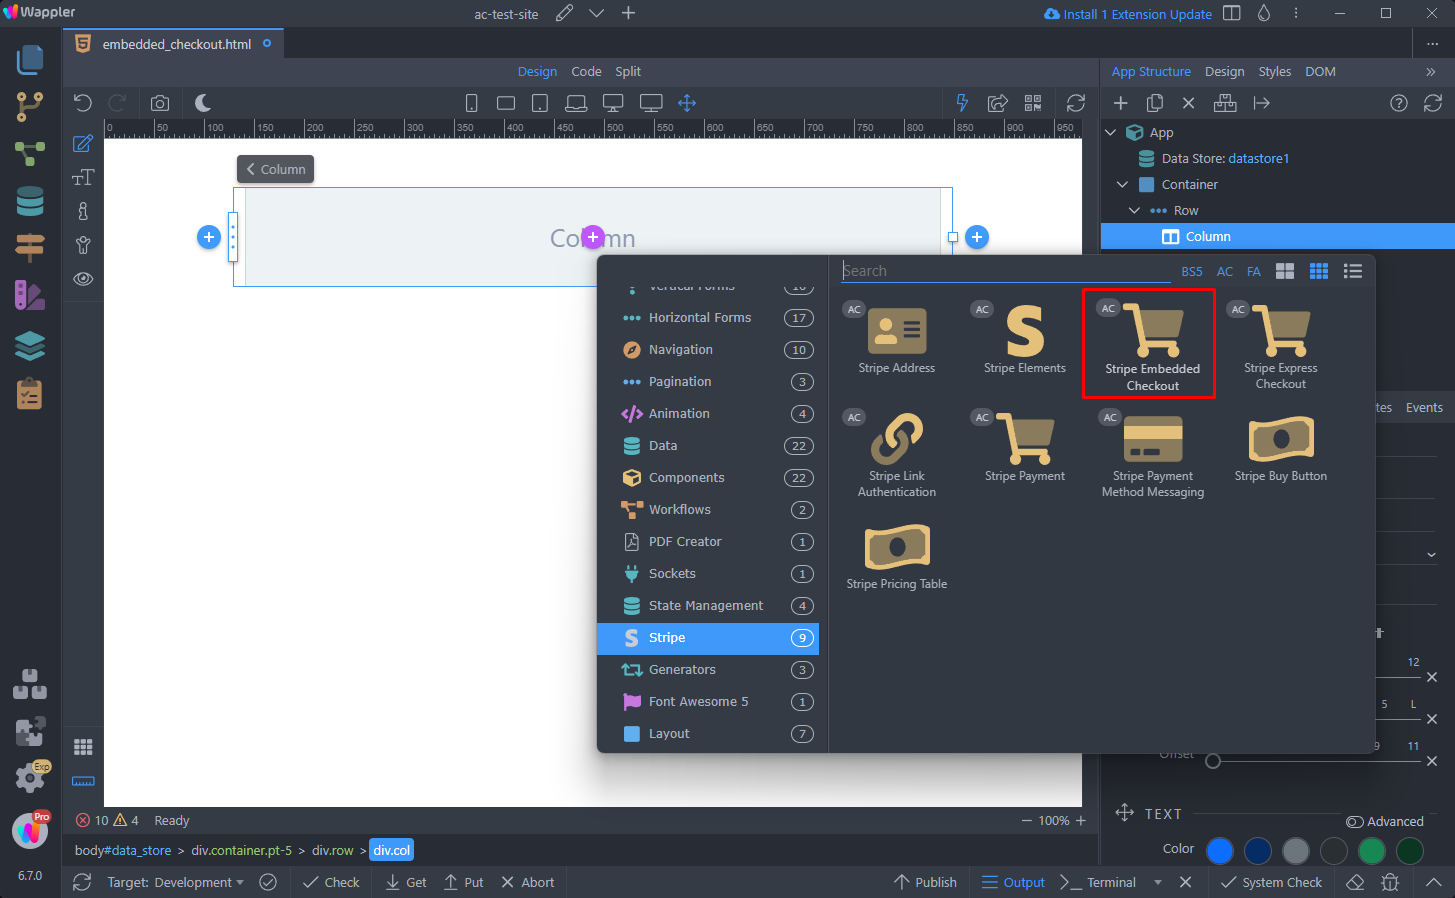
Step 31
Section titled “Step 31”You need to add your stripe publishable key here. Click the little info icon that opens the stripe dashboard so you can copy it:
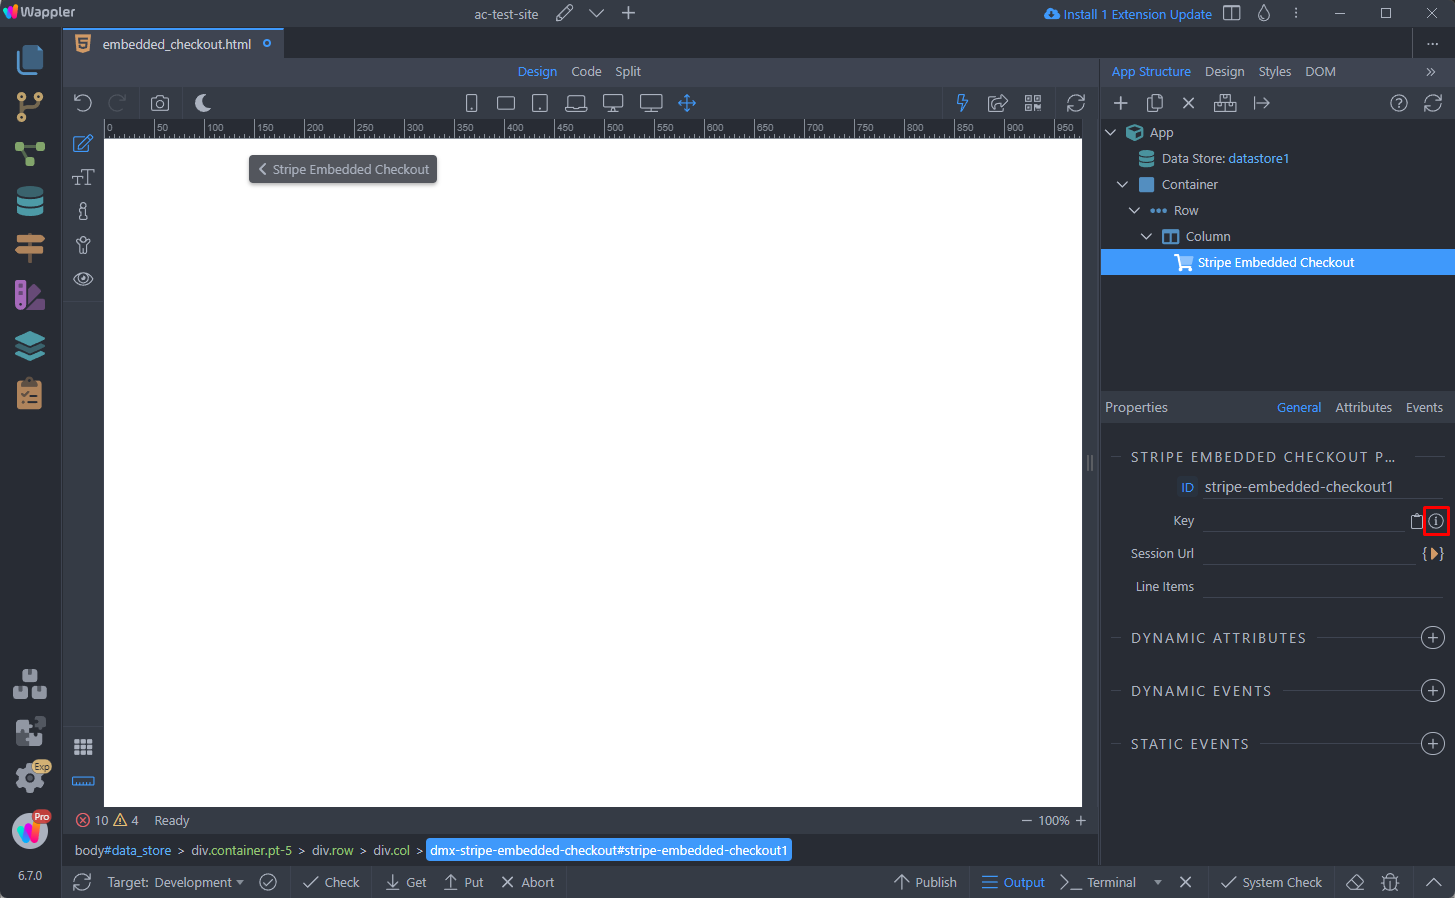
Copy the publishable key:
Section titled “Copy the publishable key:”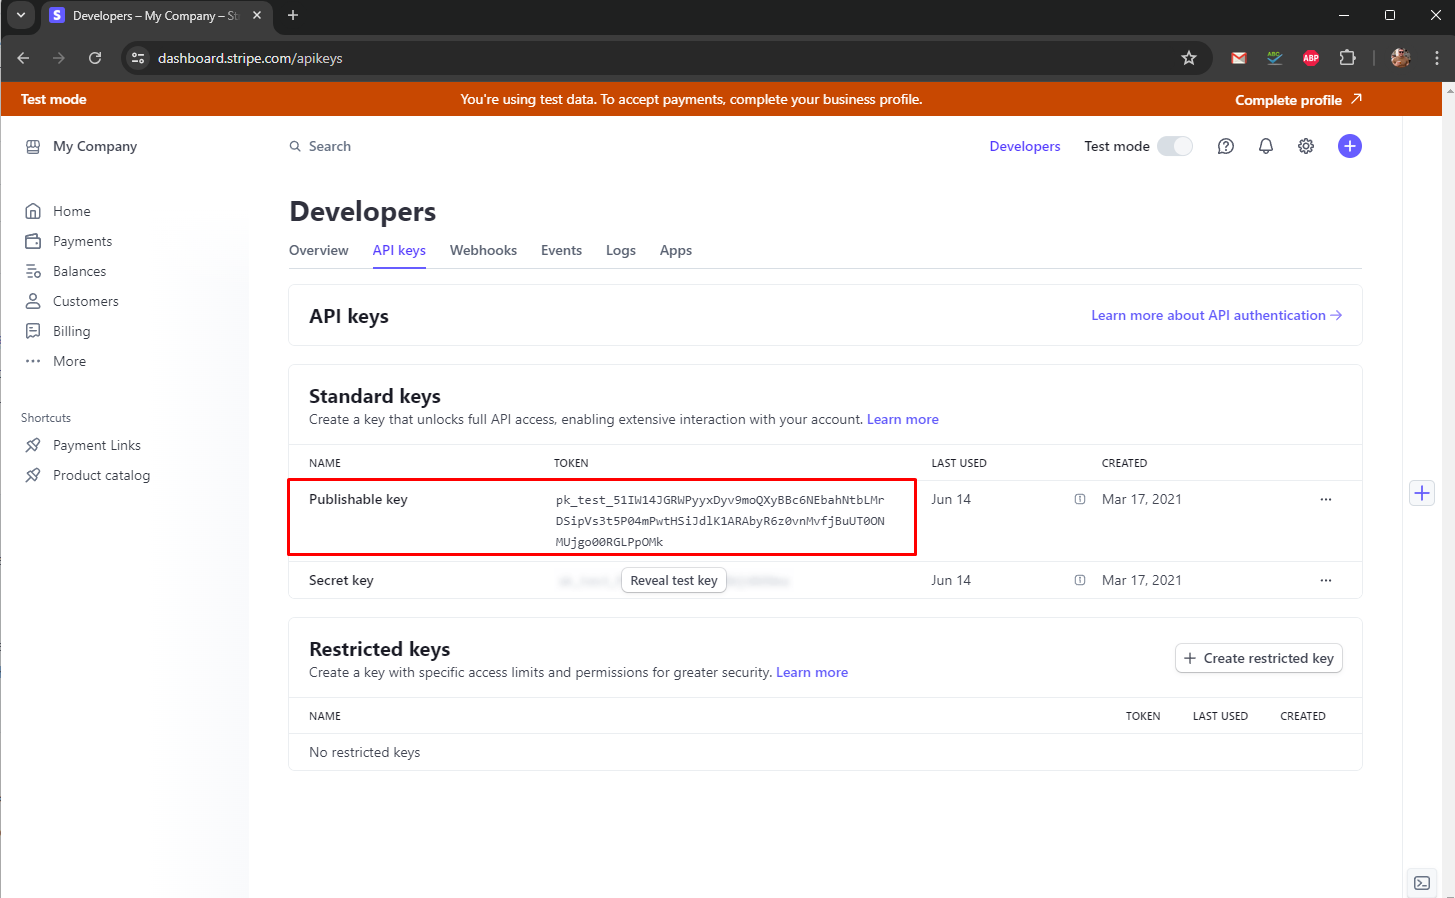
And paste it in the Key input:
Section titled “And paste it in the Key input:”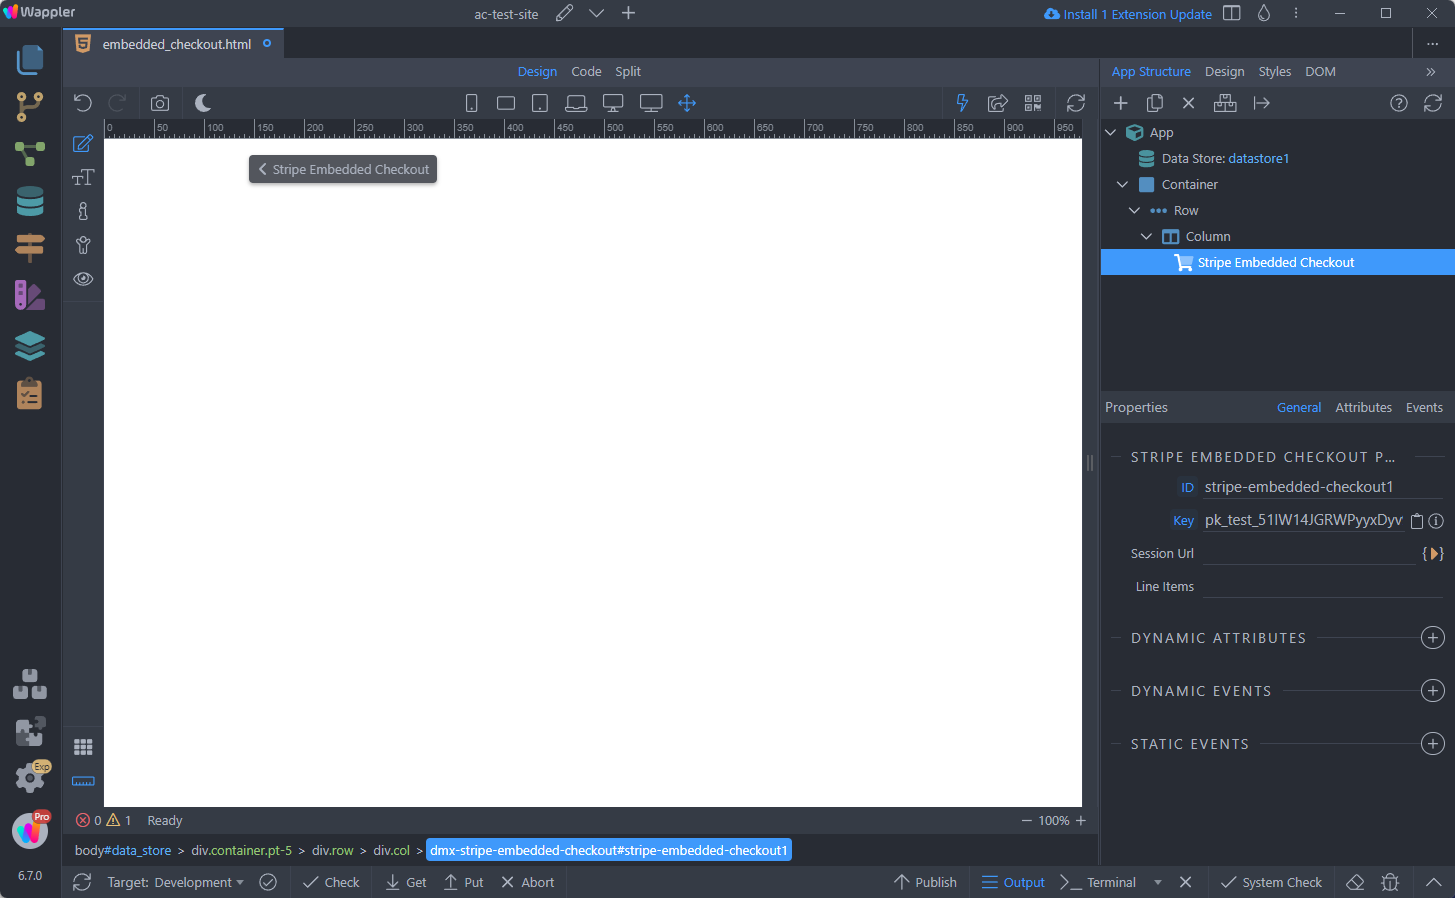
Then click the dynamic data picker to select the Session URL:
Section titled “Then click the dynamic data picker to select the Session URL:”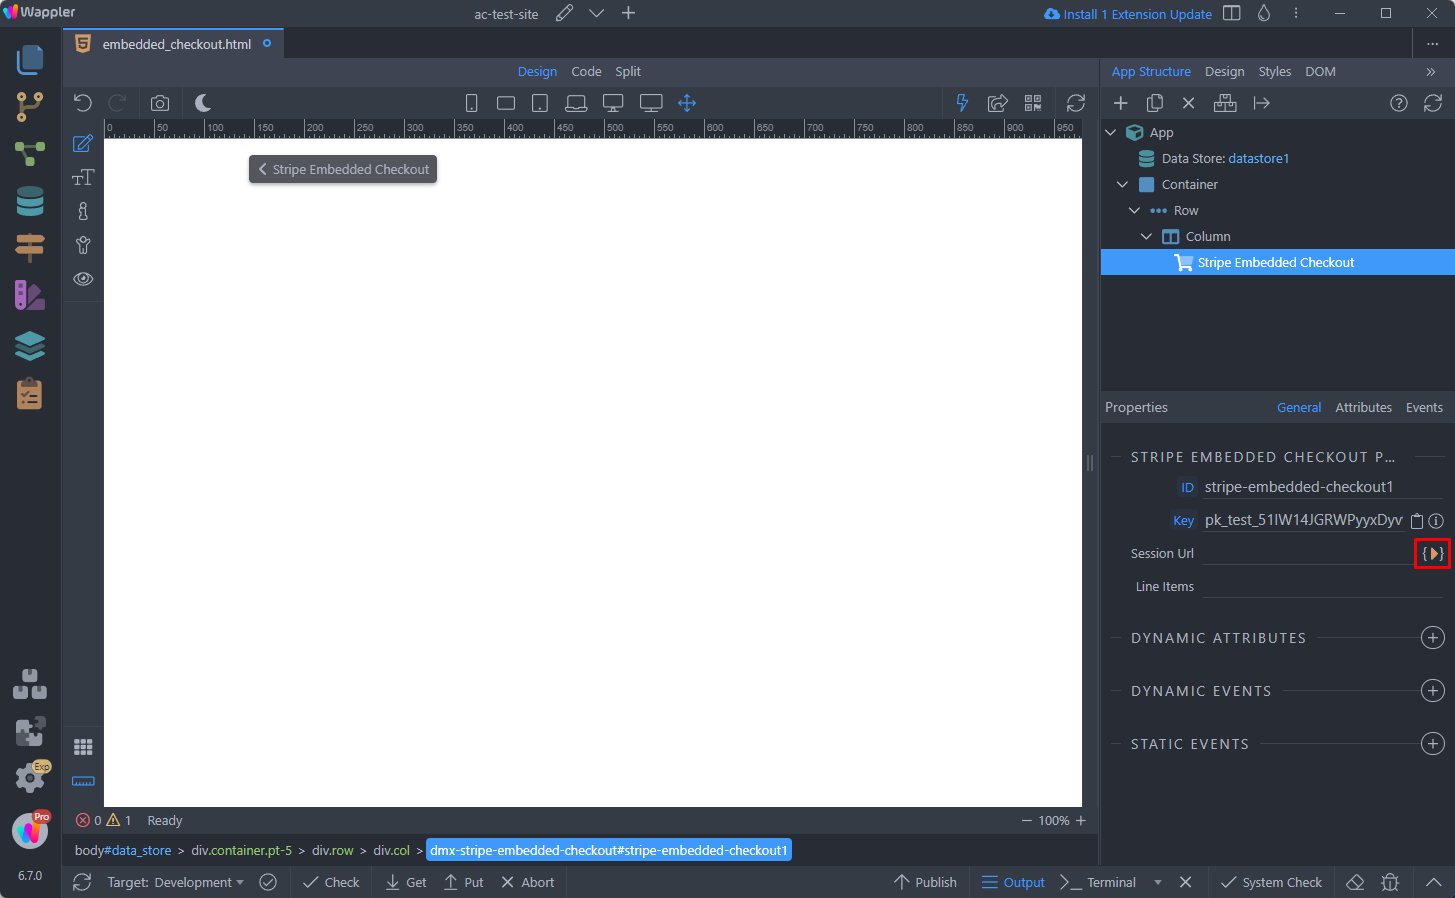
This is the checkout_session server action which we just created:
Section titled “This is the checkout_session server action which we just created:”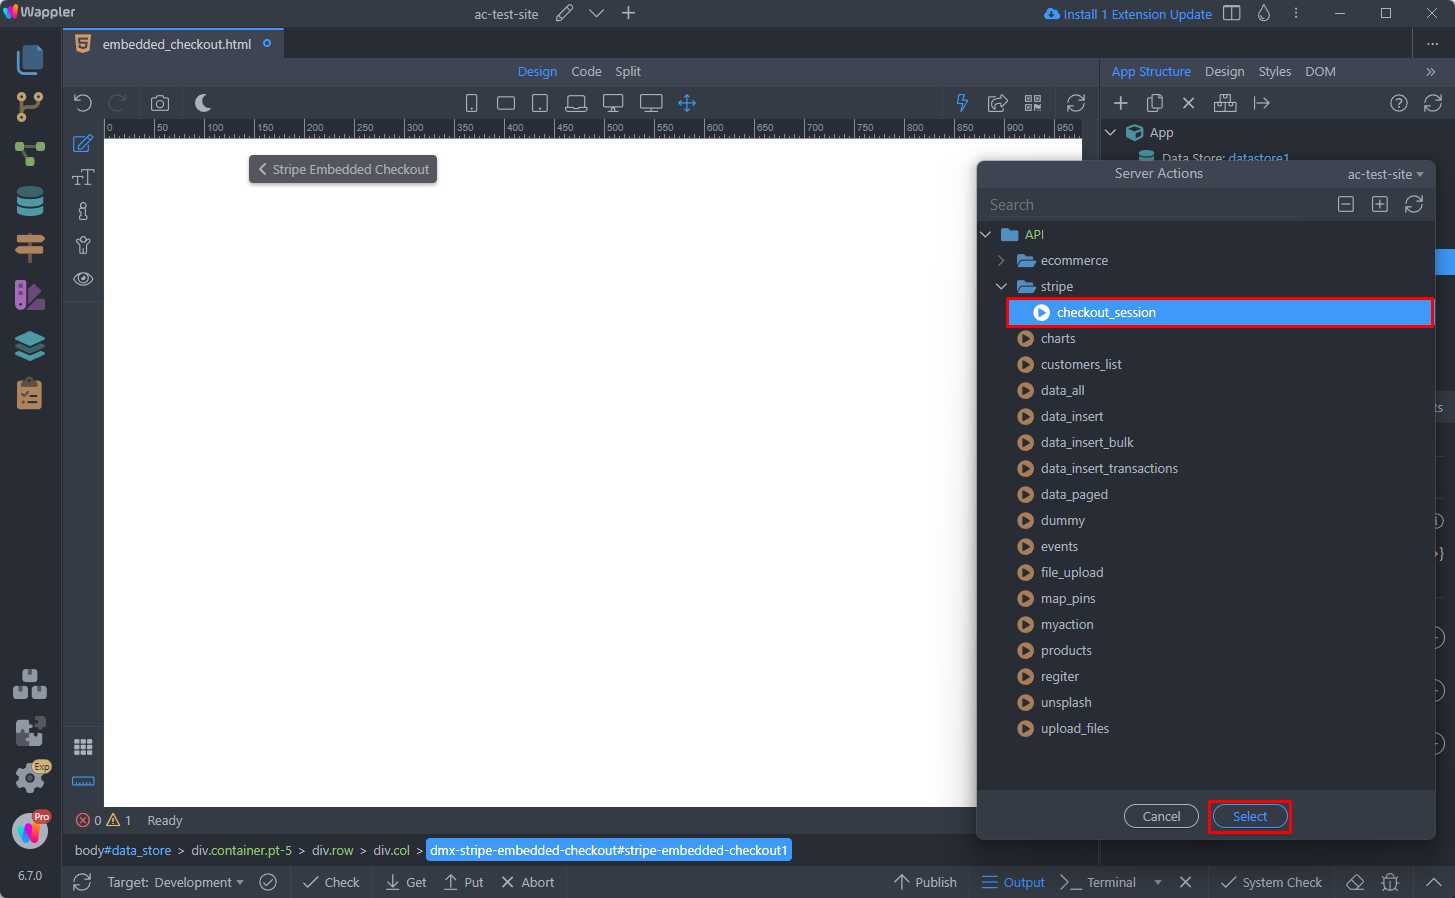
Step 36
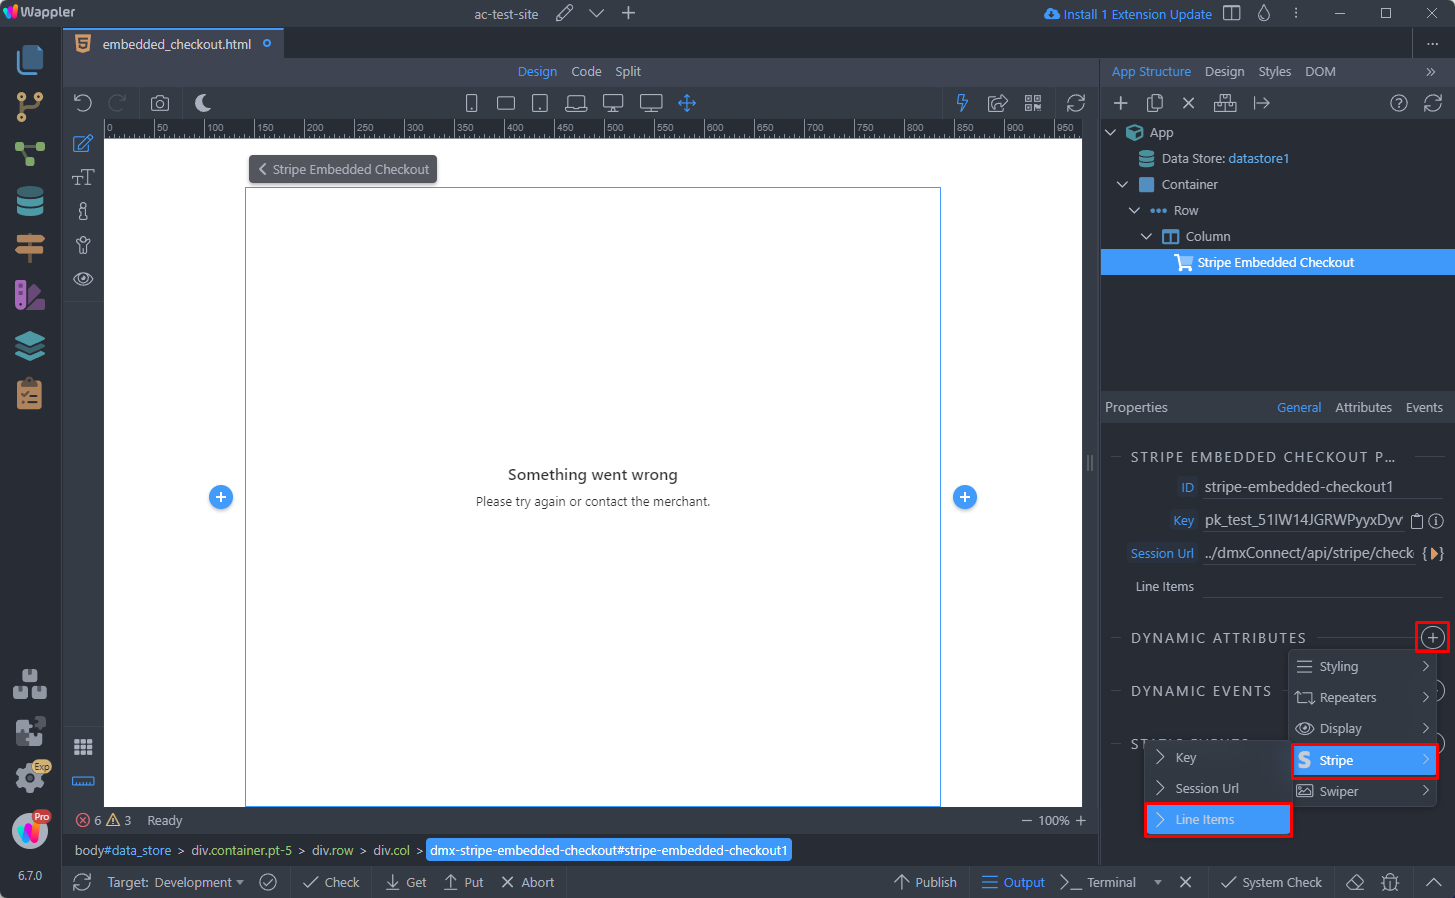
Section titled “Step 36”The next step is to send the shopping cart items to the checkout.
Add new dynamic attribute > Stripe > Line Items:
Click the dynamic data picker to select the line items:
Section titled “Click the dynamic data picker to select the line items:”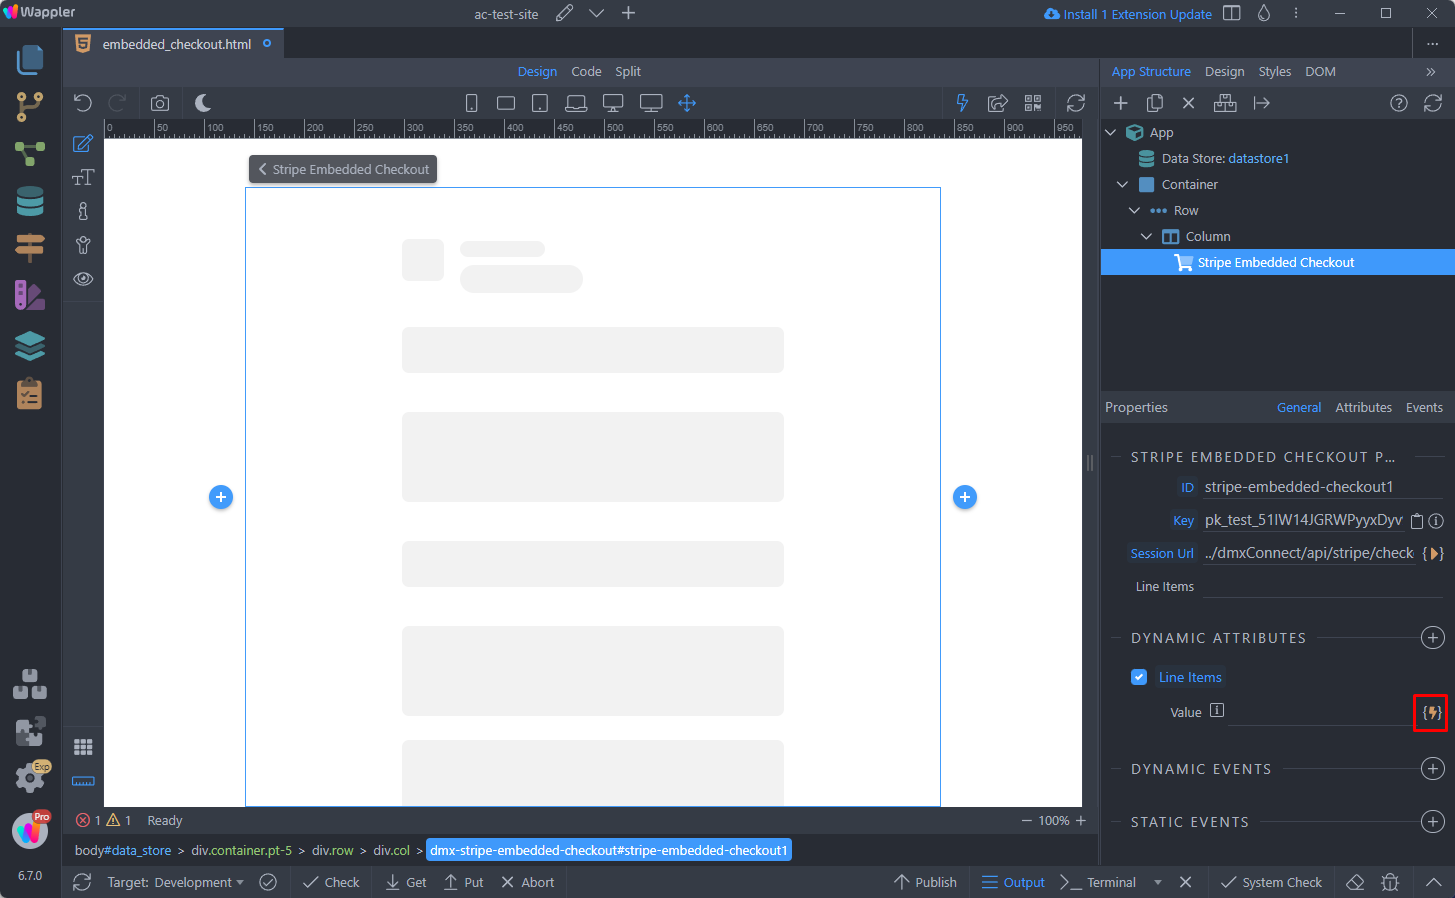
Step 38
Section titled “Step 38”This is the Data Store component's data array, which contains the price and quantity properties, which me mentioned in the beginning:
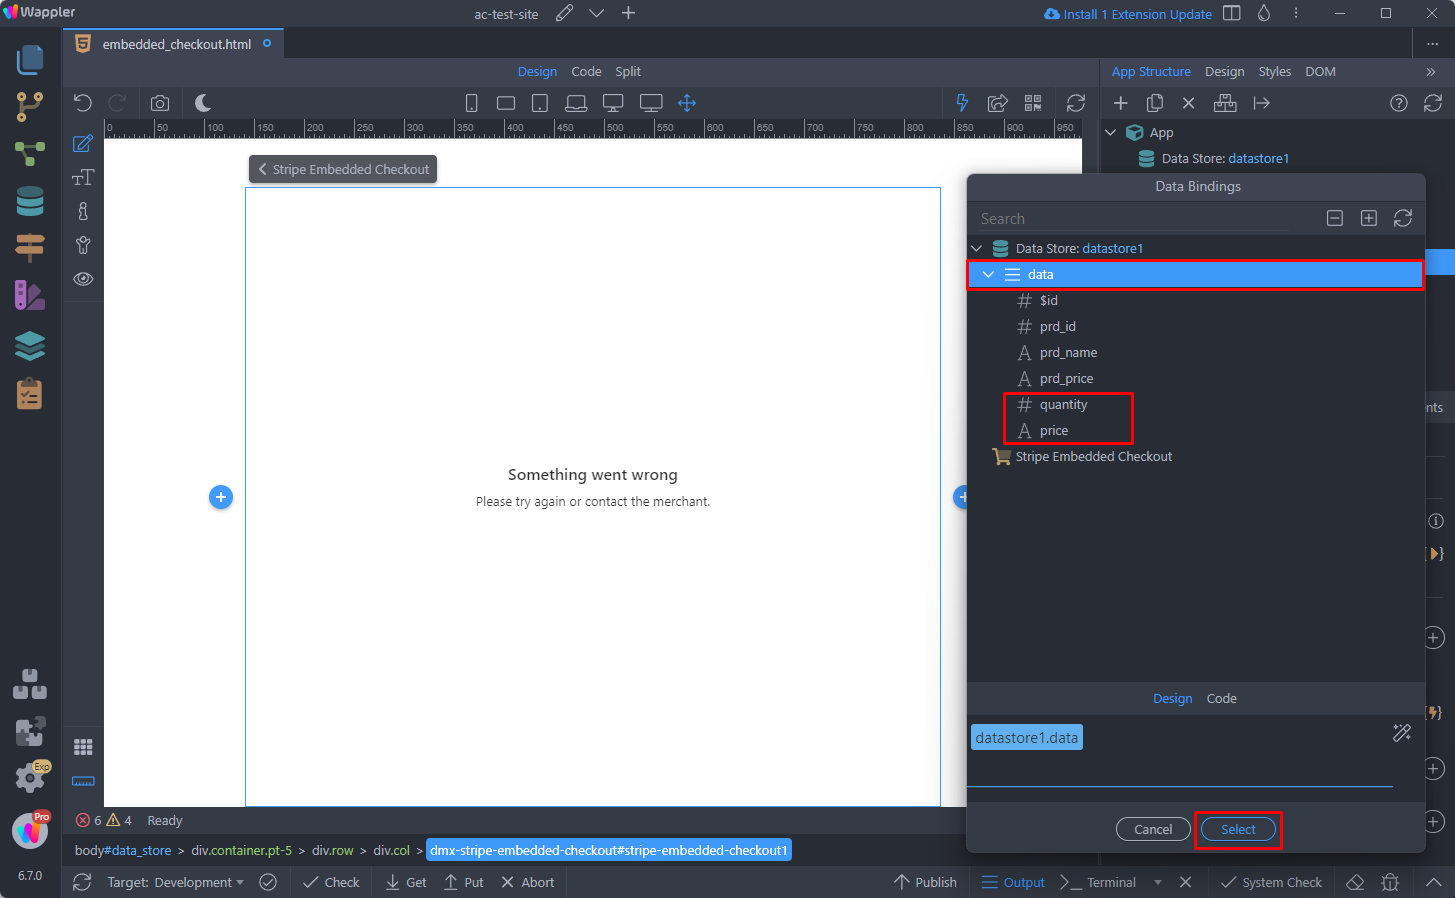
And you are done. Save your page and let's preview the results:
Section titled “And you are done. Save your page and let's preview the results:”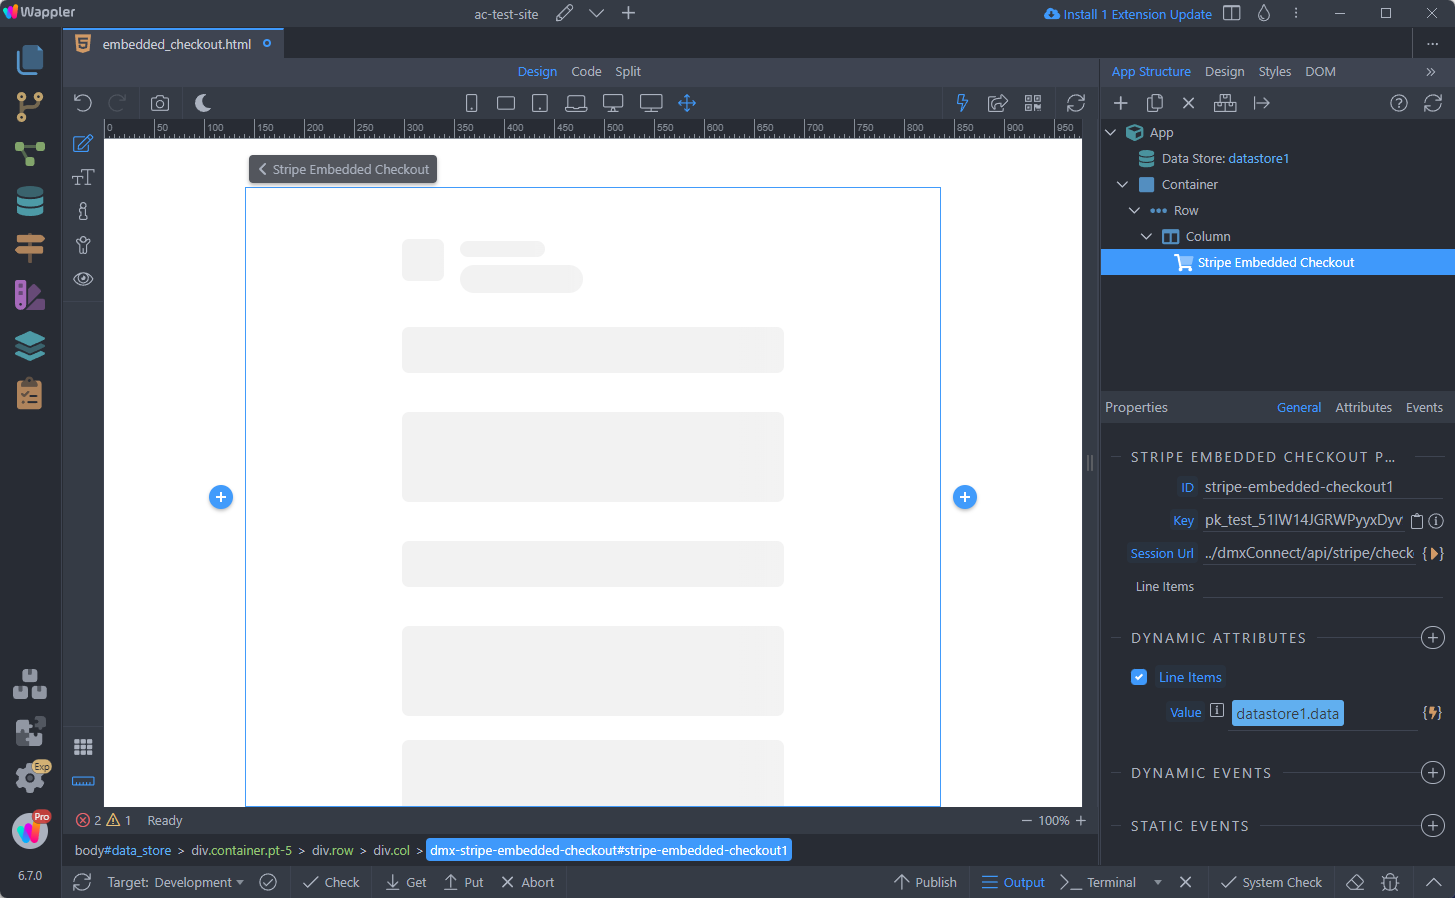
Step 40
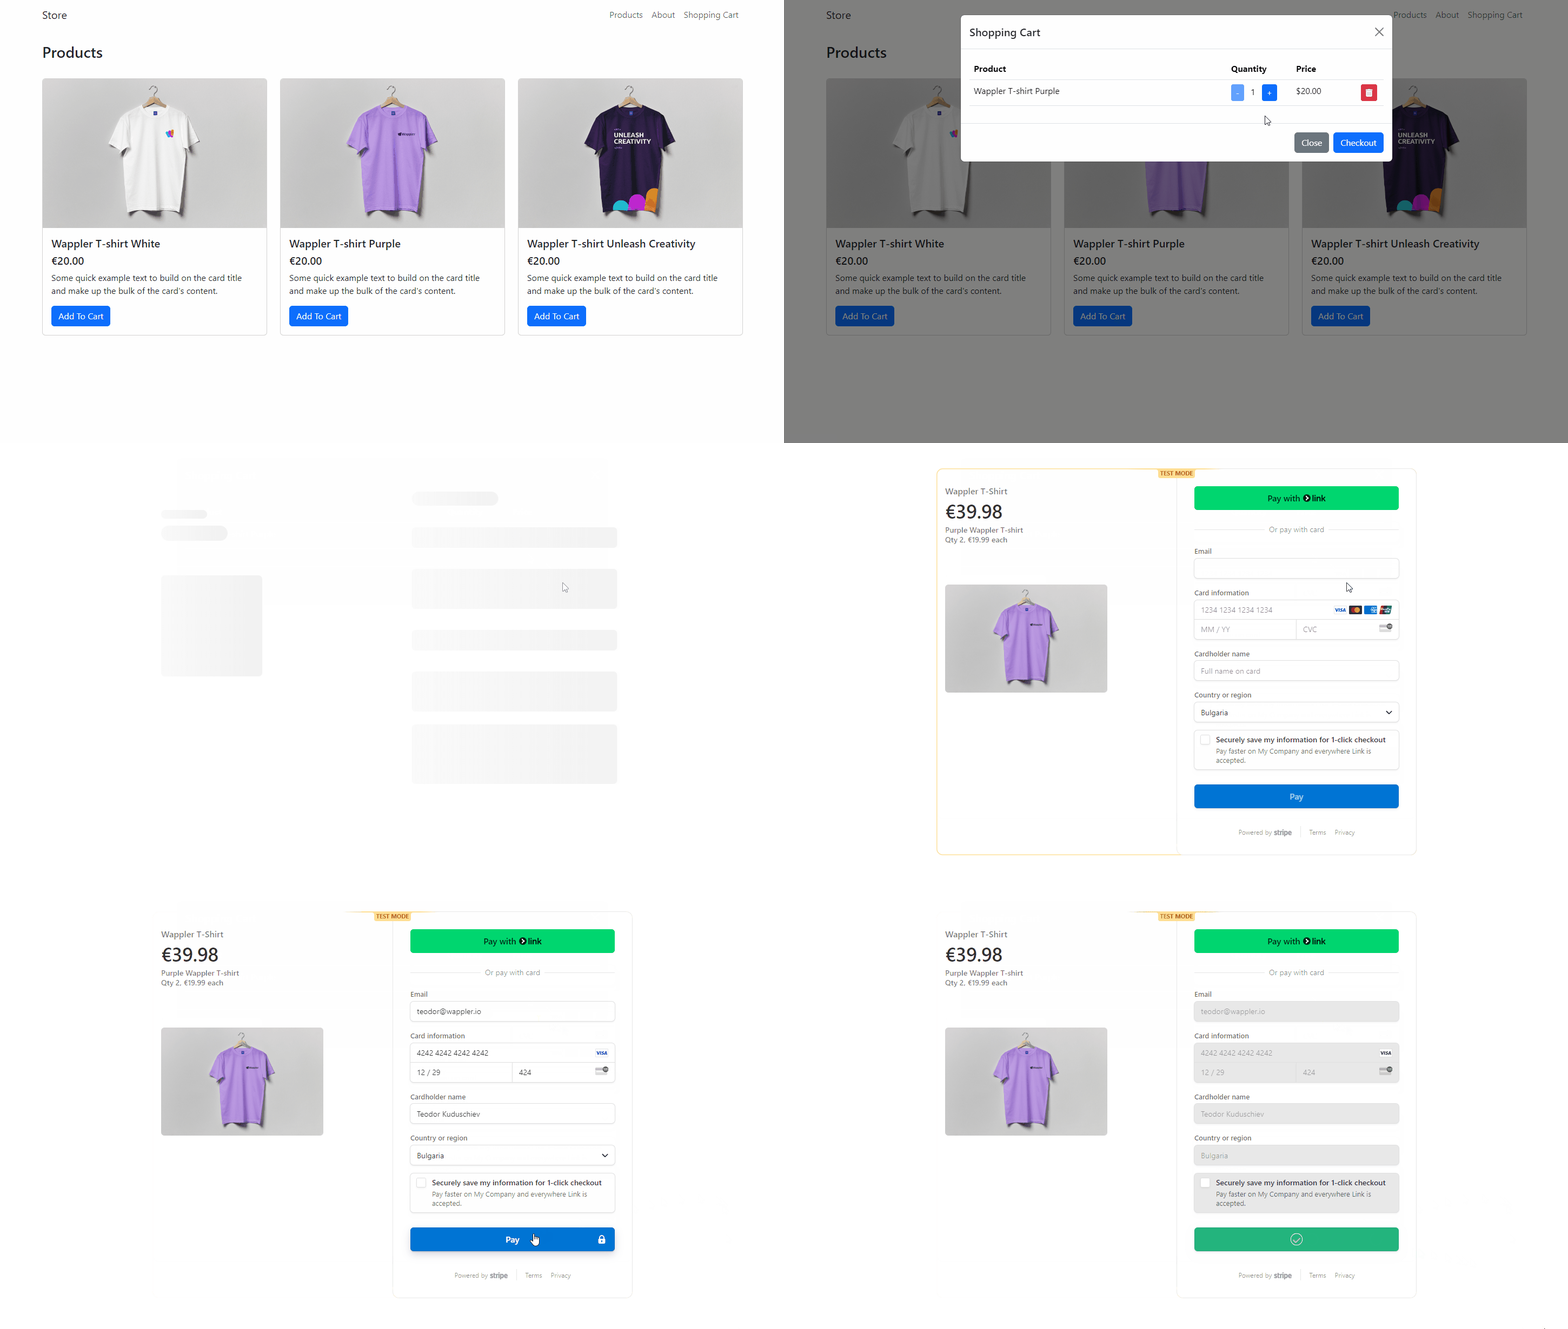
Section titled “Step 40”From our shopping cart we are redirected to the Stripe Embedded Checkout page, where we can pay for the products: