
Inserting Tagify Values into a Database
Intro You can insert the value of the Tagify component into a database. In our example we will show you how to store it in a json field. Database Setup We have a products table and each product can be
You can insert the value of the Tagify component into a database. In our example we will show you how to store it in a json field.
Database Setup
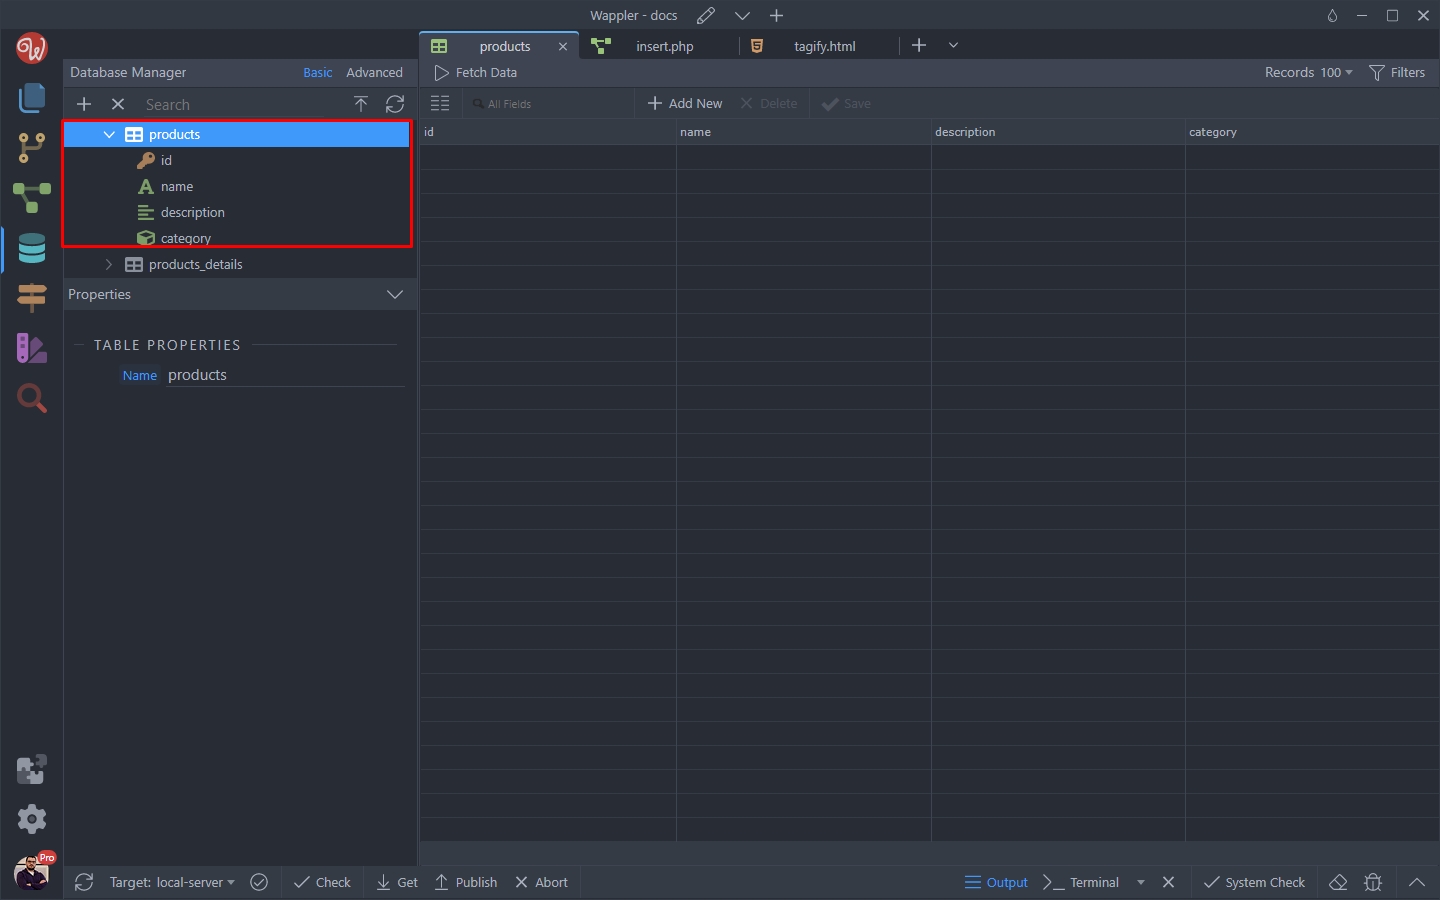
Section titled “Database Setup”We have a products table and each product can be assigned to different categories. We’d like to use the Tagify component to pick the categories per each product, when inserting it in the database.
Our products database table is quite simple, an id field, name, description and category:
Step 4
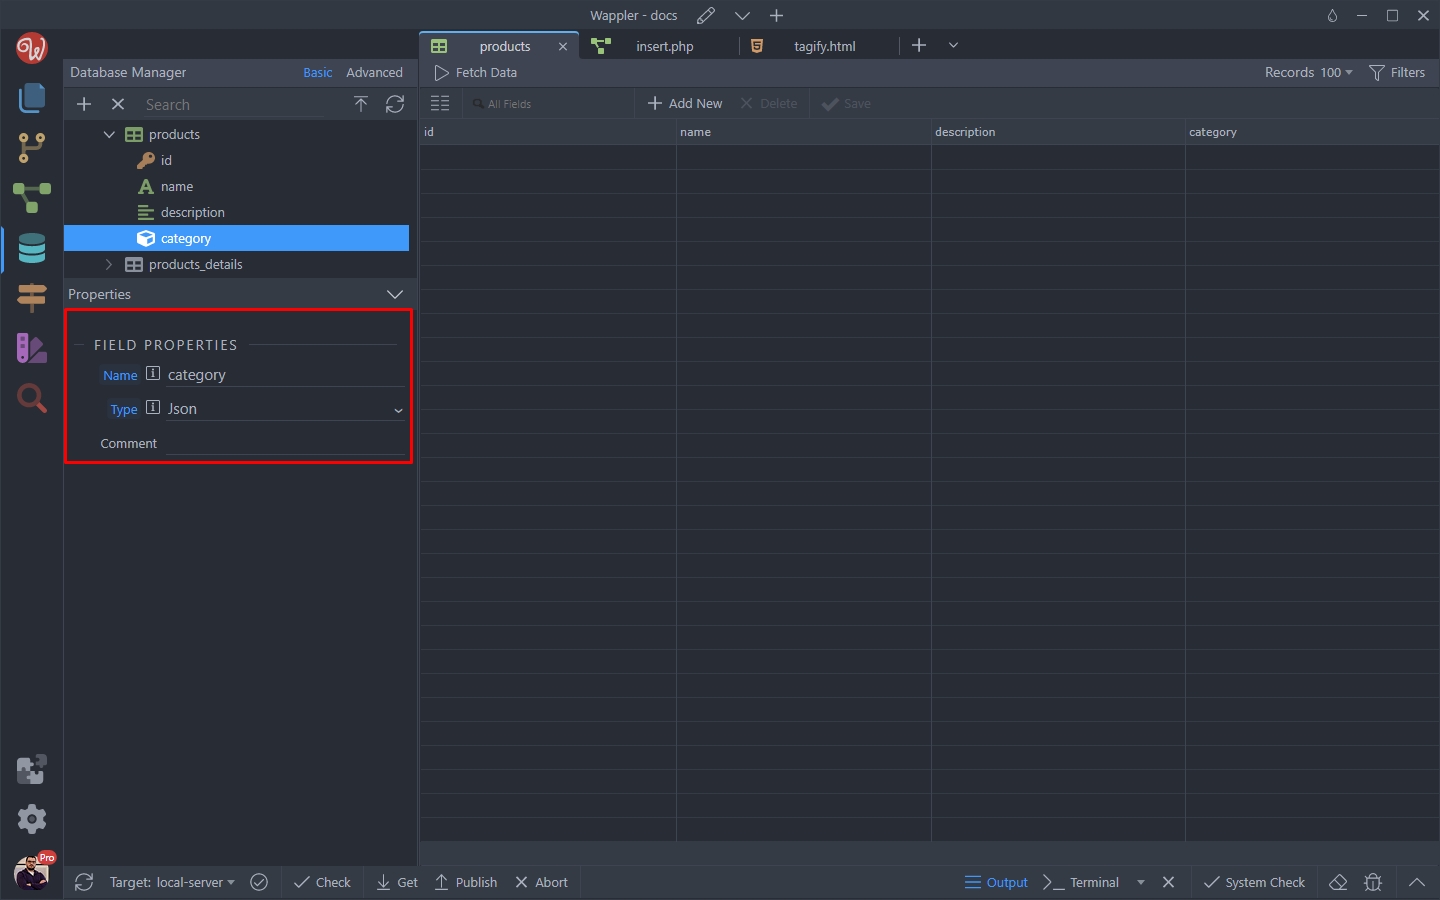
Section titled “Step 4”Our Category field type is json, and it will be used to store the categories selected in the Tagify input as an array:
Tagify Setup
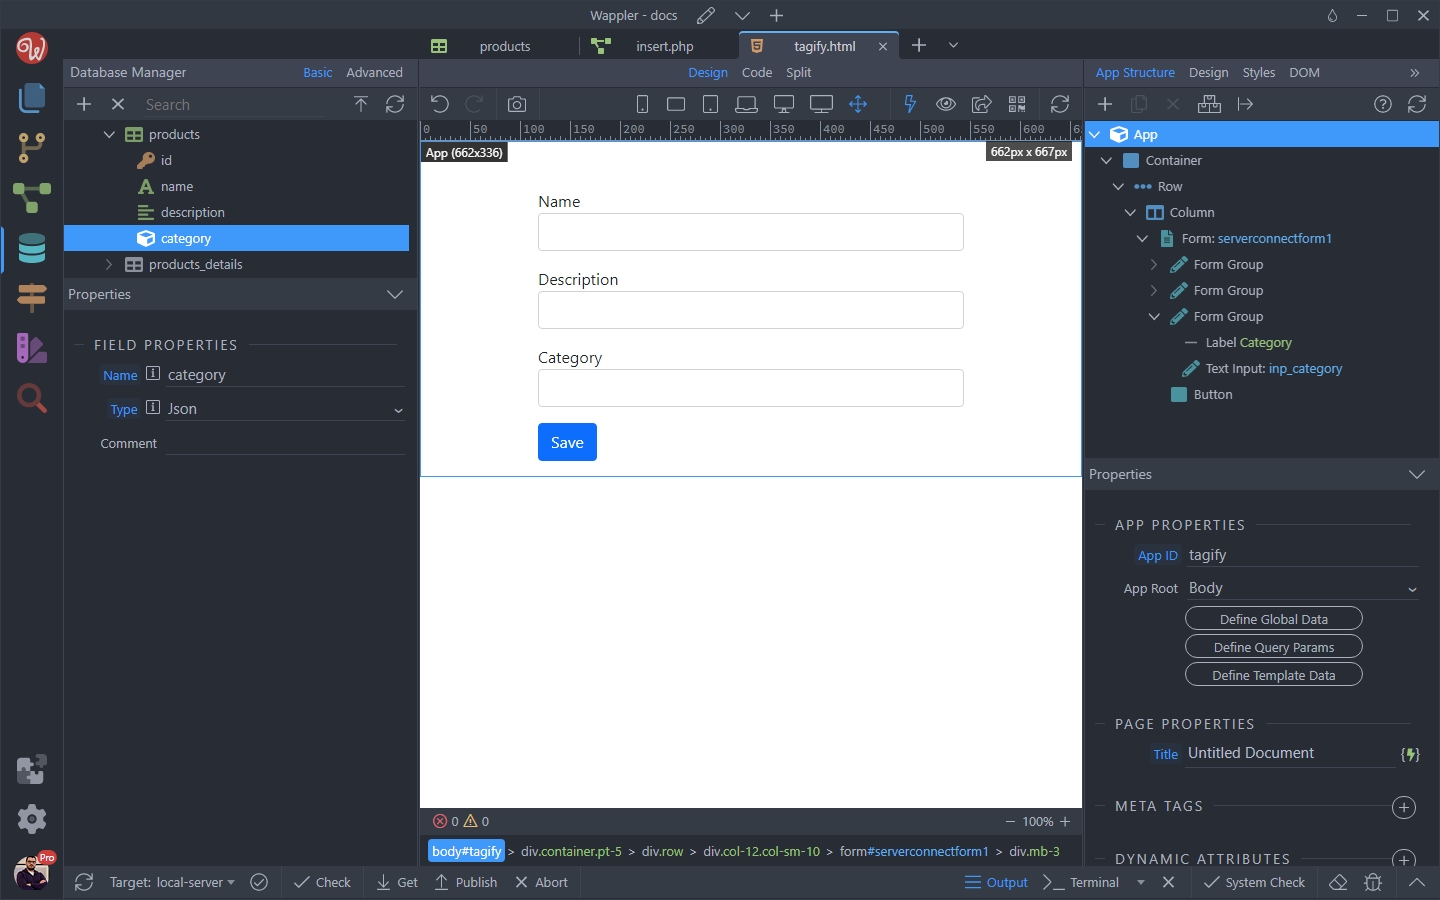
Section titled “Tagify Setup”We’ve created an insert record server action and form, using this database table. Now let’s setup Tagify for the category input.
Data source
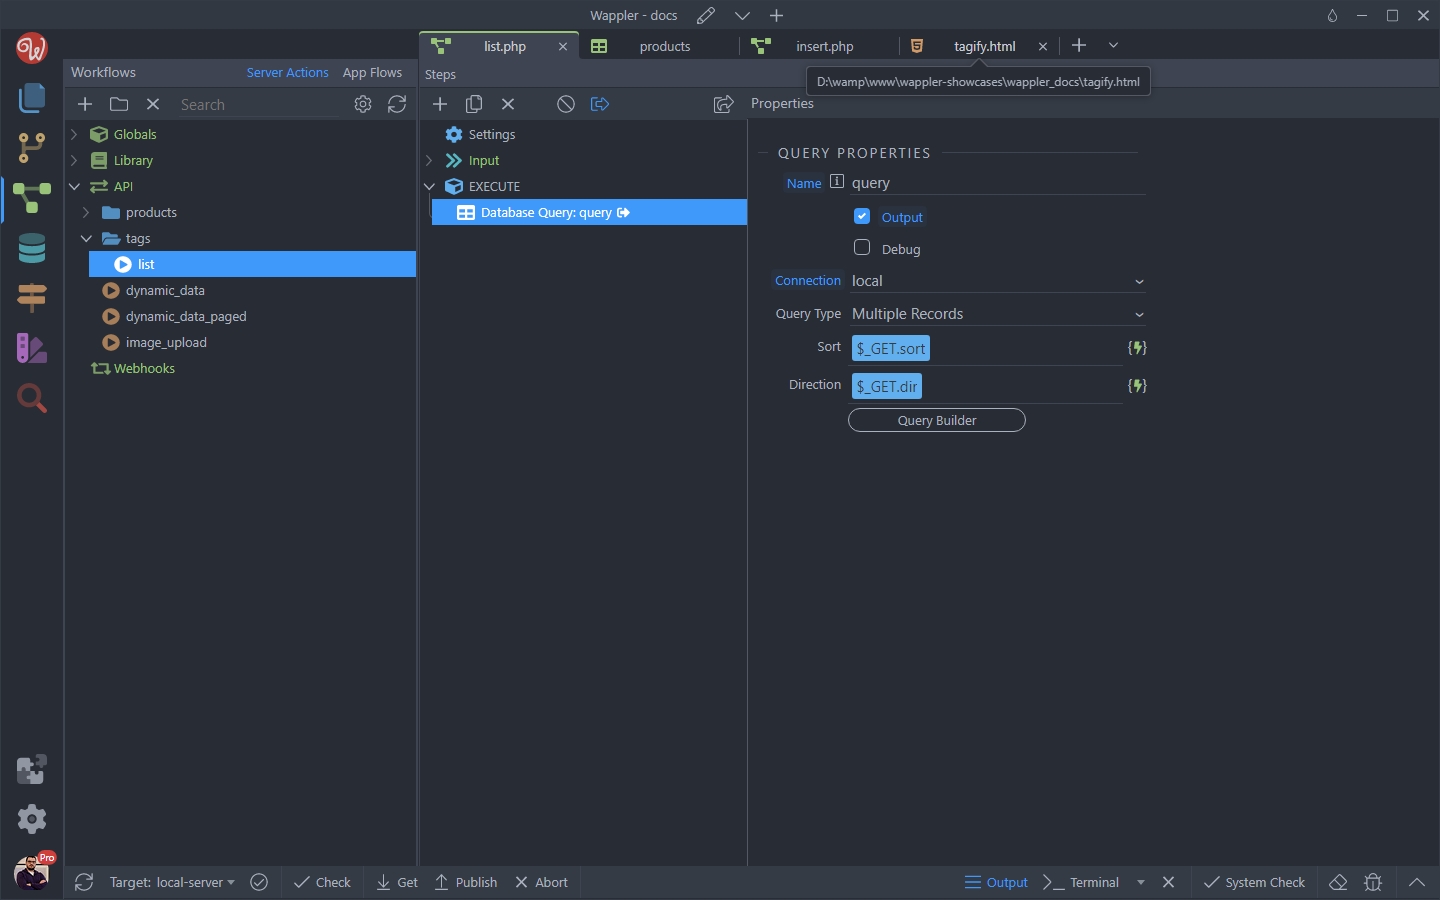
Section titled “Data source”We created a server action, returning our categories (or tags) from a database. It’s quite a simple server action, containing just a database query:
Let’s add this on the page, as we will need it as a source for the Tagify input: Click Add New Component:
Section titled “Let’s add this on the page, as we will need it as a source for the Tagify input: Click Add New Component:”Let’s add this on the page, as we will need it as a source for the Tagify input:
Click Add New Component:
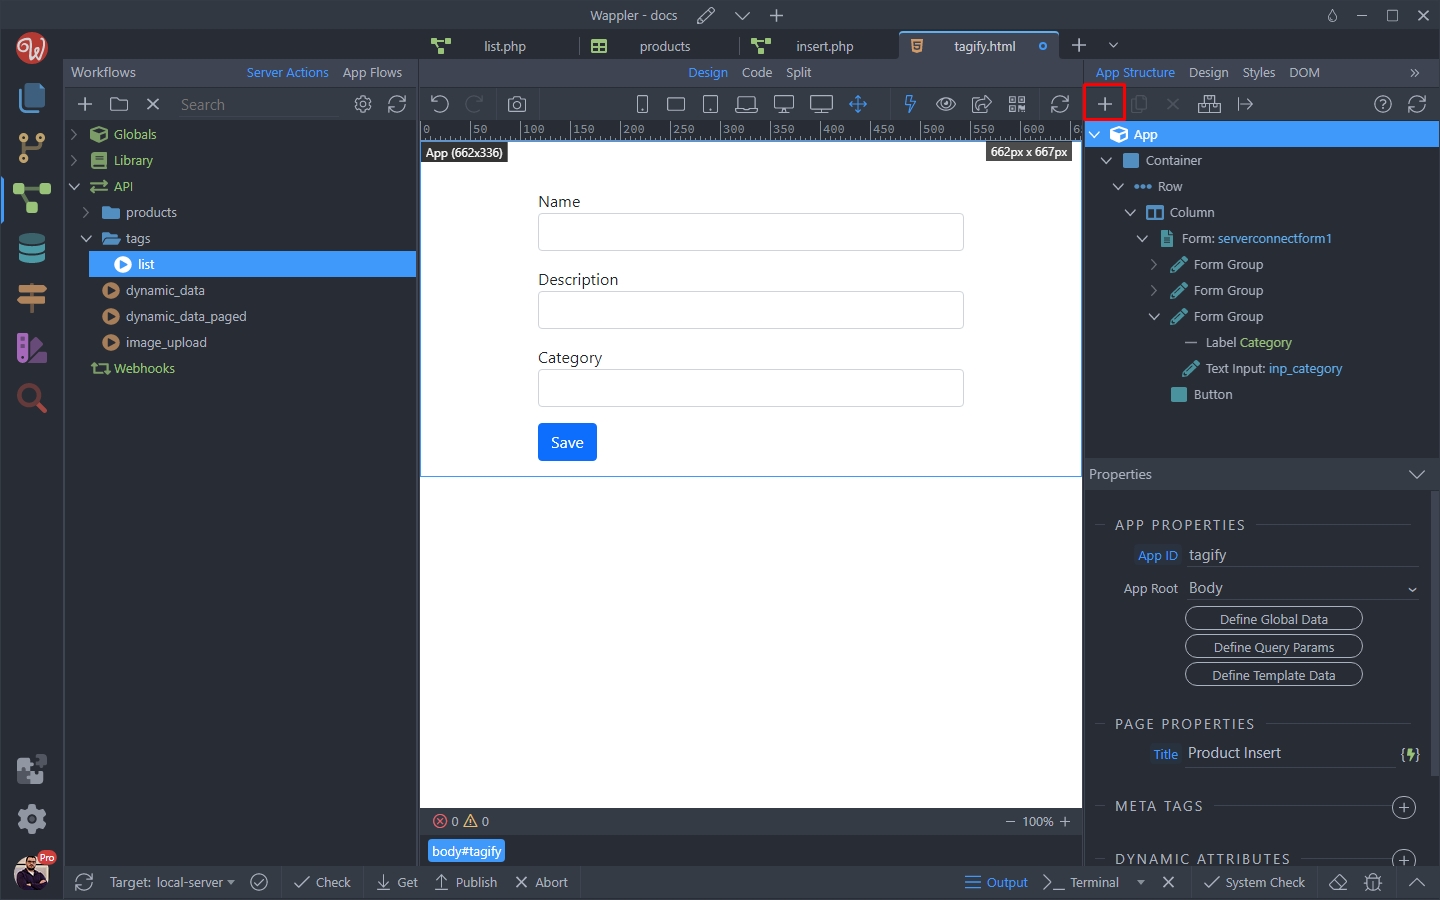
Under Data, select Server Connect:
Section titled “Under Data, select Server Connect:”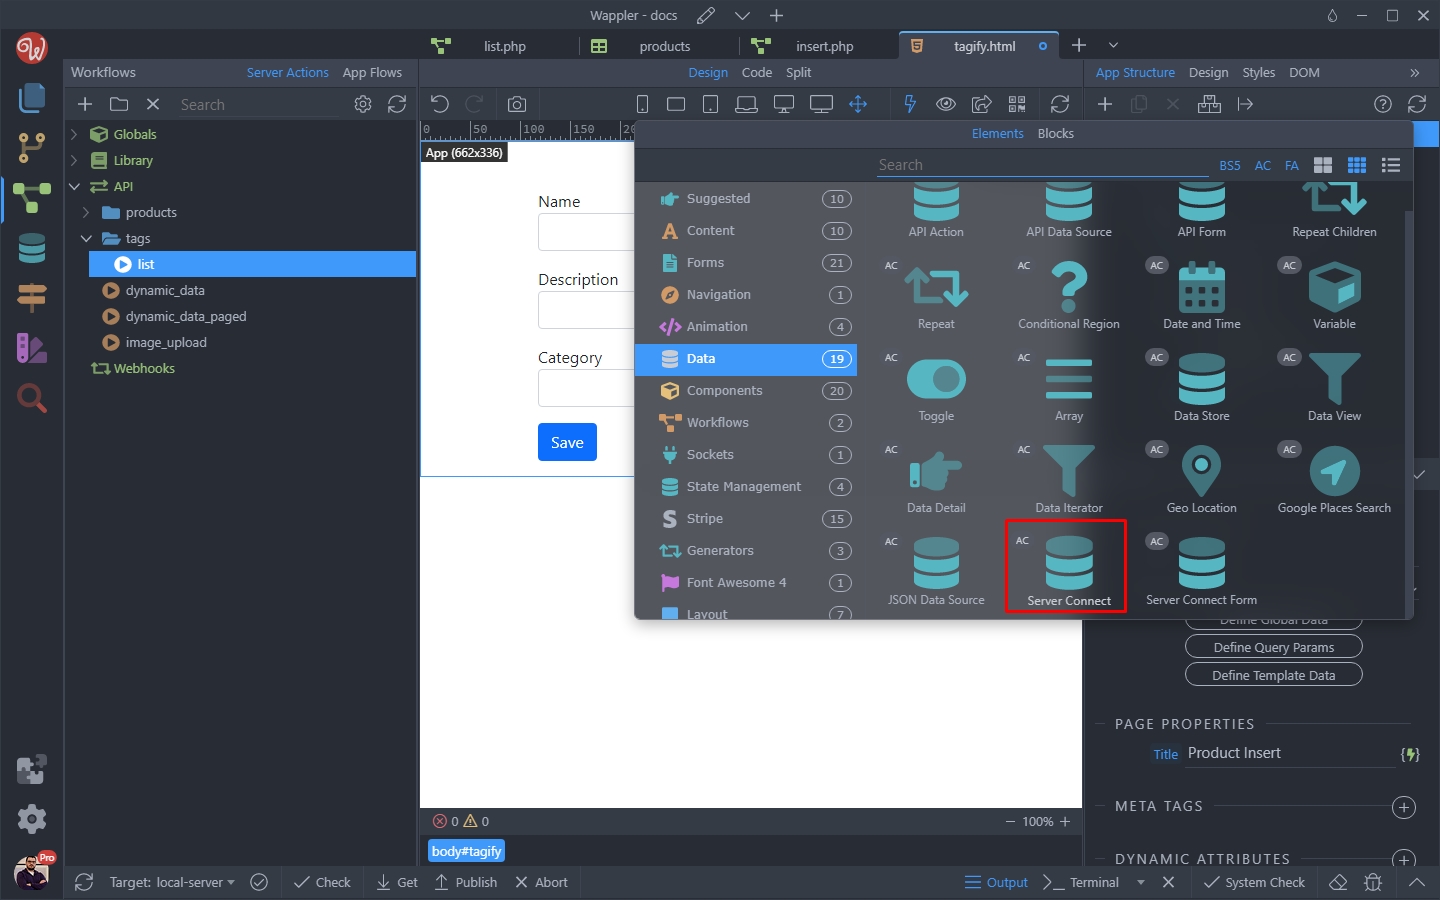
And click the select server action button:
Section titled “And click the select server action button:”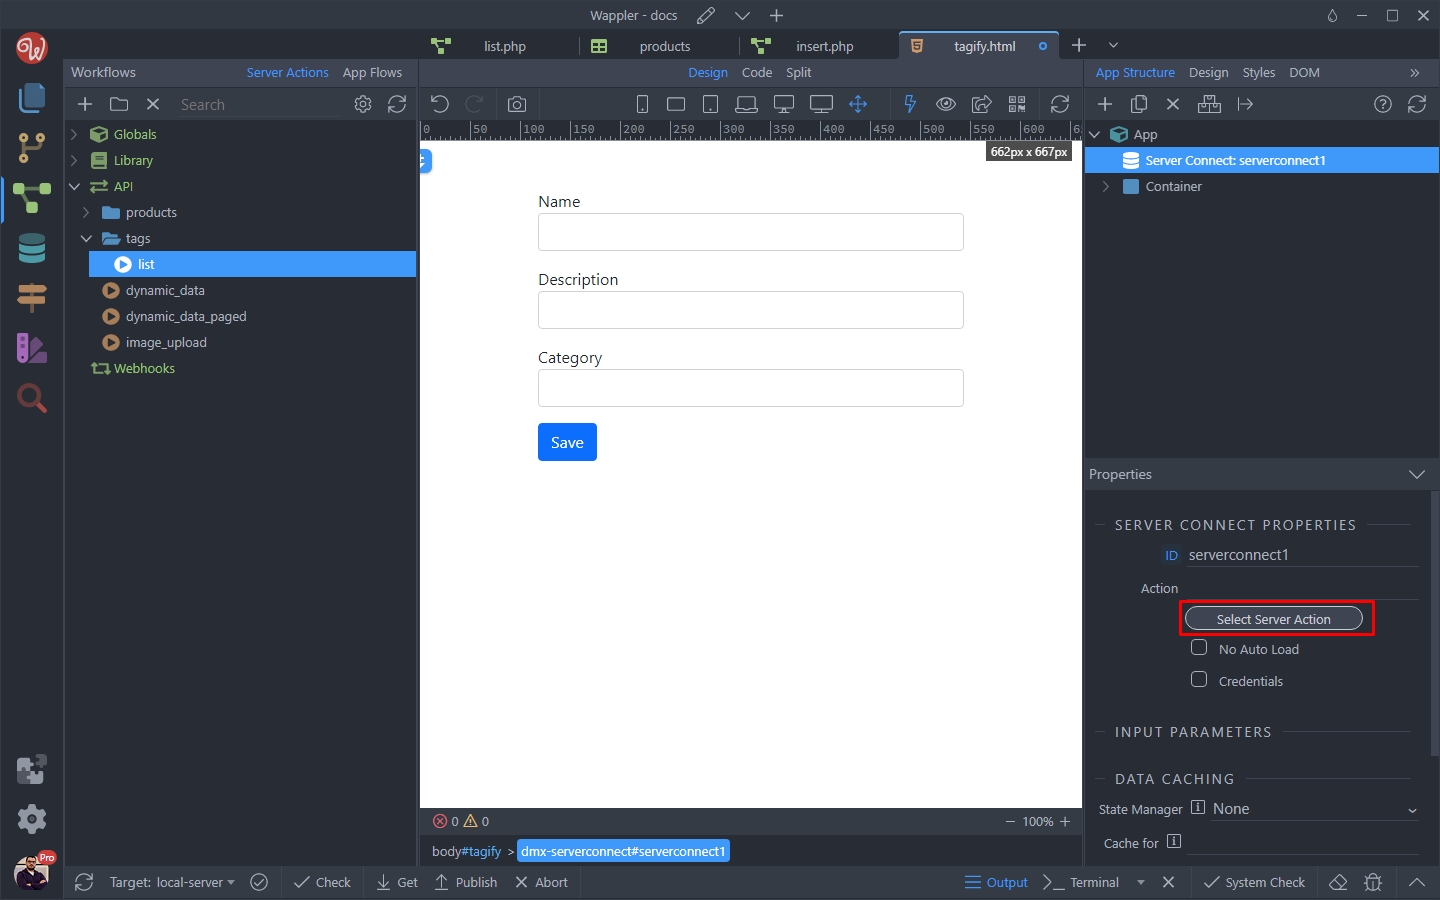
Select the server action returning the categories from the database:
Section titled “Select the server action returning the categories from the database:”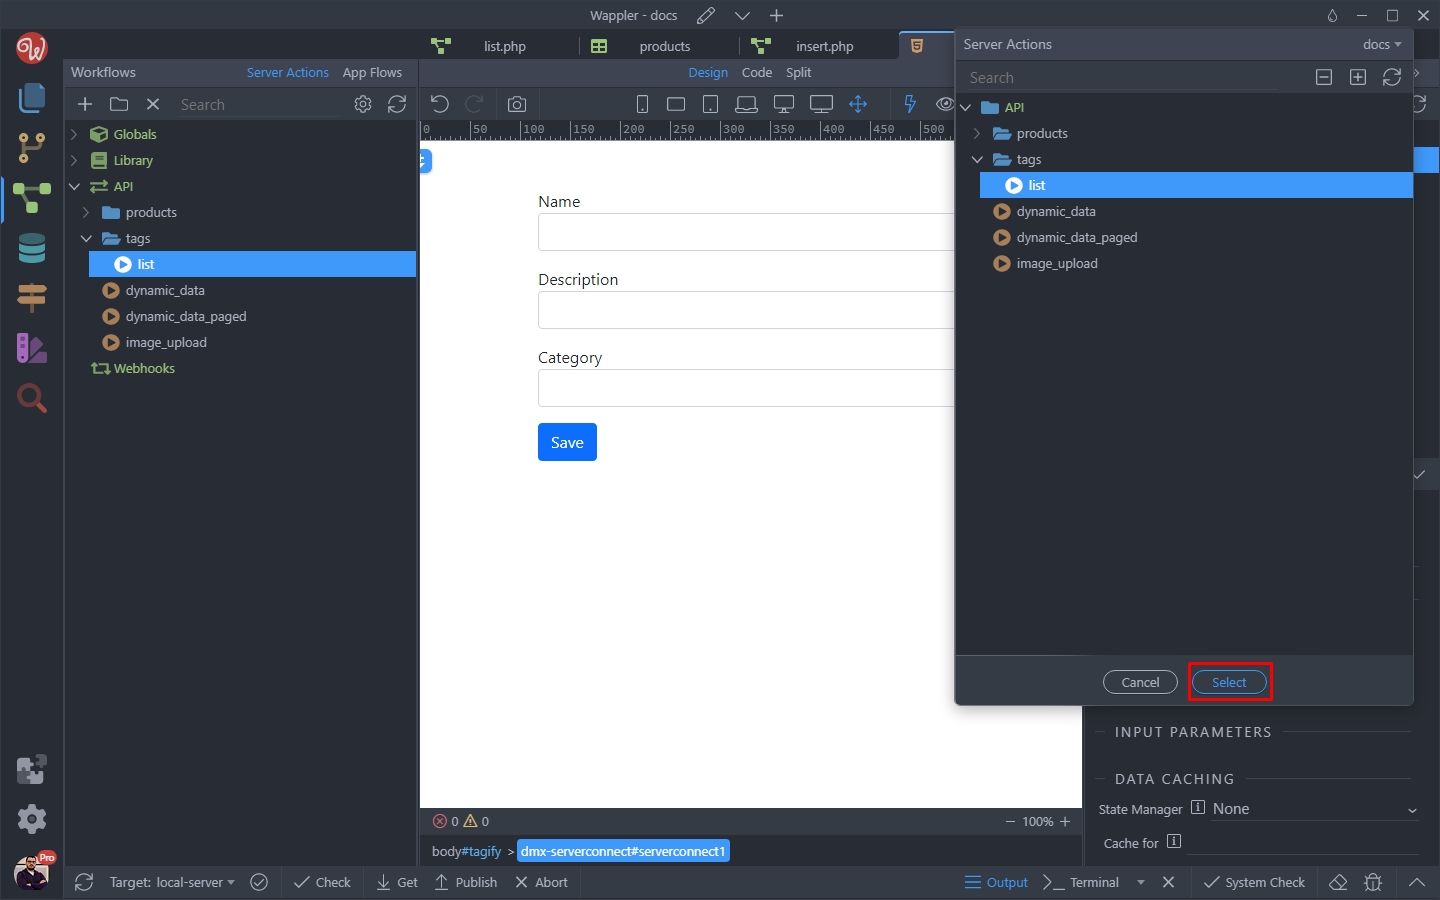
And you are done.
Section titled “And you are done.”Tagify Options
Section titled “Tagify Options”Now as we have our Data Source set up, lets add Tagify on the page. Select the Category text input and open the Convert to menu:
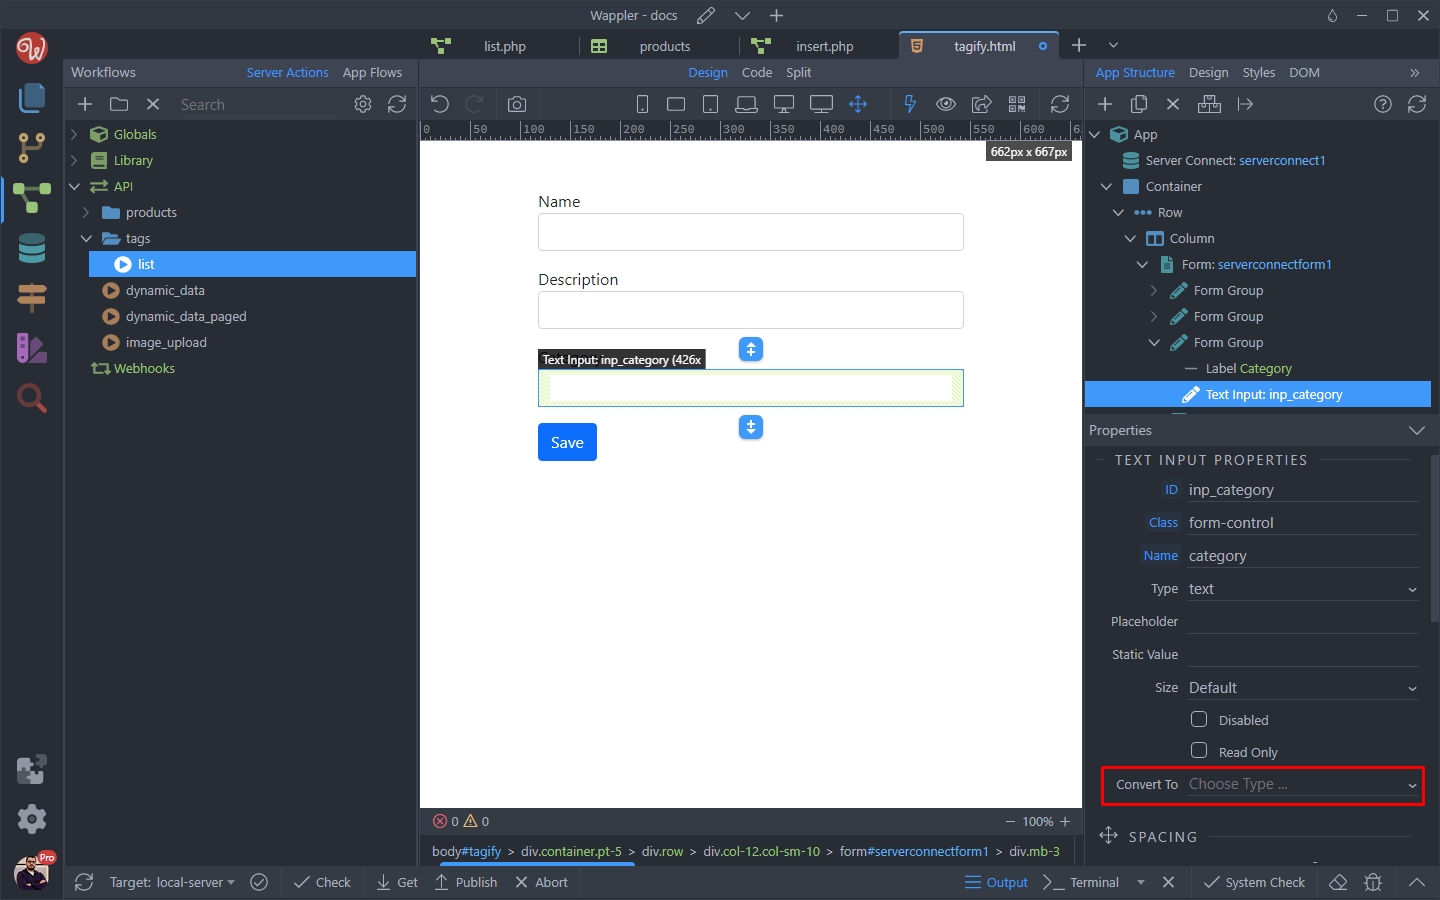
Then select Tagify:
Section titled “Then select Tagify:”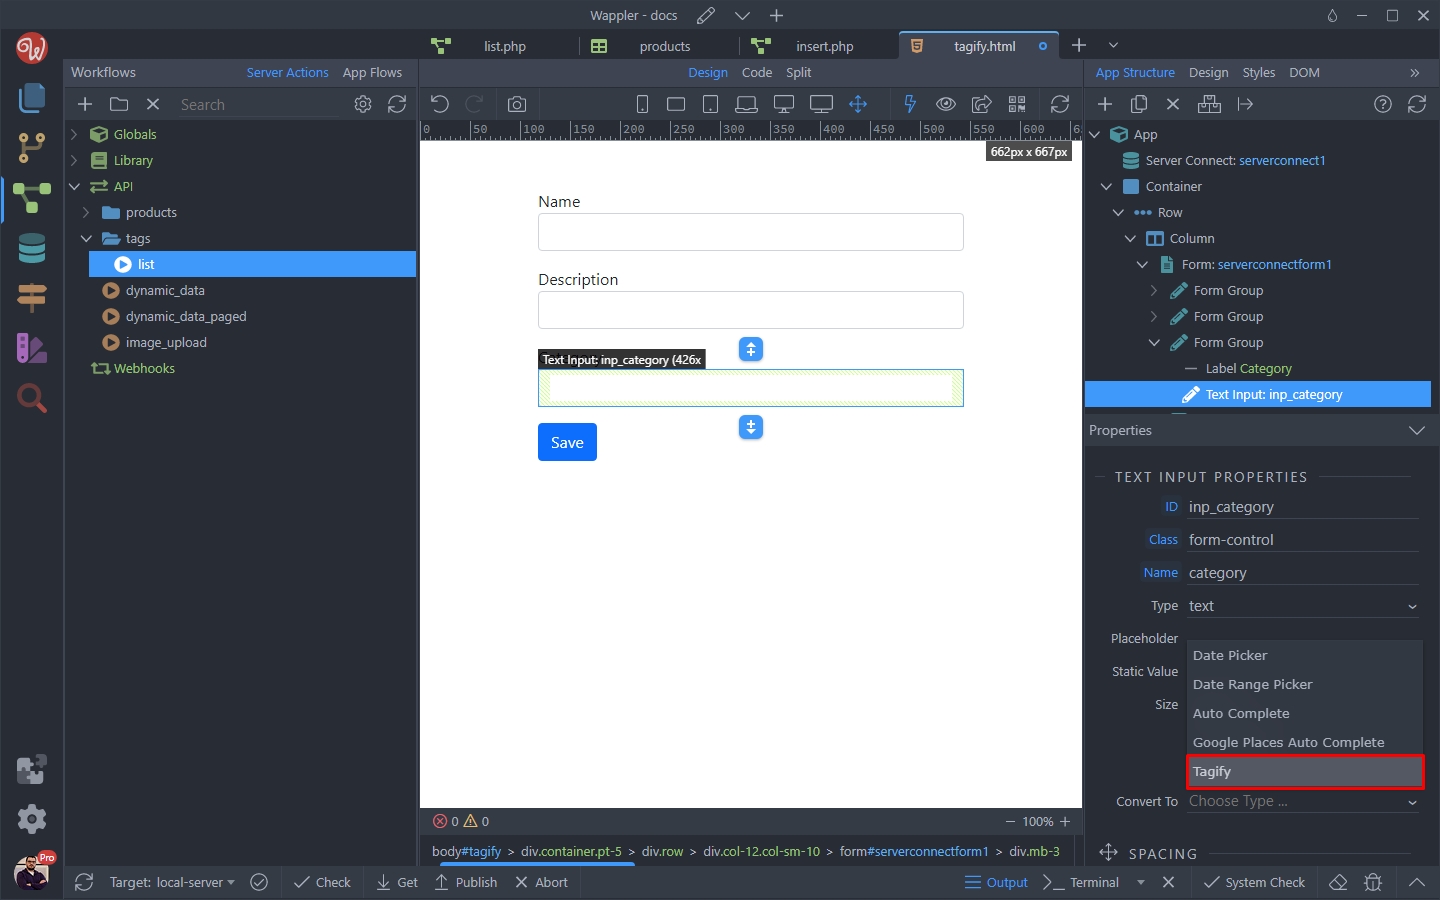
Under the Tagify properties, select your data source:
Section titled “Under the Tagify properties, select your data source:”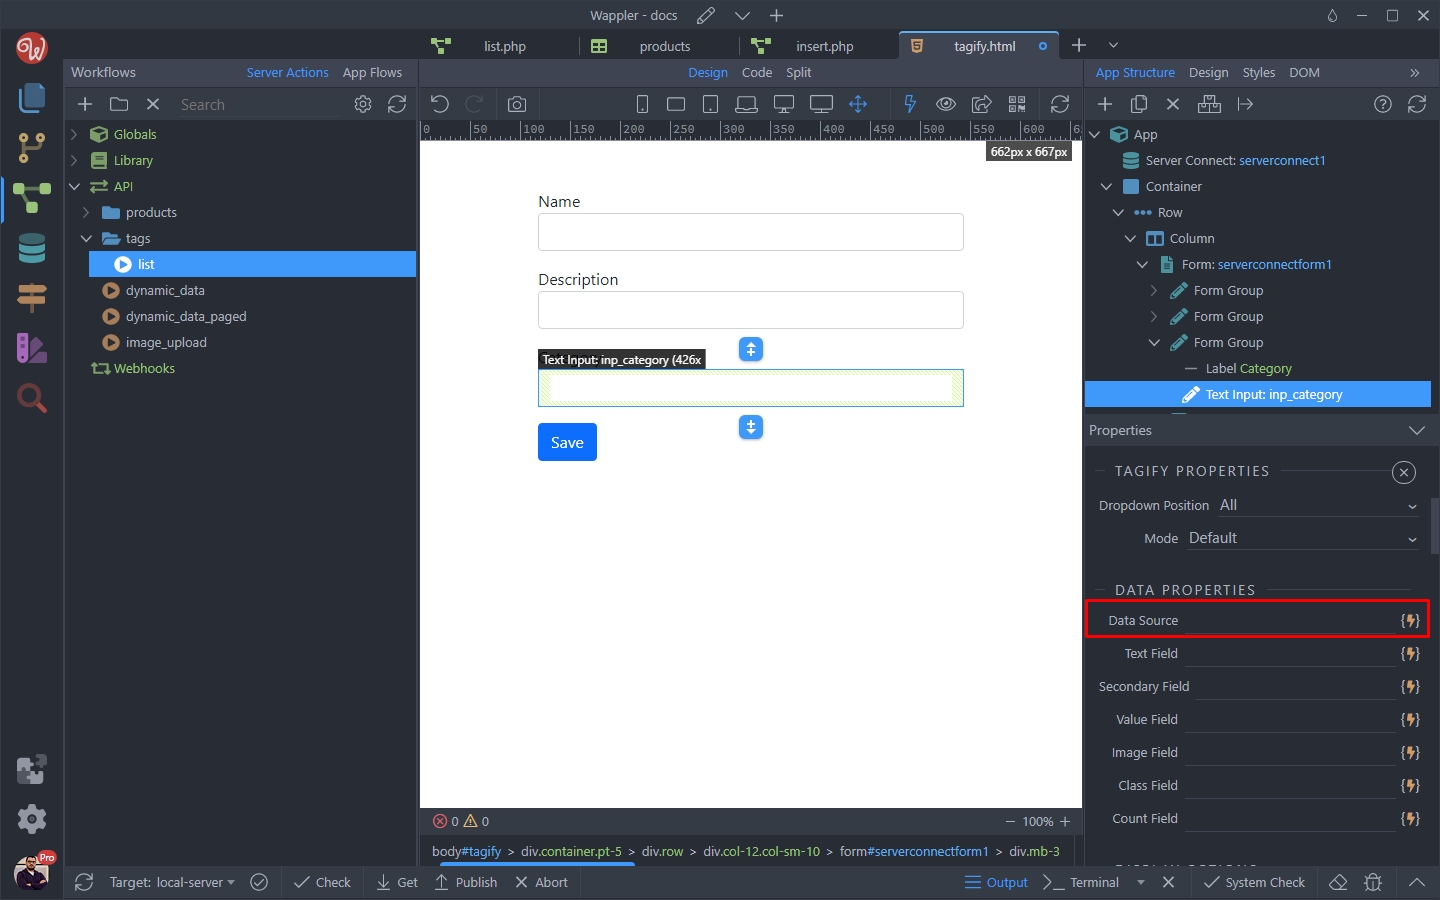
This is the database query returned by the server action:
Section titled “This is the database query returned by the server action:”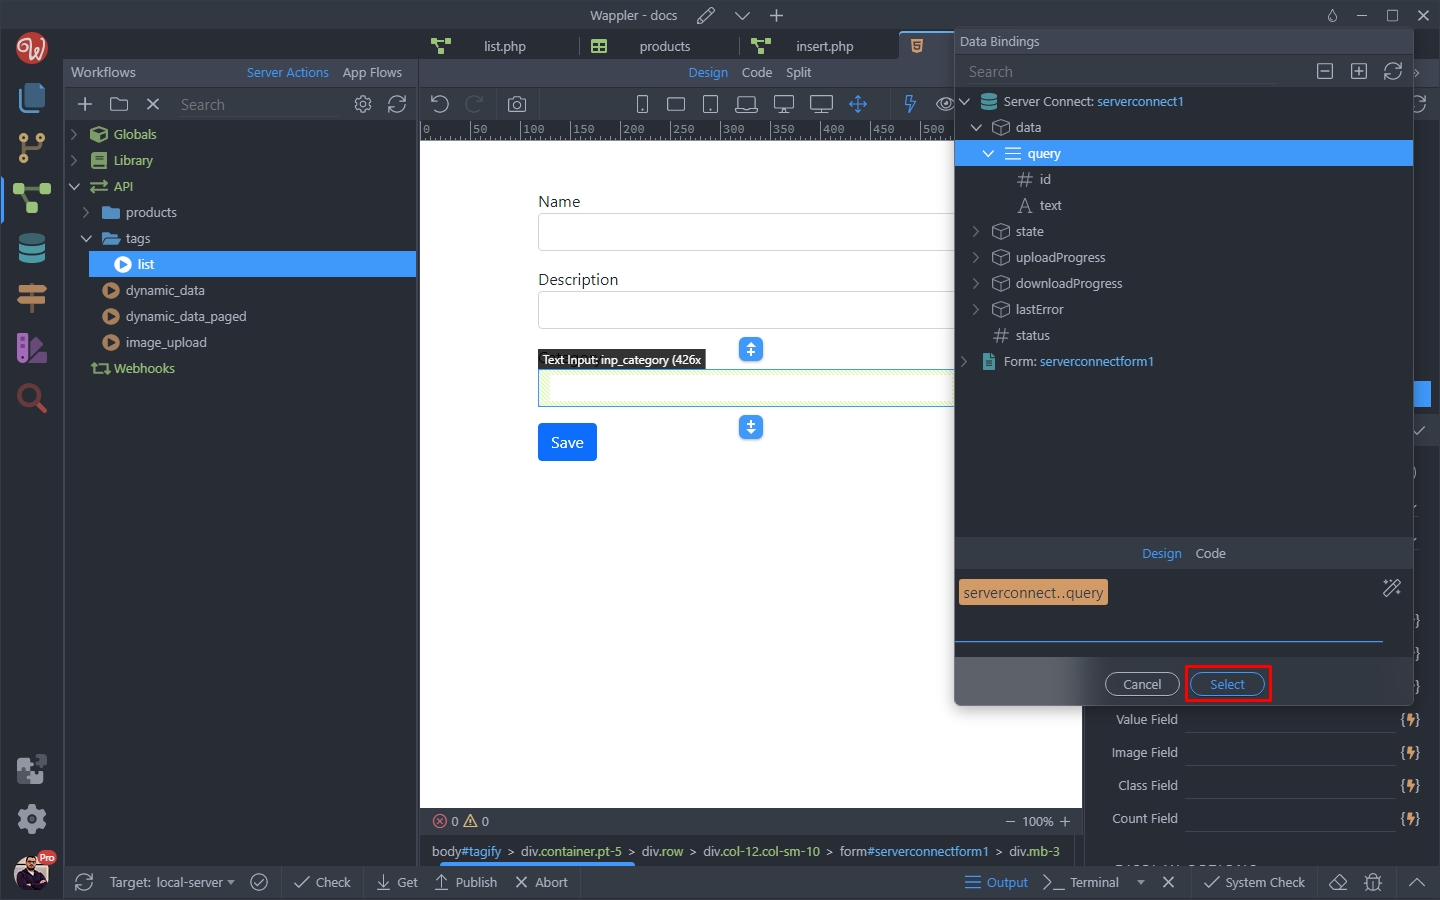
Then select the text to be displayed for the options:
Section titled “Then select the text to be displayed for the options:”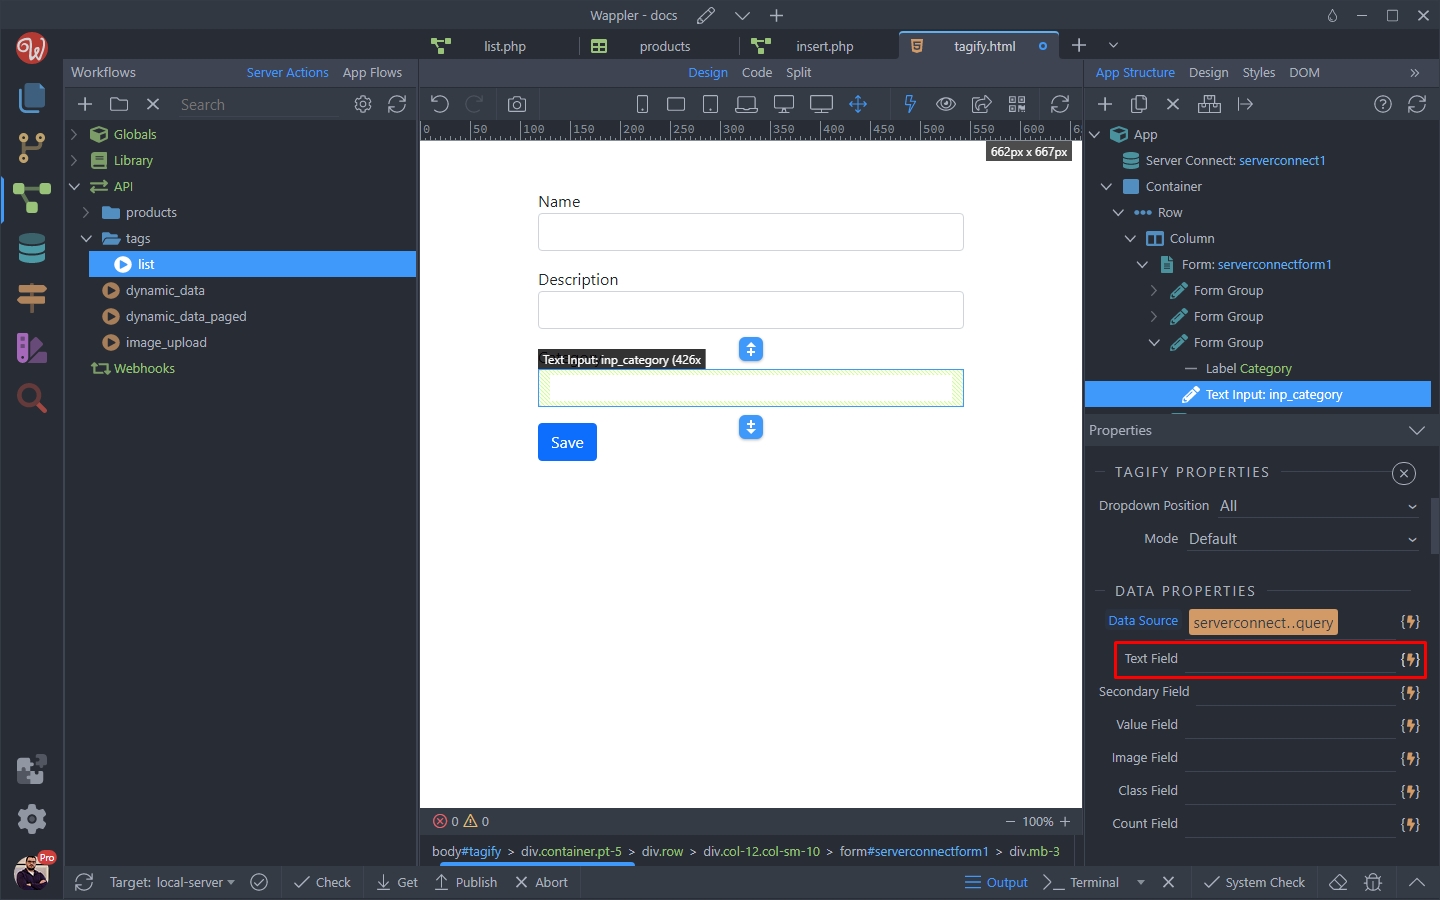
Select the database field storing the categories names:
Section titled “Select the database field storing the categories names:”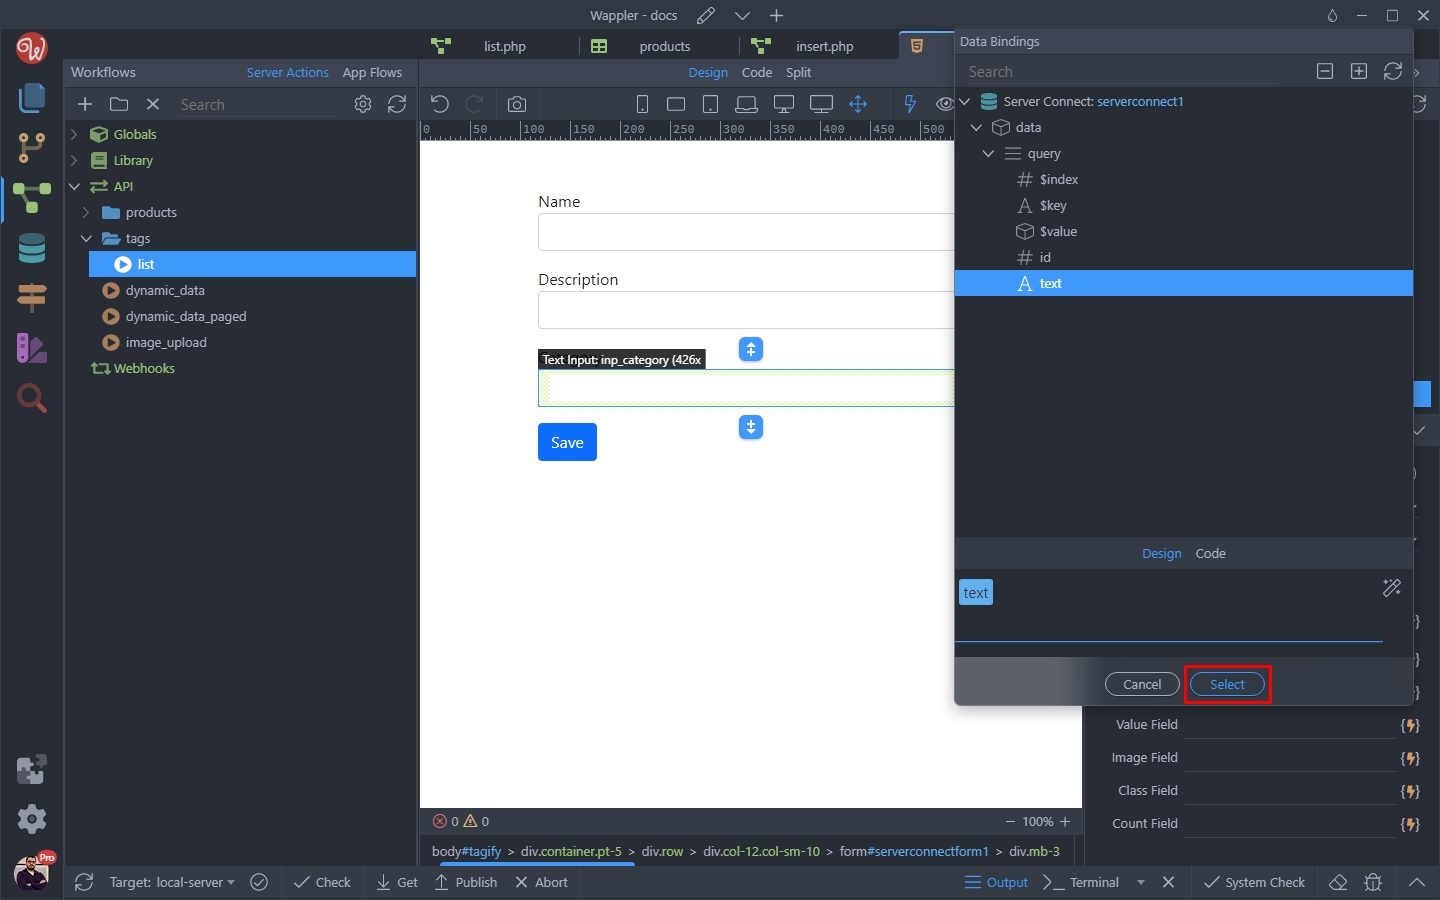
Then do the same for the Value field:
Section titled “Then do the same for the Value field:”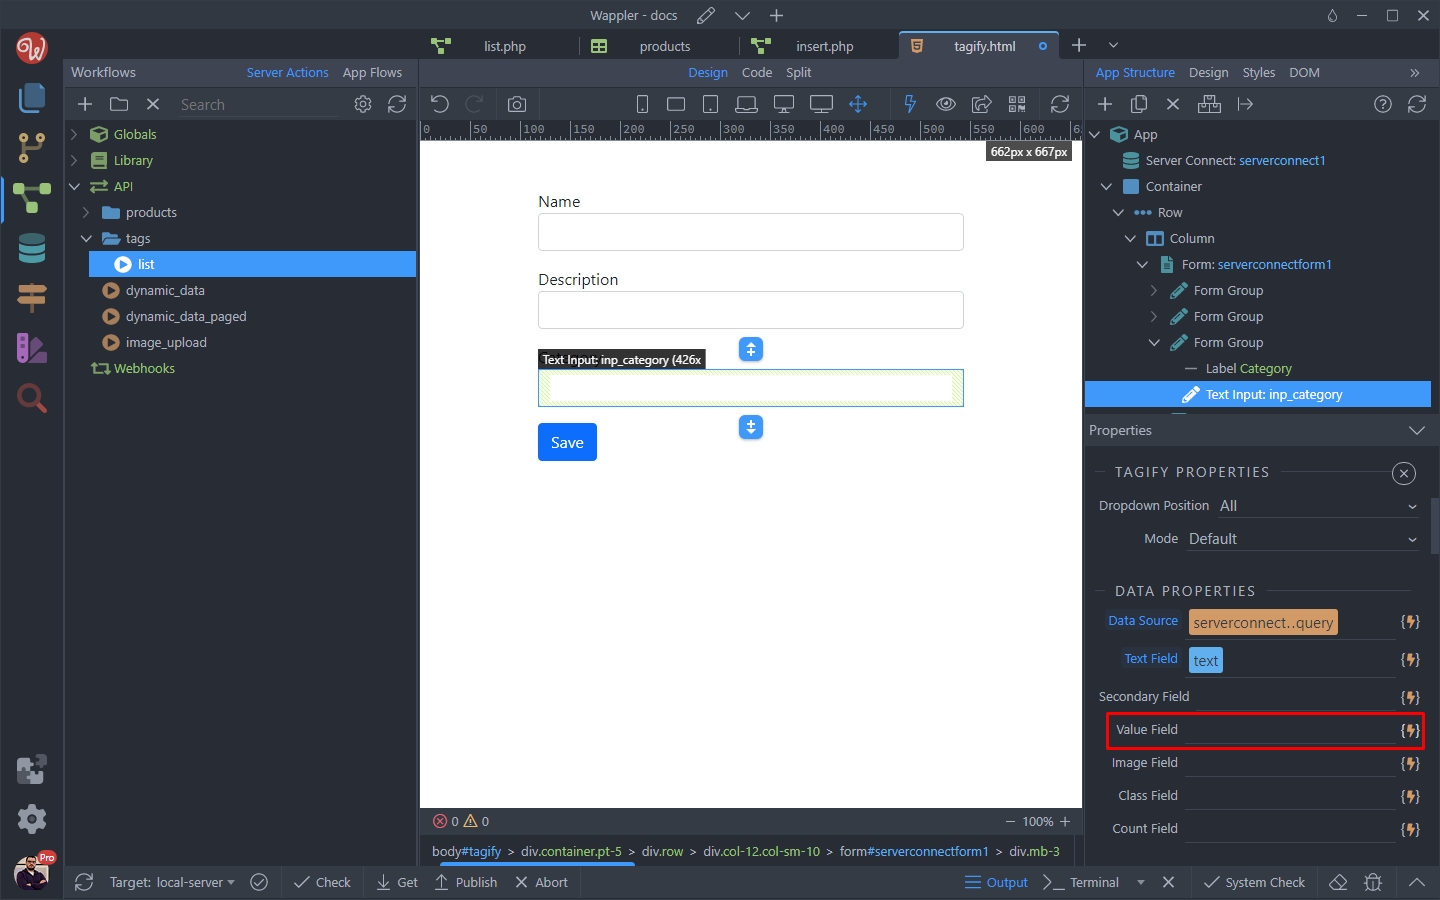
Select the database field storing the categories IDs:
Section titled “Select the database field storing the categories IDs:”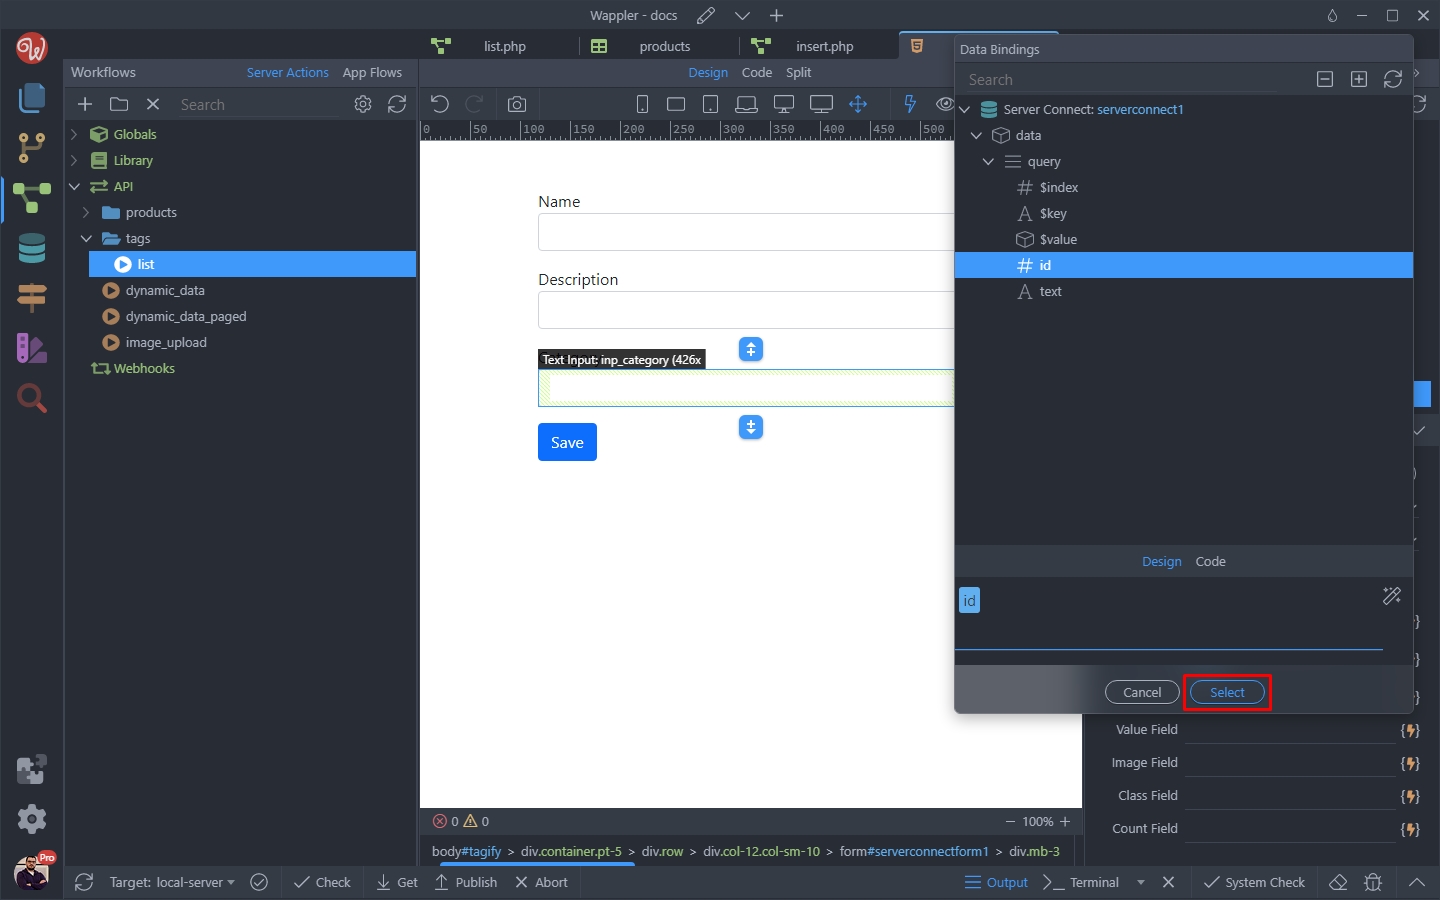
Step 22
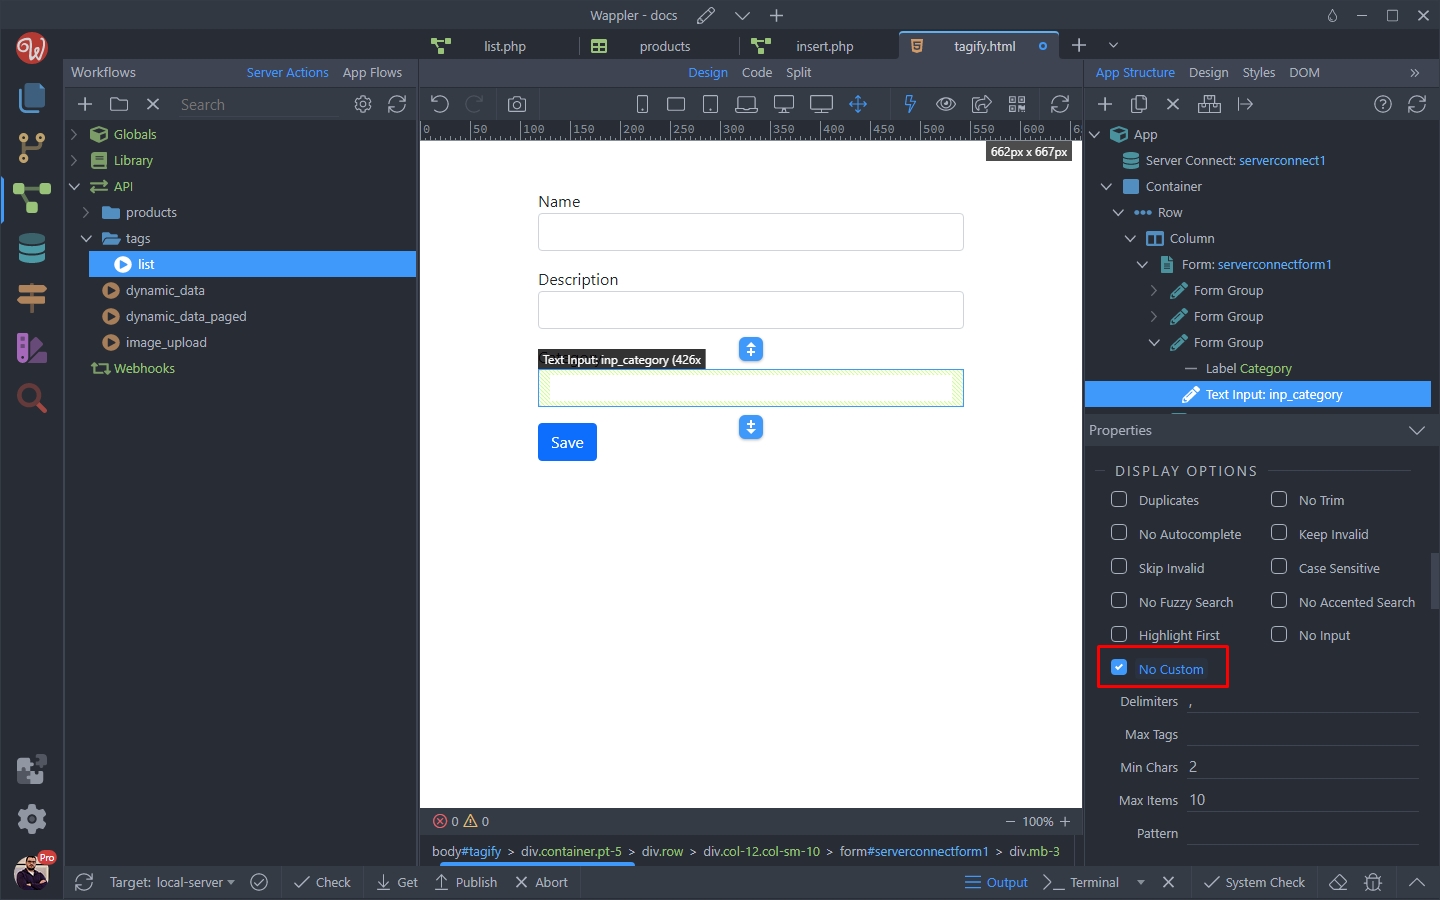
Section titled “Step 22”Scroll down the options and enable the No Custom option. This way we disable entering custom/non-existing tags, so the user can only select from the existing ones:
And we are done. Let’s insert a new product and add some categories to it:
Section titled “And we are done. Let’s insert a new product and add some categories to it:”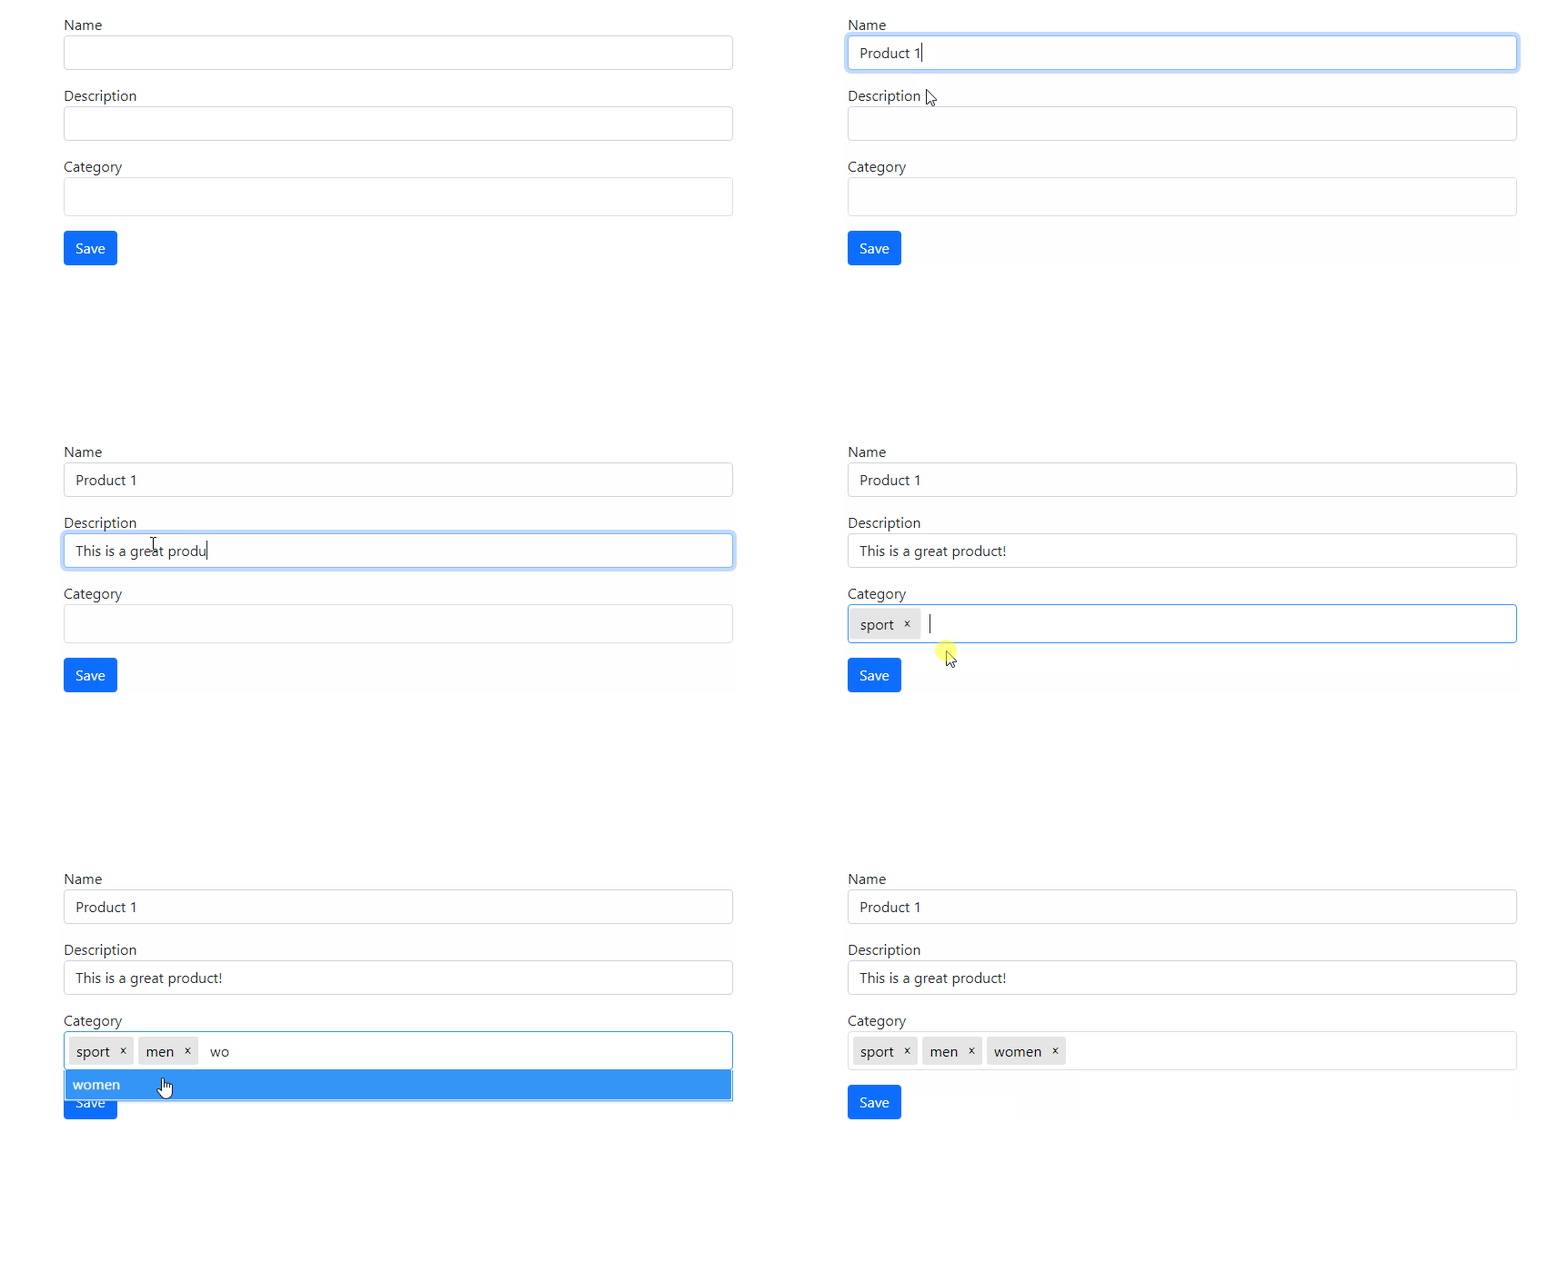
You can see the categories IDs stored in the category json field in our database table:
Section titled “You can see the categories IDs stored in the category json field in our database table:”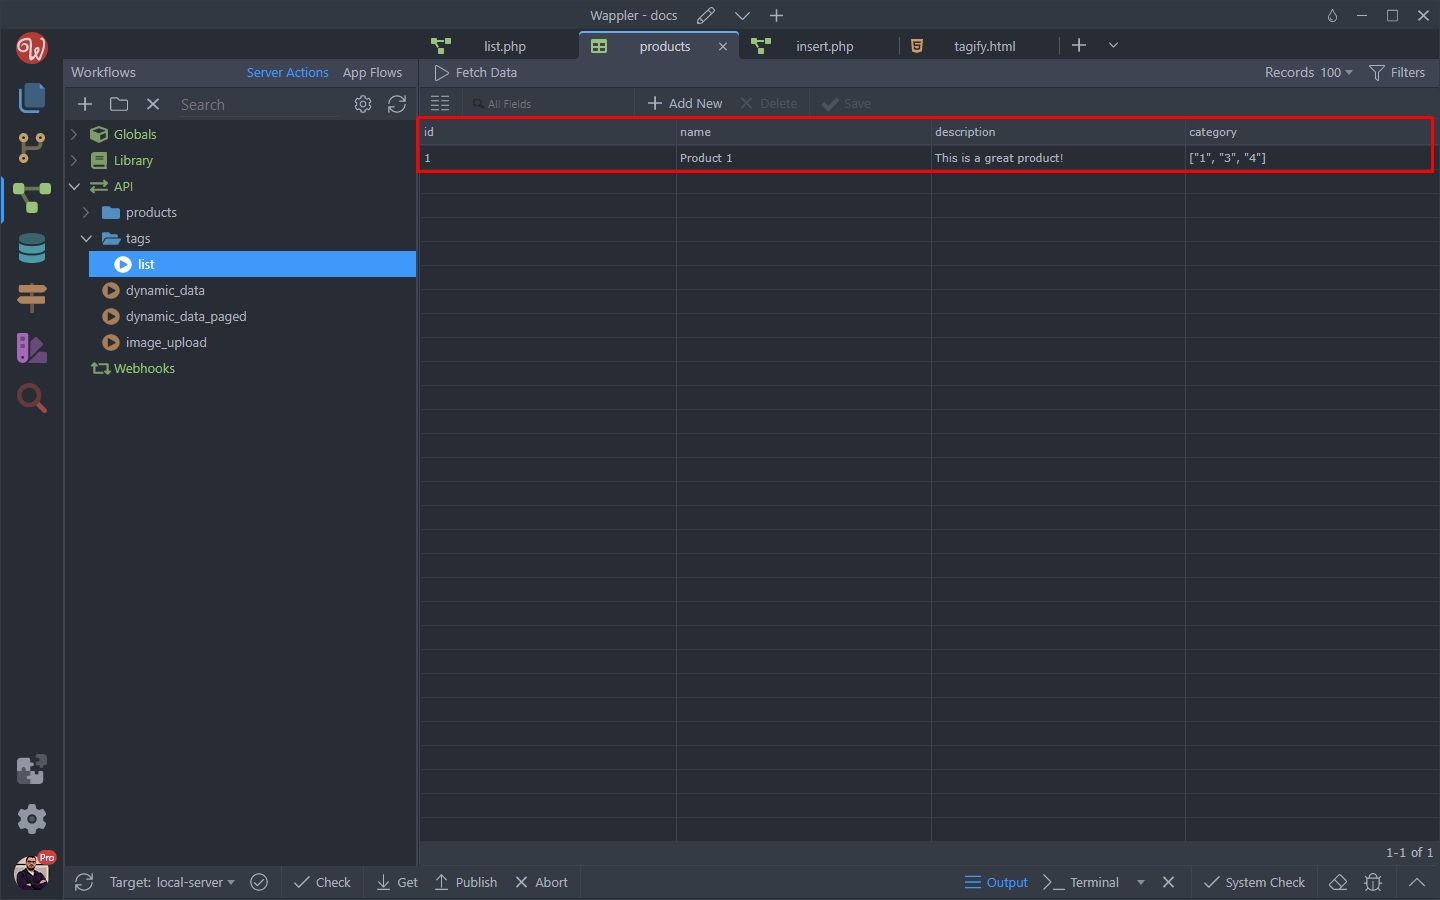
Step 25
Section titled “Step 25”Having the array of category IDs in the database, you can now use them to filter the categories table and display the categories on the product details page.