Tagify - Creating New Tags and Storing them in the Database
Intro Sometimes, when using Tagify you want to be able to allow users to create new tags in addition to the ones already created and listed in Tagify. That’s useful when adding a new article or produc
Sometimes, when using Tagify you want to be able to allow users to create new tags in addition to the ones already created and listed in Tagify. That’s useful when adding a new article or product with categories - so that users can create new categories directly using Tagify.
Page Overview
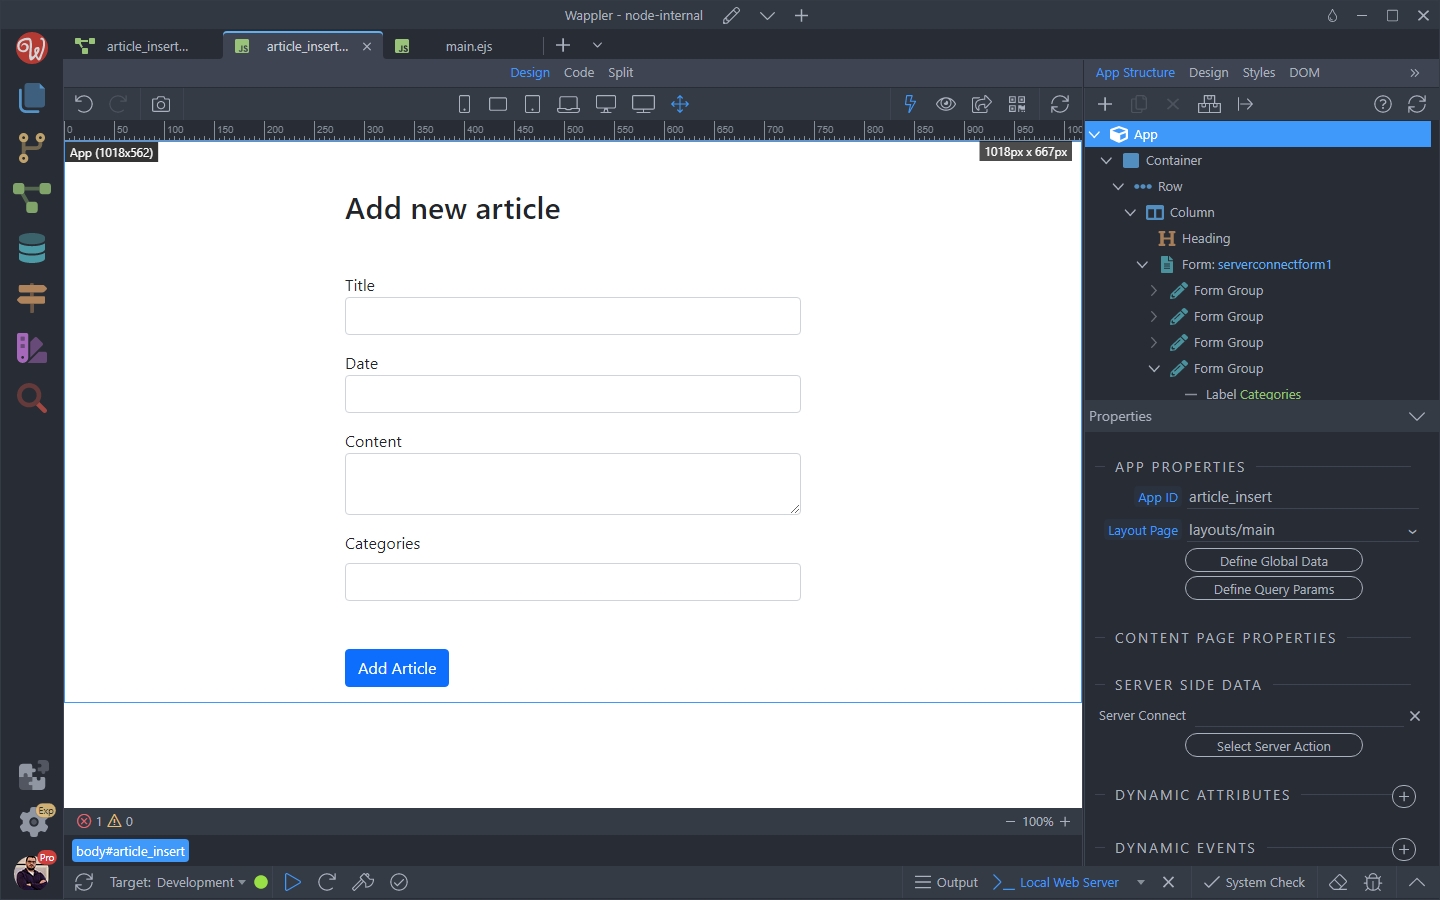
Section titled “Page Overview”In this tutorial we have a simple insert record form for adding a new article:
Inside the form we have a category input, which is a dynamic Tagify control:
Section titled “Inside the form we have a category input, which is a dynamic Tagify control:”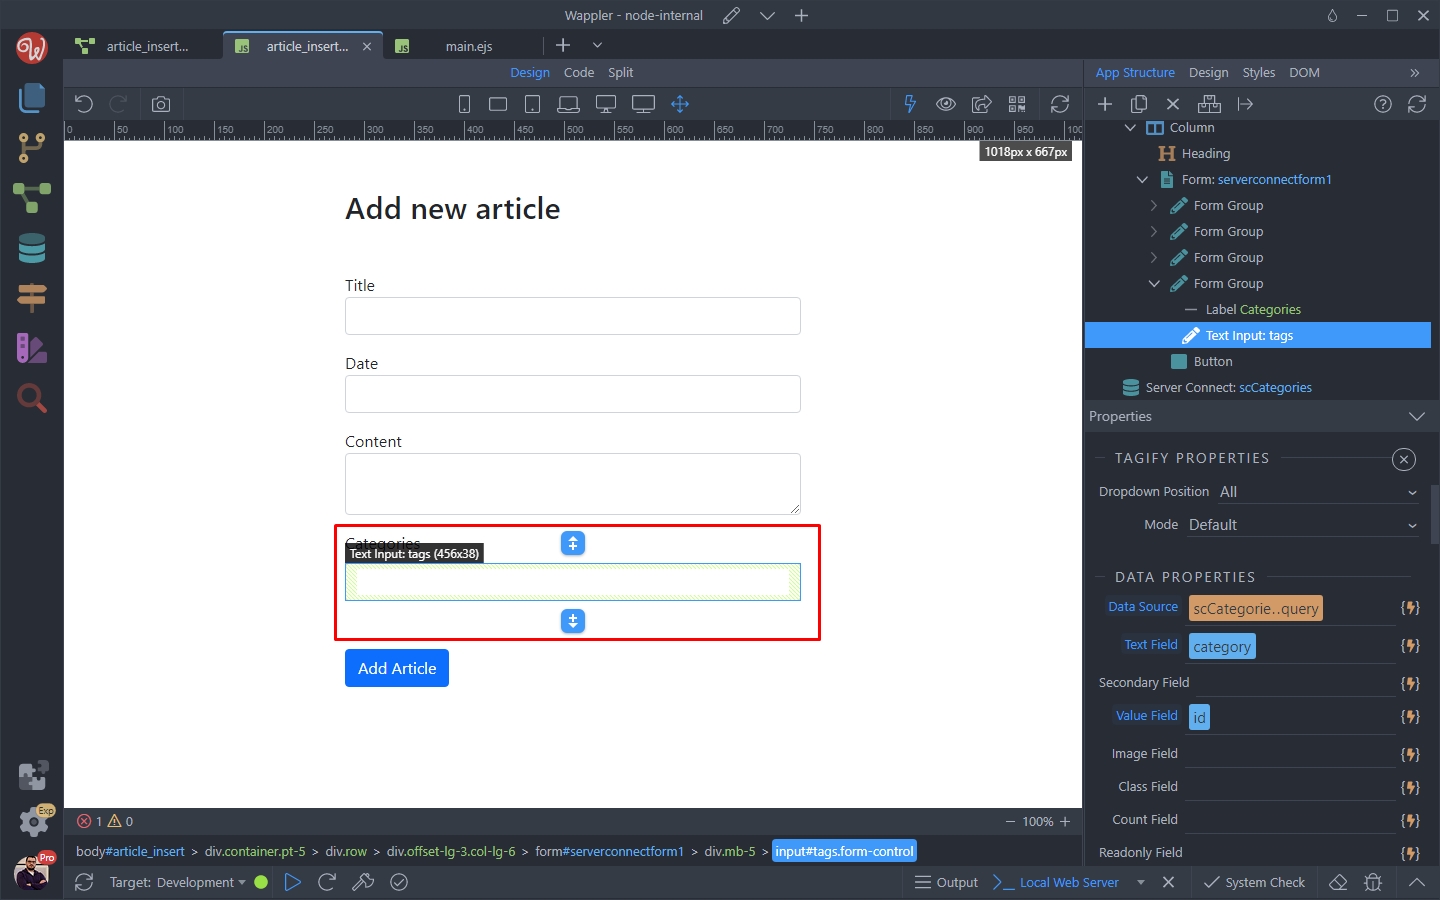
We’d like to allow users to add their own custom categories here.
Section titled “We’d like to allow users to add their own custom categories here.”Server Side
Section titled “Server Side”First, let’s setup the server-side part.
Open the Server Connect panel and add a new API Action:
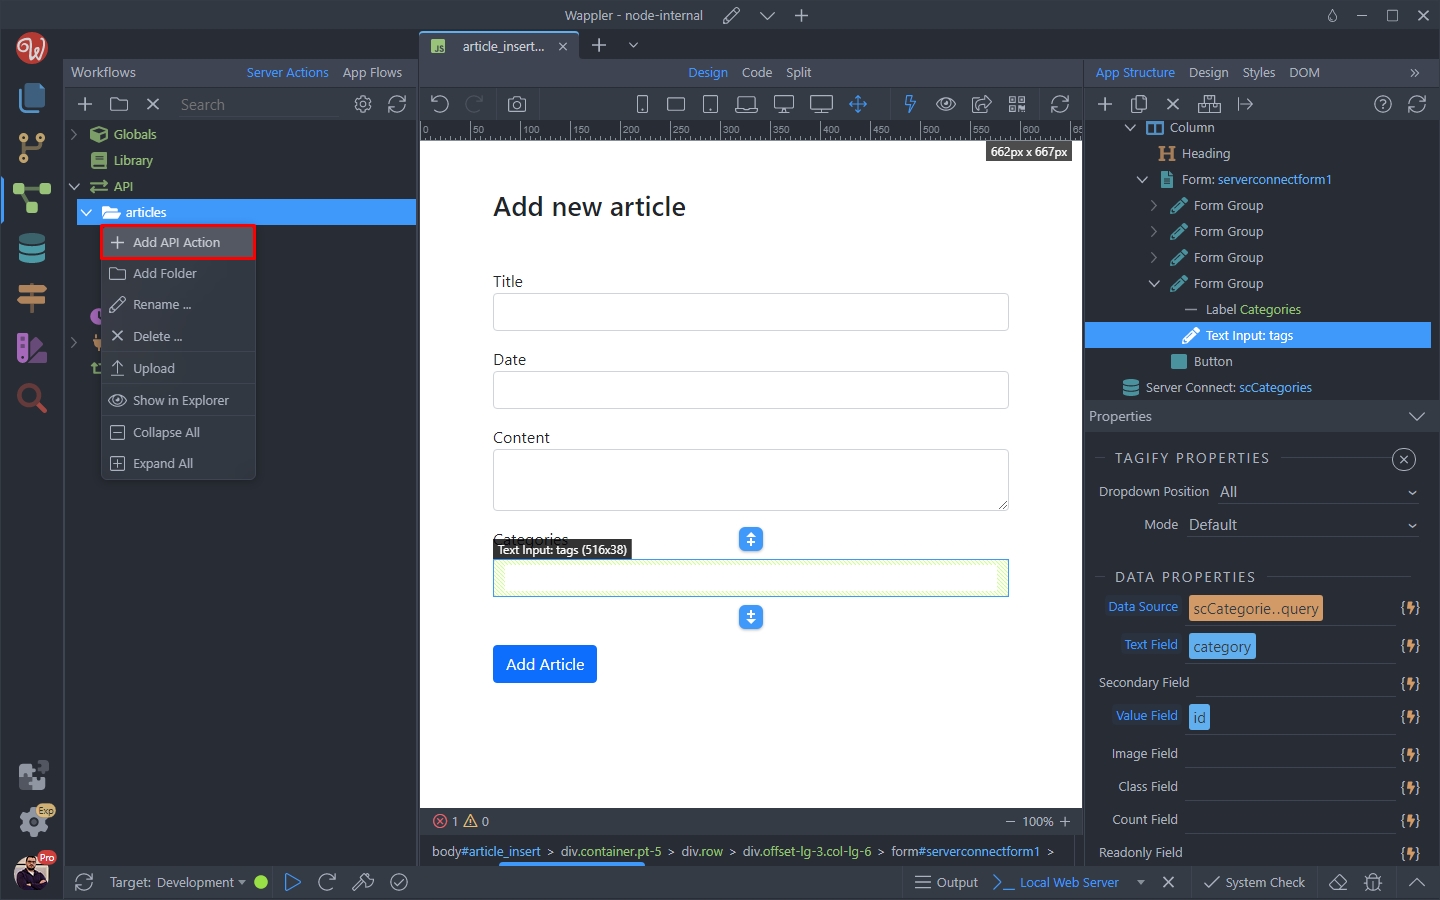
We call it - category_insert:
Section titled “We call it - category_insert:”
Open the Input section and add a new variable under $_GET:
Section titled “Open the Input section and add a new variable under $_GET:”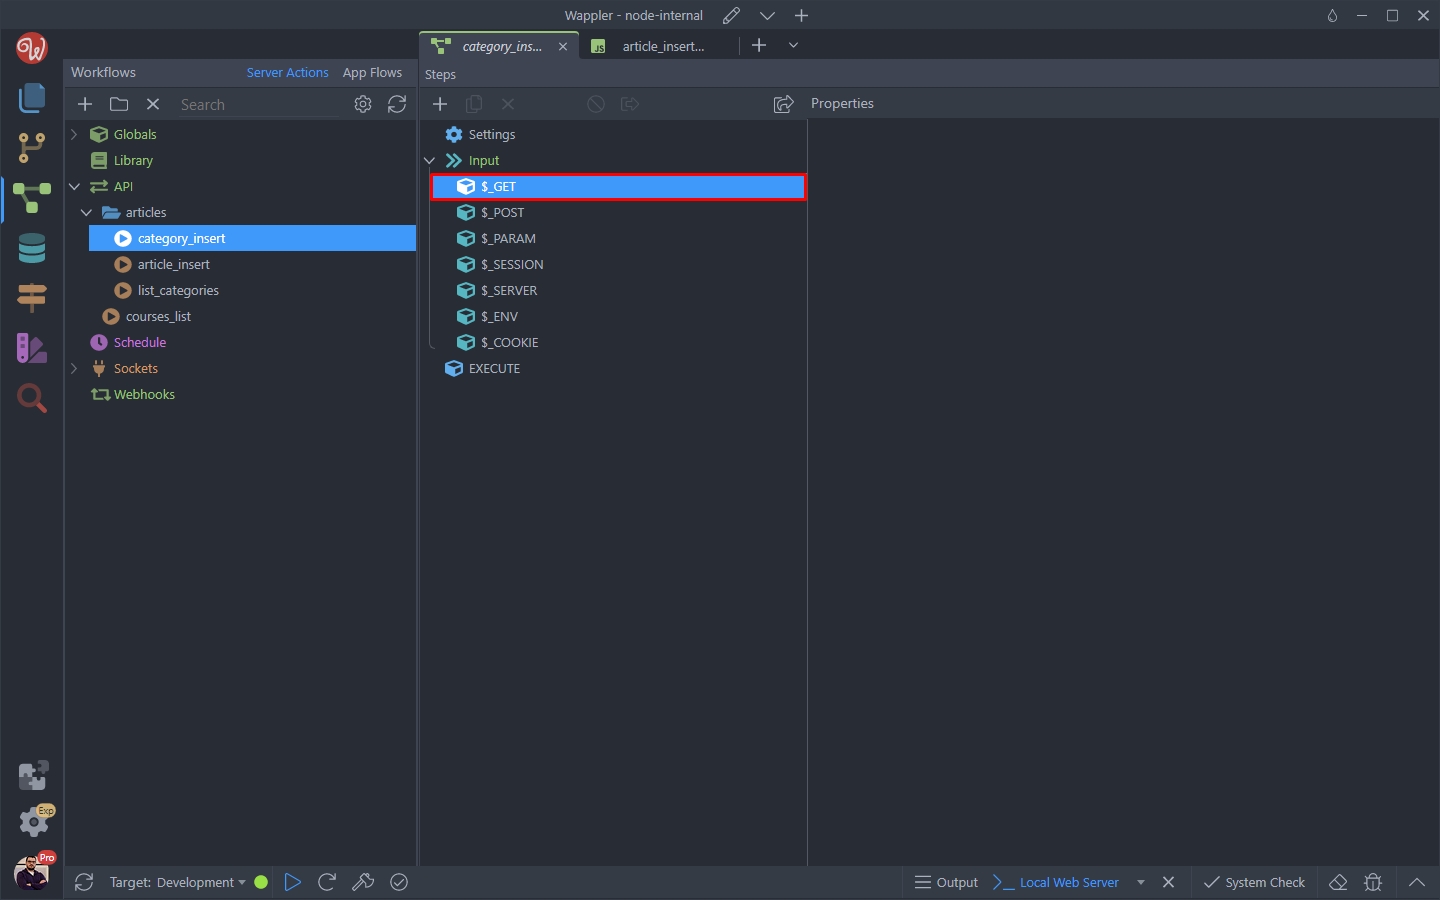
We call it category:
Section titled “We call it category:”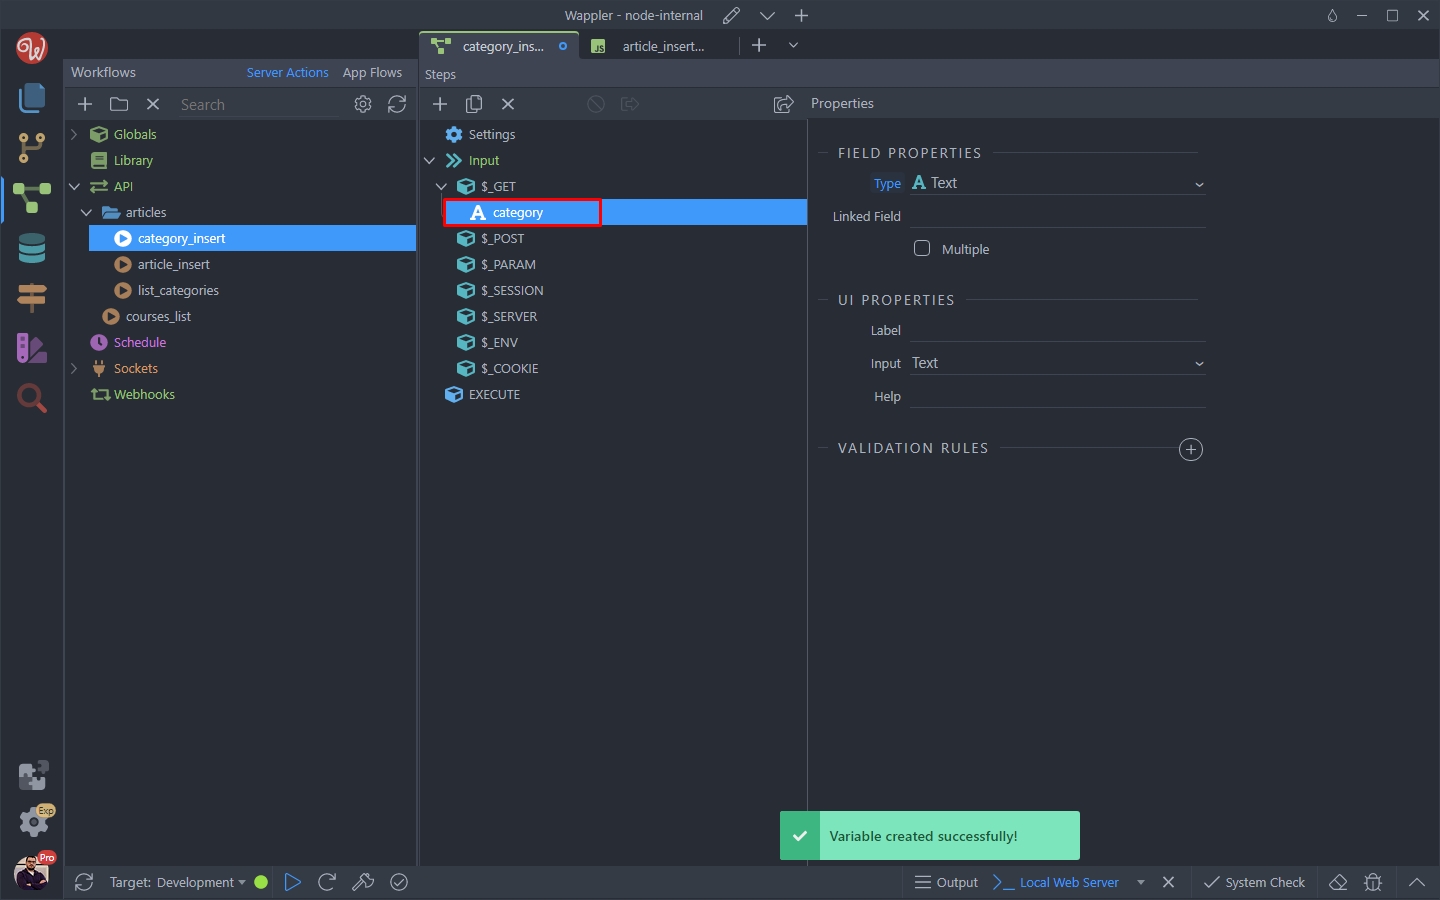
Close the input section and add a new step under Execute:
Section titled “Close the input section and add a new step under Execute:”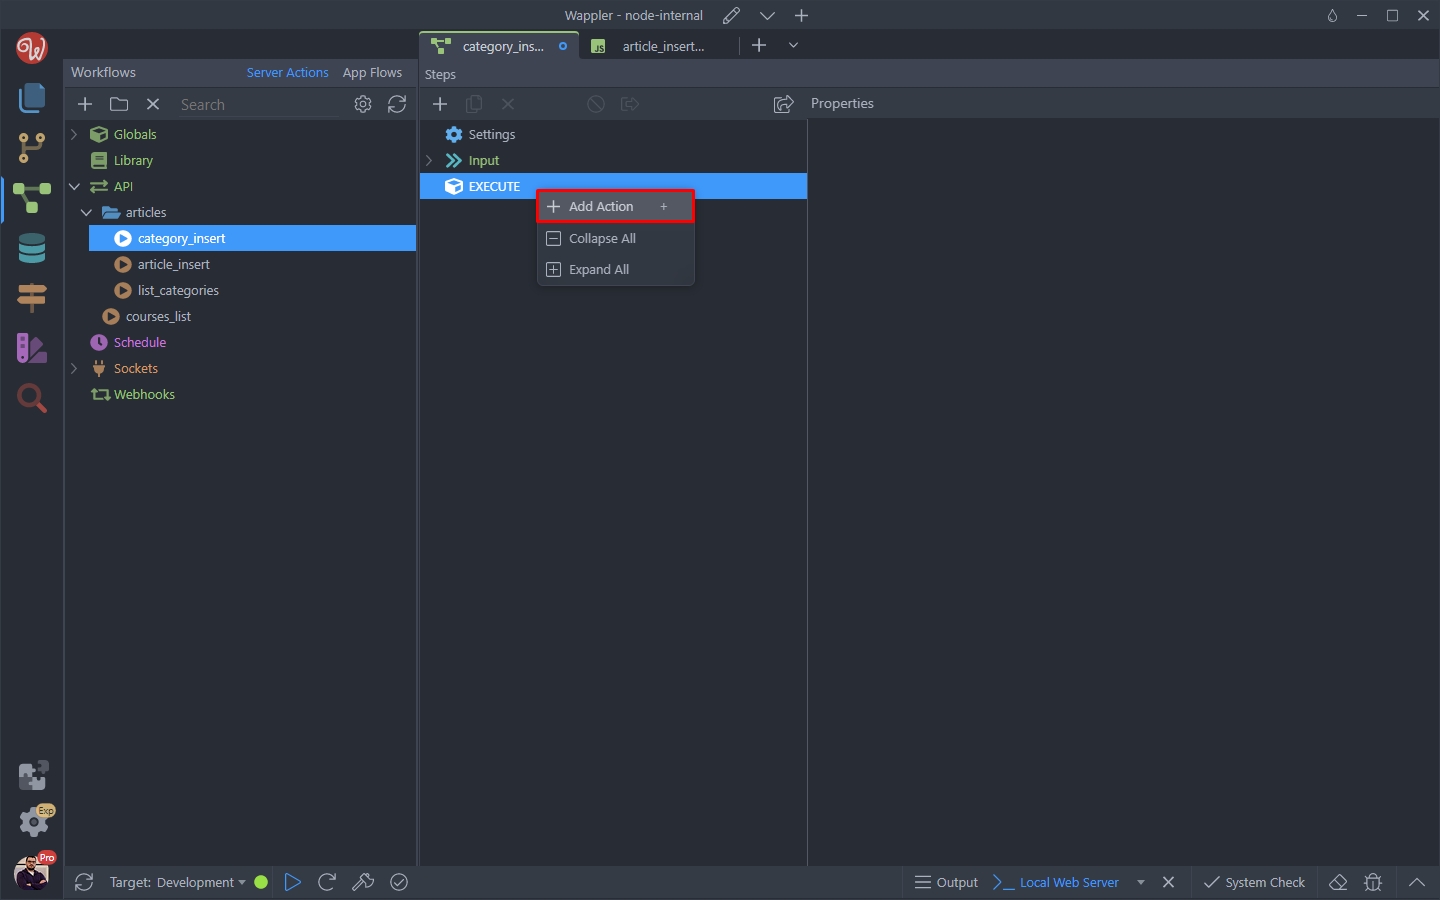
Under Database Actions select Database Insert:
Section titled “Under Database Actions select Database Insert:”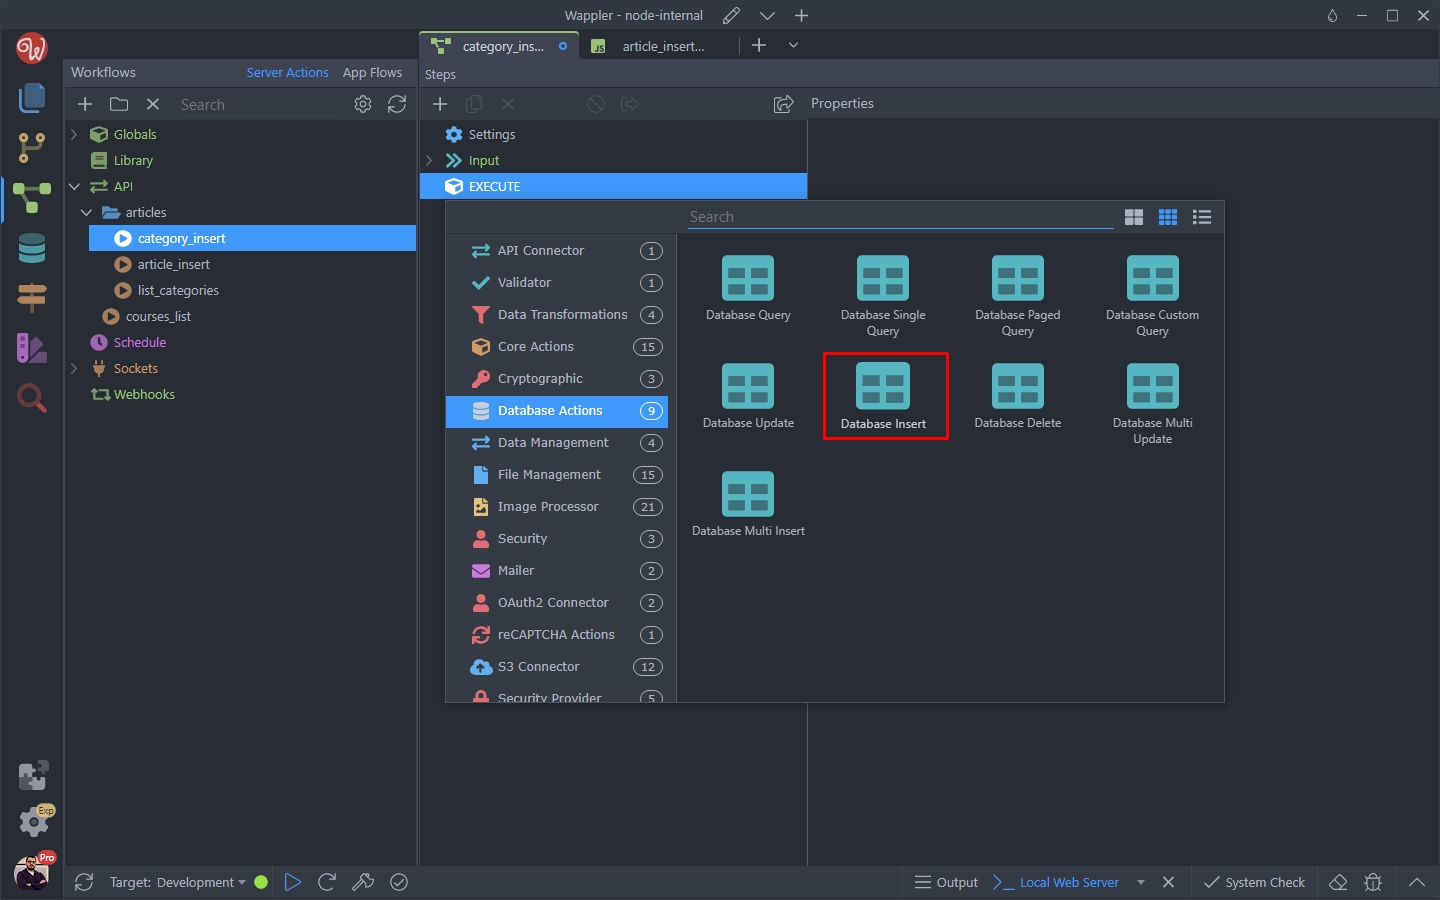
Click Insert Options:
Section titled “Click Insert Options:”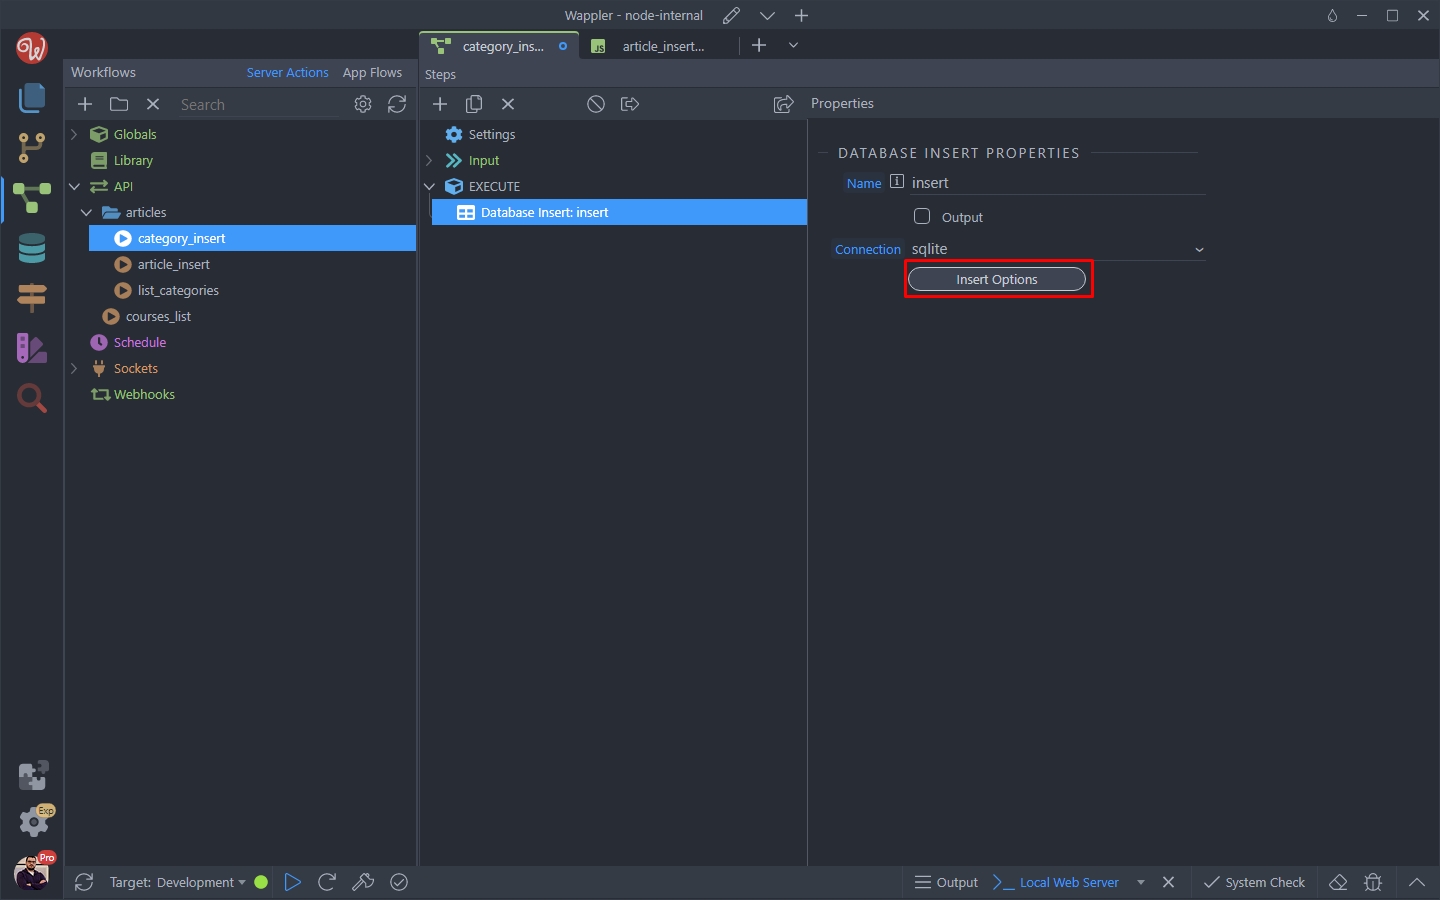
And then we select the categories table, where we store our categories for the Tagify:
Section titled “And then we select the categories table, where we store our categories for the Tagify:”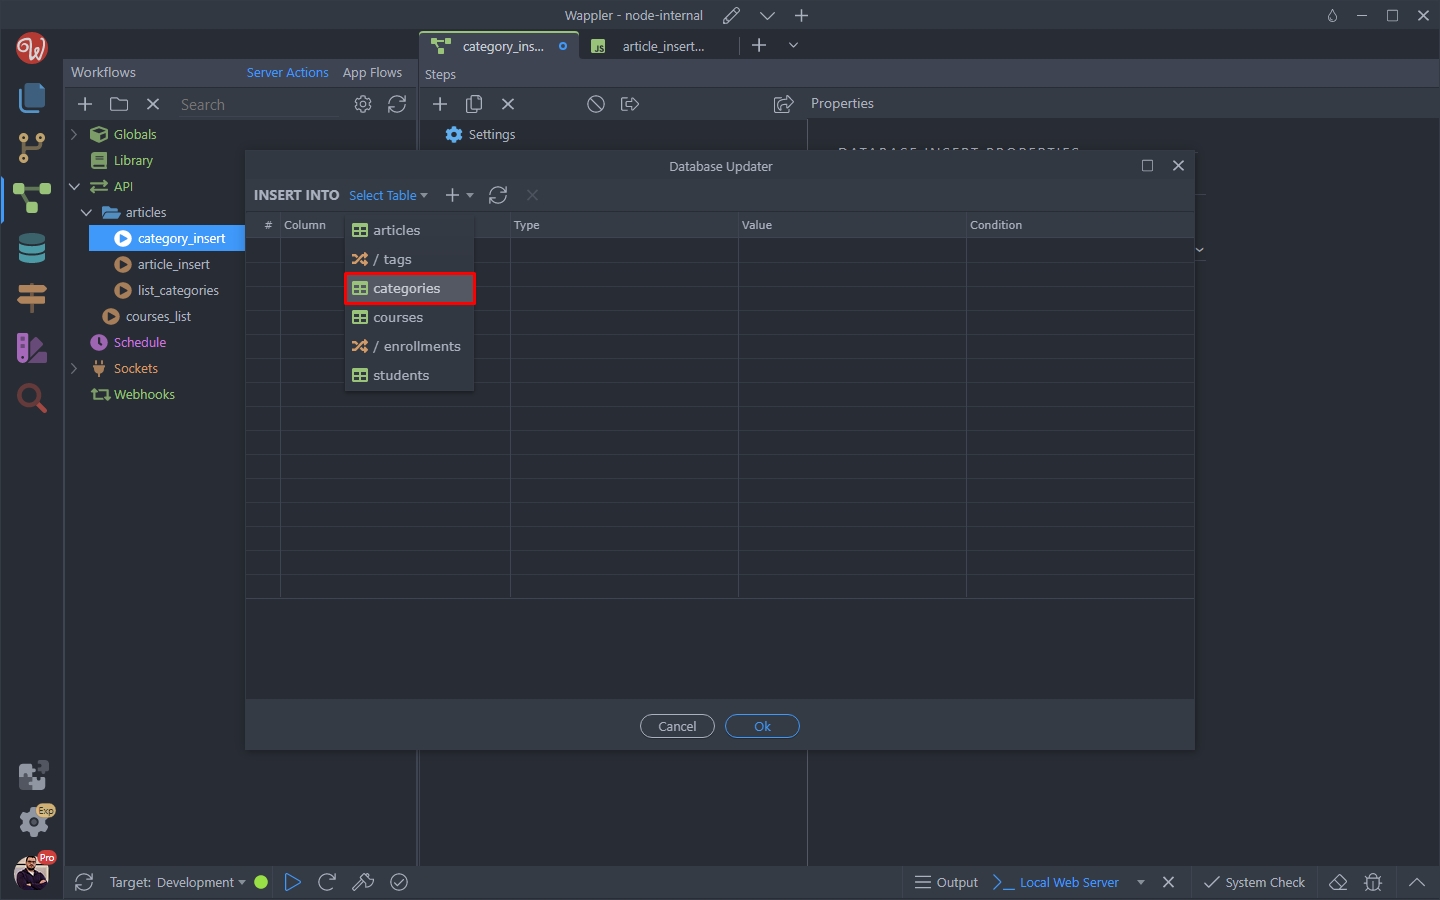
Click the dynamic data picker for the category name, to change the default value there:
Section titled “Click the dynamic data picker for the category name, to change the default value there:”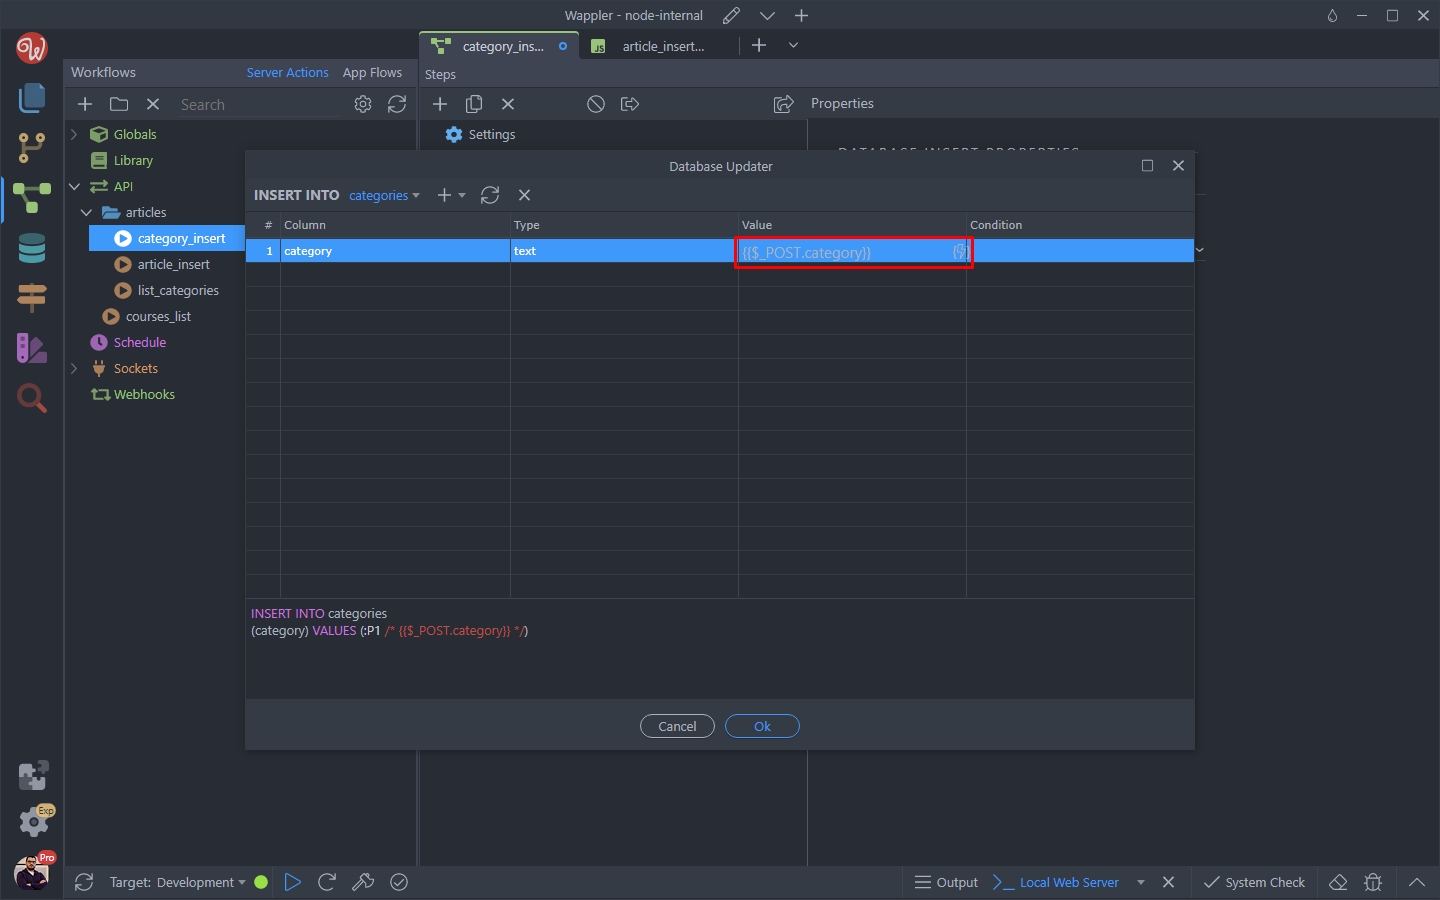
Instead of it, select the category GET variable which we created already:
Section titled “Instead of it, select the category GET variable which we created already:”
Click OK:
Section titled “Click OK:”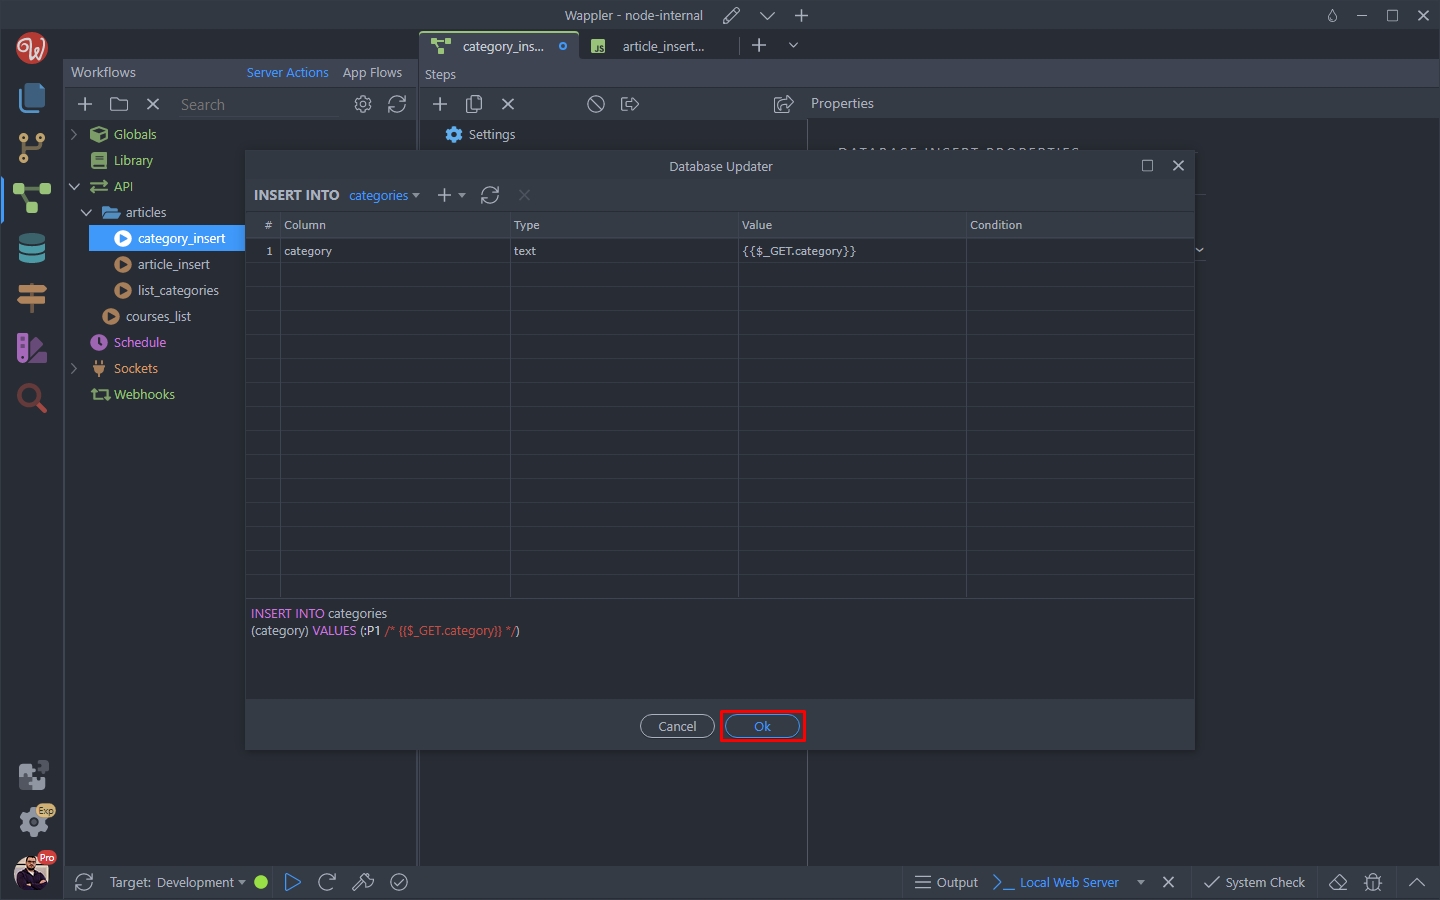
Save your API action:
Section titled “Save your API action:”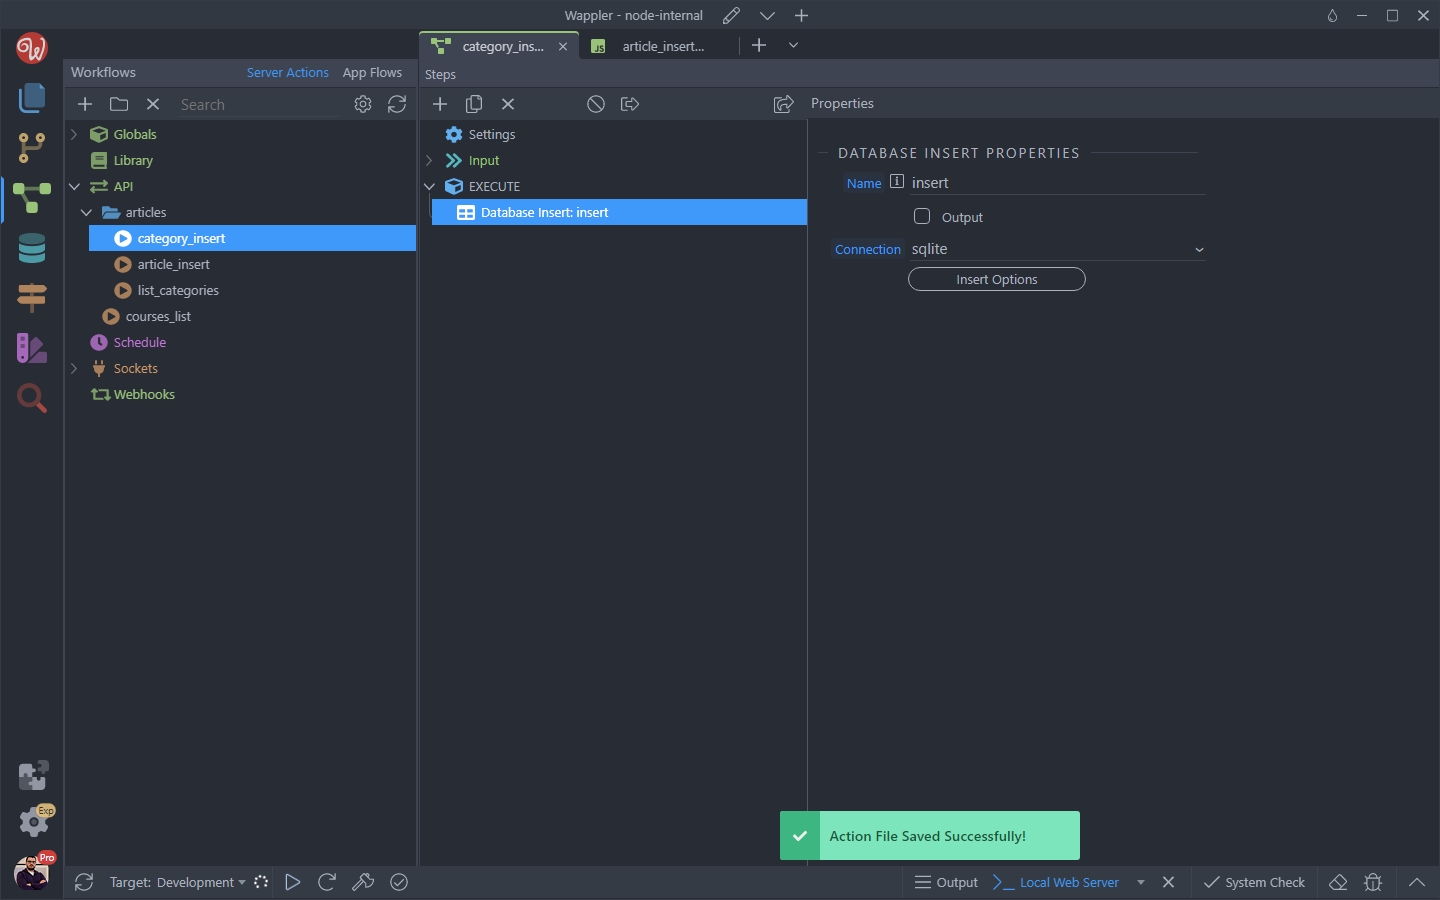
And we are done with the server-side part.
Section titled “And we are done with the server-side part.”Page Setup
Section titled “Page Setup”Close the Server Connect panel and open the insert article page.
Page Flow
Section titled “Page Flow”In order to get the custom added tags and insert them in the database we will use a page flow. Right click App:
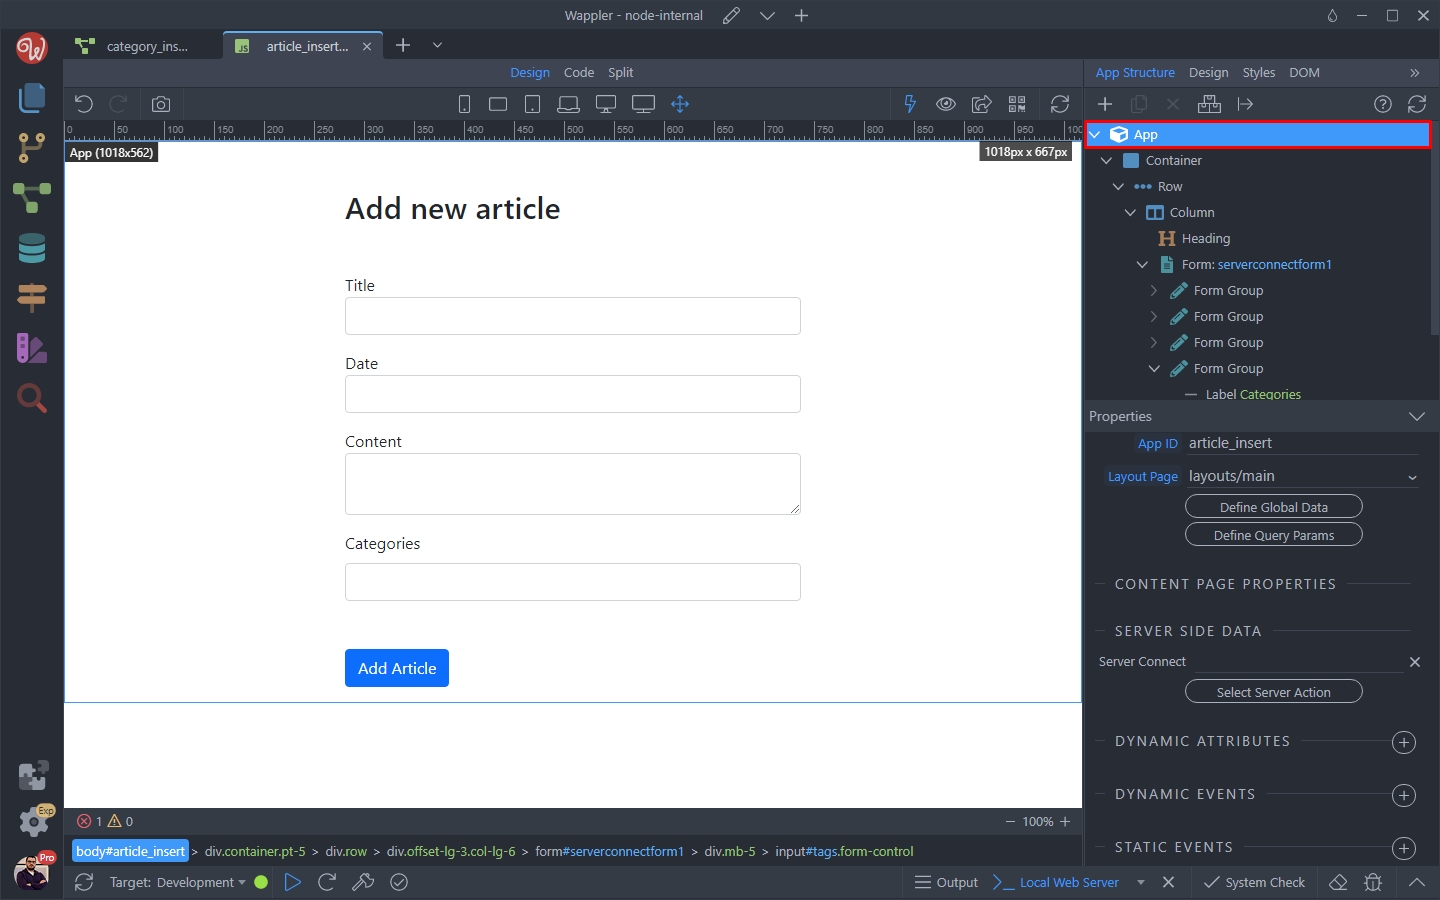
Under Workflows select Page Flow:
Section titled “Under Workflows select Page Flow:”
And click the Edit Flow button:
Section titled “And click the Edit Flow button:”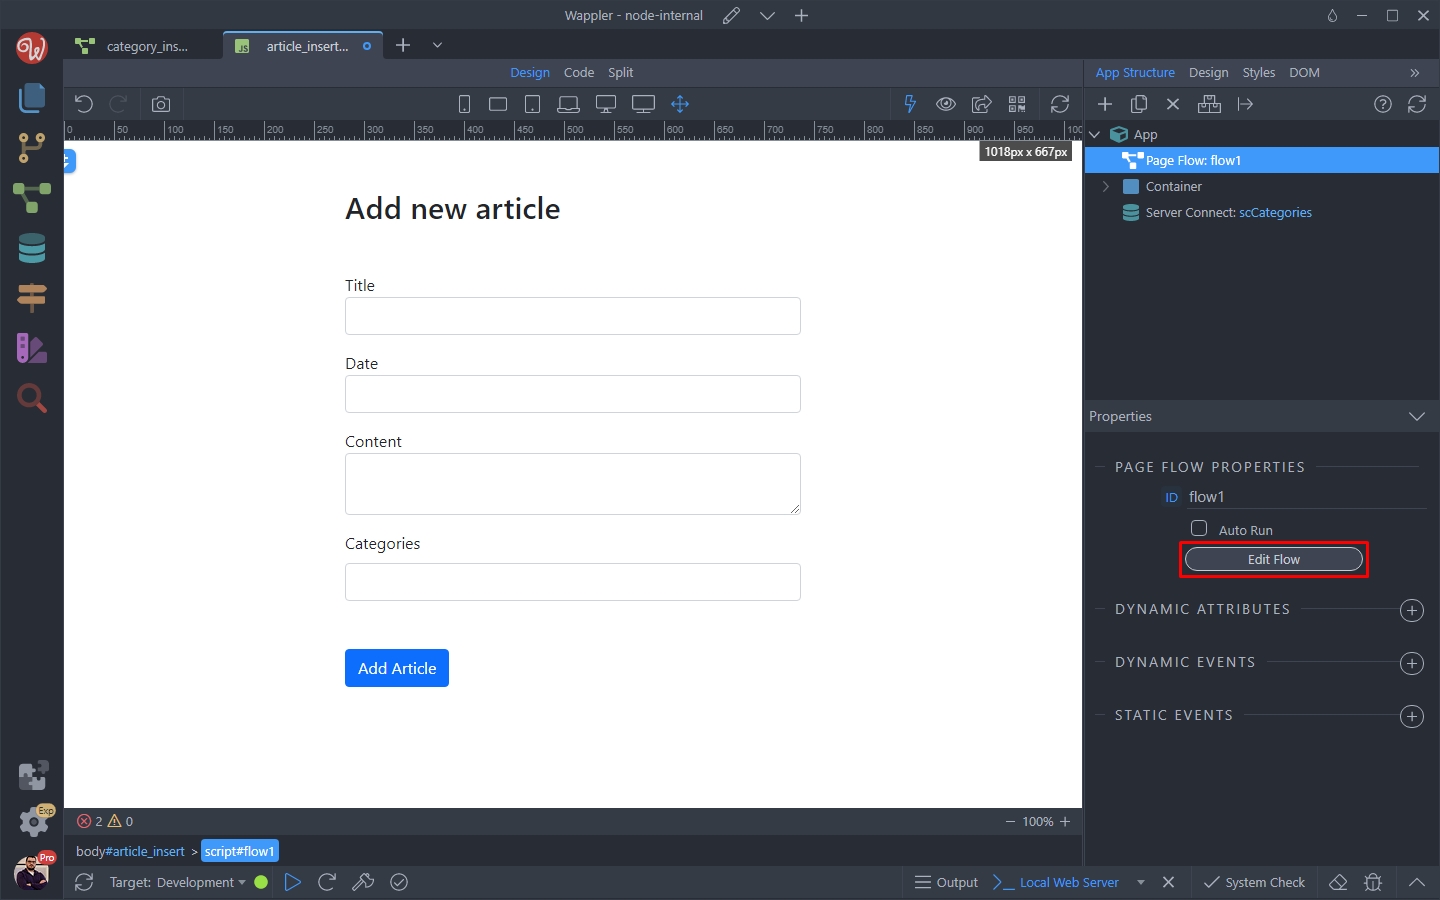
Step 23
Section titled “Step 23”First, we need to add two parameters for the flow. One that checks if the added tag is new/custom and another one that gets the tag value.
Right click $param:
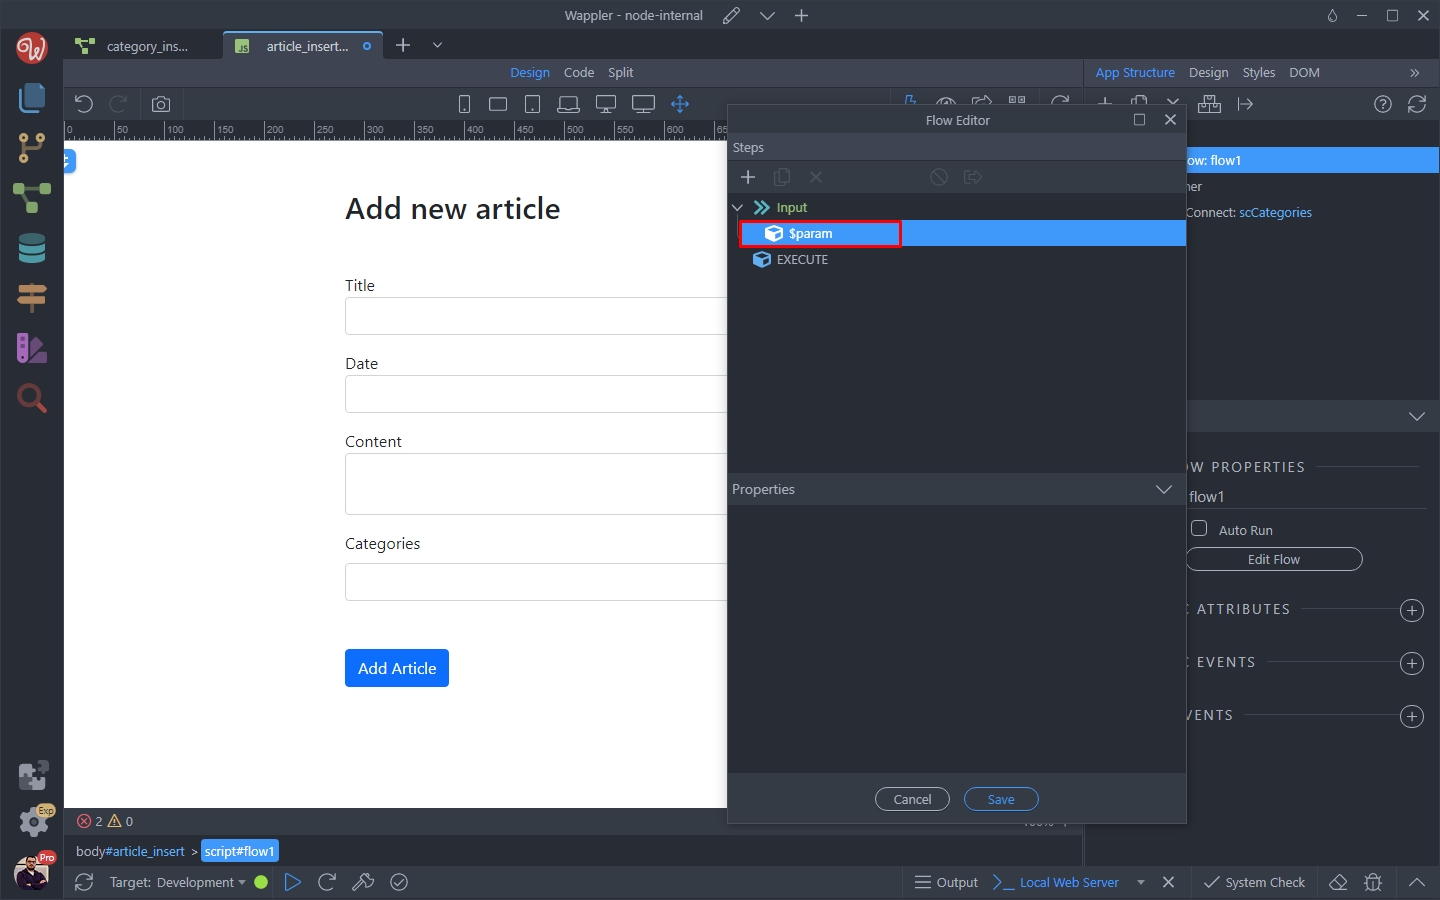
And add a new variable:
Section titled “And add a new variable:”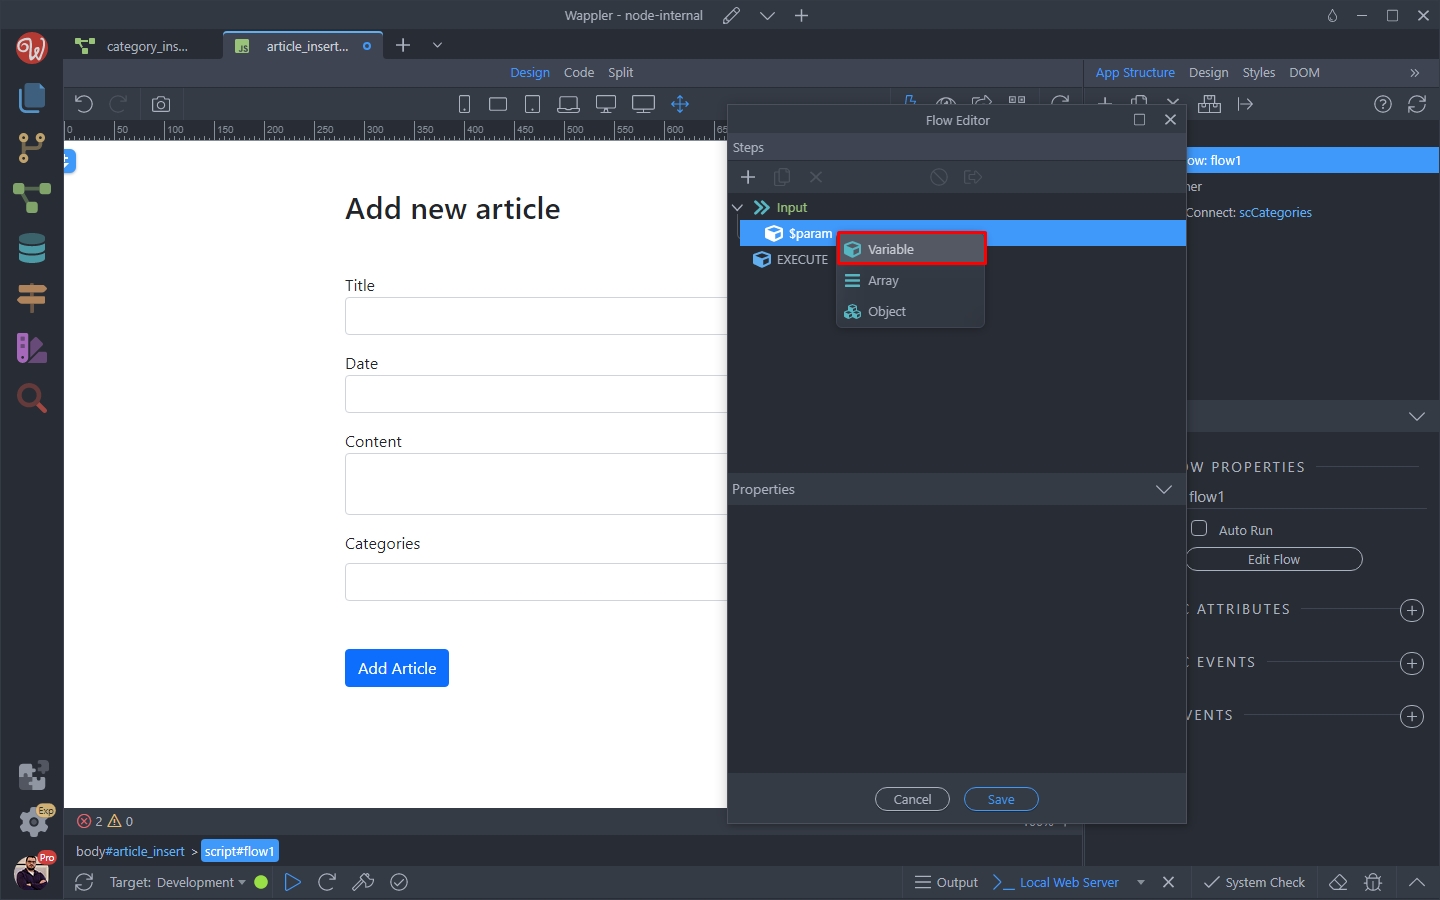
We call it isCustom:
Section titled “We call it isCustom:”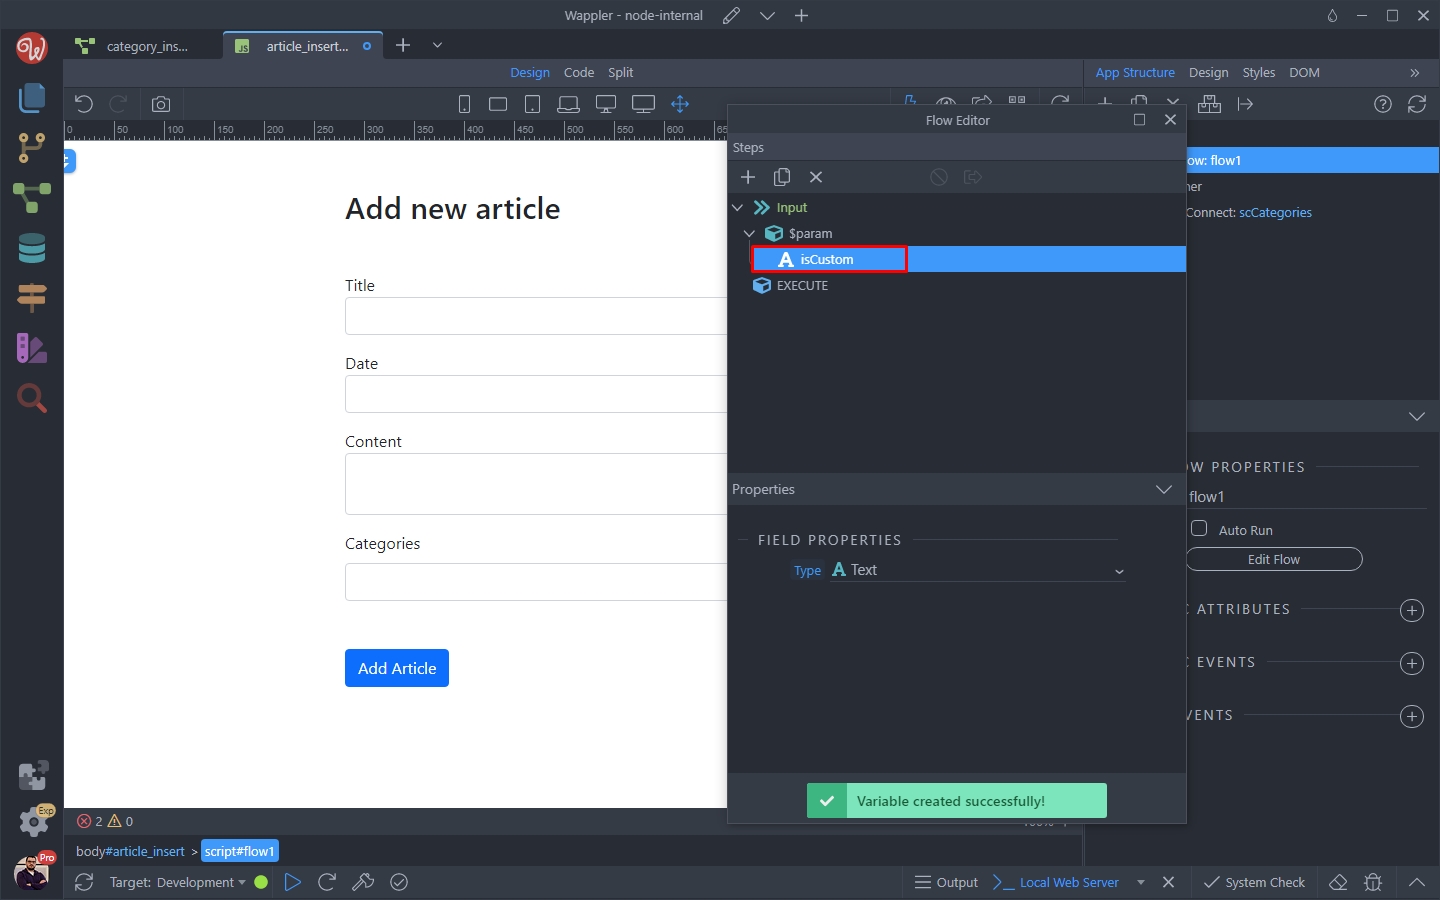
Then we add another one:
Section titled “Then we add another one:”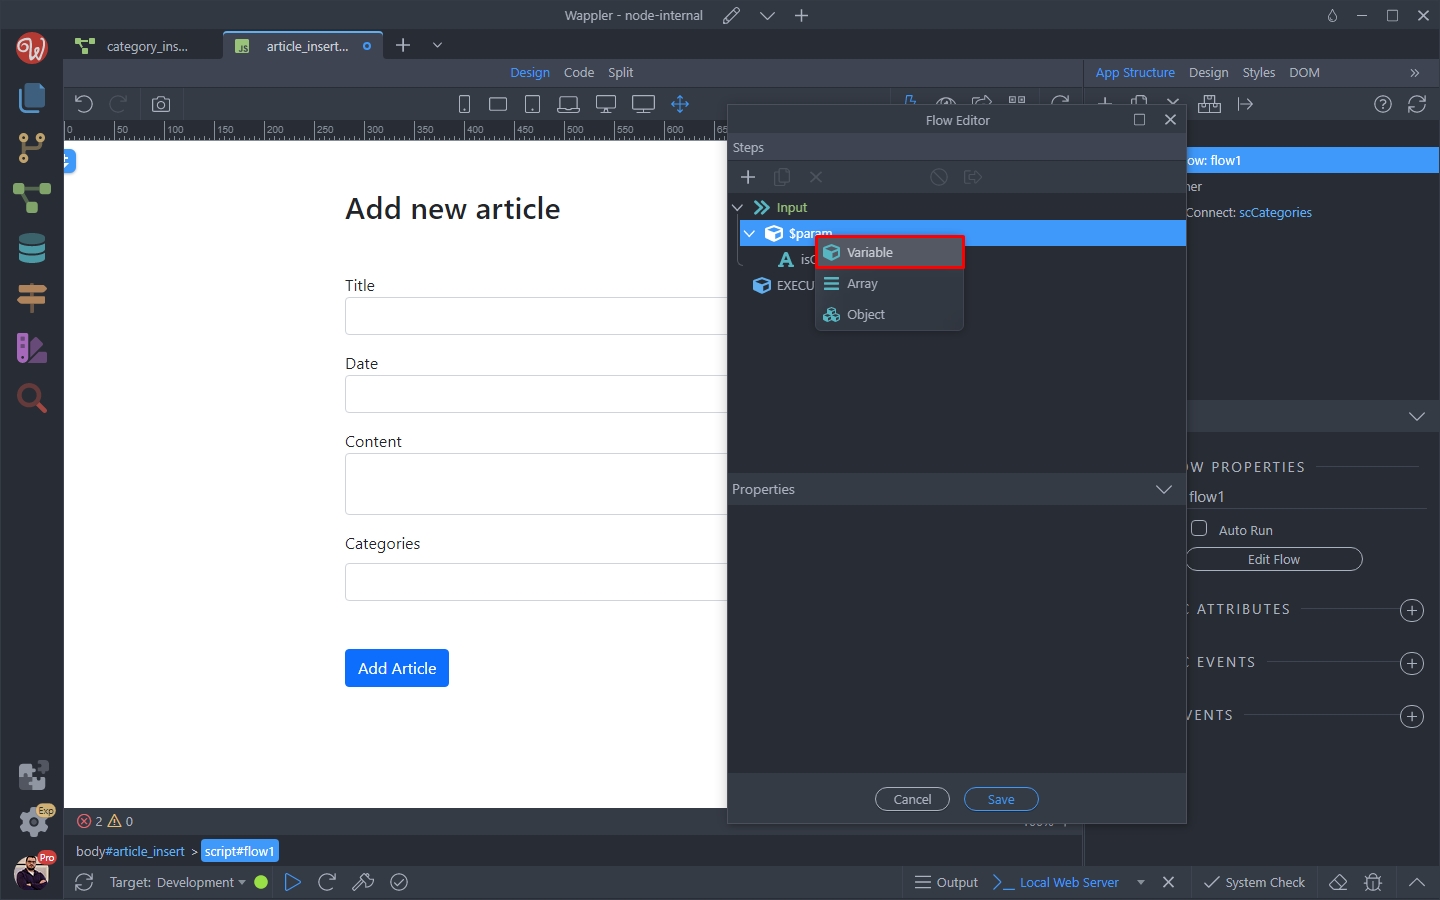
And call it category:
Section titled “And call it category:”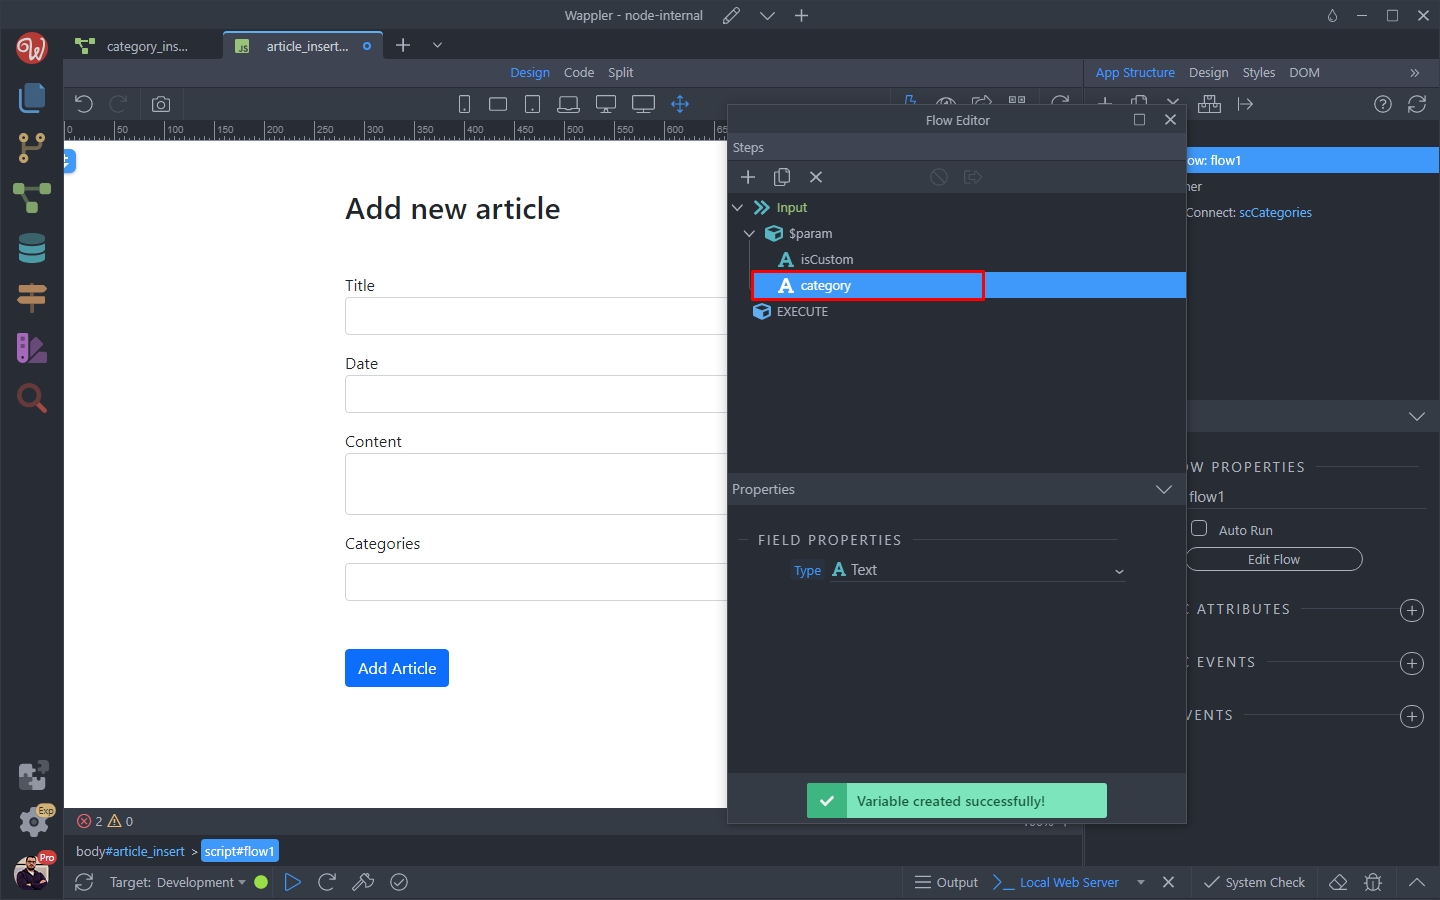
Now we need to add a logic which inserts the new tag if it is custom/new. Right click Execute:
Section titled “Now we need to add a logic which inserts the new tag if it is custom/new. Right click Execute:”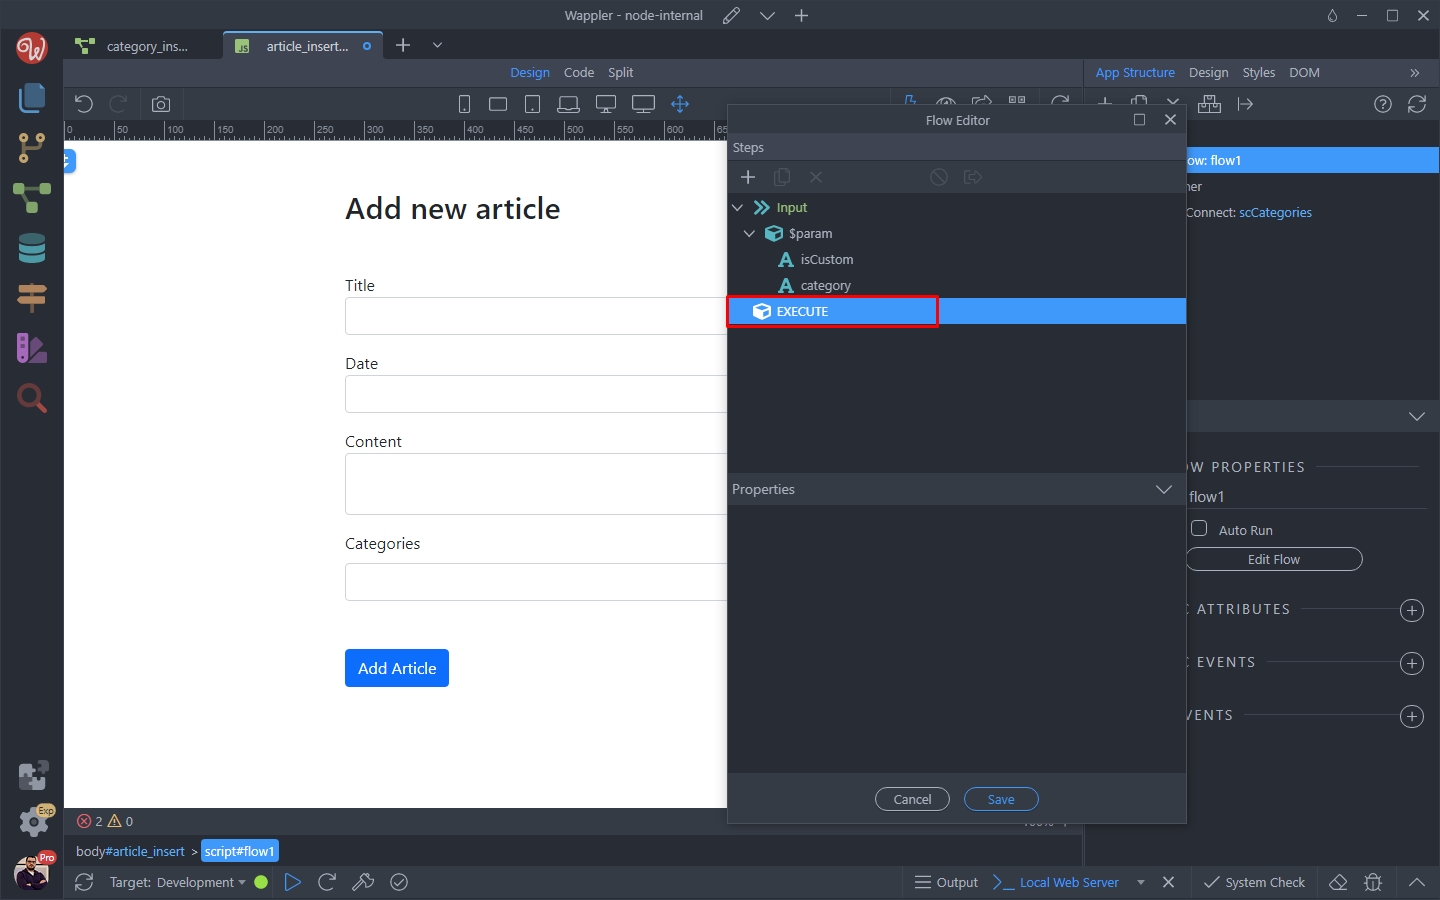
And add new action:
Section titled “And add new action:”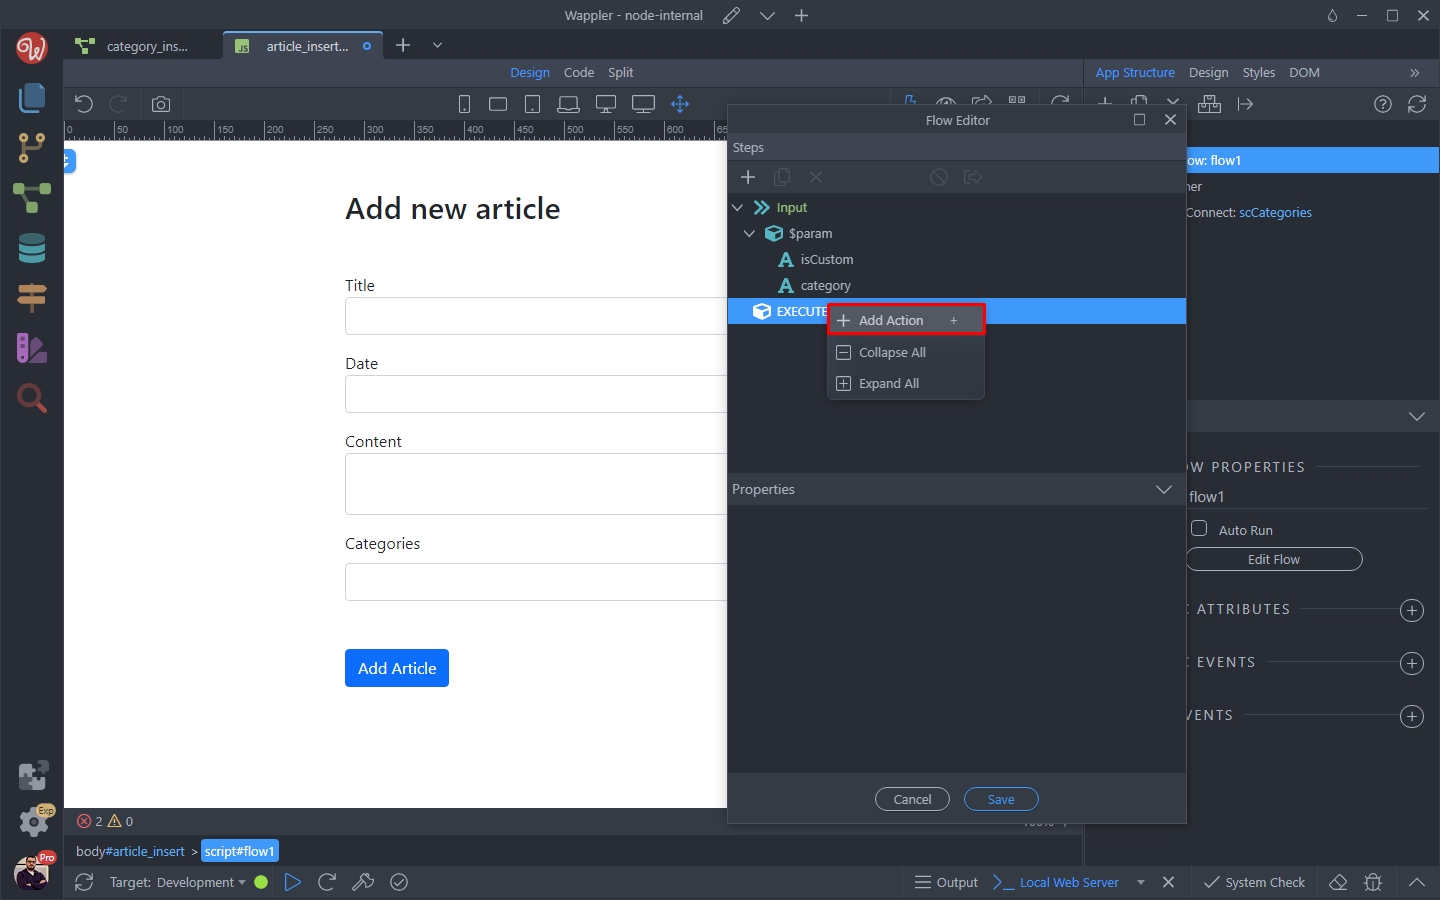
Under Control Flow select Condition:
Section titled “Under Control Flow select Condition:”
And select a dynamic value for the condition:
Section titled “And select a dynamic value for the condition:”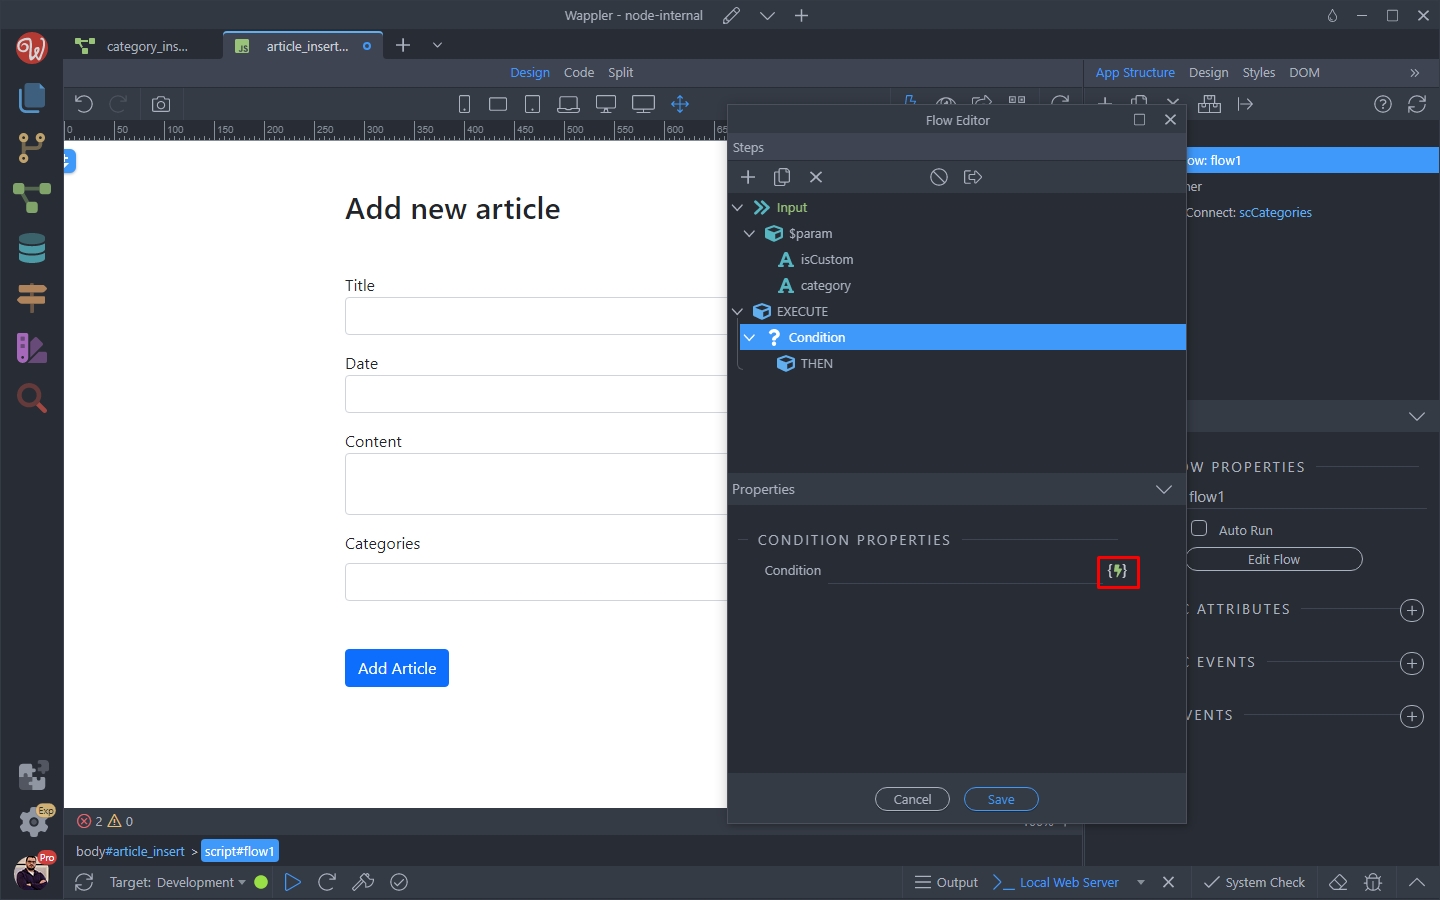
Here, we select the isCustom parameter under Page Flow > $param:
Section titled “Here, we select the isCustom parameter under Page Flow > $param:”
Right click Then and add a new action:
Section titled “Right click Then and add a new action:”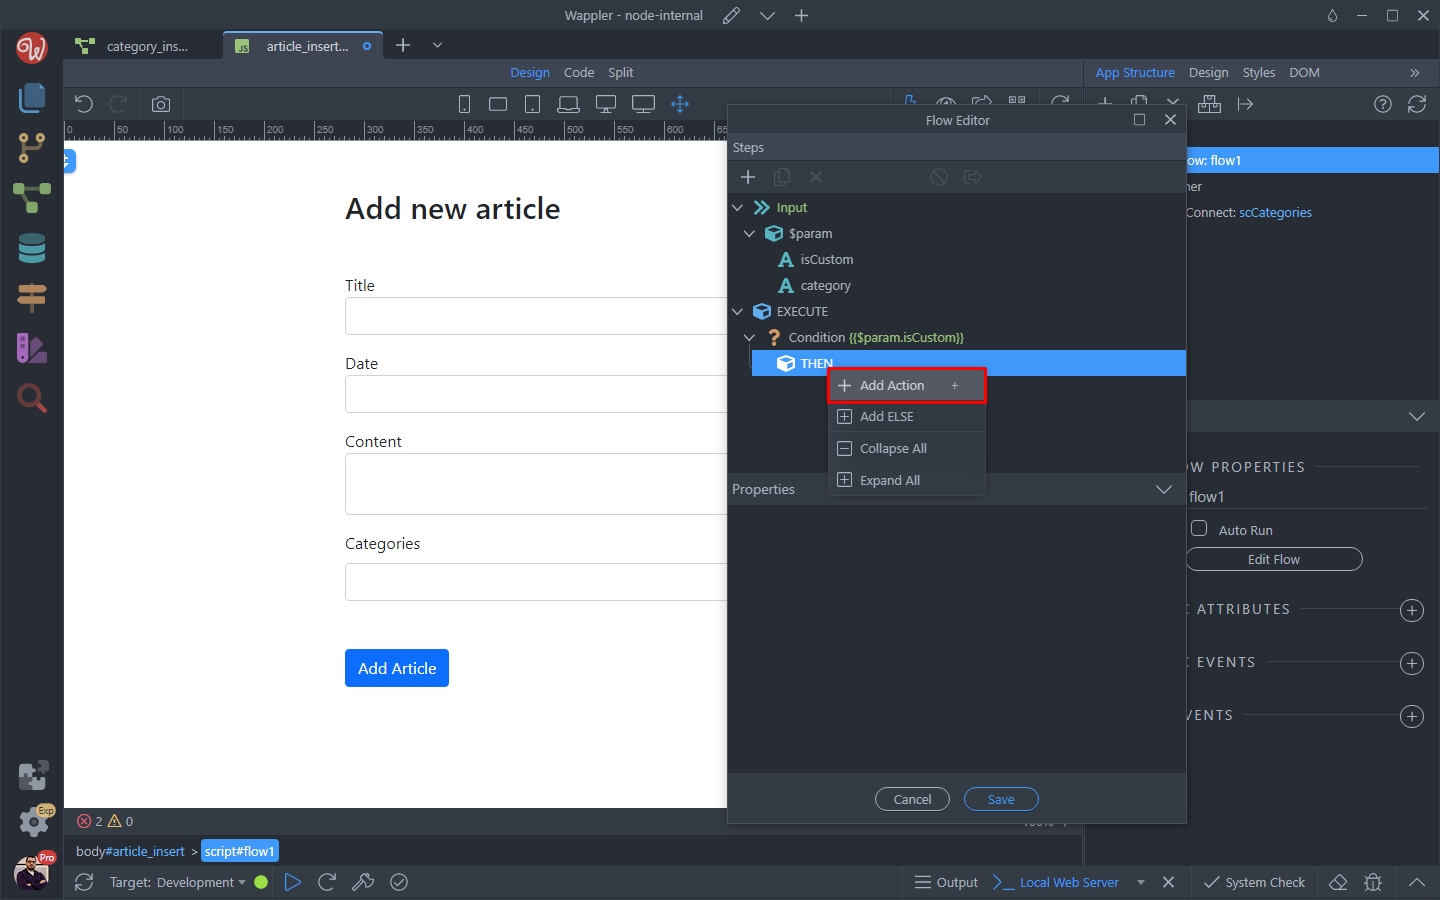
Under Data Sources, select Server Connect:
Section titled “Under Data Sources, select Server Connect:”
And select a server action:
Section titled “And select a server action:”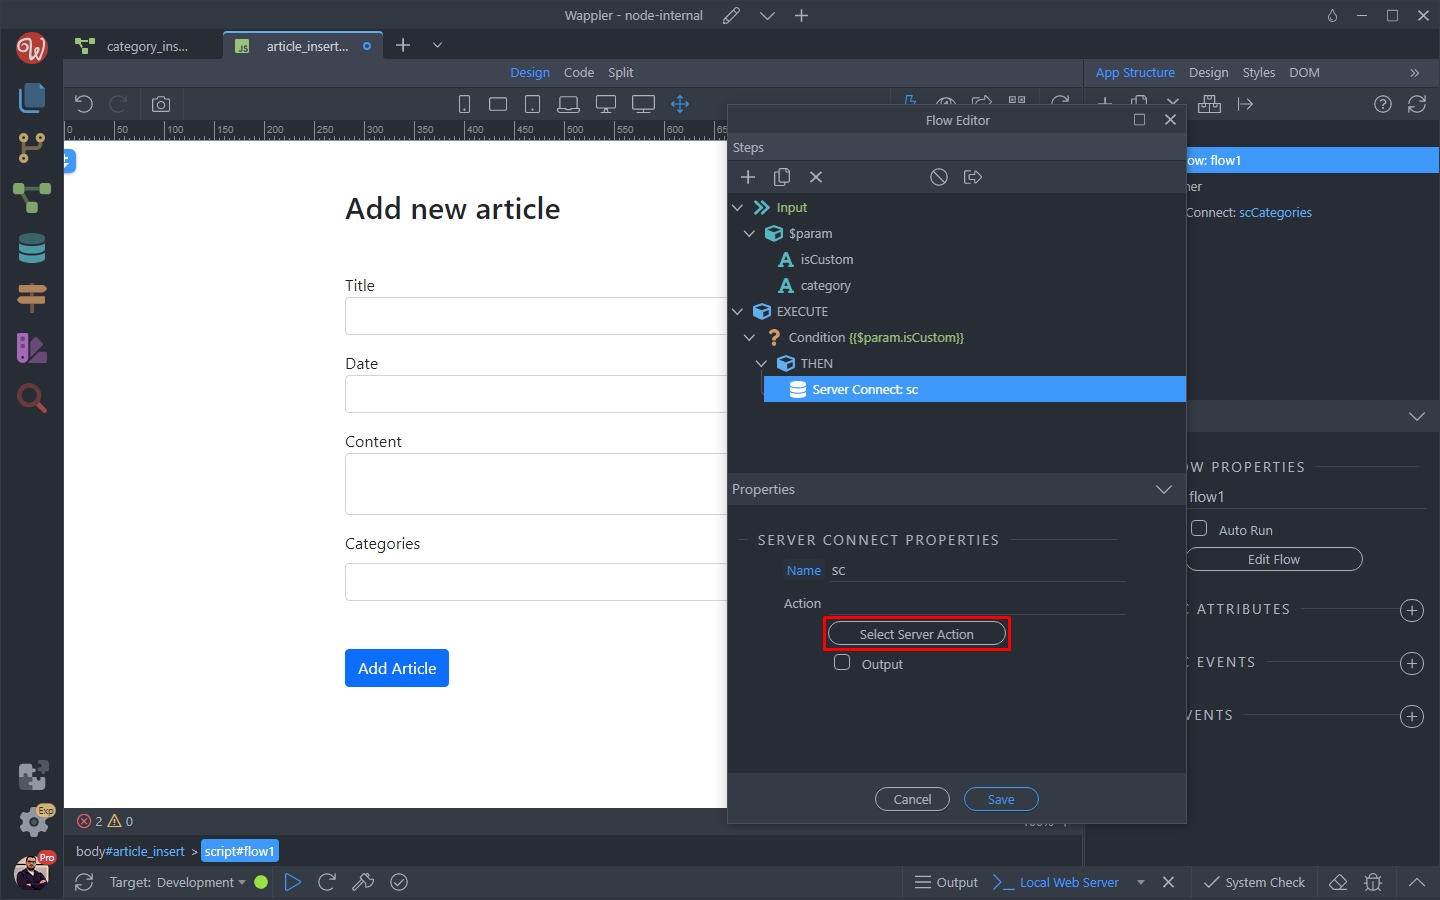
We select the category_insert server action, which we created earlier:
Section titled “We select the category_insert server action, which we created earlier:”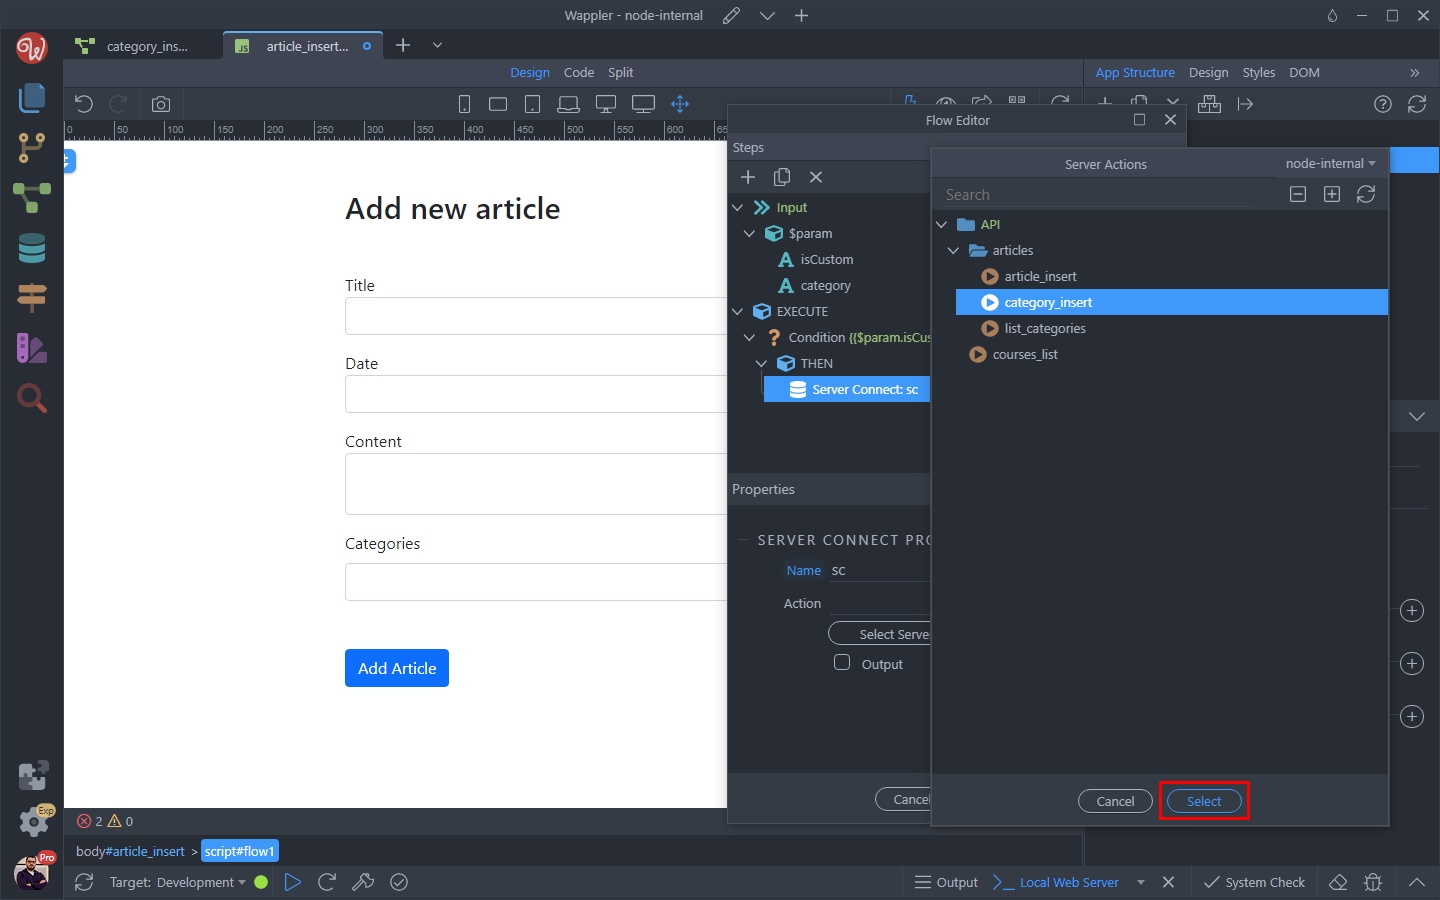
Step 37
Section titled “Step 37”You will see the category parameter under Input Parameters. Select the dynamic data picker button in order to pick a value for it:
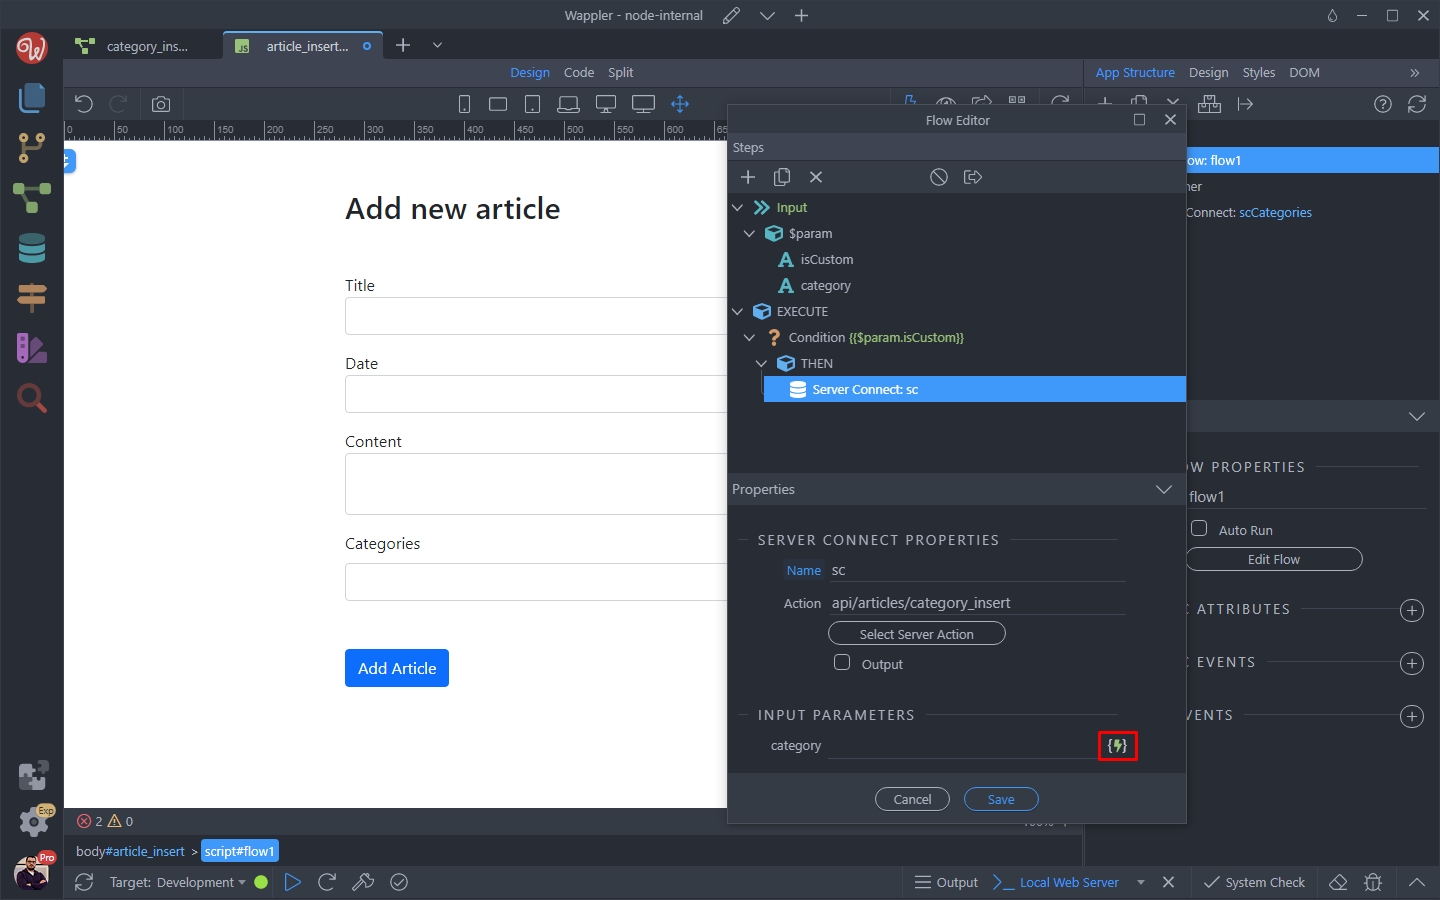
Here, we select the category parameter under Page Flow > $param:
Section titled “Here, we select the category parameter under Page Flow > $param:”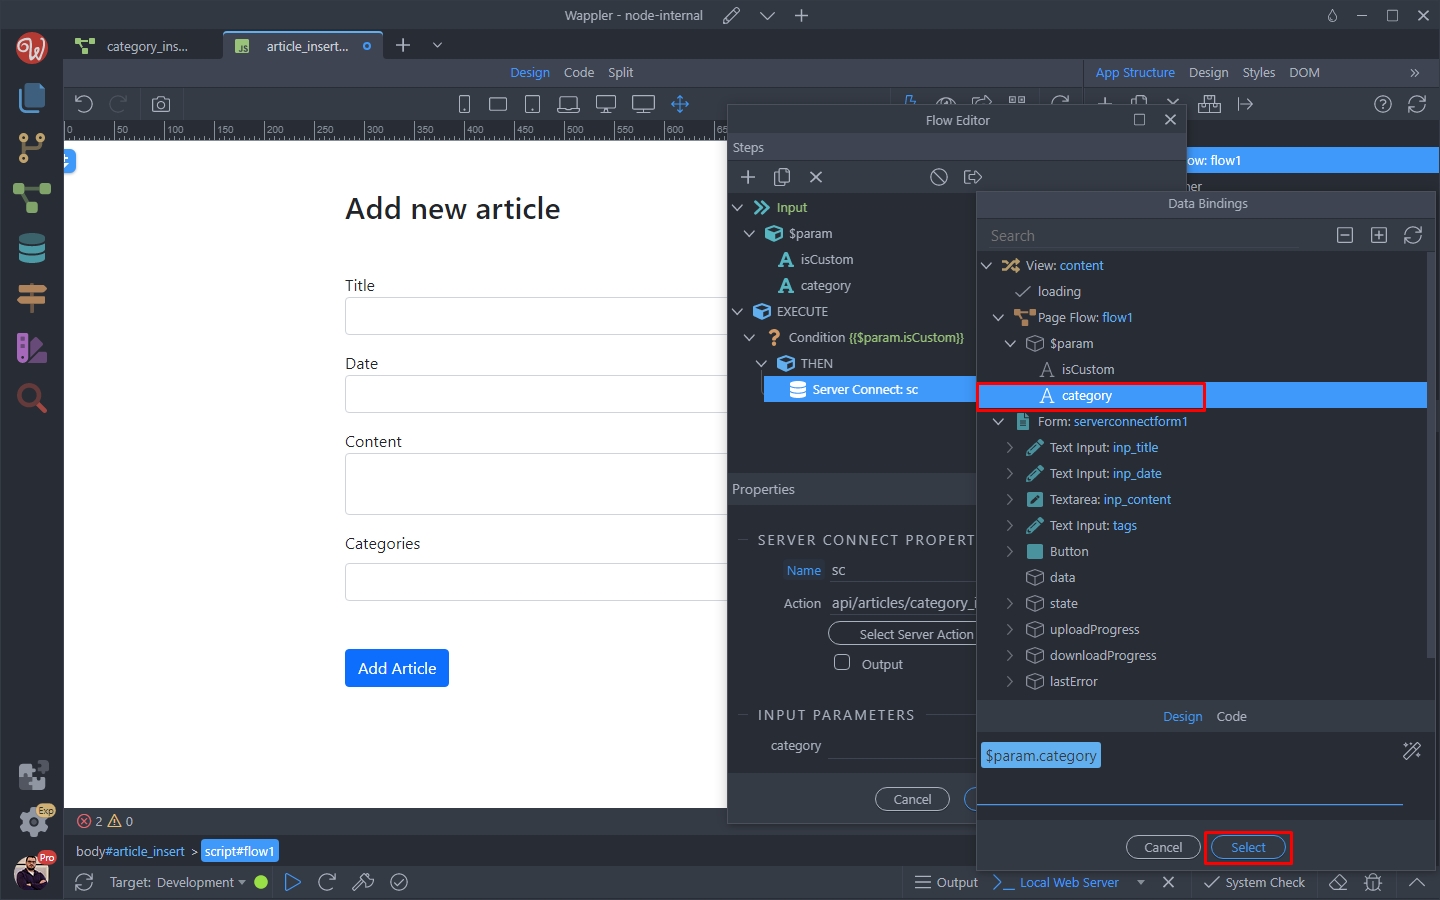
Click the Select button:
Section titled “Click the Select button:”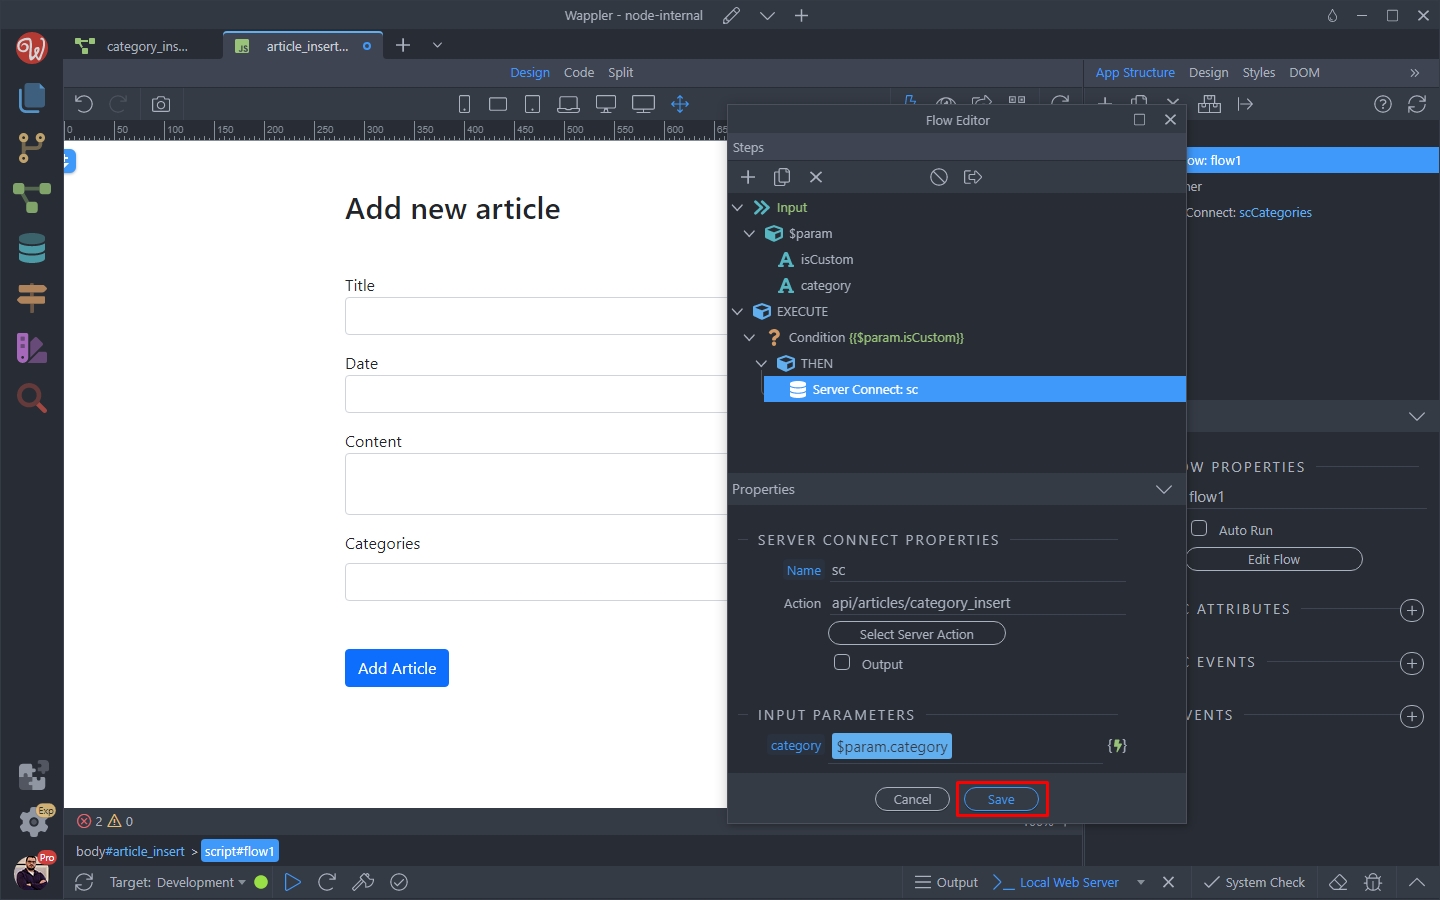
Tagify Setup
Section titled “Tagify Setup”Now as we have our flow set up, we need to run it when a new tag is added in the Tagify input.
Select Tagify and add new dynamic event:

Select Tagify > Add:
Section titled “Select Tagify > Add:”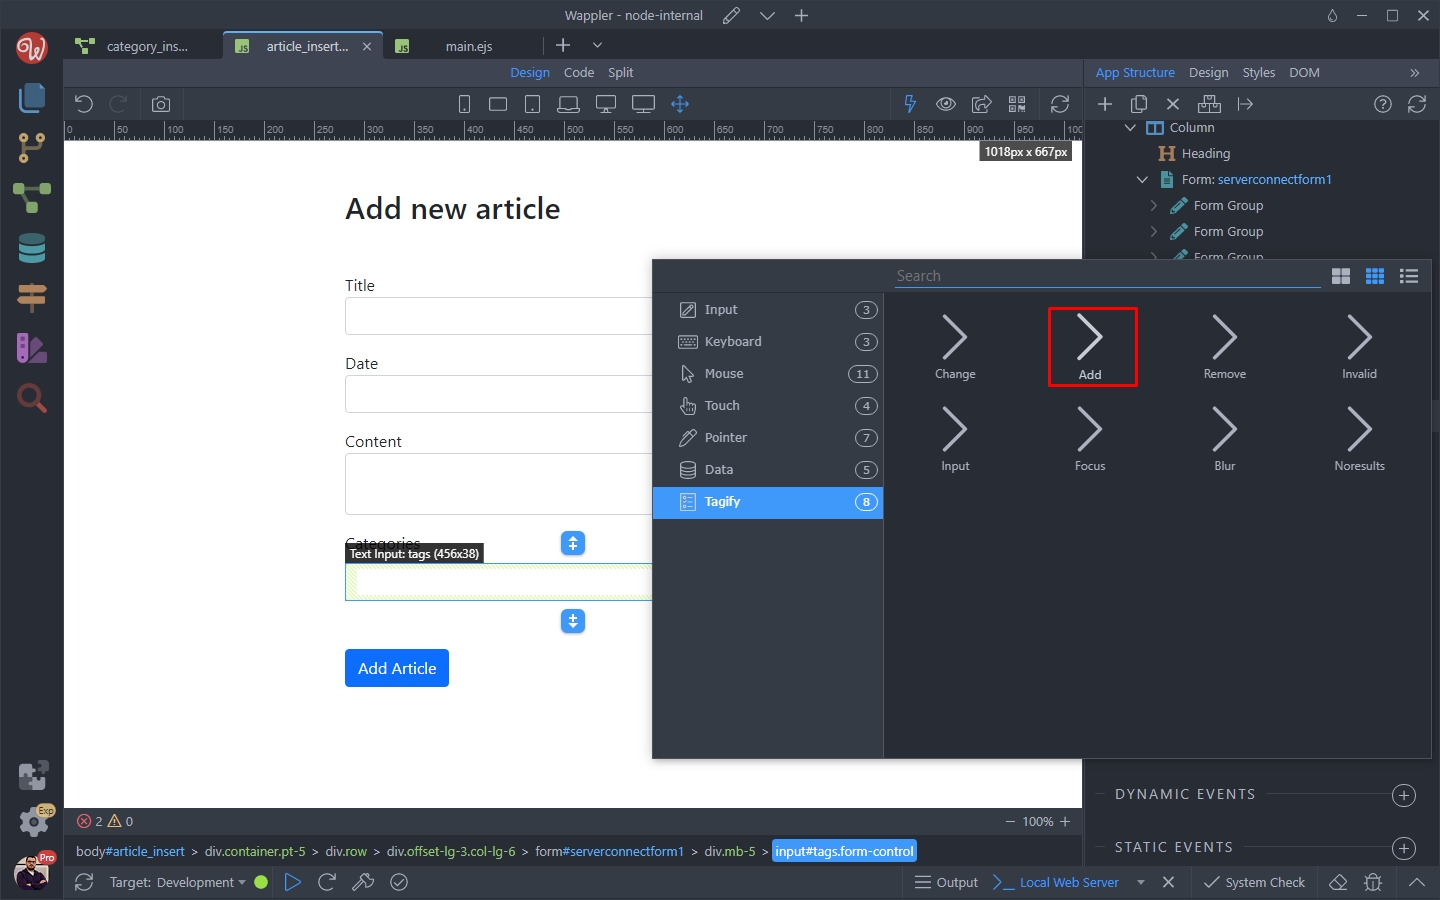
And select an action for this event:
Section titled “And select an action for this event:”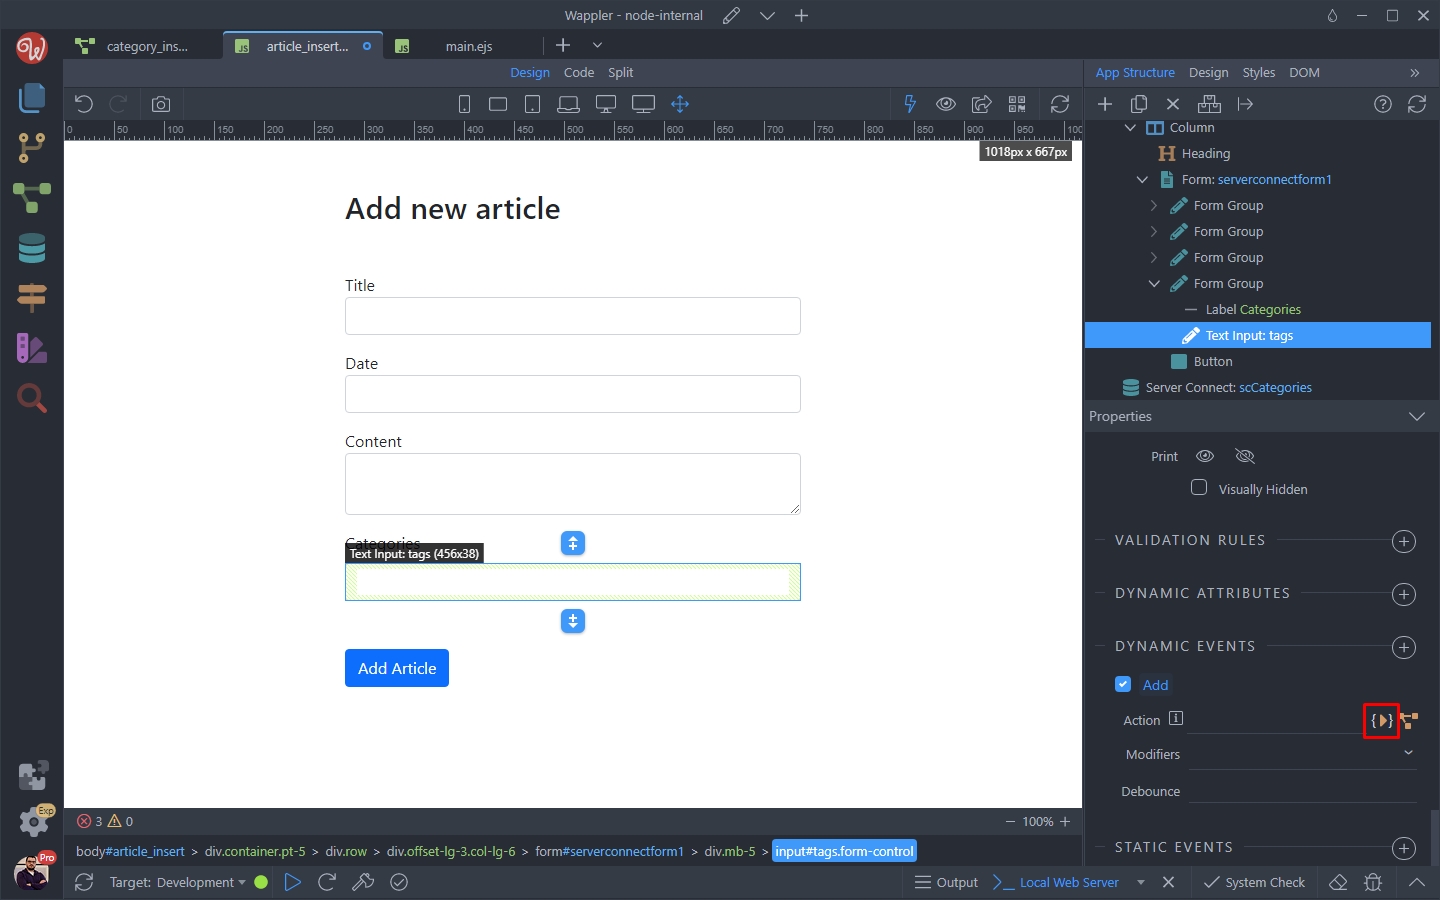
Select Flow > Run:
Section titled “Select Flow > Run:”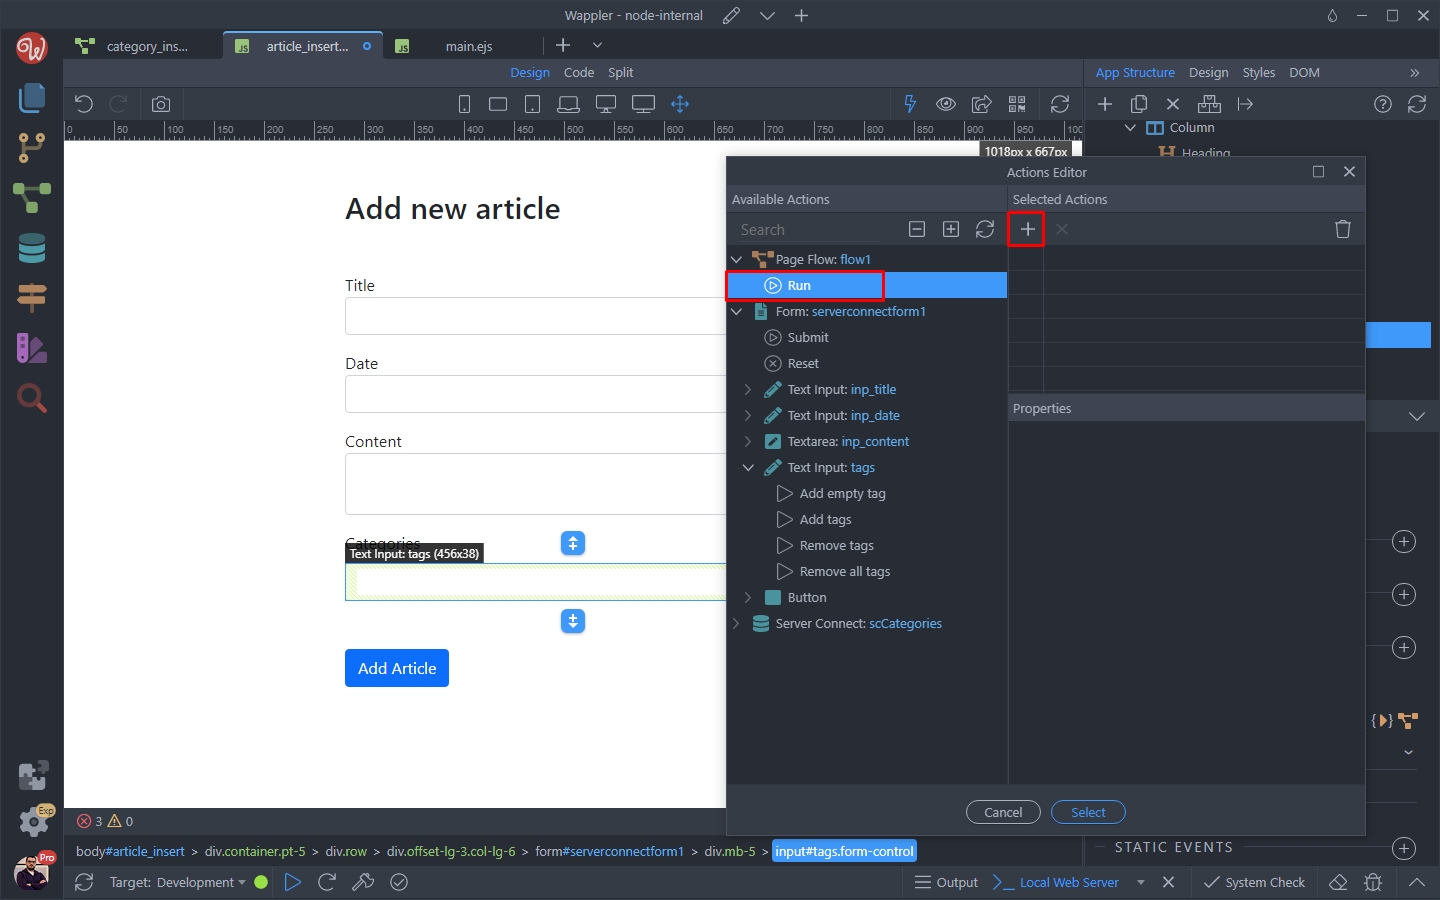
And then click the dynamic data picker for the isCustom parameter:
Section titled “And then click the dynamic data picker for the isCustom parameter:”
Select the isCustom value under the Add Event:
Section titled “Select the isCustom value under the Add Event:”
Do the same for the category:
Section titled “Do the same for the category:”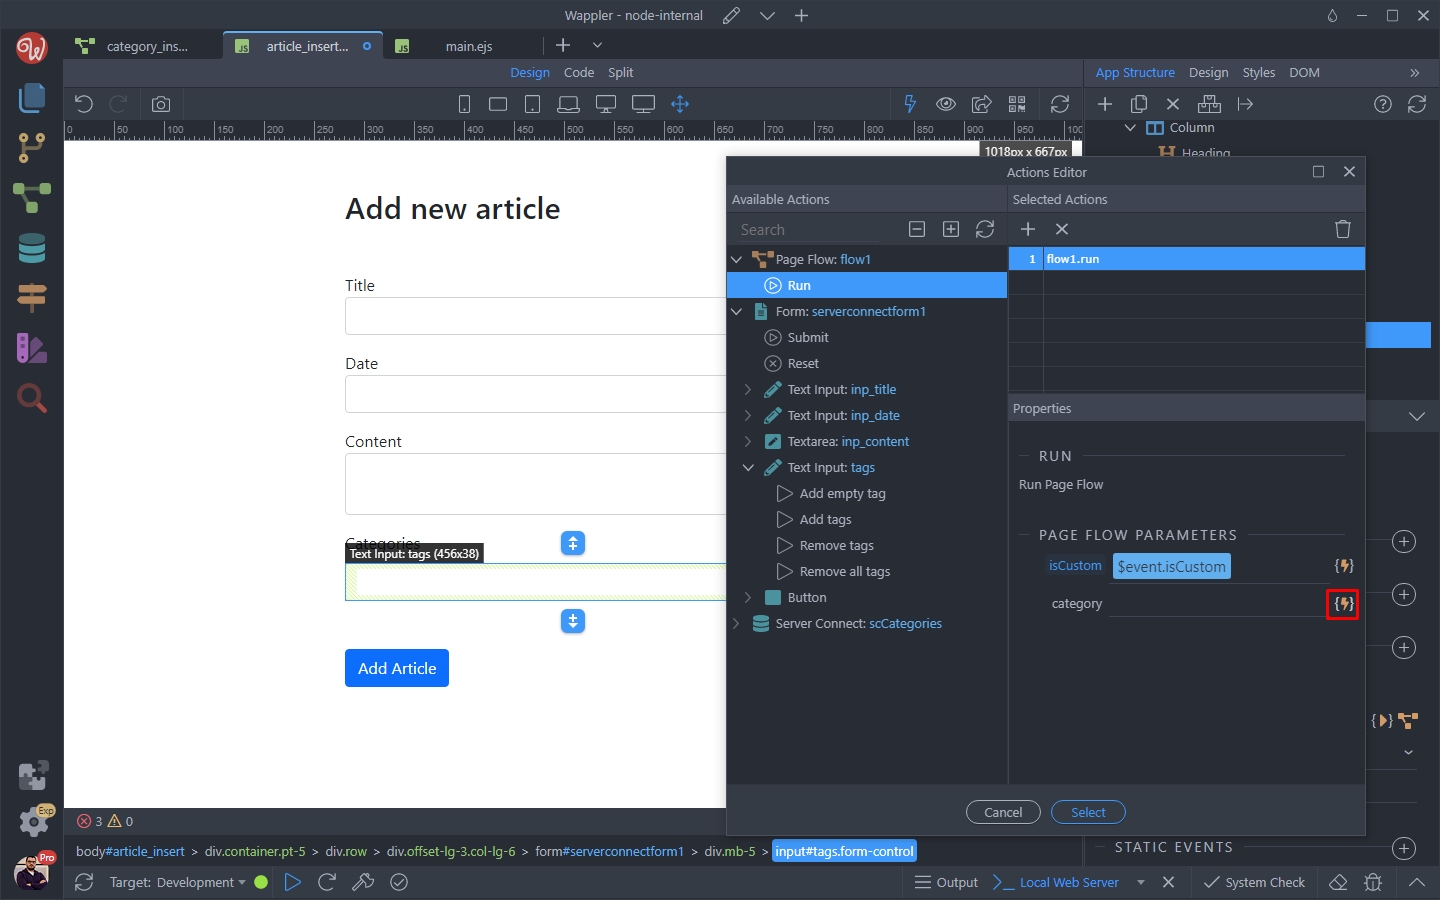
And select the value under the Add Event:
Section titled “And select the value under the Add Event:”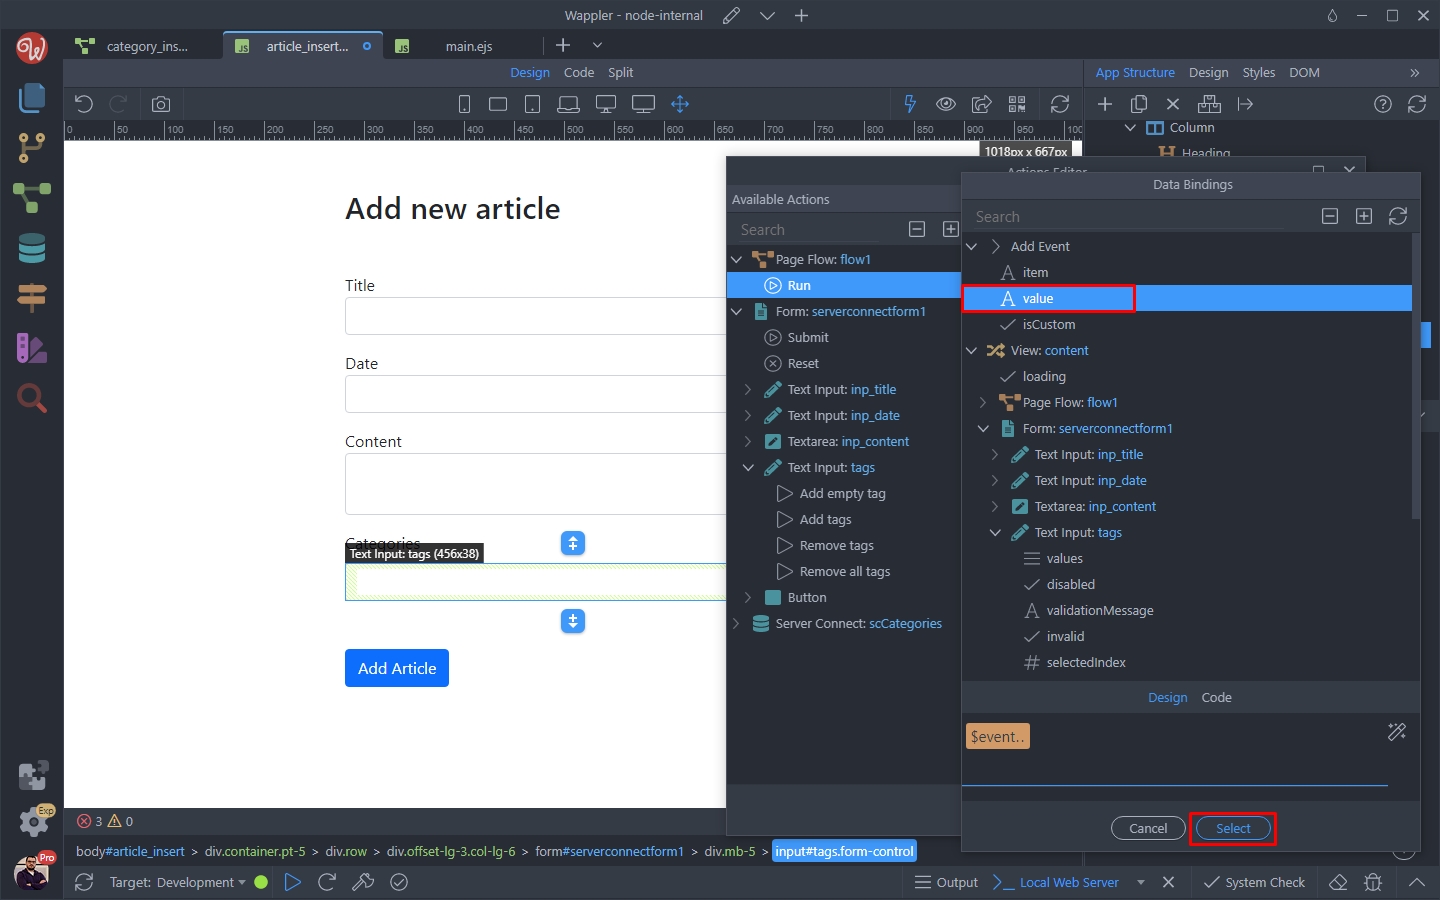
Click Select:
Section titled “Click Select:”
Step 50
Section titled “Step 50”And you are done.
The last thing left is to reload the data source, used to display the categories from the database when a new tag is added to the database.
In order to do this select your flow and add new dynamic event:
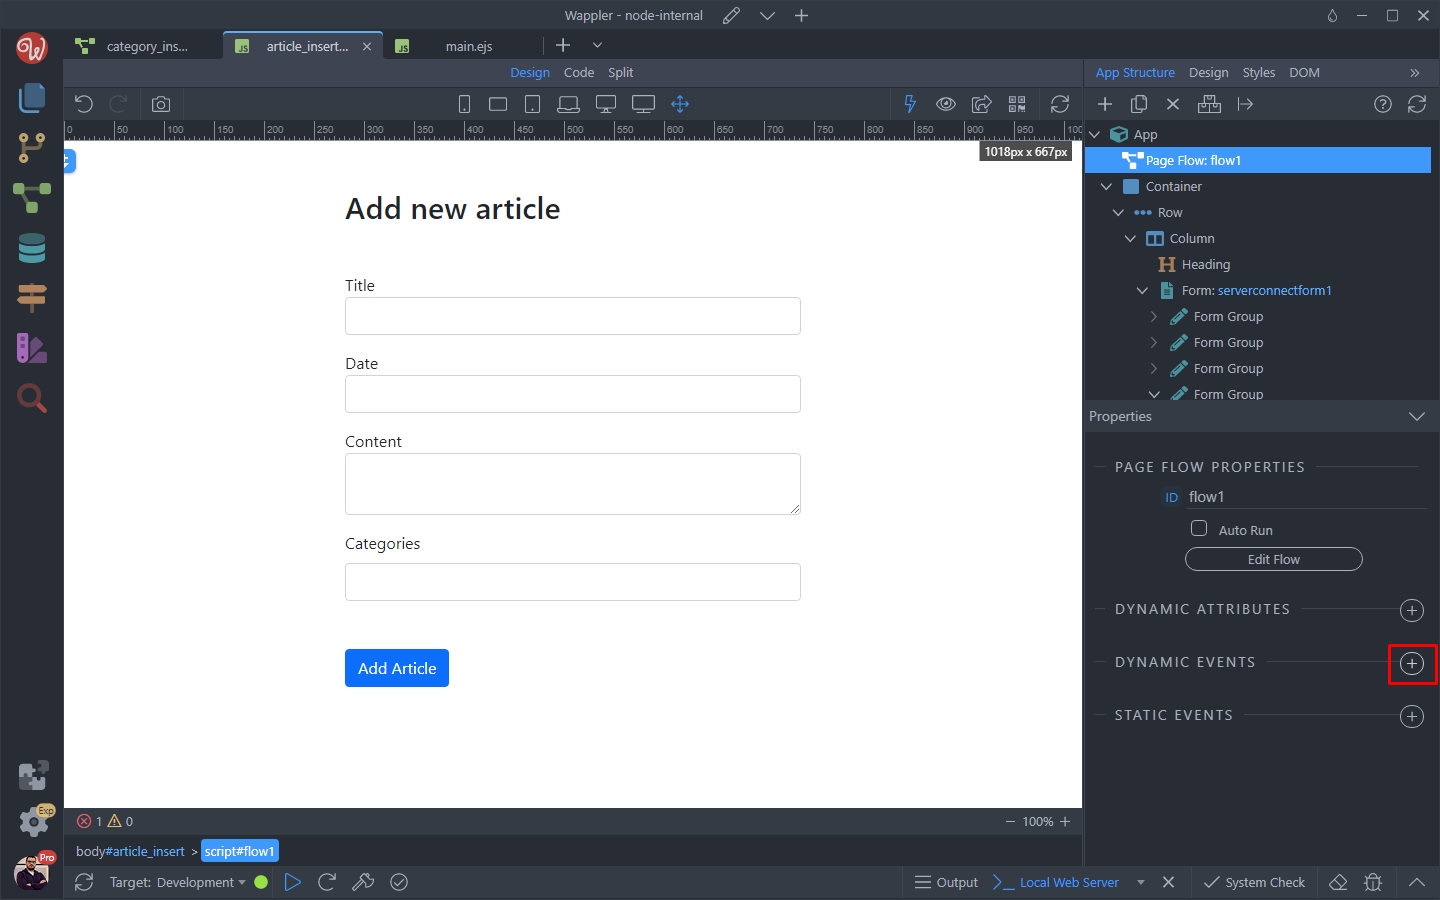
Select on Done event:
Section titled “Select on Done event:”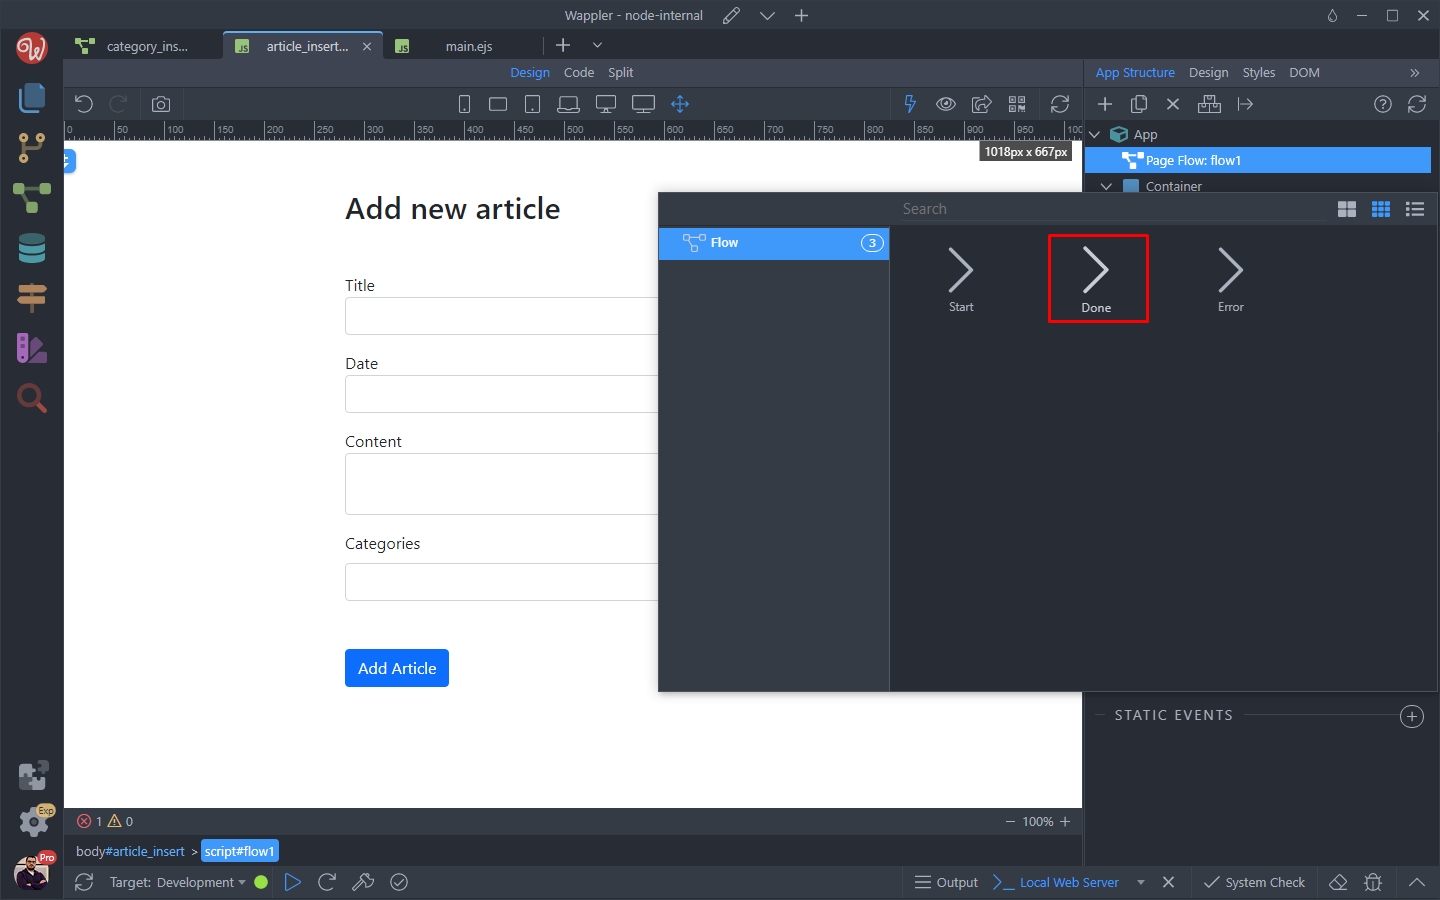
And select an action to be executed:
Section titled “And select an action to be executed:”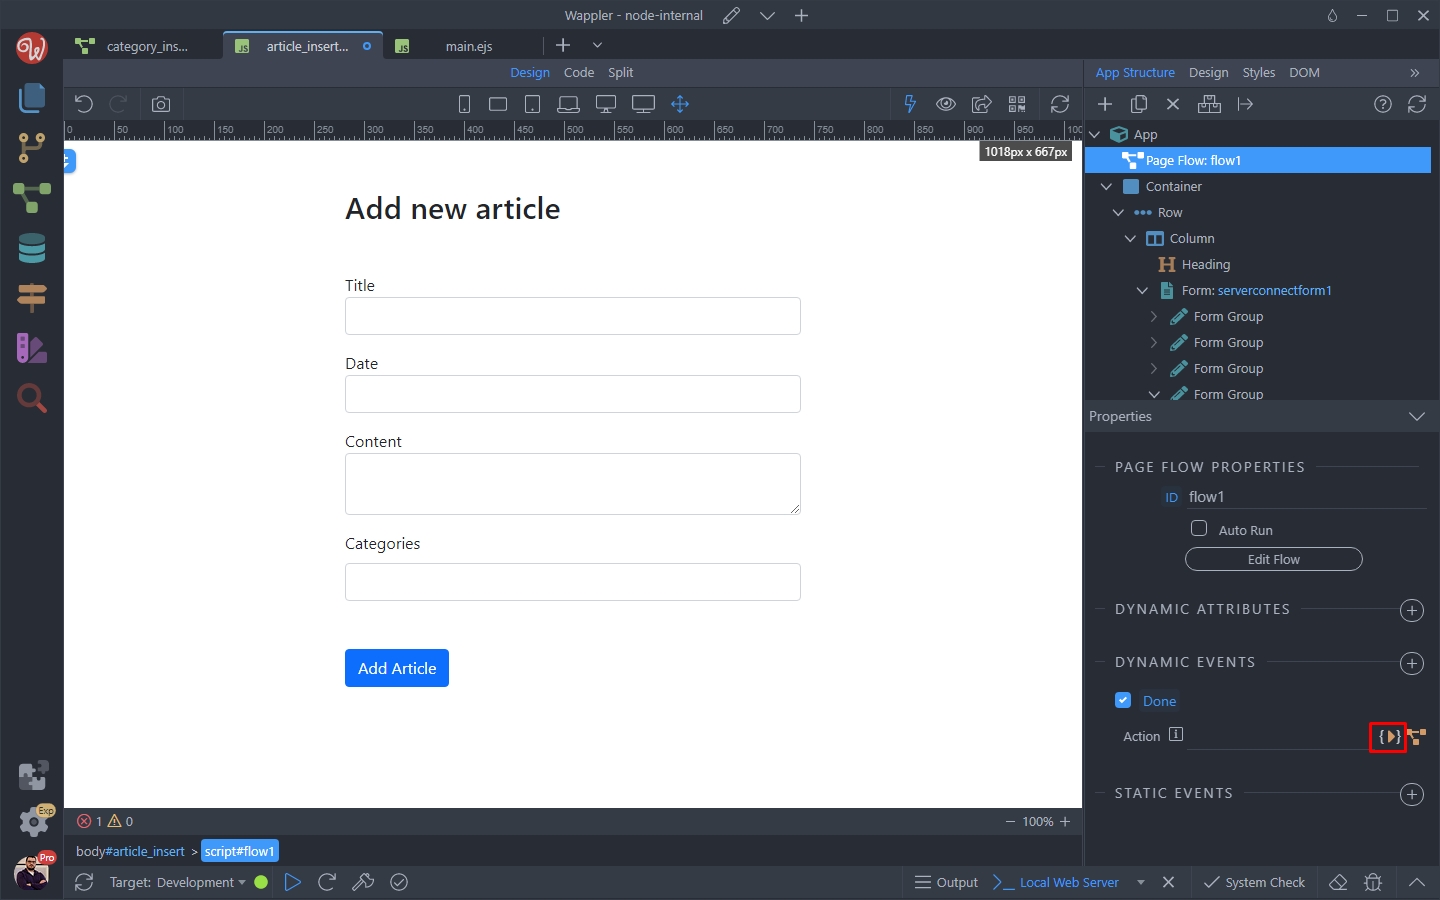
Select Load under the server action used in the Tagify:
Section titled “Select Load under the server action used in the Tagify:”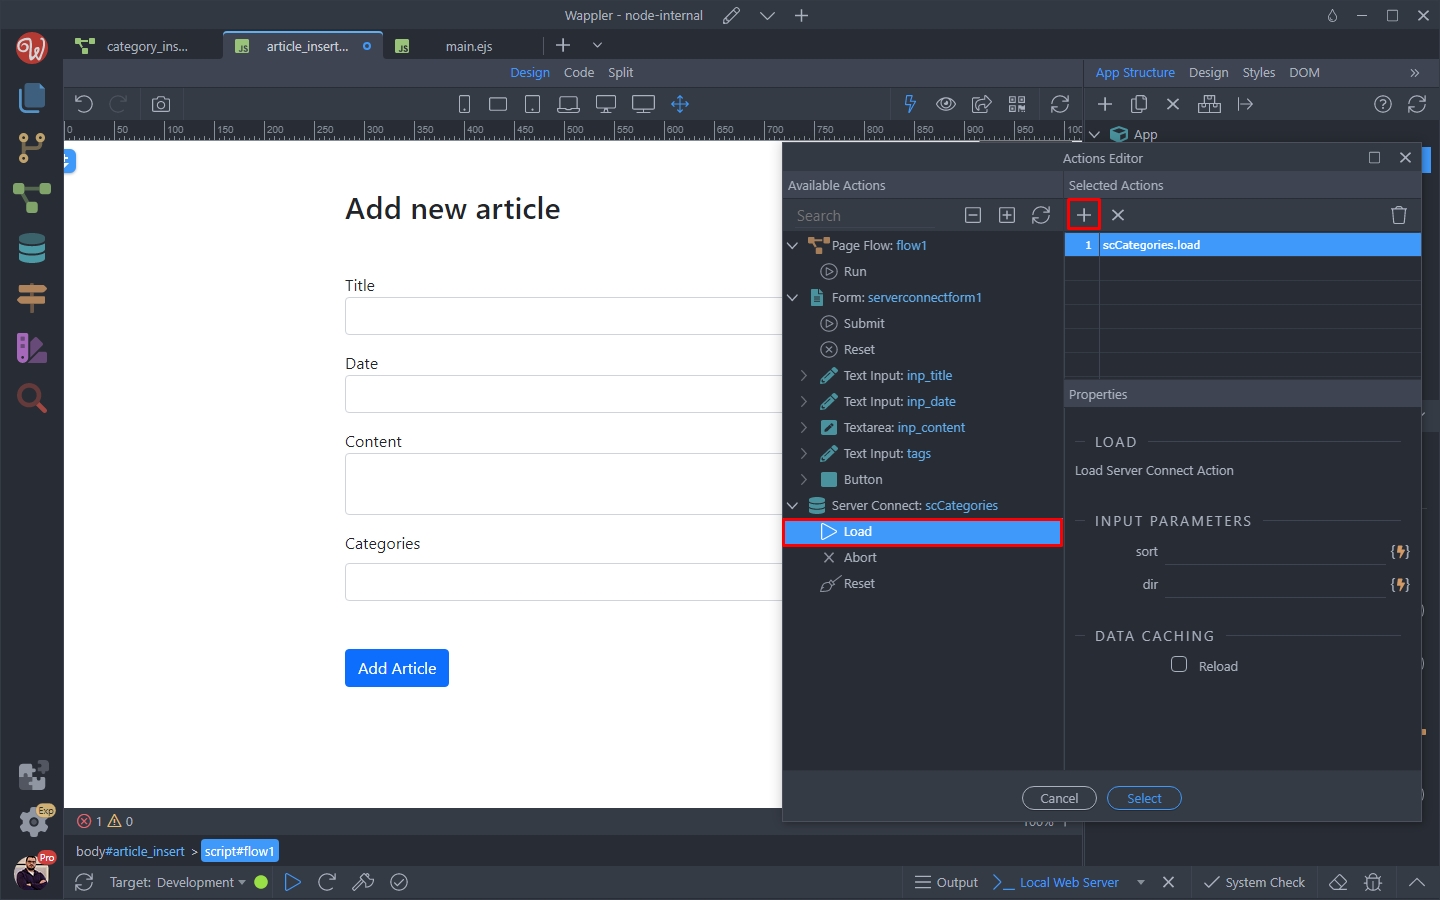
Click Select:
Section titled “Click Select:”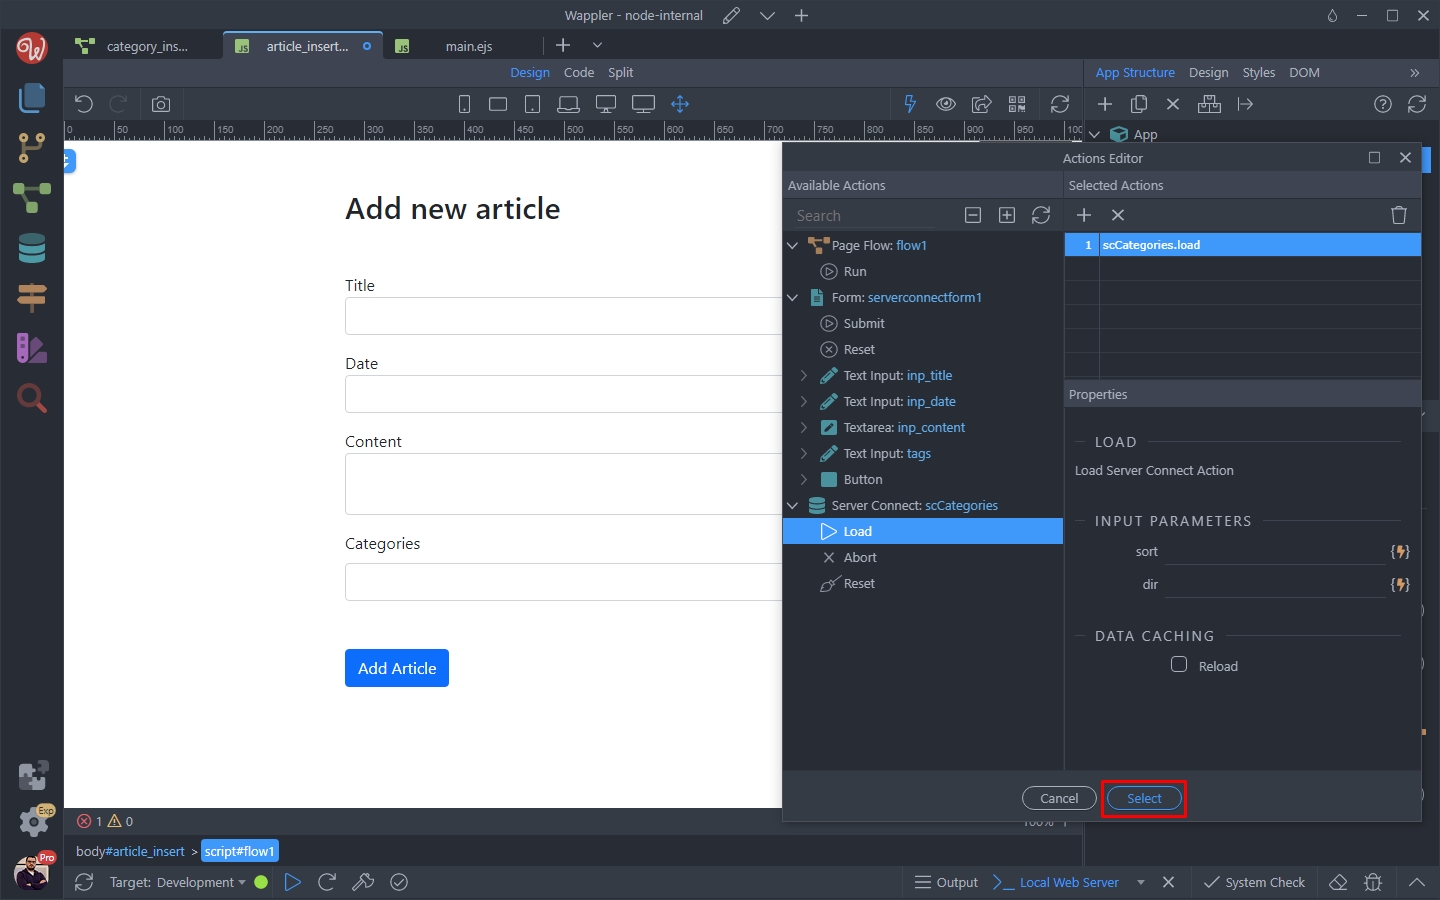
Step 55
Section titled “Step 55”Save your page and you are done.
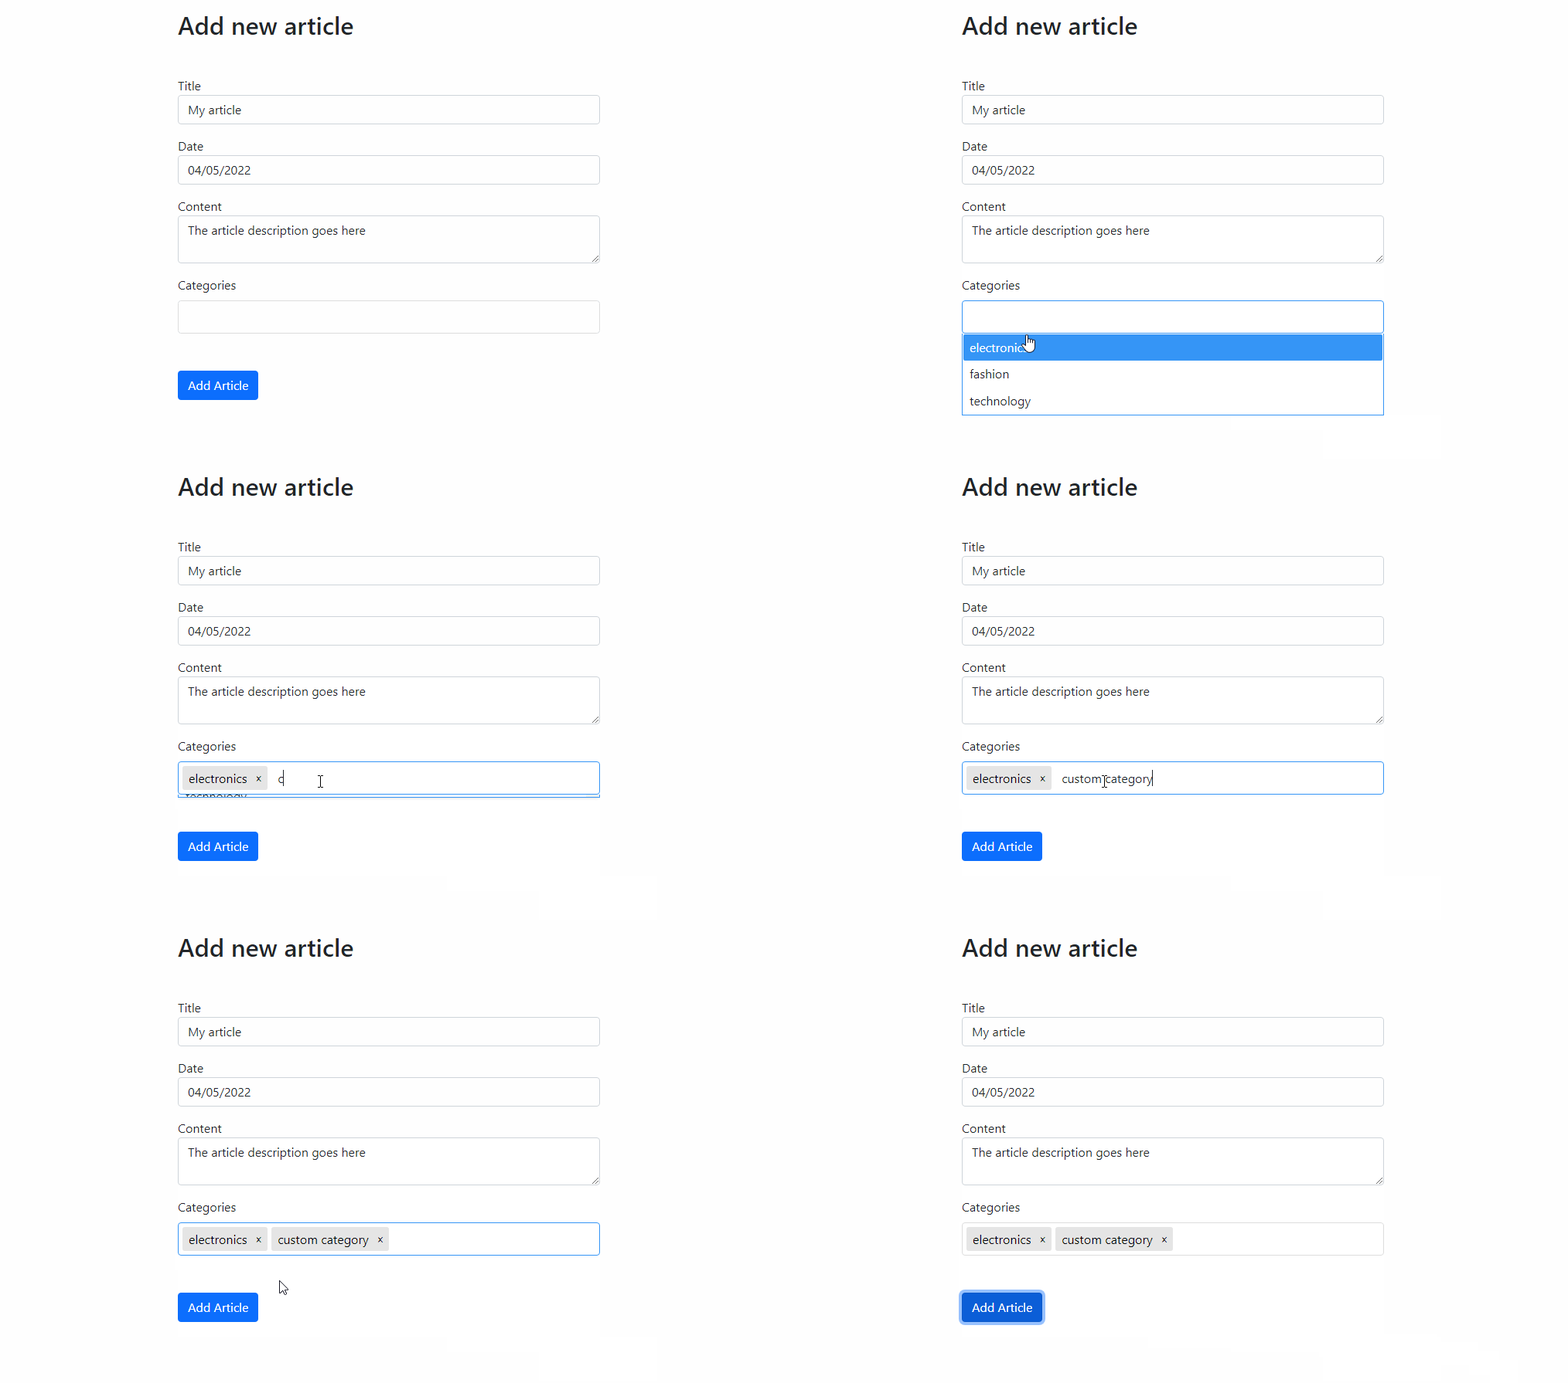
Now you can add new custom tags in the Tagify where you select your categories: