Using the Tagify Component
Intro The Tagify component transforms an input field into a Tags component , in an easy, customizable way, with great performance and many customizable options. Tagify provides auto suggestions when e
The Tagify component transforms an input field into a Tags component , in an easy, customizable way, with great performance and many customizable options. Tagify provides auto suggestions when entering text into the input - really useful dynamic list of products, countries, options etc., so you can offer your users quick search and selection without having to enter long text.
In this tutorial we will show you the basics of the component.
Add Tagify on the Page
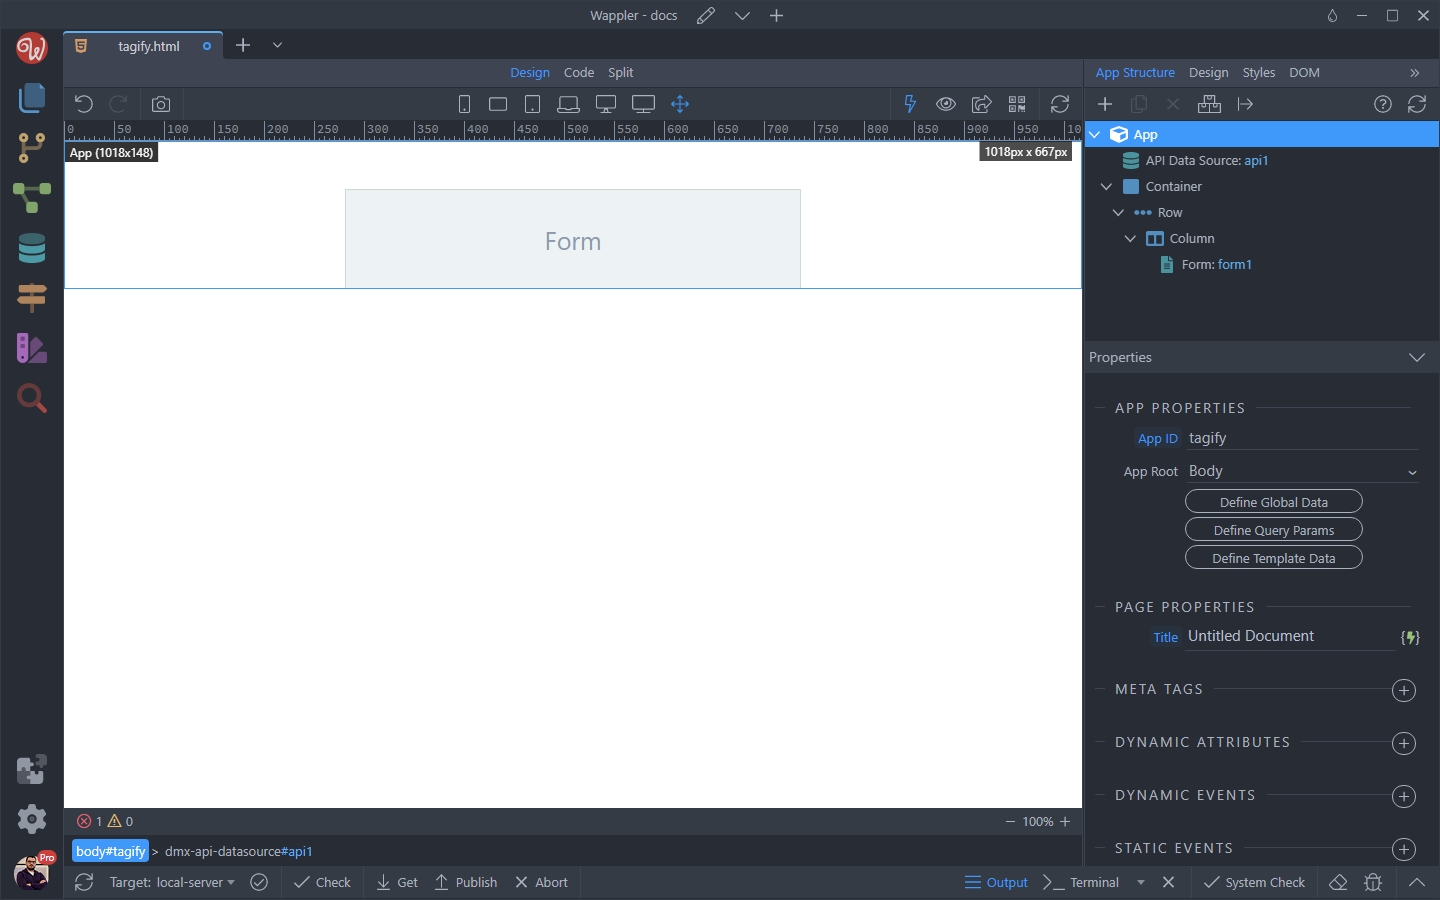
Section titled “Add Tagify on the Page”We added a form on the page:
Step 4
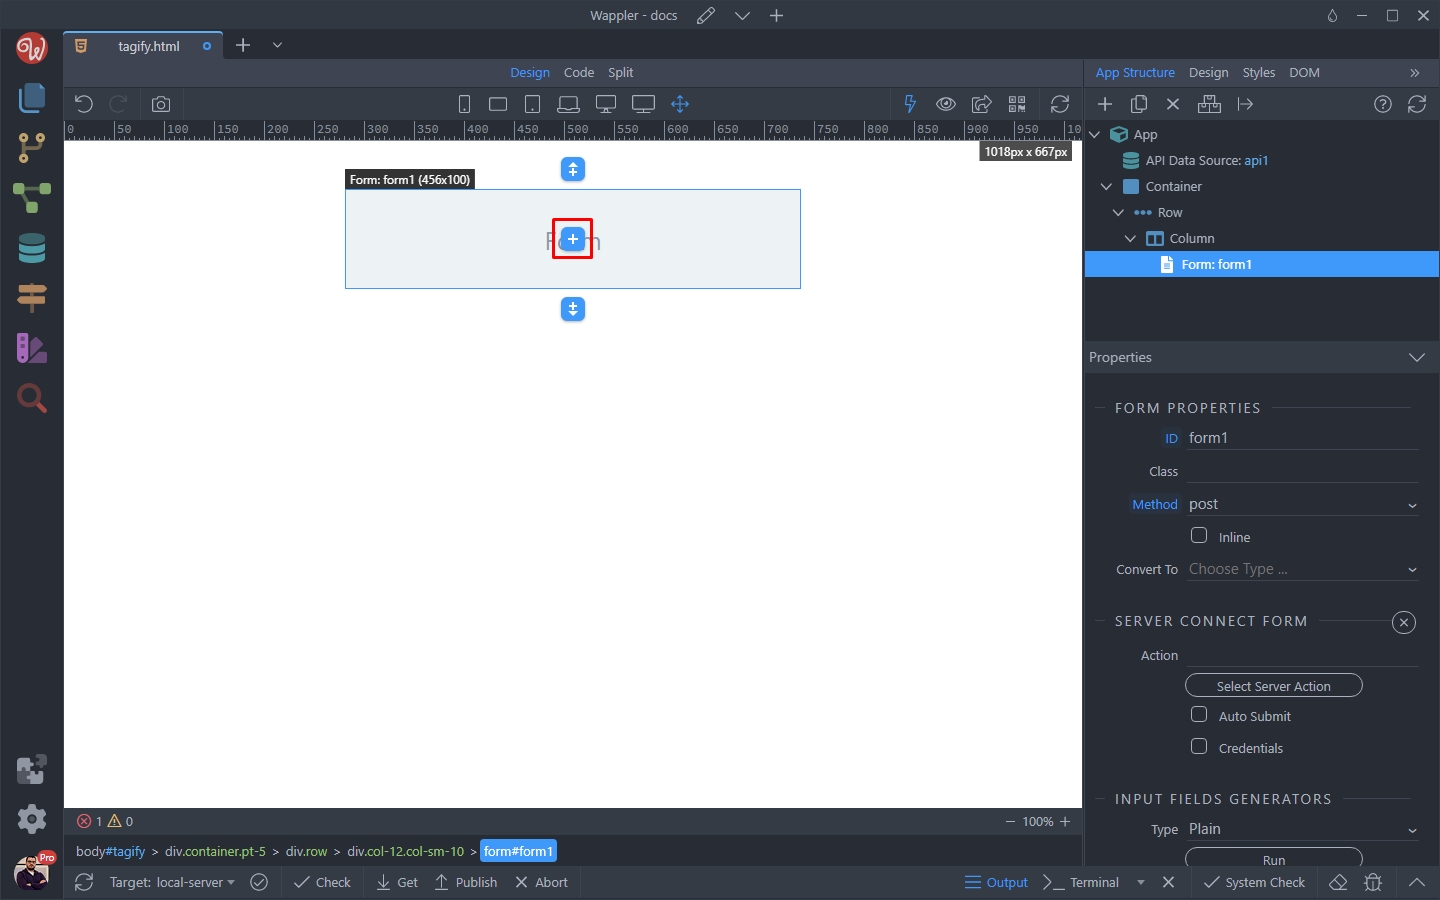
Section titled “Step 4”You can add the Tagify input directly on the page, or you can convert an existing Bootstrap input to Tagify. We will show you the second option. Click the Add Element button inside the form:
Add a text input:
Section titled “Add a text input:”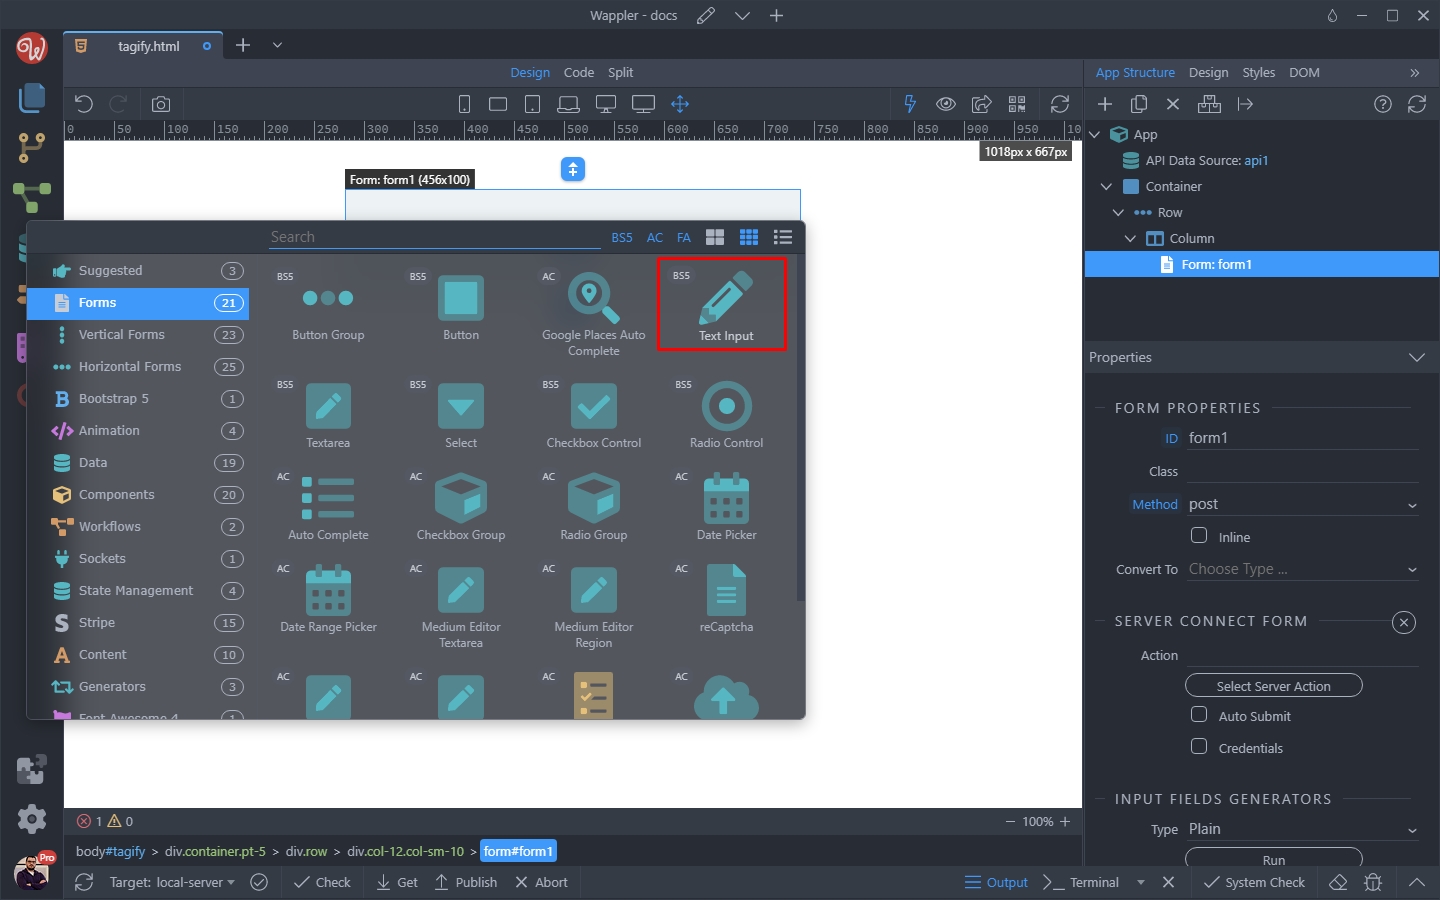
And open the Convert To menu:
Section titled “And open the Convert To menu:”
Select Tagify, in order to convert this regular input to a Tagify component:
Section titled “Select Tagify, in order to convert this regular input to a Tagify component:”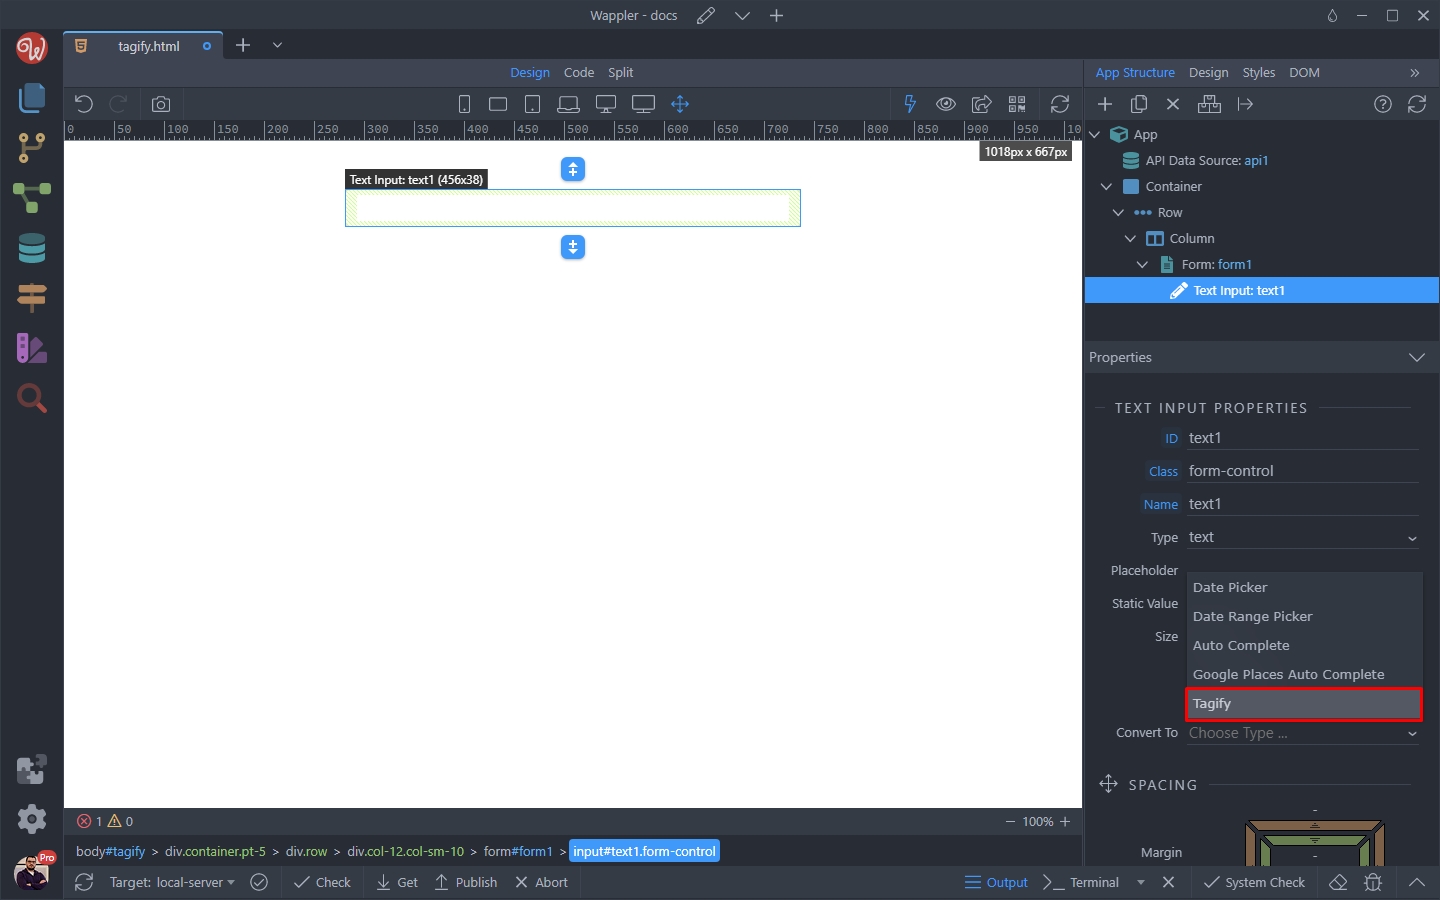
And you can see its properties in the Properties Inspector:
Section titled “And you can see its properties in the Properties Inspector:”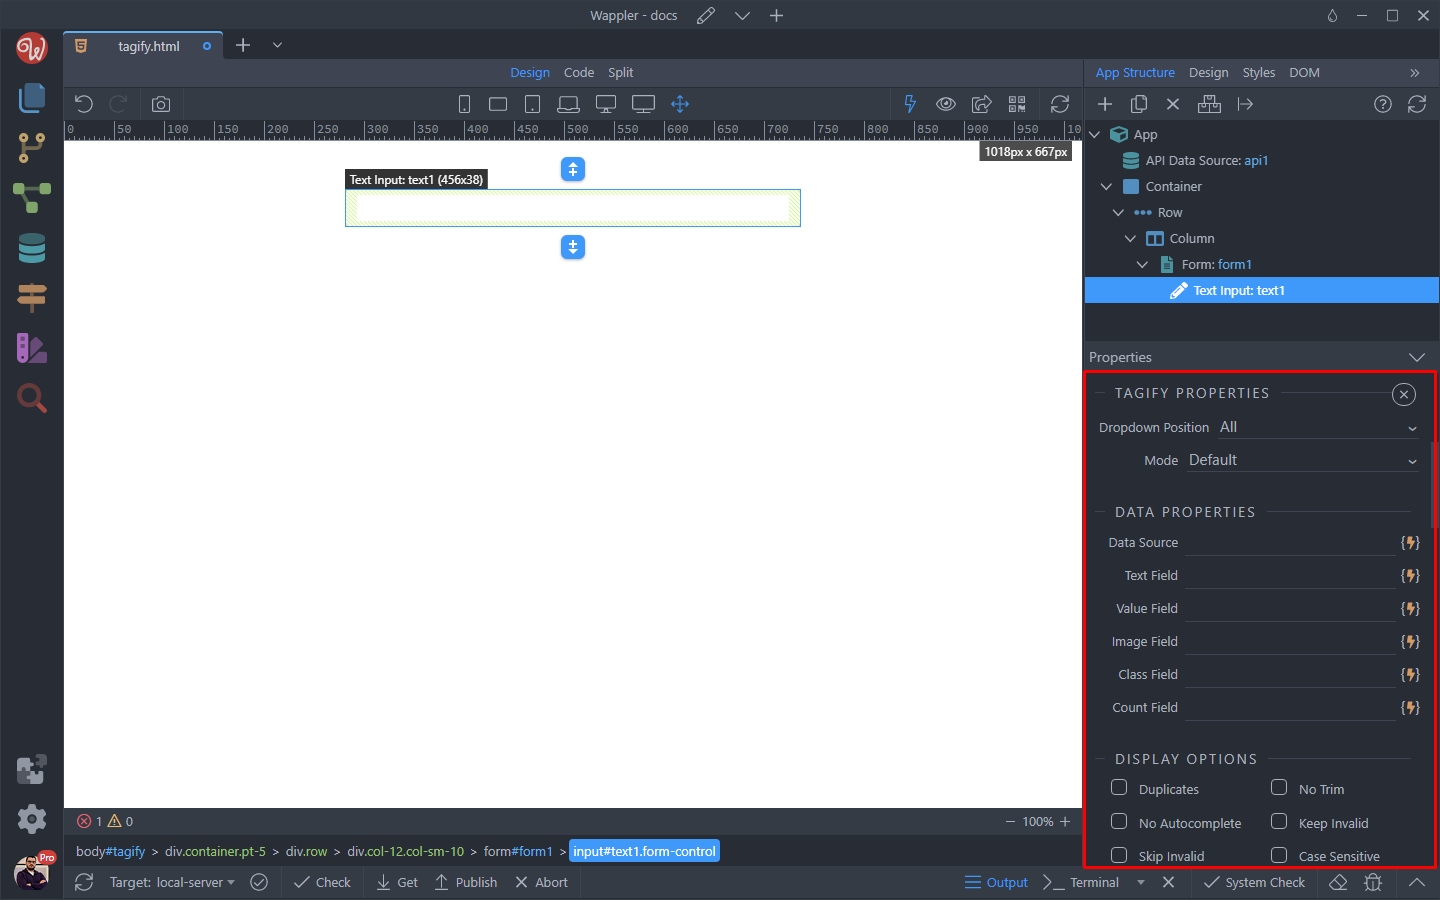
Data Source
Section titled “Data Source”You can use any dynamic data source for the tagify component - a database query, a JSON data source, an API data source or an array with items.
In our example we will use an API Data Source, returning a list of countries from a remote API. You can, however use any data you like - from your own database for example.
First, let’s select our data source. Select the Dynamic Data Picker for the Data Source:
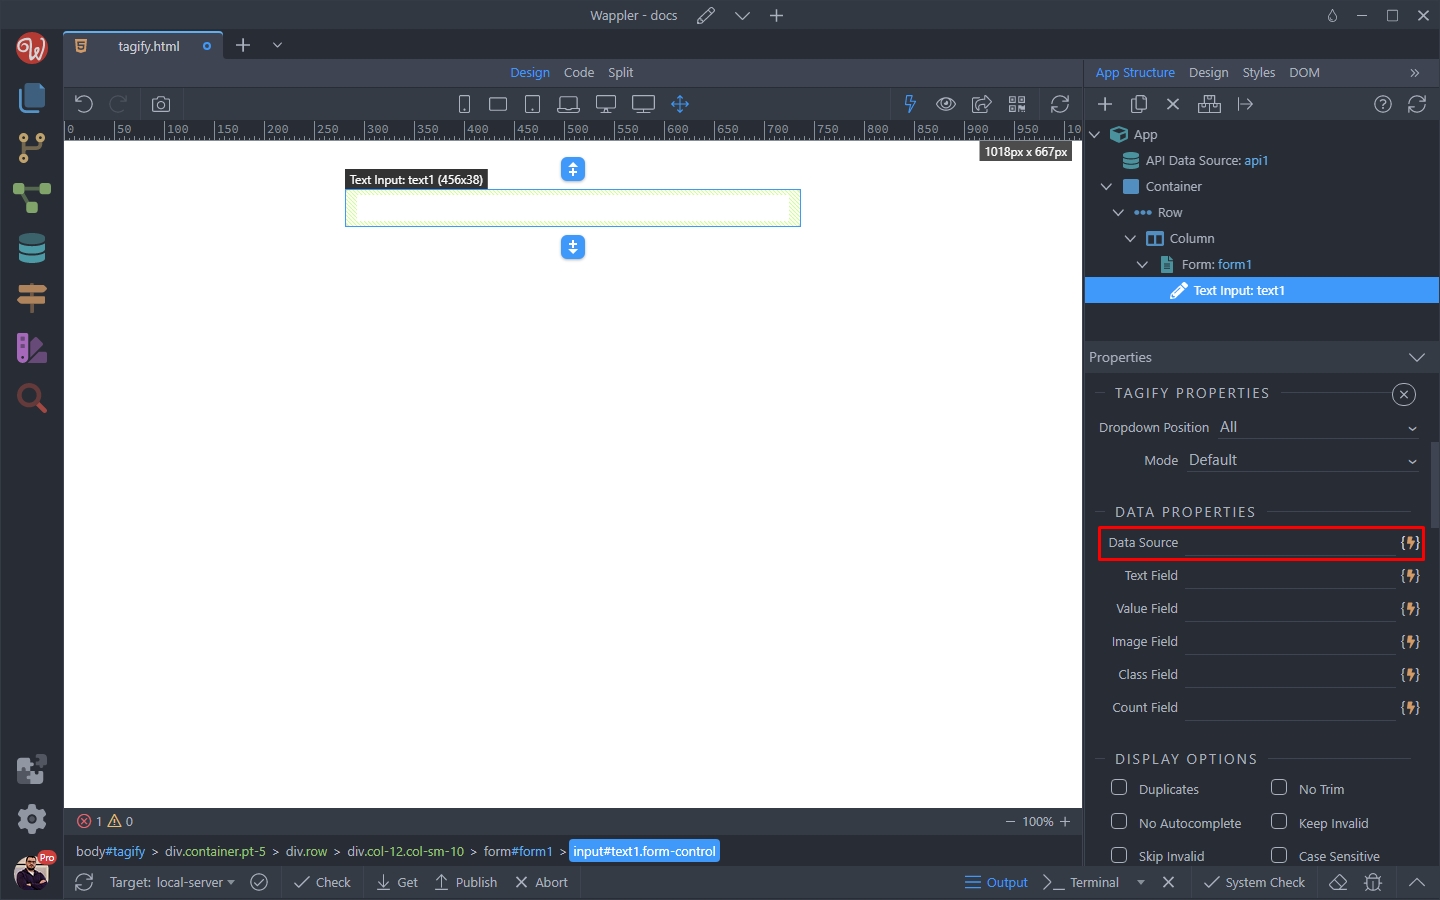
And select your data source, in our case the data returned by our API:
Section titled “And select your data source, in our case the data returned by our API:”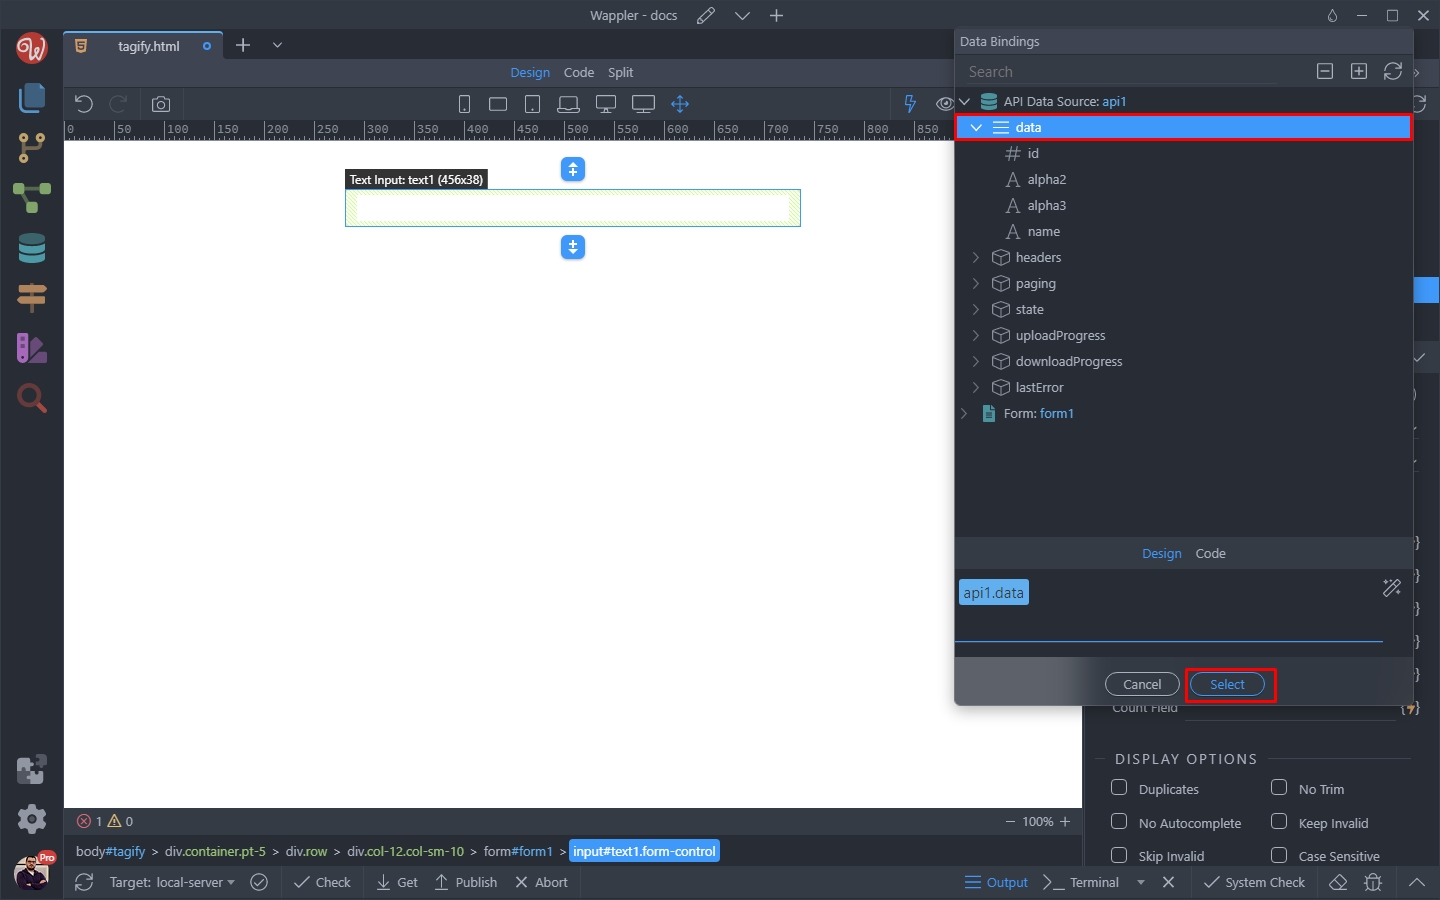
Then select the Text. This is the user-fiendly text that will be displayed in the component:
Section titled “Then select the Text. This is the user-fiendly text that will be displayed in the component:”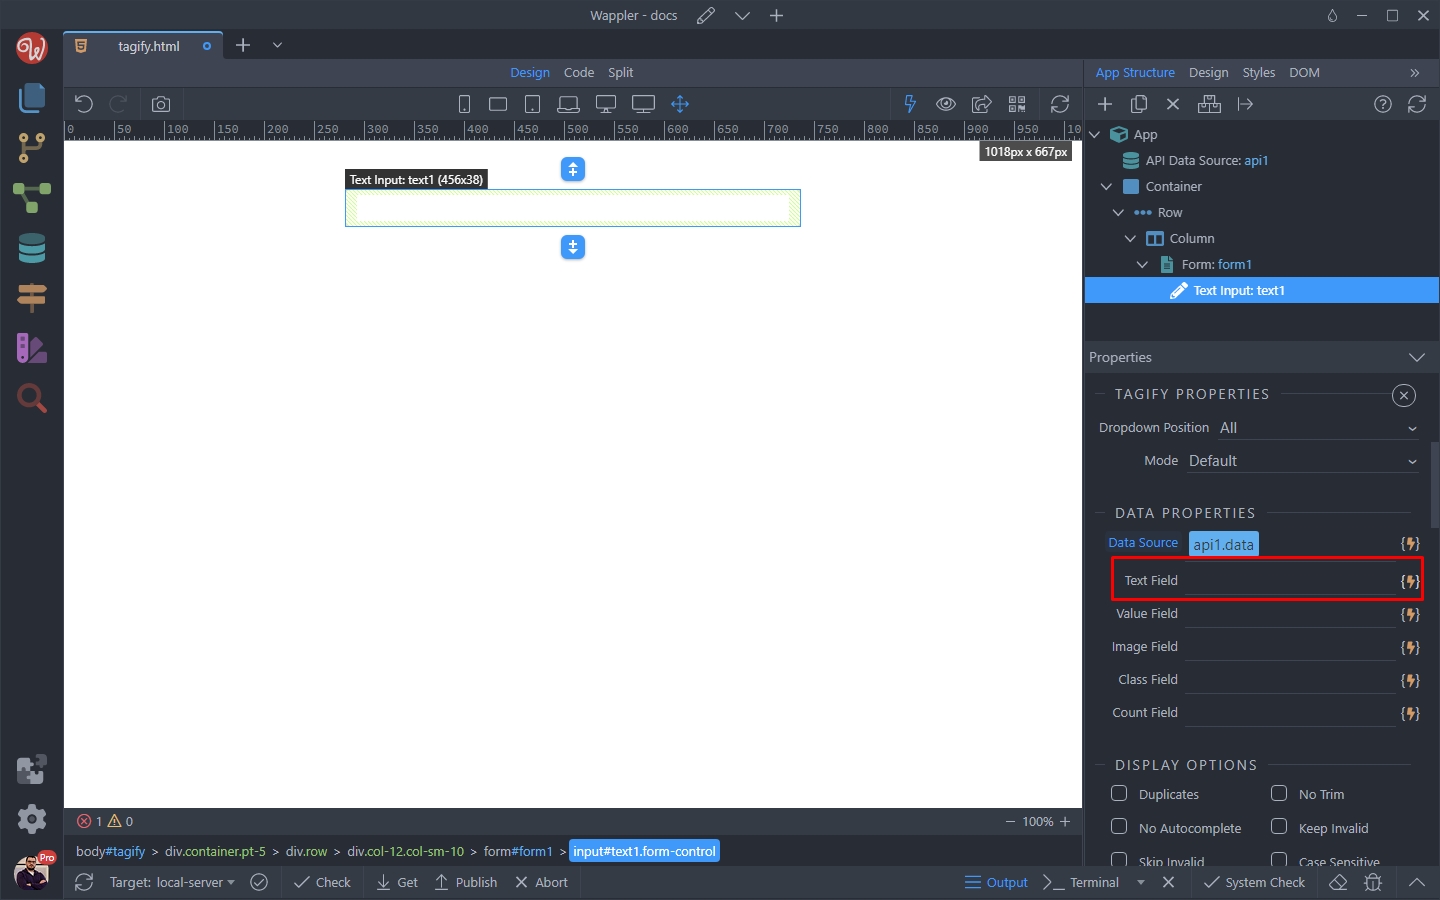
We select the dynamic data from our data source:
Section titled “We select the dynamic data from our data source:”
Step 14
Section titled “Step 14”Select the Value. This is the value, which you want to be sent by this input, when for example you submit this form. This is usually an unique id:
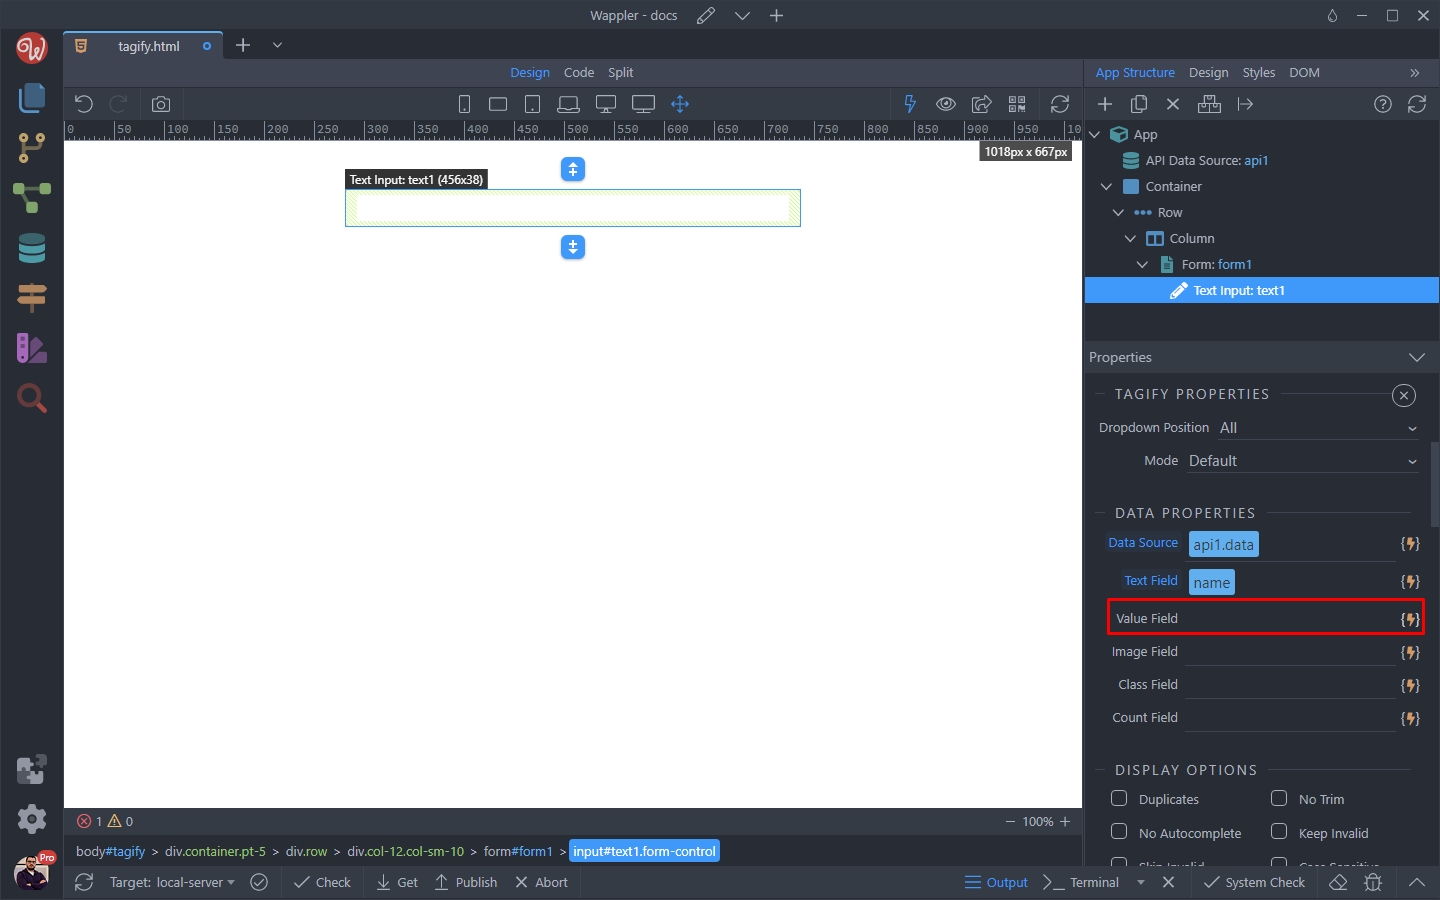
We select the id from our data source:
Section titled “We select the id from our data source:”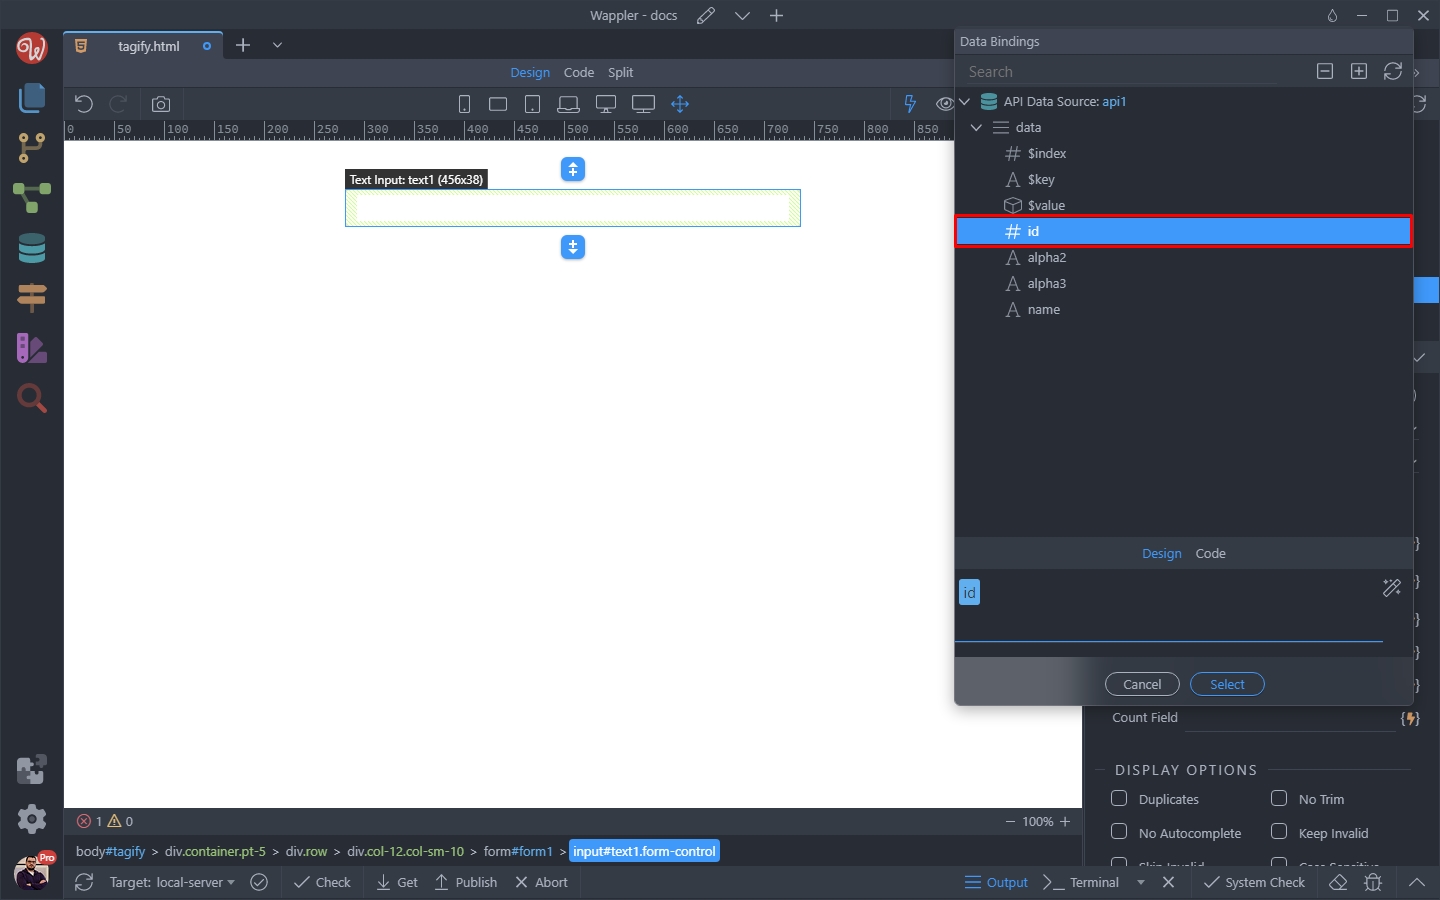
And we are done. Our tags input will display the countries list from our API Data Source:
Section titled “And we are done. Our tags input will display the countries list from our API Data Source:”
Display Mode
Section titled “Display Mode”Tagify can be used in different modes - like a multi value tags input, as a single value dropdown-like input or in mixed mode - where you can enter text and tags. We will show you how to setup these options.
Default Mode
Section titled “Default Mode”The default mode turns your input into a multi tags input where you can filter and select multiple values from the list.
You can set this in the Mode menu. Just select Default (which is also the default mode):
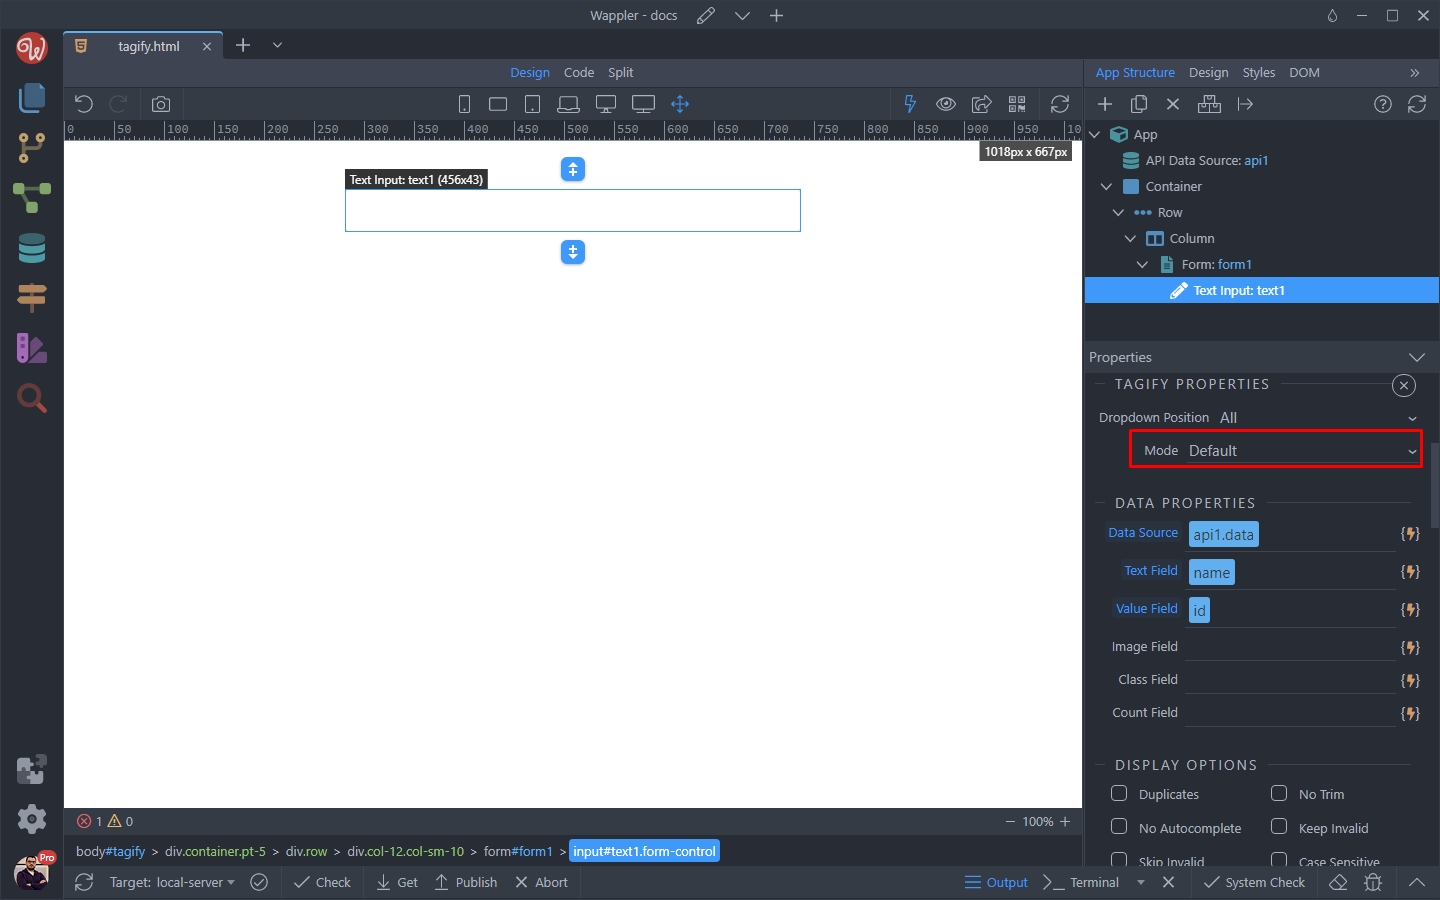
Step 20
Section titled “Step 20”And you can see the results below. You can enter 2 chars (default option, can be changed) and see the list of suggestions appearing. You can add as many tags as you like, also you can remove them using the remove button:

Select Mode
Section titled “Select Mode”The select mode turns your input into a single value select menu with filtering.
Open the Mode menu:
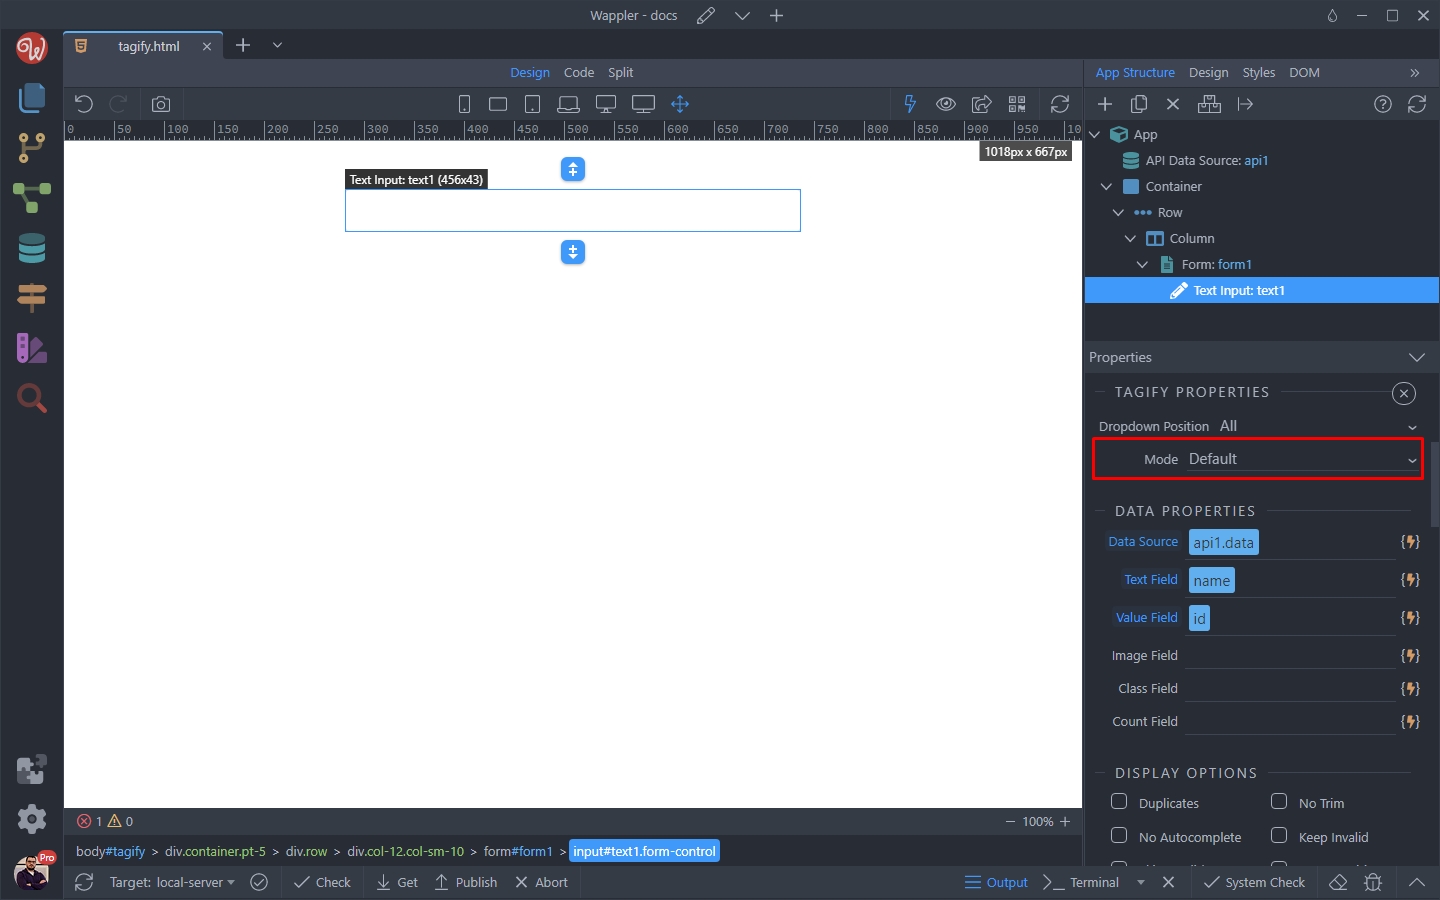
And choose Select:
Section titled “And choose Select:”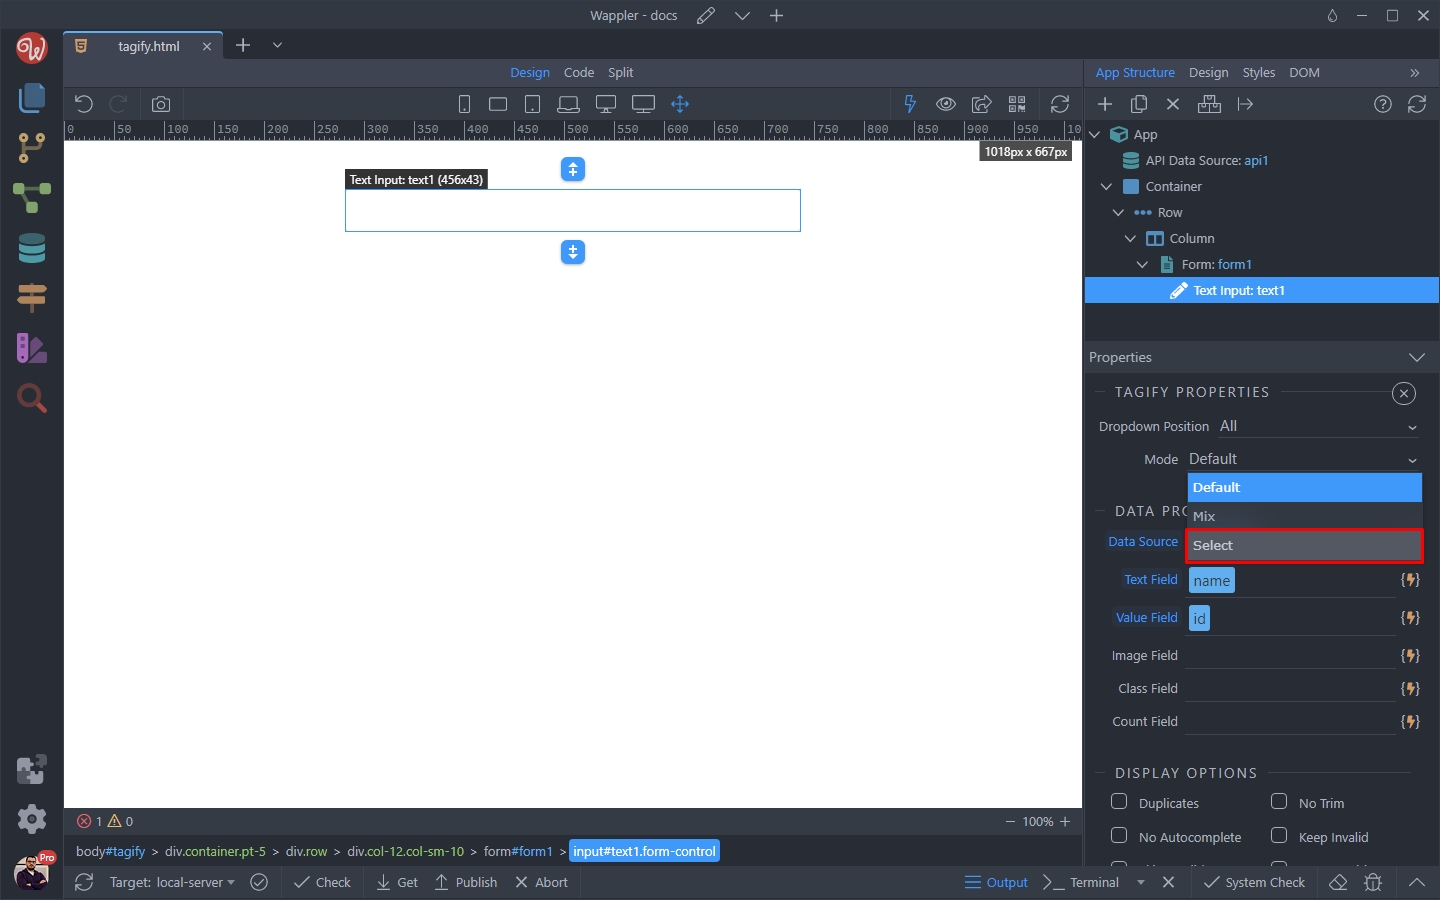
You can set the number of items displayed in the select list when you open it:
Section titled “You can set the number of items displayed in the select list when you open it:”
Step 25
Section titled “Step 25”You can see the results below. You can enter 2 chars (default option, can be changed) and see the list of suggestions appearing. Here you can only select one value:

Mix Mode
Section titled “Mix Mode”The Mix mode allows you to enter mixed content - static text and dynamic tags. This is useful for tagging persons or places from a dynamic data source.
Open the Mode menu:
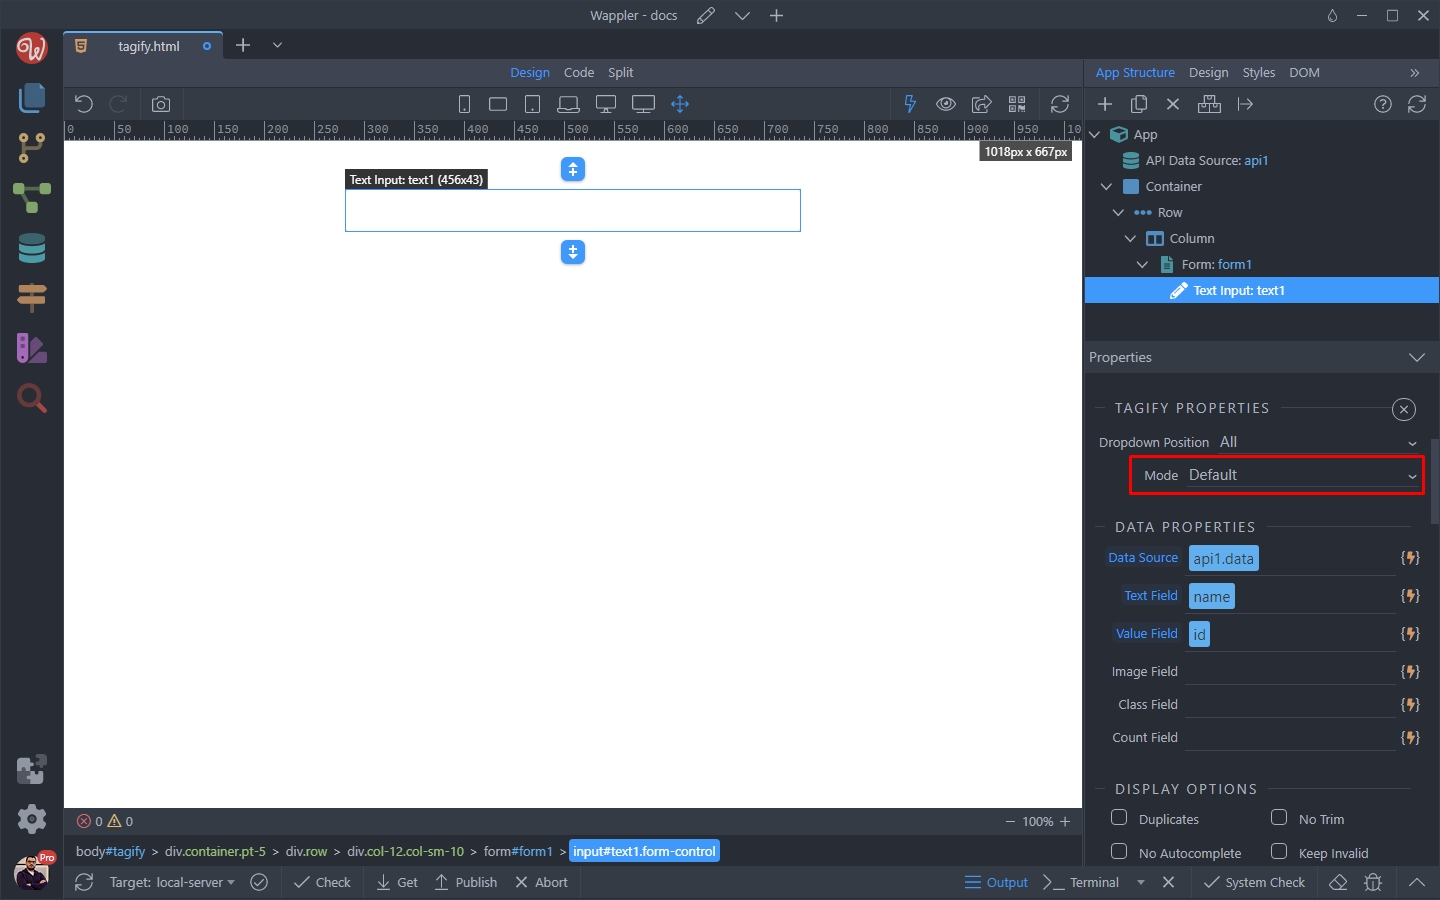
And select Mix mode:
Section titled “And select Mix mode:”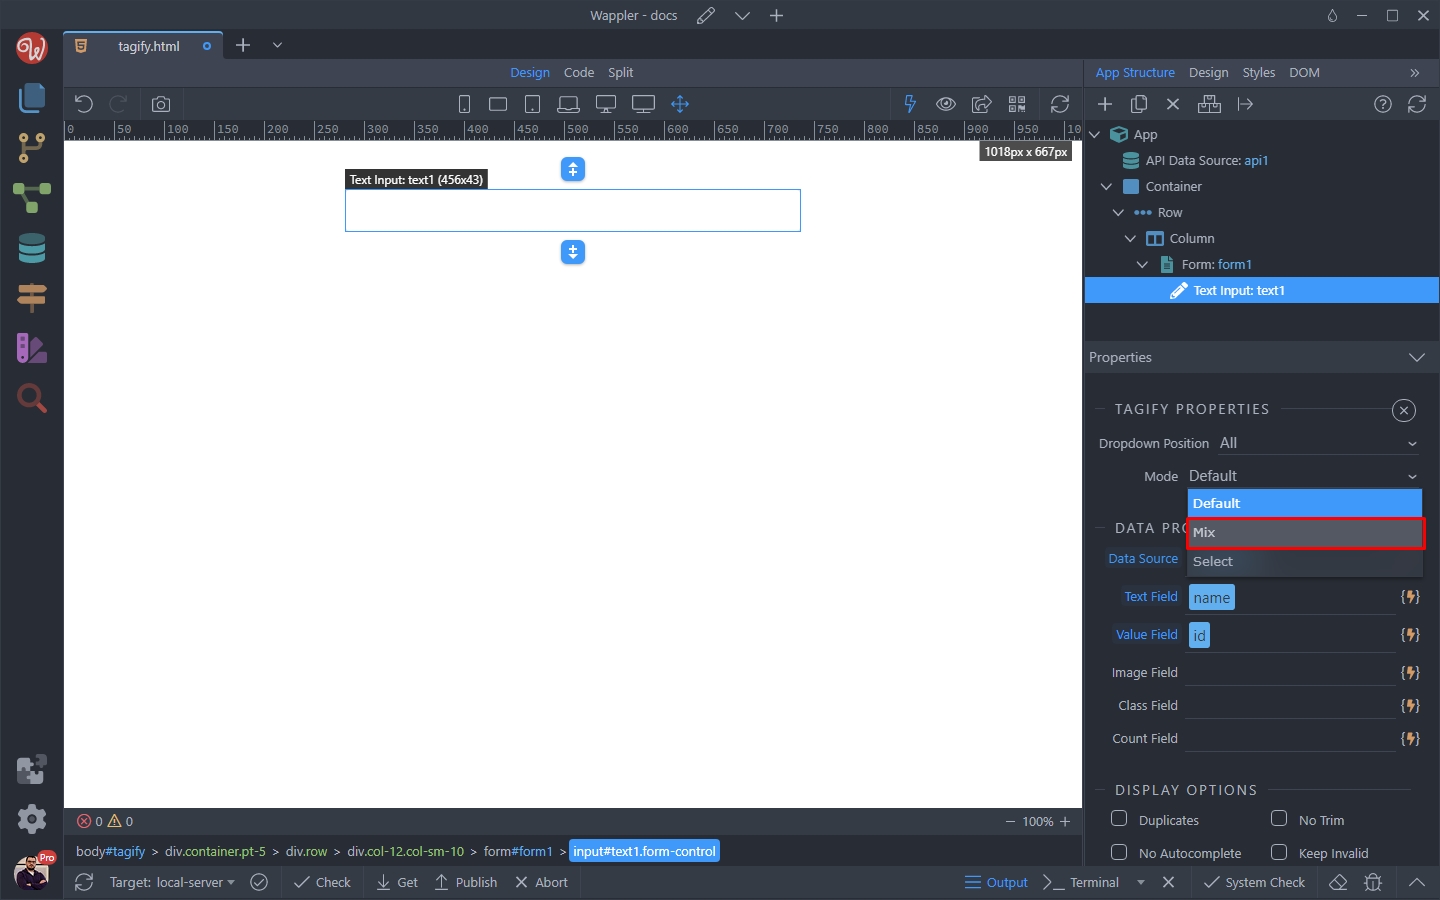
Step 29
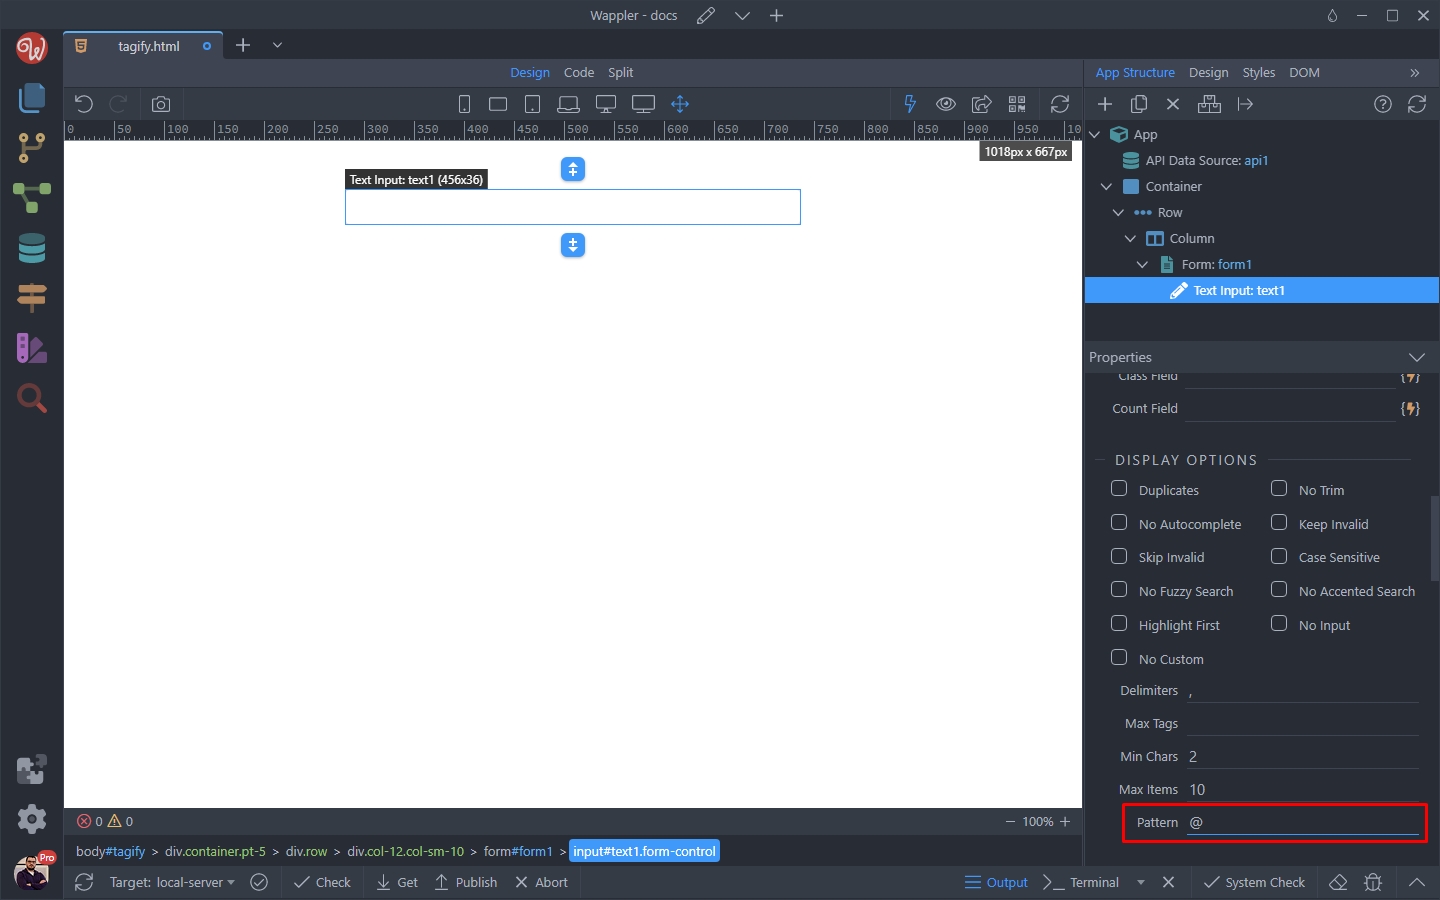
Section titled “Step 29”In order to allow inserting tags in this mode, we need to setup a character which brings up the dynamic list in order to select a value. This can be done in the Pattern option in the properties.
We want to use the @ character to select a dynamic tag from the list:
And you can see the results:
Section titled “And you can see the results:”