
Using Tagify with Multi References
Intro Thanks to the multi reference support in Wappler you can easily insert and update your data based on many-to-many relations. In our example we created two tables and connected them with multi re
Thanks to the multi reference support in Wappler you can easily insert and update your data based on many-to-many relations.
In our example we created two tables and connected them with multi reference. Now we will show you how to insert and update the data in these tables and in the related junction table, with the help of the Tagify component.
Inserting Data
Section titled “Inserting Data”We will show you how to create a meeting and insert multiple attendees per meeting with a single insert record step.
Insert Page Overview
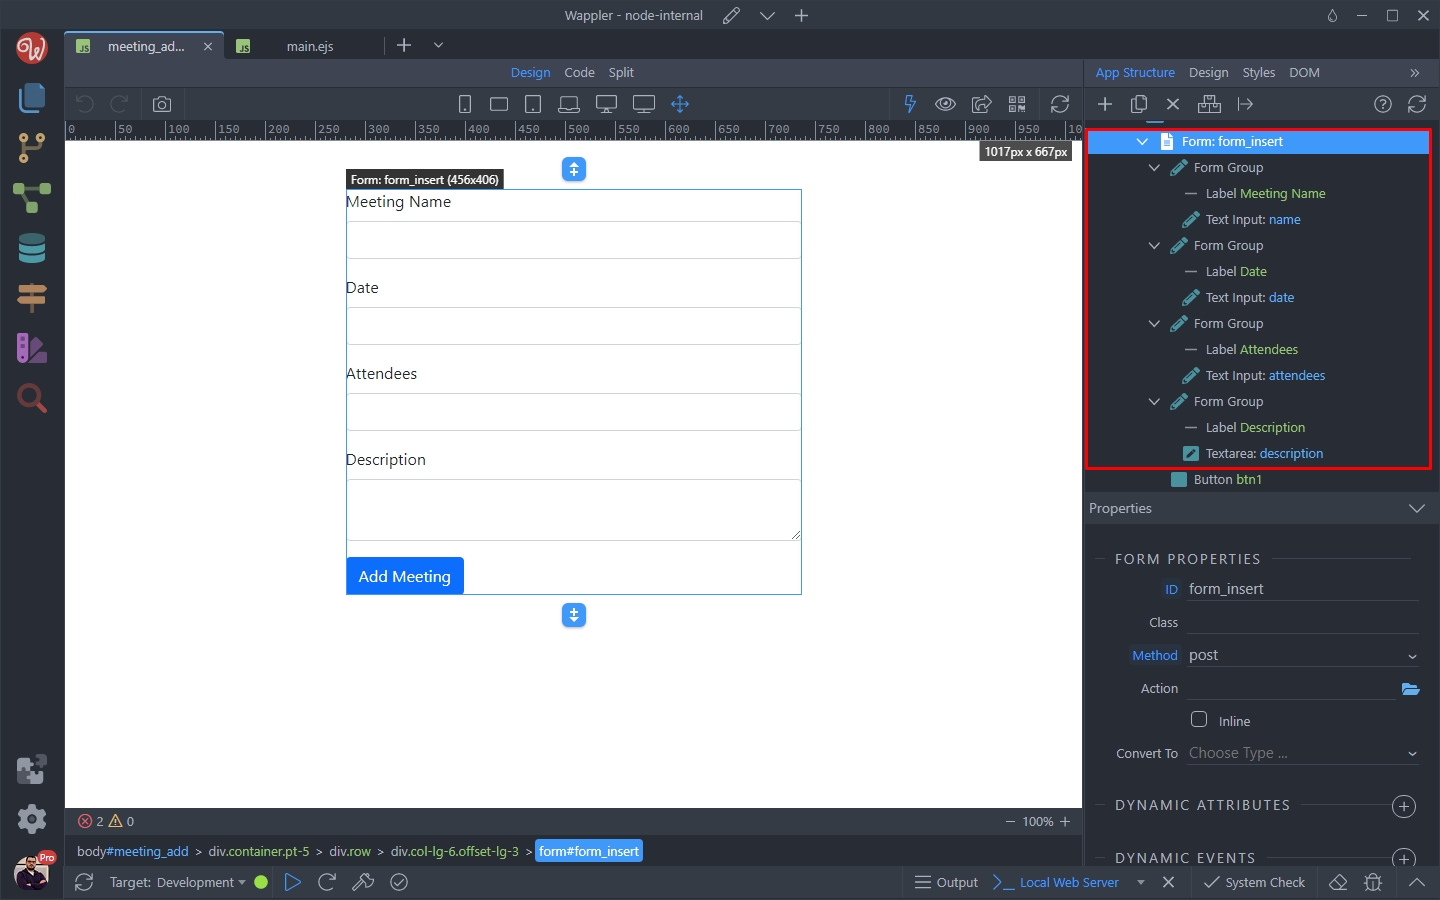
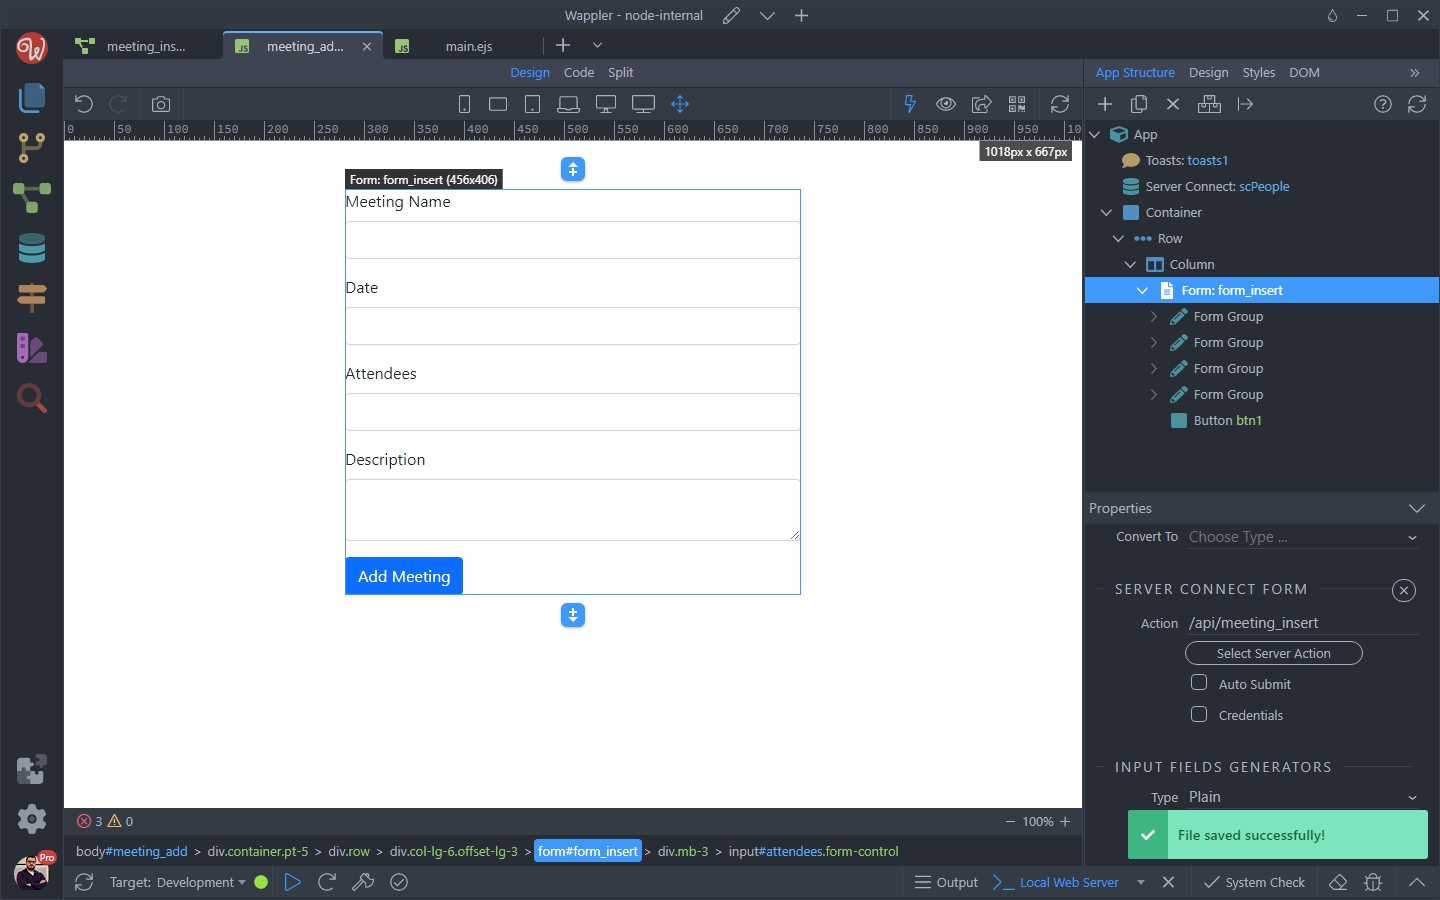
Section titled “Insert Page Overview”On our page we added a form with several inputs - name, date, attendees and description:
Step 5
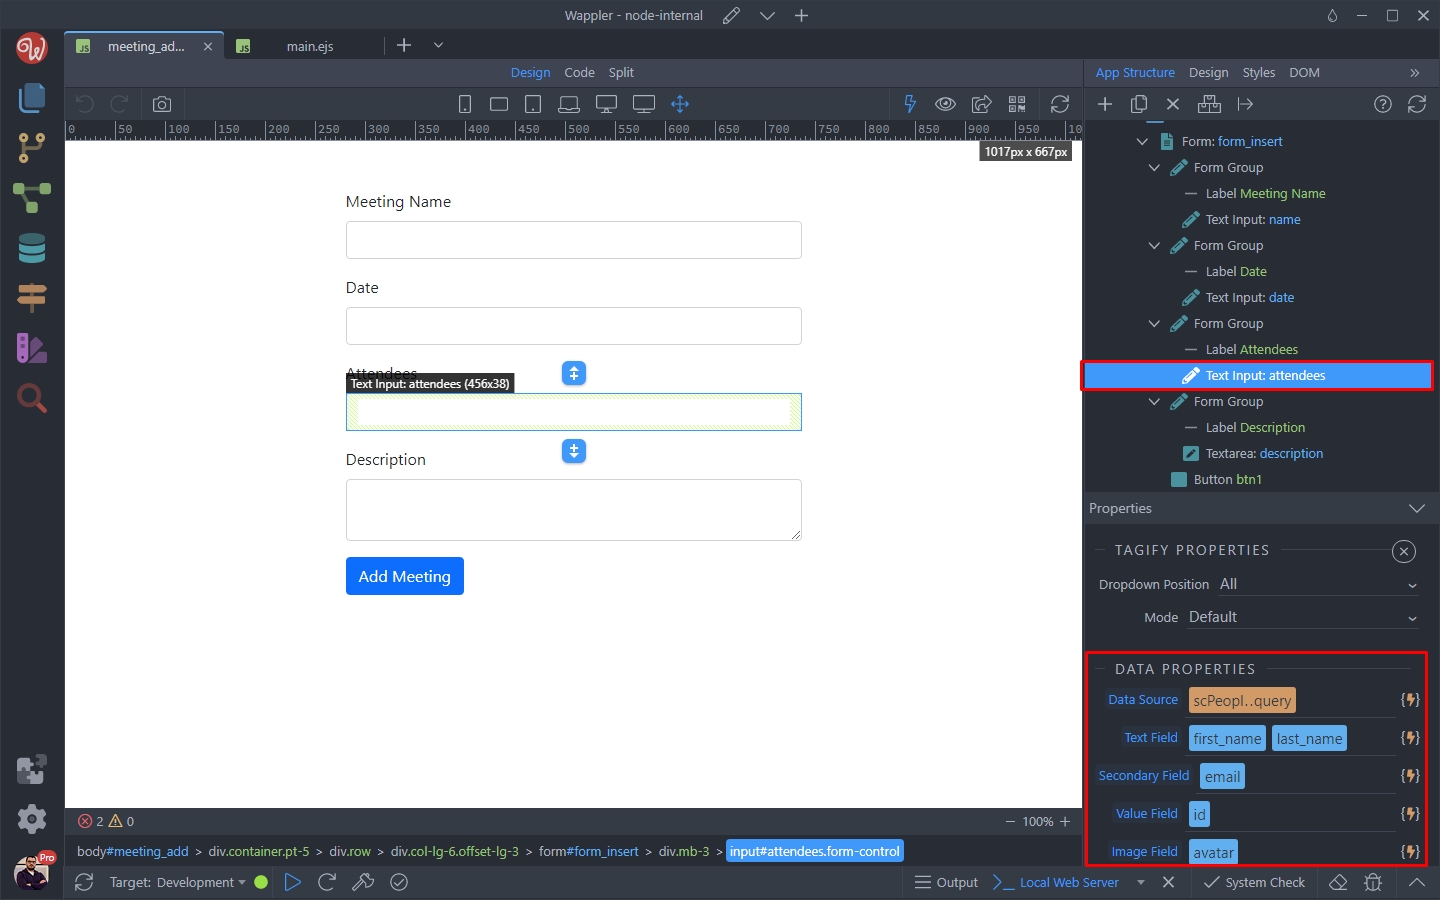
Section titled “Step 5”The attendees field is a dynamic Tagify input, which gets people from our people database table through a simple database query. We are using the primary key of the people table as a value for it:
That’s pretty much all on our page. We will return later to it.
Section titled “That’s pretty much all on our page. We will return later to it.”Insert API Action
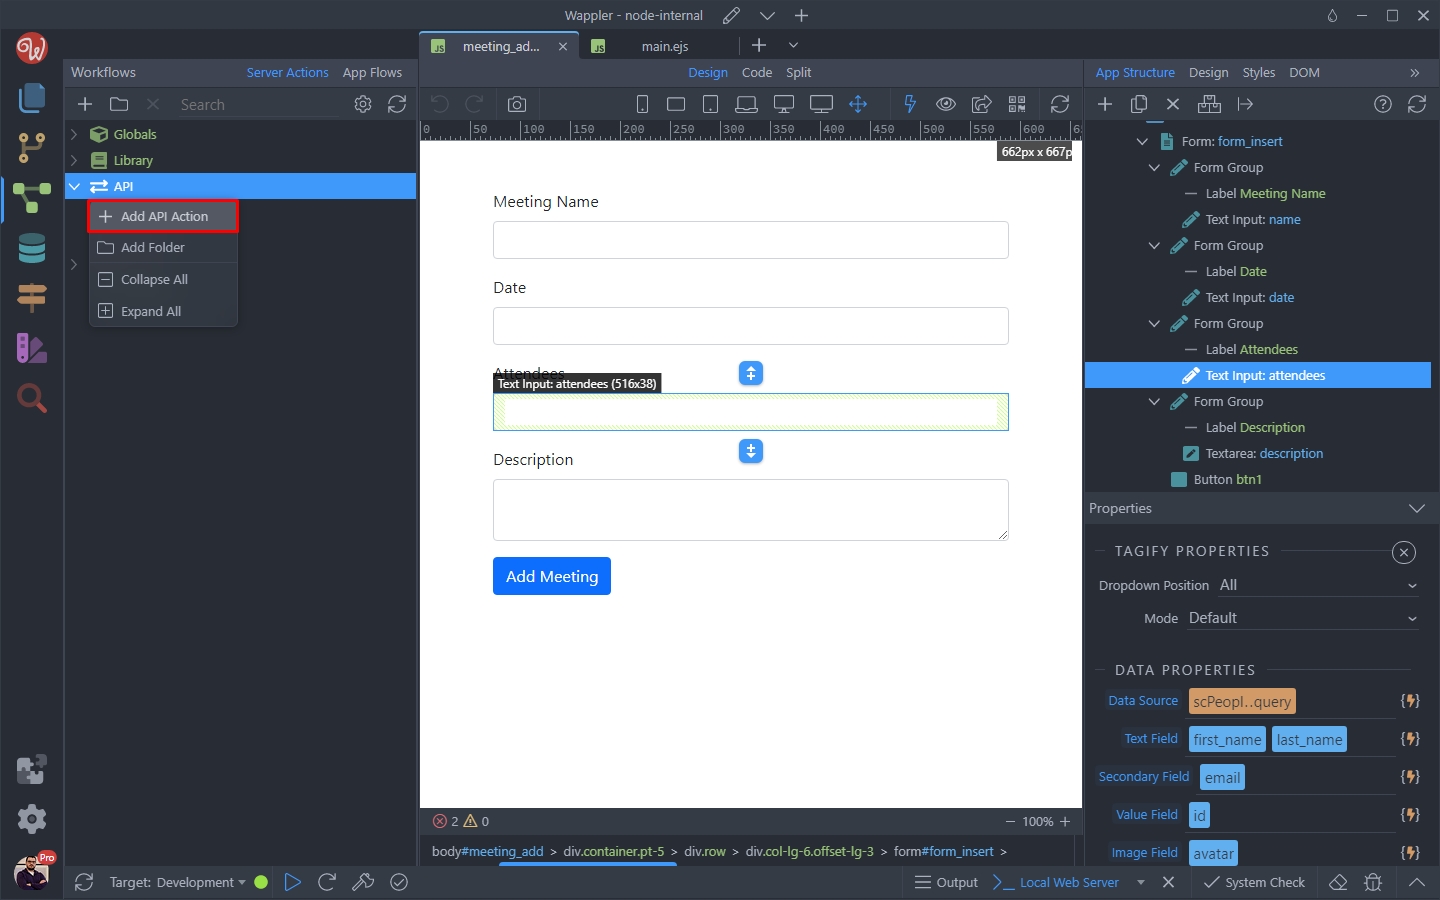
Section titled “Insert API Action”Open the Server Connect panel and add a new API Action:
We call it meeting_insert:
Section titled “We call it meeting_insert:”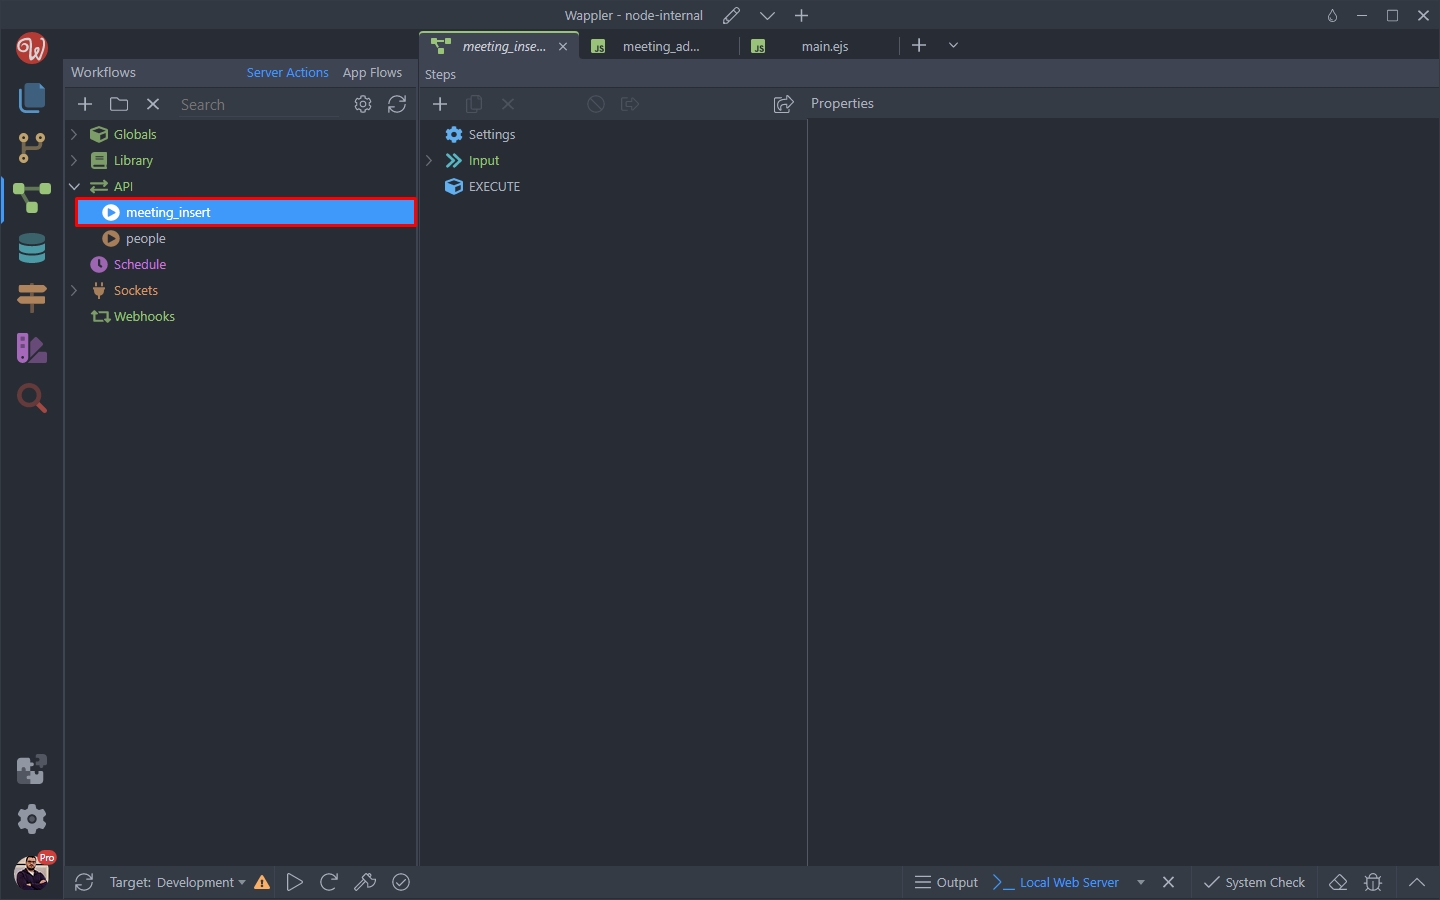
Step 9
Section titled “Step 9”Let’s import the inputs from our insert form. Select Input and click the browse icon for the Linked Page option:
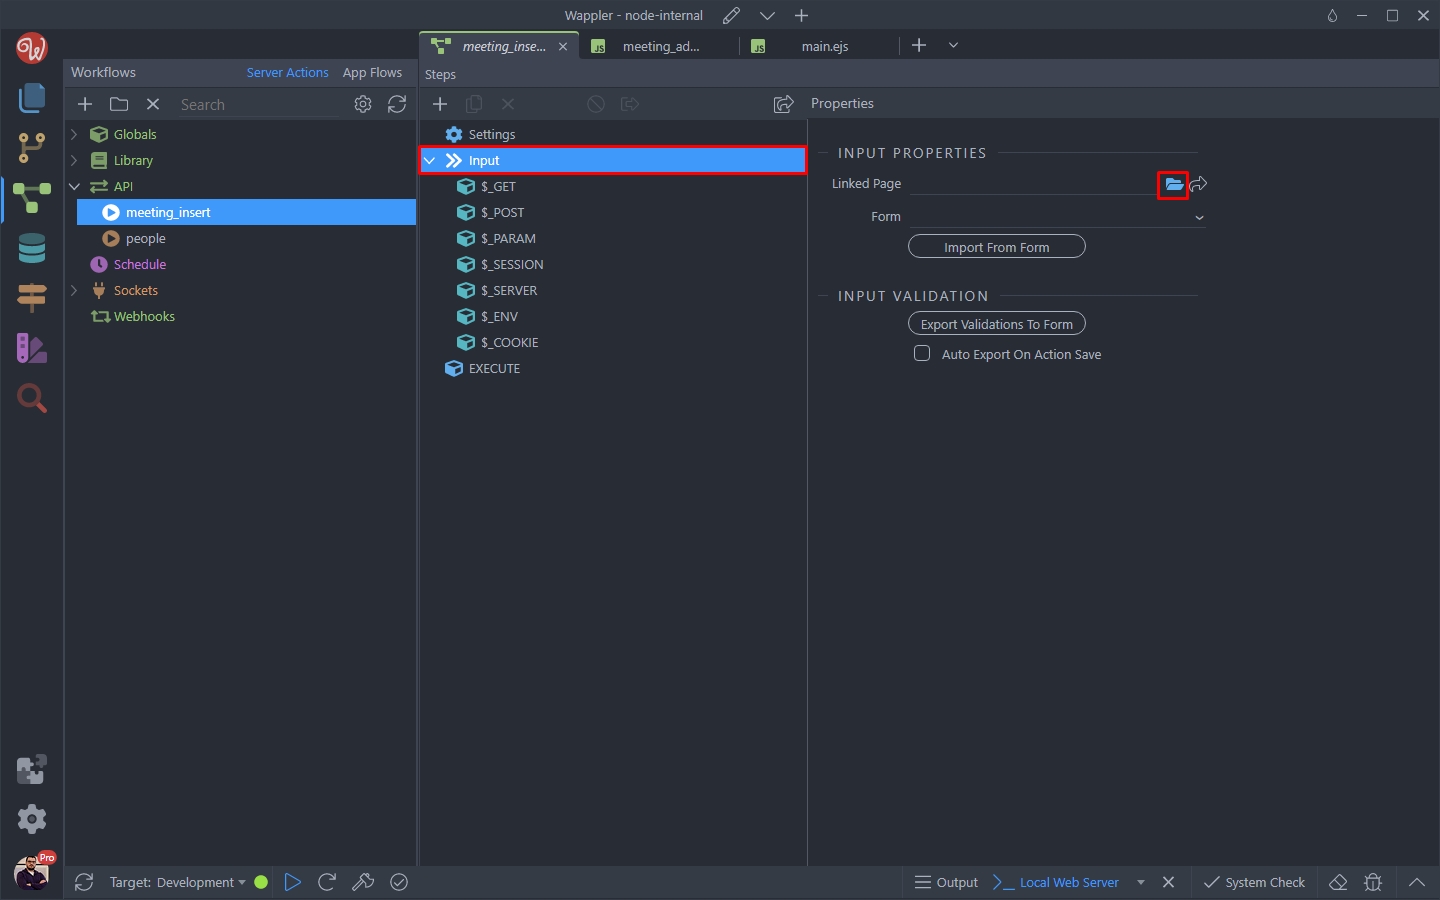
Browse to your page, containing the form and select it:
Section titled “Browse to your page, containing the form and select it:”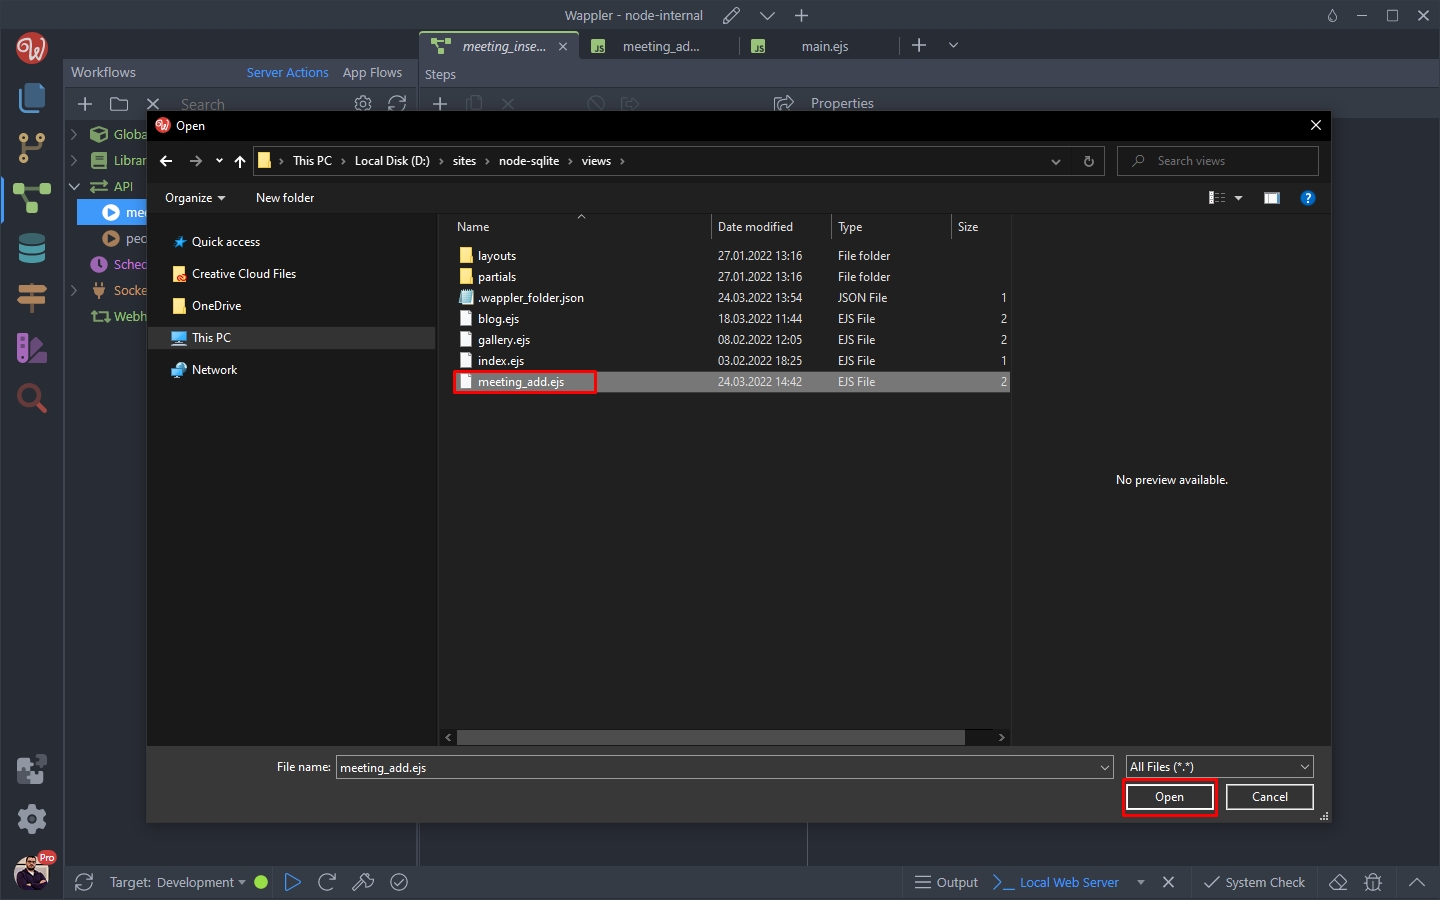
Then select the form from the dropdown and click the Import button:
Section titled “Then select the form from the dropdown and click the Import button:”
Our form inputs have been imported under $_POST. We will use them to pass the form data to the insert step:
Section titled “Our form inputs have been imported under $_POST. We will use them to pass the form data to the insert step:”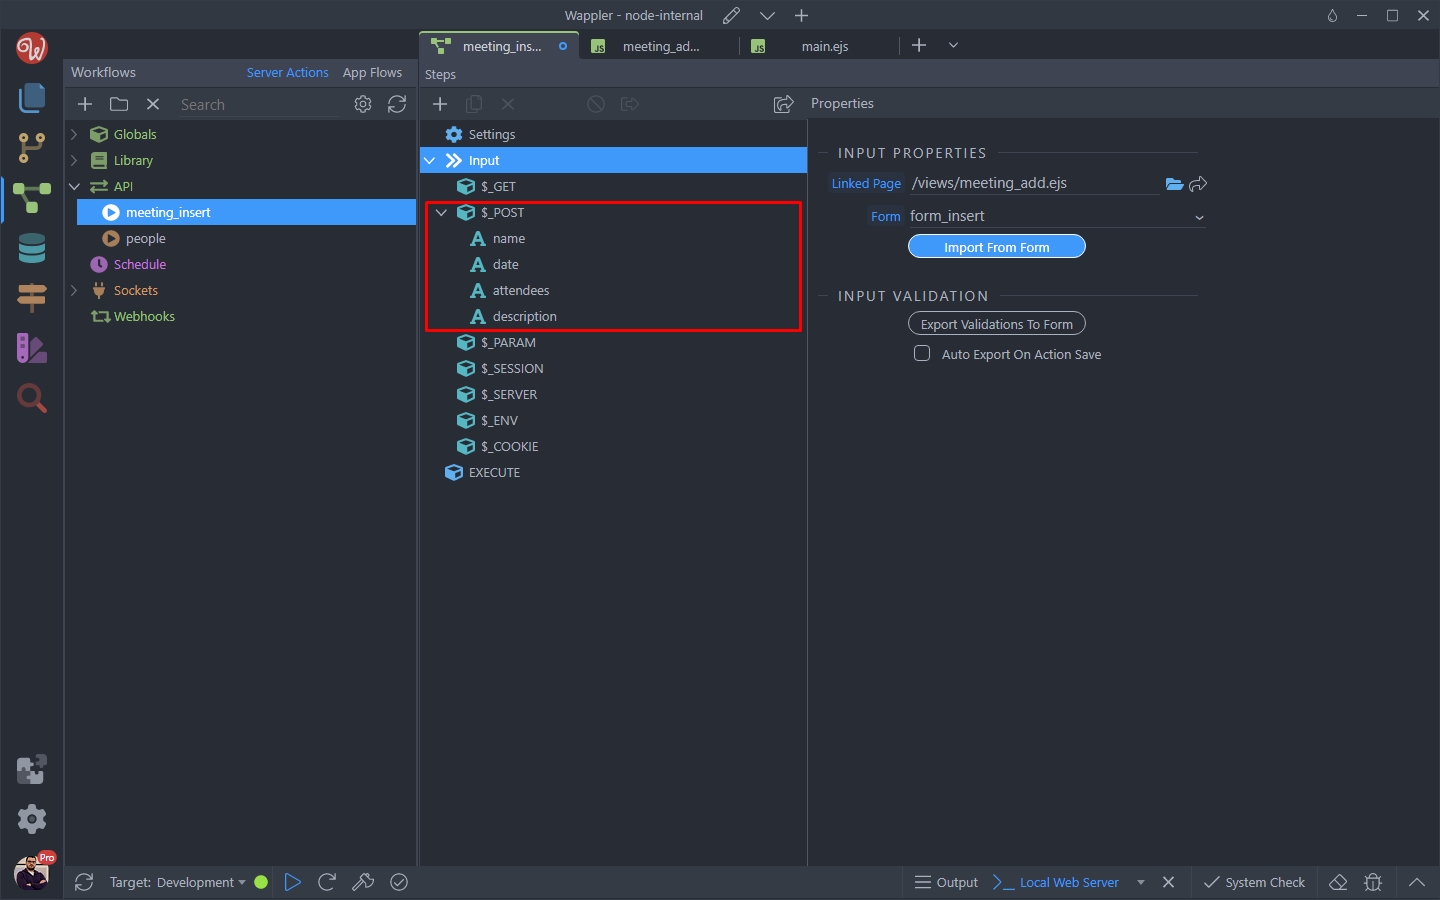
Close the input section and add a new action:
Section titled “Close the input section and add a new action:”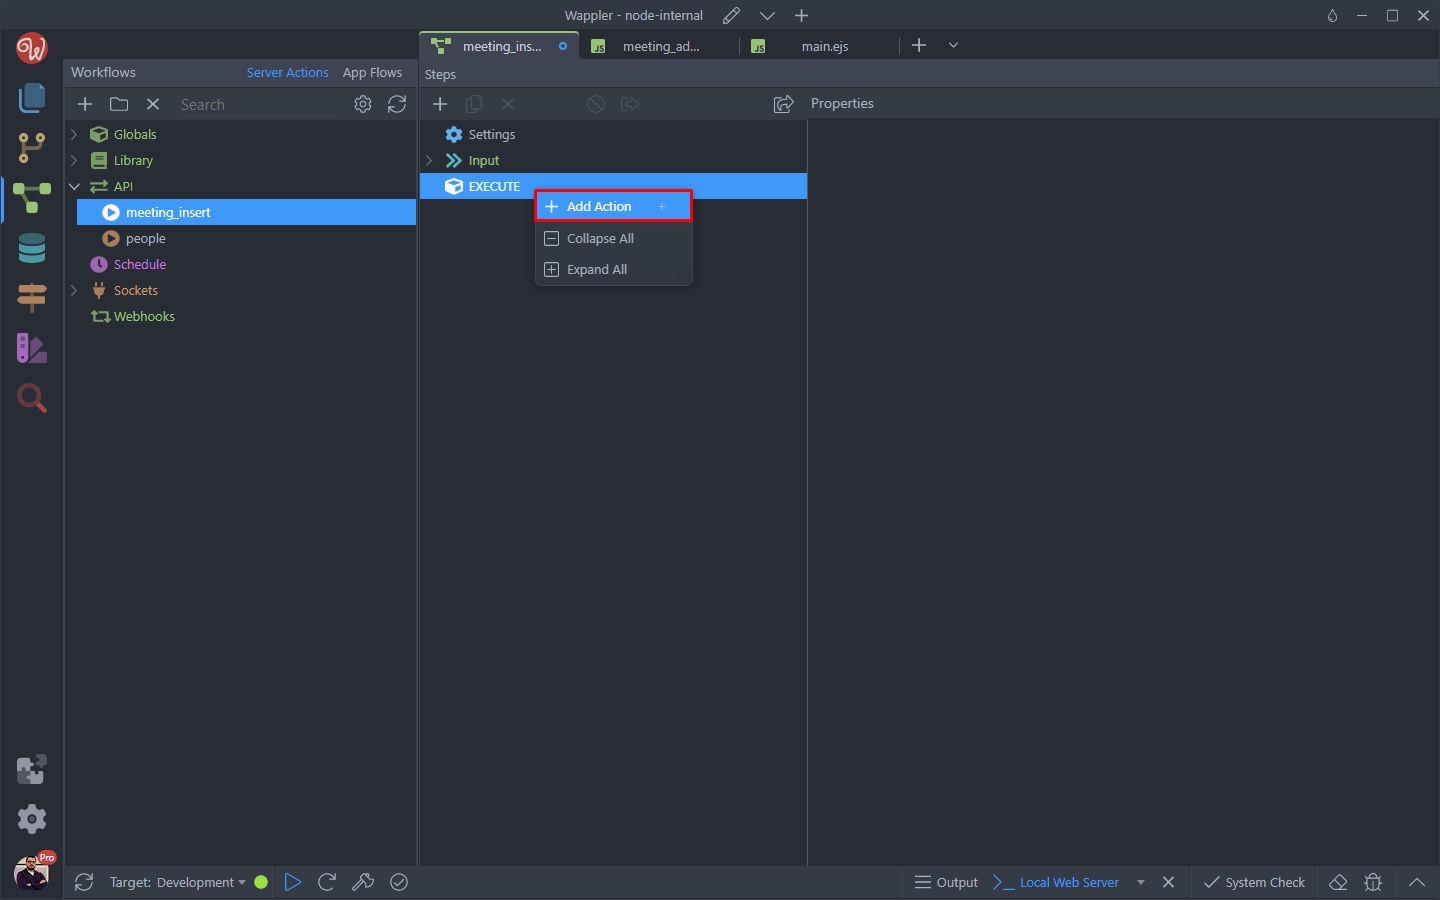
Select Database Insert from the Database Actions category:
Section titled “Select Database Insert from the Database Actions category:”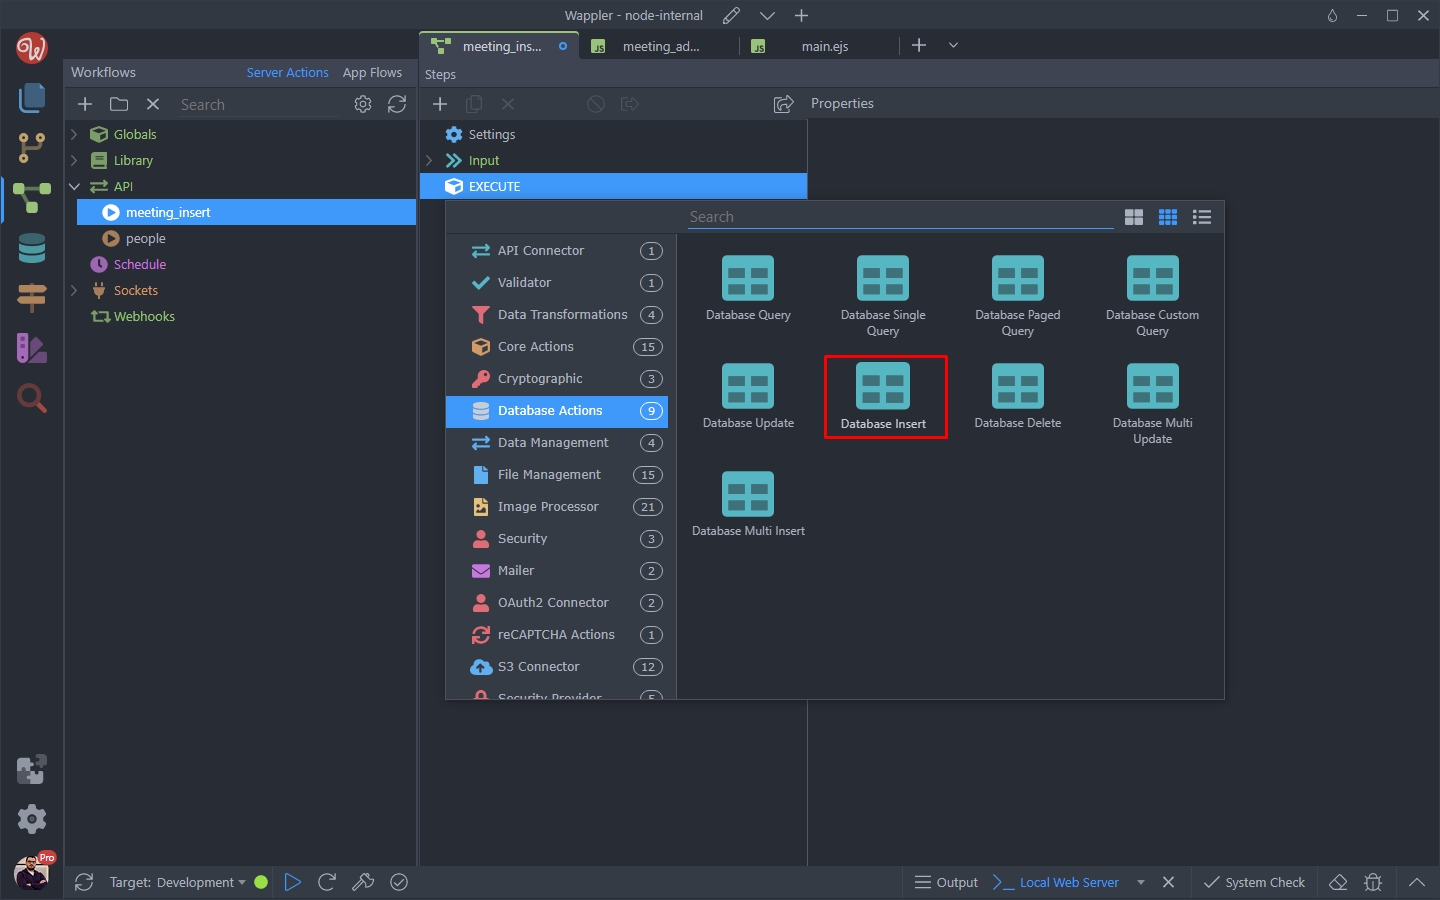
And click the Insert Options button:
Section titled “And click the Insert Options button:”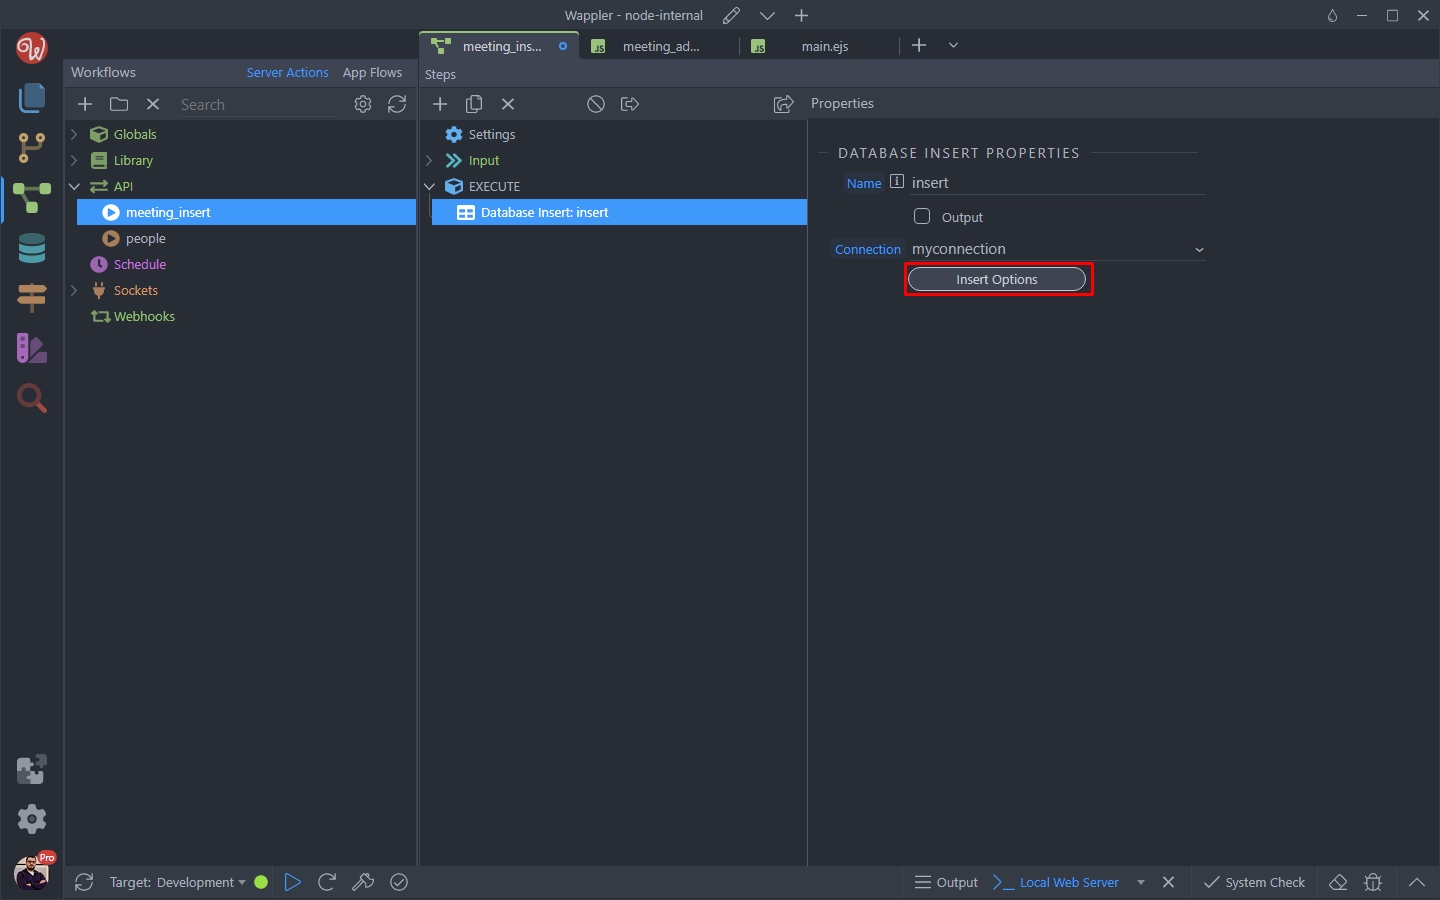
Step 16
Section titled “Step 16”Open the tables dropdown and select a table to insert the data into. We want to create a new meeting, so we select the meetings table:

Step 17
Section titled “Step 17”You can see the table fields are now listed in the insert options. We would also like to insert the attendees for the meeting, so click the Add Column button:
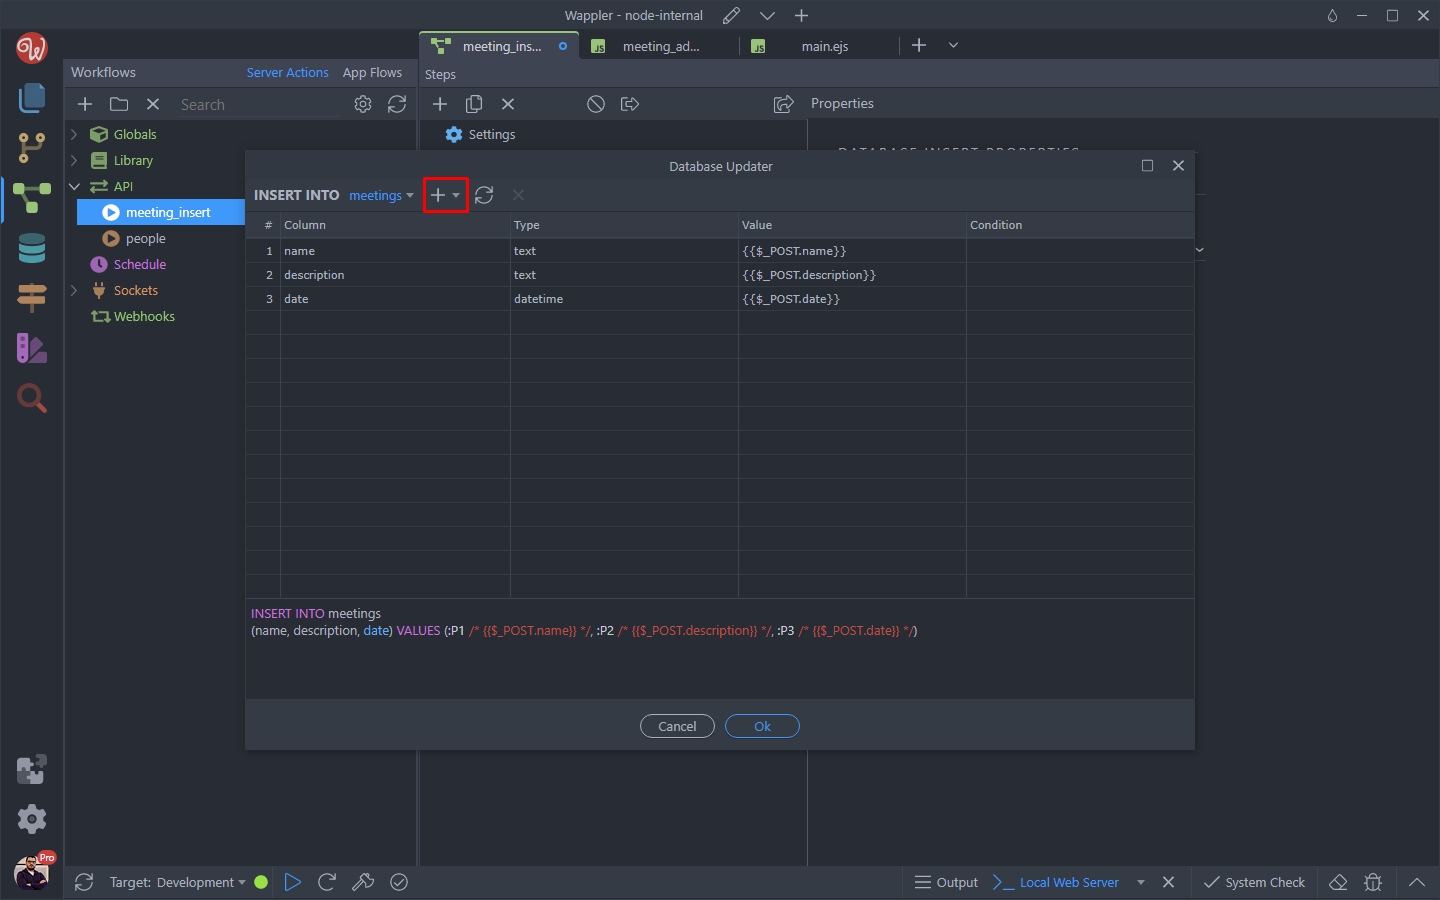
And add the attendees sub table from the dropdown:
Section titled “And add the attendees sub table from the dropdown:”
You can see in in the insert columns list:
Section titled “You can see in in the insert columns list:”
Make sure to select the $_POST variables (form inputs) corresponding for each of the database table columns:
Section titled “Make sure to select the $_POST variables (form inputs) corresponding for each of the database table columns:”
For the attendees subtable we are using the Tagify input value:
Section titled “For the attendees subtable we are using the Tagify input value:”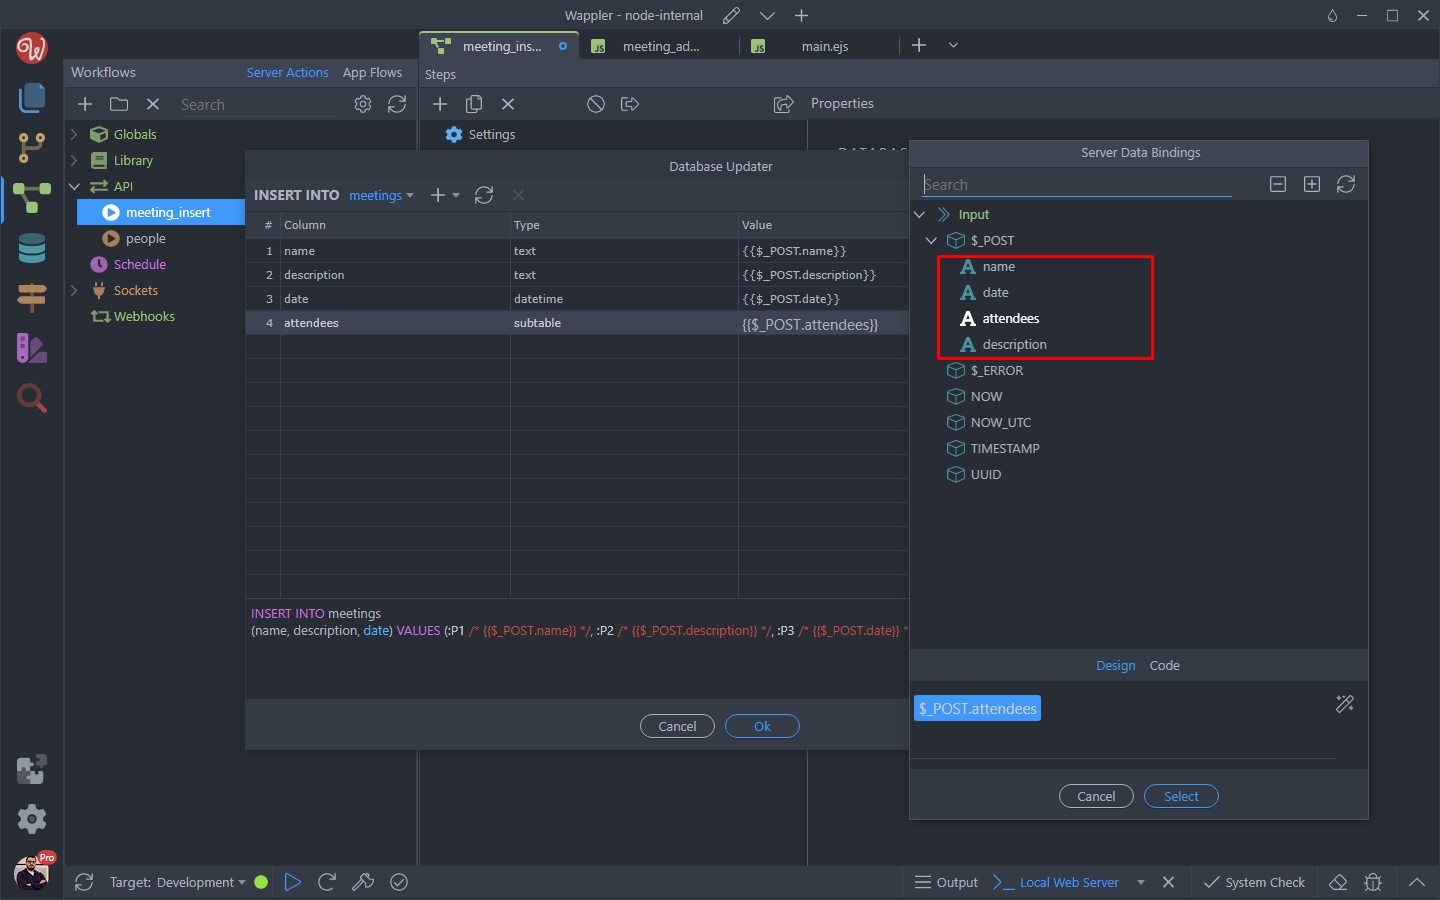
Click OK when you are done:
Section titled “Click OK when you are done:”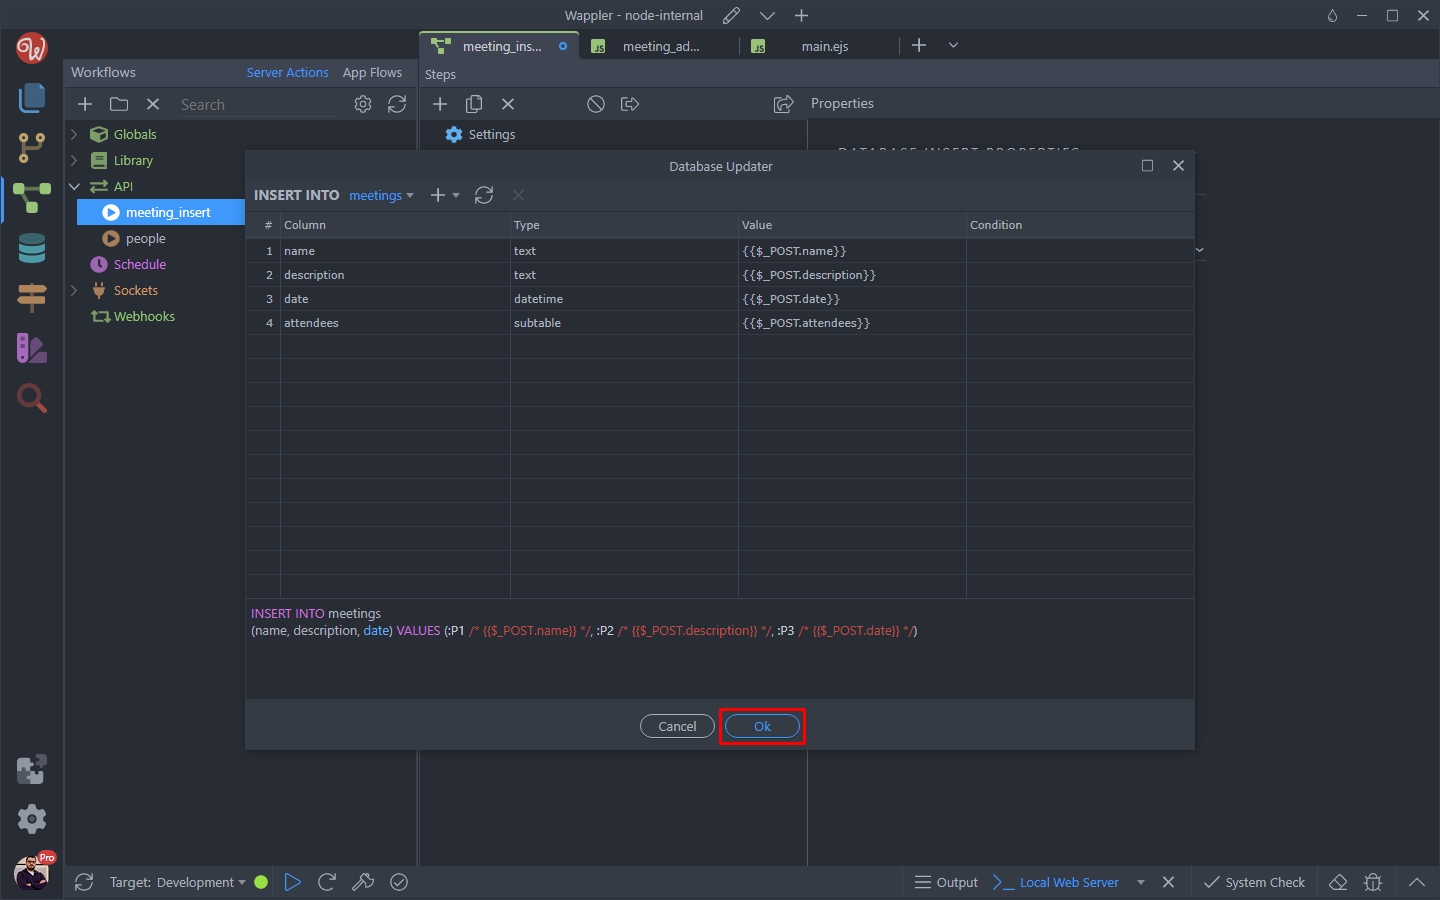
Save your API Action:
Section titled “Save your API Action:”
And we are done with the server-side part.
Section titled “And we are done with the server-side part.”Insert Form
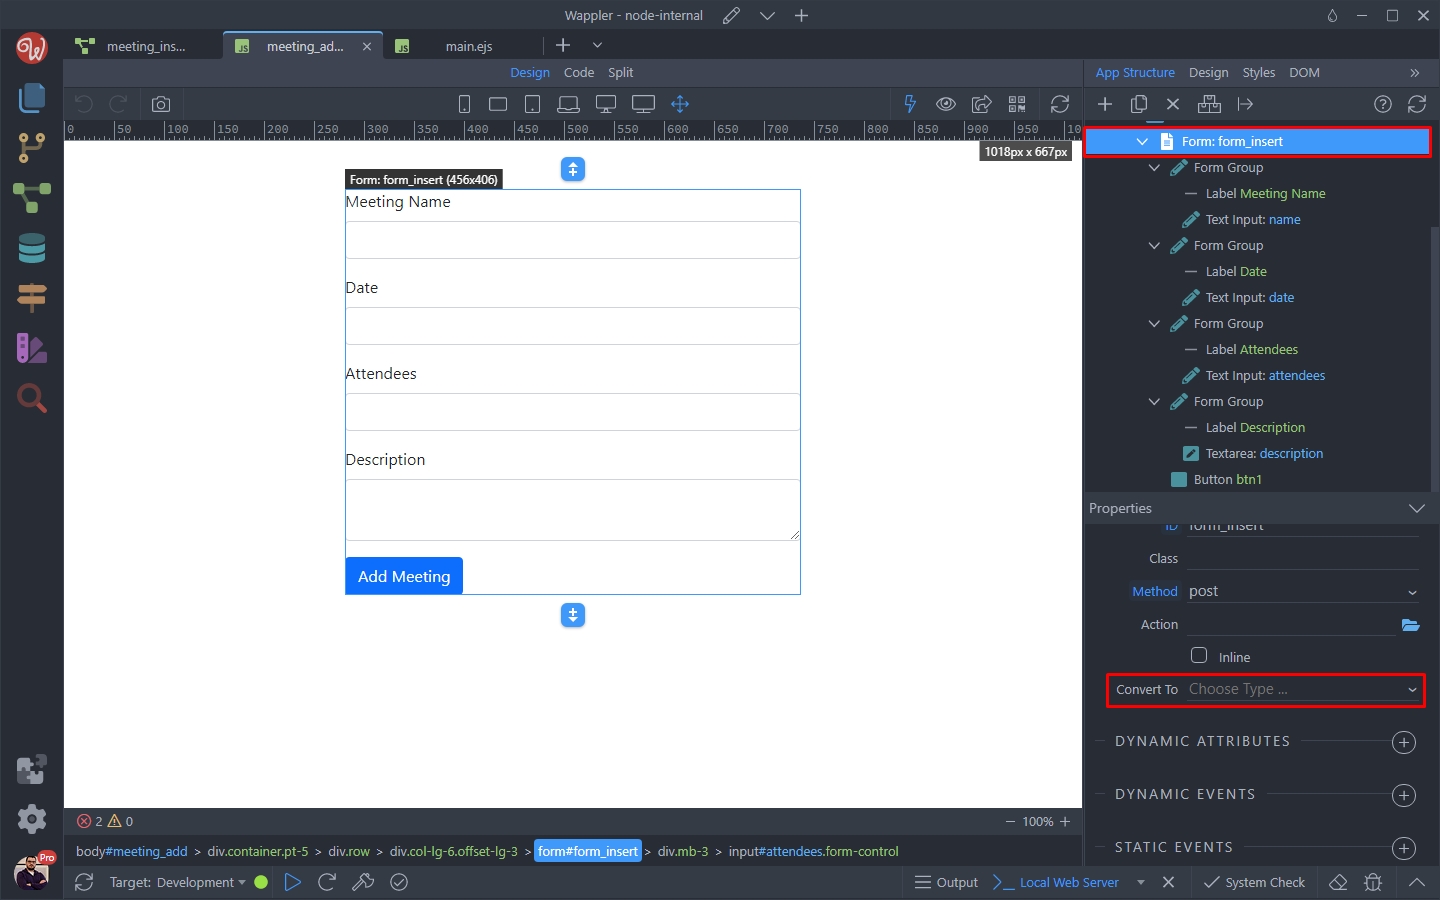
Section titled “Insert Form”Switch back to the insert page, select your form and open the Convert To menu:
Select Server Connect Form:
Section titled “Select Server Connect Form:”
And select a Server Action for it:
Section titled “And select a Server Action for it:”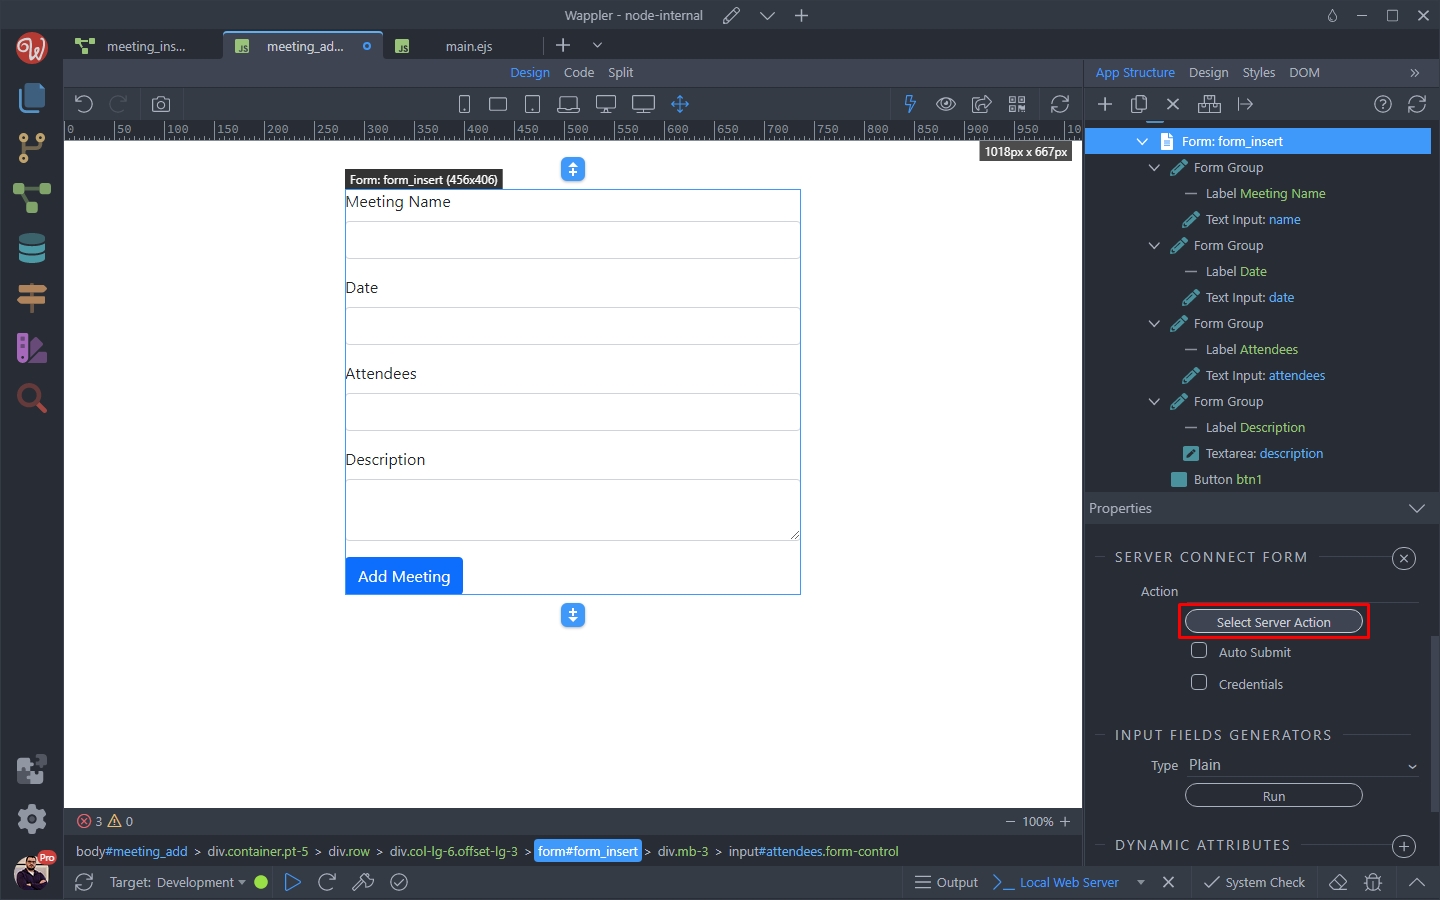
We select the meeting_insert server action, which we just created:
Section titled “We select the meeting_insert server action, which we just created:”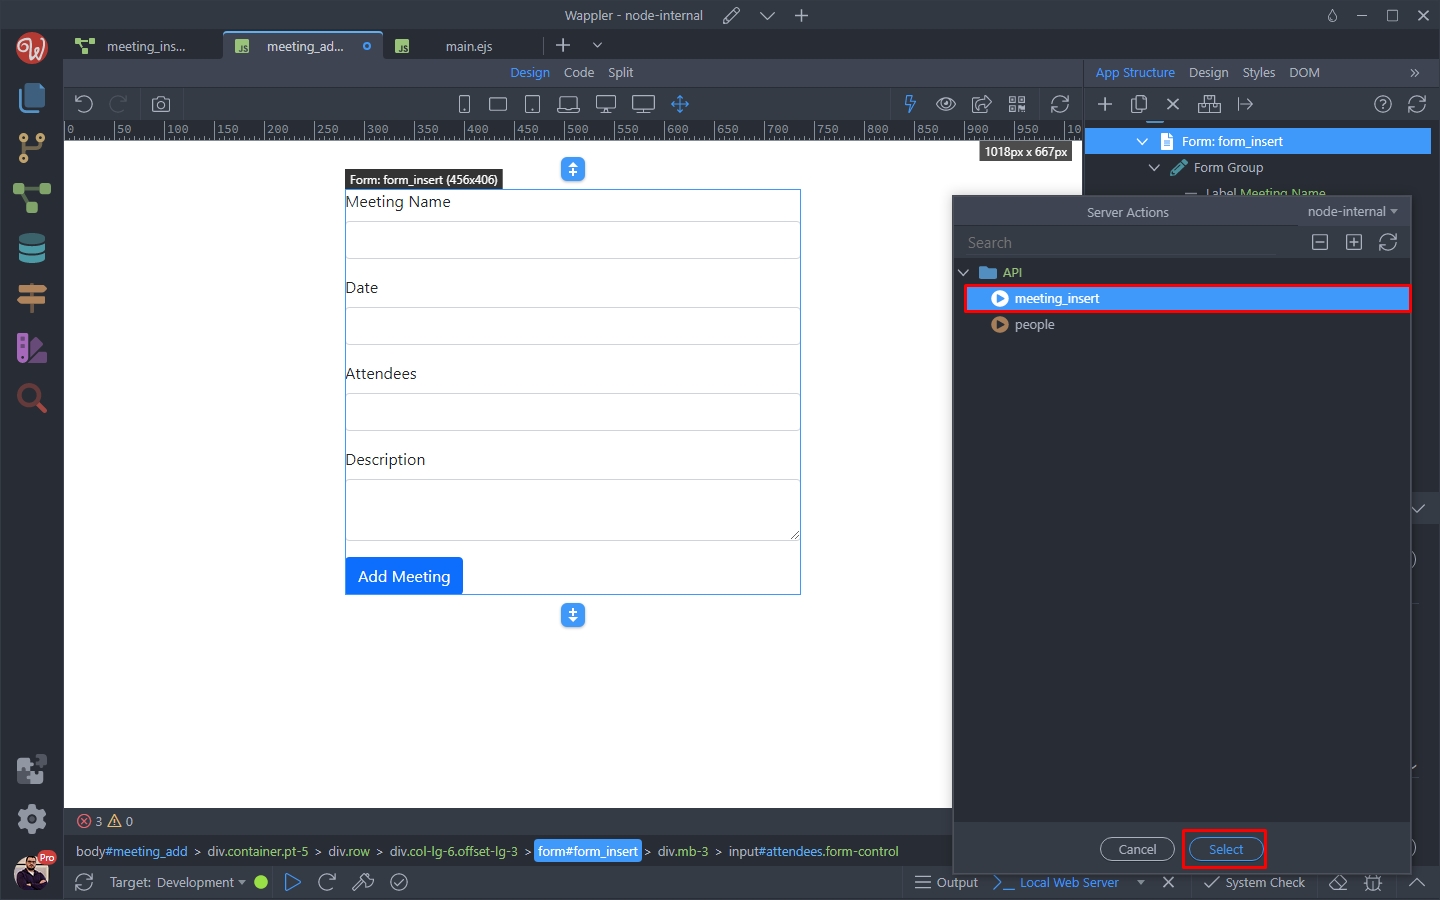
Step 29
Section titled “Step 29”Then add some dynamic events - like form reset on success, show a success notification etc. - whatever you need here. Save your page and you are done:
Insert Results
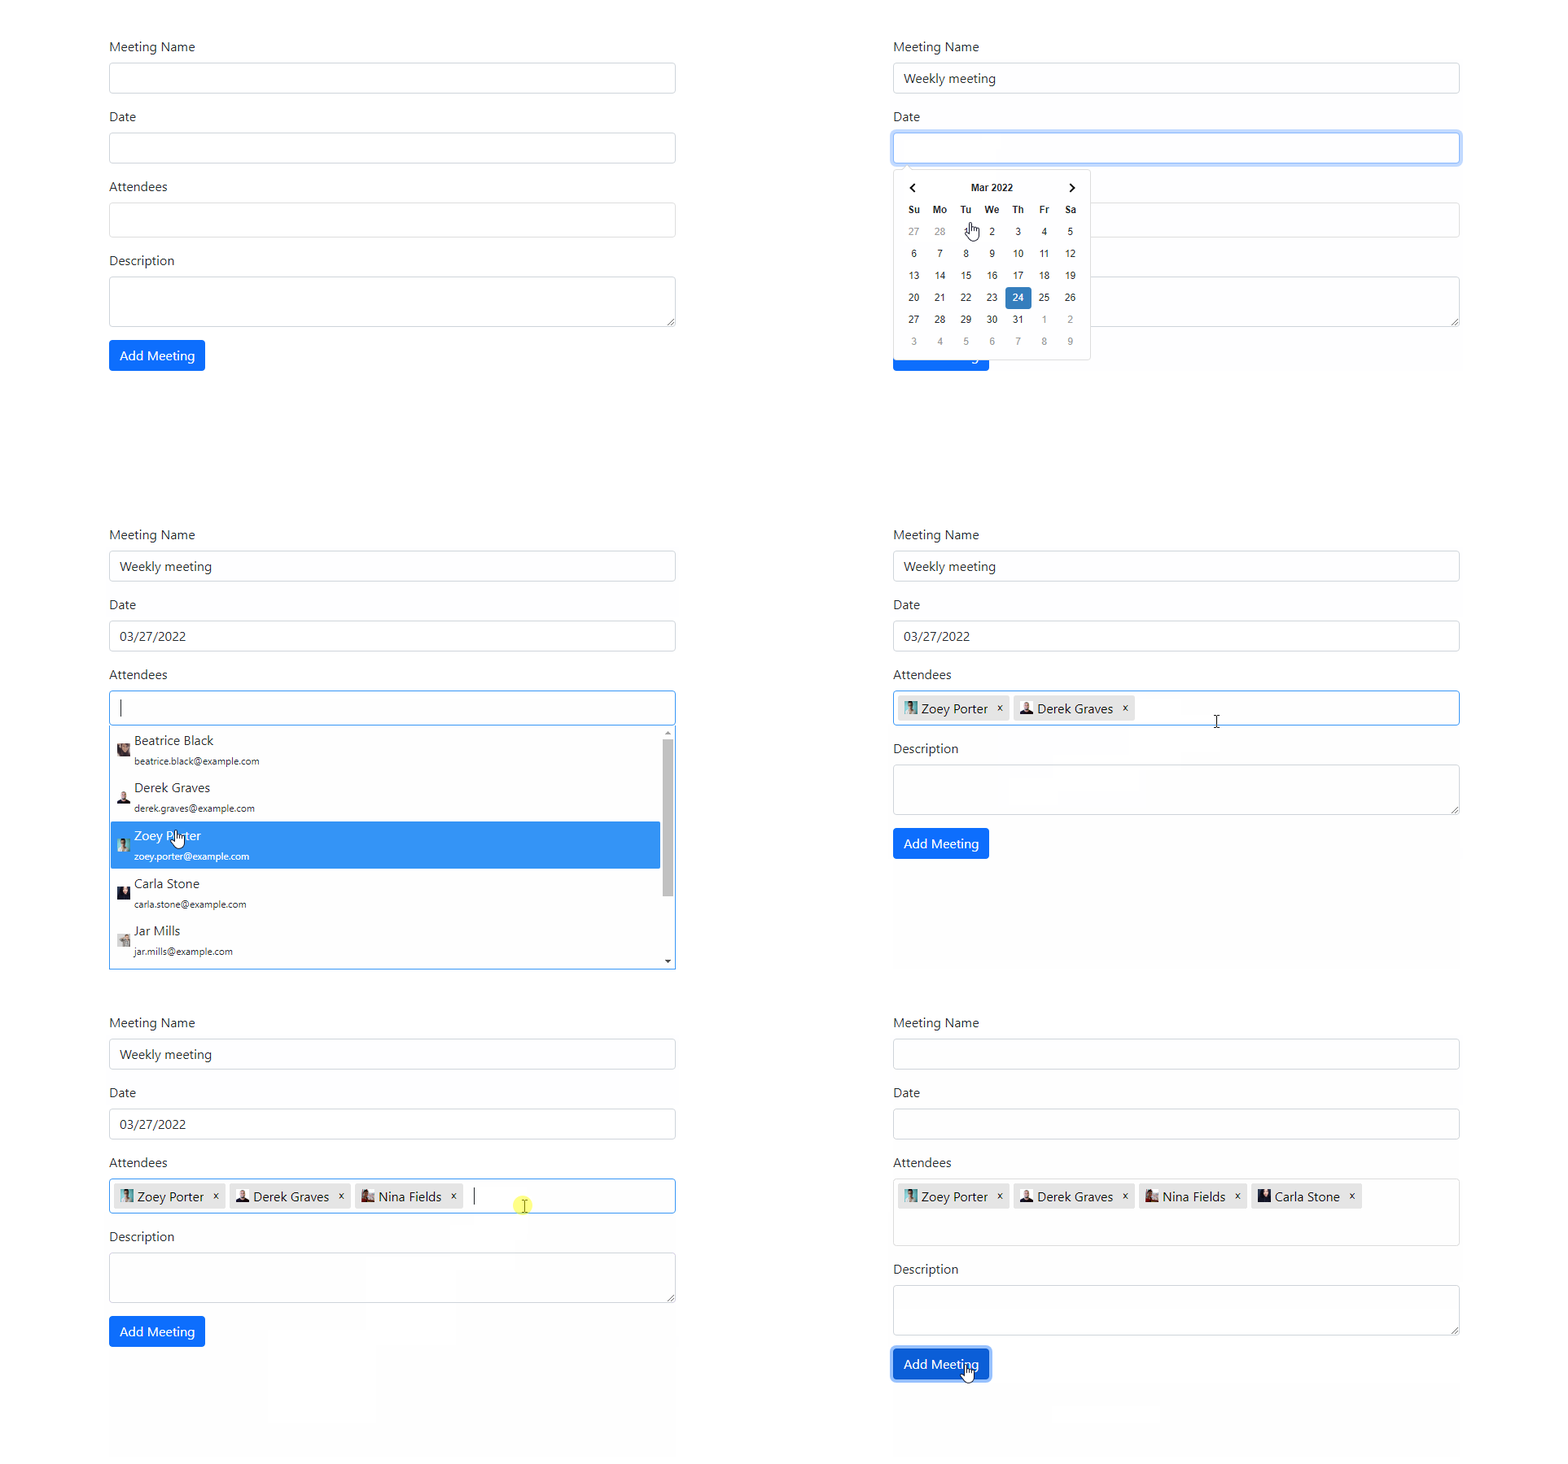
Section titled “Insert Results”Let’s fill the form, select attendees using the Tagify component and submit the form:
Step 32
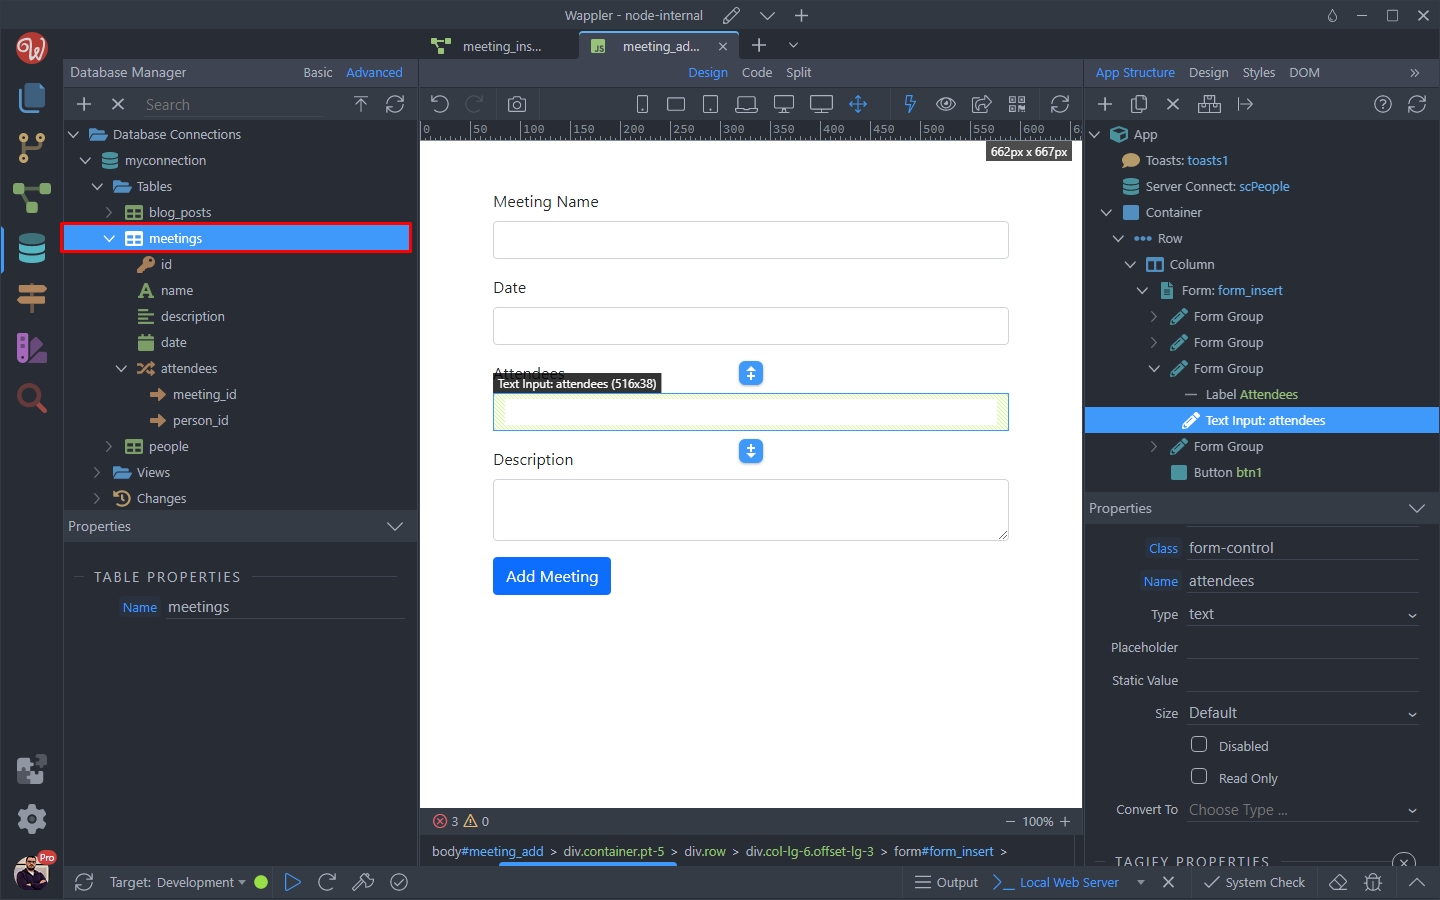
Section titled “Step 32”Let’s check what has been inserted in our database. Open the Database Manager and right click the meetings table:
Select View/Edit Data:
Section titled “Select View/Edit Data:”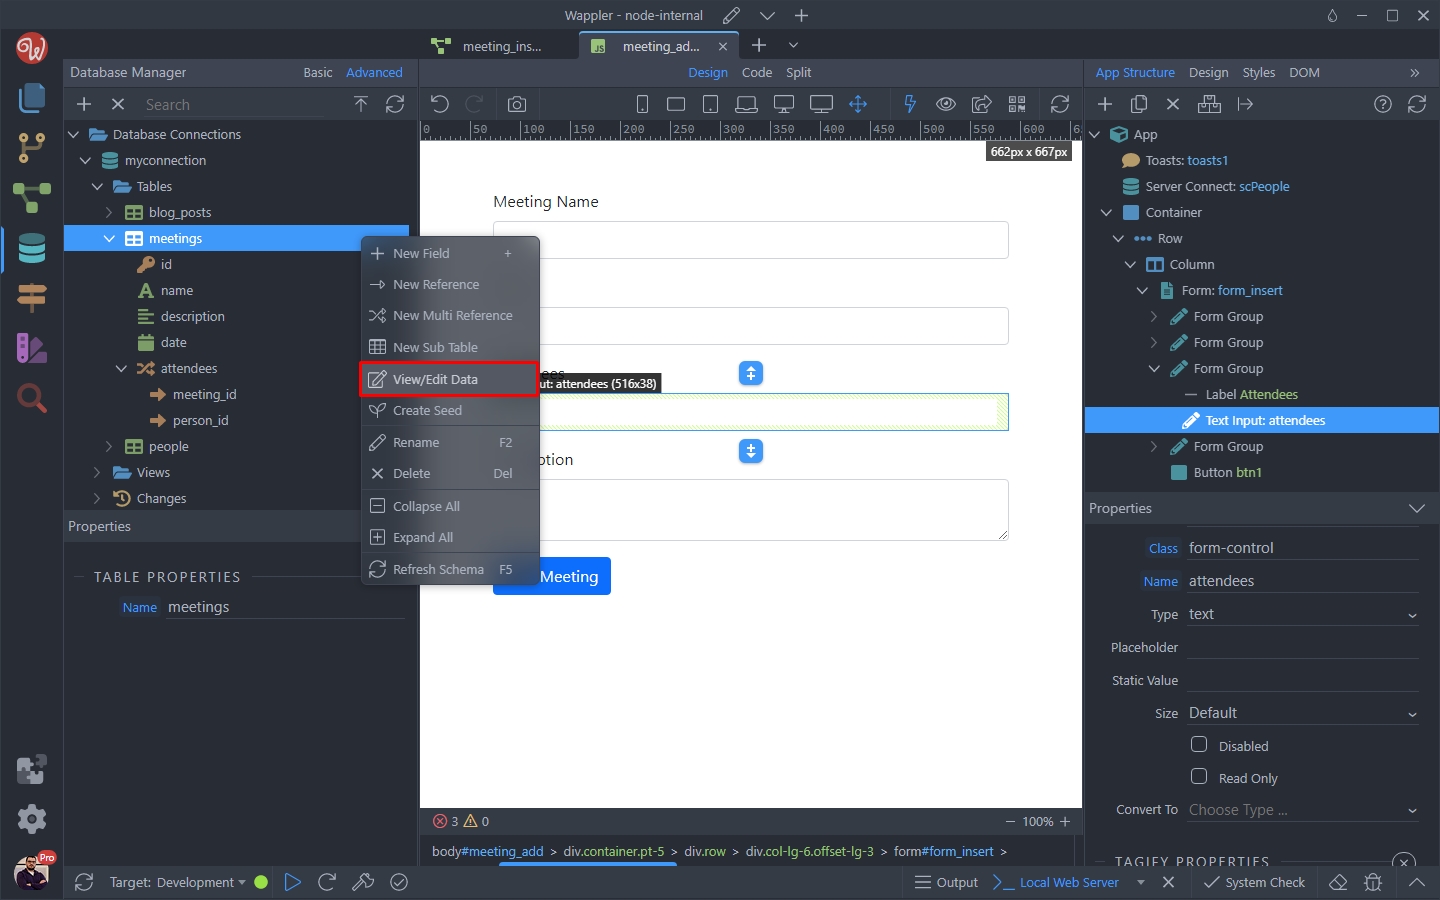
And you can see the meeting info we entered in the form has been inserted:
Section titled “And you can see the meeting info we entered in the form has been inserted:”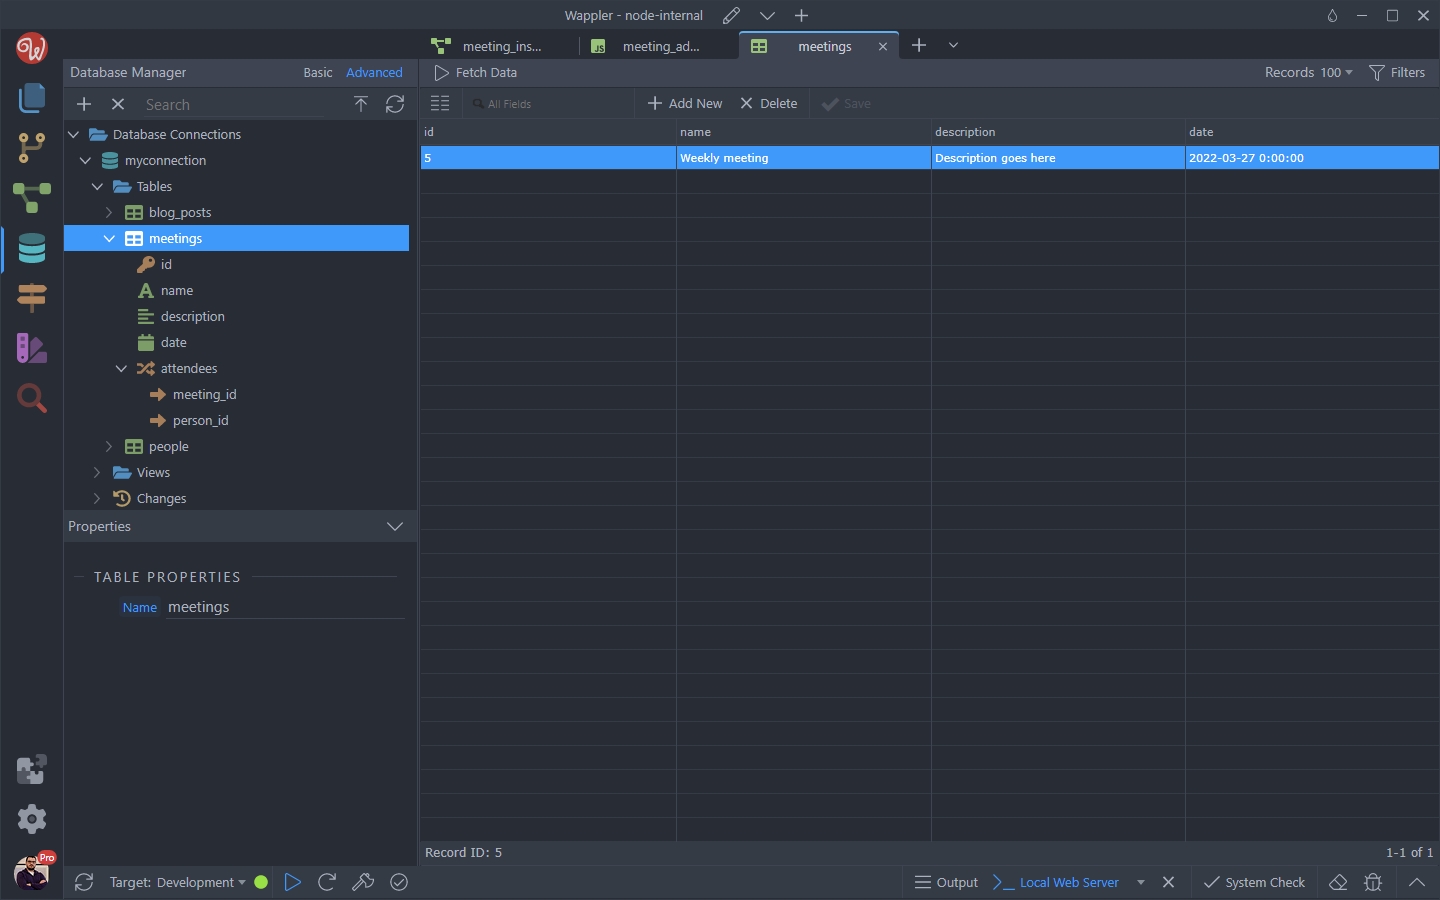
Step 35
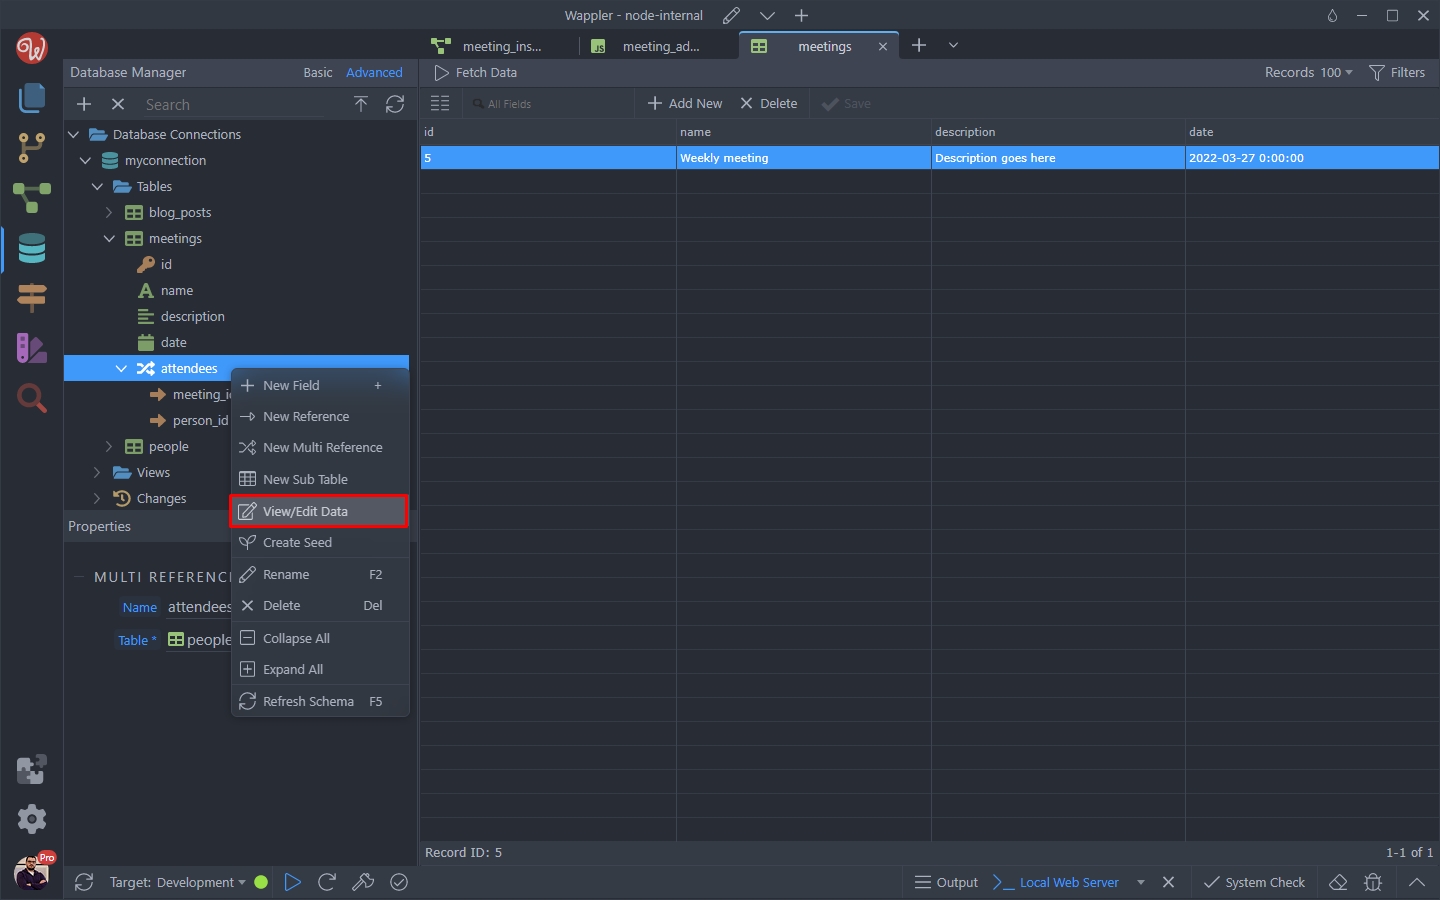
Section titled “Step 35”What about the attendees? We can see them the same way - by right clicking the attendees sub table and selecting View/Edit Data:
Step 36
Section titled “Step 36”You can see the 4 attendees we selected are inserted and they are all related to the same meeting id - the one we just inserted in the meetings table:

So that’s how to insert data, when using many-to-many relations and multi references.
Section titled “So that’s how to insert data, when using many-to-many relations and multi references.”Data Source
Section titled “Data Source”Following this tutorial: Using Nested Queries with the Database Query Builder we created a server action called meetings:

Step 39
Section titled “Step 39”with a database query step inside, which returns our meetings and the attendees sub table using a single database query:
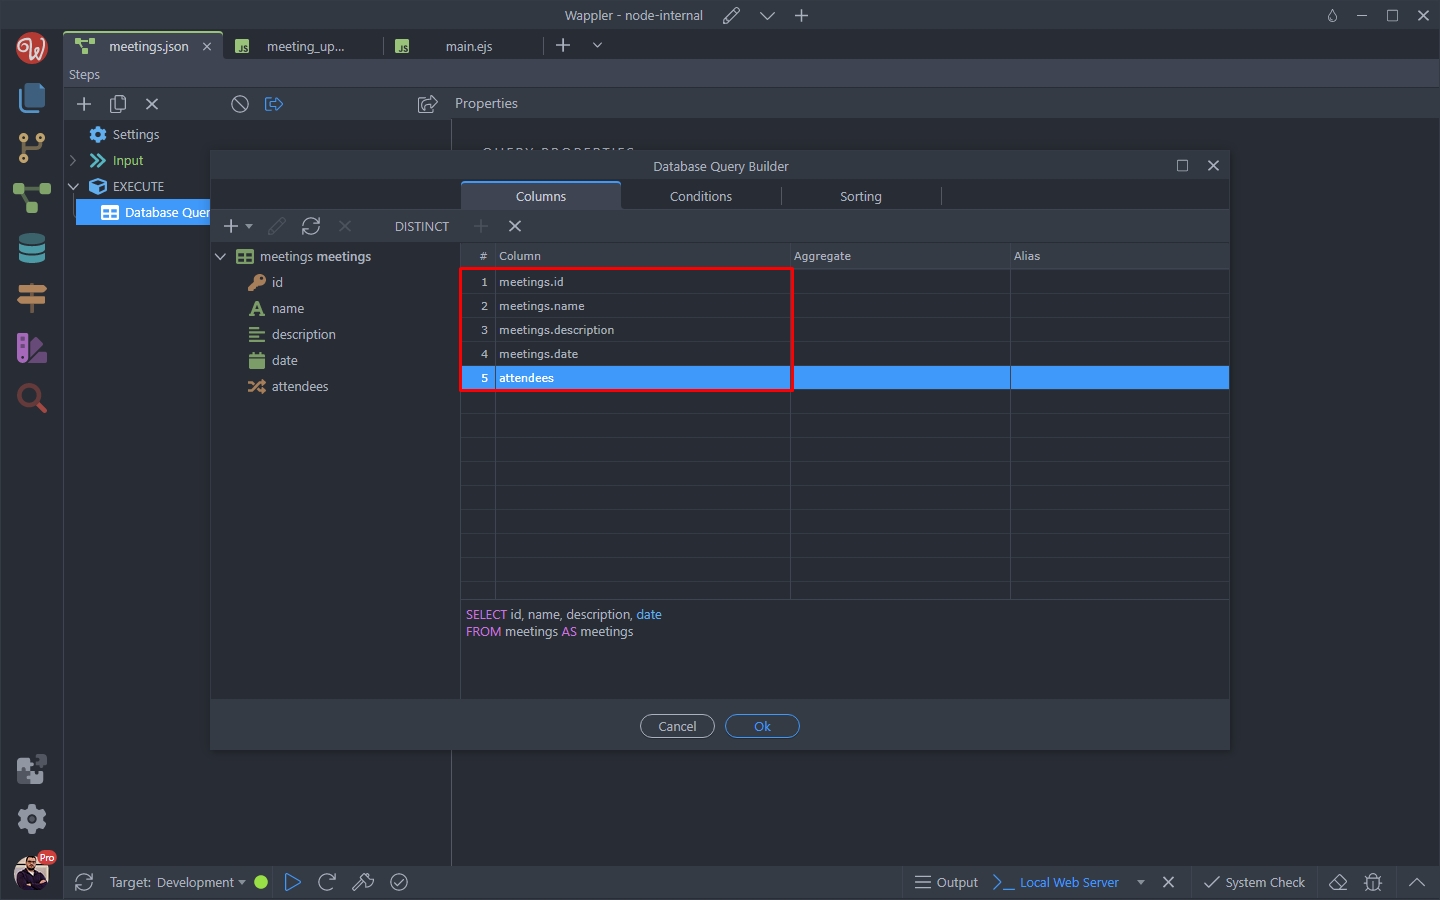
We use this query on the update record page to get the data and display it in the update record form.
Section titled “We use this query on the update record page to get the data and display it in the update record form.”Update Page Overview
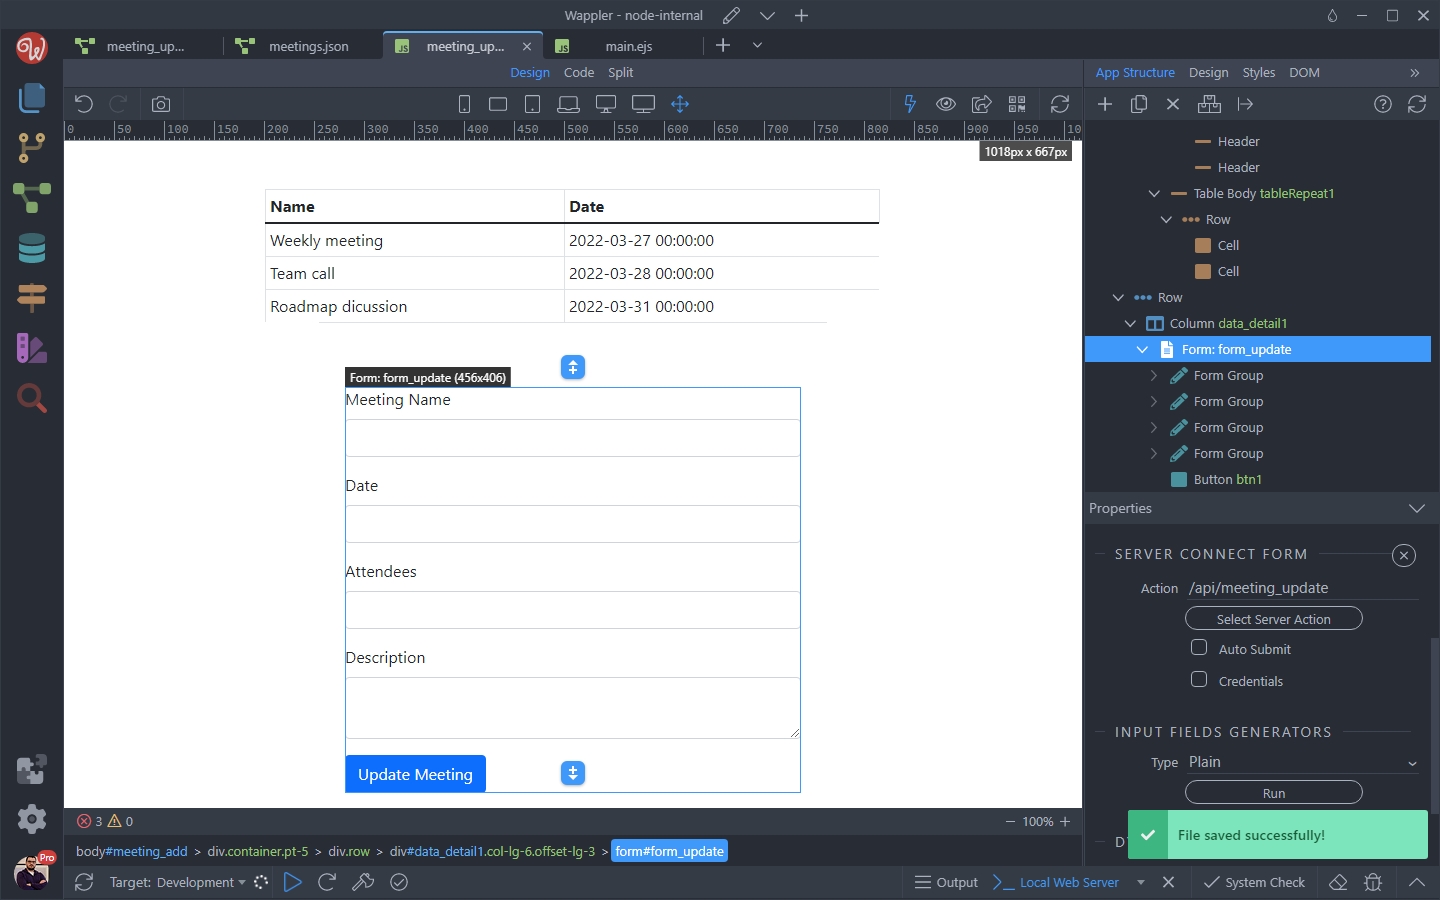
Section titled “Update Page Overview”On the page we have a standard setup for an update record page - a list (table) listing the records from the database - in our case the meetings:
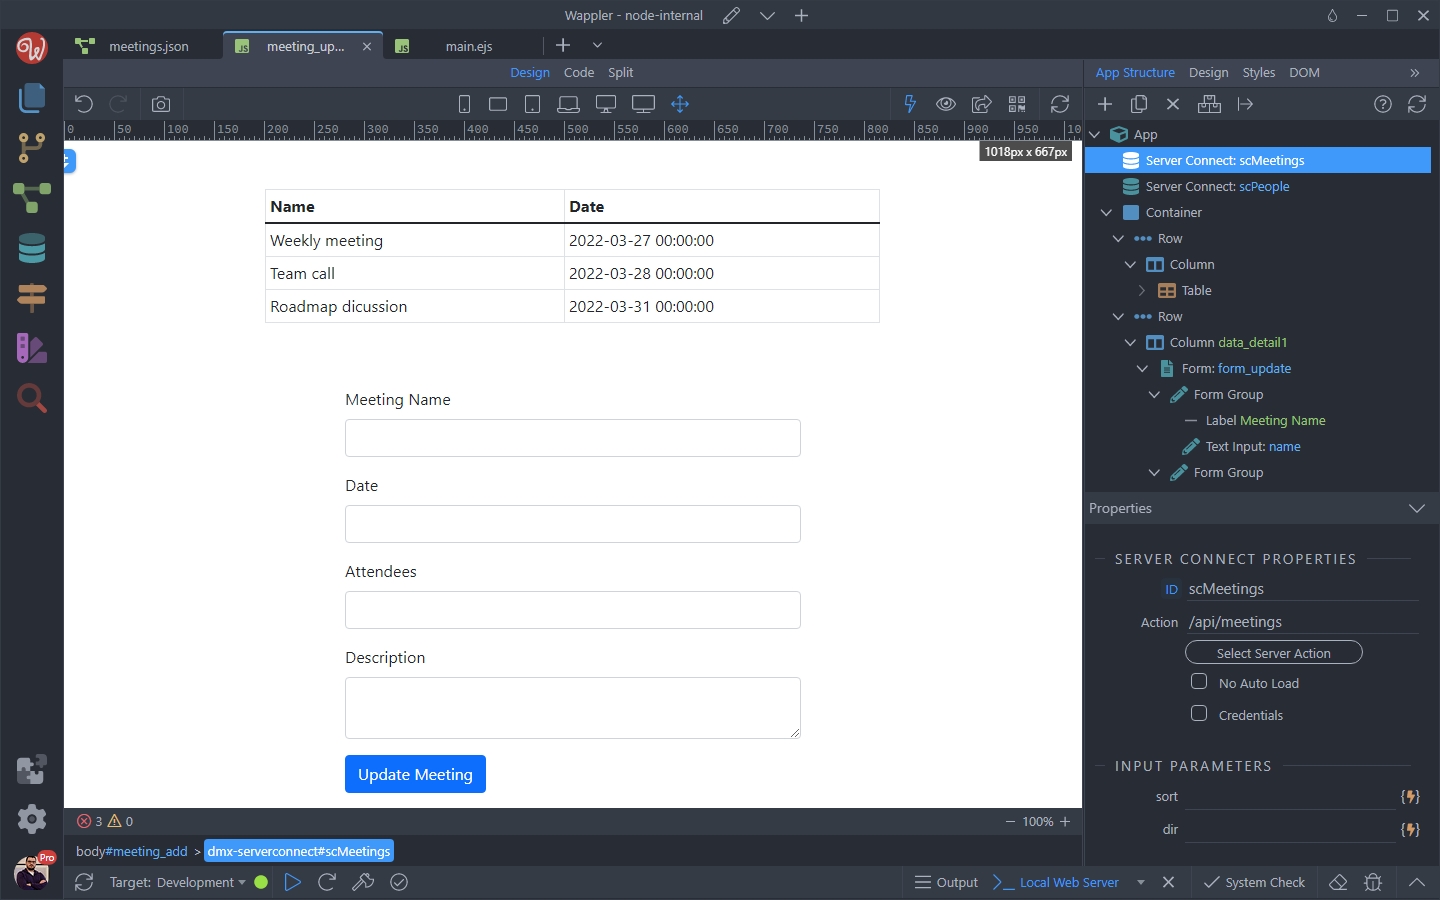
and also a data detail component, which is used to populate update record form with the selected record data:
Section titled “and also a data detail component, which is used to populate update record form with the selected record data:”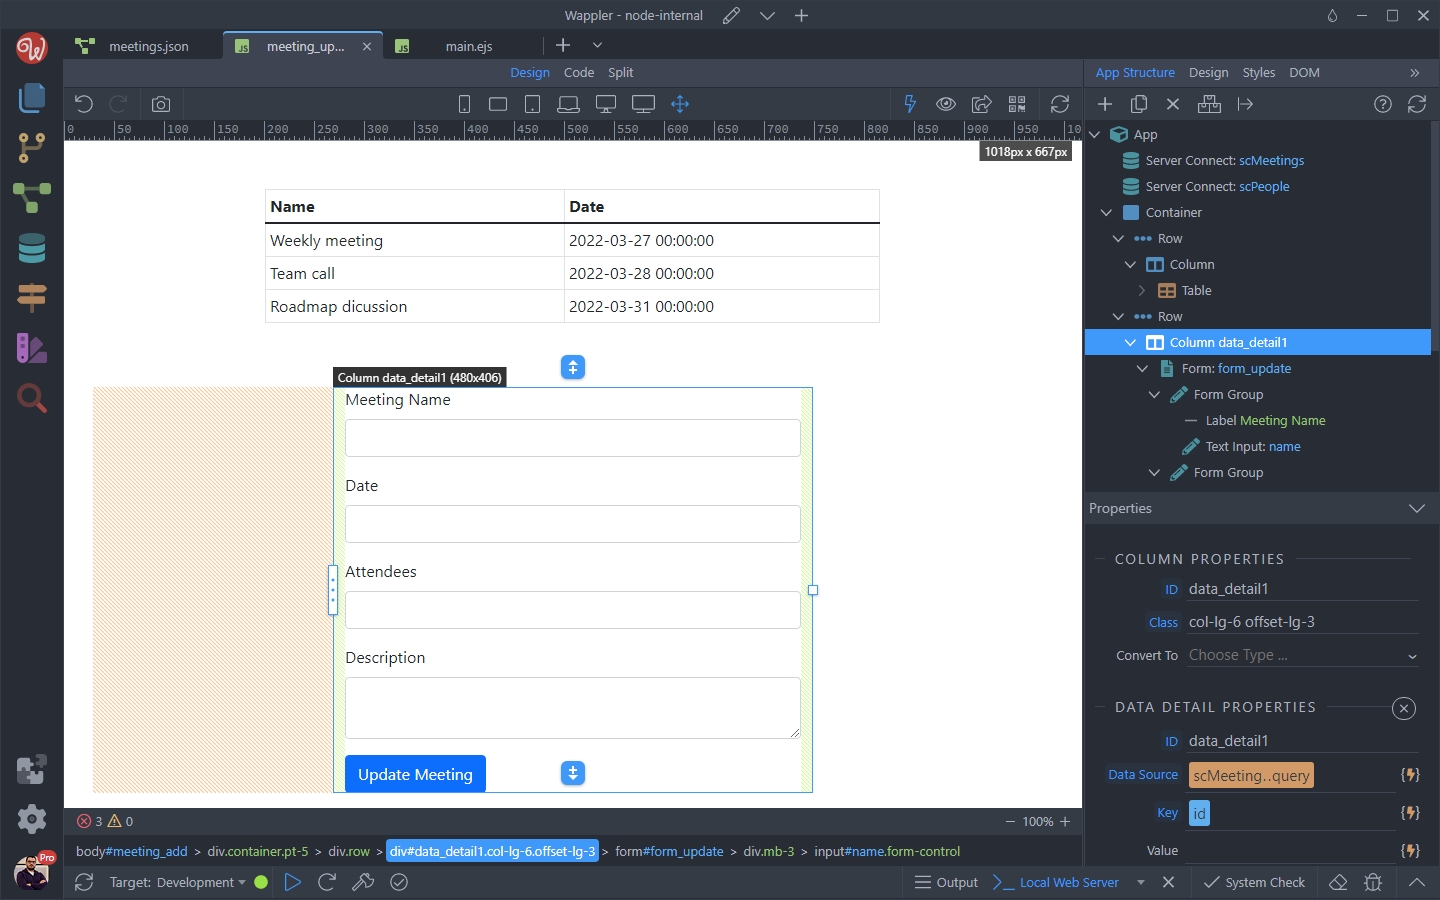
Both of these are using the server action called meetings which we mentioned above.
Section titled “Both of these are using the server action called meetings which we mentioned above.”As usual we store the selected record ID in a hidden field in the form.
Our form inputs, have dynamic values which come from the data detail component - nothing unusual for a standard update record page/form:
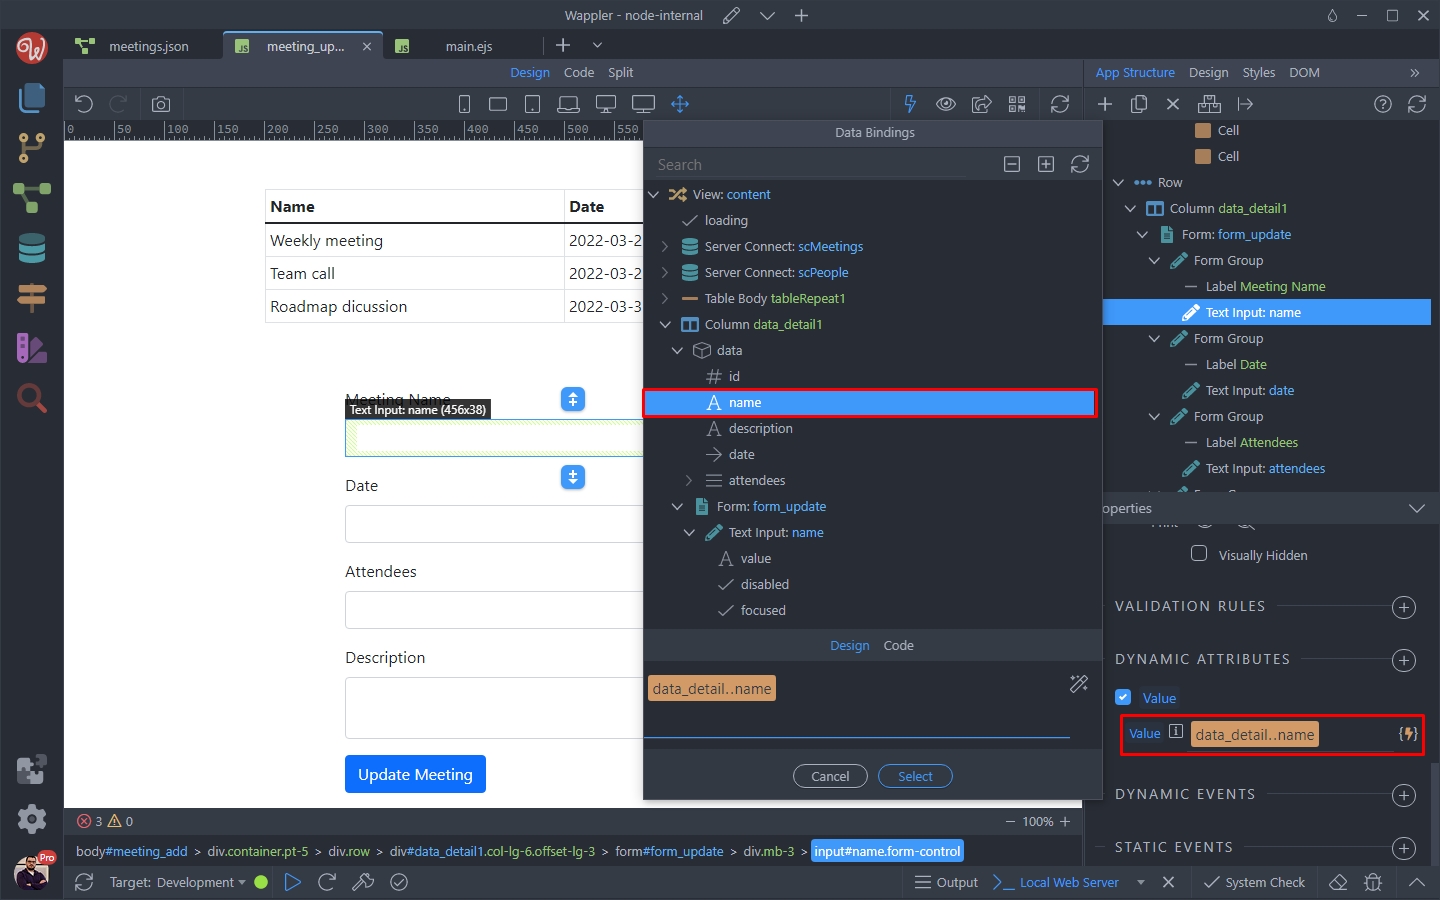
Step 44
Section titled “Step 44”We are using the Tagify component in this form, to select the users and add them to a meeting. We also need to add a dynamic value to it, so that it displays the attendees for the selected meeting from our database.
Select the Tagify input:
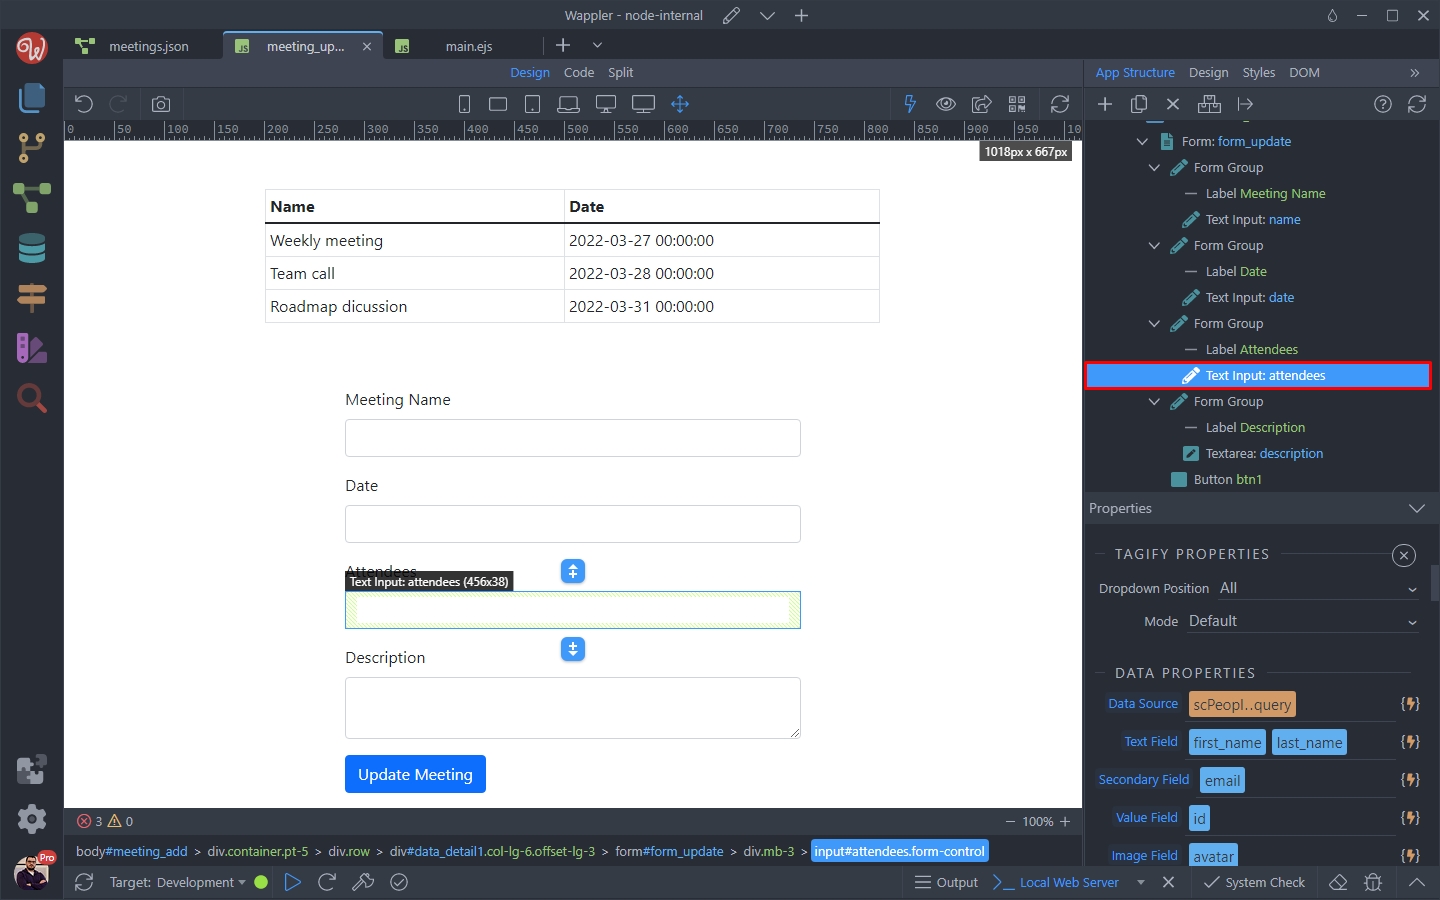
Add new dynamic attribute:
Section titled “Add new dynamic attribute:”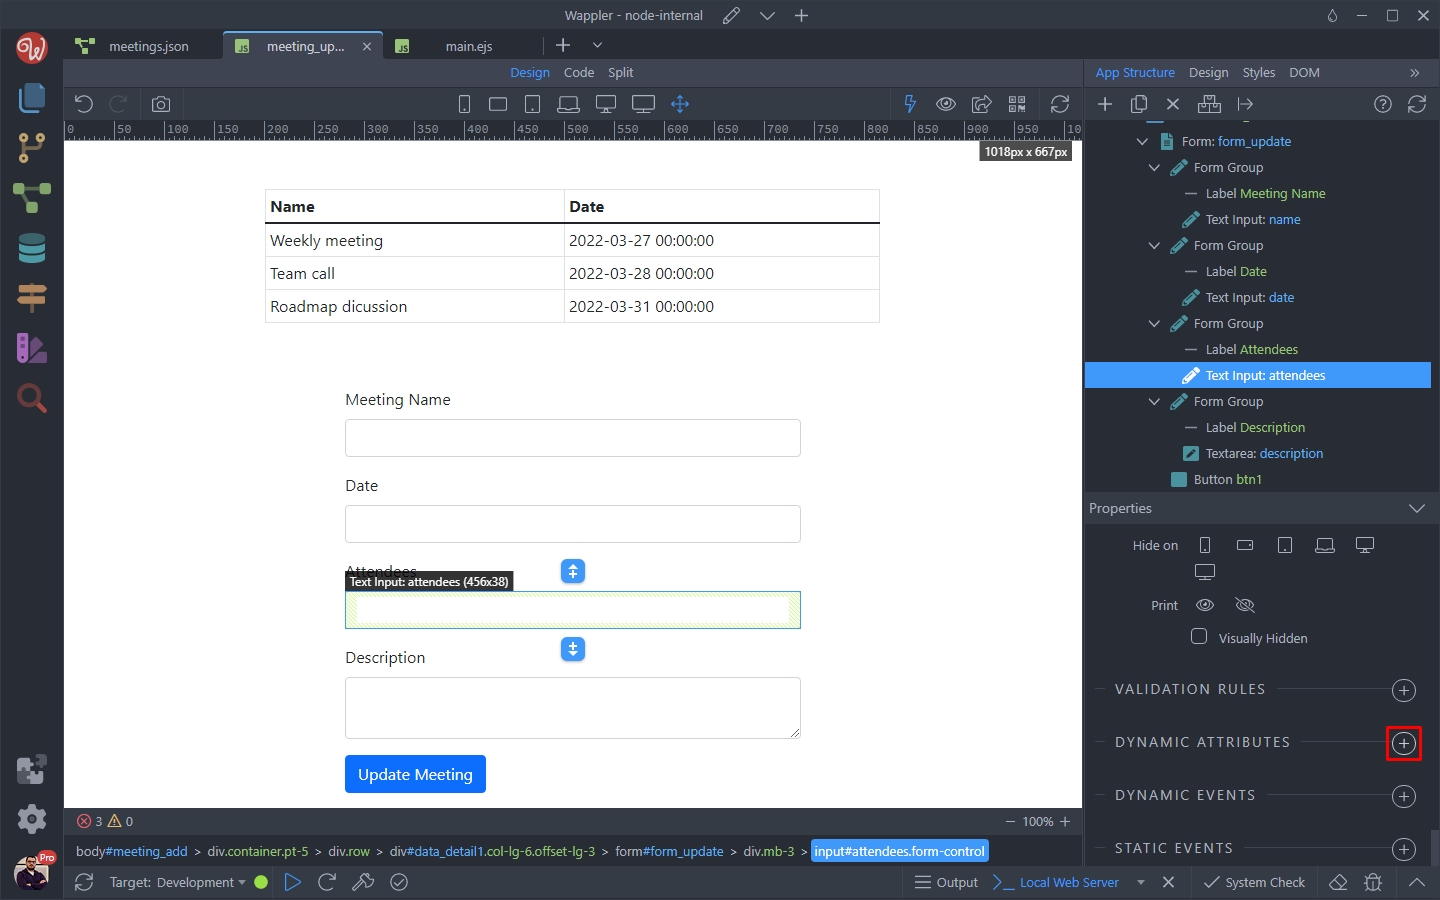
Select Input > Value:
Section titled “Select Input > Value:”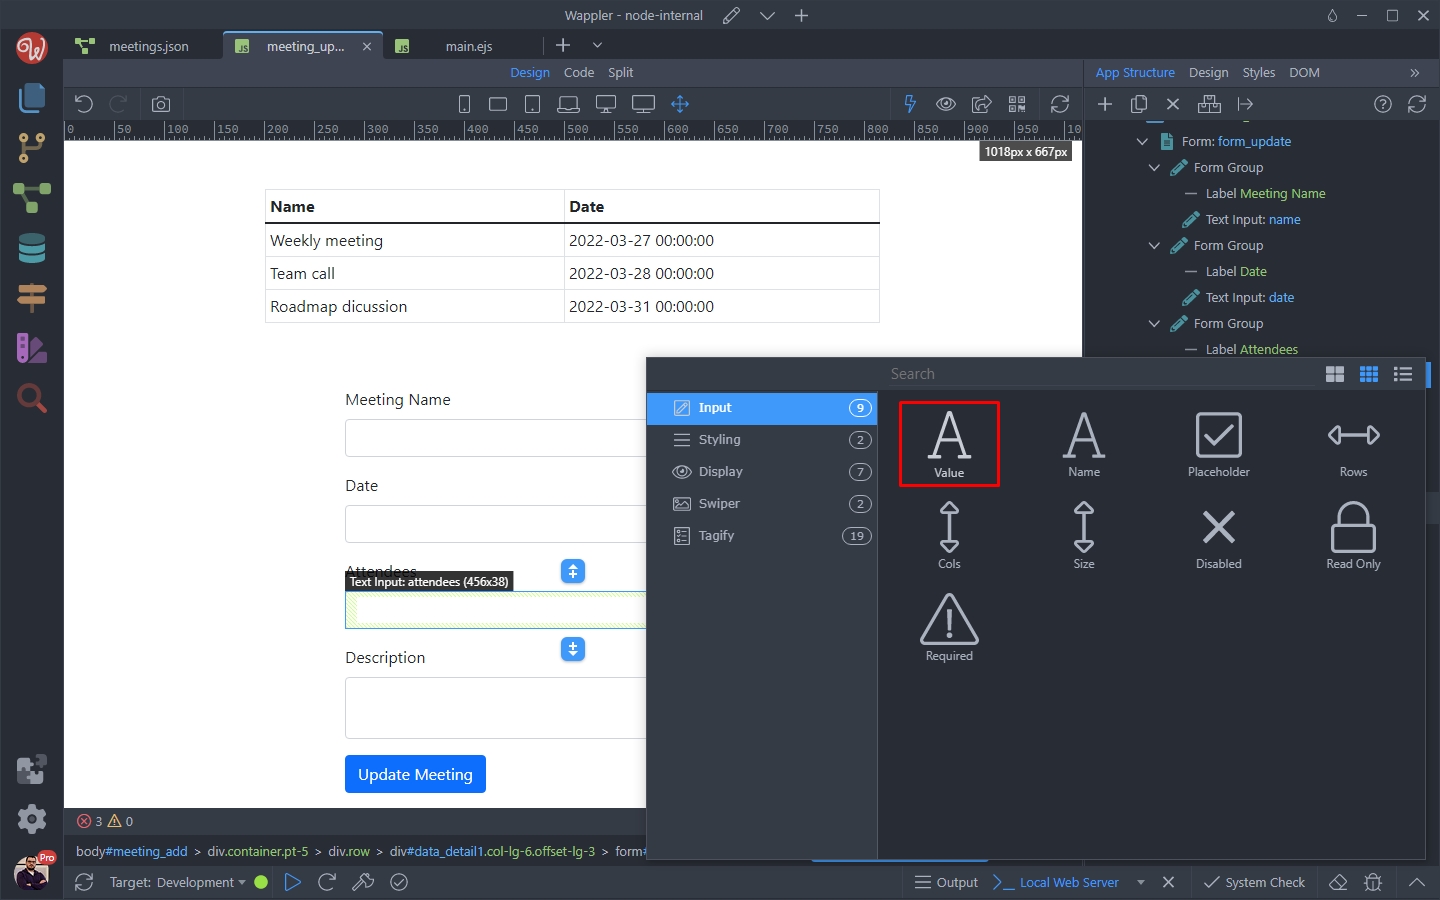
And click the dynamic data picker icon:
Section titled “And click the dynamic data picker icon:”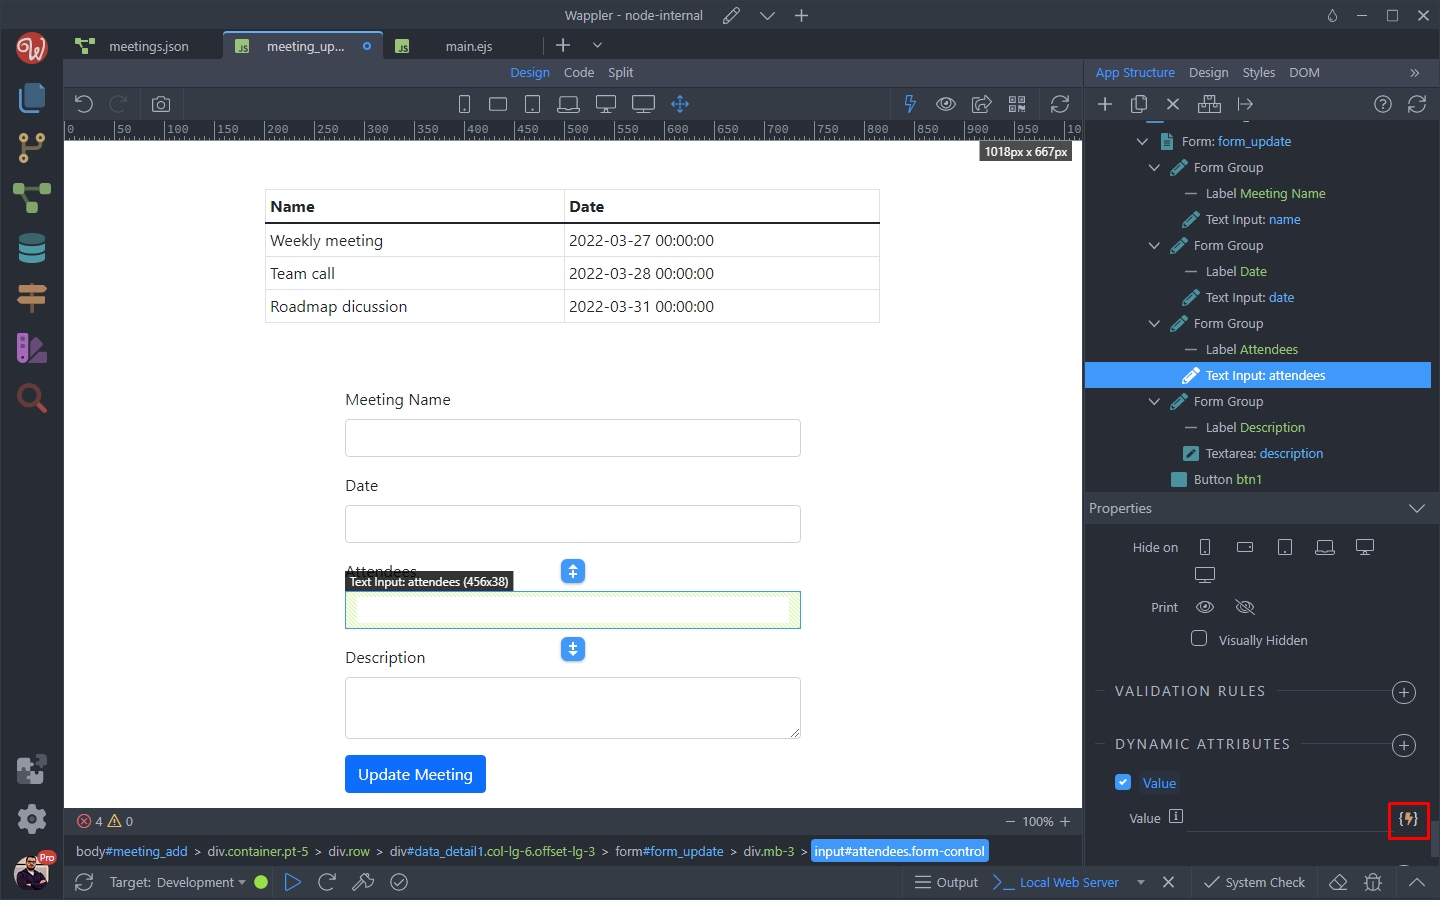
Select the attendees array, returned by the data detail region, then click the data formatter button:
Section titled “Select the attendees array, returned by the data detail region, then click the data formatter button:”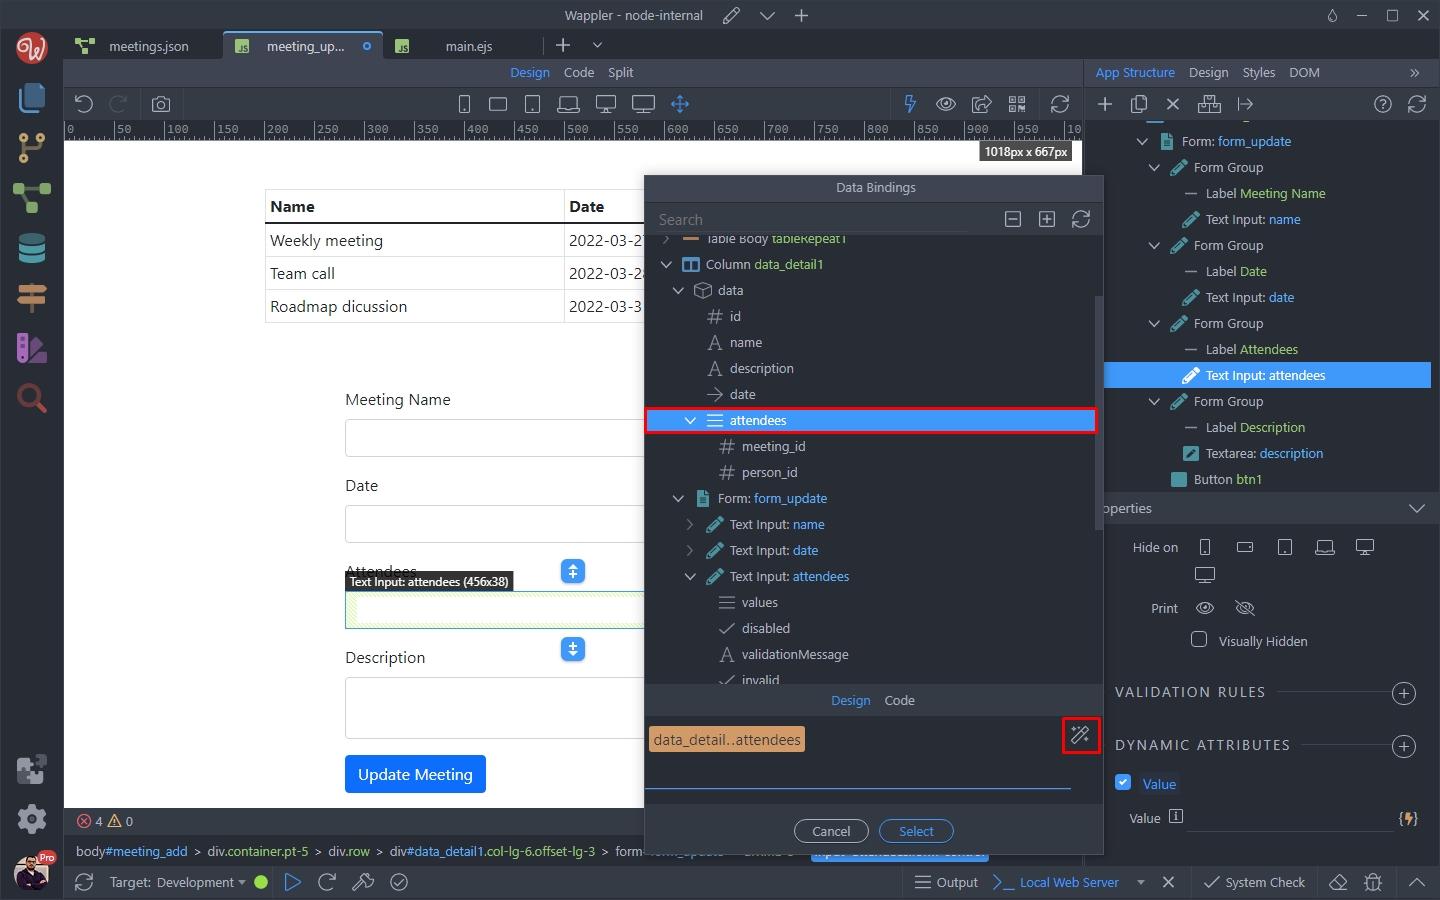
Step 49
Section titled “Step 49”The data for the Tagify components needs to be formatted, so that an array with only the attendees IDs is being returned. Right click the expression, and under the Collections category select Values:
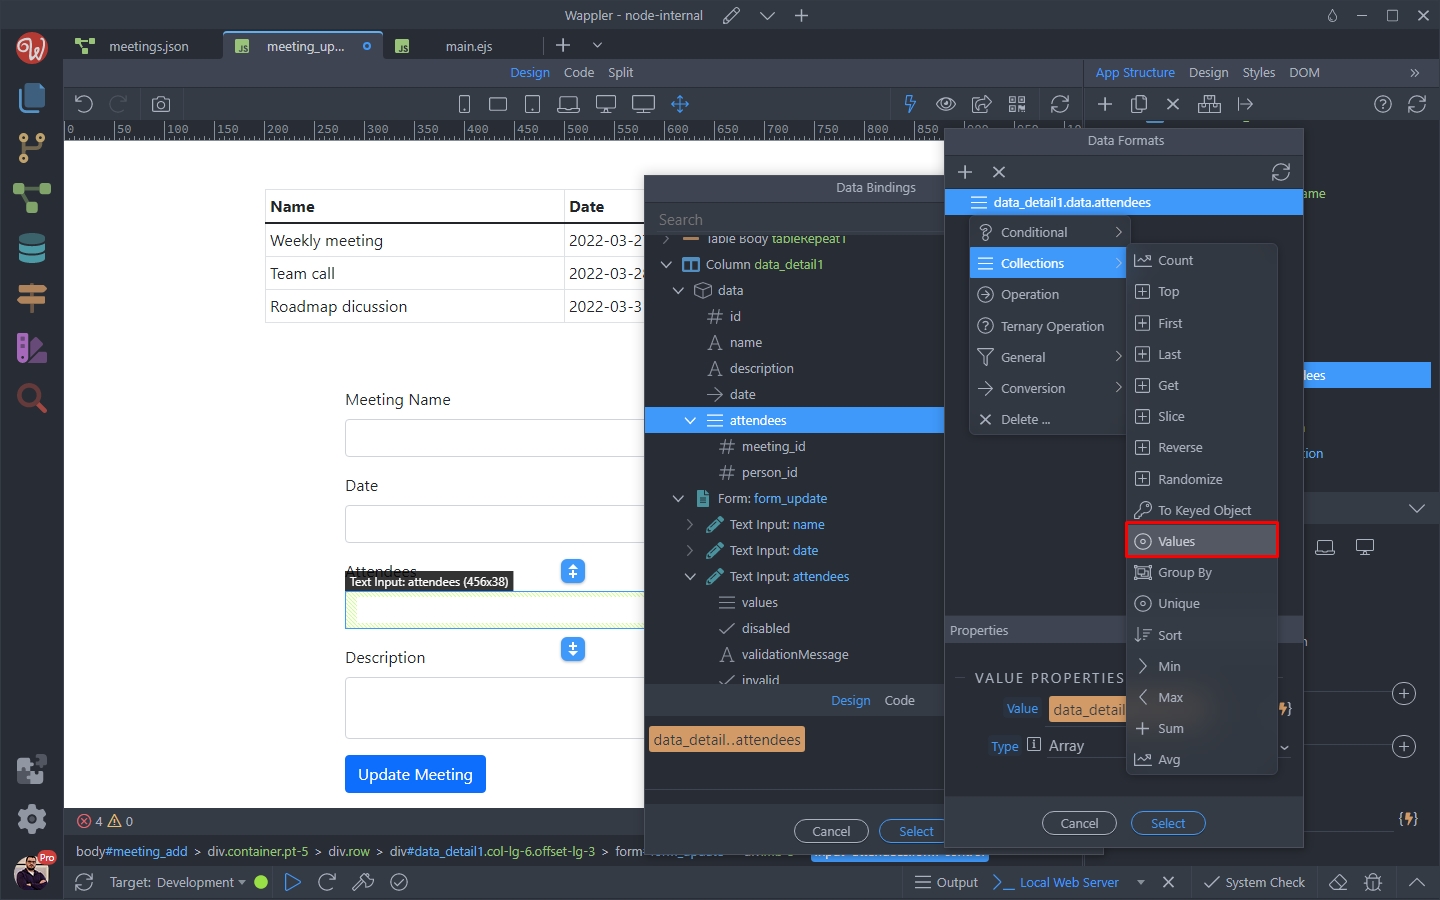
Select the dynamic data picker button to select which property to return:
Section titled “Select the dynamic data picker button to select which property to return:”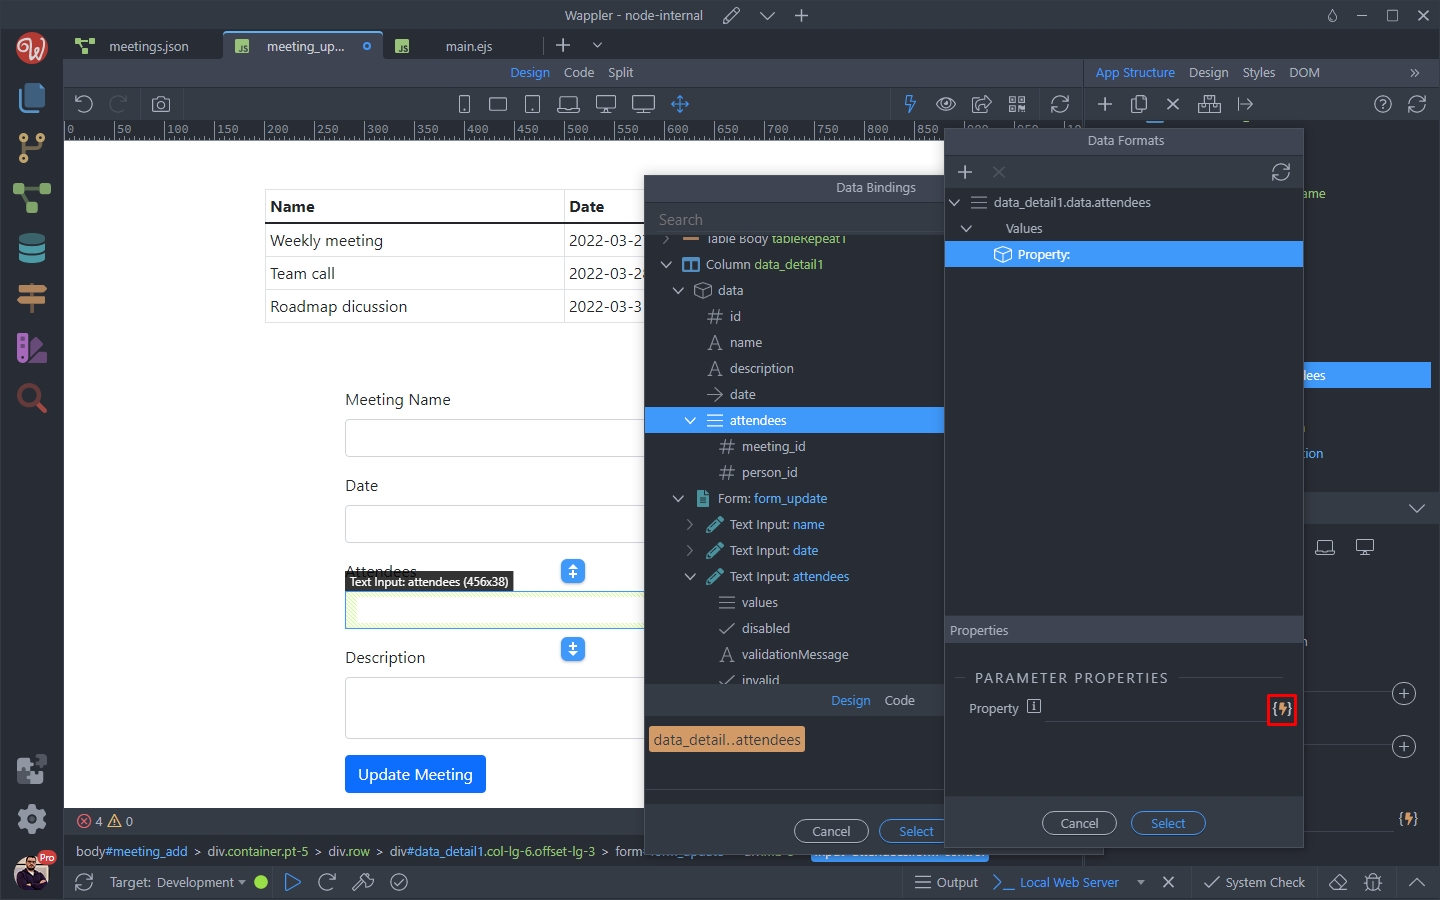
And pick the person_id:
Section titled “And pick the person_id:”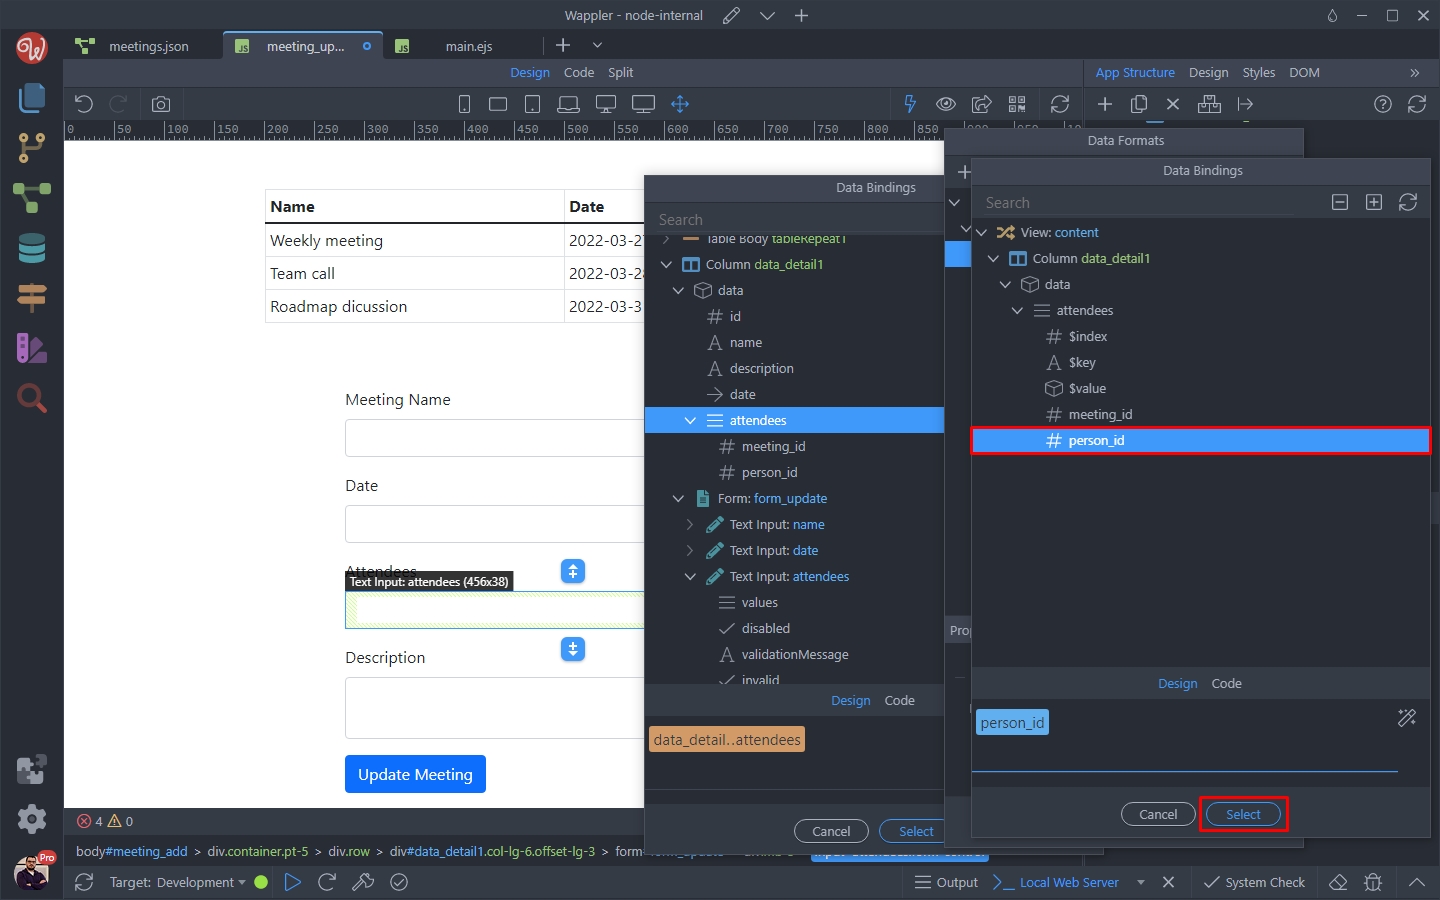
Click Select:
Section titled “Click Select:”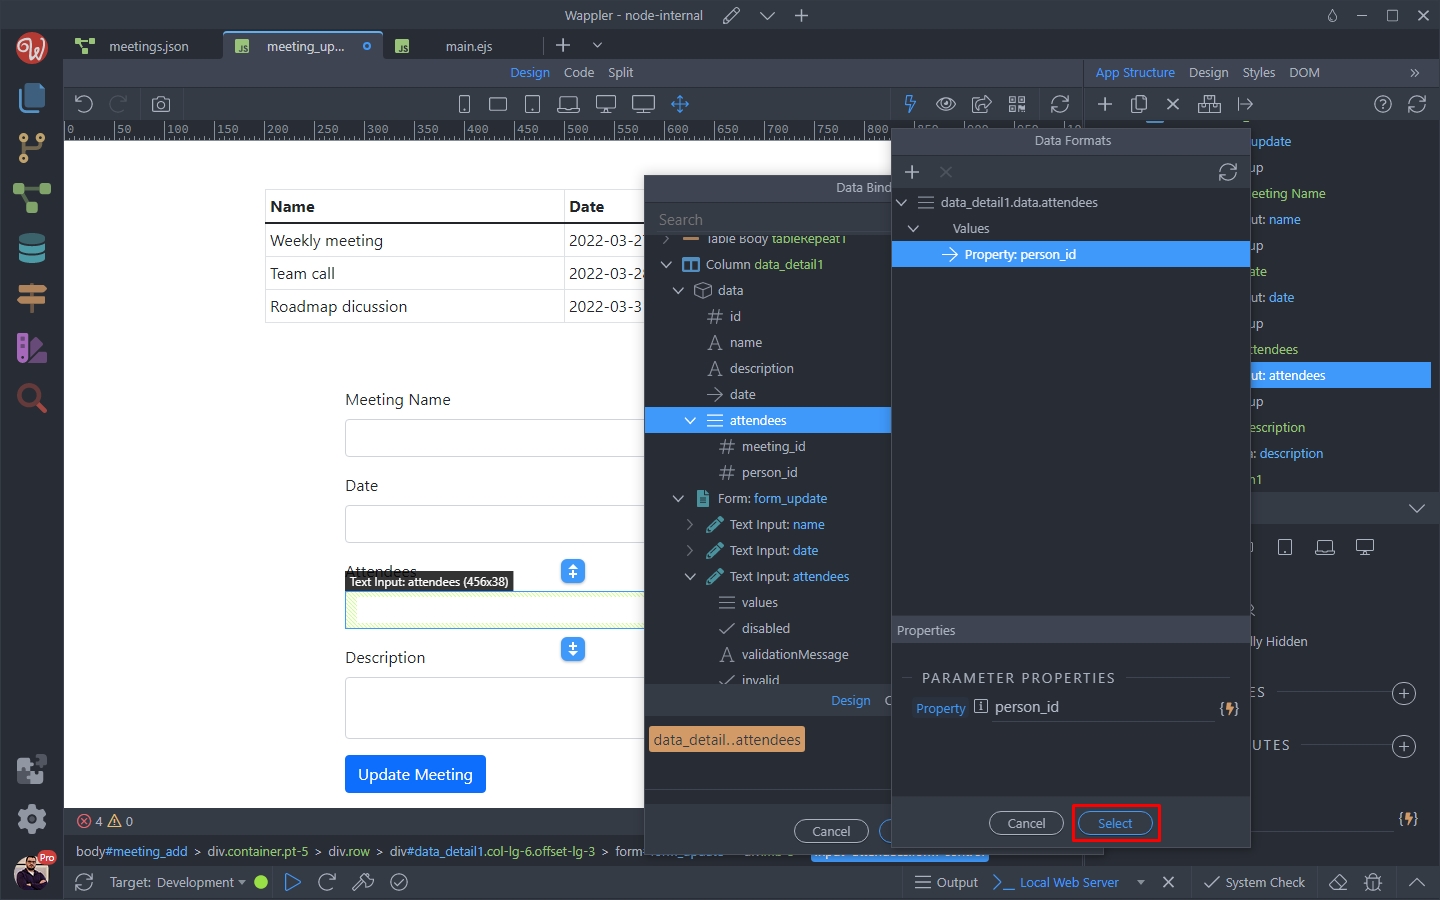
And then click Select to apply the formatting to the expression:
Section titled “And then click Select to apply the formatting to the expression:”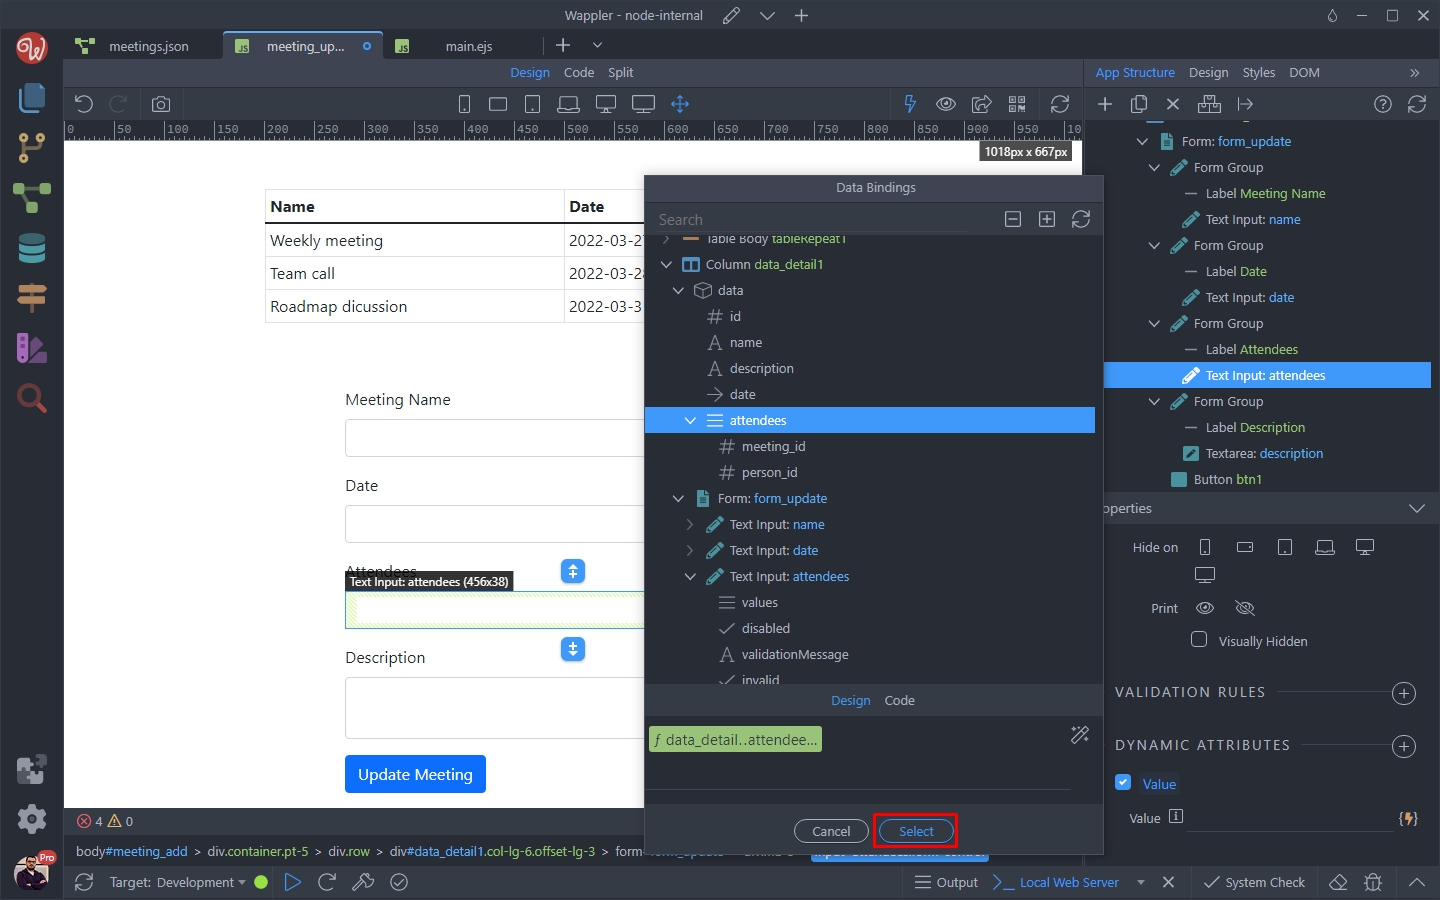
Save your page:
Section titled “Save your page:”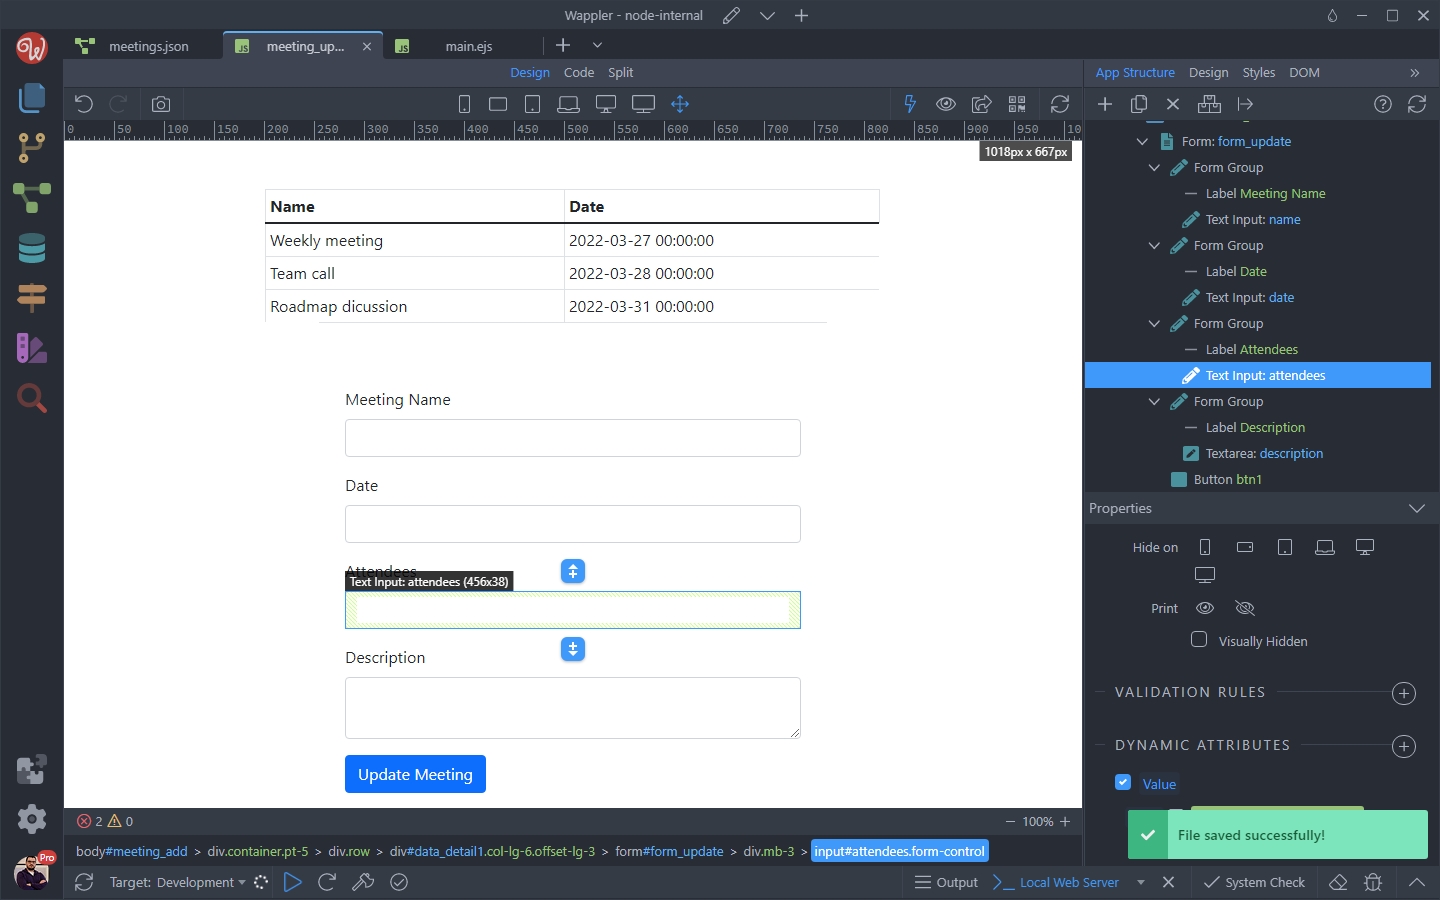
Step 55
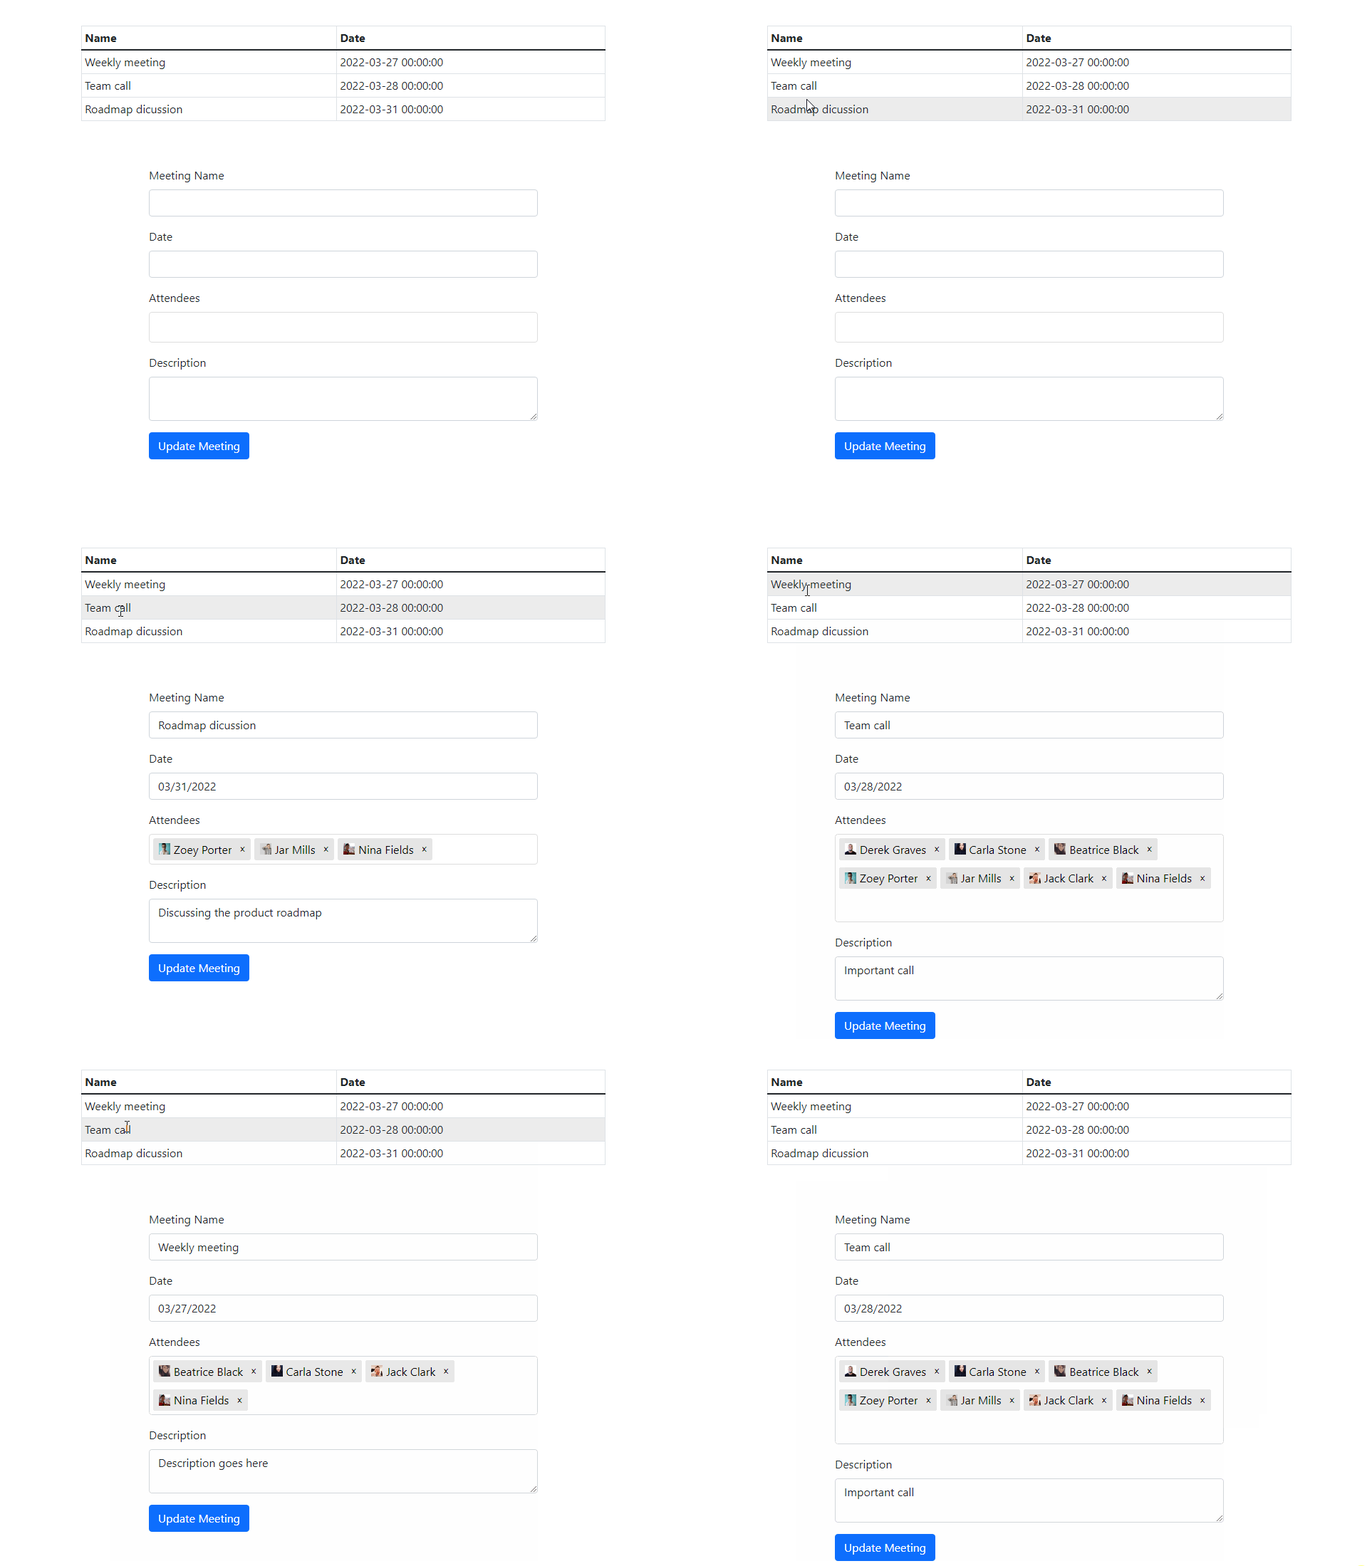
Section titled “Step 55”And let’s preview the results.
You can see the attendees are being loaded in the update record form, as well as the rest of the data for the selected meeting:
Update API Action
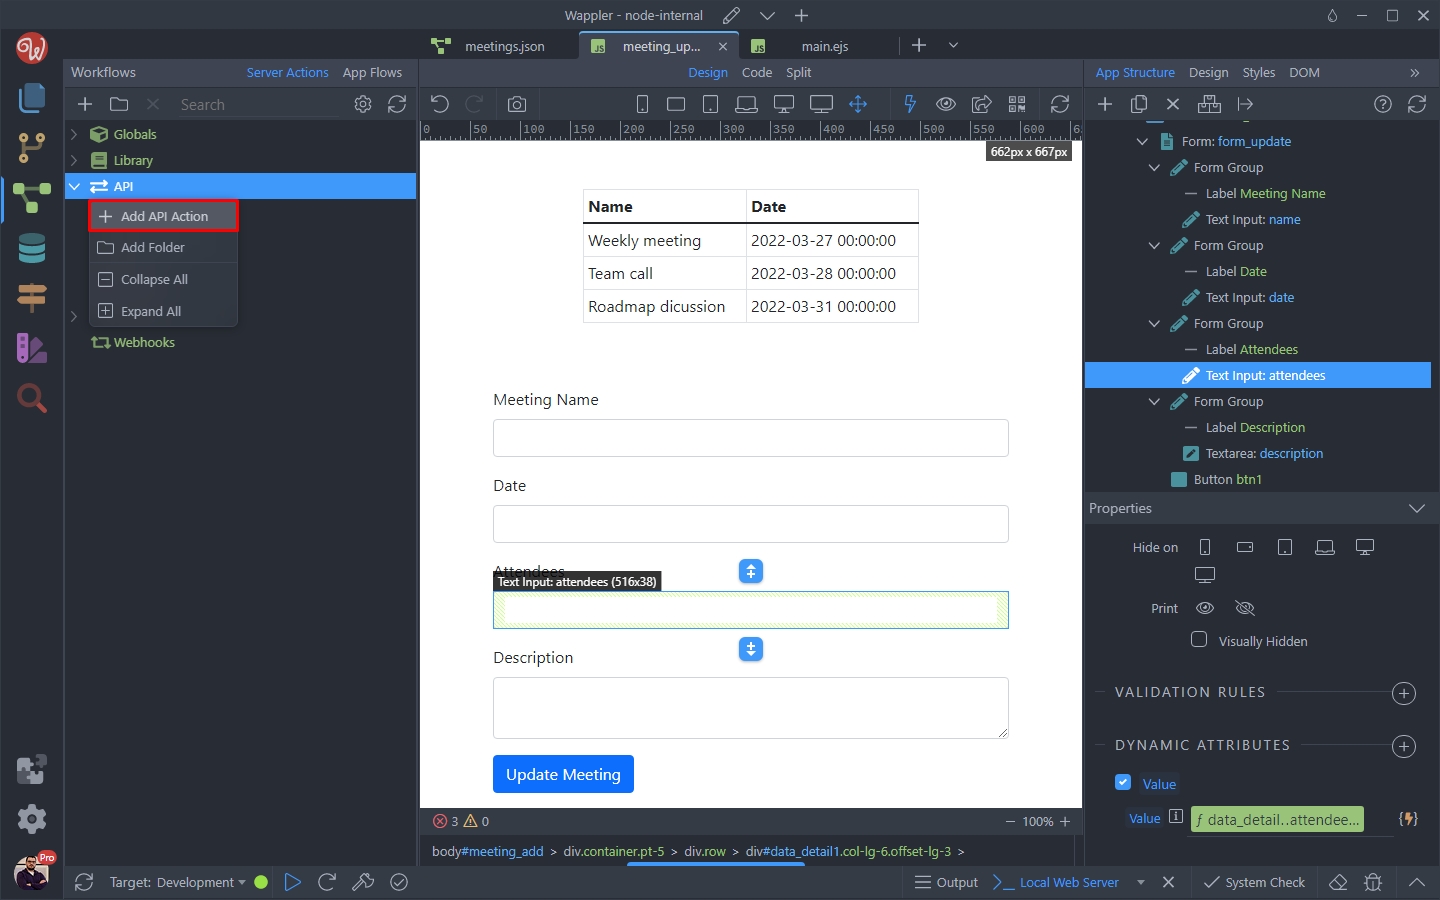
Section titled “Update API Action”The next step is to setup the update record API Action.
Open the server connect panel and create a new API Action:
We call it meeting_update:
Section titled “We call it meeting_update:”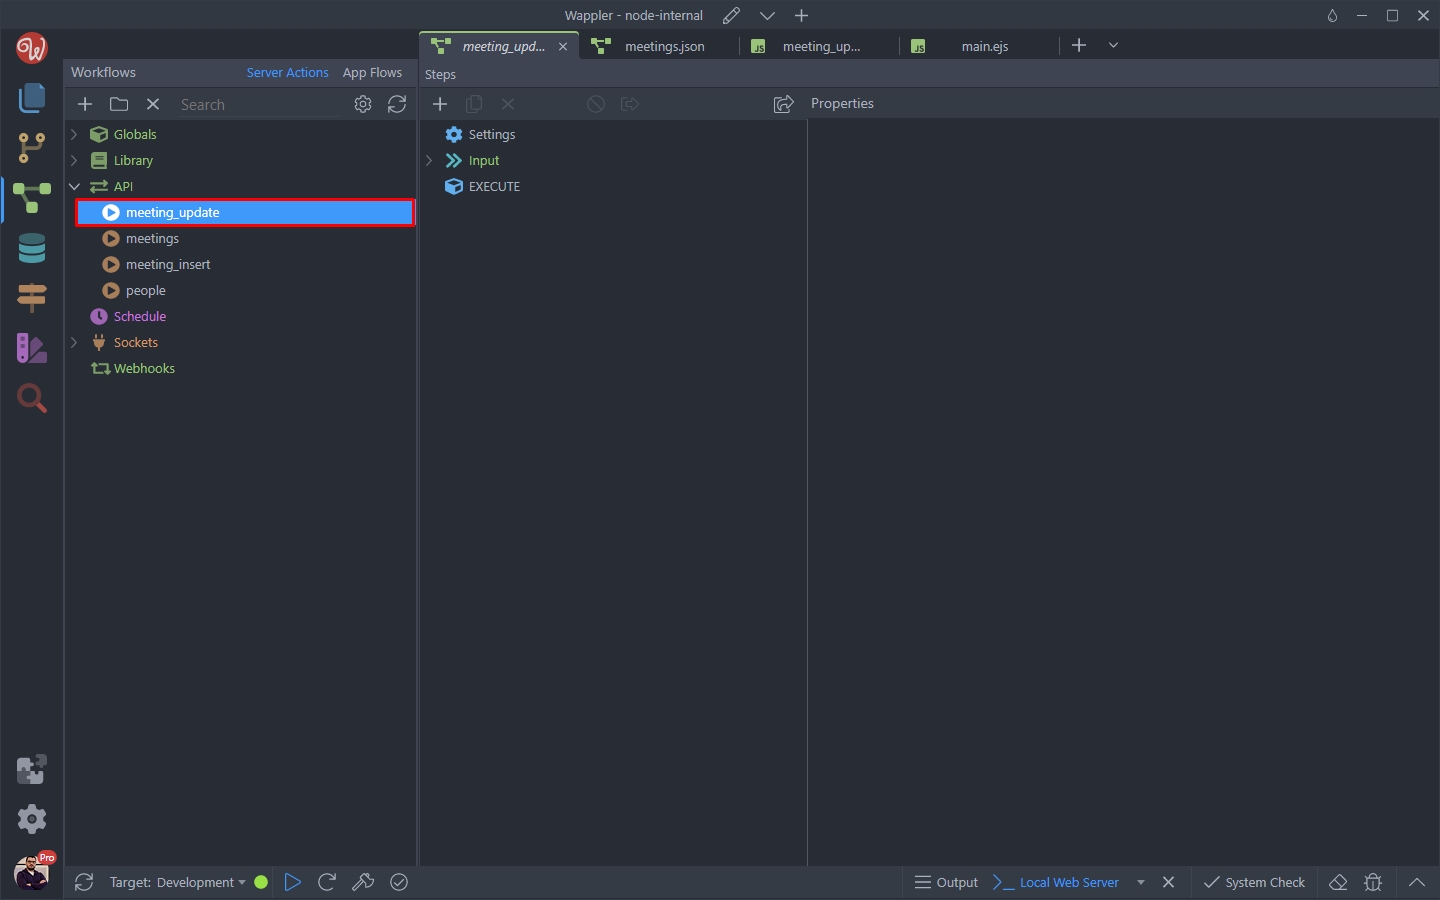
Now let’s import our form inputs. Select Input and click the browse button for the Linked Page option:
Section titled “Now let’s import our form inputs. Select Input and click the browse button for the Linked Page option:”Now let’s import our form inputs.
Select Input and click the browse button for the Linked Page option:
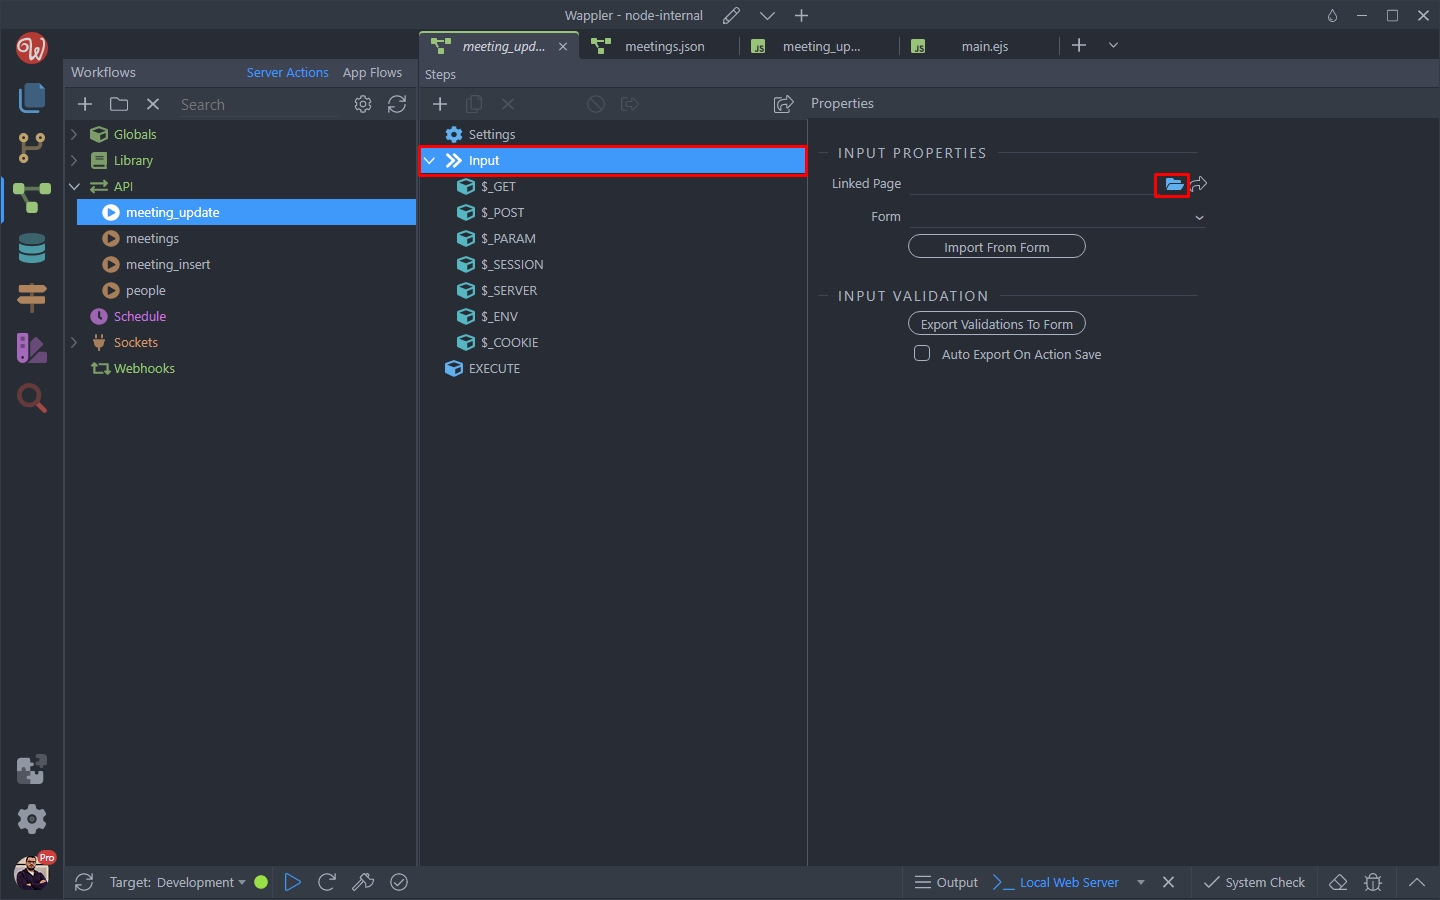
Browse to your page an select it:
Section titled “Browse to your page an select it:”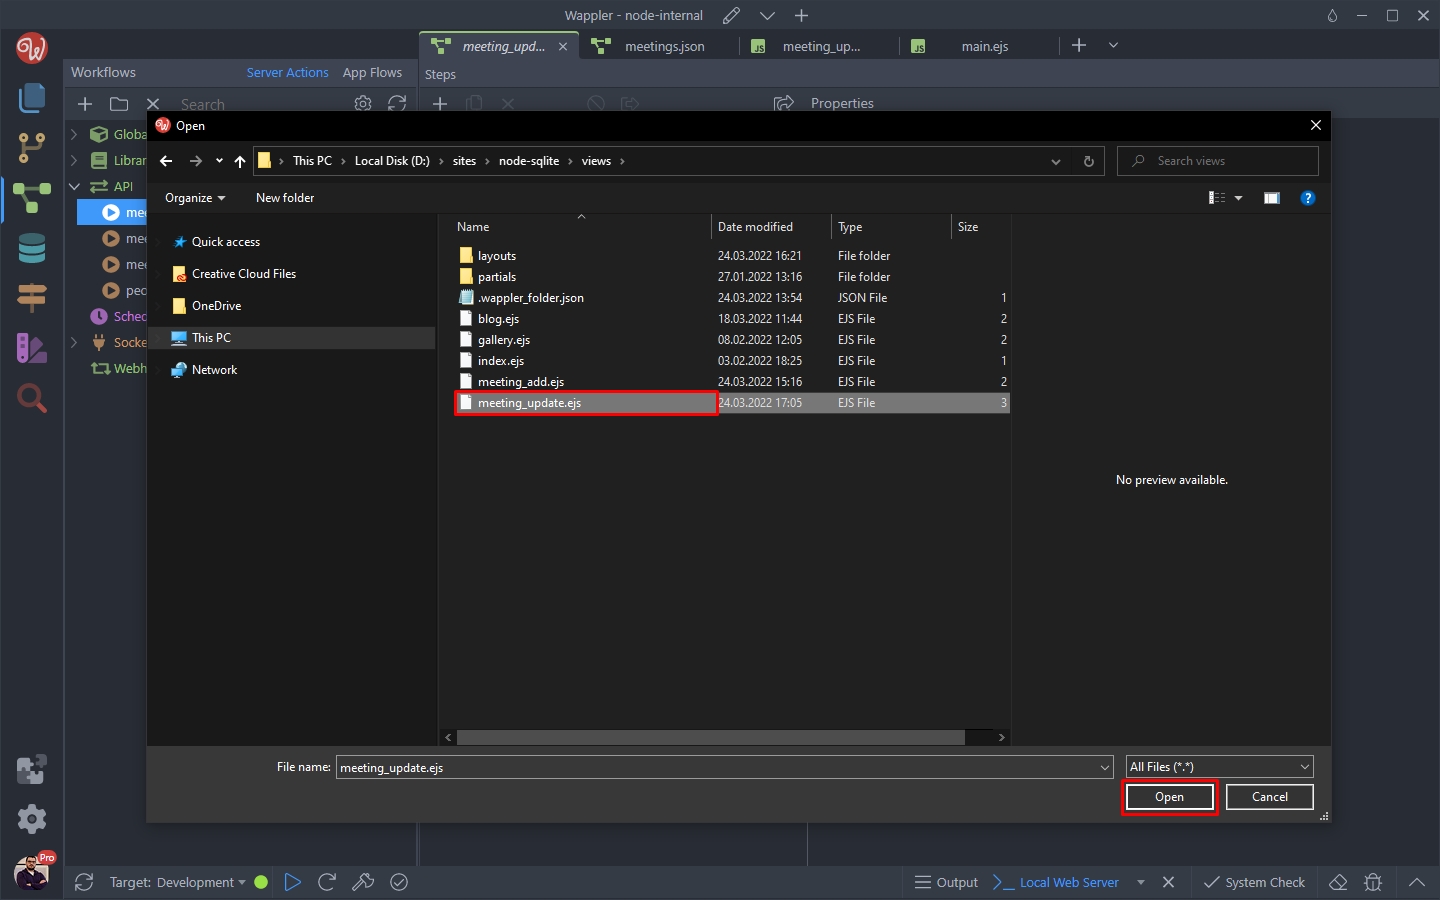
Then select the form from the dropdown and click Import:
Section titled “Then select the form from the dropdown and click Import:”
This imports the form inputs:
Section titled “This imports the form inputs:”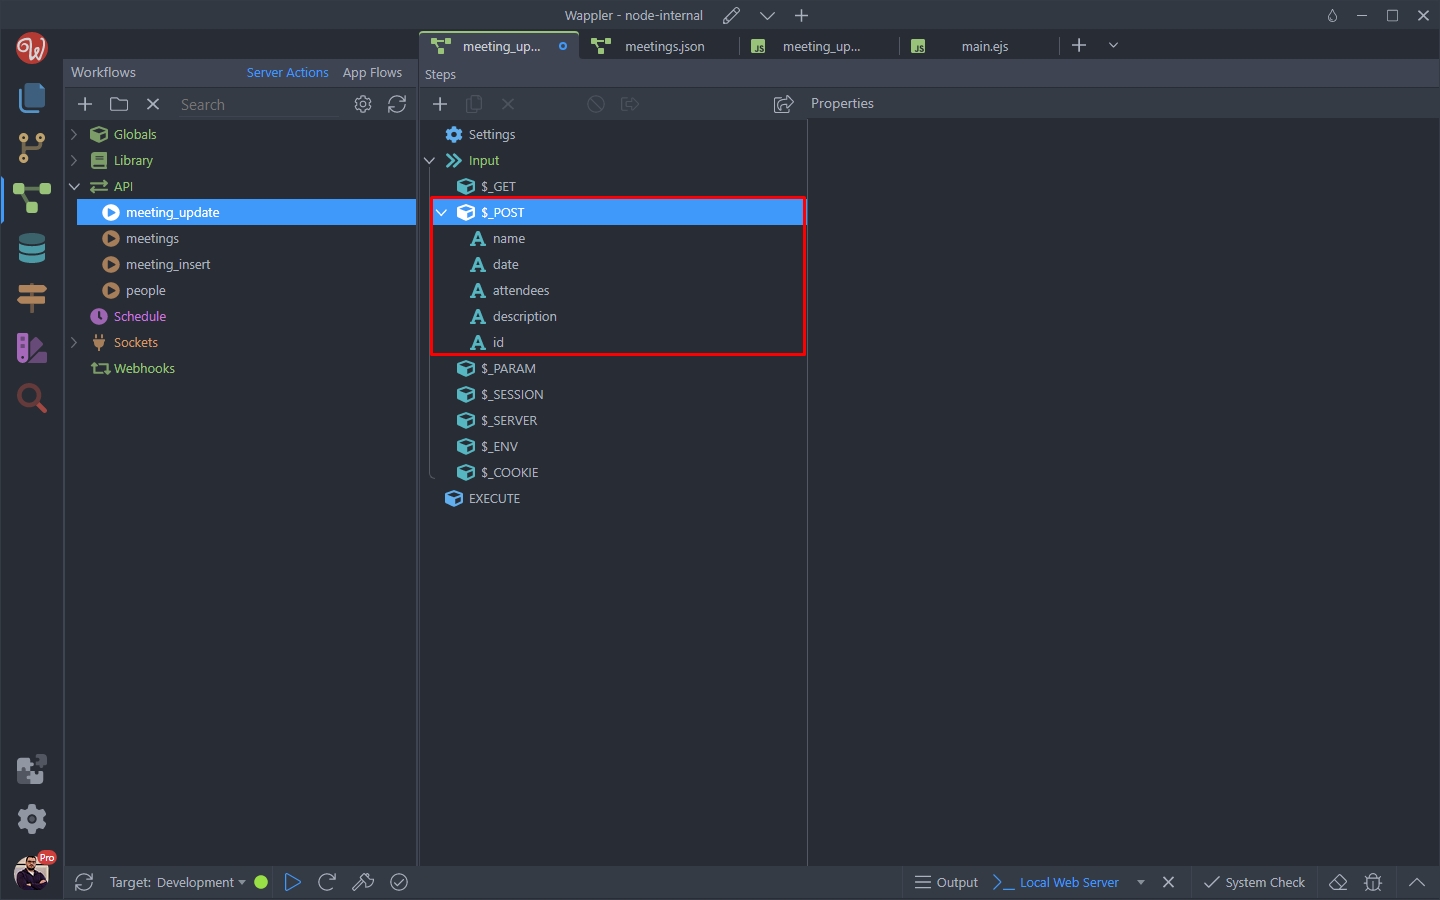
Close the Input section and add new action:
Section titled “Close the Input section and add new action:”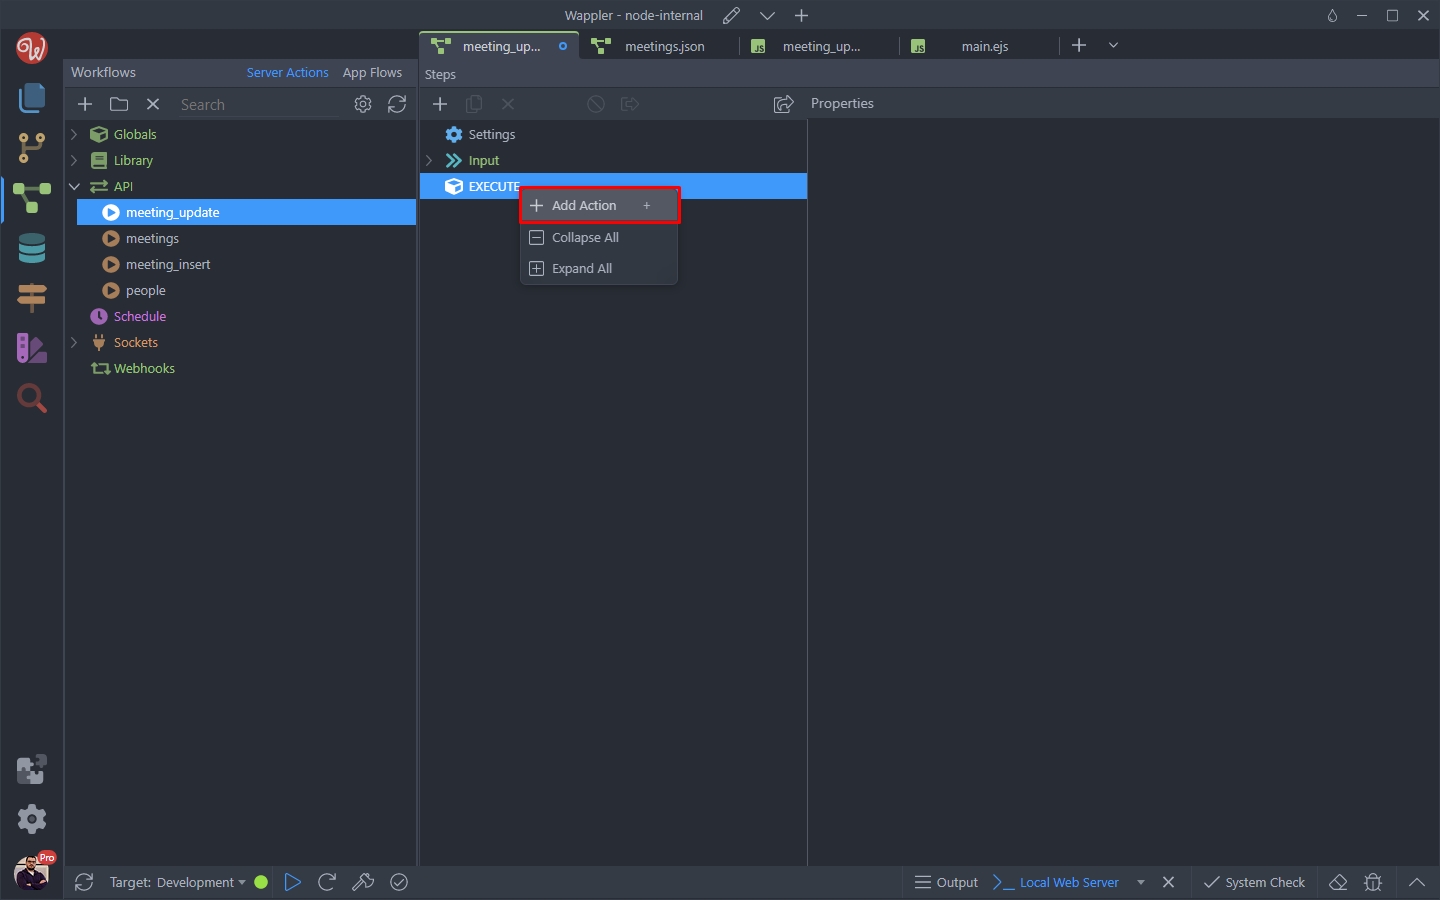
Select Database Update in the Database Actions category:
Section titled “Select Database Update in the Database Actions category:”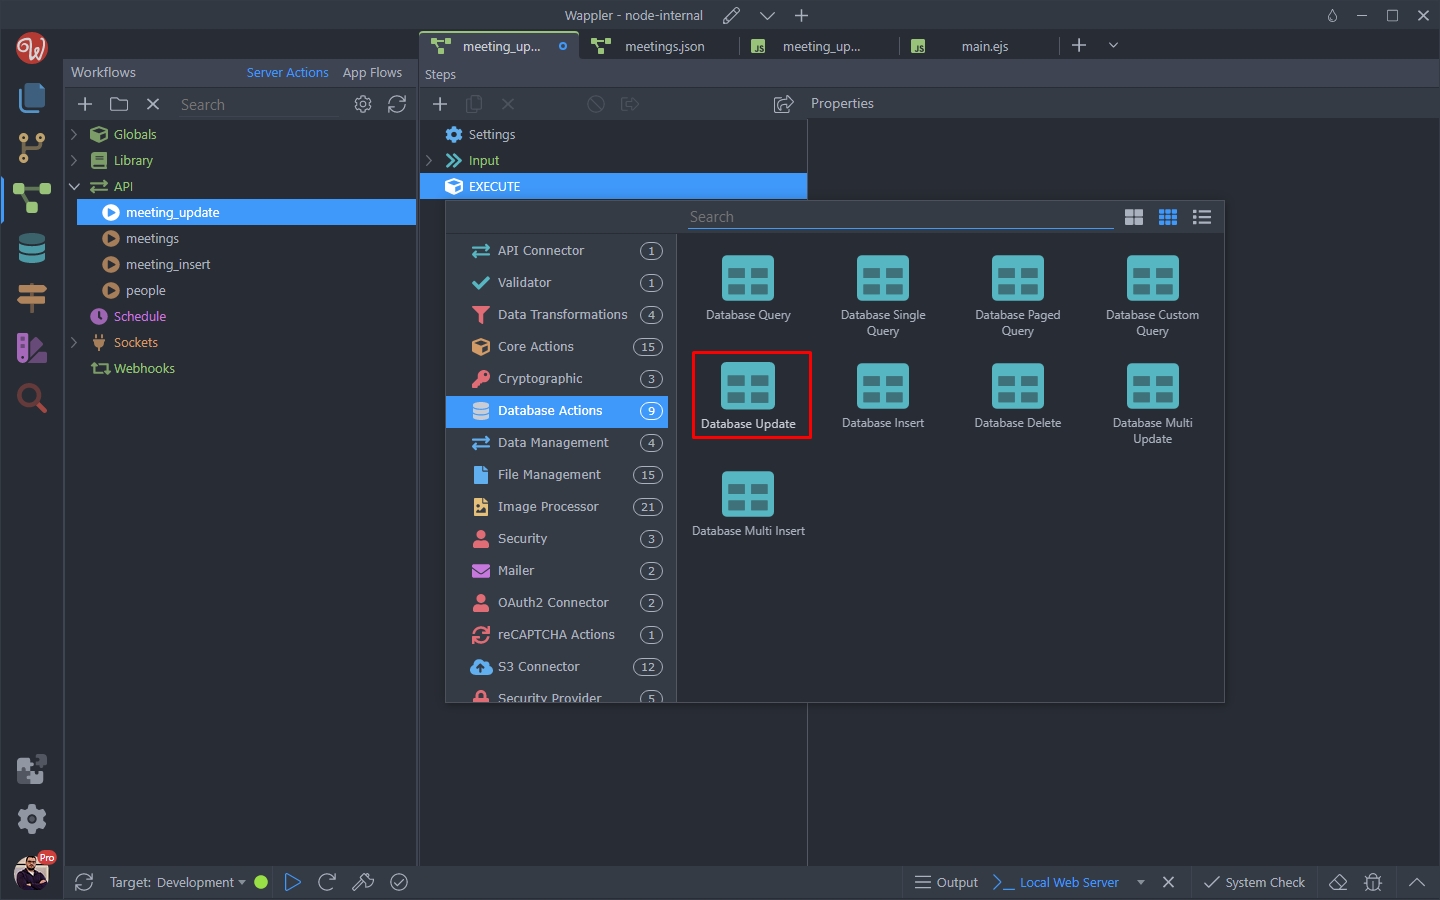
Then open the Update Options:
Section titled “Then open the Update Options:”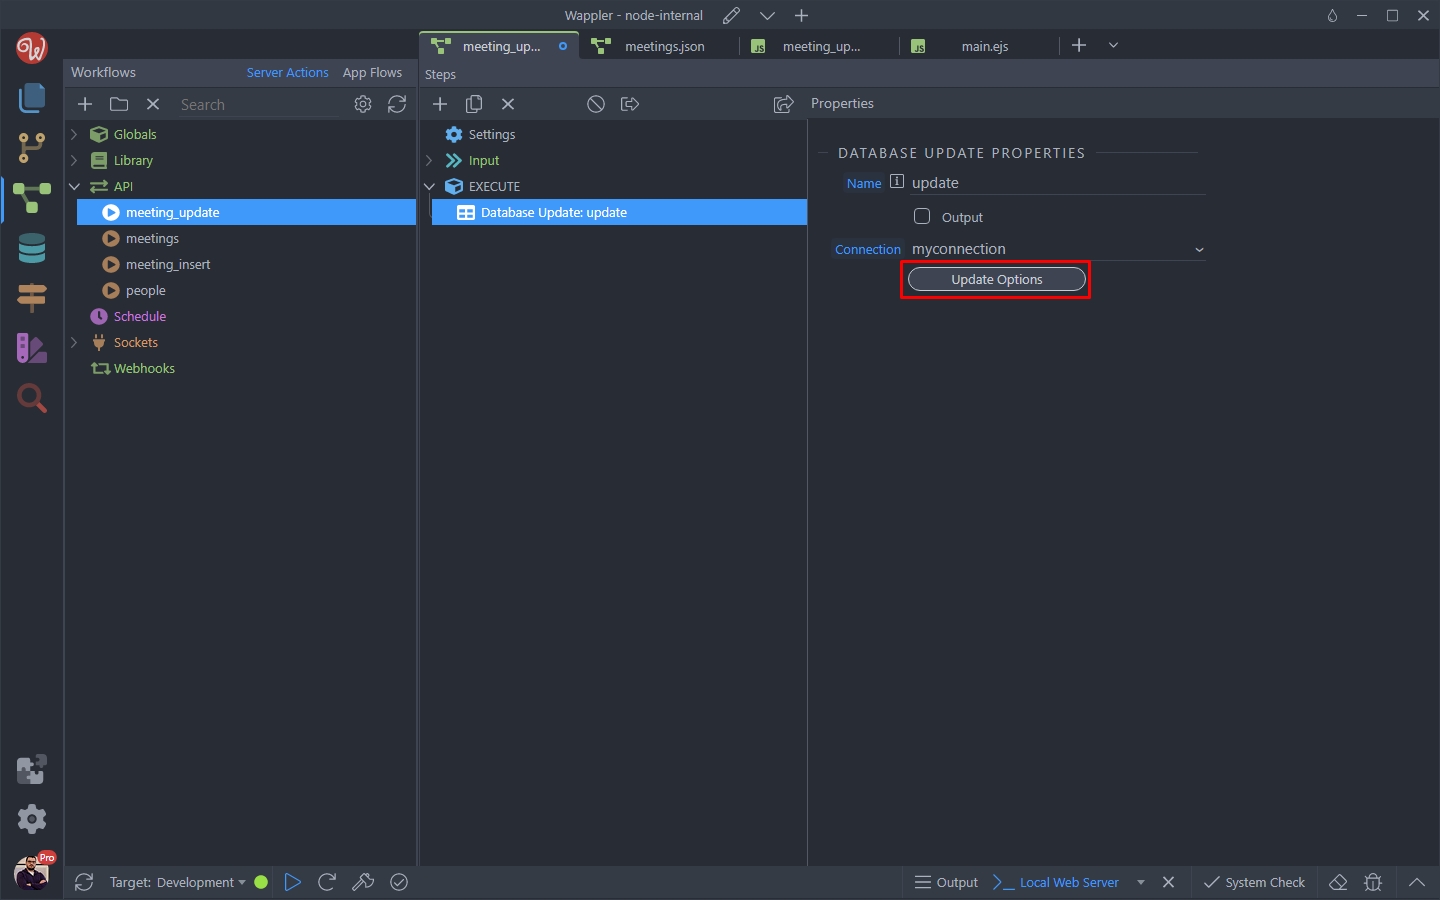
Open the table dropdown and select the table, which you want to update:
Section titled “Open the table dropdown and select the table, which you want to update:”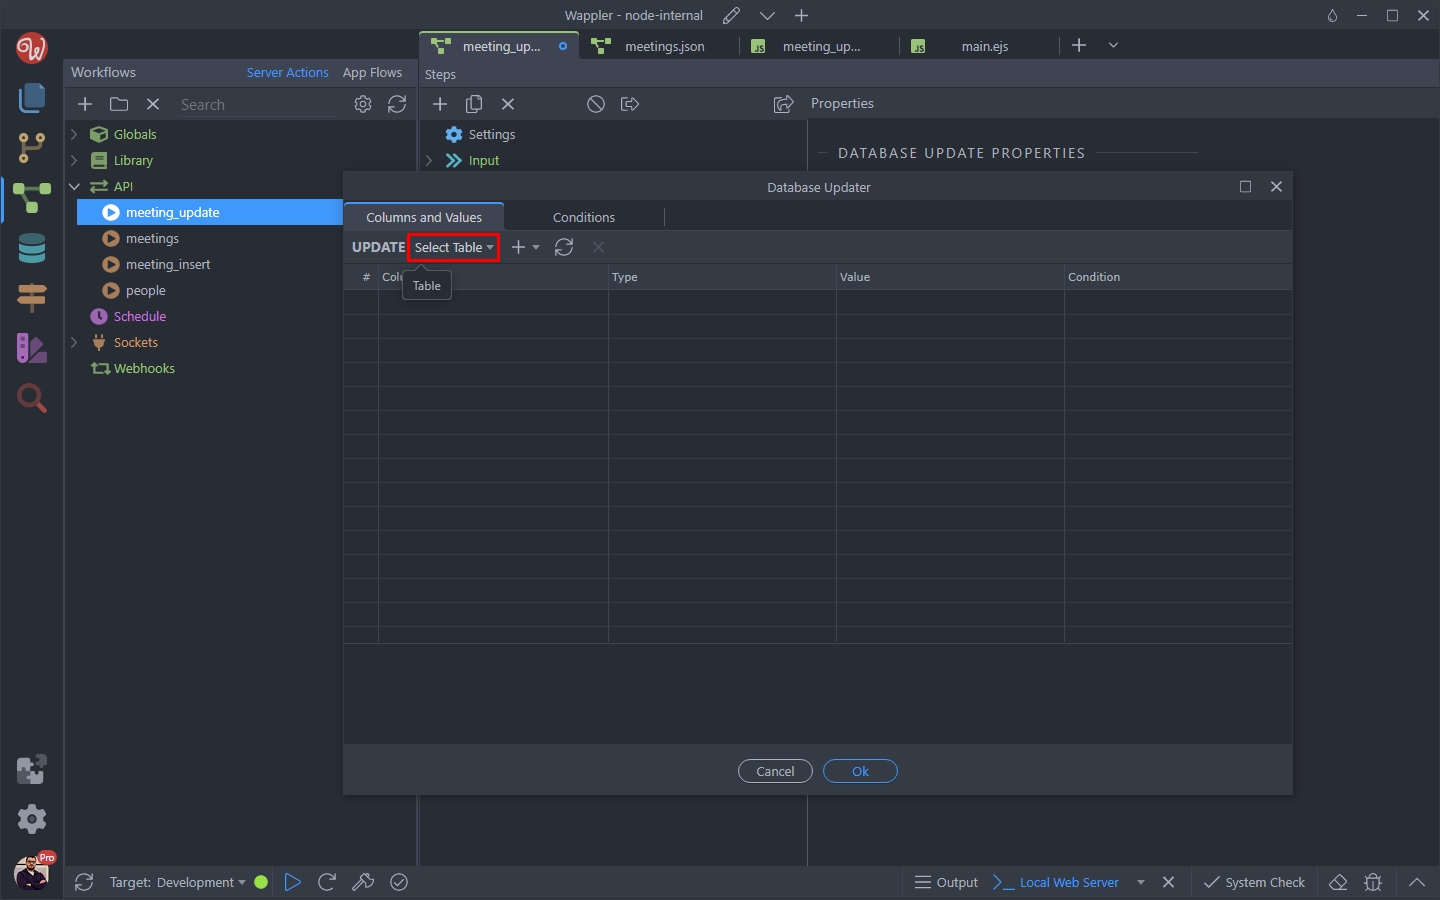
This is the meetings table:
Section titled “This is the meetings table:”
Step 68
Section titled “Step 68”You can see the table fields have been imported. We also want to update the attendees so we need to add the attendees sub table. Open the add column dropdown:
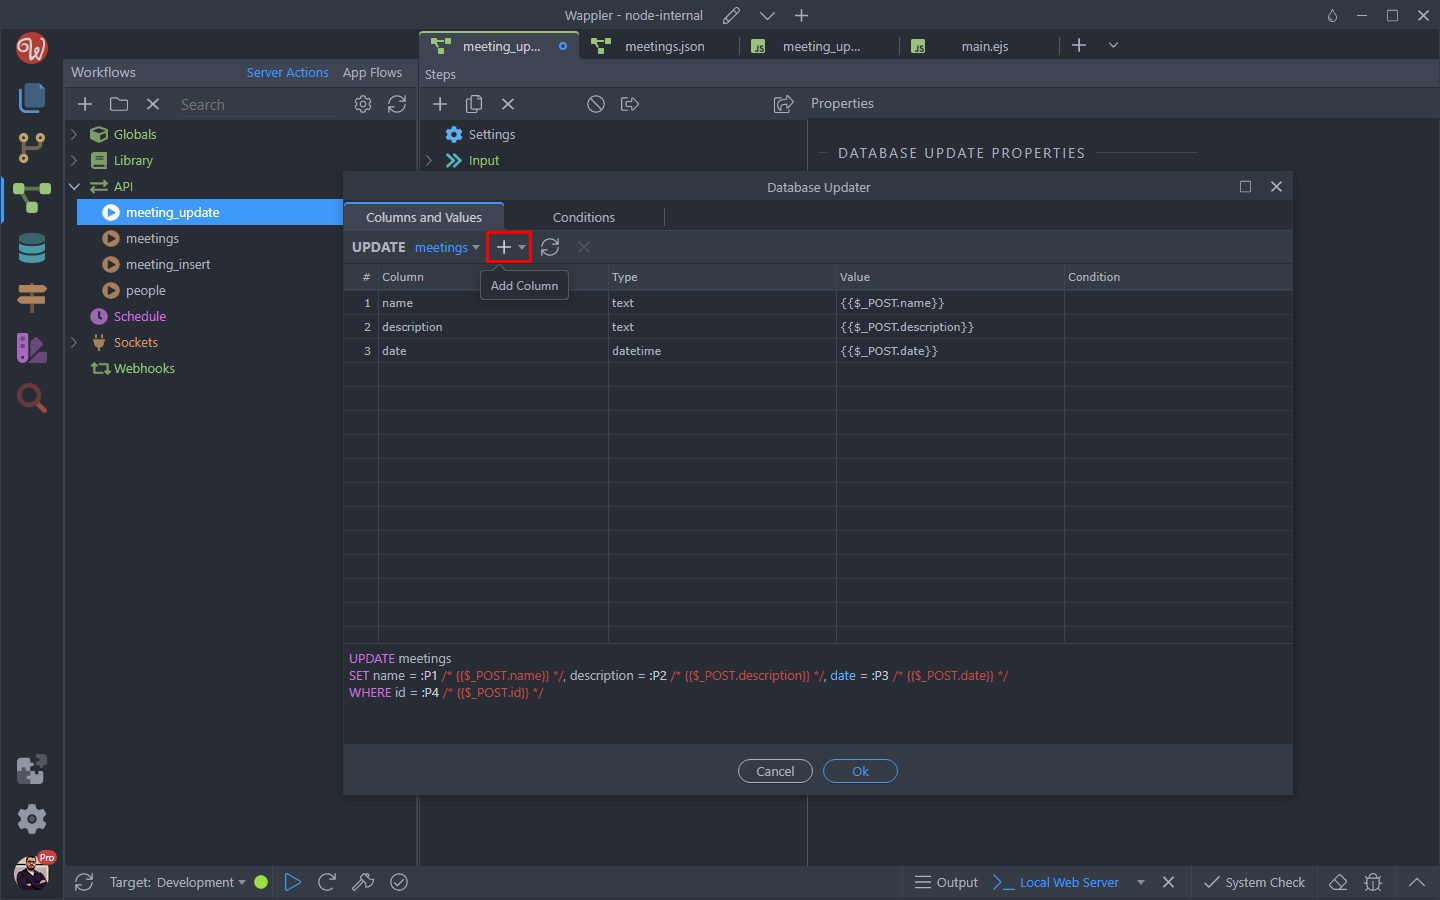
And select the attendees sub table:
Section titled “And select the attendees sub table:”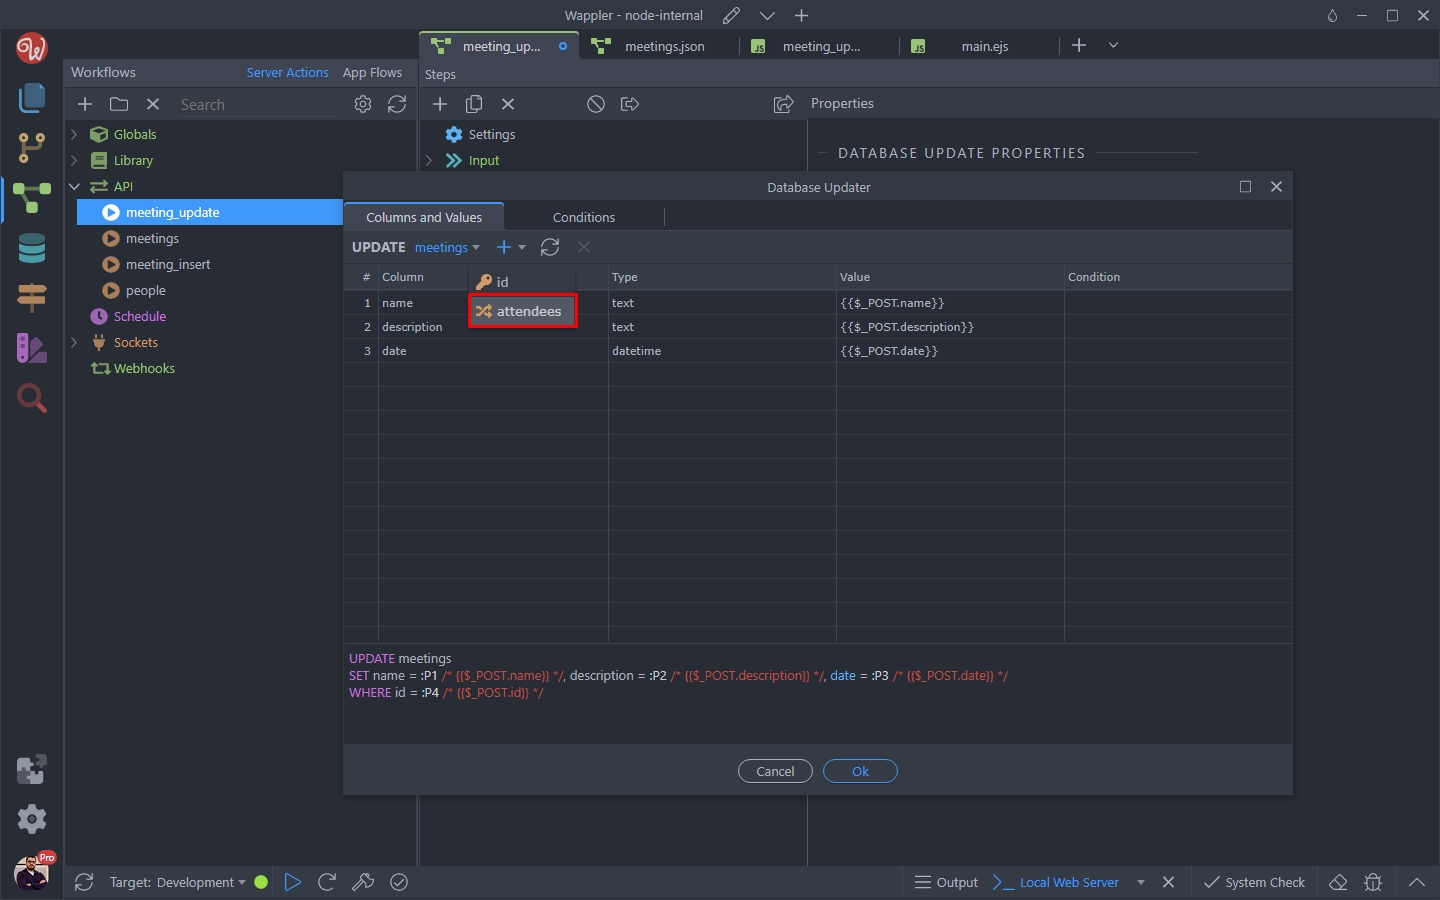
Step 70
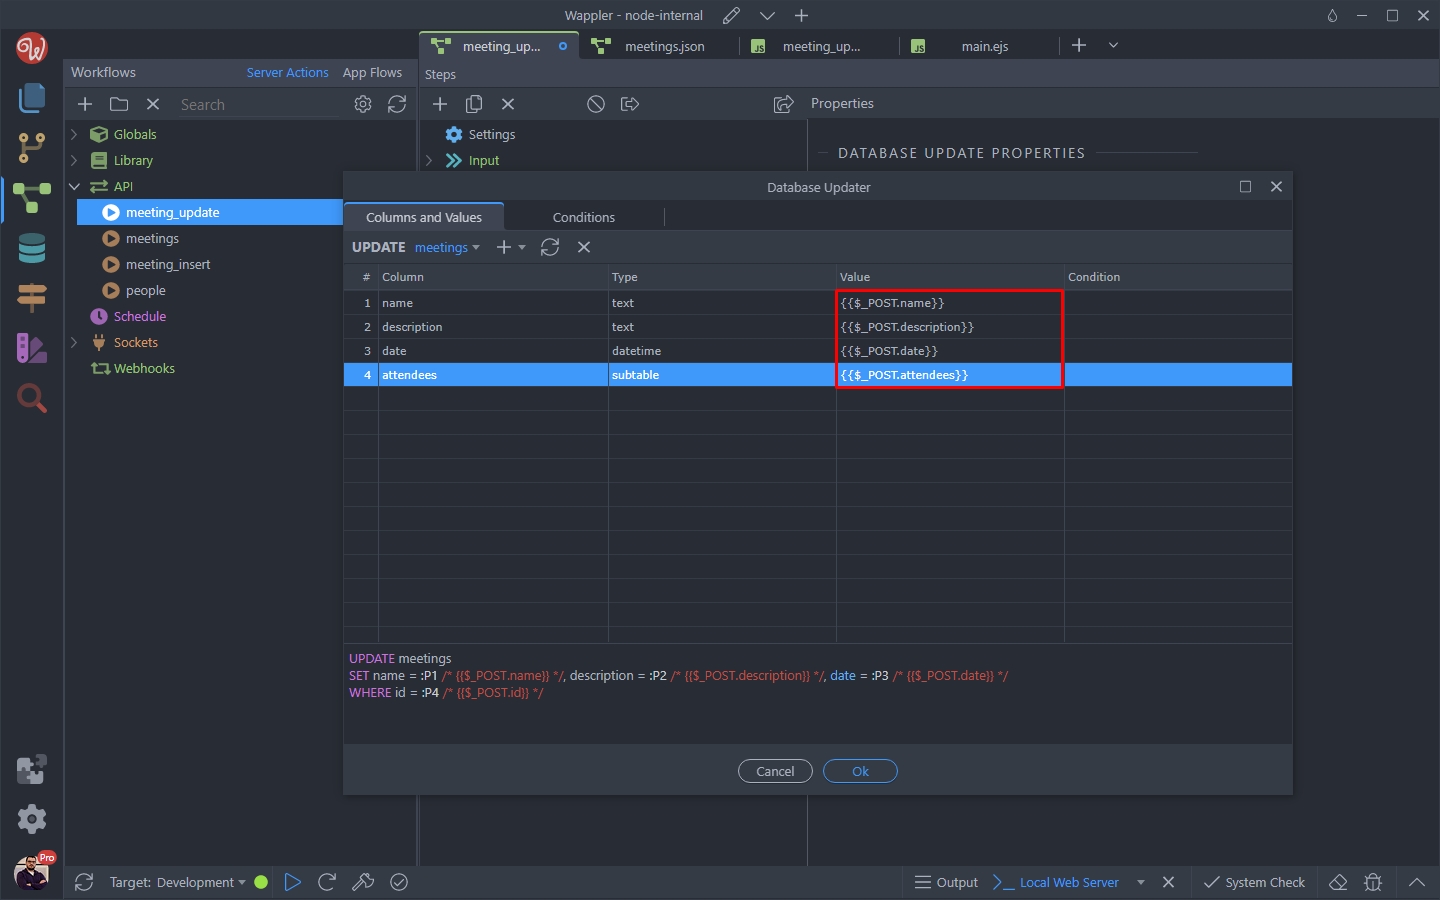
Section titled “Step 70”Make sure to select the form inputs corresponding to each of the database fields.
For the attendees sub table we select the Tagify input:
Click the Conditions tab:
Section titled “Click the Conditions tab:”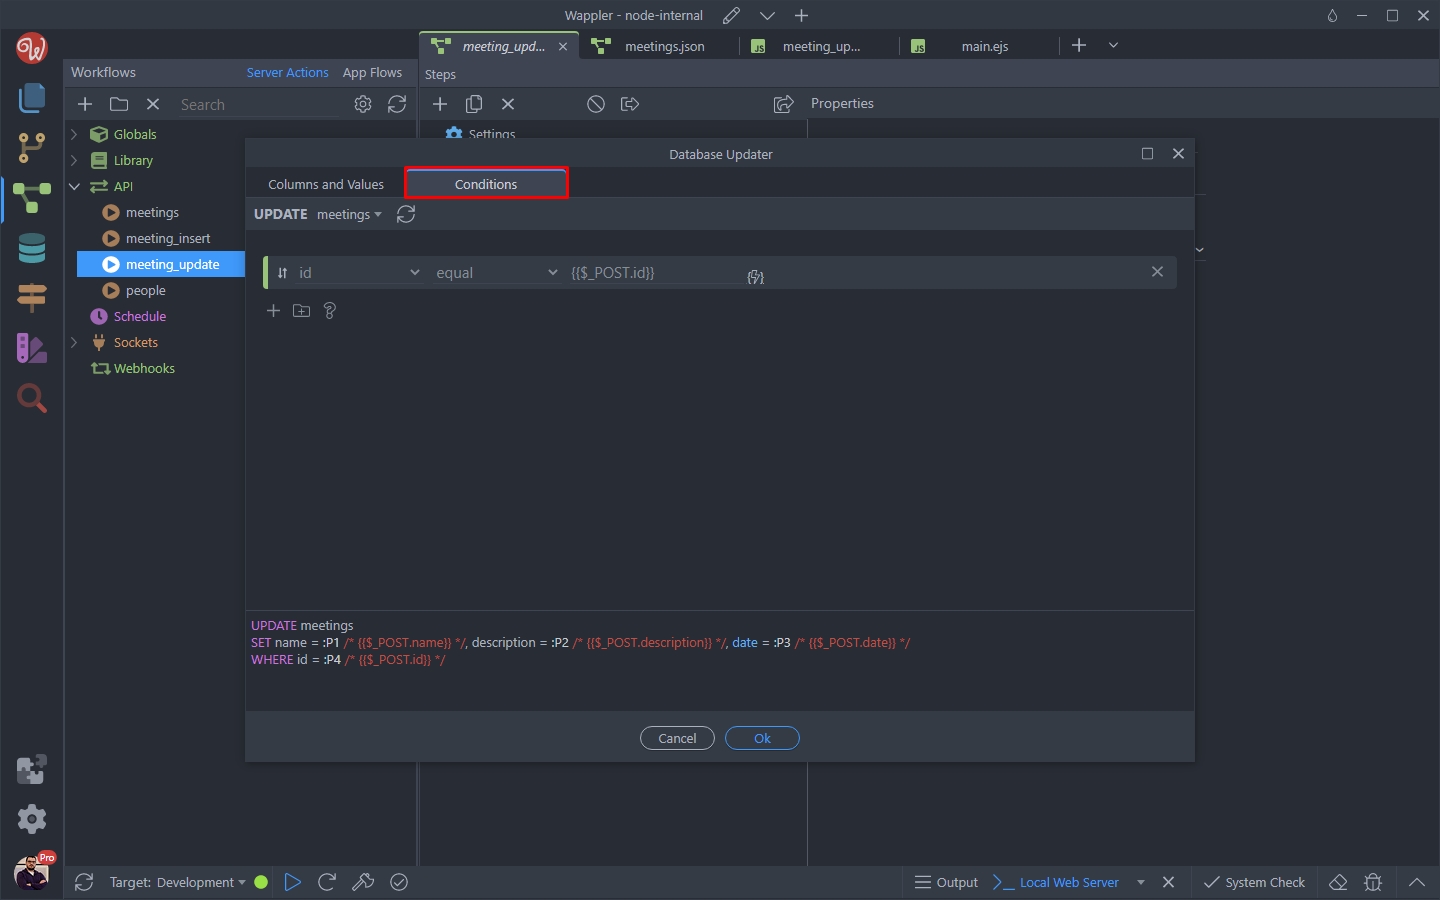
And select your hidden form input, returning the selected record ID:
Section titled “And select your hidden form input, returning the selected record ID:”
Click OK when you are done:
Section titled “Click OK when you are done:”
Then save your API Action:
Section titled “Then save your API Action:”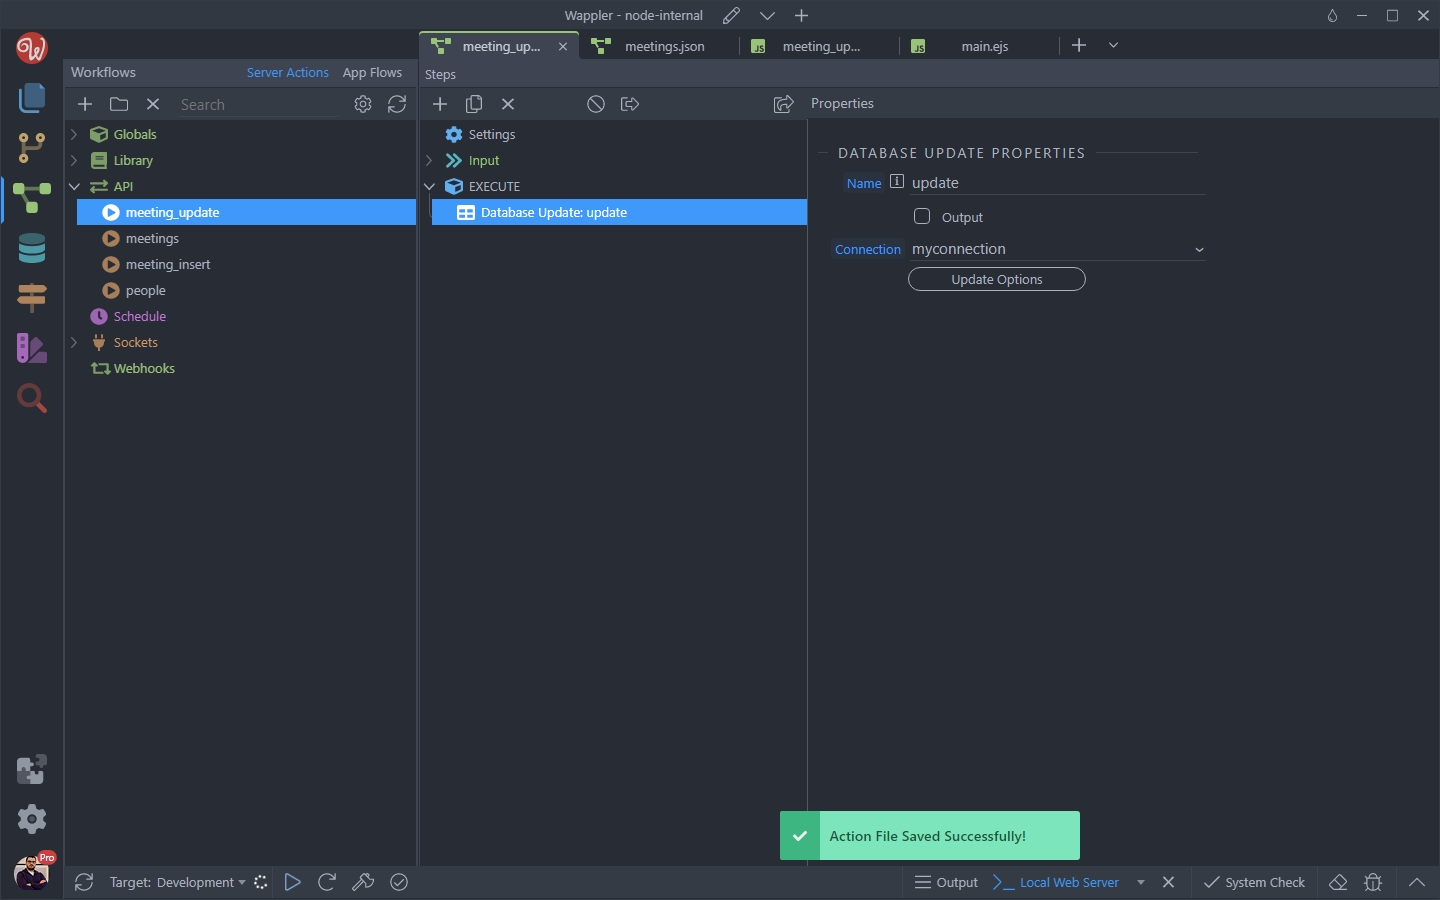
Update Form
Section titled “Update Form”Switch back to the update page, select your form and open the Convert To menu:
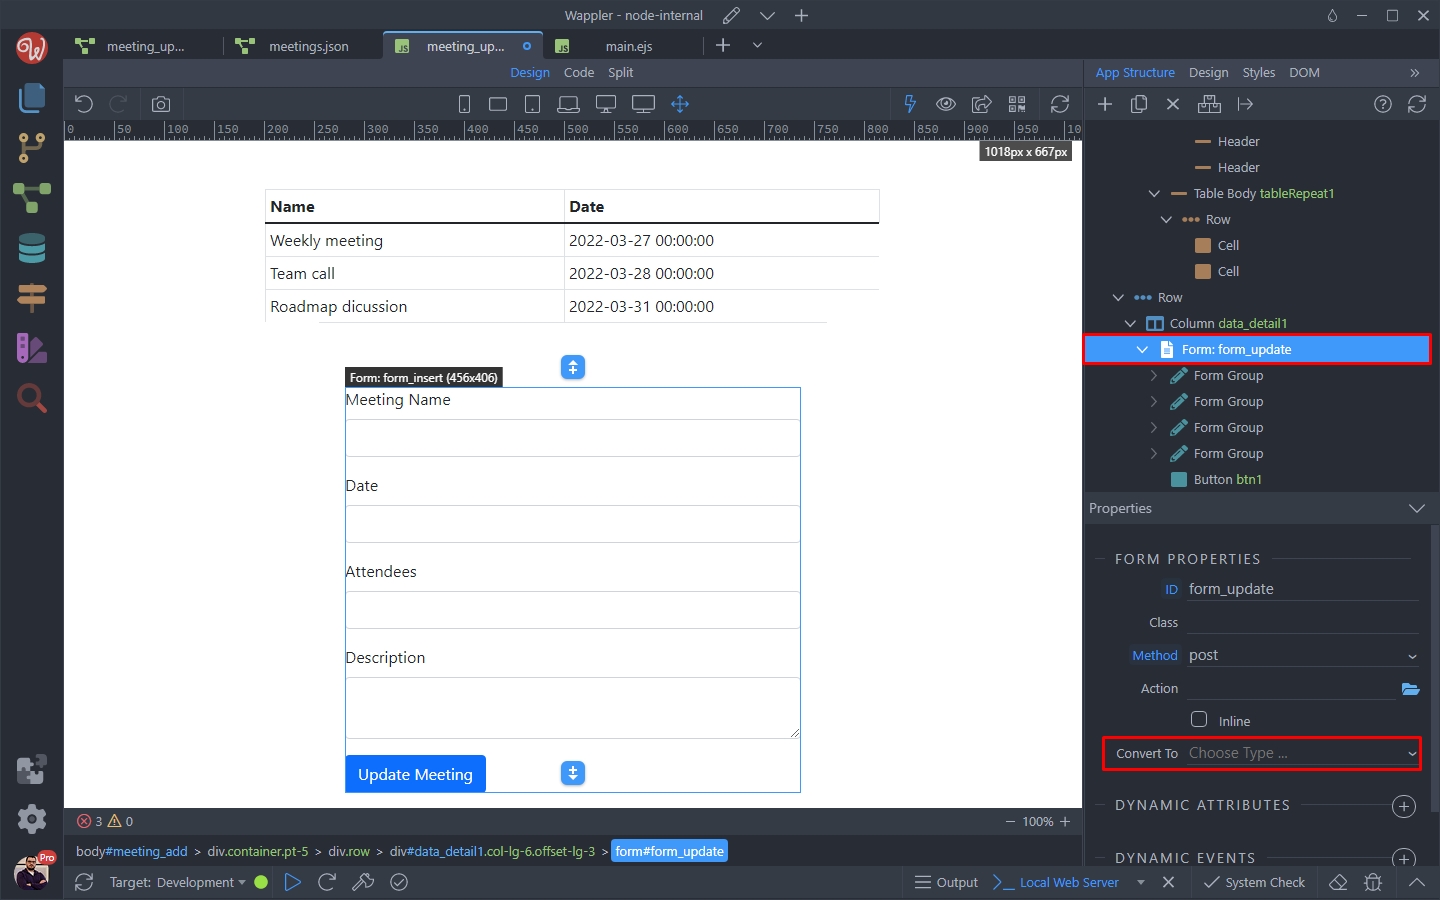
Select Server Connect Form:
Section titled “Select Server Connect Form:”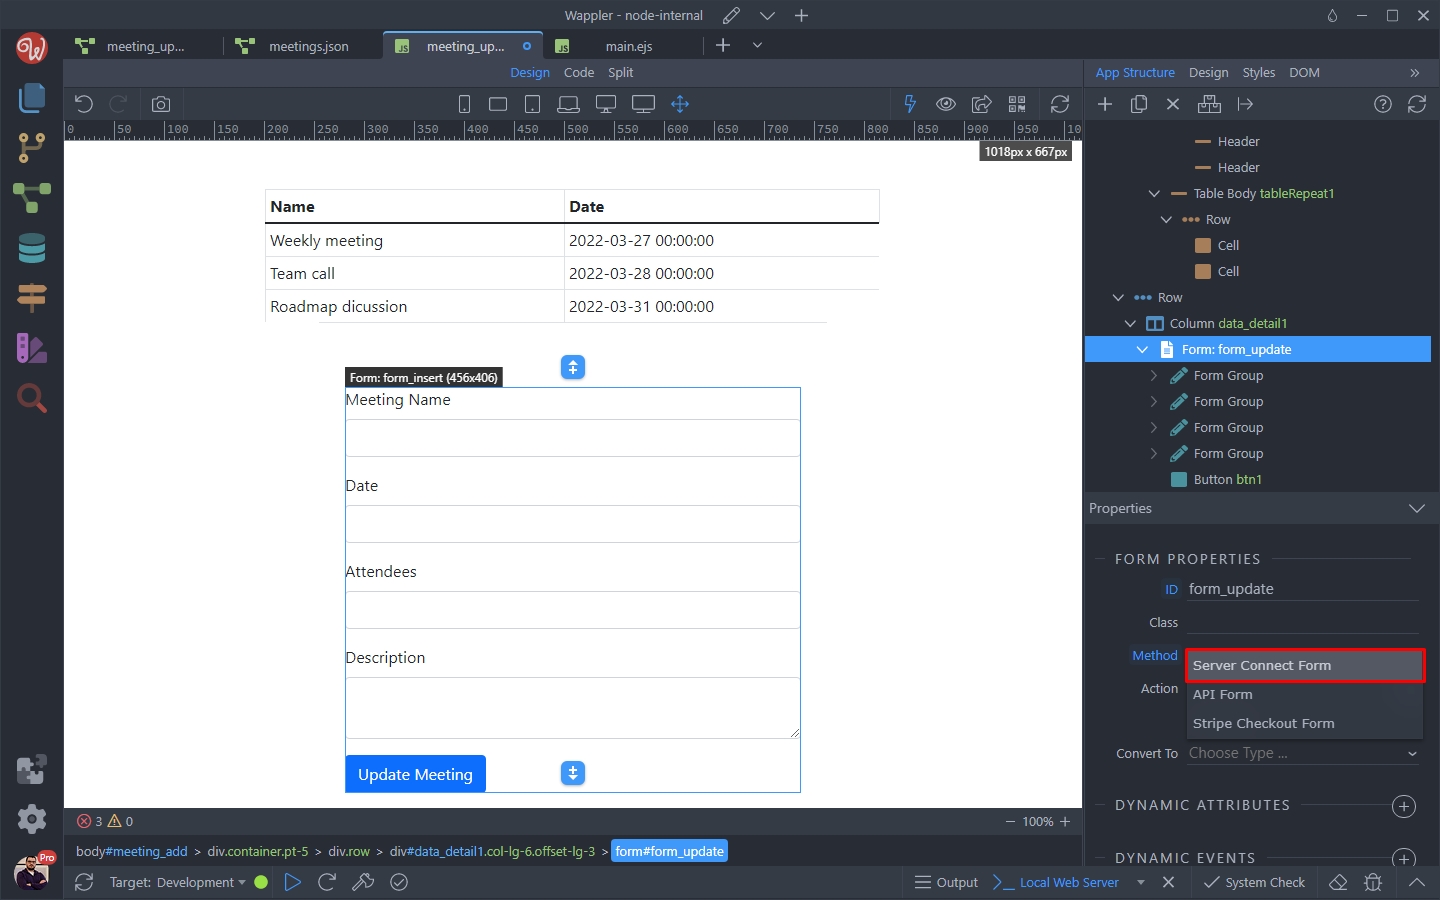
And select a Server Action for it:
Section titled “And select a Server Action for it:”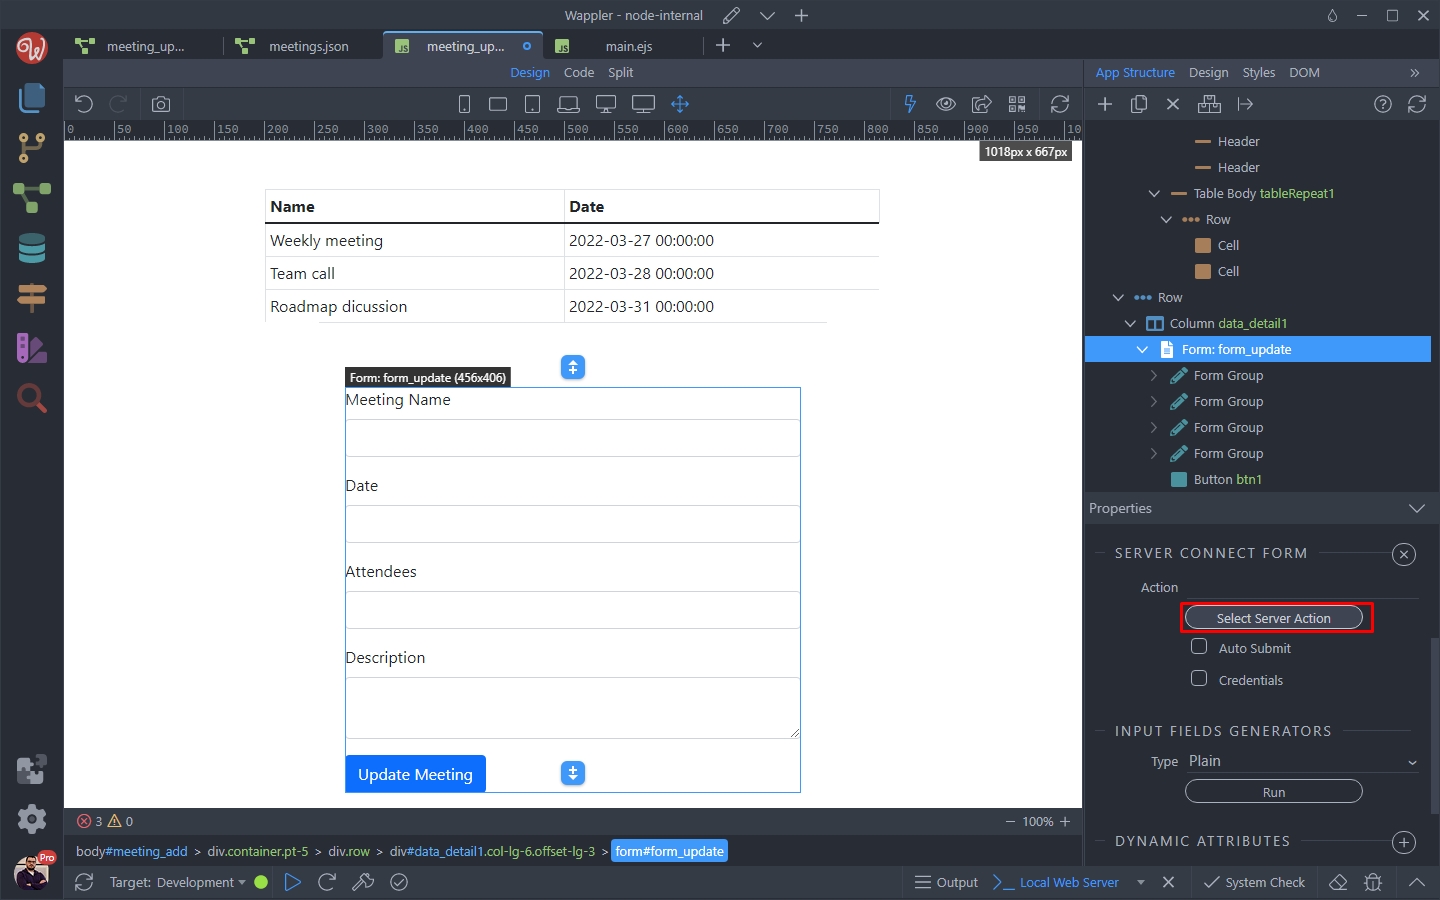
We select the meeting_update server action, which we just created:
Section titled “We select the meeting_update server action, which we just created:”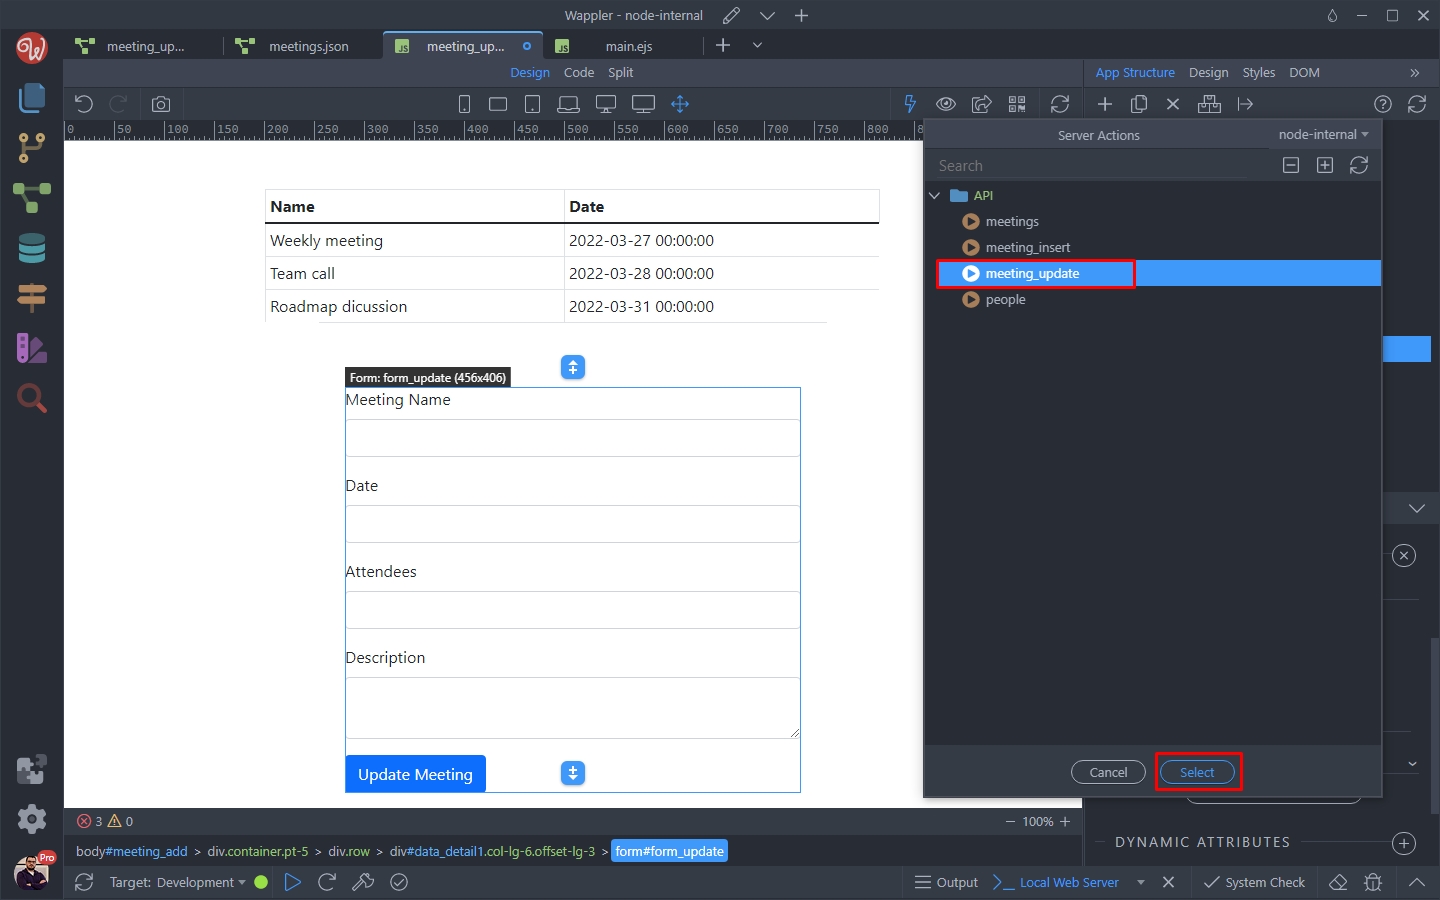
Step 80
Section titled “Step 80”Then add some dynamic events - like reload data on success, show a success notification etc. - whatever you need here. Save your page and you are done:
Results
Section titled “Results”You can select a record, update any of its info including the attendees using the Tagify component and save it:

Step 83
Section titled “Step 83”The data for the attendees will be updated and the records deleted or added in the junction table - all done automatically in a single update action!