
Building Multi-Column Forms
You can easily build multi-column form layout with Wappler, using the built-in Bootstrap 4 form tools. First, let’s insert the form. We add the form inside a Bootstrap 4 column. Click the Add Inside b
You can easily build multi-column form layout with Wappler, using the built-in Bootstrap 4 form tools.
Section titled “You can easily build multi-column form layout with Wappler, using the built-in Bootstrap 4 form tools.”First, let’s insert the form. We add the form inside a Bootstrap 4 column. Click the Add Inside button:
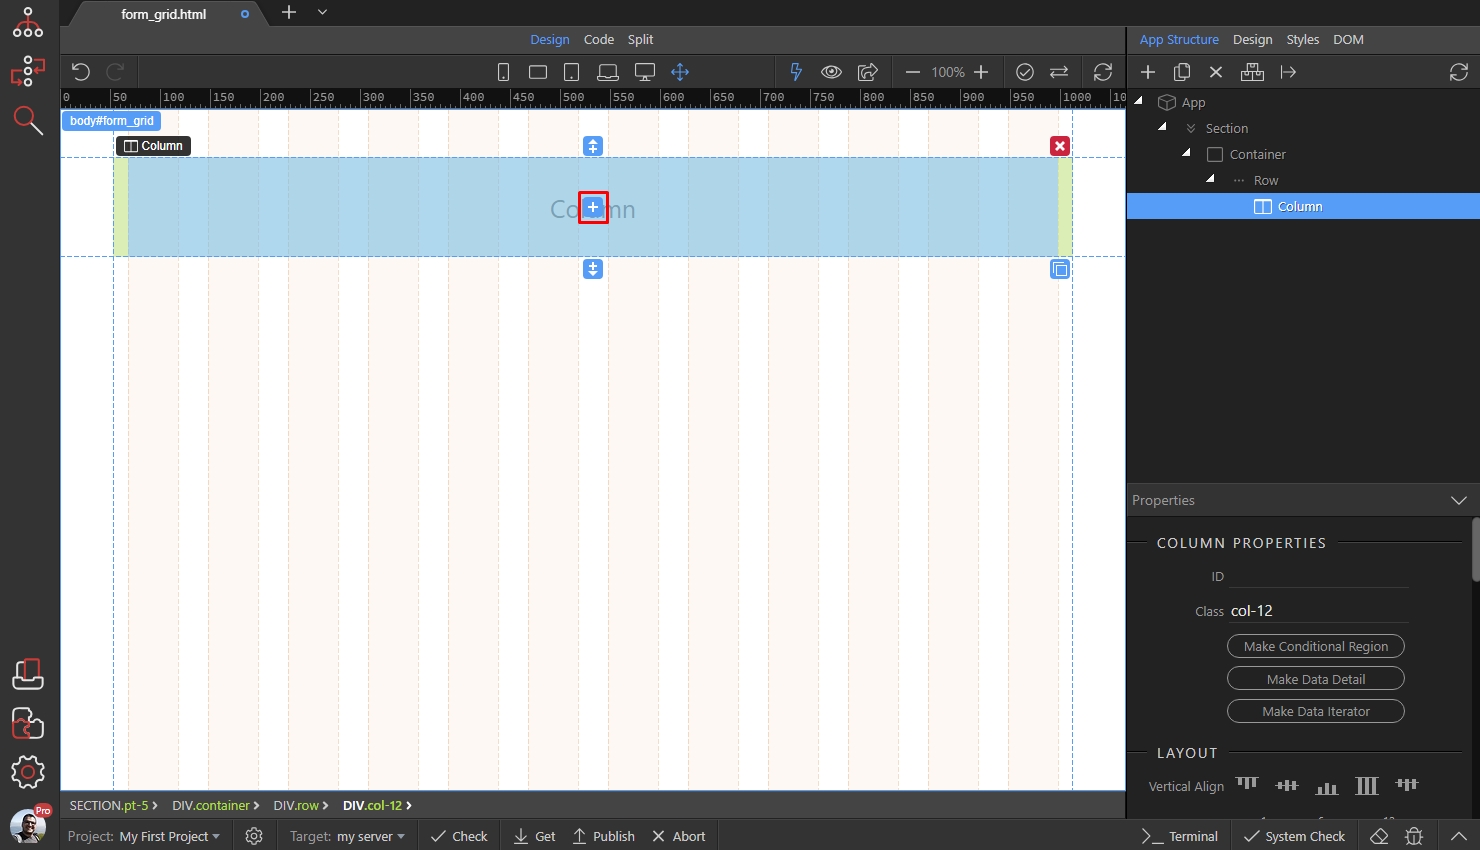
And select Form:
Section titled “And select Form:”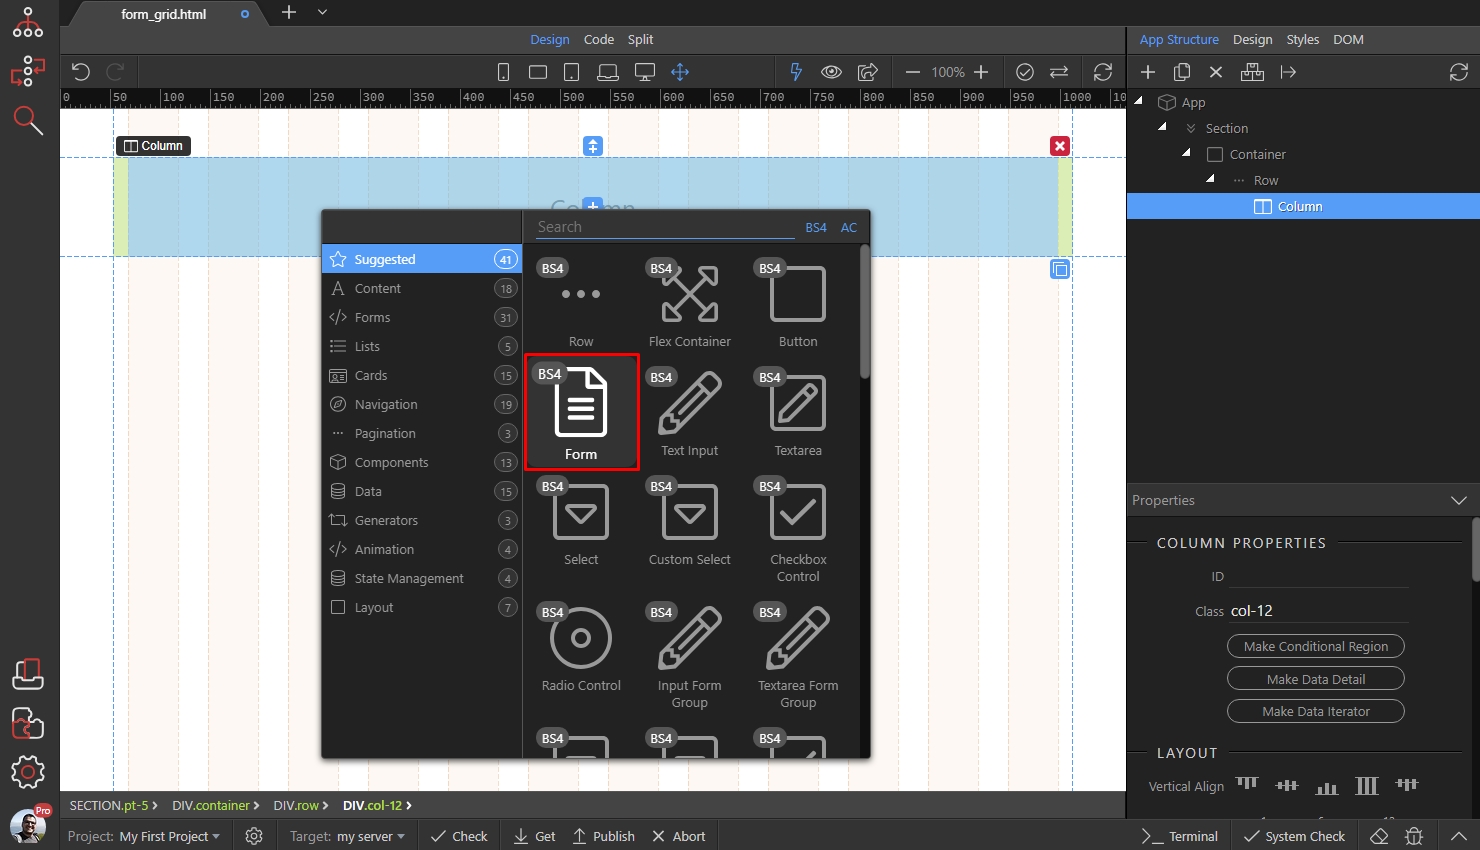
Then click the Add Inside button in the form:
Section titled “Then click the Add Inside button in the form:”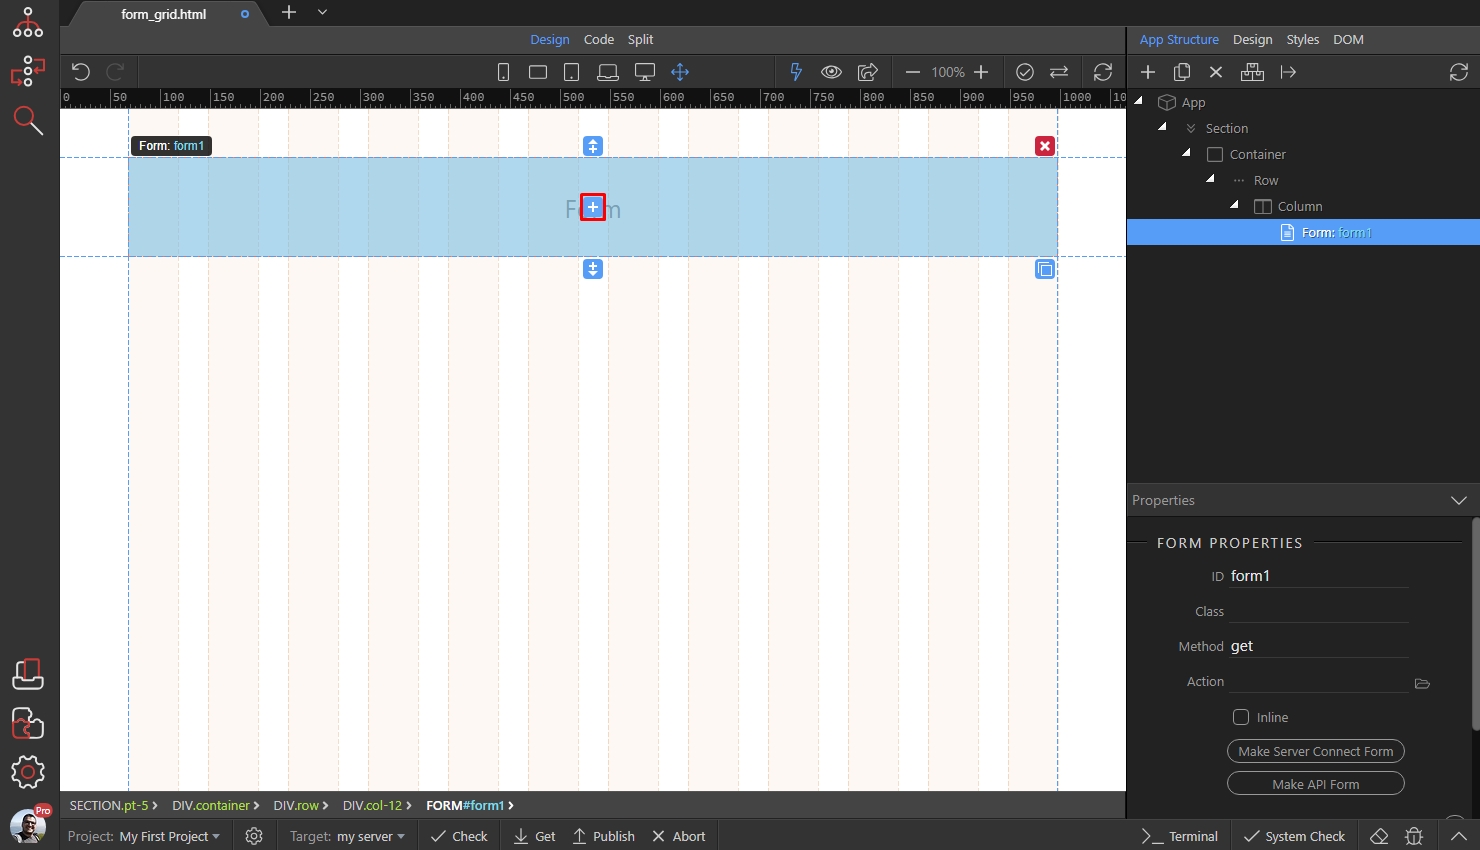
And add Form Row - this is required in order to build multi-column layout:
Section titled “And add Form Row - this is required in order to build multi-column layout:”
And now we can start adding the columns inside the row. Click the Add Inside button:
Section titled “And now we can start adding the columns inside the row. Click the Add Inside button:”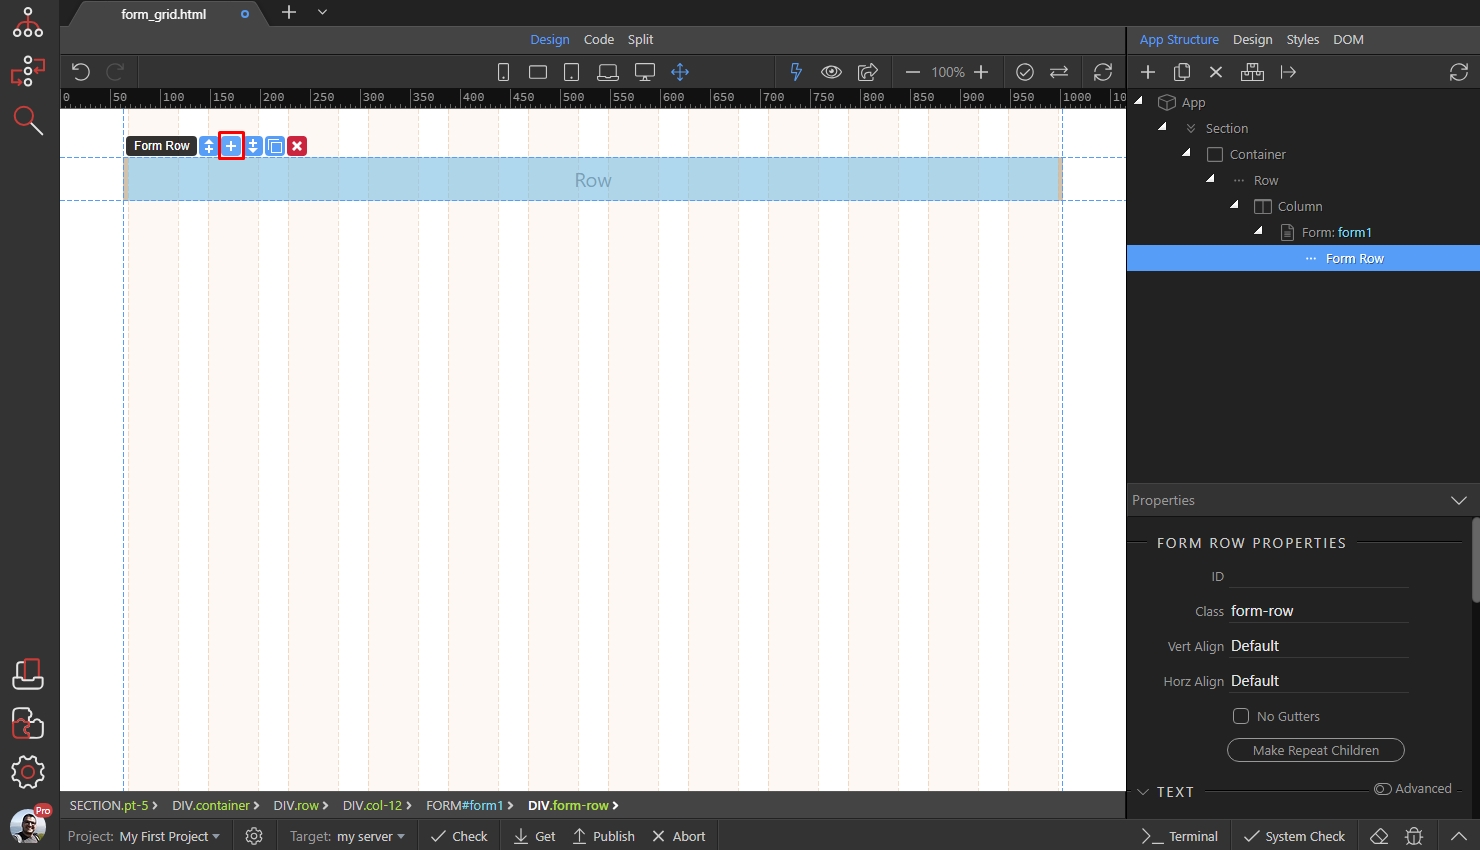
Add a Column:
Section titled “Add a Column:”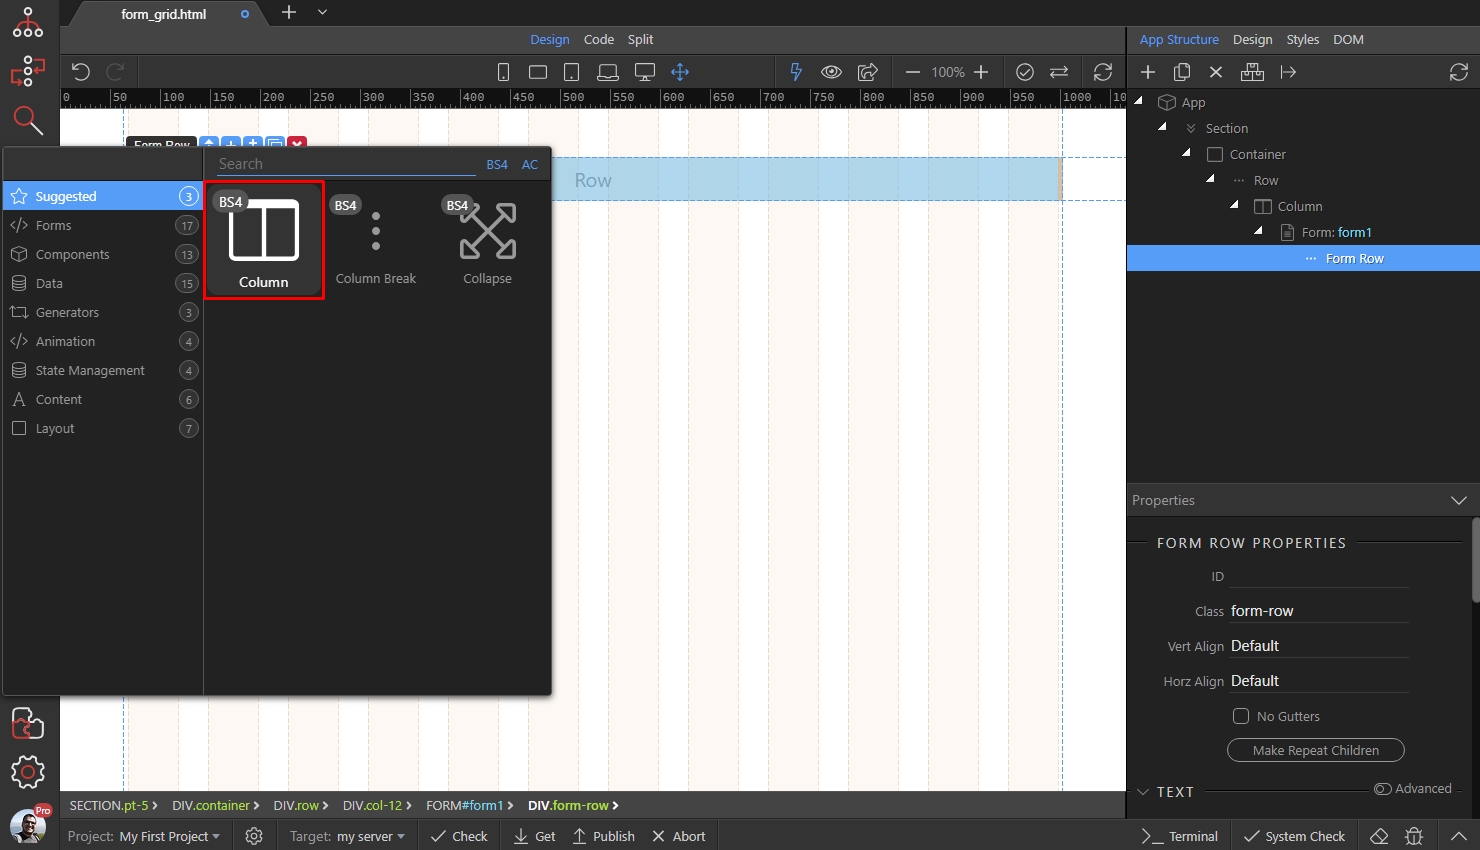
And inside the column we add the input we need. Click Add Inside:
Section titled “And inside the column we add the input we need. Click Add Inside:”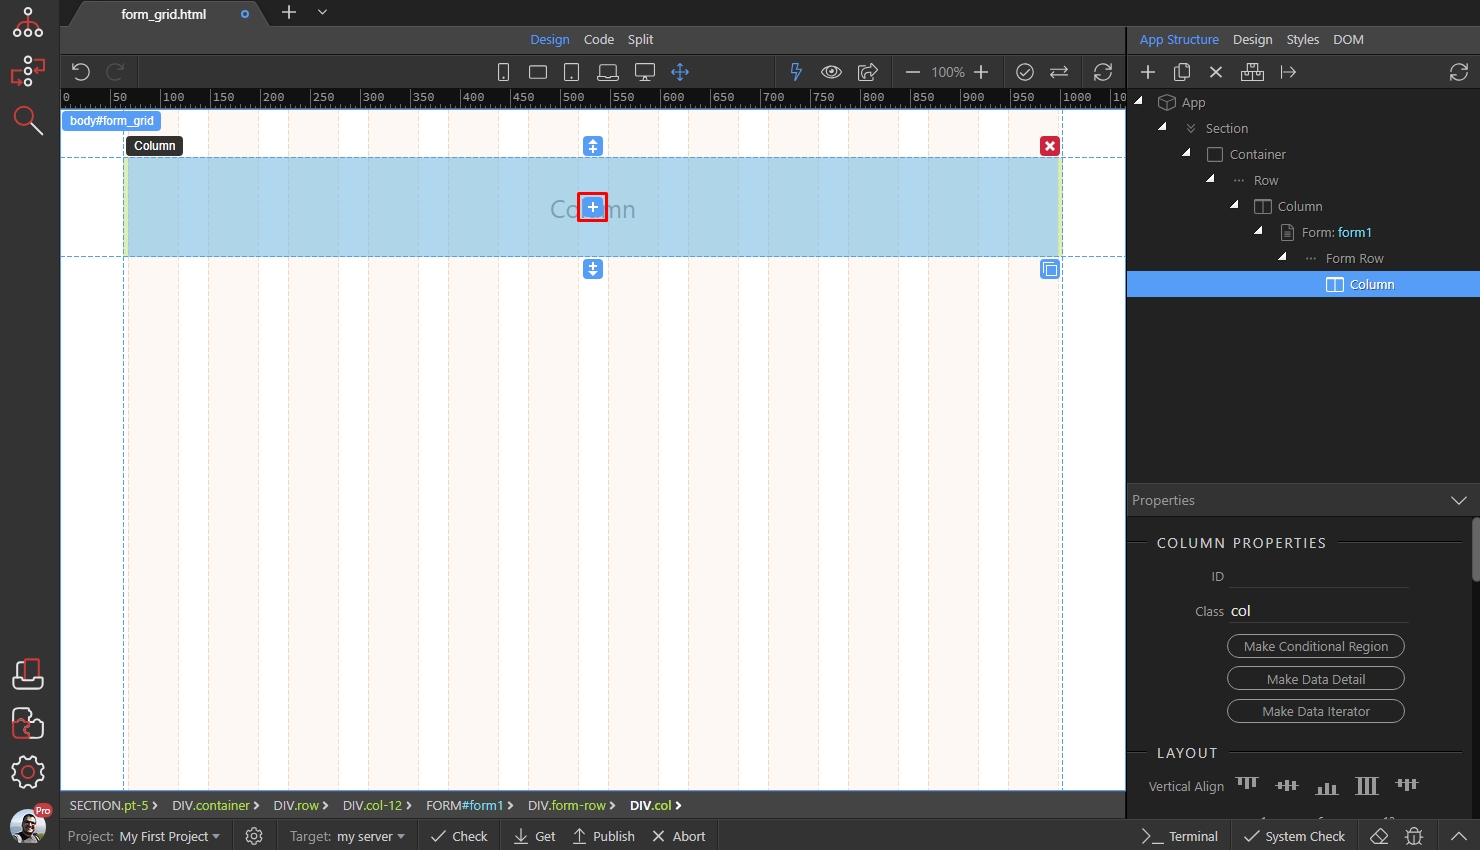
We select Input Form Group:
Section titled “We select Input Form Group:”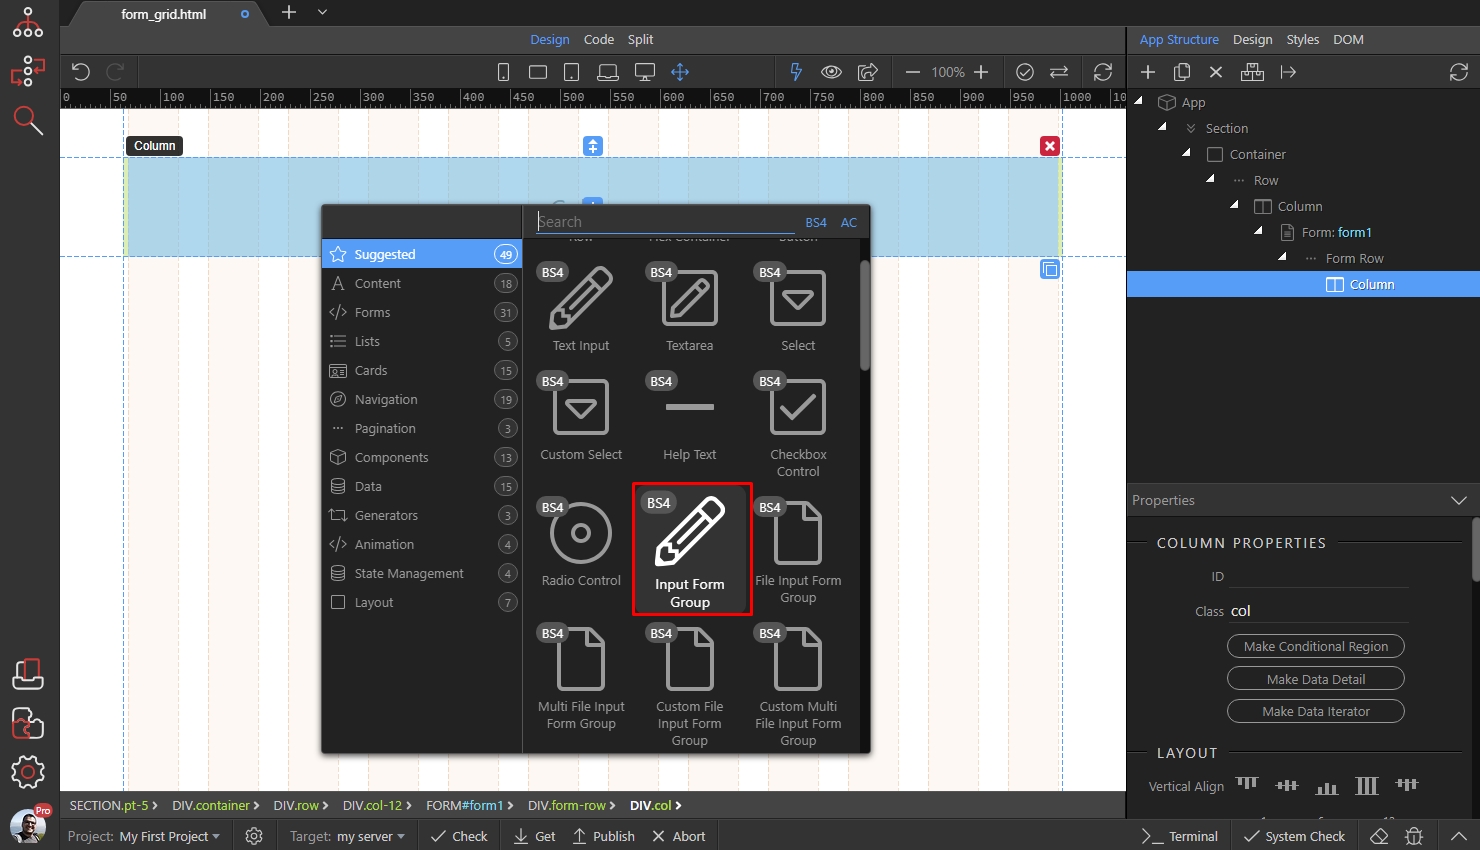
Step 9
Section titled “Step 9”We are done with this column. We can add more columns here, just select the column we just added and click the Add After button:
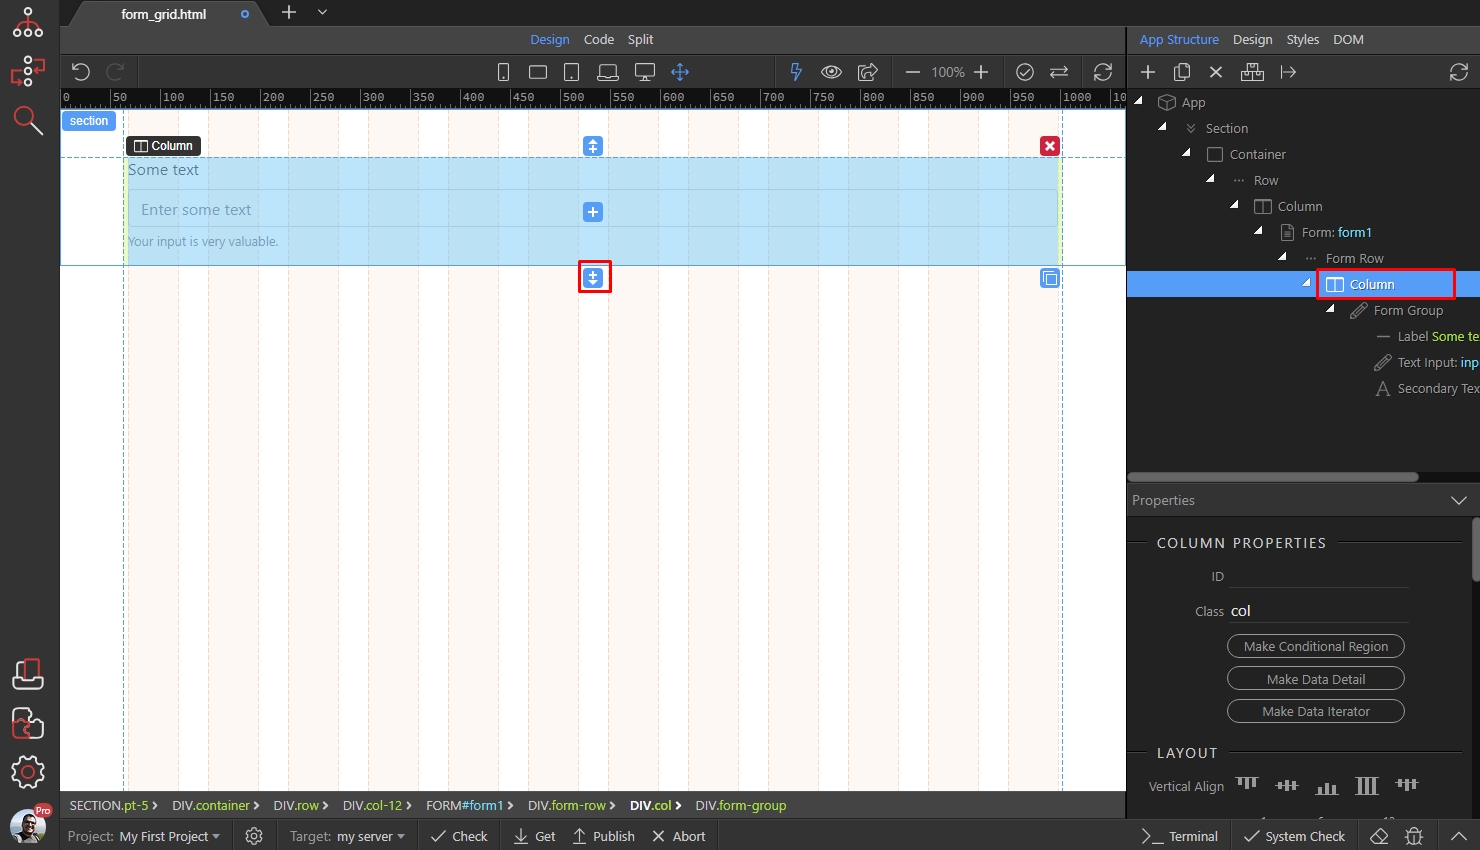
Add a column:
Section titled “Add a column:”
And inside it add some other input:
Section titled “And inside it add some other input:”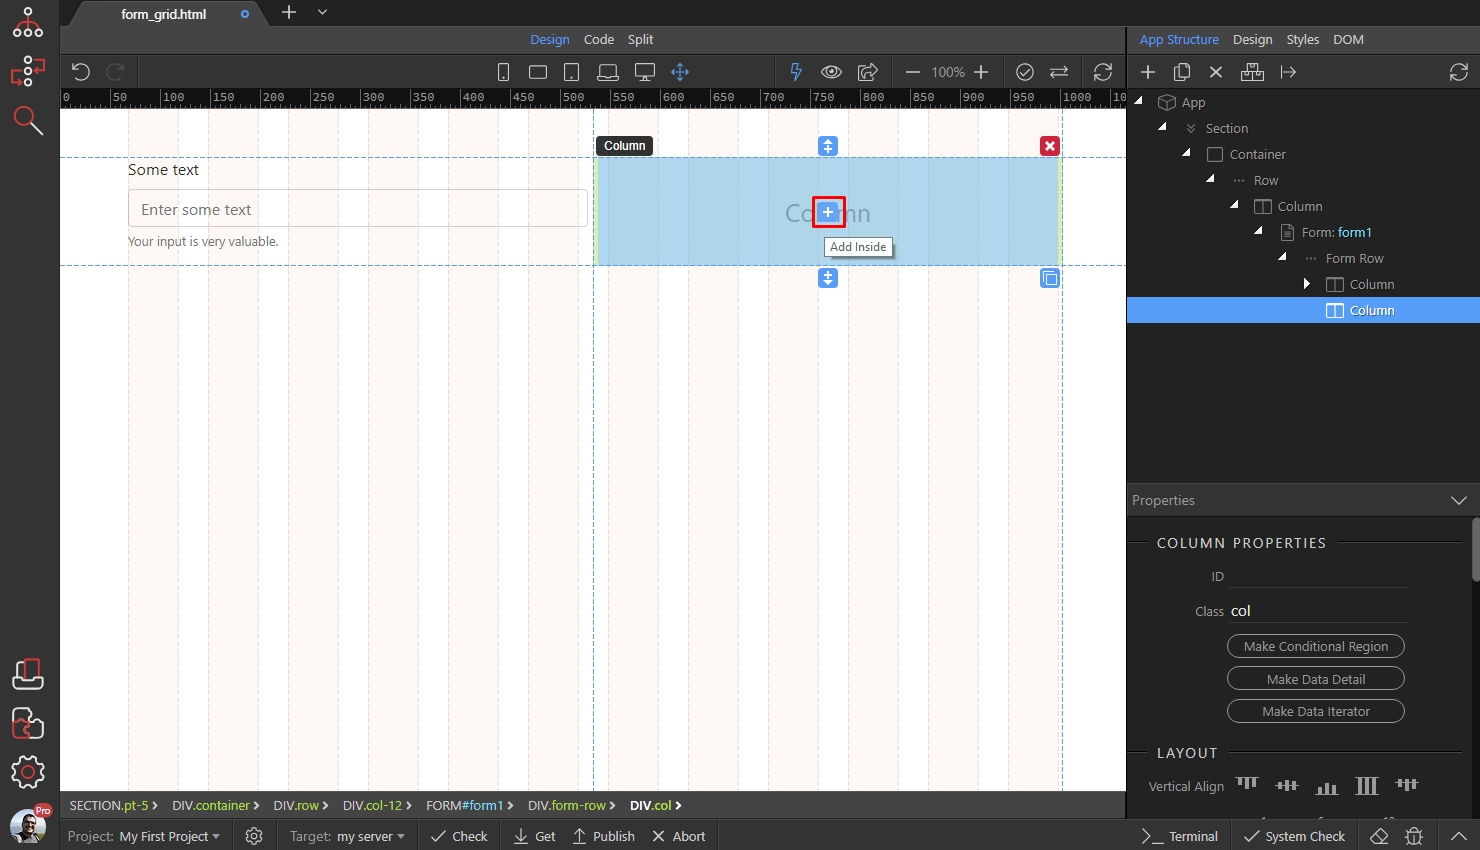
In this column we add a Custom Select Group:
Section titled “In this column we add a Custom Select Group:”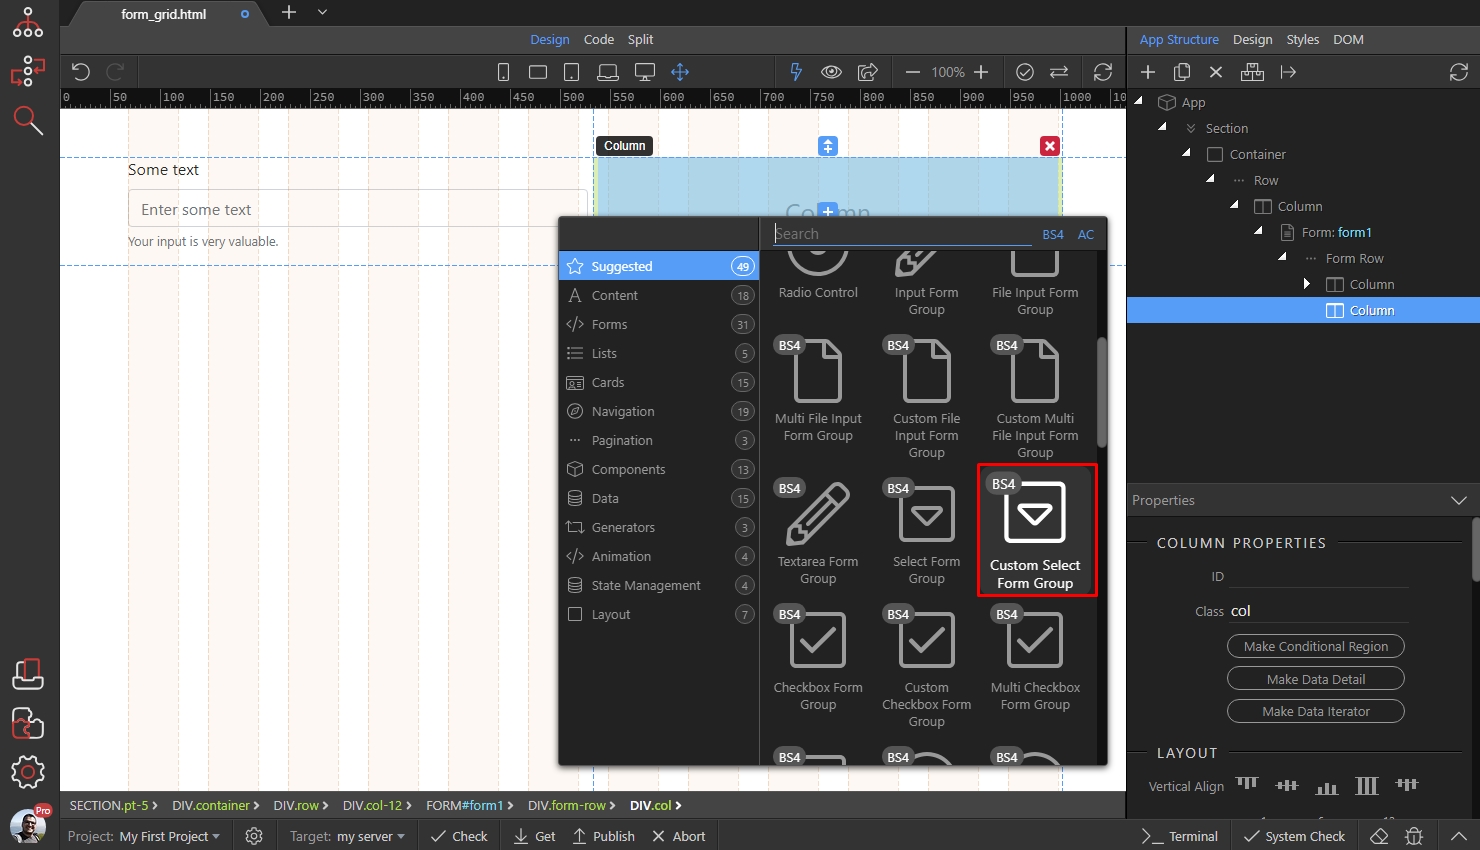
Step 13
Section titled “Step 13”Now we have two columns in our form row, containing out inputs. Let’s setup the layout for small screens. Click the Phone layout icon:
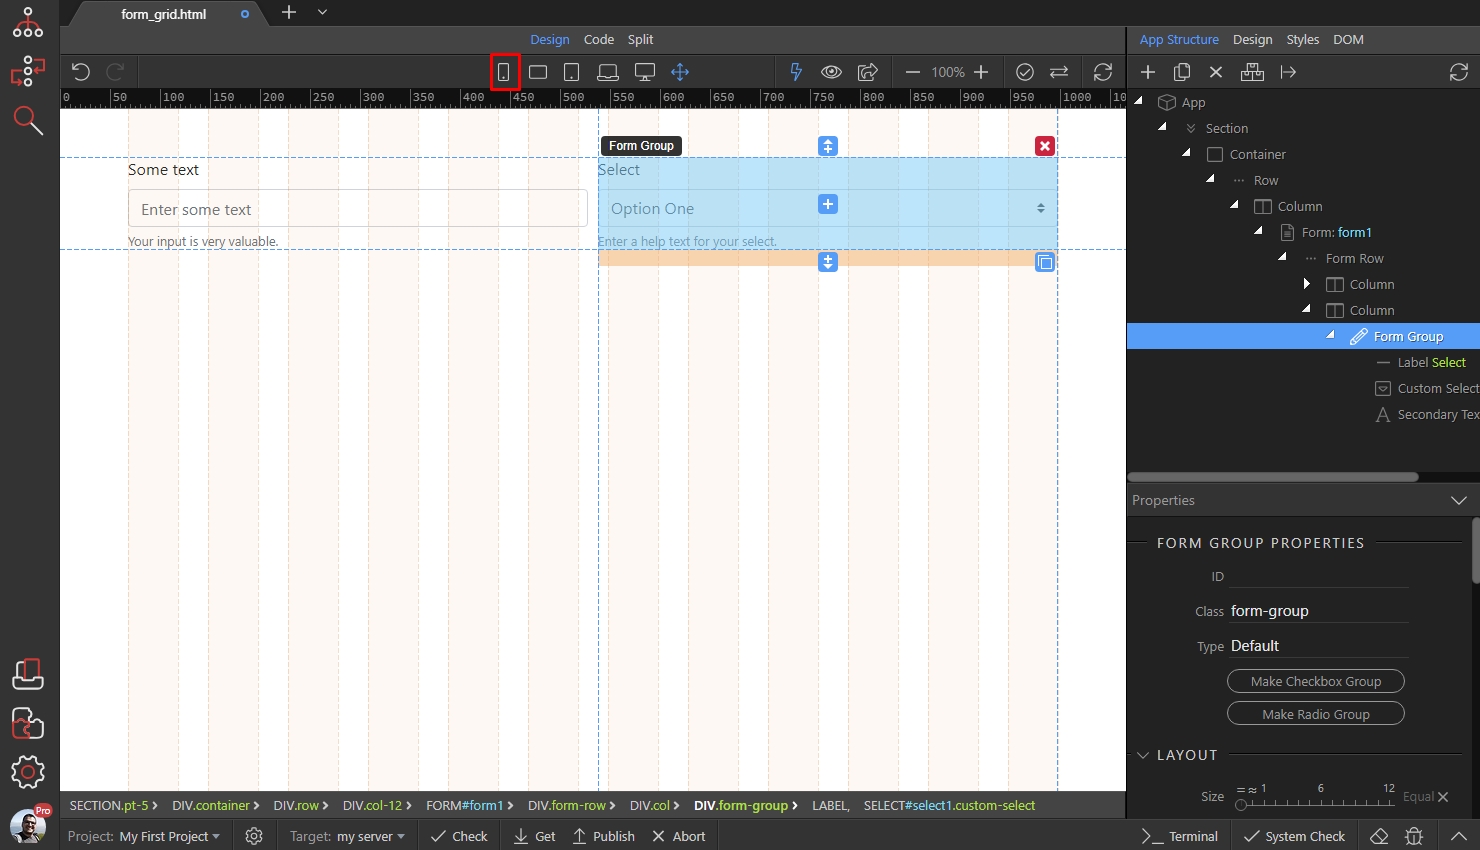
Select the first column in the row:
Section titled “Select the first column in the row:”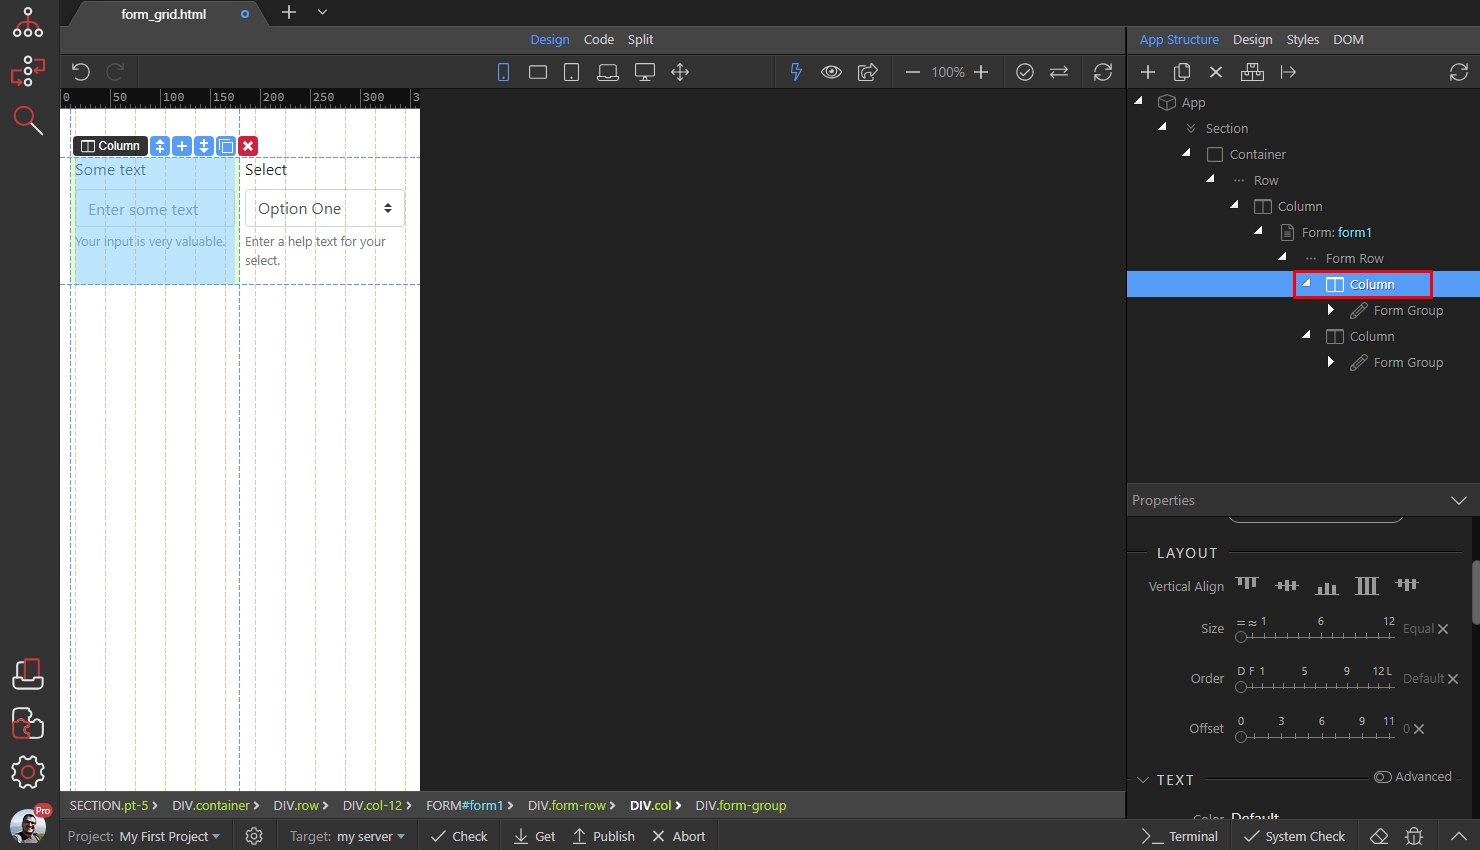
And set its size to what you need it to be. We select size 12 columns here:
Section titled “And set its size to what you need it to be. We select size 12 columns here:”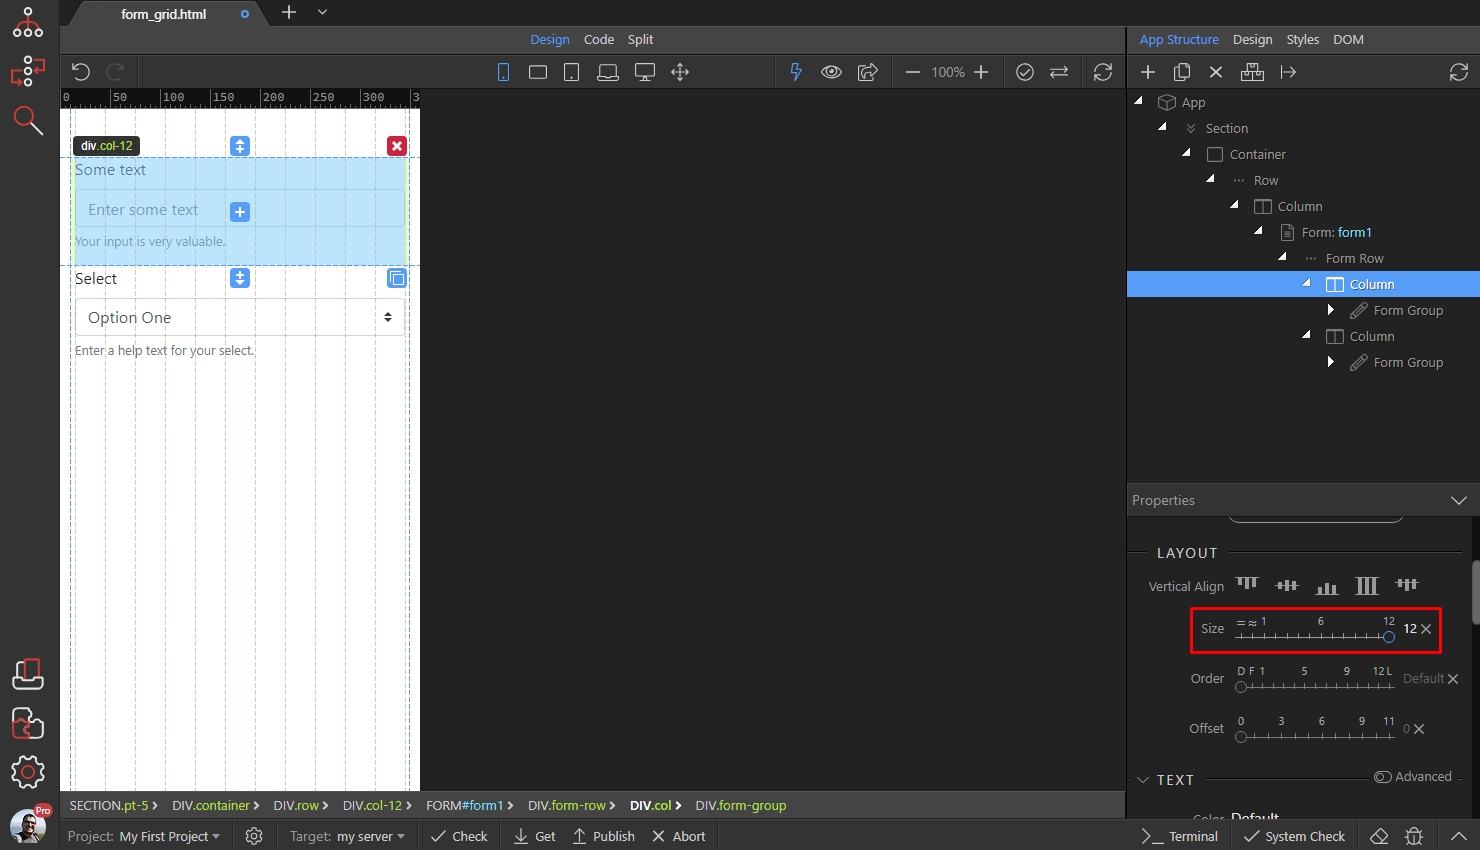
Then we do the same for the second column:
Section titled “Then we do the same for the second column:”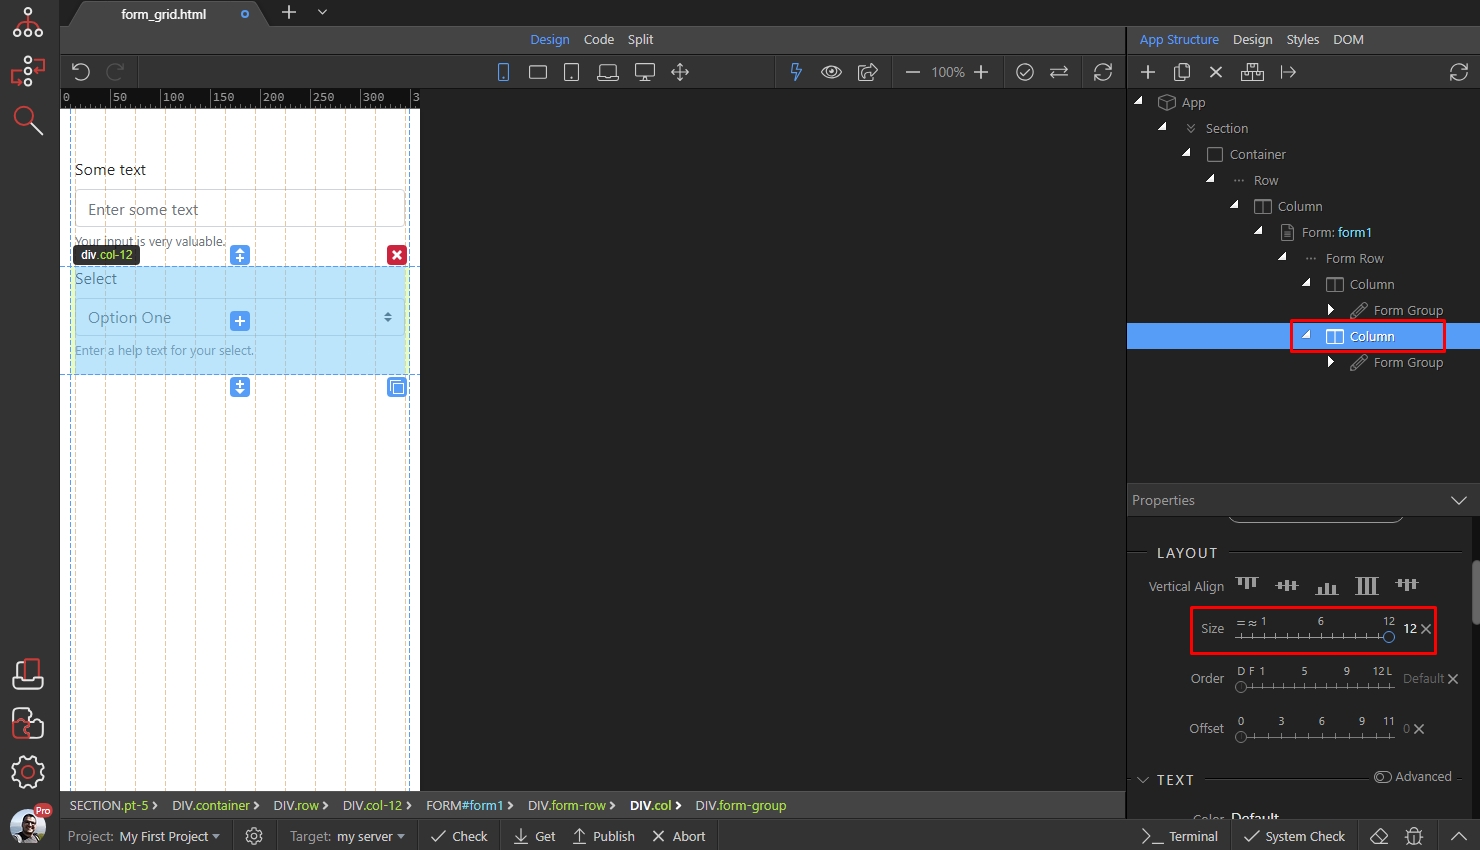
Step 17
Section titled “Step 17”We are done with the mobile layout. Do this for any of the screen sizes you need to adjust layout differently. For example, we’d like to have the form columns set to size 12 to all the screen sizes up to Tablet. So we select the Table icon, and select the first column:

We set its size to 6 columns:
Section titled “We set its size to 6 columns:”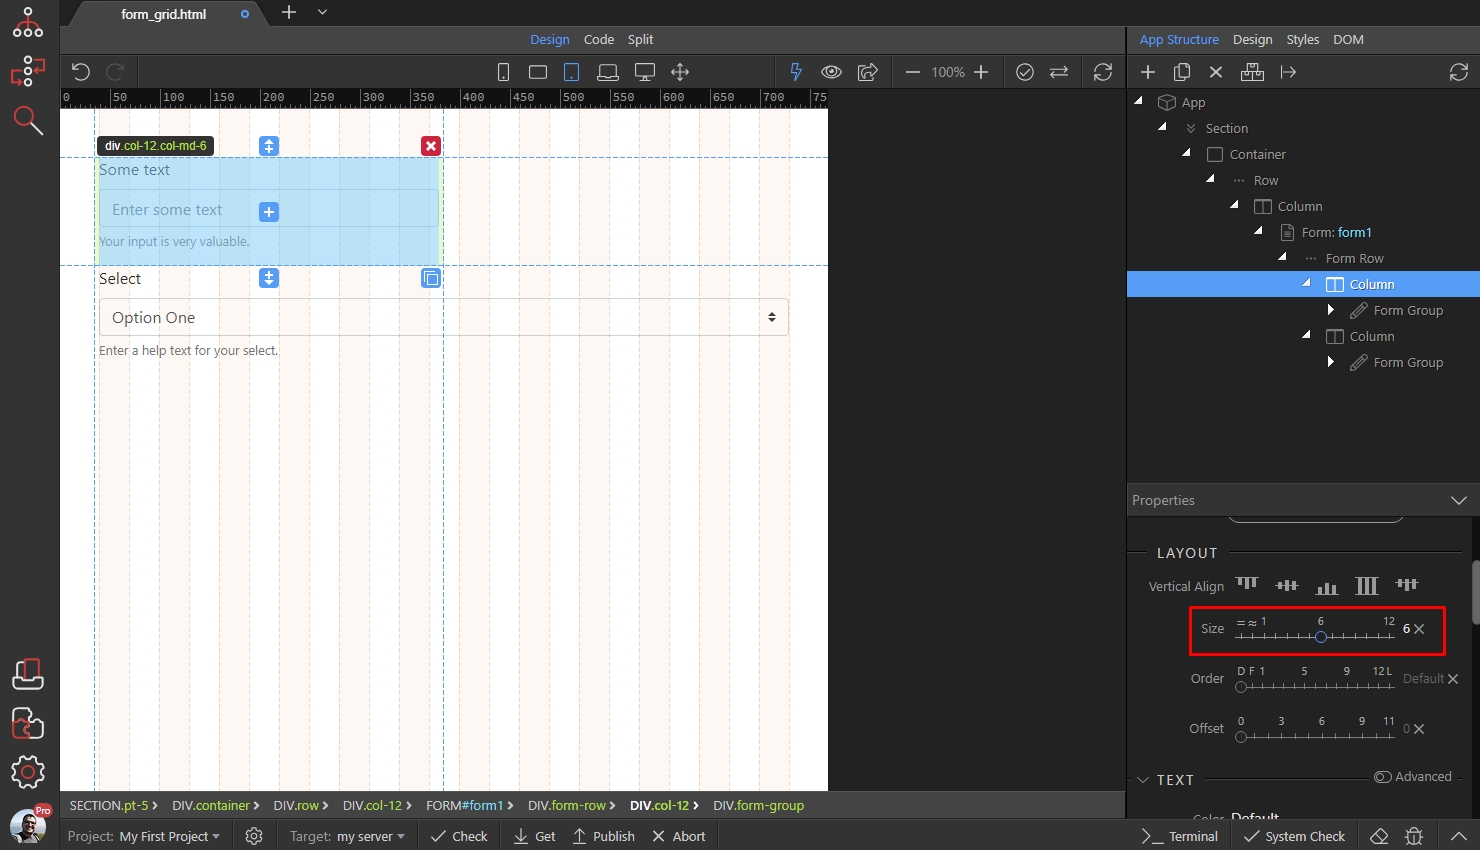
We do the same for the second column:
Section titled “We do the same for the second column:”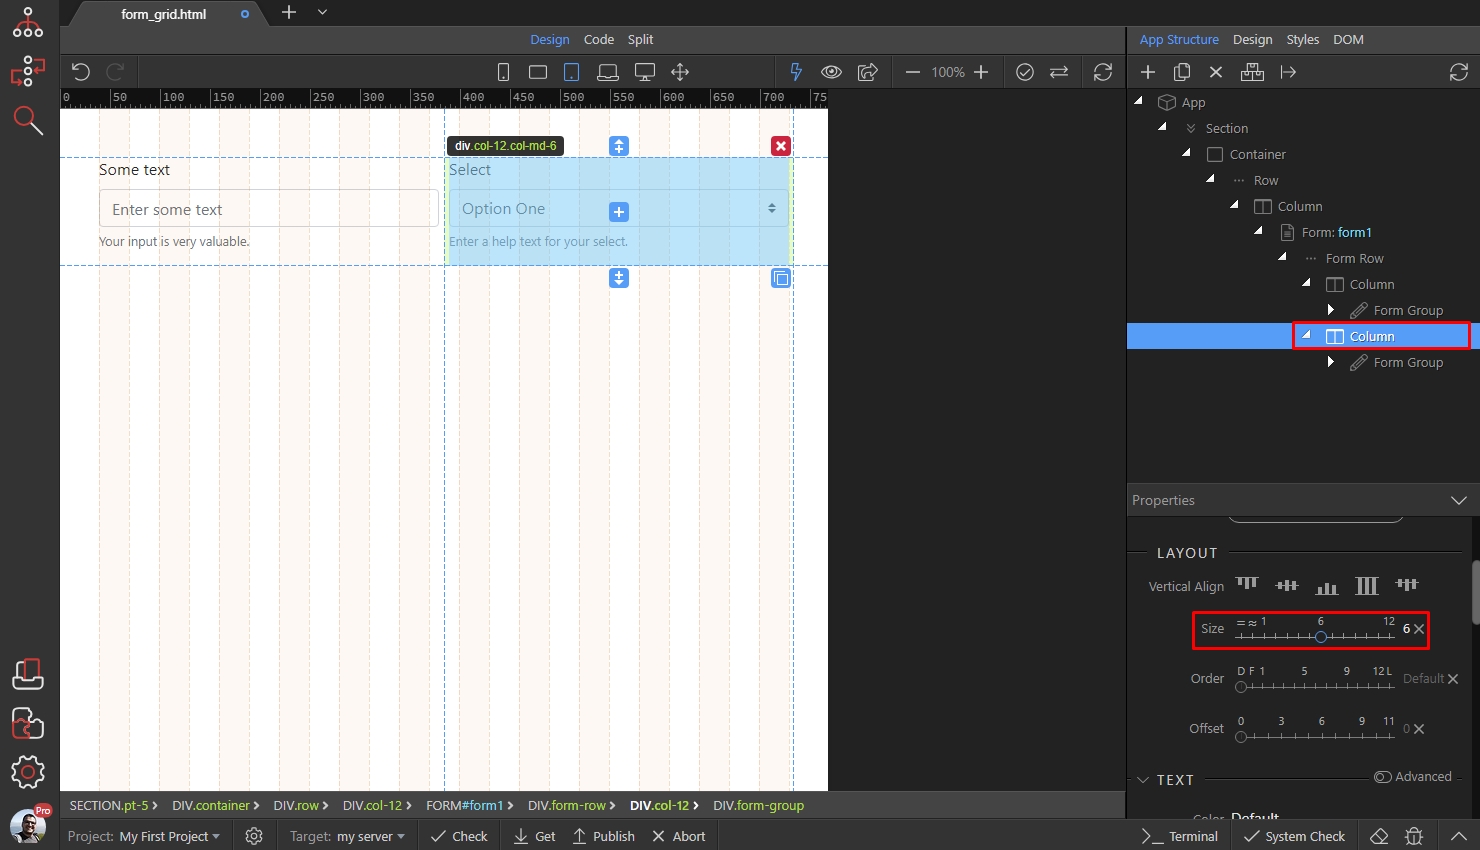
Step 20
Section titled “Step 20”So the devices with sizes of a tablet and bigger will show the form inputs in two equal columns. Switch to full view to see the result:

Here’s the result:
Section titled “Here’s the result:”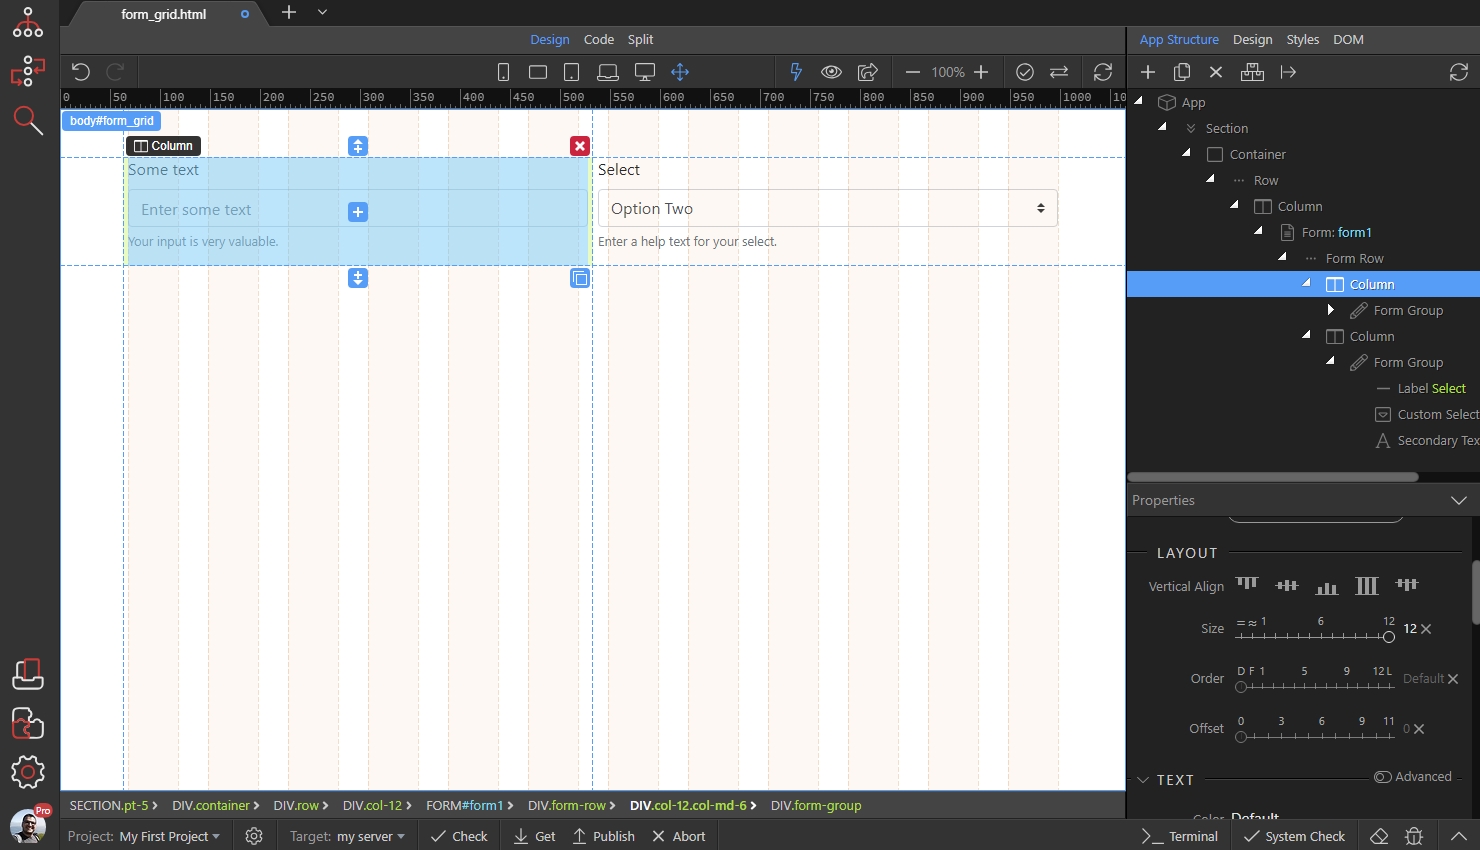
Step 22
Section titled “Step 22”You can have any column configuration for your form rows, just as in the Bootstrap 4 grid. Note, that the sum of the columns sizes per row should not exceed 12.
You can add as many rows in your columns as you need.