Roll your own PaaS - Heroku alternative (Part 1)
In this tutorial we will create our own Platform as a Service, similar to Heroku, but on a DigitalOcean $5/month droplet. This should be the same for most VPS p
In this tutorial we will create our own Platform as a Service, similar to Heroku, but on a DigitalOcean $5/month droplet. This should be the same for most VPS providers.
We will use CapRover to create our PaaS, which lets us run code in almost any language (e.g. PHP or Node.js) on a nginx webserver, create and manage SSL certificates, run a database of our choice (MySQL, MariaDB, MongoDB, PostgreSQL etc.), deploy our code with Git, and even expand the number of servers to create a scalable cluster (Docker Swarm under the hood for containerization and clustering).
CapRover is free open-source software and does not require any Docker or nginx knowledge! To make things easier, there are also a selection of one-click apps available to install. The up-to-date list is on GitHub.
Part 1 - Create a Droplet (VPS)
Part 2 - Install & Configure CapRover
1. Create a Digital Ocean account
Section titled “1. Create a Digital Ocean account”
First you'll need an account with DigitalOcean or another VPS provider such as Linode, Vultr, UpCloud, OVH, Kimsufi, EuroVPS etc...
Although this tutorial is for DigitalOcean, there will be a similar installation process on most other server providers.
If you haven't used DigitalOcean before and would like $100 of free credit for 60 days, you can use my signup link here. (Note that I am rewarded an account credit if or when you spend $25 with DO)
2. Create SSH Keys
Section titled “2. Create SSH Keys”
Before we startup or purchase a VPS we need to create a set of SSH Keys.
With DigitalOcean you have a choice of using SSH or a root password to secure your Droplet. I highly recommend you use SSH keys instead of a root password to help prevent brute-force attacks.

I use Terminal on Mac to create SSH keys. If you prefer a GUI or are on Windows, you can use PuTTY instead.
If you're uncomfortable with using SSH keys or would prefer to use a password, make sure you use a strong one (i.e- 20+ alphanumeric characters, upper/lowercase, symbols)
3. Create a Droplet
Section titled “3. Create a Droplet”
From the dashboard, click Create Droplet. Click on Marketplace and search for CapRover. Scroll down and select the Droplet size (starts from $5) and the server location. Remember that you can easily increase the size of your Droplet at a later date. Add your SSH public key (or select root password) and then click Create Droplet.
4. Create a Firewall
Section titled “4. Create a Firewall”
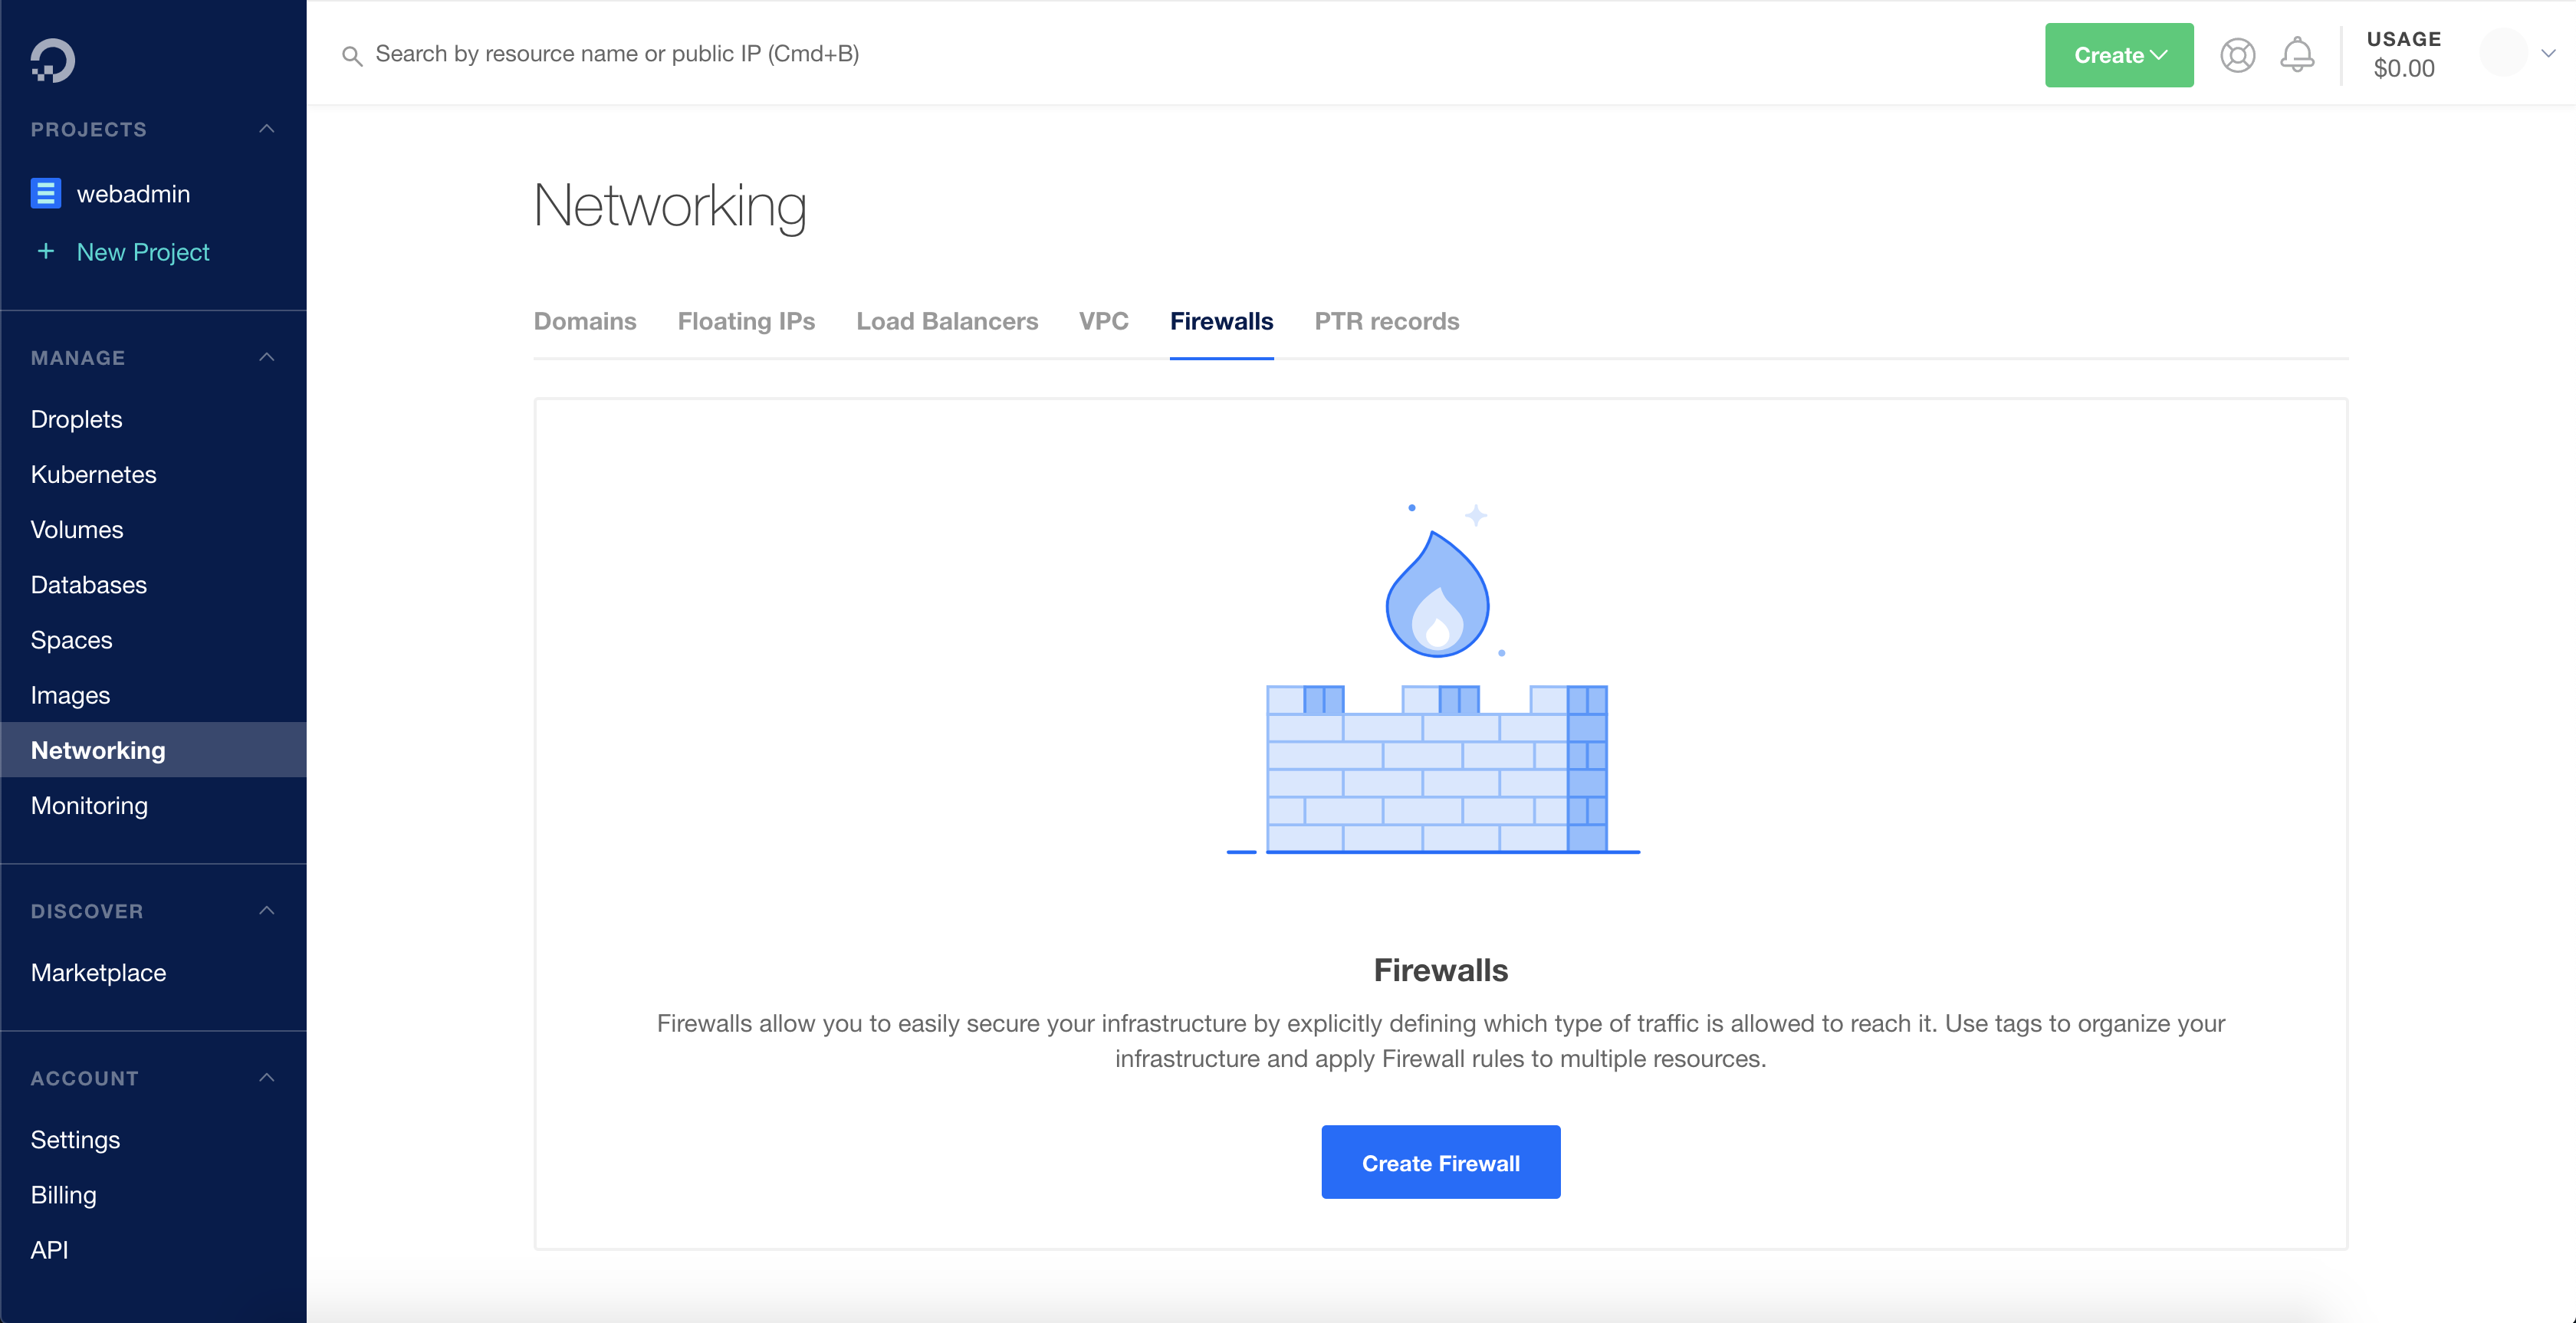
Once your Droplet has booted, we need to setup a Firewall. Usually you would use a CLI to install and configure iptables but we will make use of Digital Ocean's free Cloud Firewalls.
- Go to Networking on the left hand menu and then click on Firewalls tab.
-
Click on Create Firewall button and call it something descriptive
-
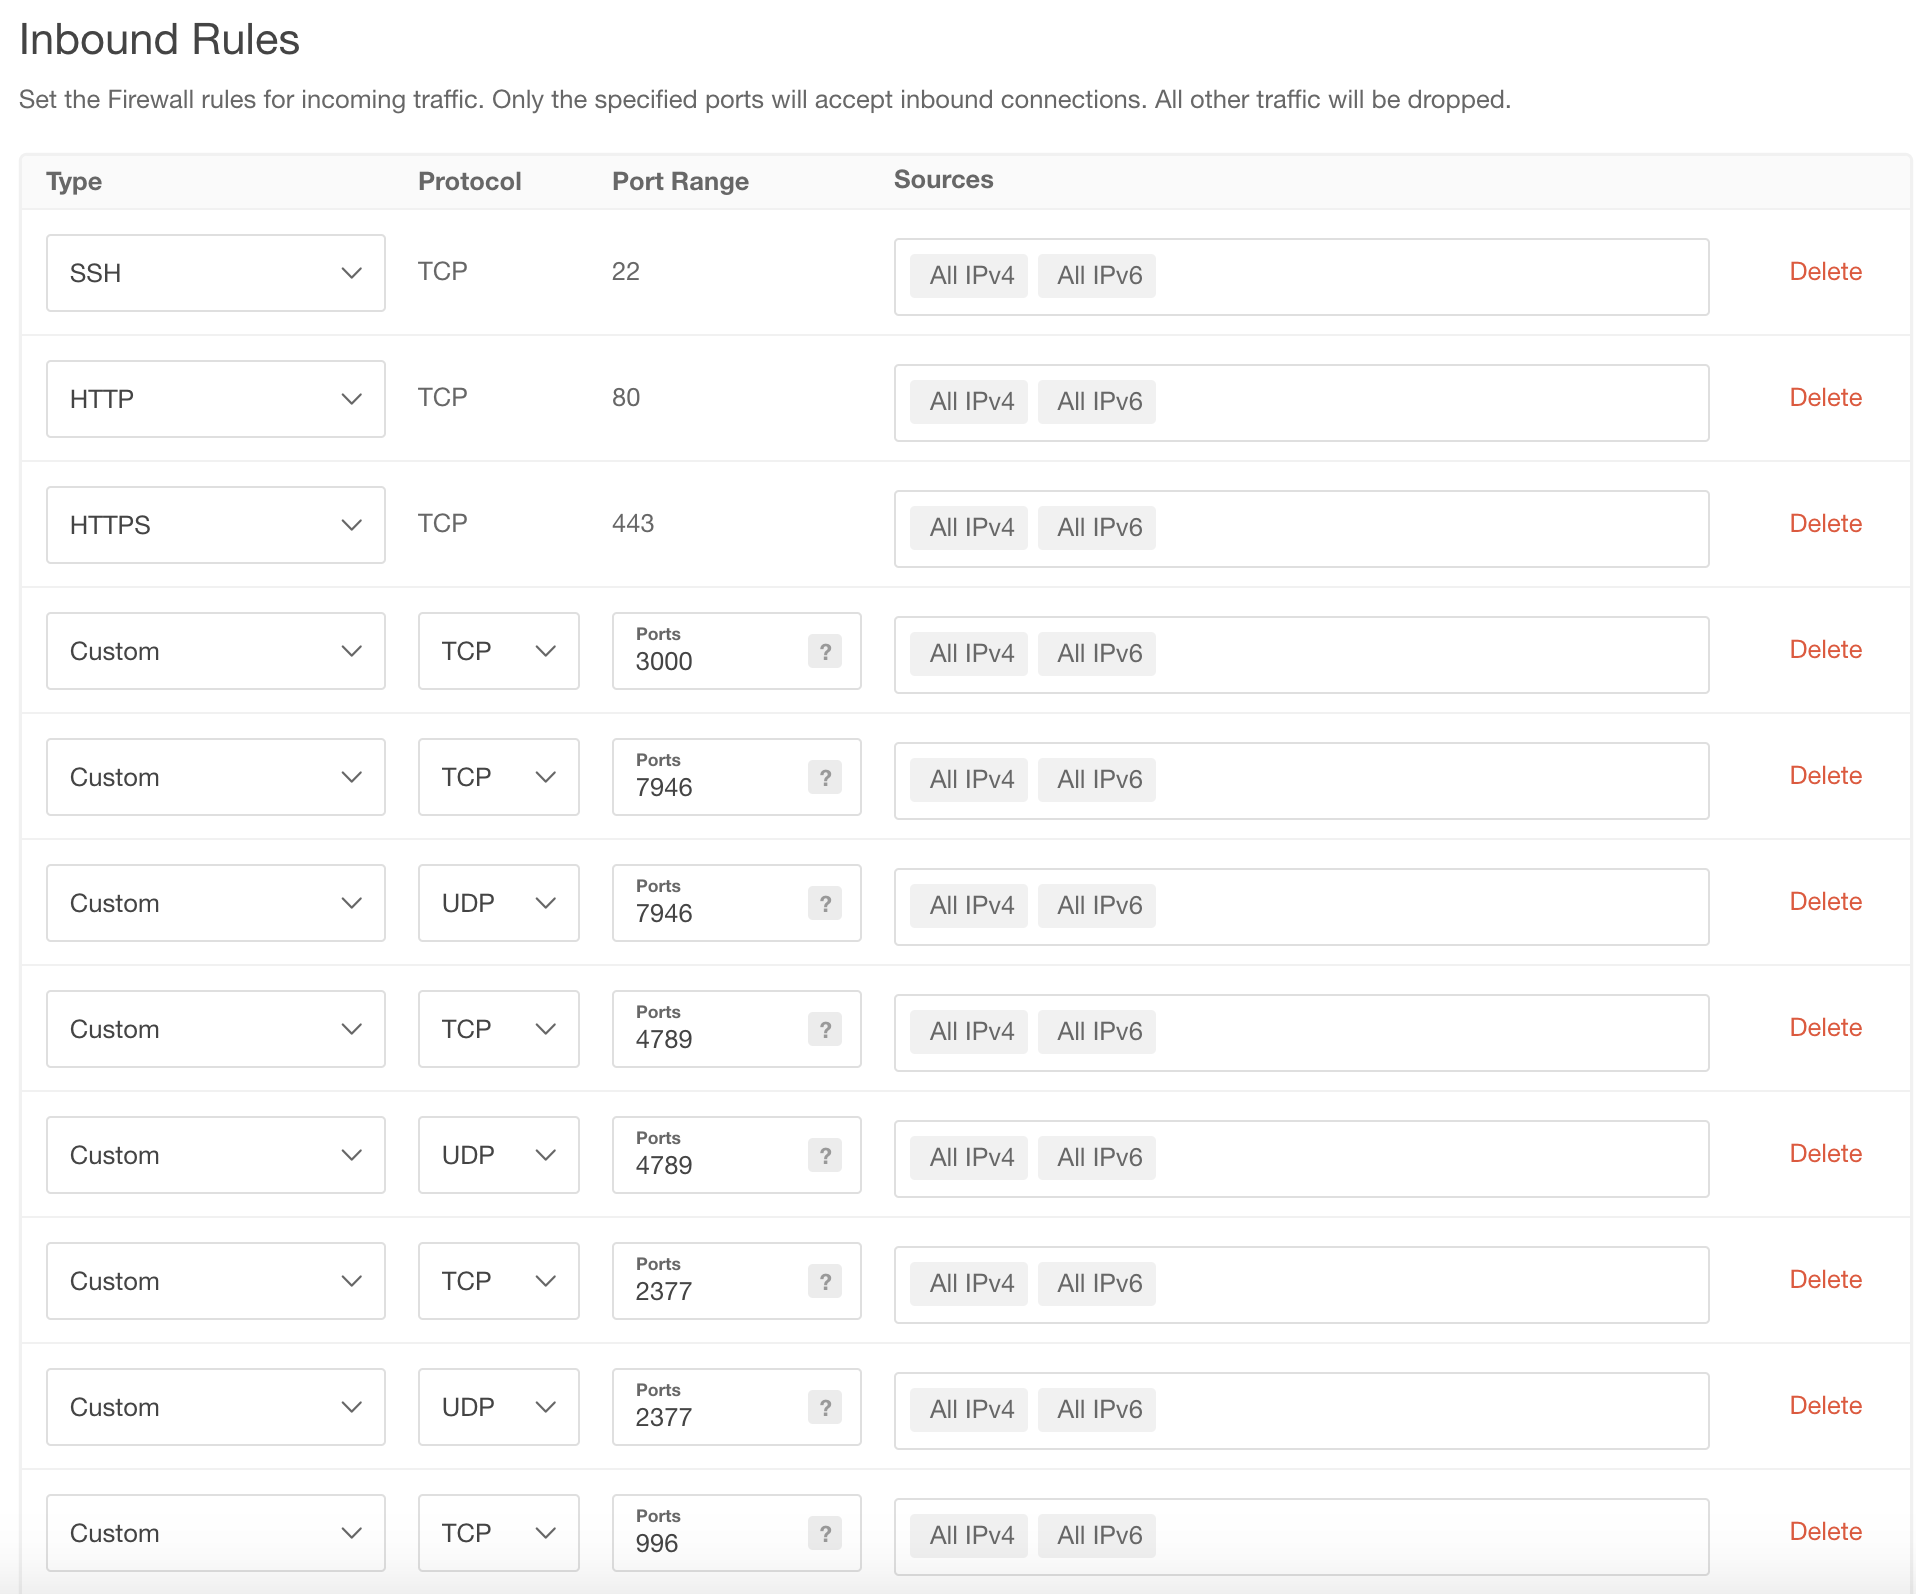
There should already be a single Inbound Rule for SSH (port 22). We will keep that.
We need to add seven more inbound rules:
- 80 TCP for regular HTTP connections
- 443 TCP for secure HTTPS connections
- 3000 TCP for initial Captain Installation (can be blocked once Captain is attached to a domain)
- 7946 TCP/UDP for Container Network Discovery
- 4789 TCP/UDP for Container Overlay Network
- 2377 TCP/UDP for Docker swarm API
- 996 TCP for secure HTTPS connections specific to Docker Registry
Your inbound rules should look like this:
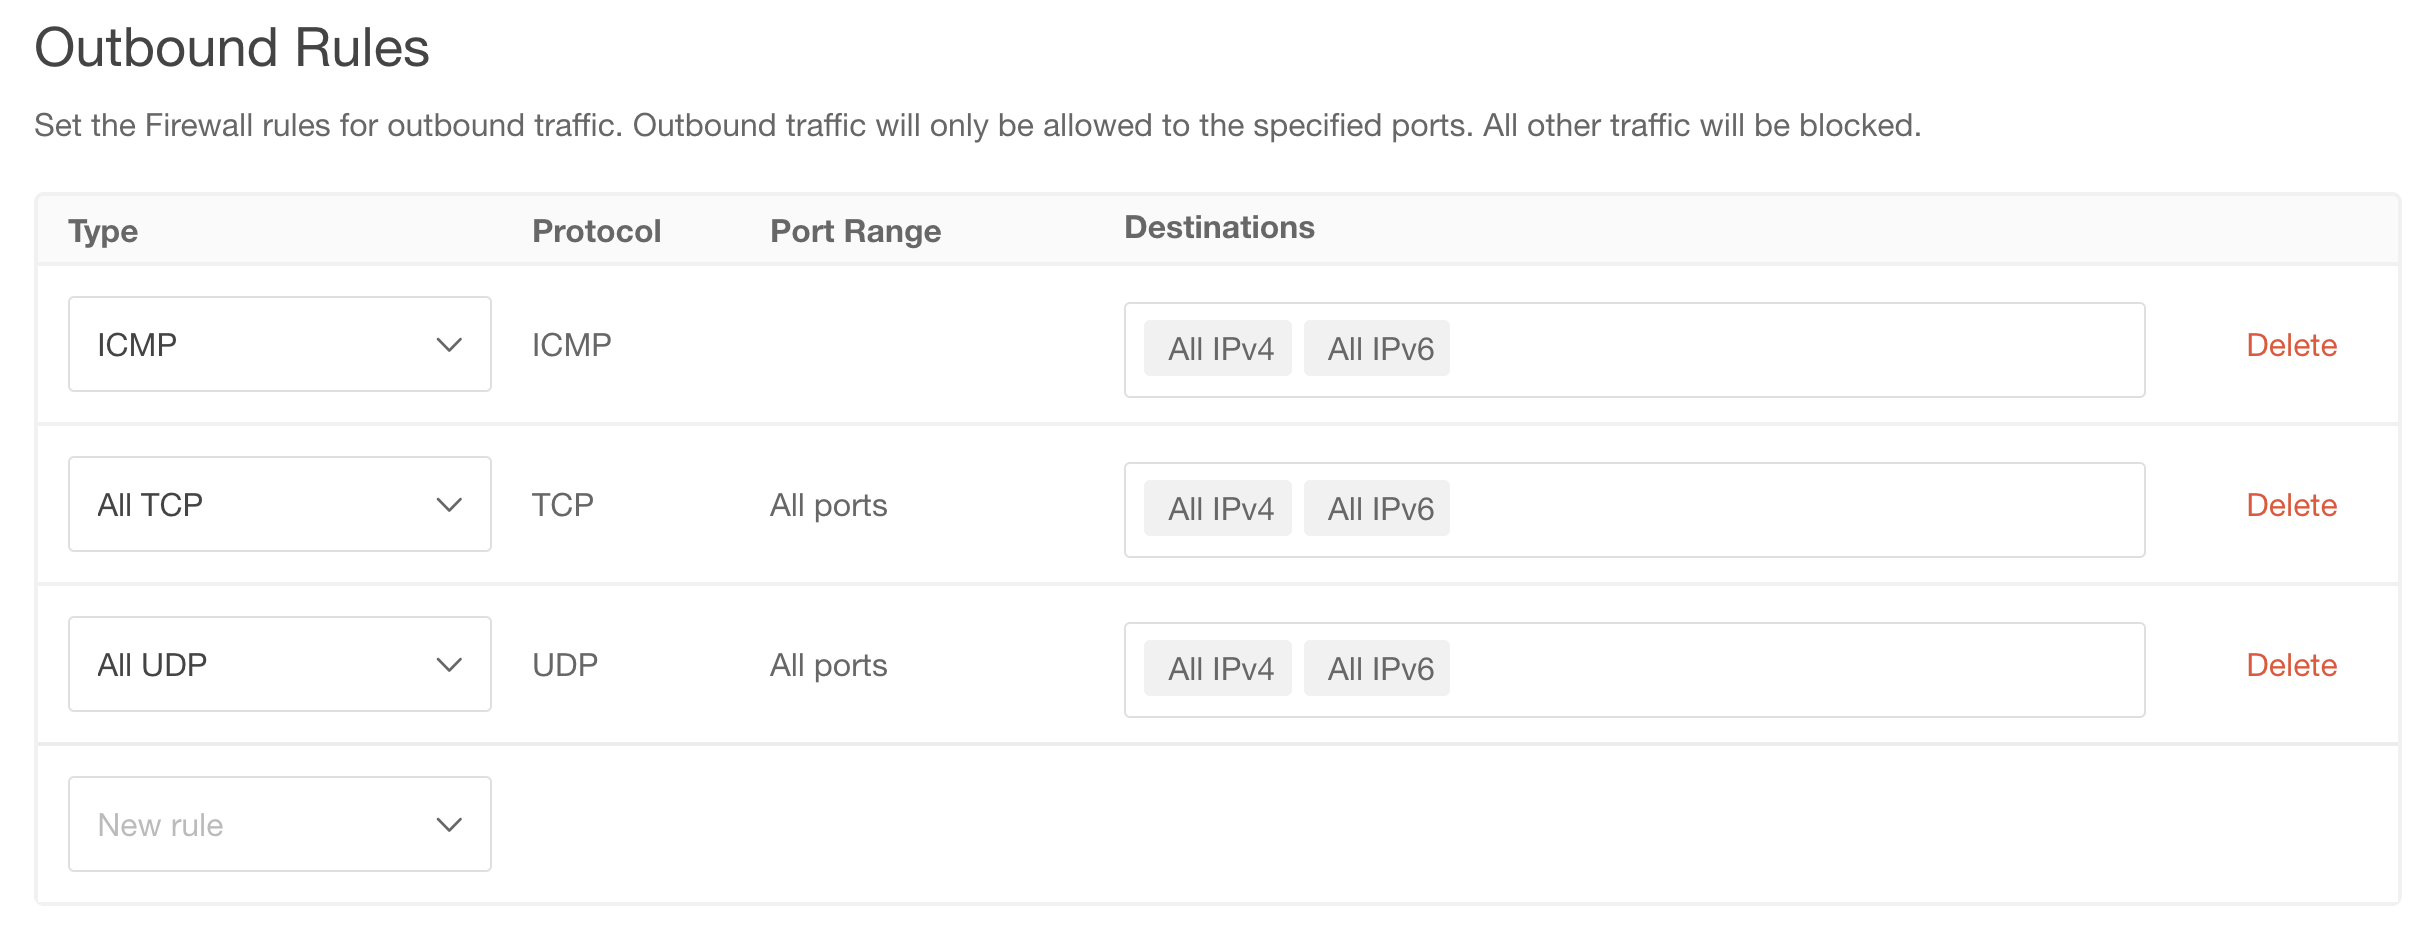
- The default Outbound Rules should be set to:
- Select the droplet we created earlier by searching for the hostname and then click Create Firewall.
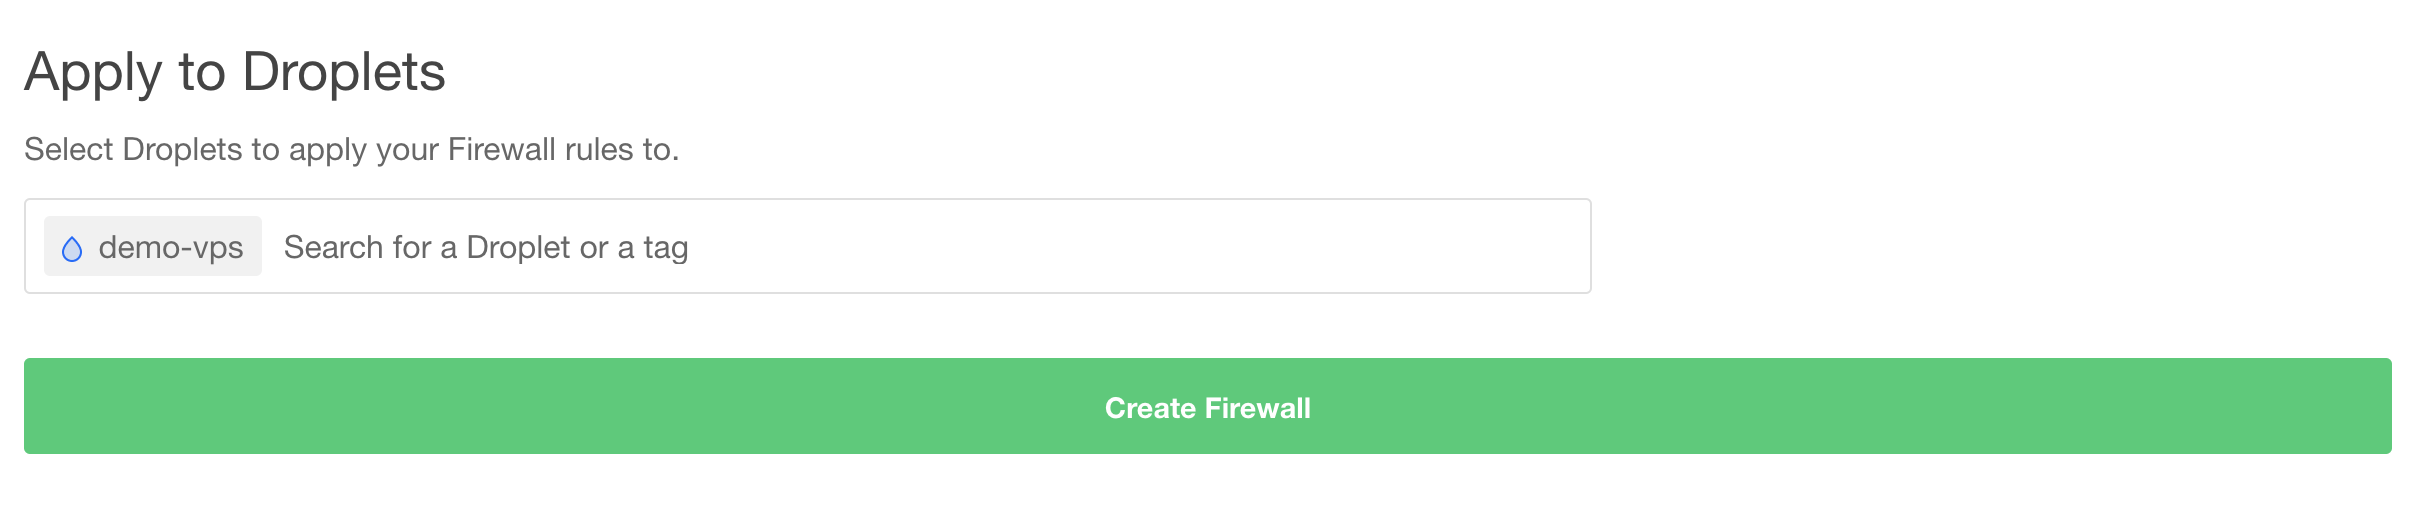
We now have a live Droplet (server) that has a Firewall applied to it.
5. Domain
Section titled “5. Domain”
The last thing we need to do is assign a domain name to our server. You can use subdomain if you wish. Simply create an A record to your Droplet's IP address which you can find in the DigitalOcean dashboard.
In my case I'd like to run CapRover at: https://paas.mydomain.com
To do this I must create an A record: *.paas.mydomain.com
It's important to include the * before as we will be using this subdomain as a wildcard.
Depending on your DNS provider, it can take 24-48 hours for your new DNS record to propagate.
That's it for Part 1. Check out Part 2 to see how to finish the CapRover setup.