Managing Cloud Servers with Resource Manager
Follow the full Resource Manager flow from provider connection to servers, SSH keys, project targets, and publish-time usage.
Introduction
Use this tour when you want the whole Resource Manager workflow instead of only a hosting concept. The goal is to connect provider setup, server and related resources, SSH access, project targets, and the publish handoff into one practical infrastructure story.
Resource Manager is the infrastructure bridge for the project
Resource Manager is where provider accounts and server-side resources stop being abstract hosting details and become something the project can actually use. This is the UI surface that connects cloud infrastructure with Wappler’s own target and publish workflows.

Connect the cloud provider first
The full flow starts with the provider account, not with publish. Add or connect the provider so Resource Manager can enumerate and create the infrastructure objects you actually depend on. Until that provider connection exists, server creation, managed databases, users, and SSH-related actions have nowhere real to go.
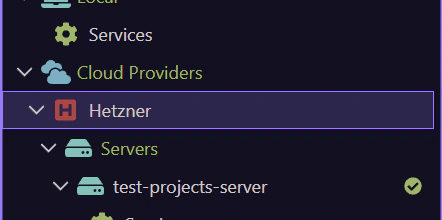
Use a real provider entry when one is already listed
This tour stays general because every project can use a different provider. In Demo Projects HQ, the Hetzner entry is the concrete example of what an already-connected provider looks like. If you see Hetzner here, read it as the live provider connection that Resource Manager can now use for server and resource work. If your project shows another provider instead, the same idea applies to that provider entry.
Create the server and the related resources the project needs
Once the provider is connected, Resource Manager becomes the place to create or inspect the actual infrastructure layer: servers, managed databases, users, and other provider-side resources that support the project. The important habit is to think in complete deployment needs, not only in ‘one server’. Most real projects need the compute target, database access, and supporting resources aligned together.
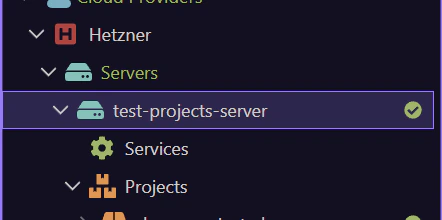
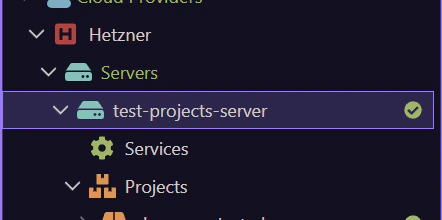
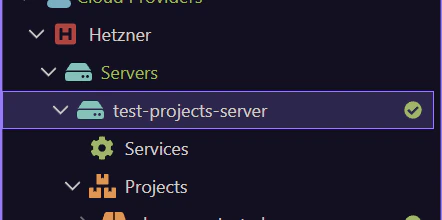
Use a real server entry when one is already listed
A connected provider becomes much more useful once a concrete server exists under it. In Demo Projects HQ, test-projects-server is that concrete example. If it is listed here, treat it as the live deployment target whose SSH access, databases, and publish target settings need to stay aligned. If your project uses another server name, the same handoff applies to that server instead.
Manage SSH keys and access before you need them
SSH access is part of the real deployment path, not an optional afterthought. Use Resource Manager to manage provider-side keys, agent state, and server authorization so the server is reachable and operational before the first serious publish or maintenance task. This prevents deployment from stalling on basic access problems that should have been handled as infrastructure setup.
Wire the infrastructure into project targets
The infrastructure only becomes reusable for the app once it is reflected in project targets. This is the handoff point between Resource Manager and the rest of Wappler: the provider and server resources now inform the target configuration that Publish Manager and deployment workflows will actually use.
Publish uses the targets you prepared here
Resource Manager does not replace Publish Manager. It prepares the infrastructure that publish depends on. Once the provider, server resources, SSH access, and project targets are in good shape, Publish Manager can use that target definition as the operational path for delivery, including any database-migration work that belongs to the release.
Next steps
Return to the Resource Manager hub when you are ready for the next panel subject. That keeps the panel tour path sequential: choose the next Resource Manager topic from the panel hub, and step back to Hosting and Cloud Platforms only when you want the wider deployment map.