Connecting to GitHub, Gitlab or BitBucket
With Wappler you can connect seamlessly your Wappler project to Github, Gitlab or BitBucket repositories. You can push and pull your local project to the select
With Wappler you can connect seamlessly your Wappler project to Github, Gitlab or BitBucket repositories. You can push and pull your local project to the selected remote repository.
Creating a local repository
Section titled “Creating a local repository”First you need to setup a local repository.
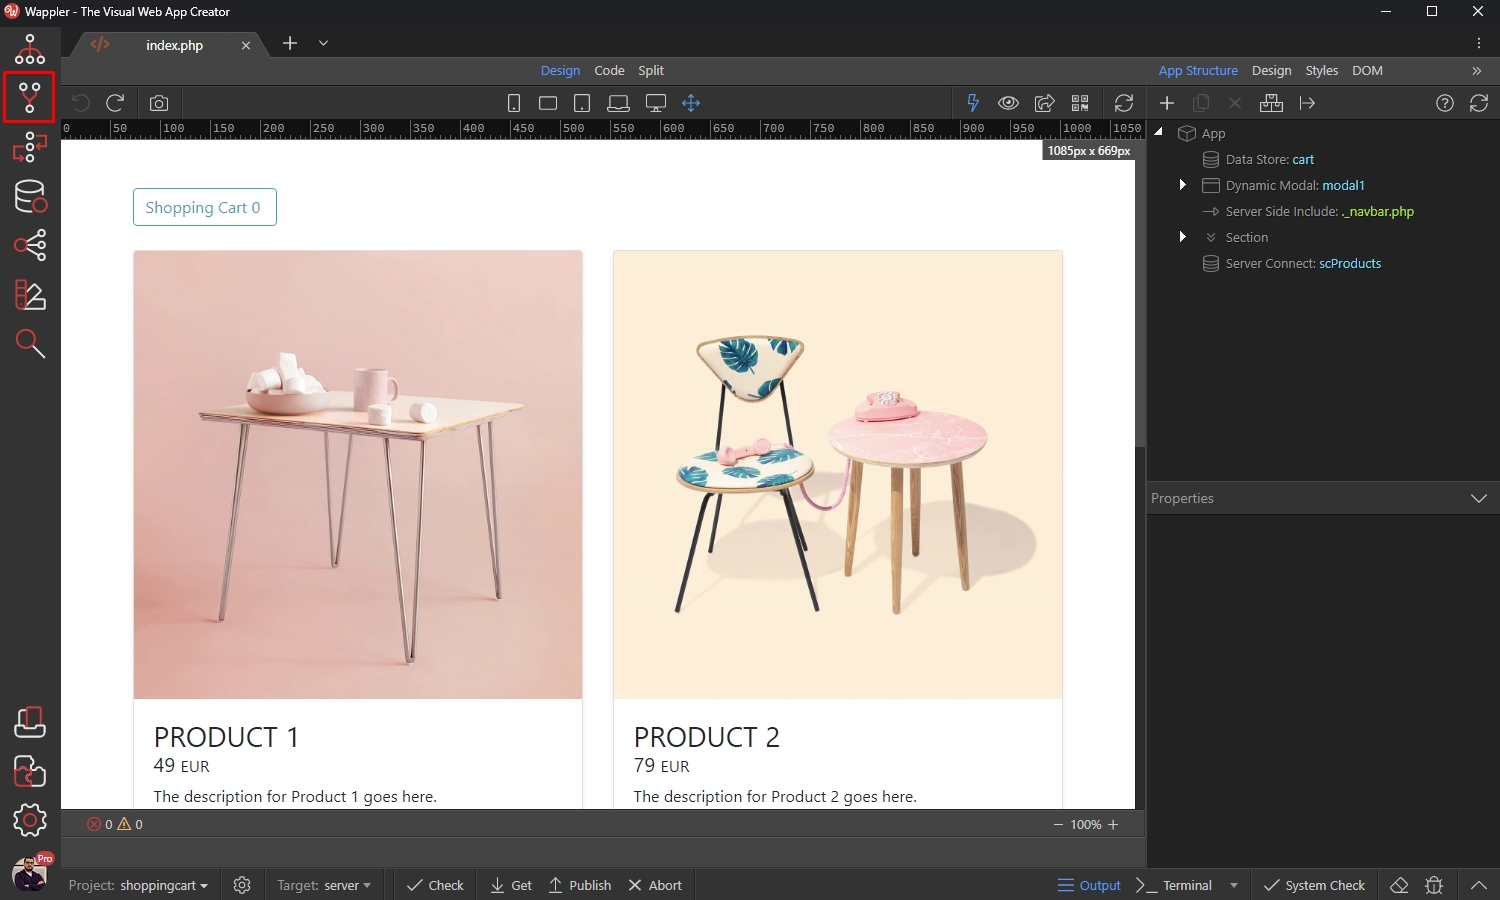
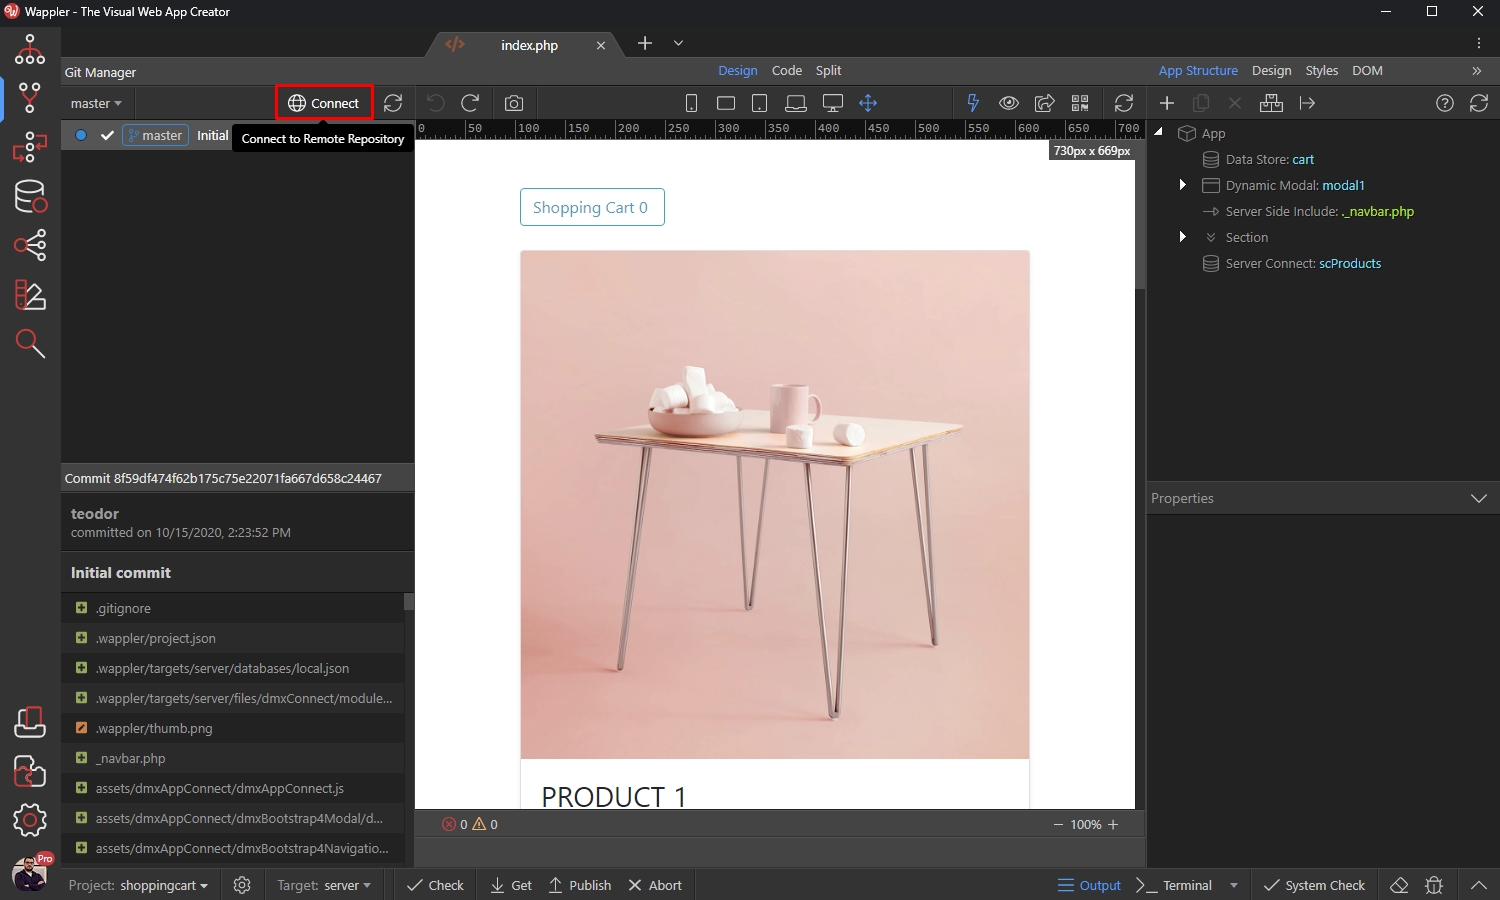
This is quite an easy task, just open the Git Manager Panel:
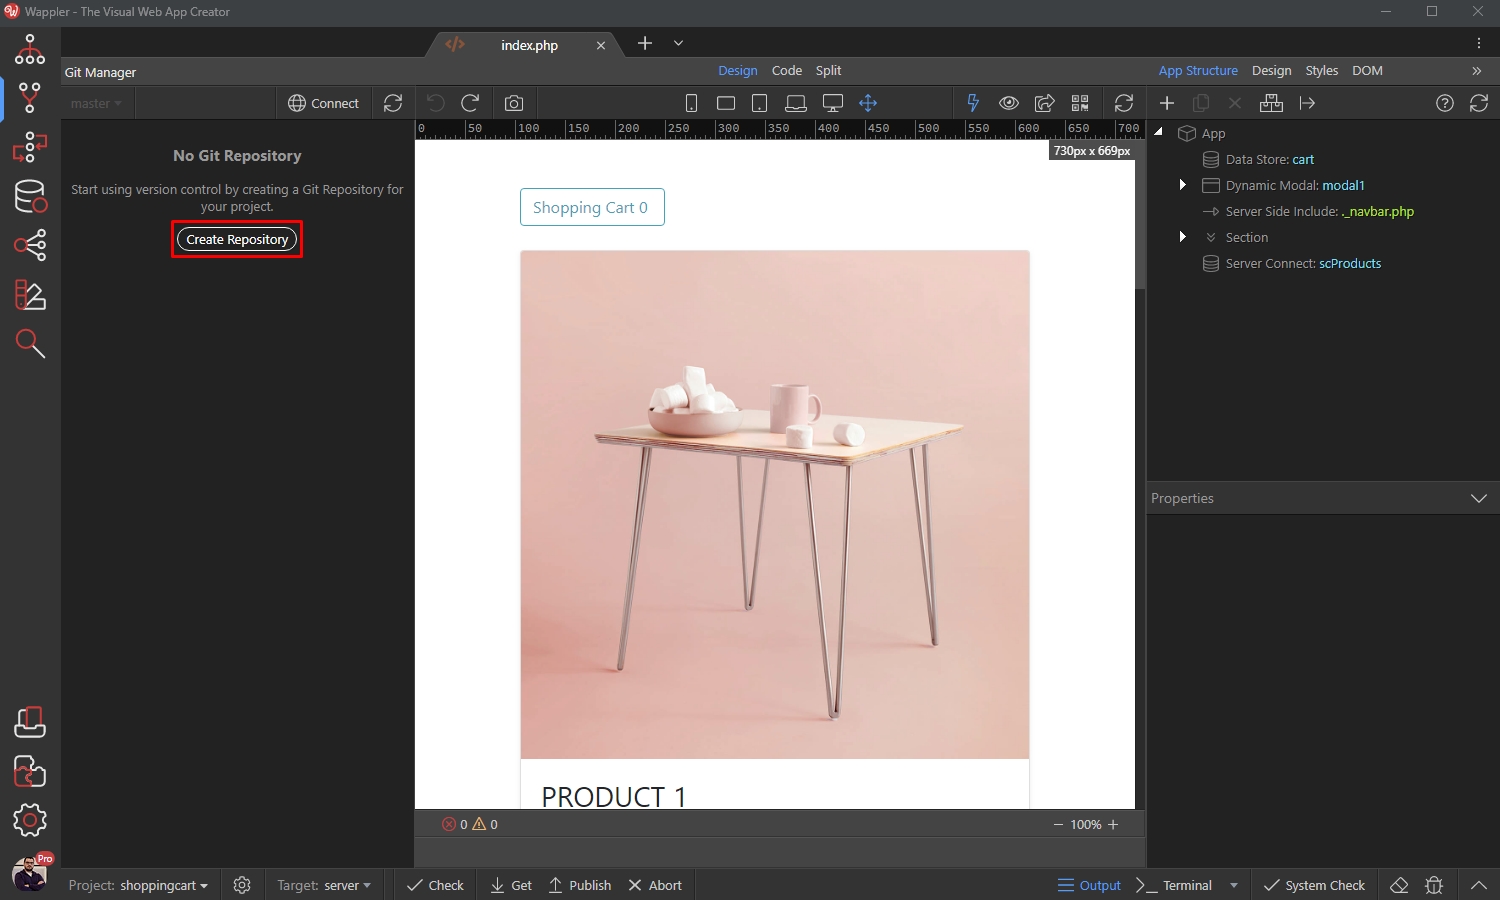
And click the Create Repository button:
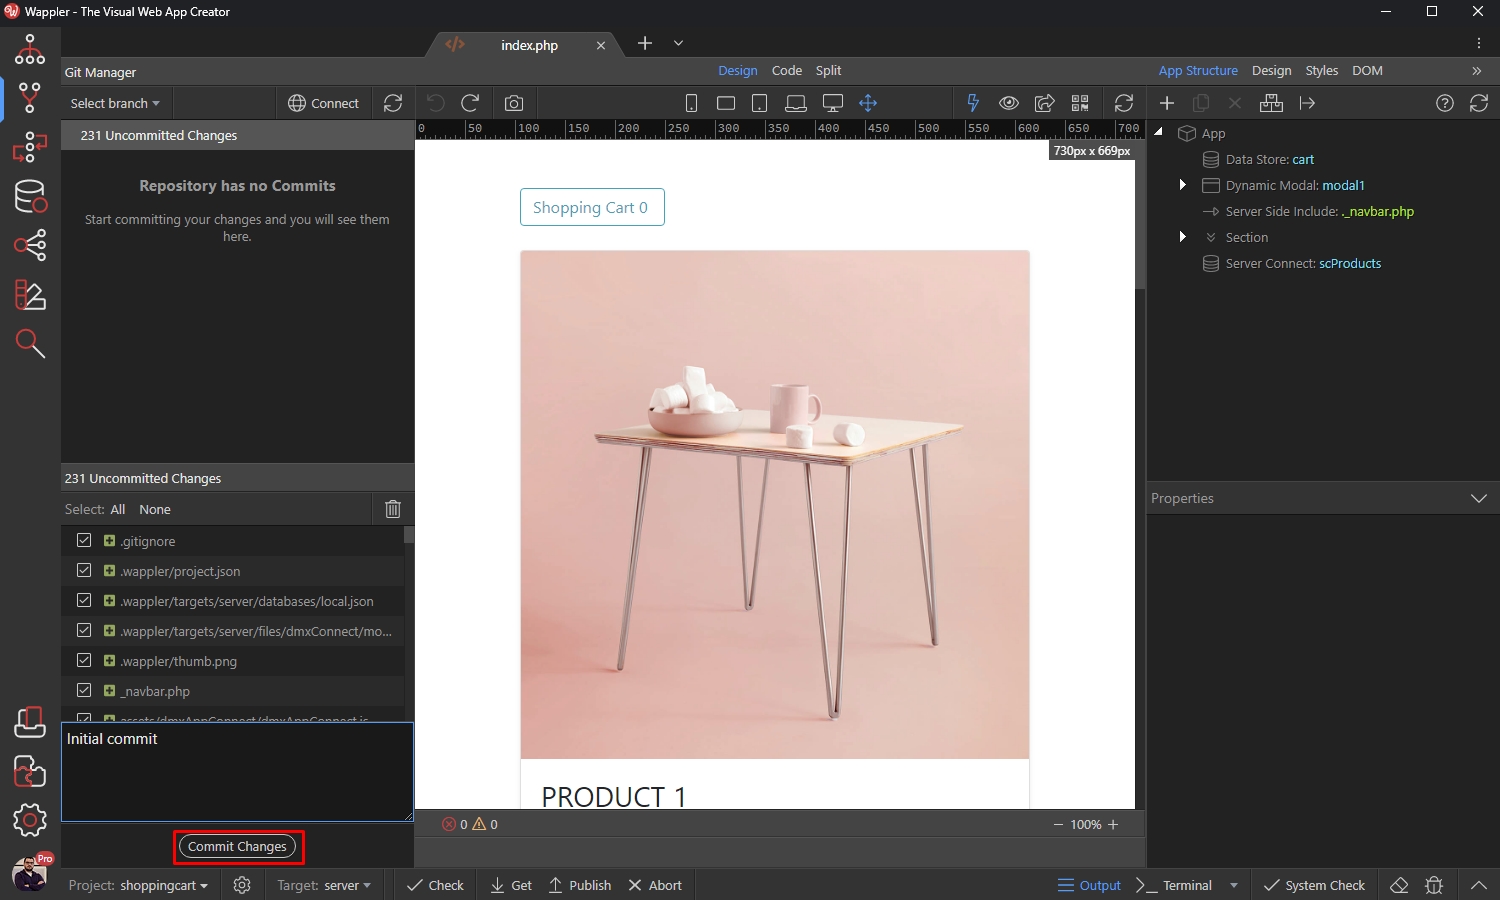
Select the uncommitted changes and commit them:
We are done setting up the local repository, so let’s setup a remote one.
Creating a remote repository
Section titled “Creating a remote repository”You can connect to Github, GitLab and BitBucket repositories directly from Wappler, as Wappler is now an officially registered app for these 3 providers!
In our example we will show you how to create and connect to a Github repository, the process is the same for the other two providers.
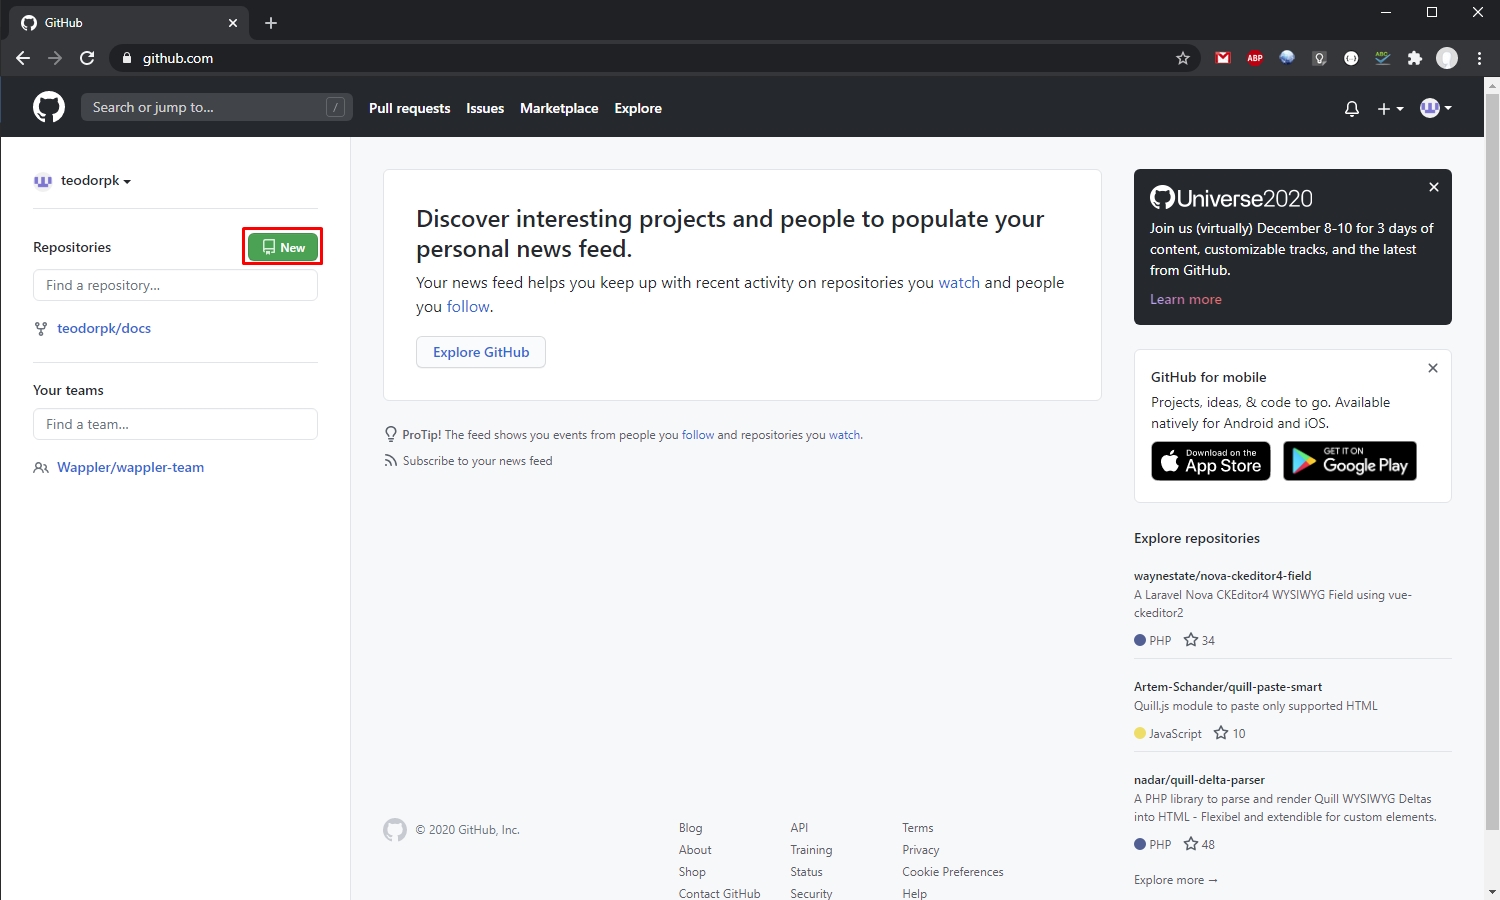
First go to https://github.com/ and log in. Then click the New button in the Repositories section:
Add a name for your repository:
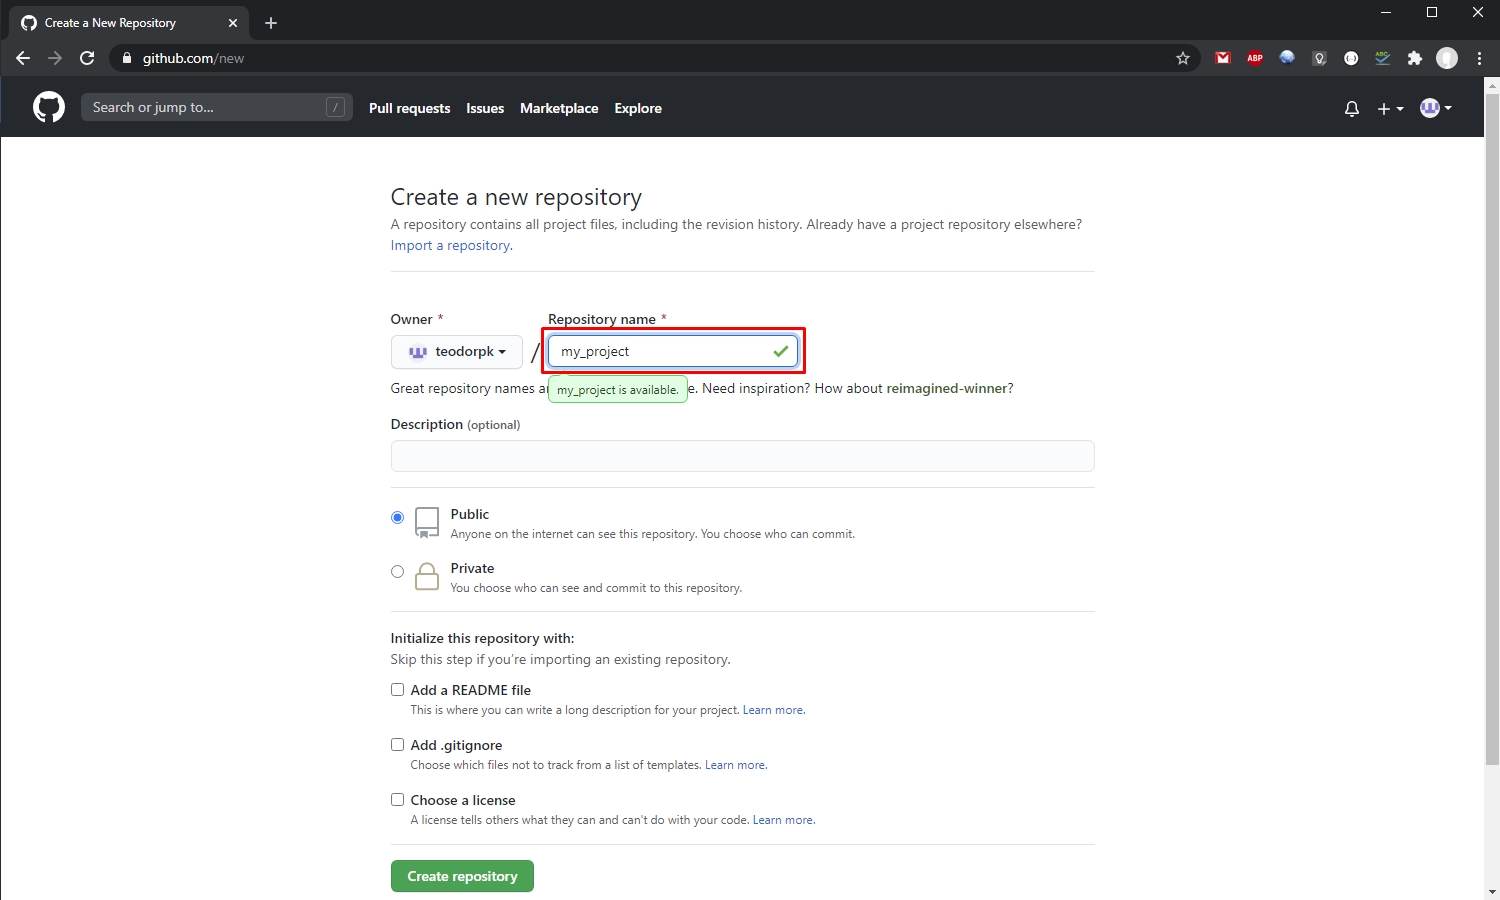
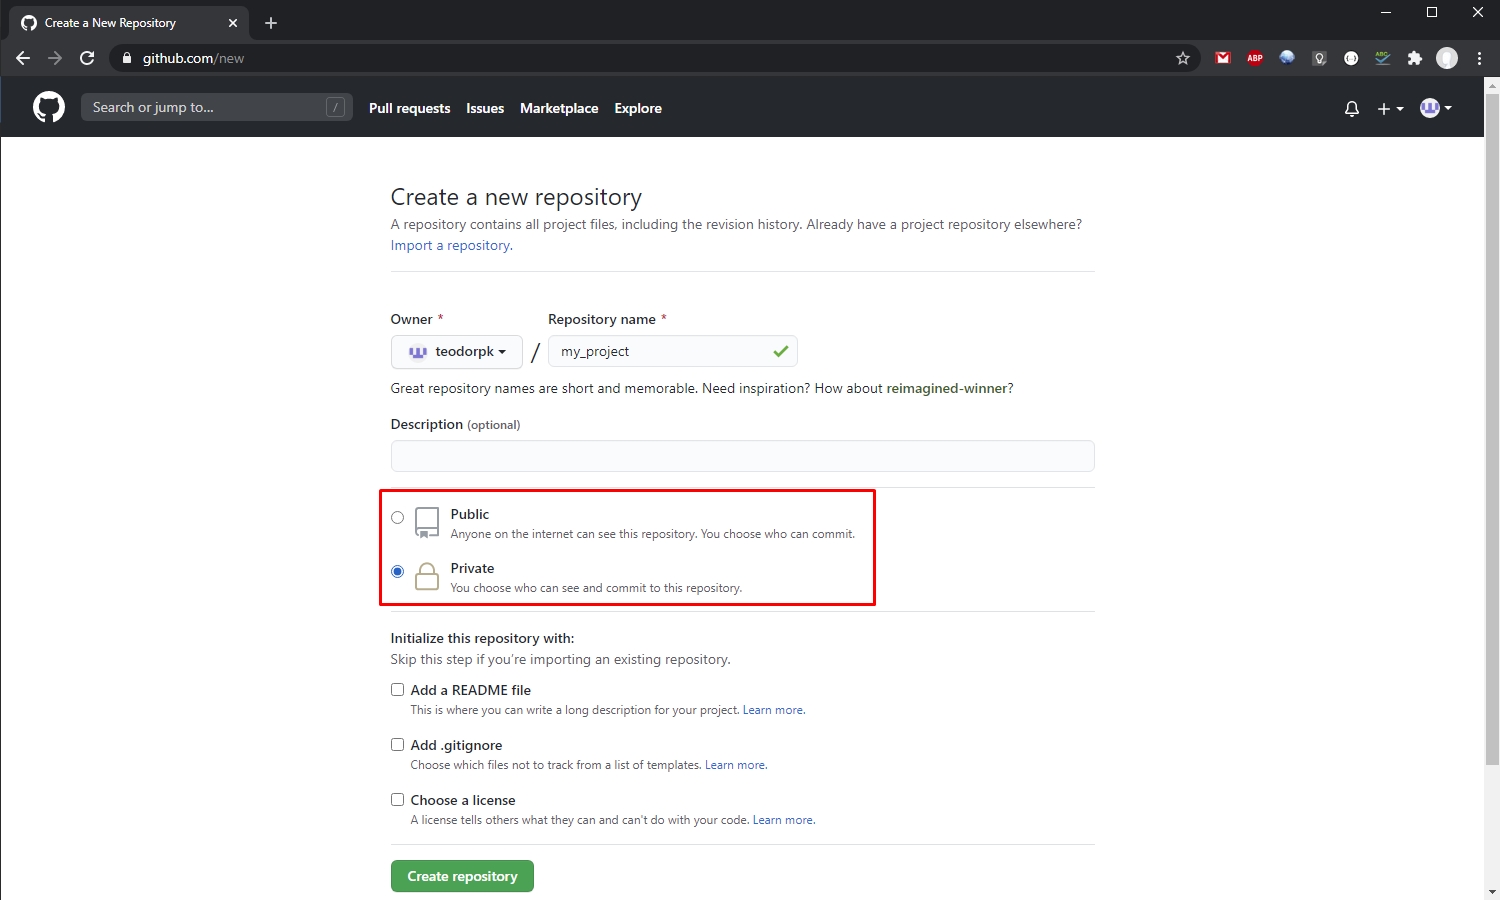
Select whether this repository should be a public or a private one:
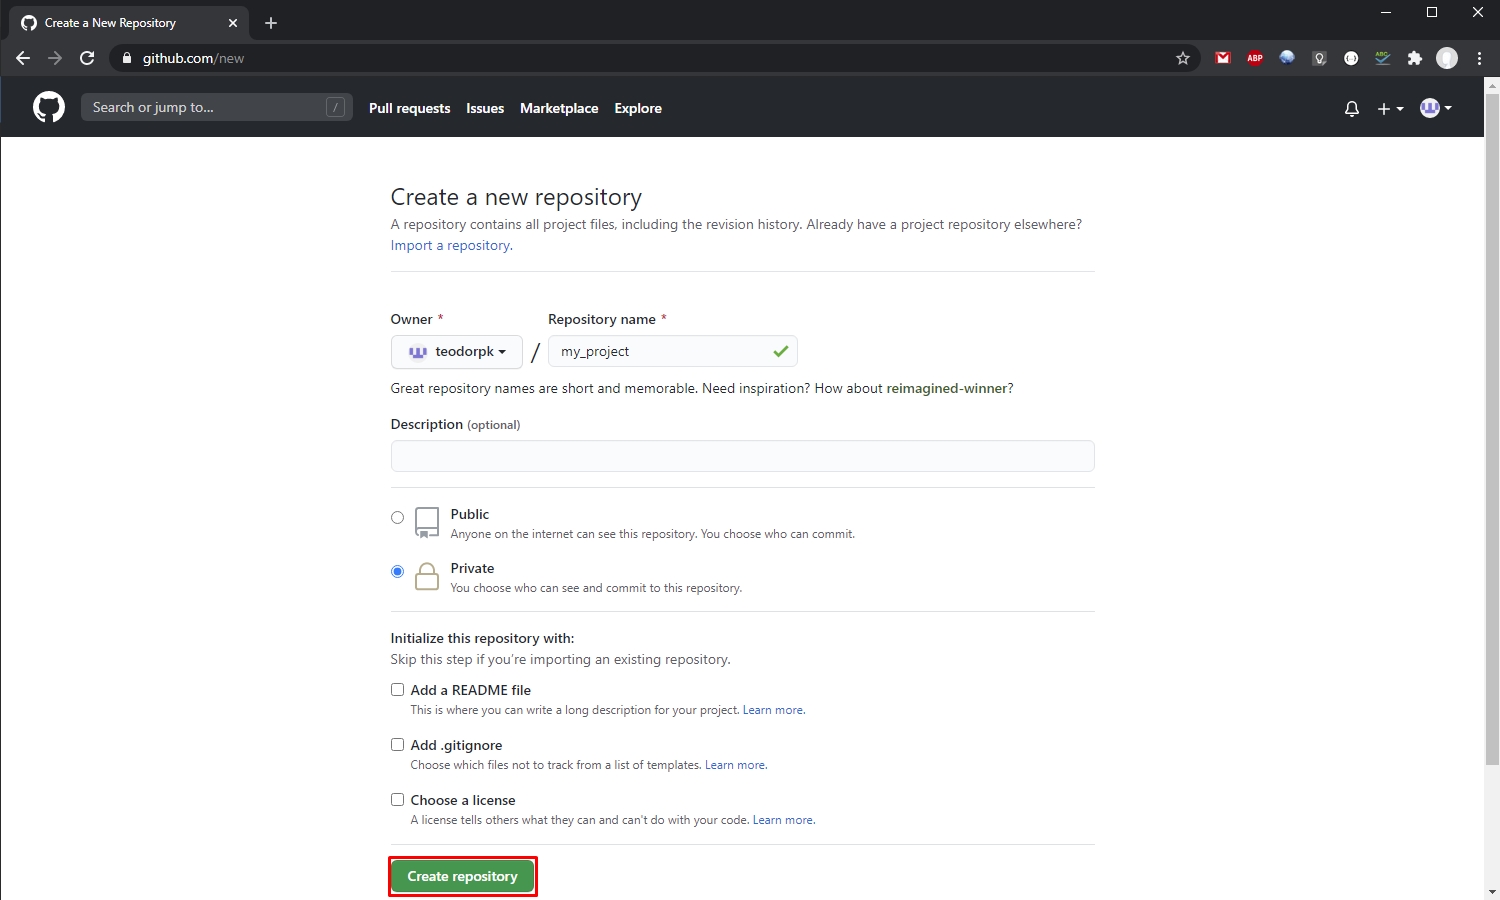
It is important not to select anything under Initialize this repository with. Simply skip this step:

And click the Create repository button:
Copy your repository address, as you will need it in the next steps:

Working with remote repositories
Section titled “Working with remote repositories”Switch back to Wappler.
Connecting to a remote repository
Section titled “Connecting to a remote repository”Click the Connect to remote repository button, located in the Git Manager:
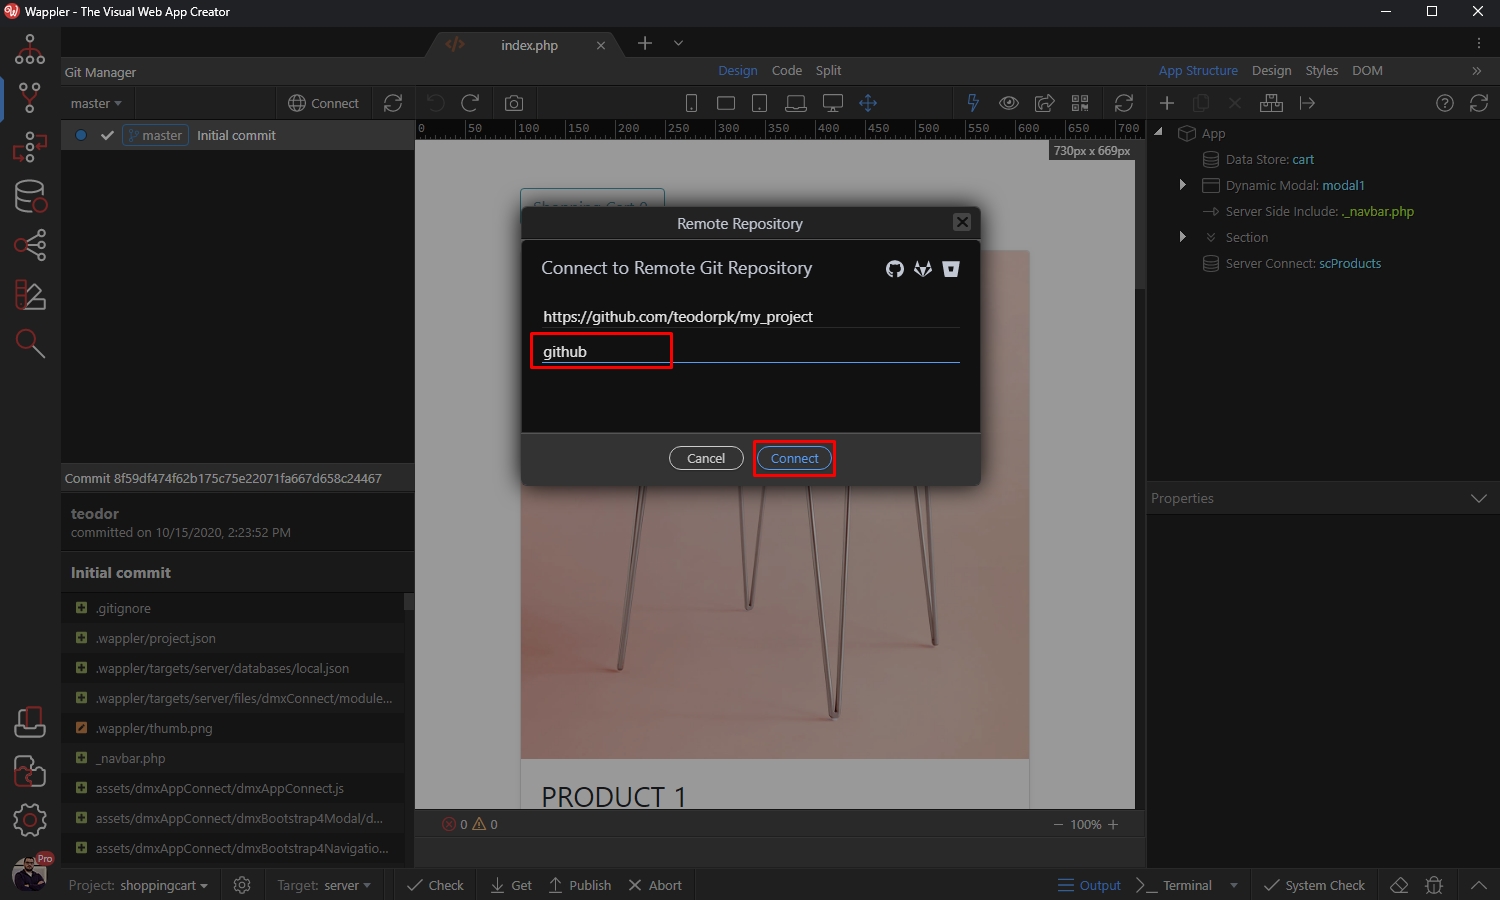
Paste your remote repository address:

Then add a name for this repository. This name is used in Wappler UI so that you know which remote repository is selected. It can be any random name. Click Connect:
Authorizing Wappler access
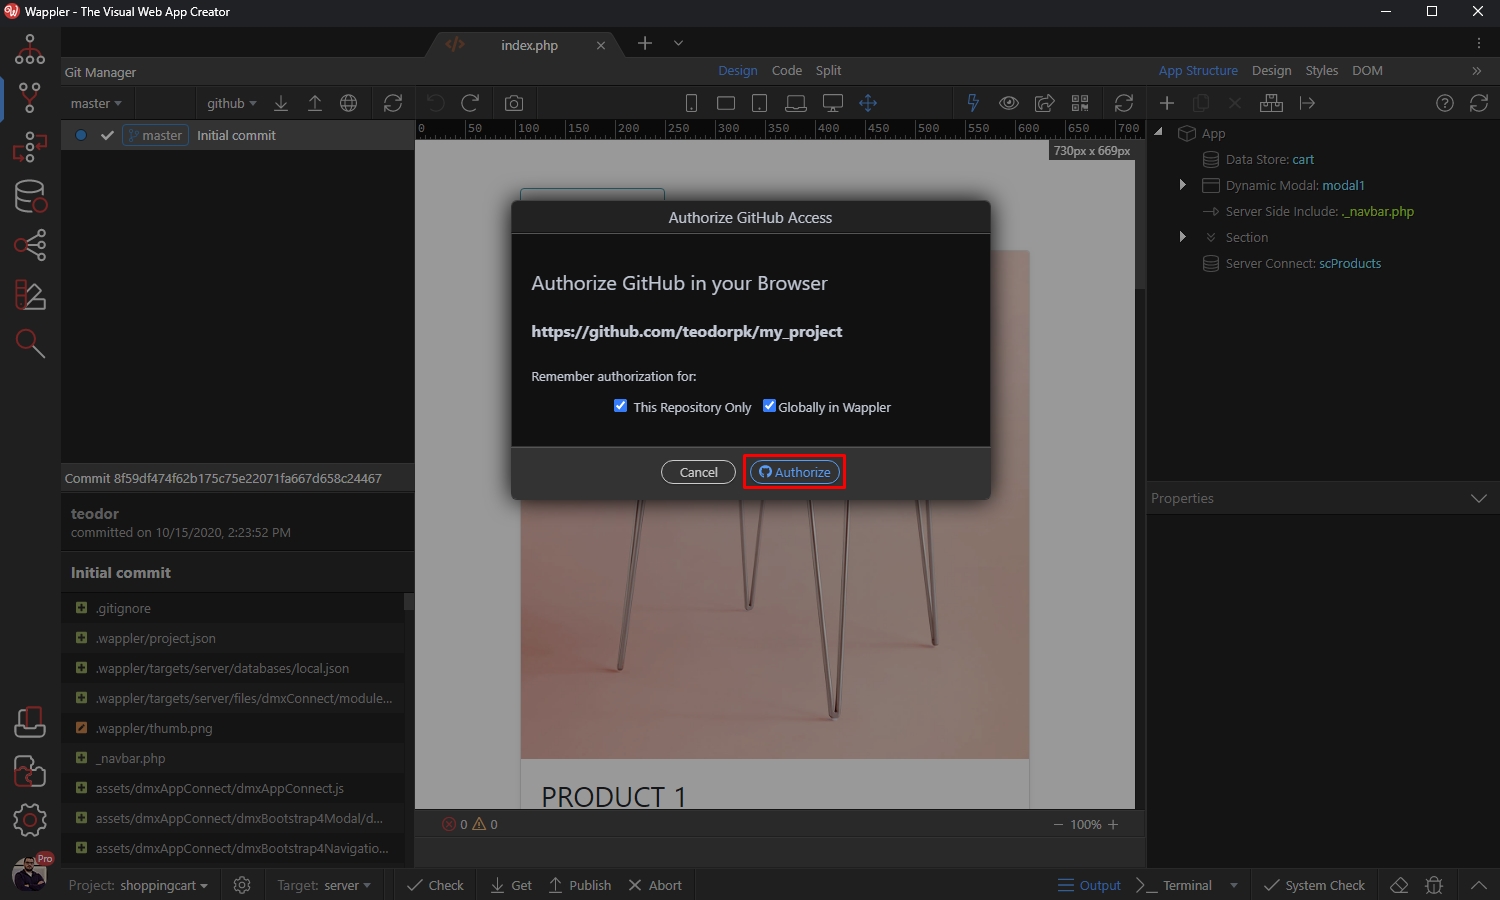
Section titled “Authorizing Wappler access”An authorize dialog will appear. You need to authorize GitHub Access for Wappler. There are two options available - authorize Wappler for just the current Github/Gitlab/Bitbucket repository and/or store the authorization globally for all your Wappler projects. We select both, so that we don’t have to do this for each of our projects:

Click the Authorize button:
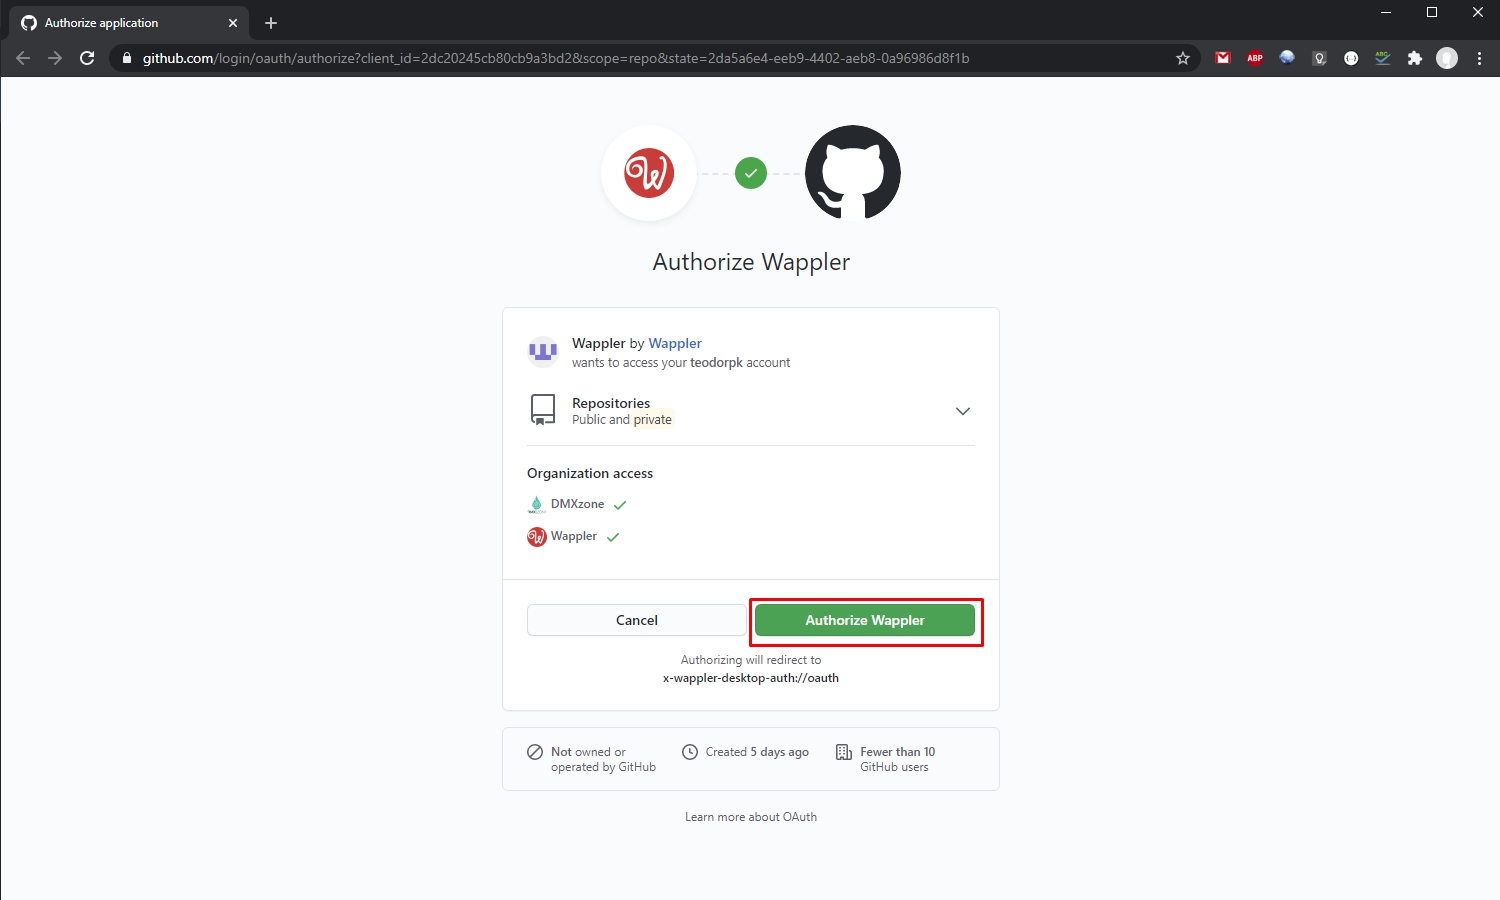
You will be taken to the app authorization page in your browser. Click the Authorize Wappler button:
And click the Open Wappler button in the alert which appears:

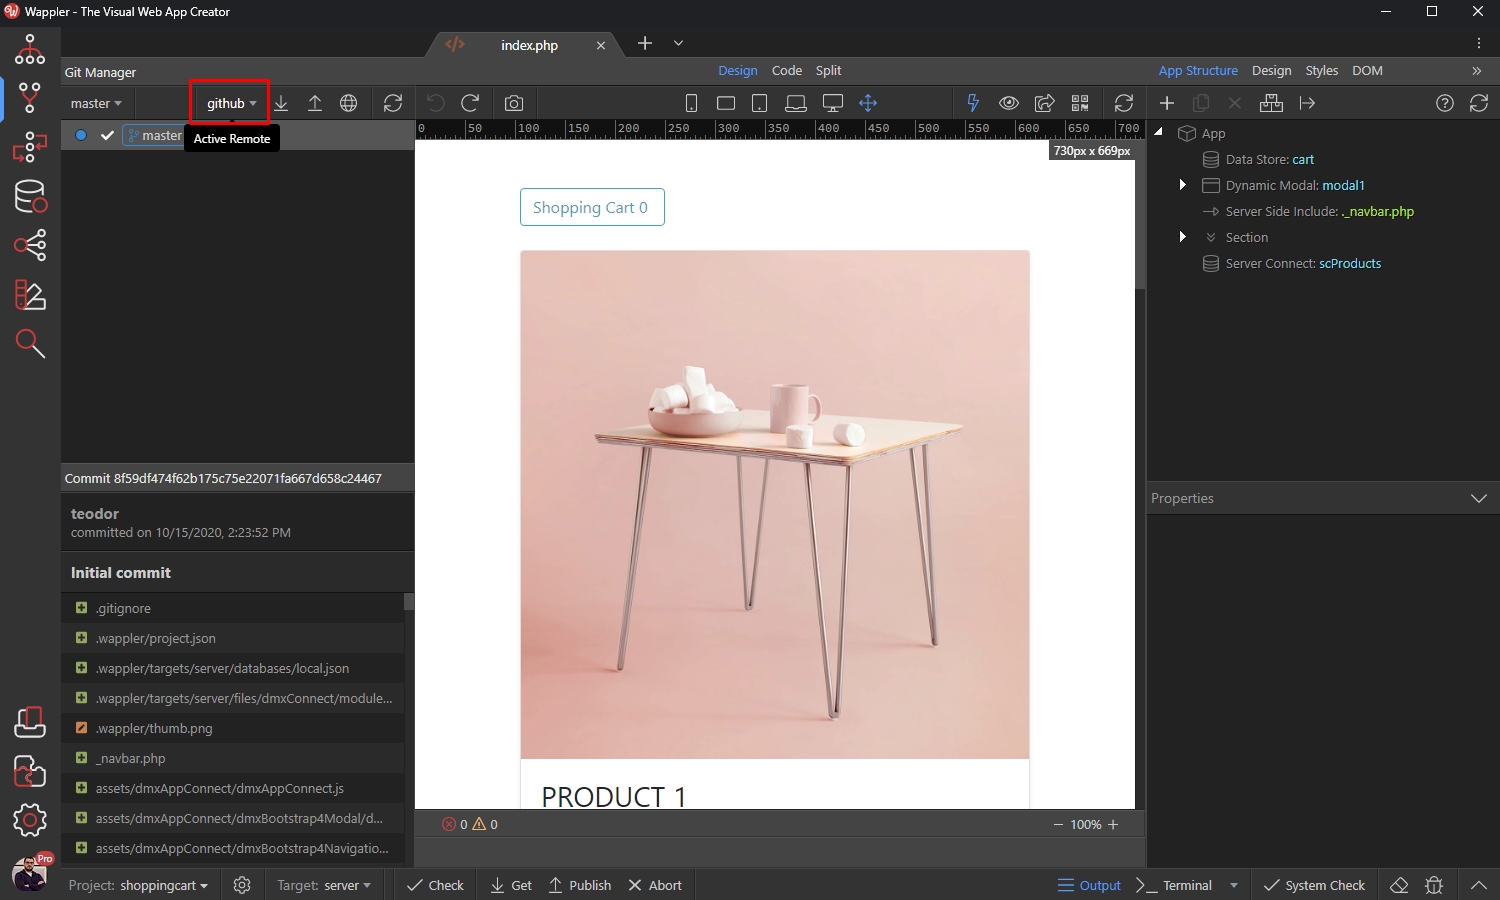
You will be taken back to Wappler, where you can see the remote repository in the dropdown:
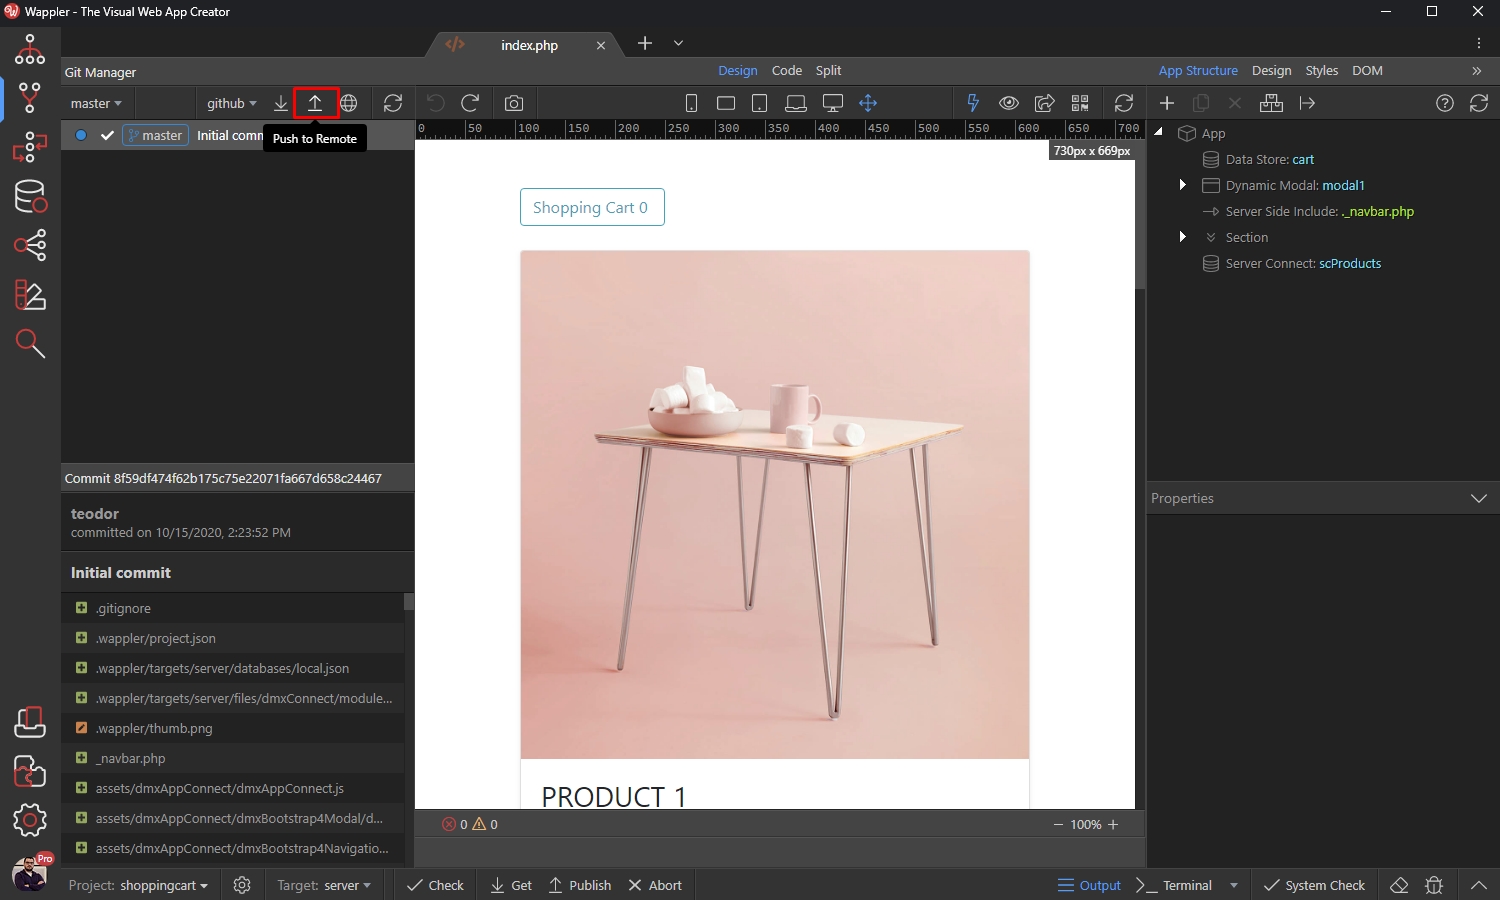
Pushing content to the remote repository
Section titled “Pushing content to the remote repository”In order to upload local repository content to a remote repository, we use the Push option. Pushing is how you transfer commits from your local repository to a remote repository.
Click the Push to Remote button in order to do this:
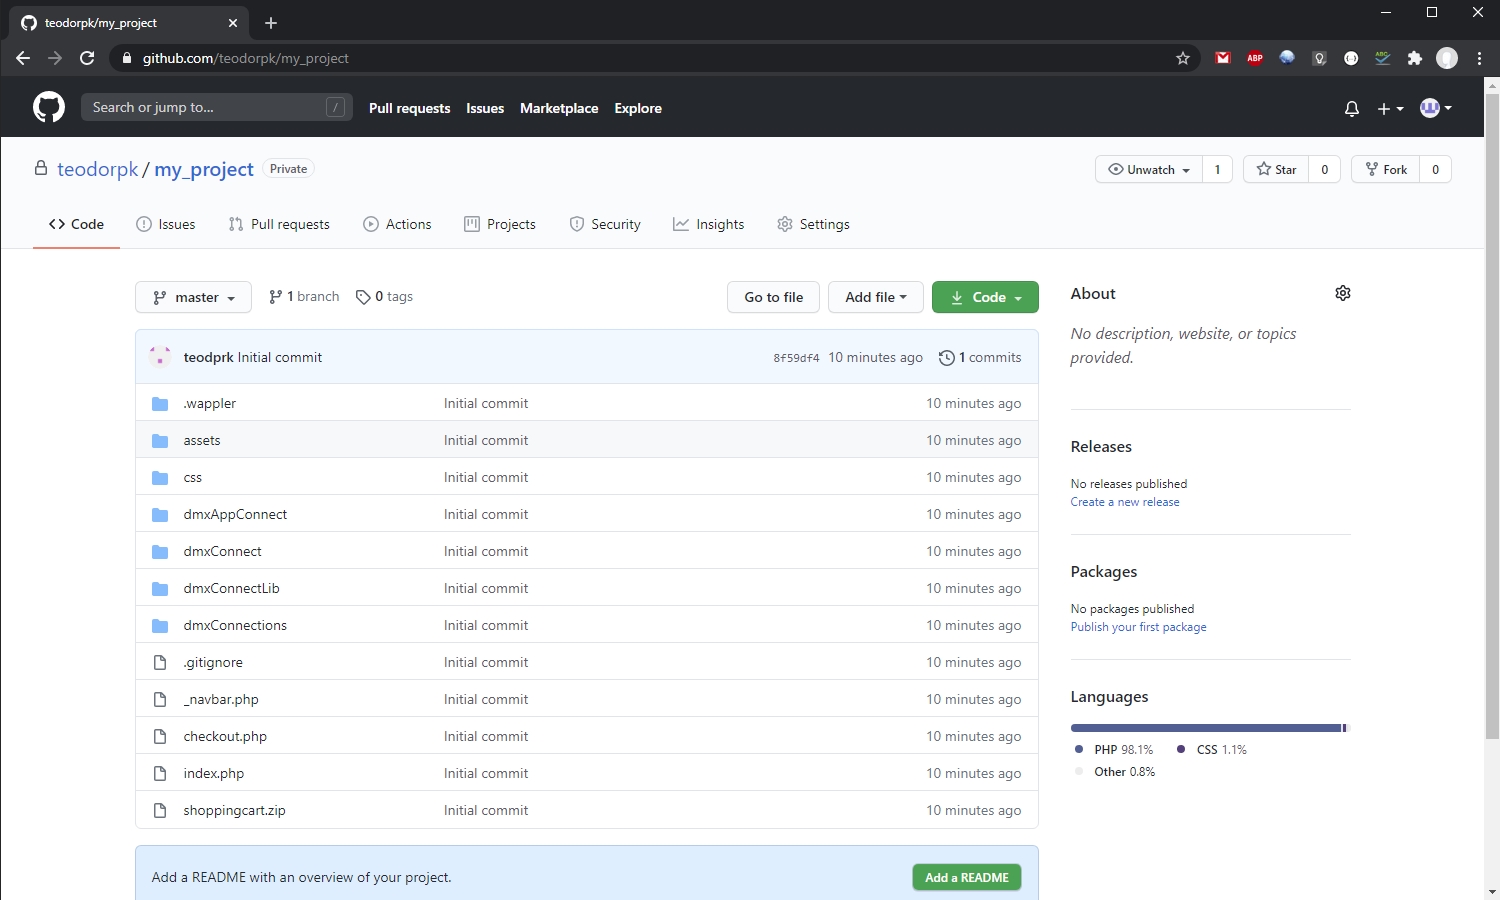
And you are done! Your local repository content is now transferred to your remote repository. We can see this in GitHub:
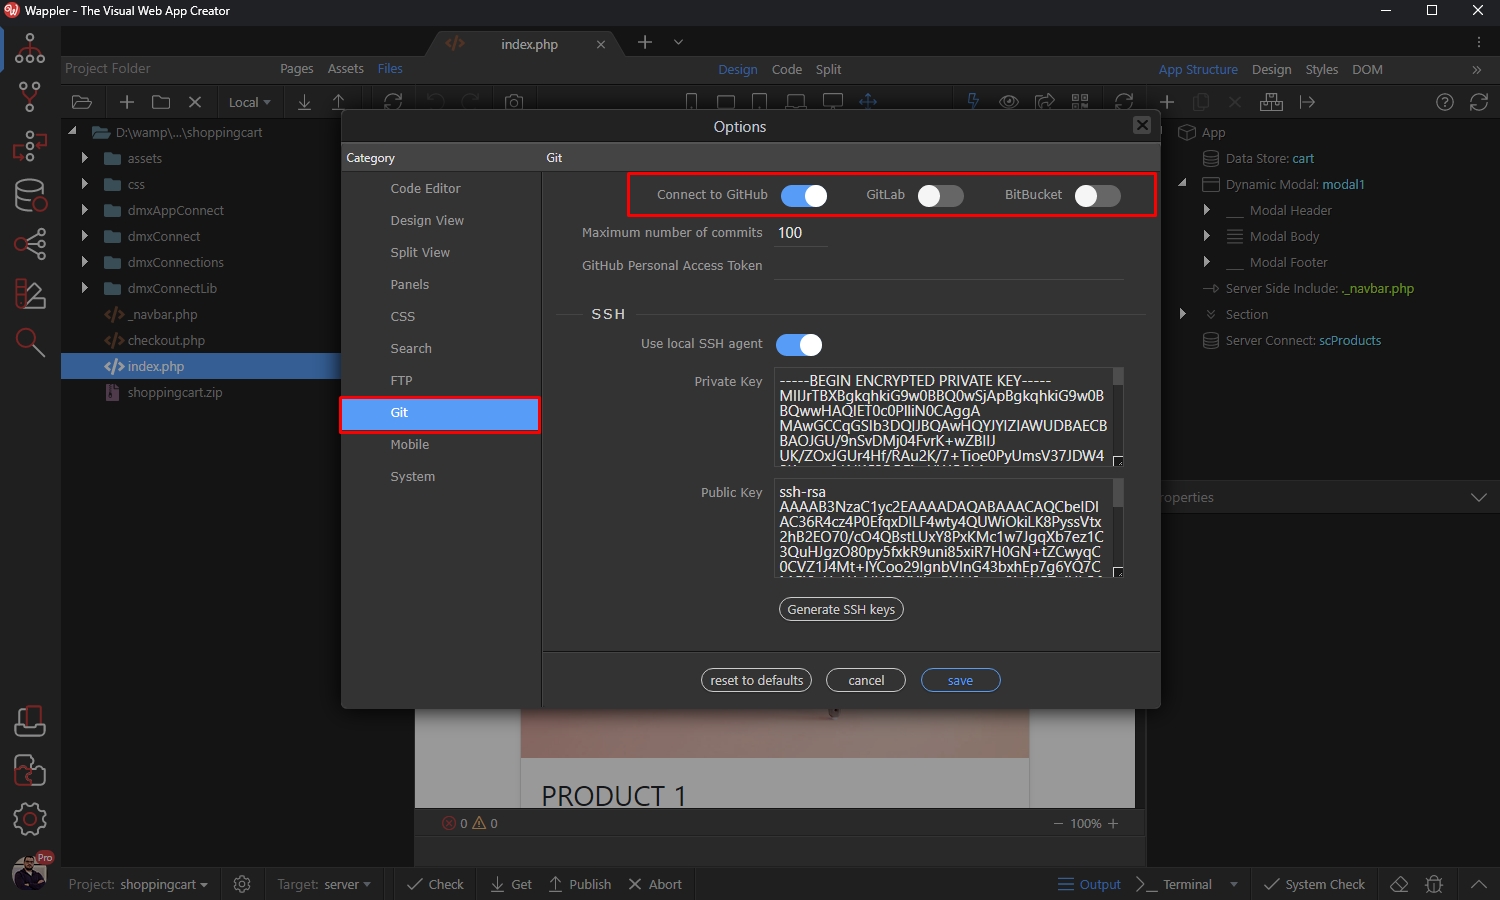
Controlling Wappler Git Account Authorizations in Global options
Section titled “Controlling Wappler Git Account Authorizations in Global options”You can control the Git Account Authorizations for Wappler in the global options. There you can set up them globally so you don’t have to authorize Wappler every time for each of your projects.
Click the Options button:

Select Git and you will see the connect options for Github, Gitlab and BitBucket. Here you can enable or disable global authorization for Wappler:
Enabling each of them will take you to the App Authorization pages of each of the providers. Follow the instructions in your browser to authorize Wappler.