App Flow
Isolated Returns results
A short, linear learning path for App Connect Flows, starting with flow types and building a first App Flow.
App Flows give you a visual way to describe client-side logic as connected steps instead of scattered event handlers. This introduction explains what problems flows solve, where they fit in Wappler’s workflow, and what to watch first so the rest of the editor feels approachable.
TIP: This guided path focuses on App Flows (isolated) because they use the dedicated App Flows editor. Page Flows and Inline Flows are created inside pages.
In the App Flows manager, you normally select an App Flow from the list before opening it in the dedicated editor.
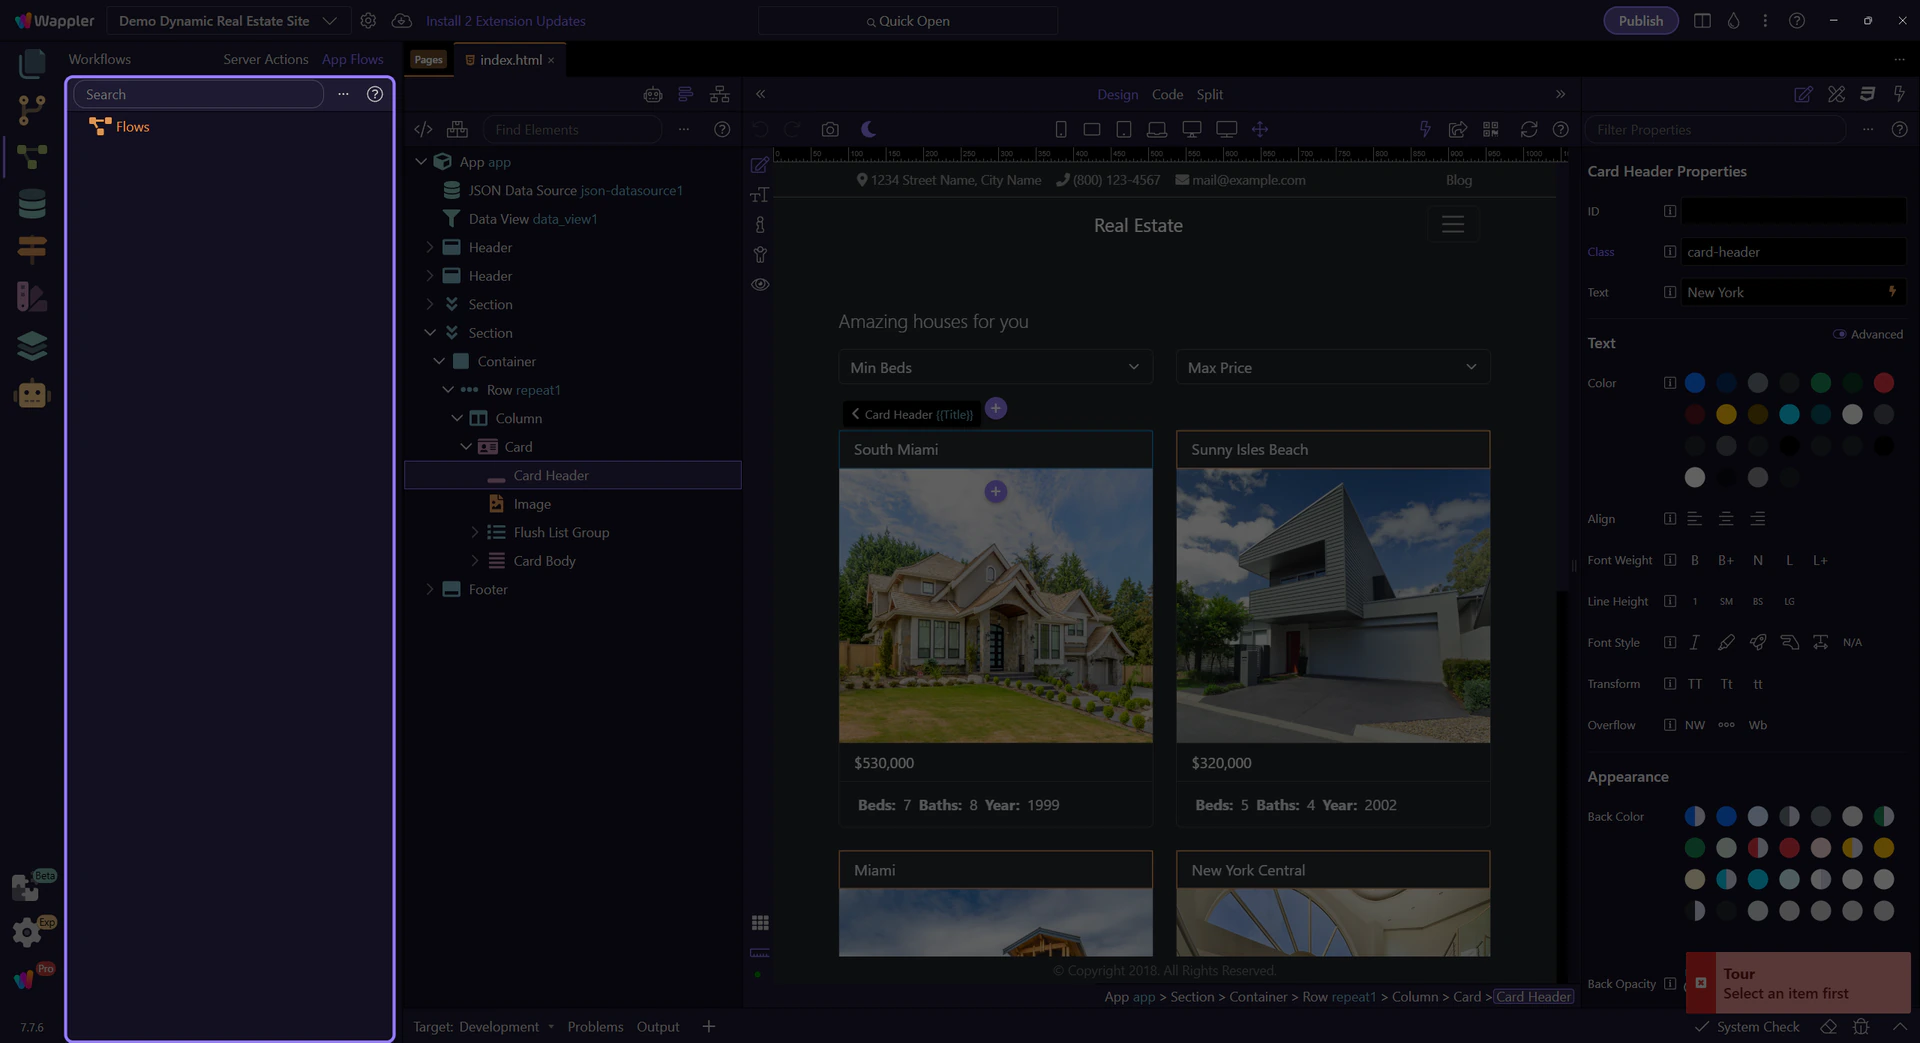
After you select an App Flow in the manager panel, you open it in the dedicated editor. That editor is where you build App Flows as isolated, reusable client-side workflows.
Ready to build your first App Flow (isolated workflow)?