Schema
Define the fields so bindings and record actions know the shape.
Client-side collections in App Connect: define a schema, store records, and perform record actions like insert/update/delete.
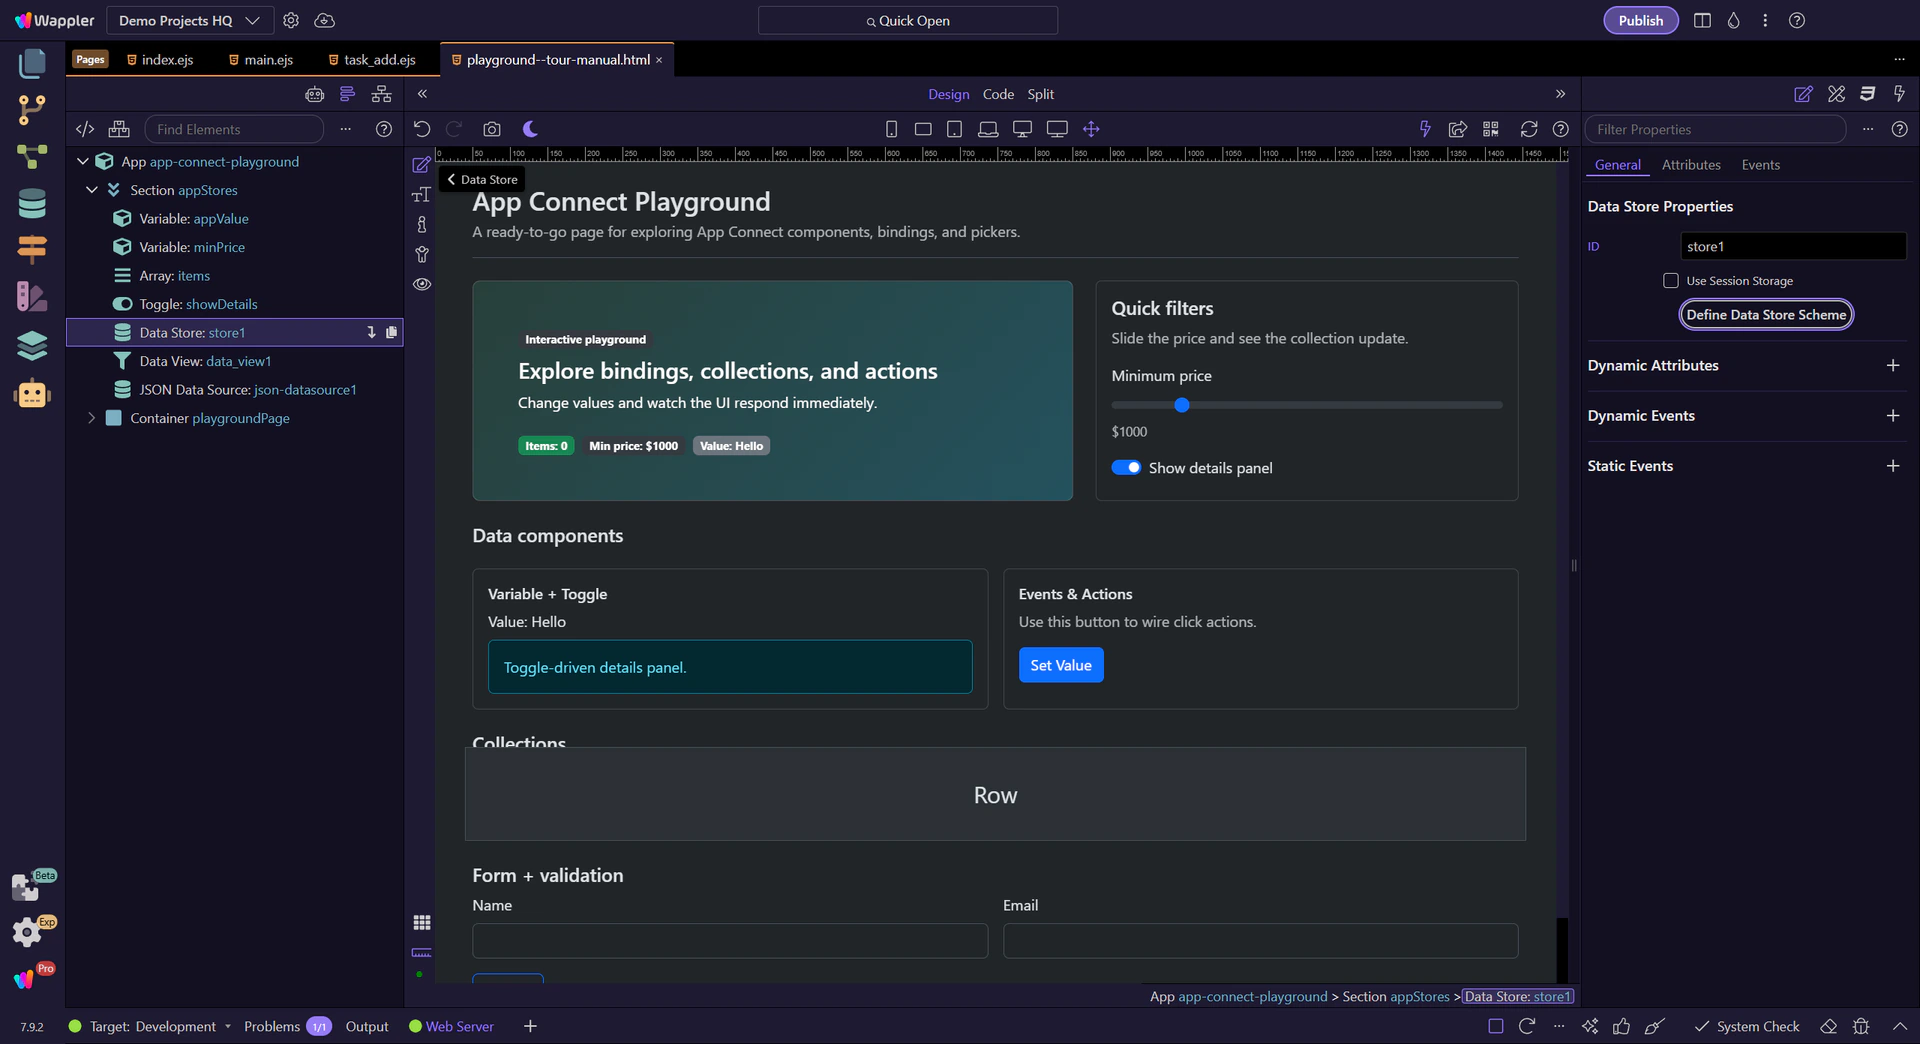
Data Store is a client-side collection that can persist in session storage and supports record actions.
Use Data Store when you need a collection you can add/update/delete on the client (for example: a cart, temporary edits, or a local list for UI state).
Data Store appears as a data source in bindings and pickers, and you can manage its records with client-side actions (insert/update/delete).

These are the key fields you’ll configure in Properties.
Start with the wider context in the Properties panel so the next control makes sense in the full workflow. In the next step, you will focus on ID and see how it fits into this area.
The ID is how you reference the Data Store in bindings and action pickers. This step matters because ID is part of Selection Panels Properties Datastoreid, and understanding that context makes the next action easier to repeat in your own project.

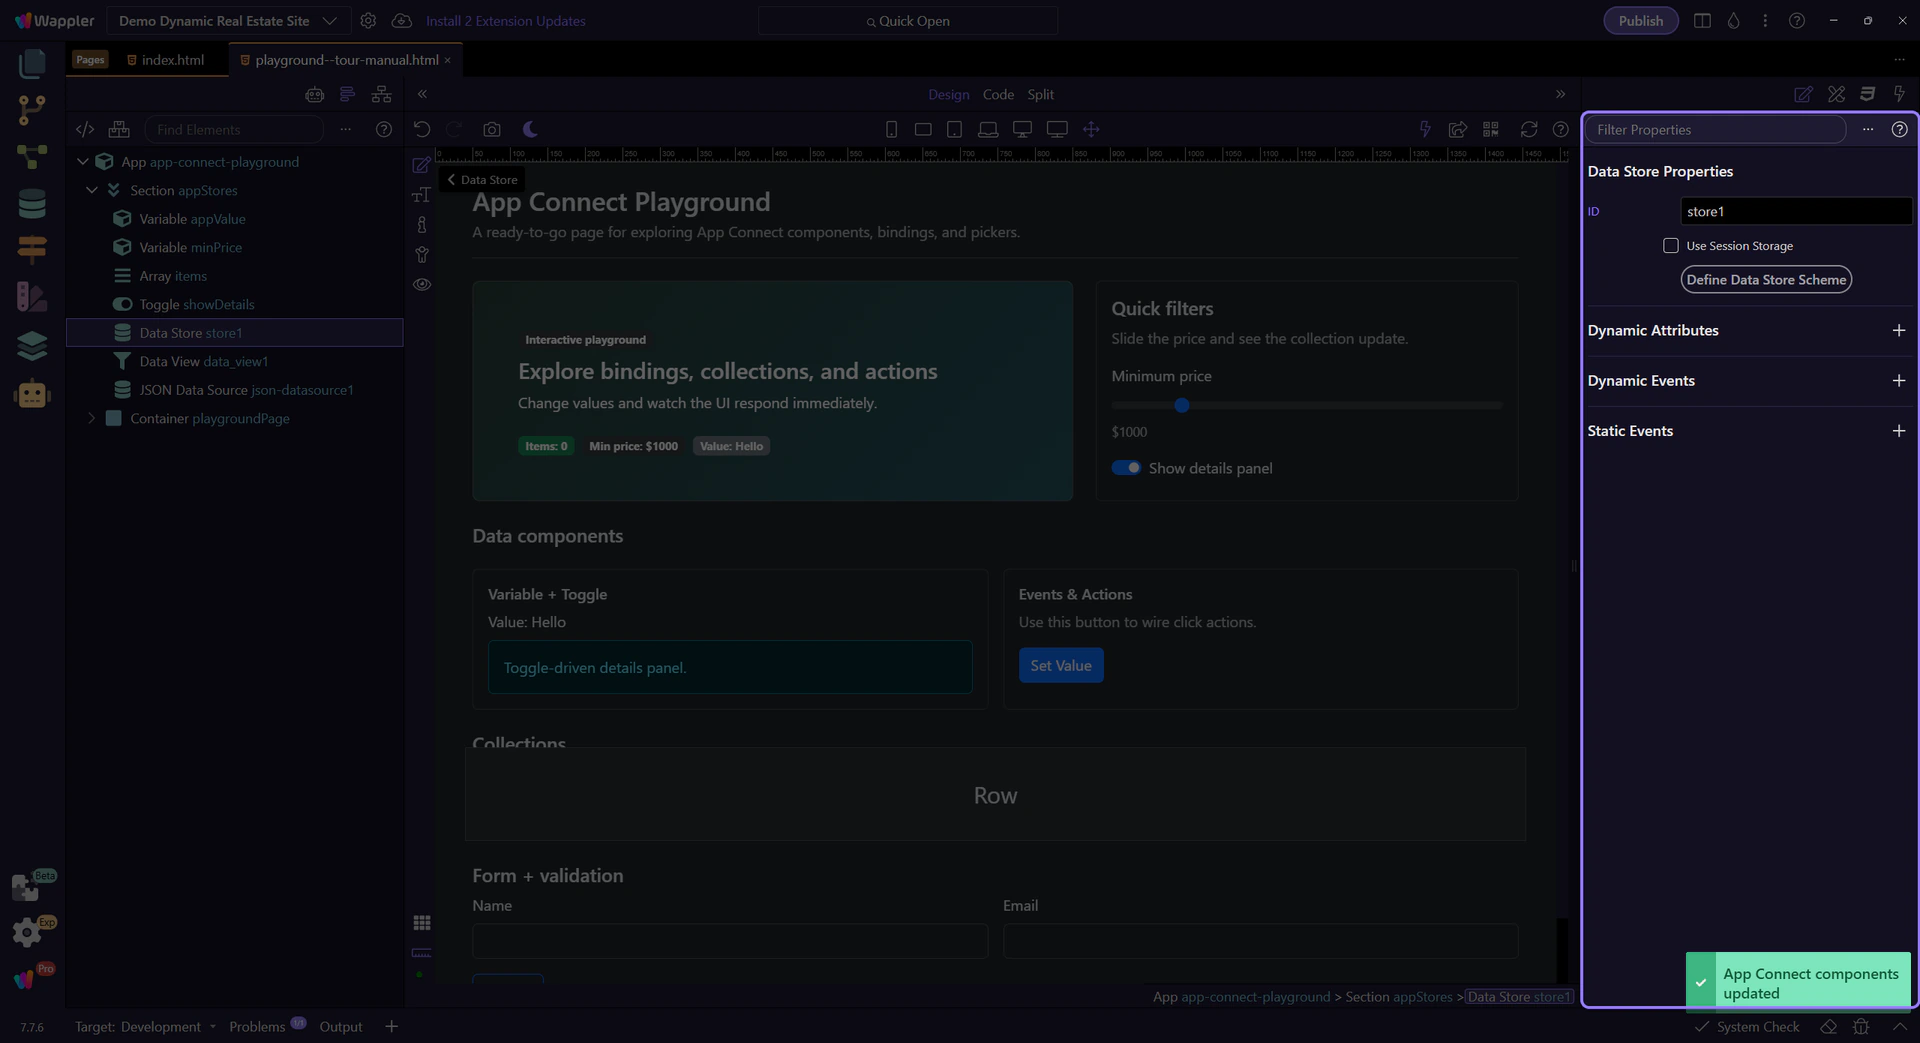
Enable session persistence when you want data to survive a reload within the same browser session.

Define your fields so bindings, record actions, and generated columns have a reliable structure. This step matters because Schema is part of Selection Panels Properties Datastorescheme, and understanding that context makes the next action easier to repeat in your own project.
NOTE: Generated Columns are derived fields you calculate from other values in the record, such as totals, labels, or status flags. Use them when you want reusable computed values without storing duplicate data in every item.

Next, learn how to filter/sort/page through collections using Data View.
Continue with traversal and filtering.