
Uploading Multiple Files To Your Server
You can upload multiple files to your server using the server side file upload tools available in Wappler. Let’s start with the upload form. We created a simple Bootstrap 4 Layout and it contains a co
You can upload multiple files to your server using the server side file upload tools available in Wappler.
Section titled “You can upload multiple files to your server using the server side file upload tools available in Wappler.”Let’s start with the upload form. We created a simple Bootstrap 4 Layout and it contains a column, so click the add inside button:
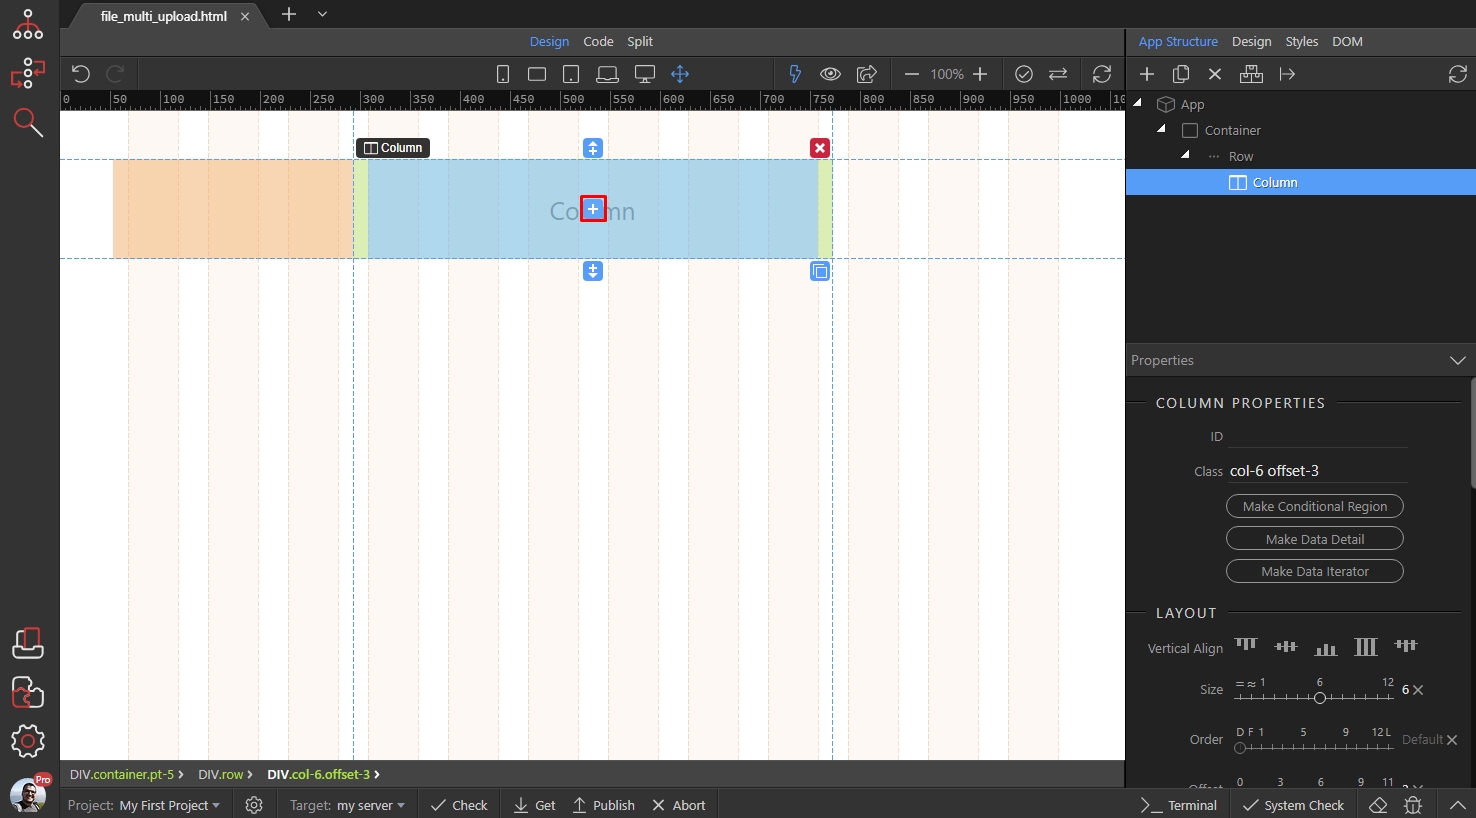
Open the forms category and add form:
Section titled “Open the forms category and add form:”
In the form click the add inside button:
Section titled “In the form click the add inside button:”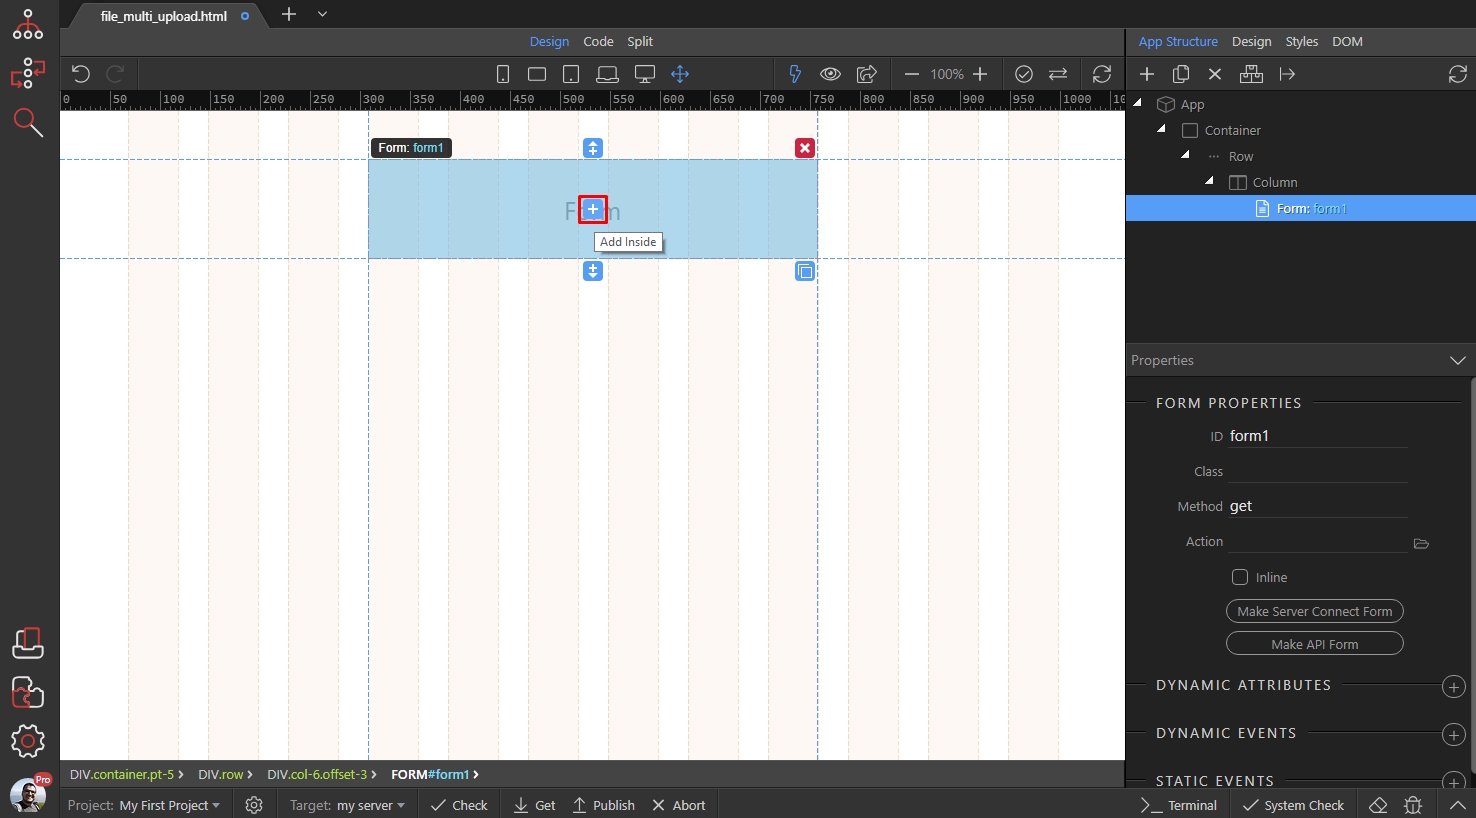
And add Multi File Input:
Section titled “And add Multi File Input:”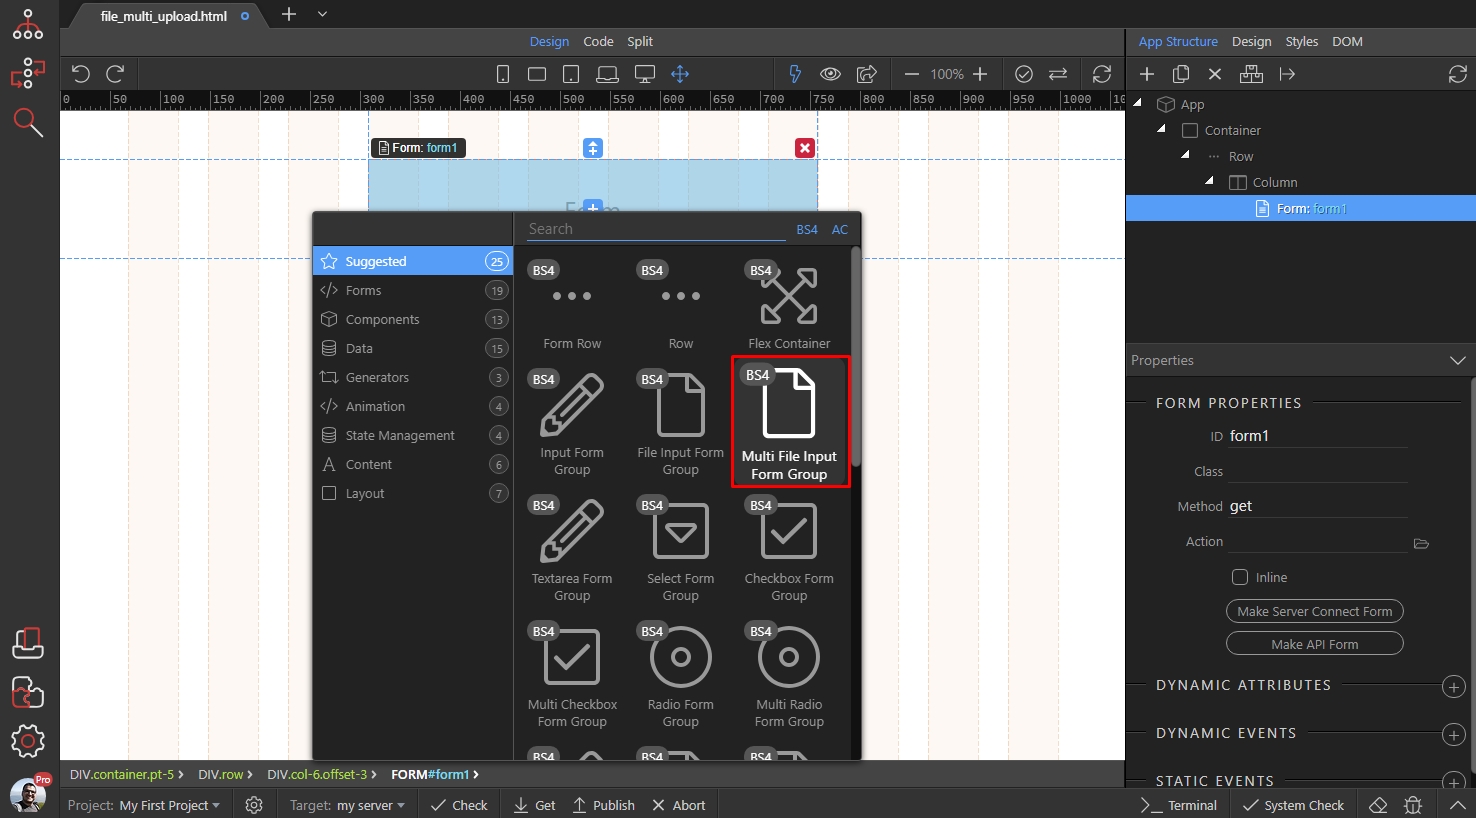
Add some name to your field. Make sure to include [] in the end of the name, just like filesUpload[]:
Section titled “Add some name to your field. Make sure to include [] in the end of the name, just like filesUpload[]:”![Add some name to your field. Make sure to include [] in the end of the name, just like filesUpload[]:](https://community.wappler.io/uploads/default/original/2X/f/f117903cde125825c9097f3e9dda7266090b95b2.jpeg)
Then, click the add after button:
Section titled “Then, click the add after button:”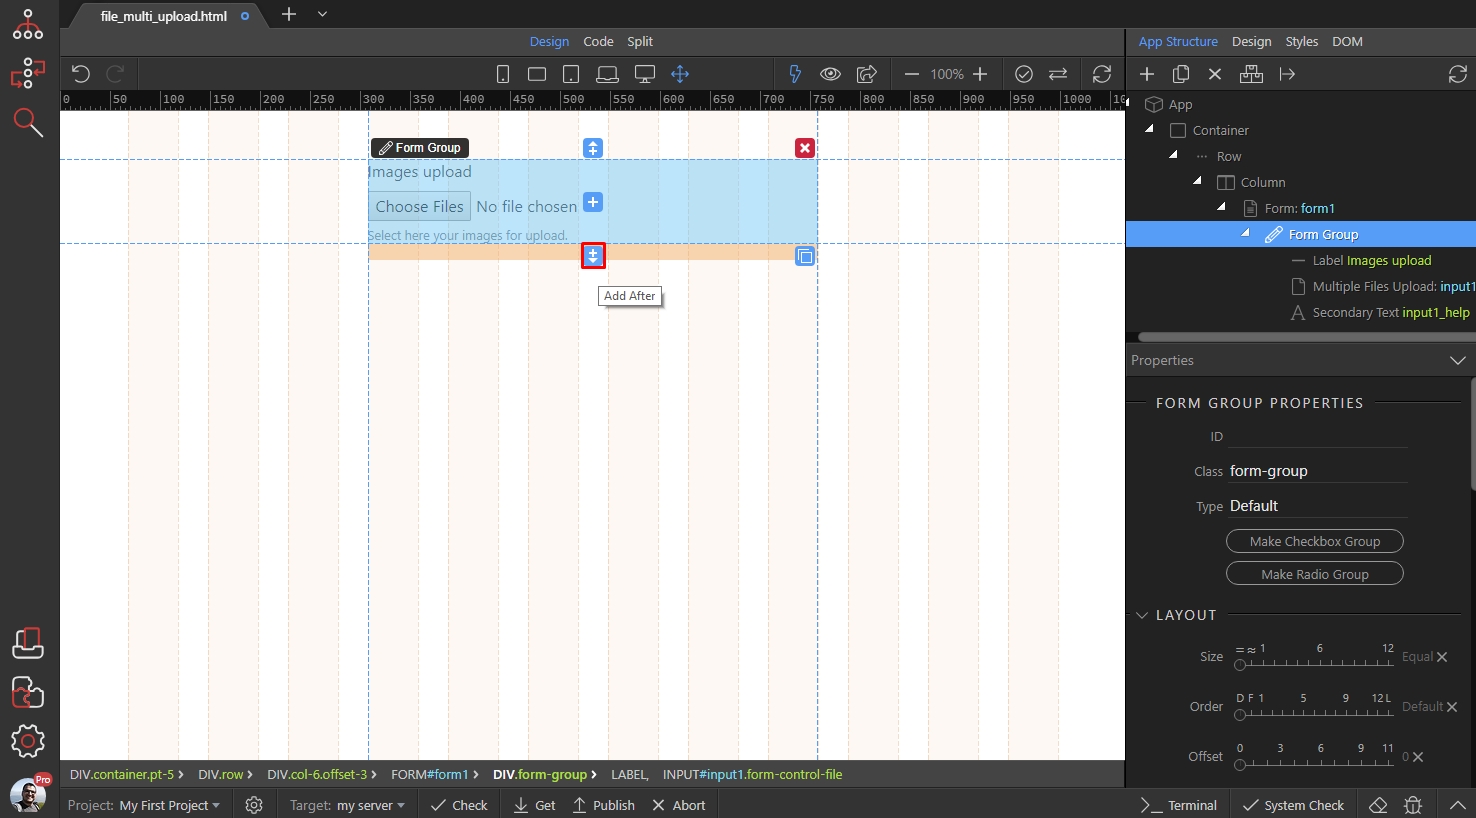
And from the forms group select button:
Section titled “And from the forms group select button:”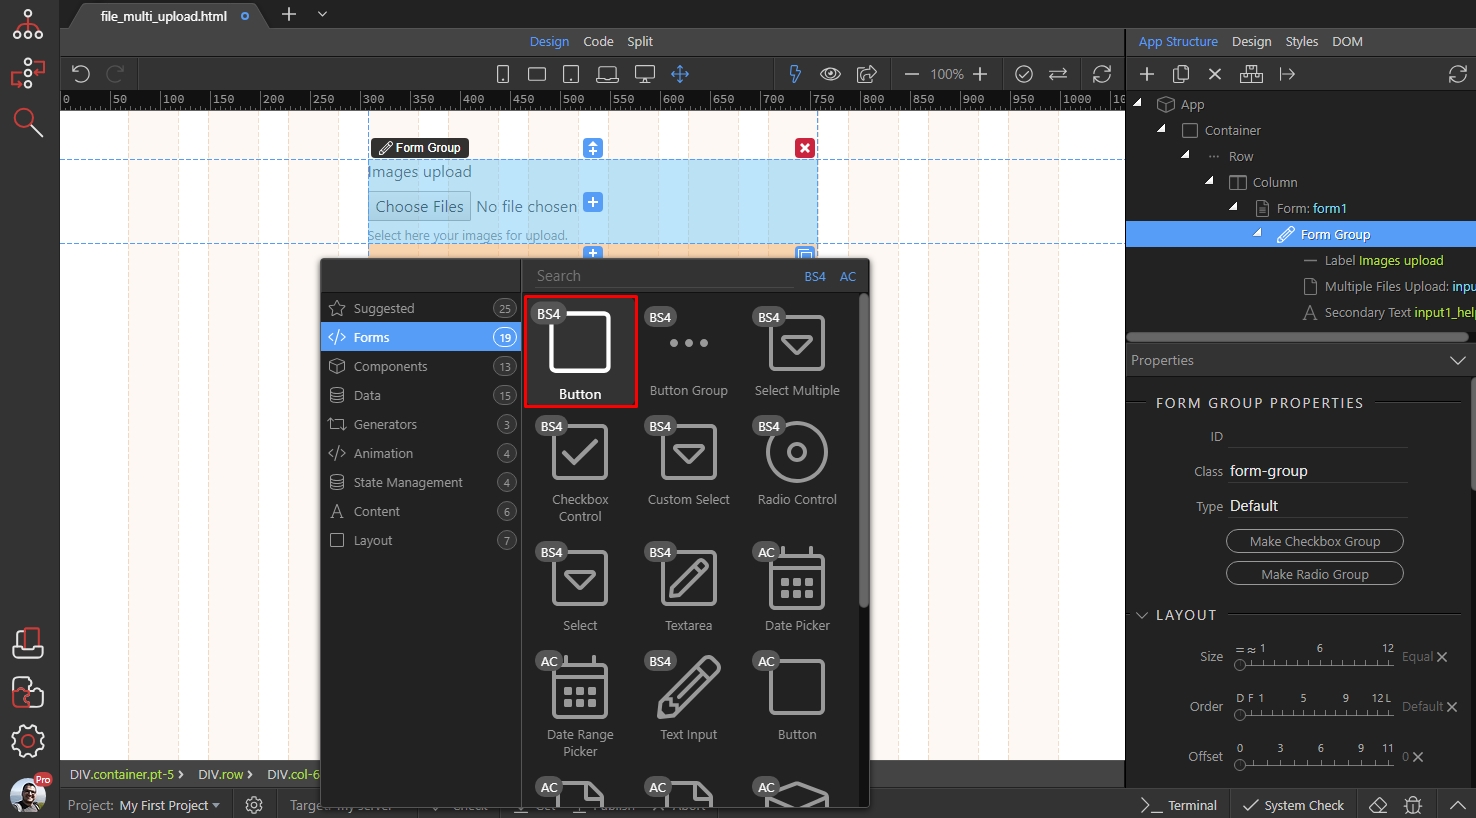
Make sure to change the button type to submit:
Section titled “Make sure to change the button type to submit:”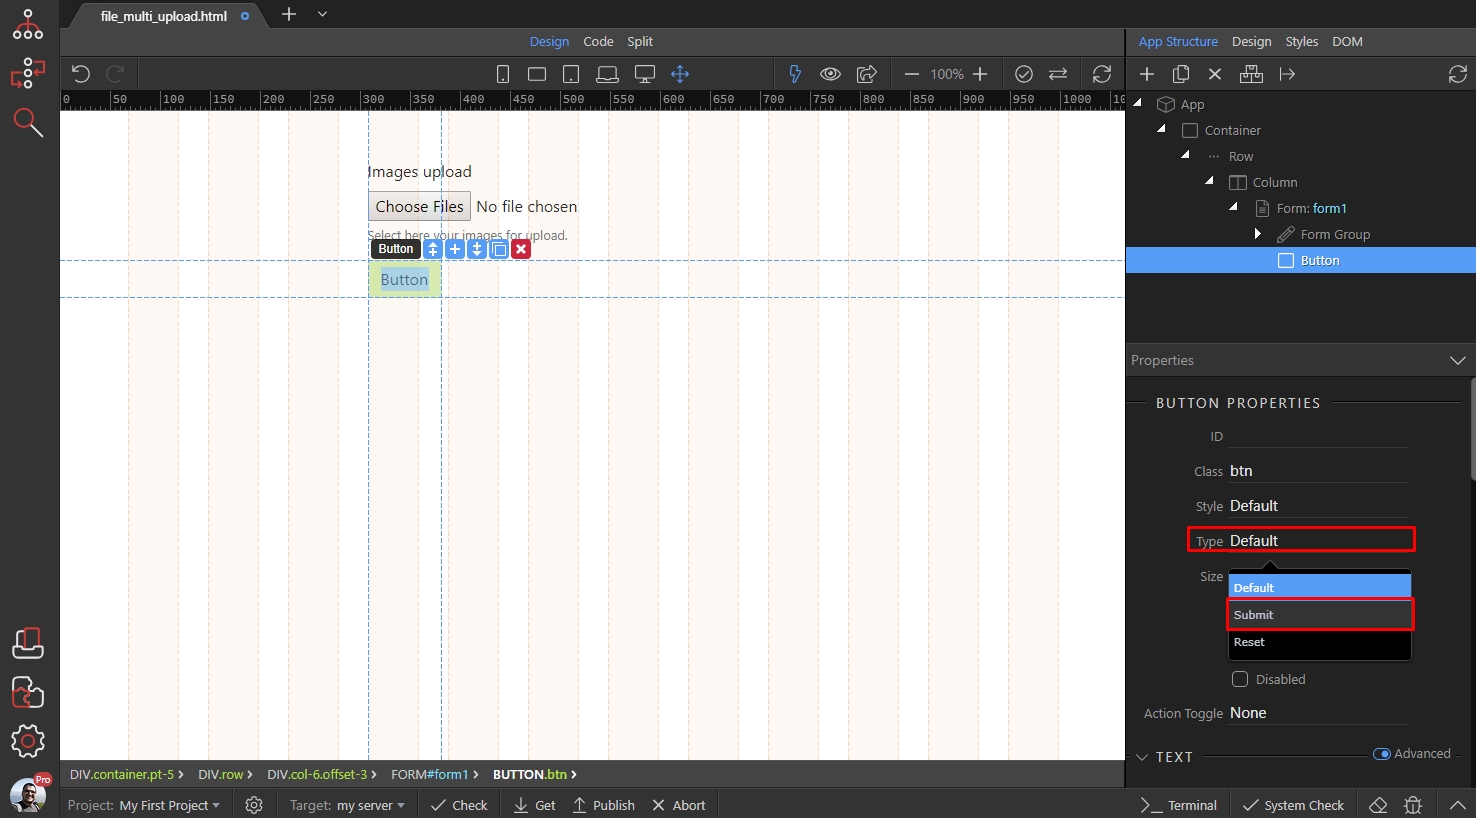
Save your page.
Section titled “Save your page.”Open Server Connect panel:
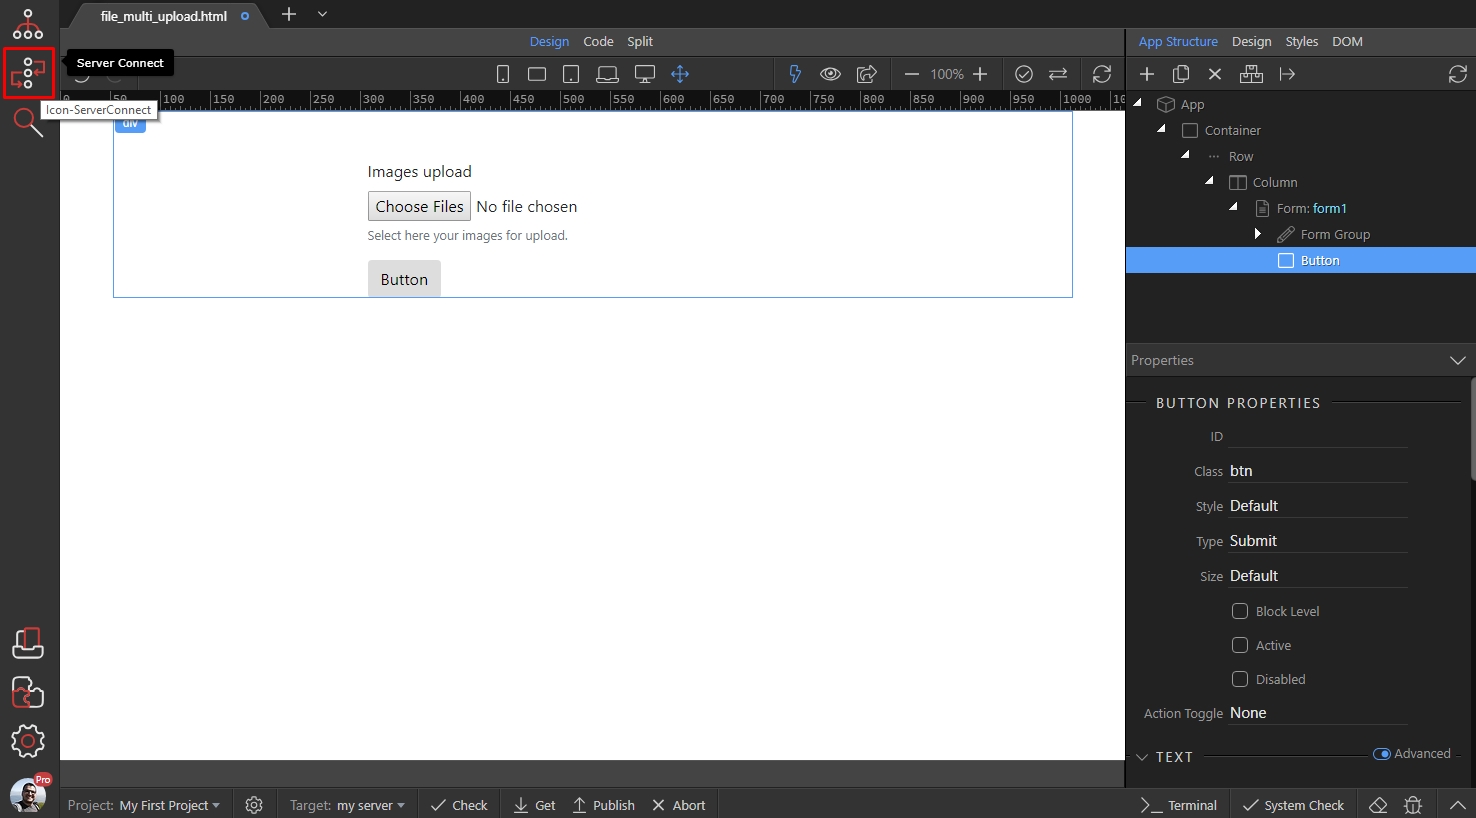
Click the Add New Server Action button:
Section titled “Click the Add New Server Action button:”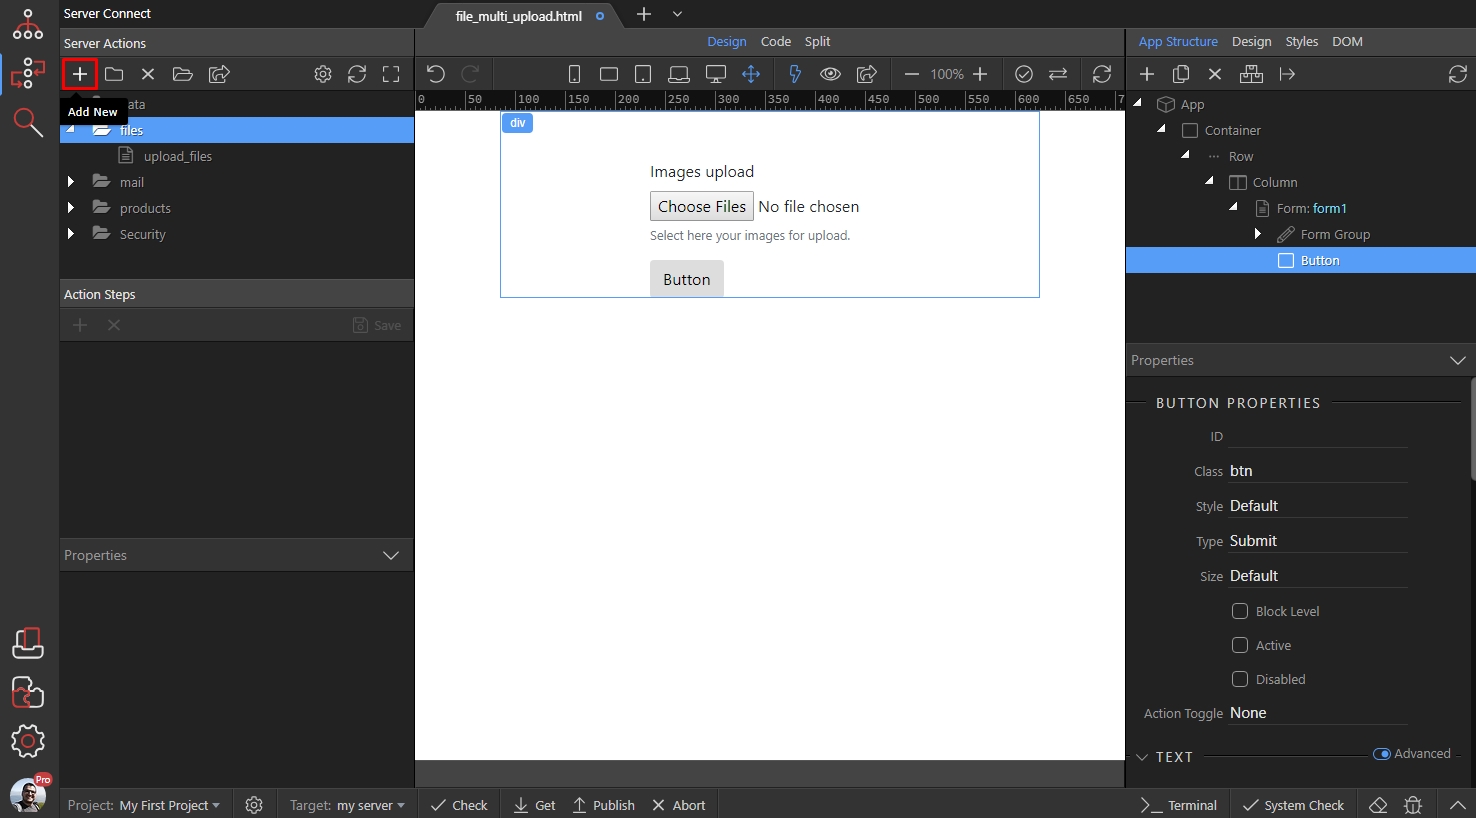
Add a name for the server action and click Globals:
Section titled “Add a name for the server action and click Globals:”
Click the folder icon, then browse to your page containing the form:
Section titled “Click the folder icon, then browse to your page containing the form:”Select the form in the Form field and click the Import From Form button:
Section titled “Select the form in the Form field and click the Import From Form button:”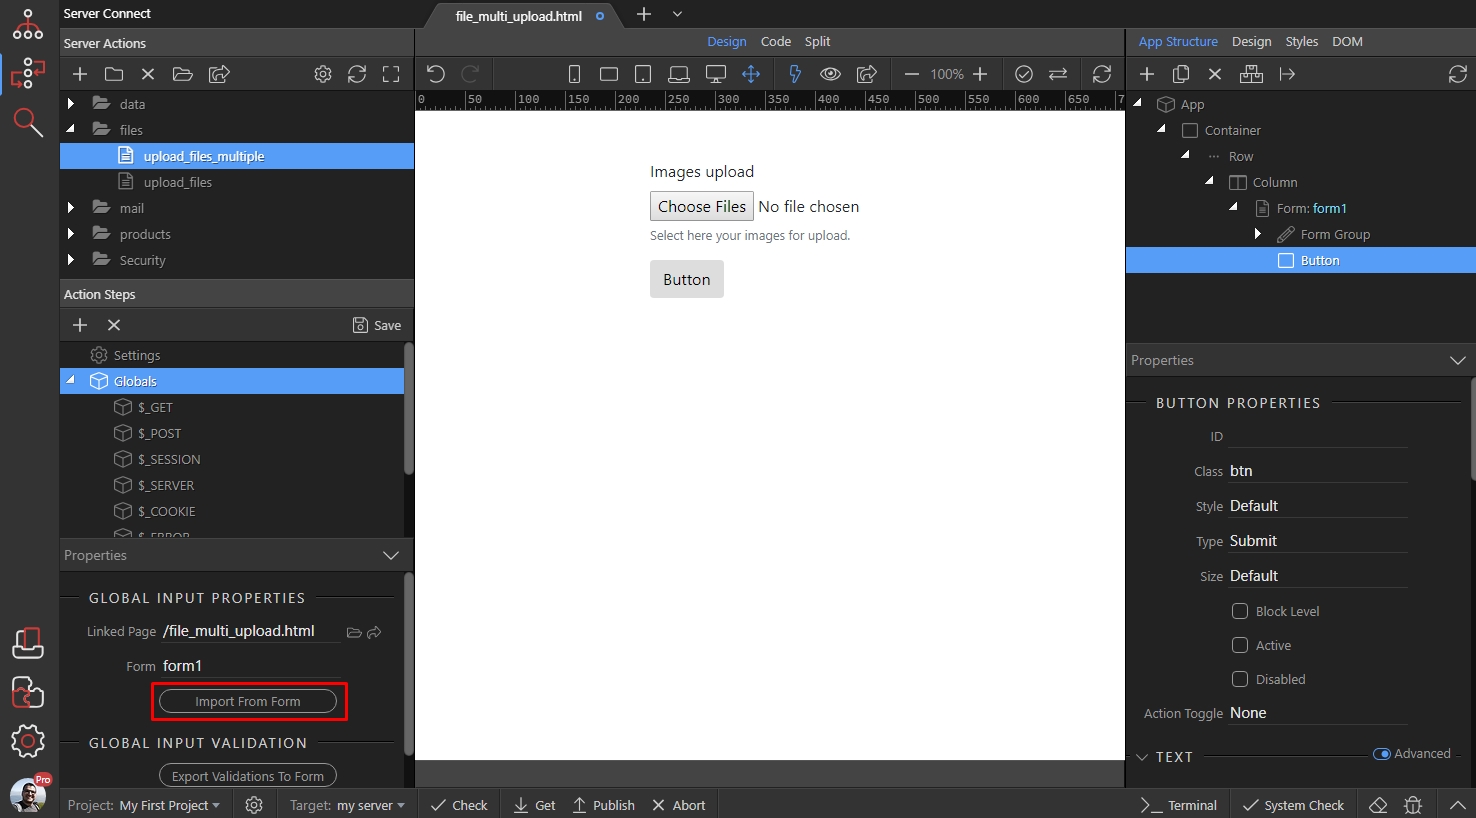
You will see a notification, that N form field(s) have been imported:
Section titled “You will see a notification, that N form field(s) have been imported:”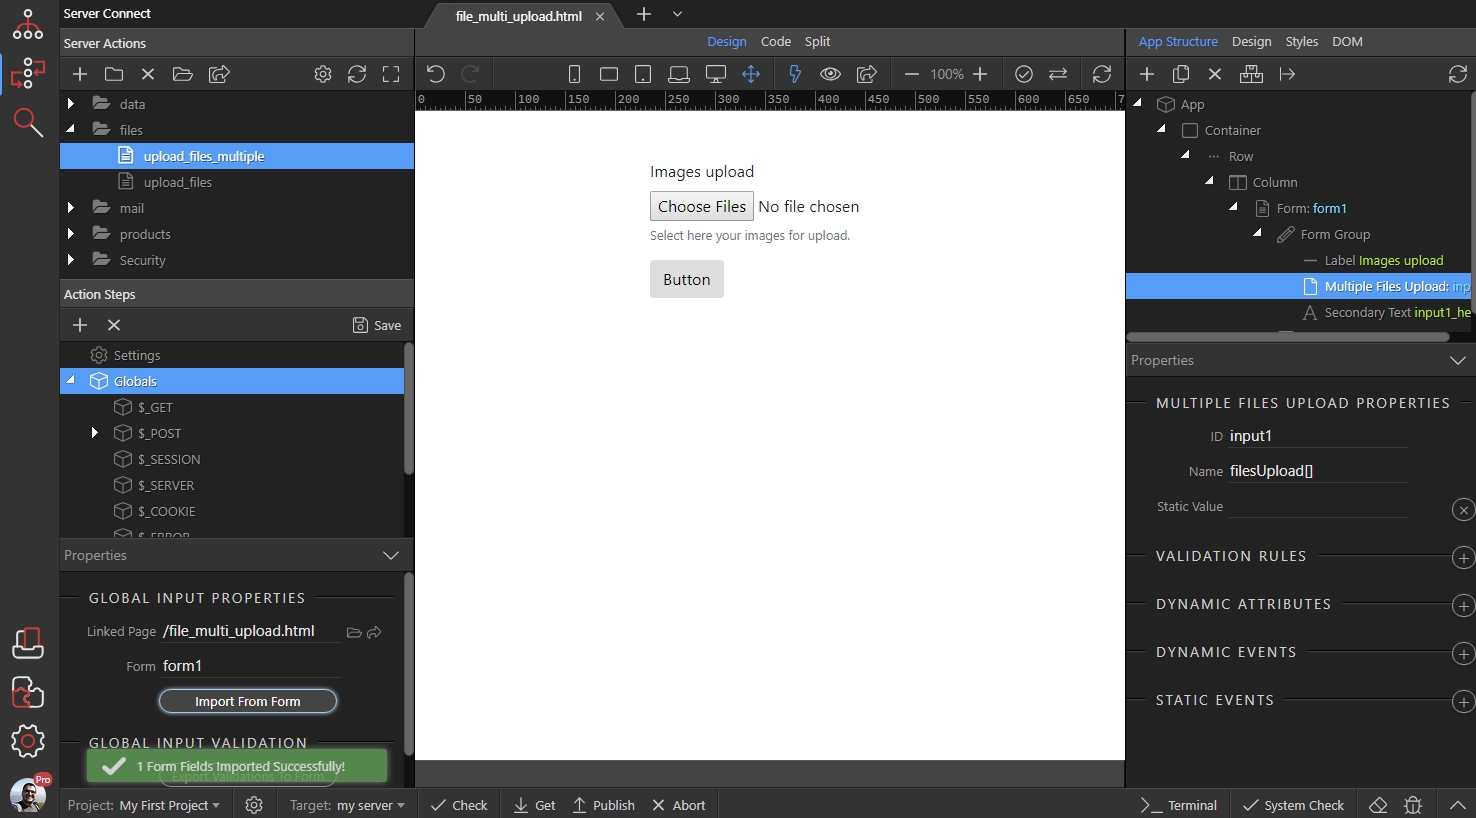
Right click Steps:
Section titled “Right click Steps:”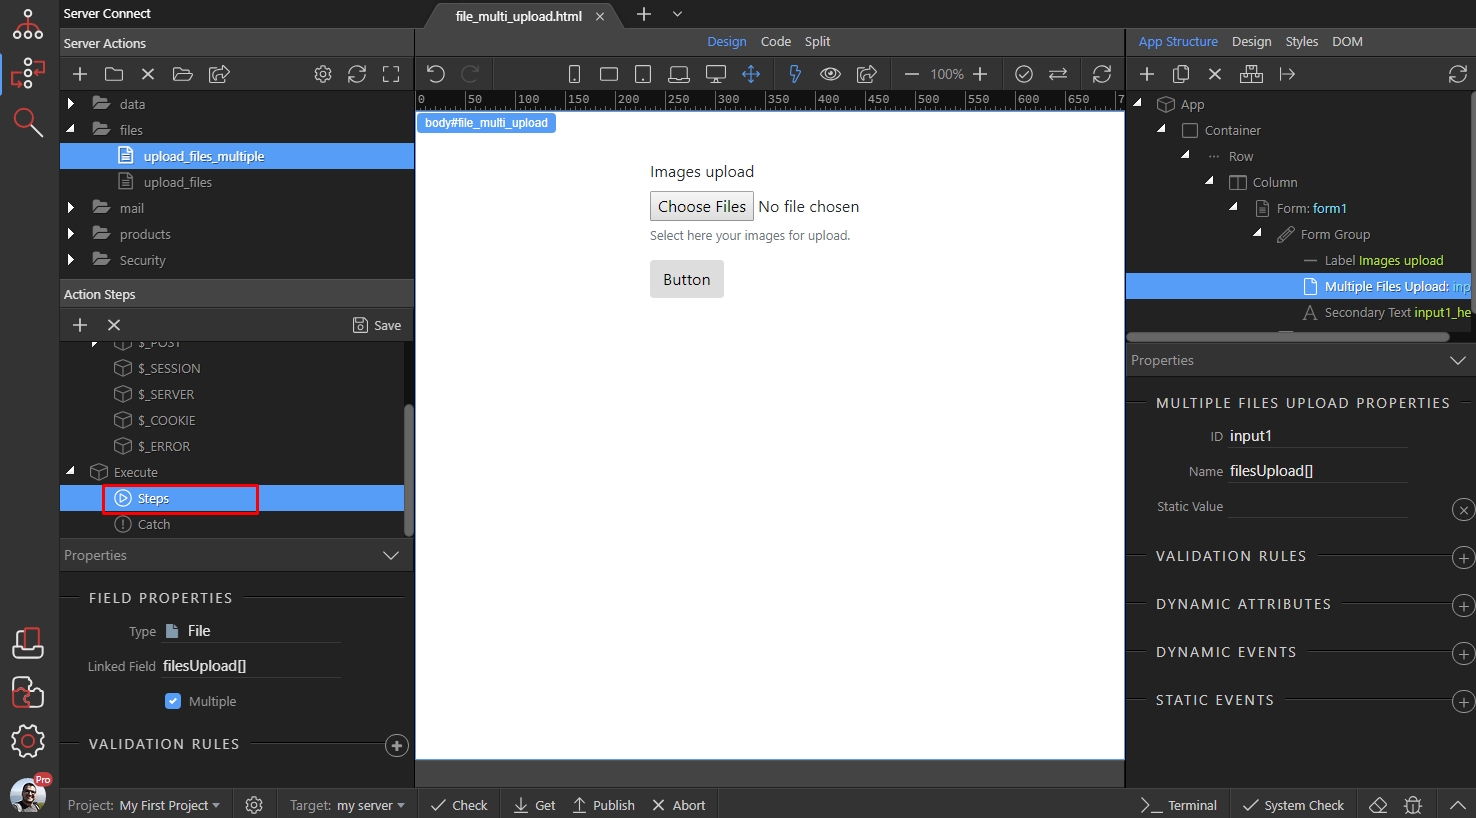
Open File Management and add File Upload:
Section titled “Open File Management and add File Upload:”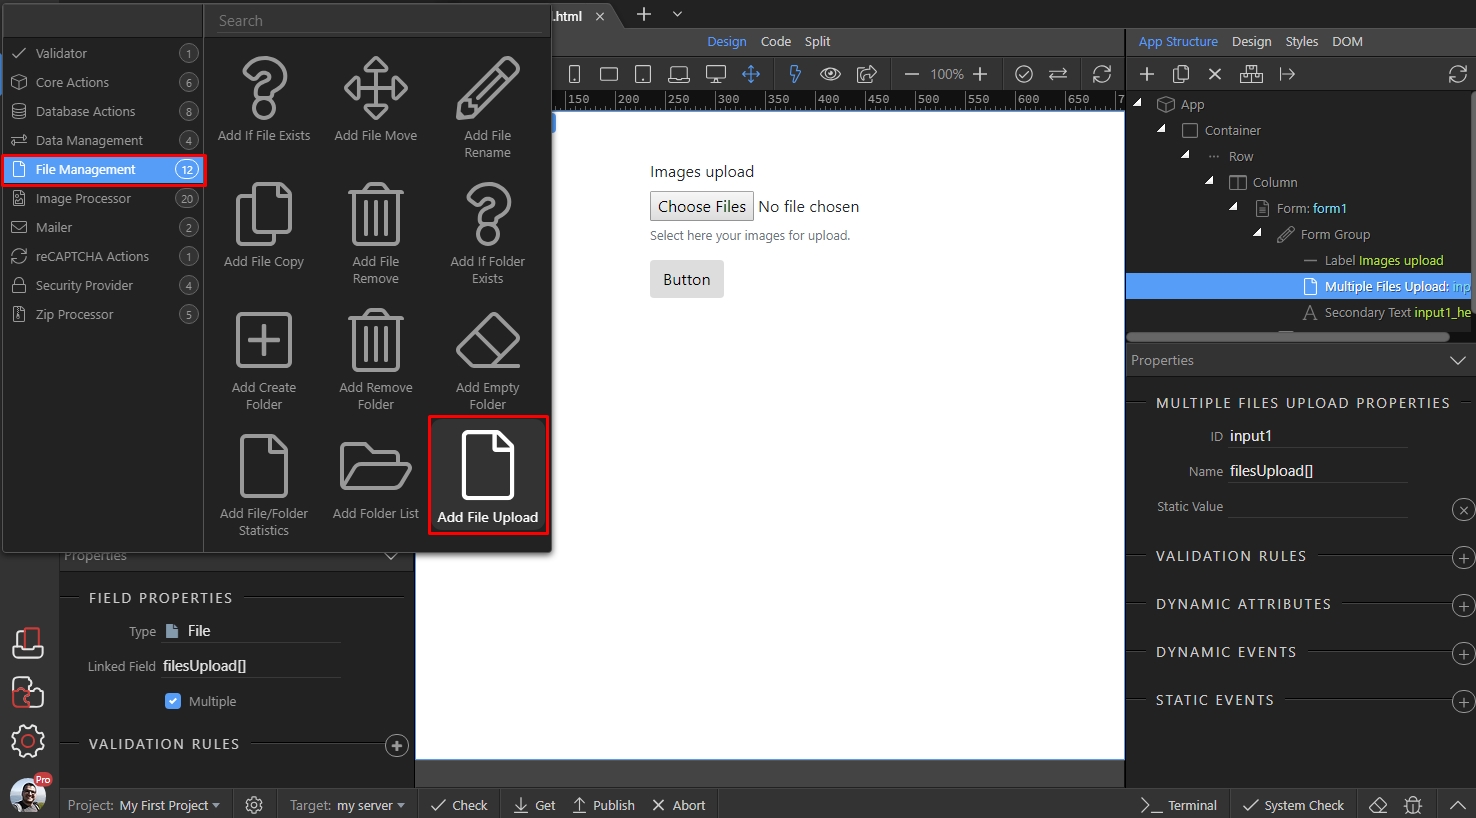
Step 17
Section titled “Step 17”Click the dynamic data picker icon (1) for the Upload Field, then select your Multi File field under the $_POST variables and click the Select button (3):
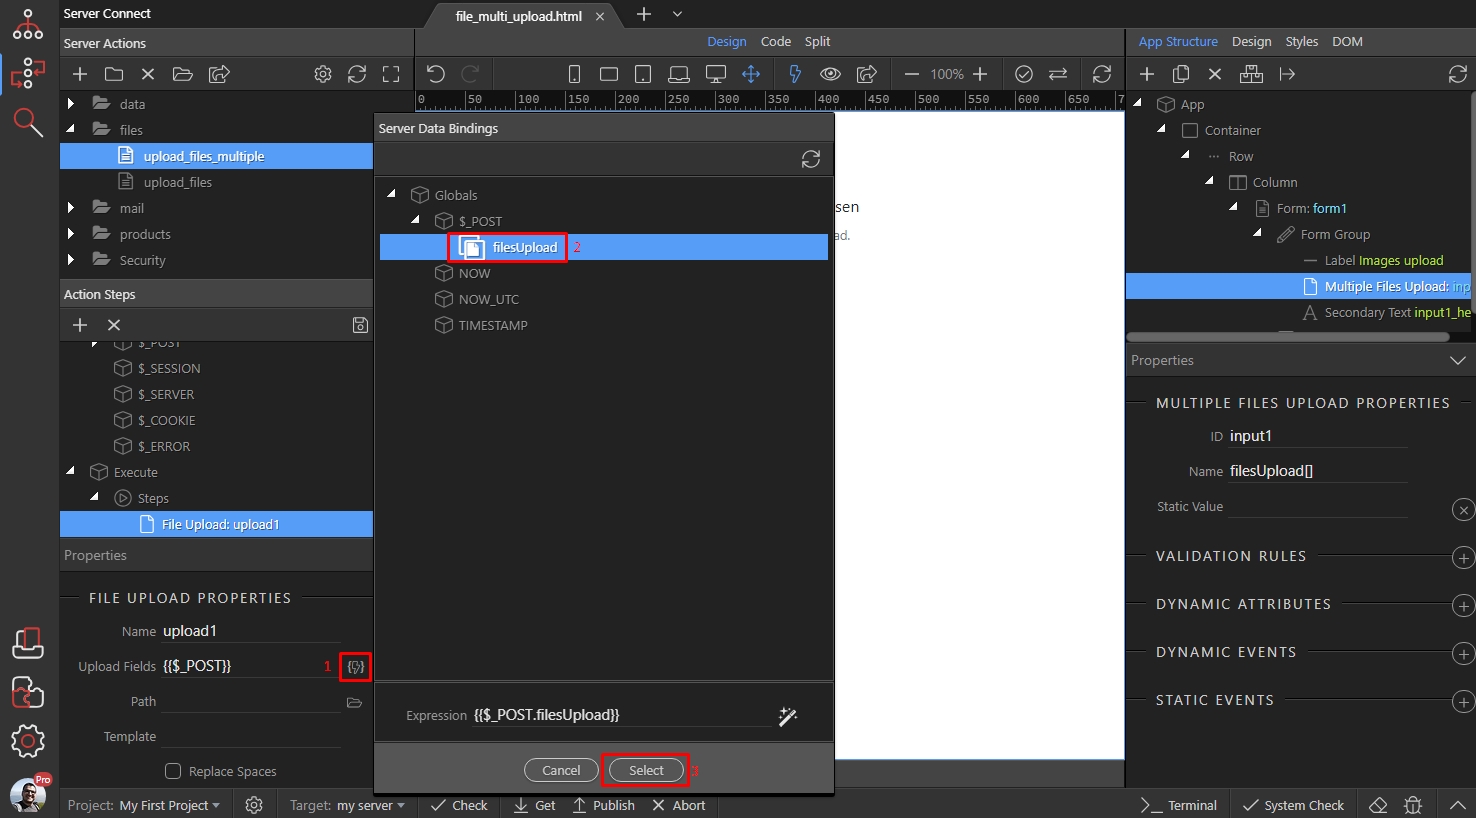
Select the upload path, browse to an upload folder in your site directory and select it:
Section titled “Select the upload path, browse to an upload folder in your site directory and select it:”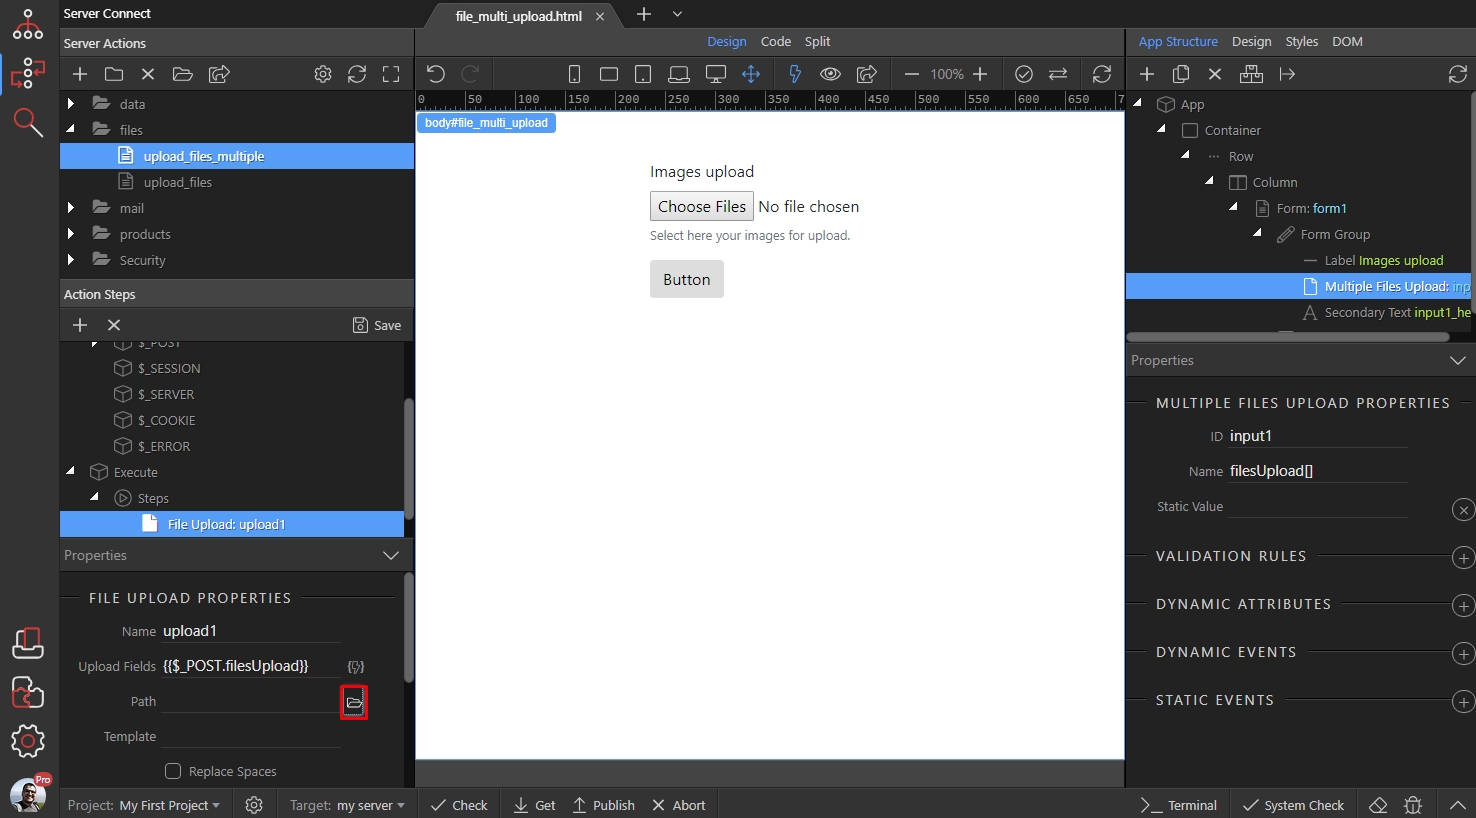
Then setup the rest of the options. We leave them to their default values:
Section titled “Then setup the rest of the options. We leave them to their default values:”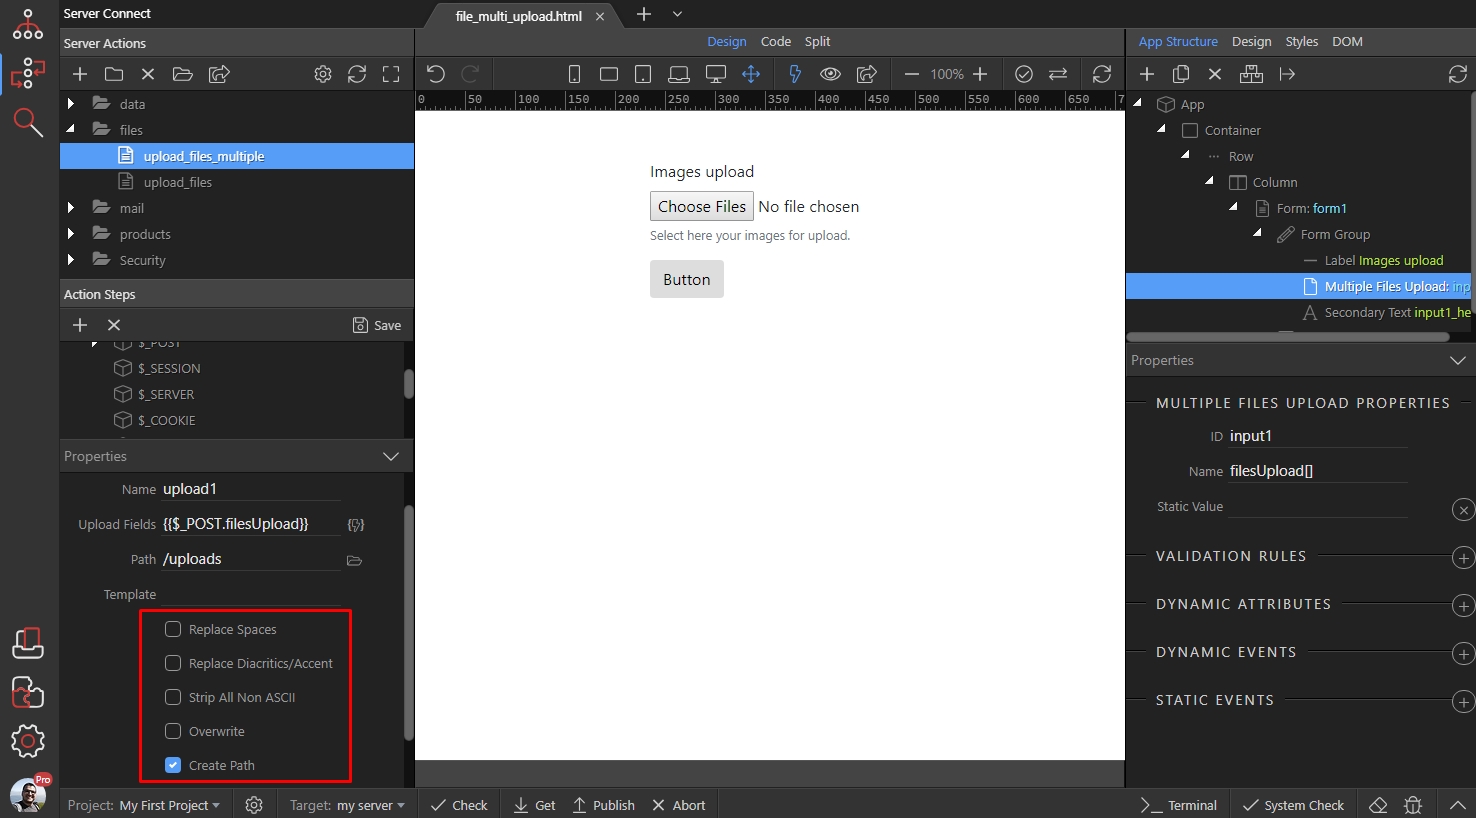
Save your server action and close Server Connect Panel:
Section titled “Save your server action and close Server Connect Panel:”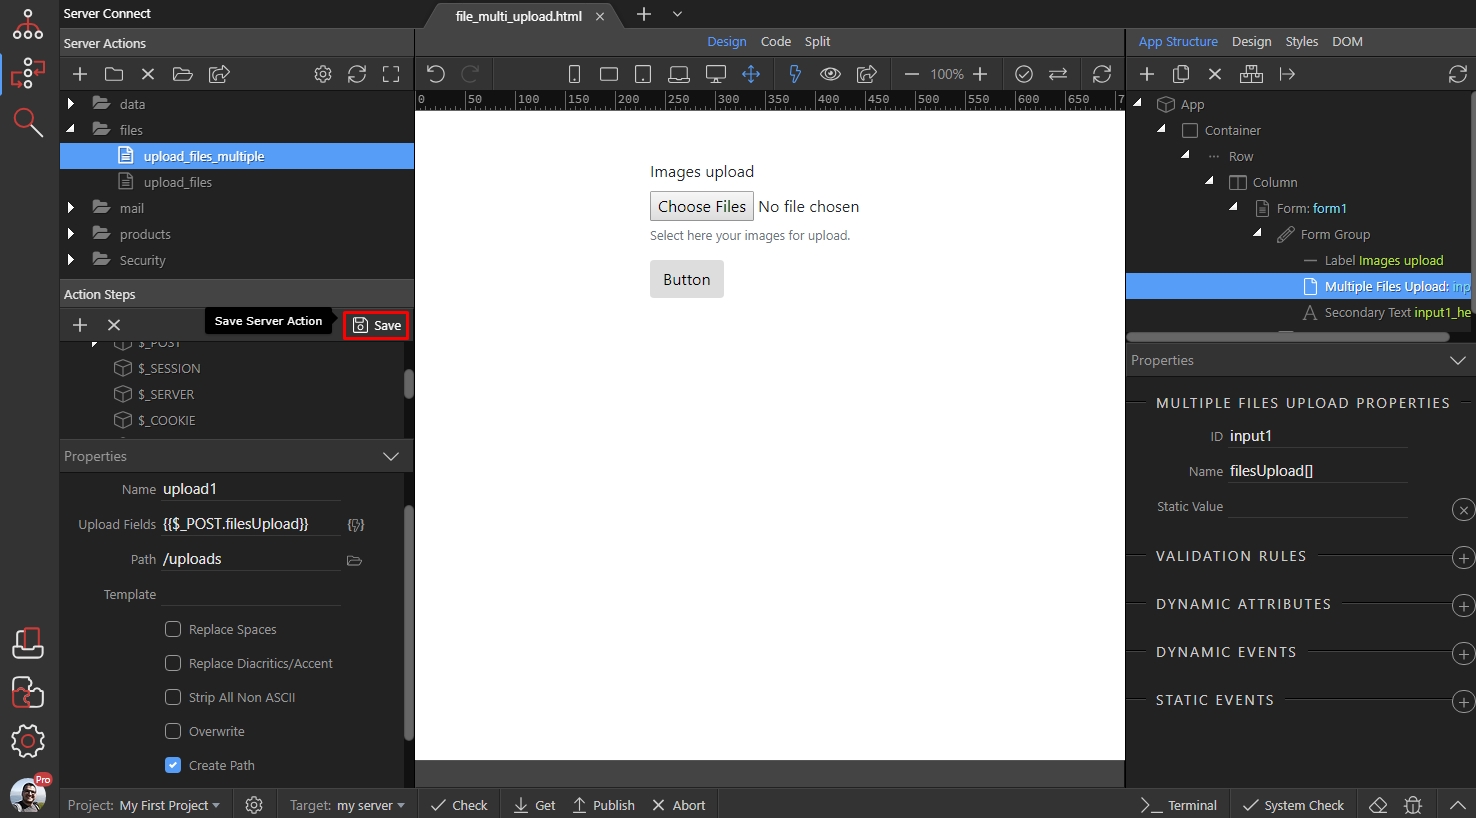
Back on the page, select your form and change its method to POST:
Section titled “Back on the page, select your form and change its method to POST:”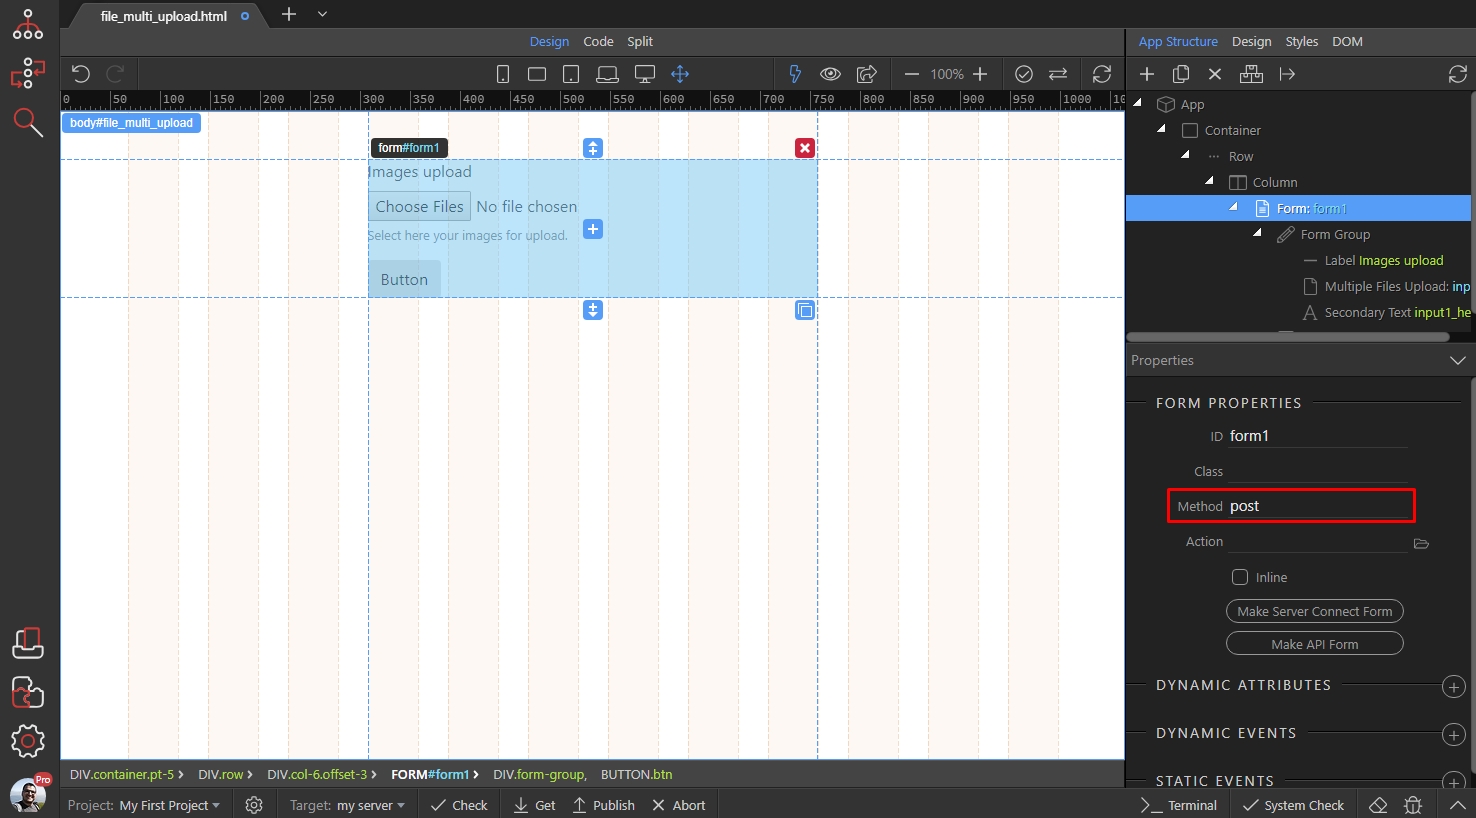
Then click the Make Server Connect Form button:
Section titled “Then click the Make Server Connect Form button:”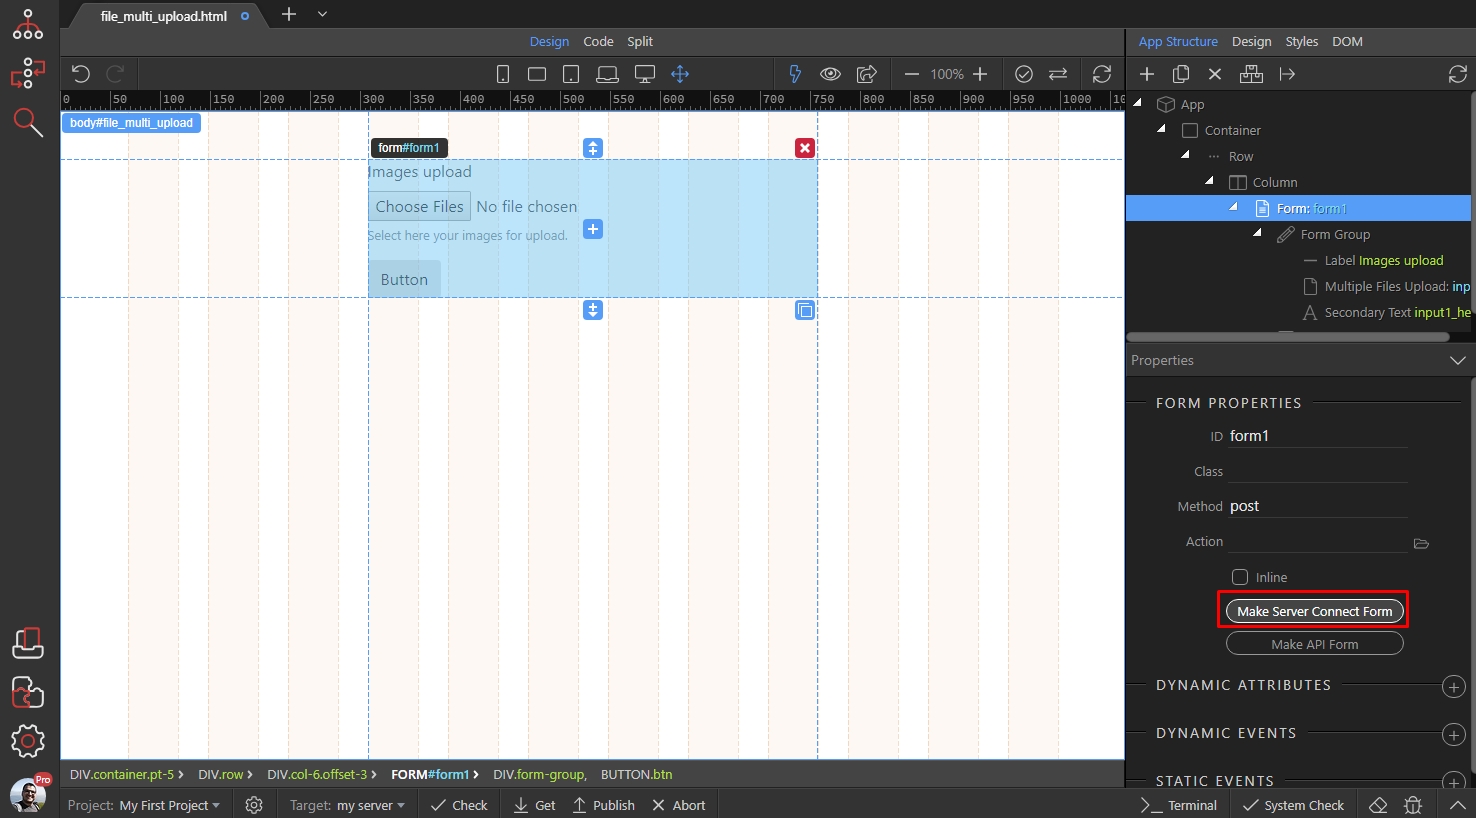
Click Select Server Action:
Section titled “Click Select Server Action:”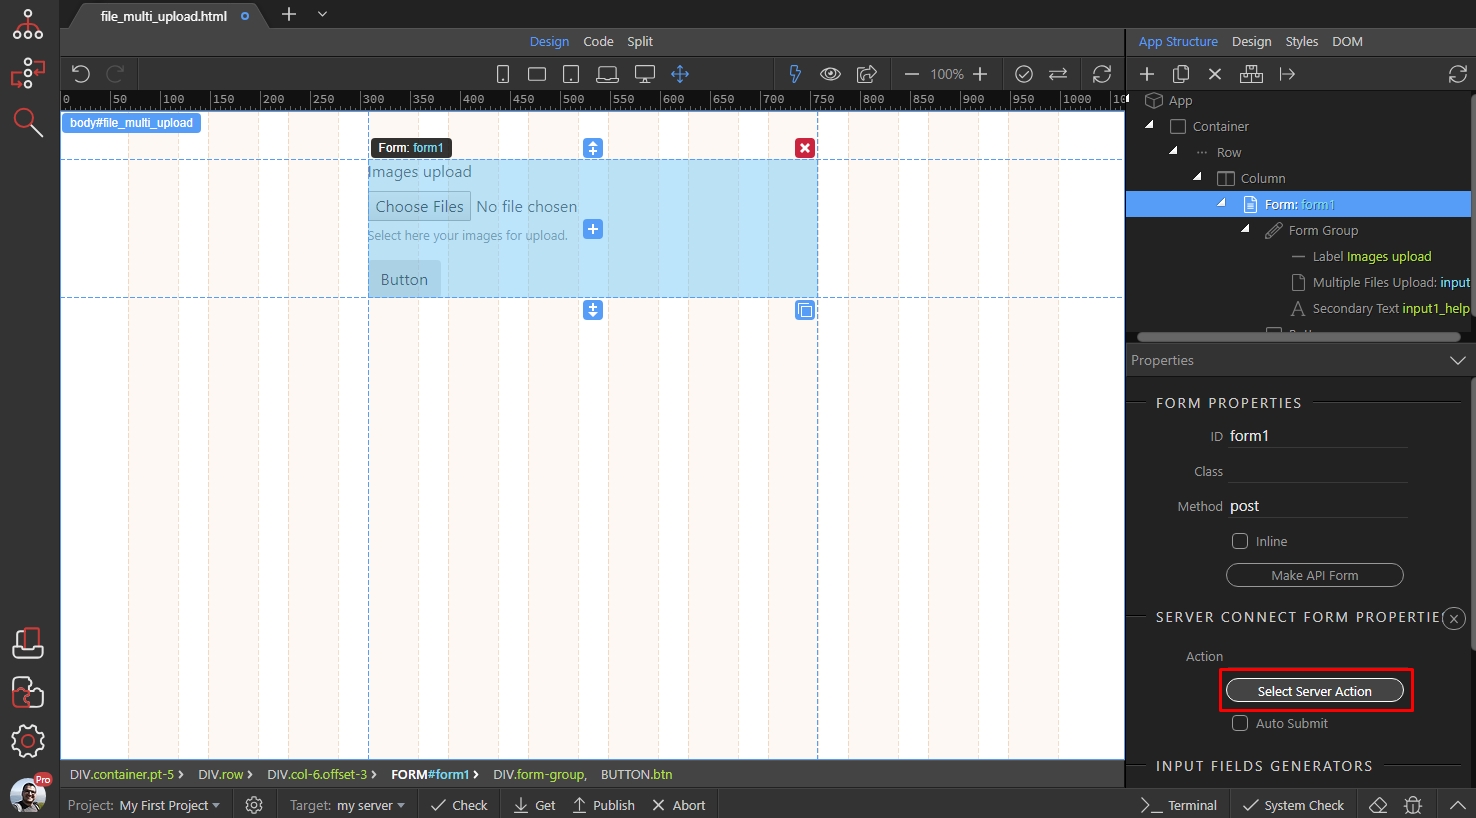
And select your multi upload server action:
Section titled “And select your multi upload server action:”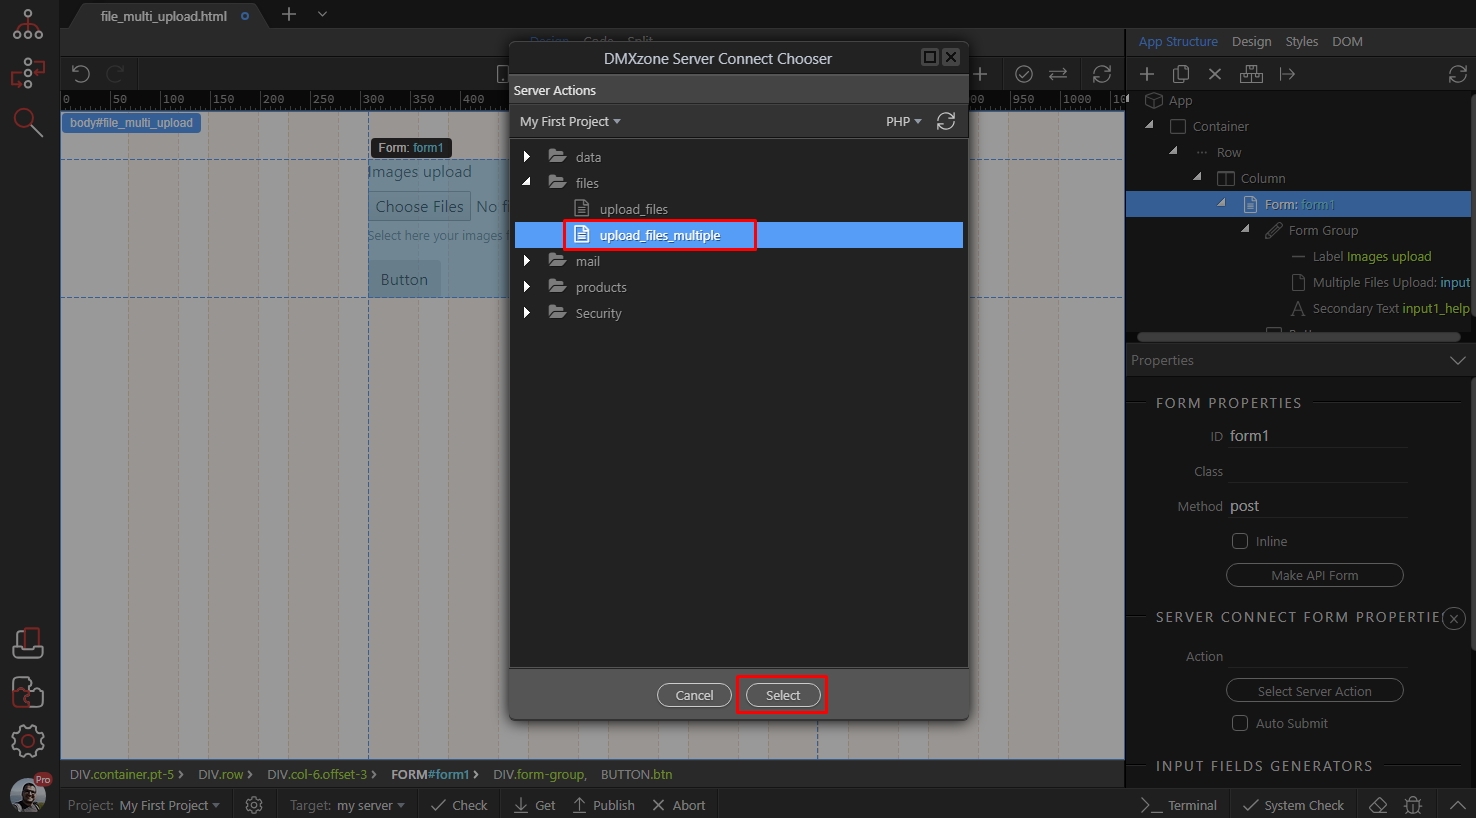
And you are done. You can select multiple files and they will be uploaded to the selected folder.
Section titled “And you are done. You can select multiple files and they will be uploaded to the selected folder.”OPTIONAL - Show a notification and reset form after the upload:
Section titled “OPTIONAL - Show a notification and reset form after the upload:”You can add a notification and reset the form fields, after the files are uploaded. Select App in the app structure tree, and click the add new component button:
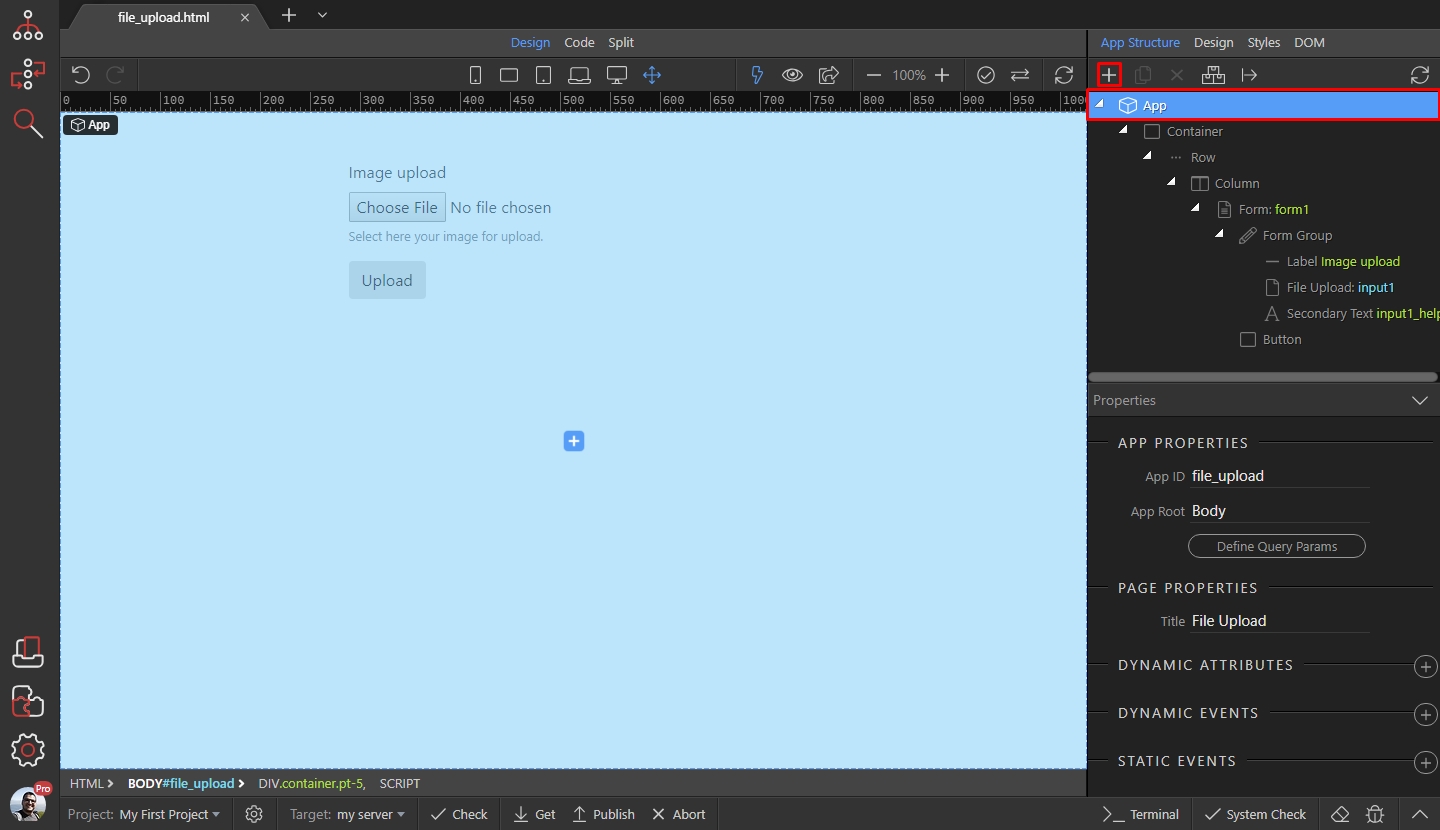
Open the components category and select Notifications component:
Section titled “Open the components category and select Notifications component:”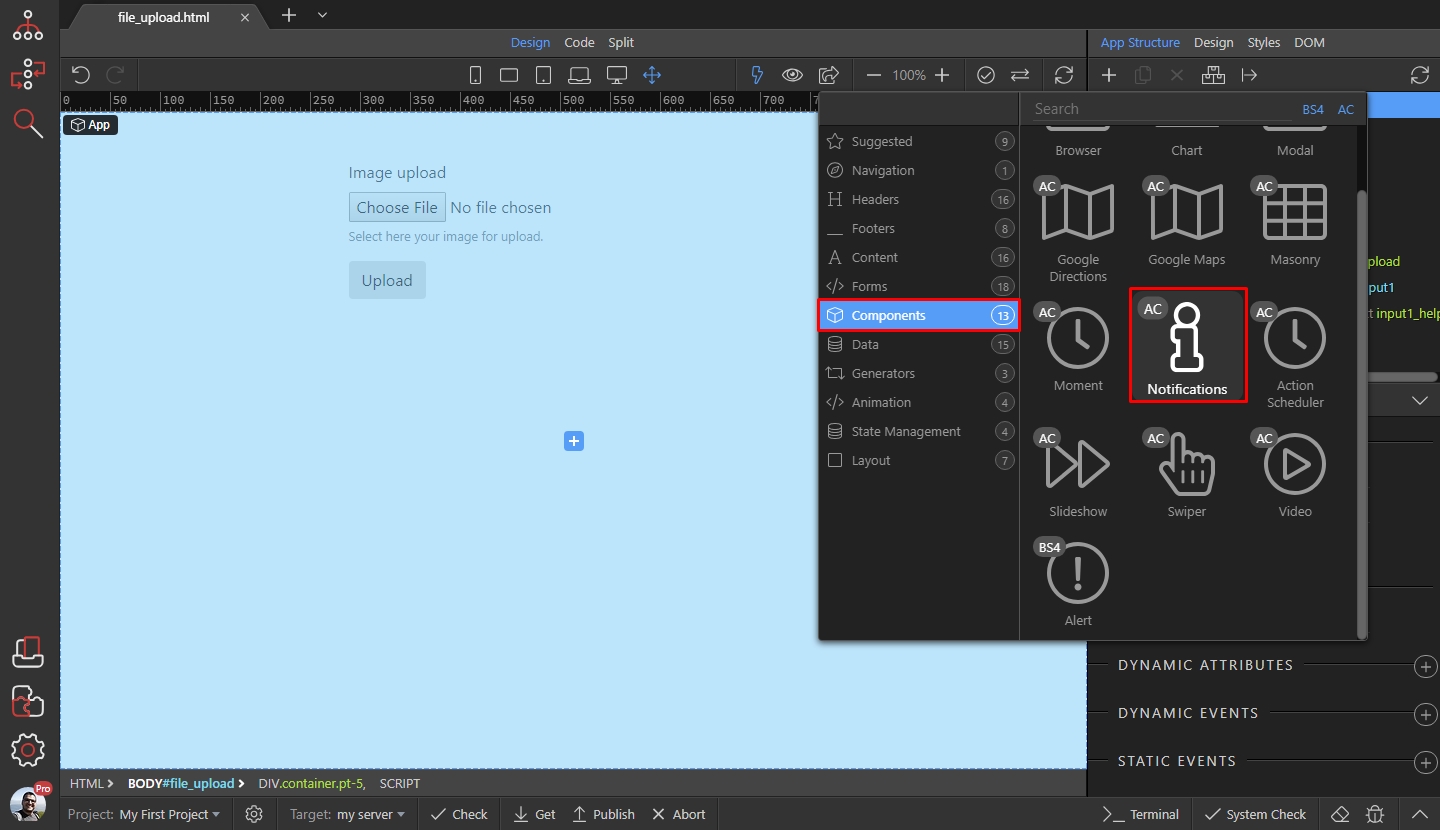
Setup the notification options, like position, align, offset etc. We will use the default options:
Section titled “Setup the notification options, like position, align, offset etc. We will use the default options:”
Select your form, and add new dynamic event:
Section titled “Select your form, and add new dynamic event:”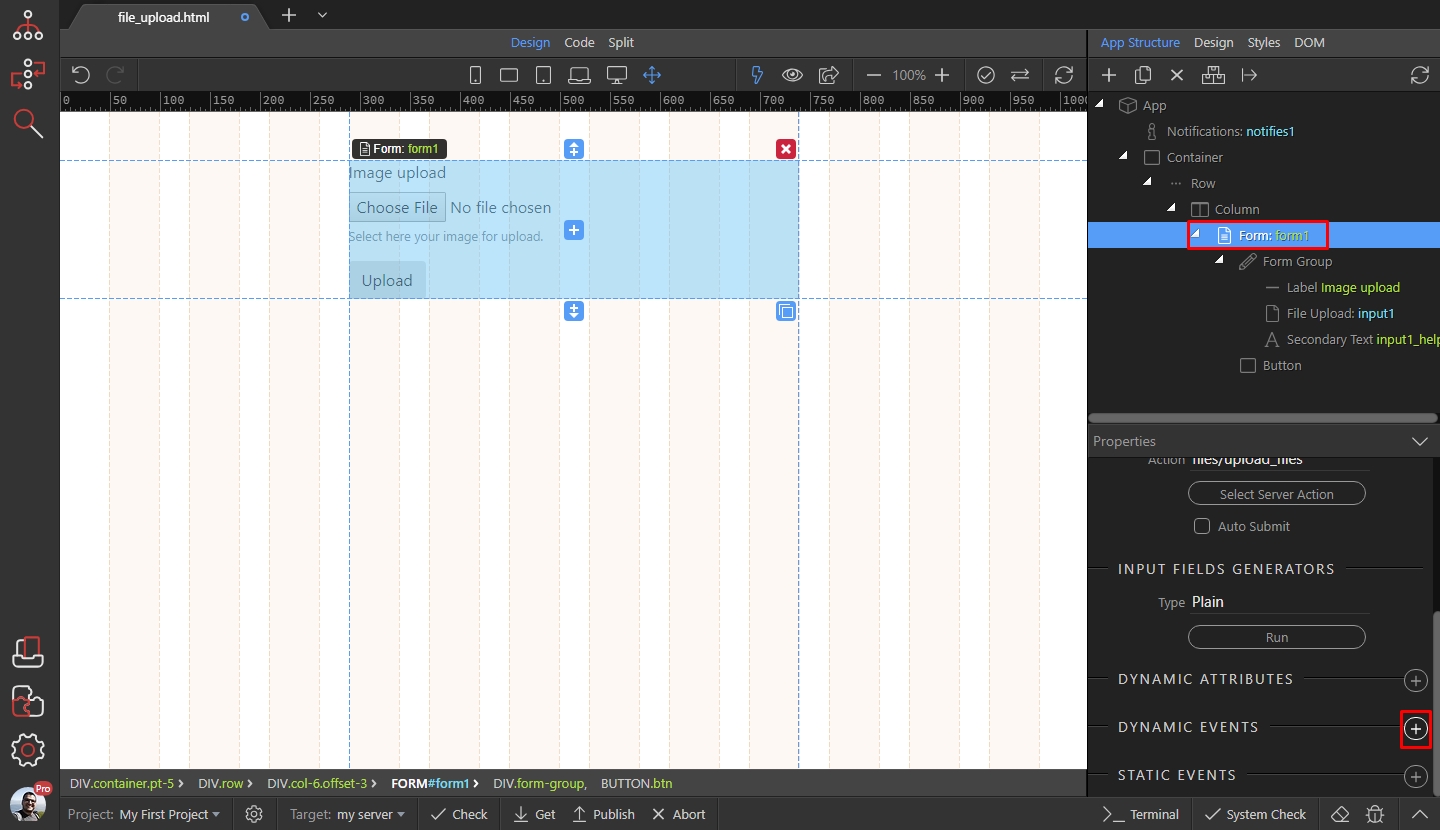
Select Server Connect and add on Success event:
Section titled “Select Server Connect and add on Success event:”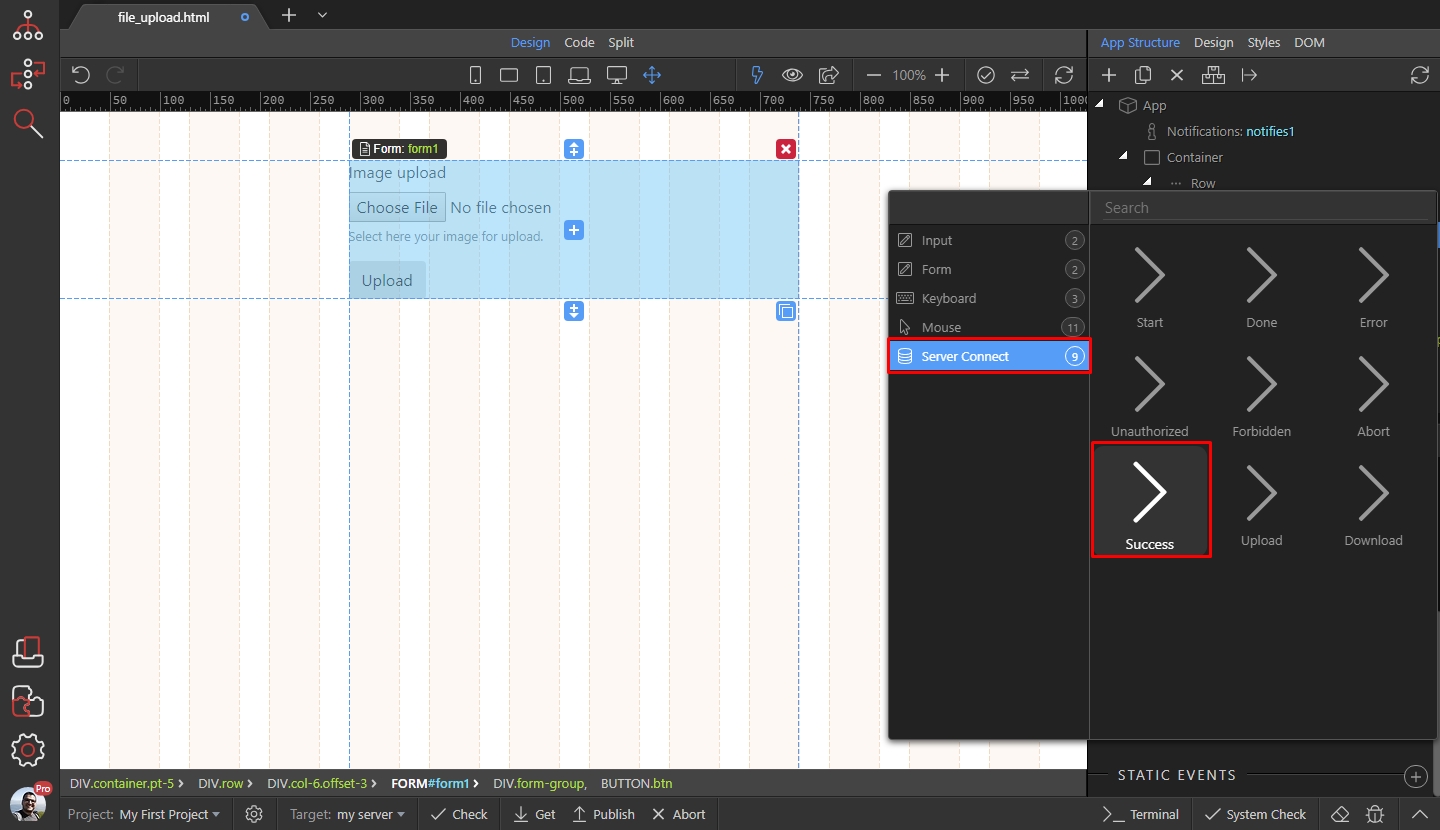
Click the dynamic action picker, to select what to happen on success:
Section titled “Click the dynamic action picker, to select what to happen on success:”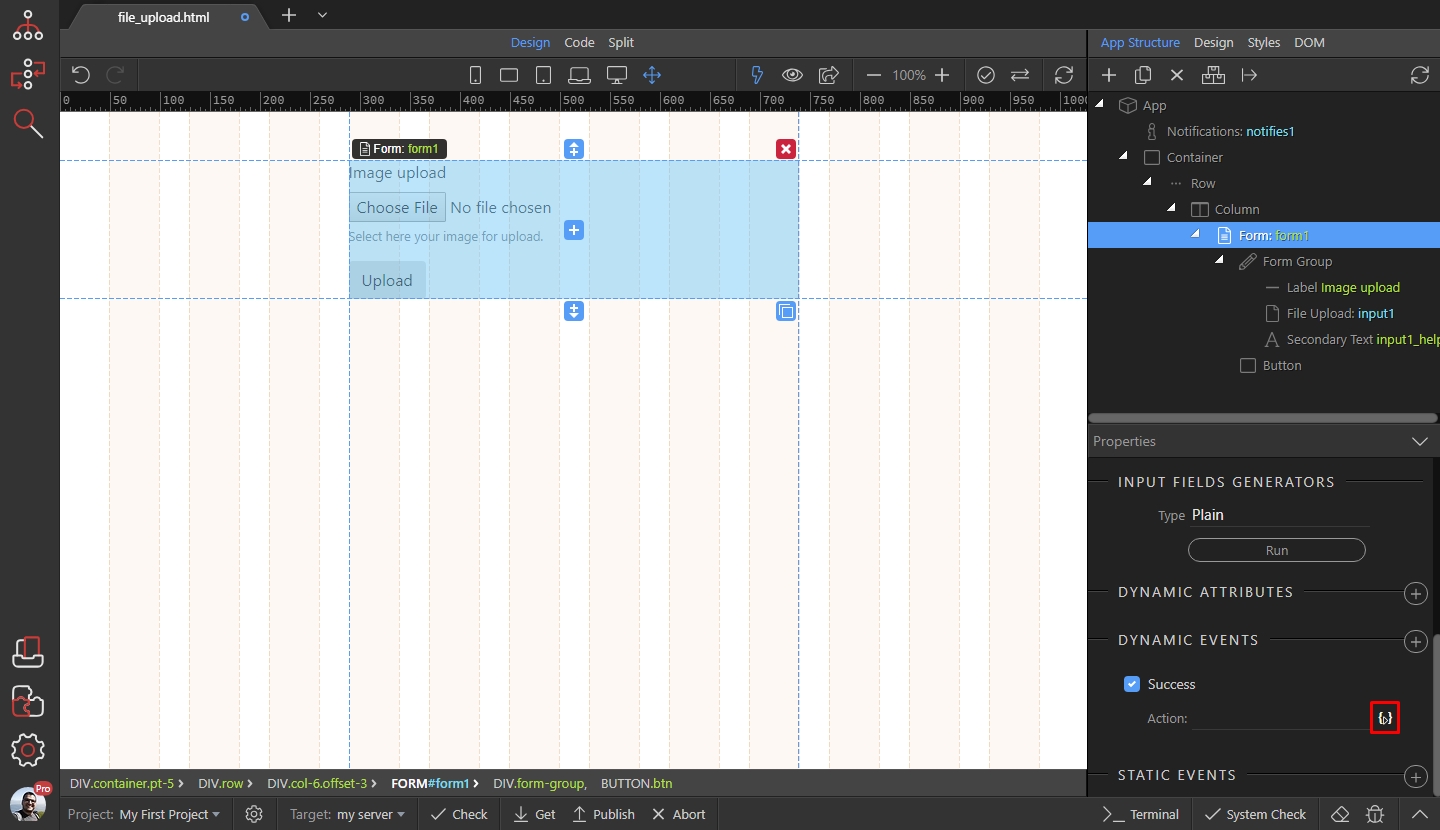
We select the Success Notification and click the add button:
Section titled “We select the Success Notification and click the add button:”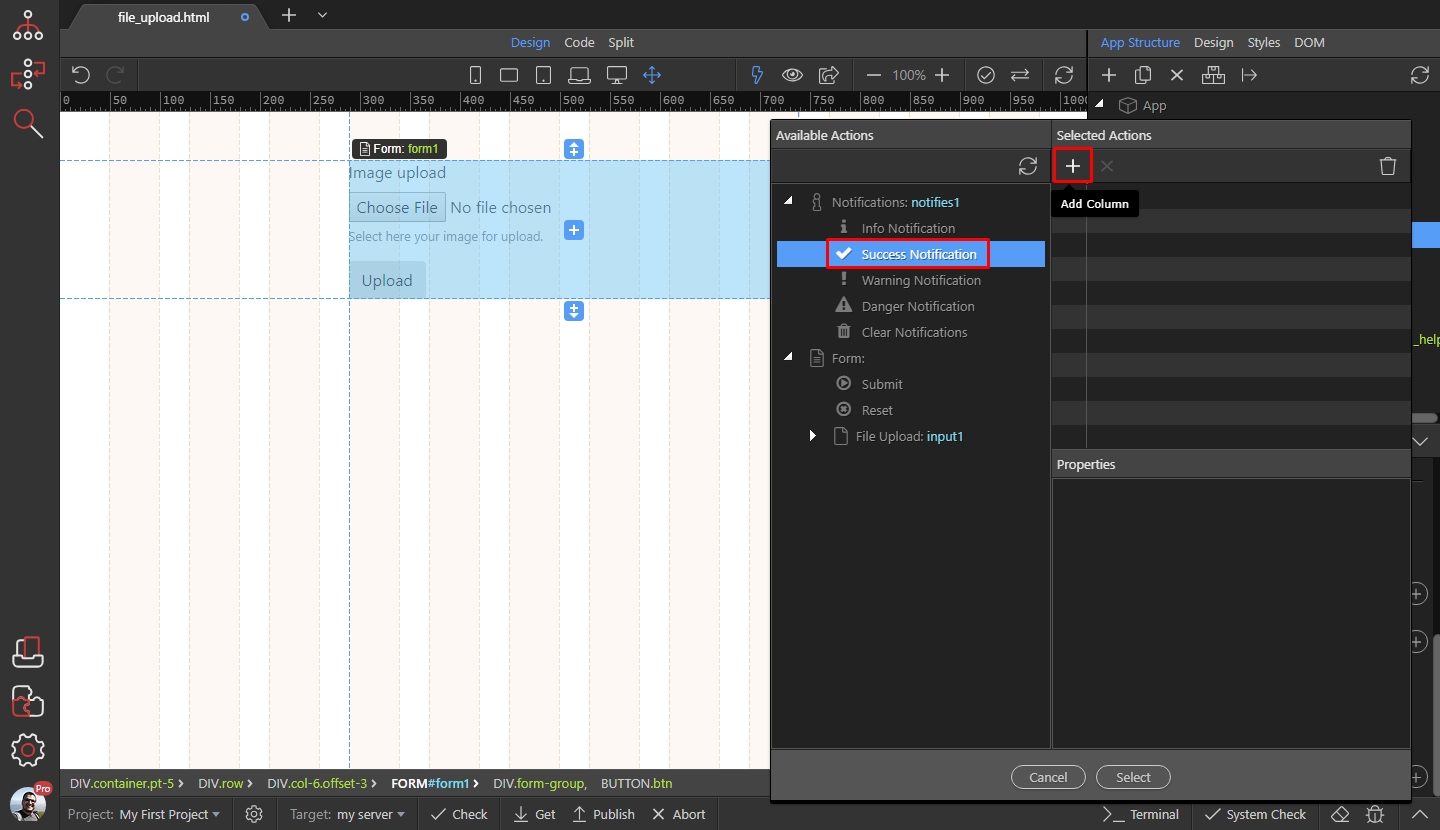
Step 33
Section titled “Step 33”Enter the text, that you want to show inside the notification. Make sure to wrap it in single quotes 'my text':
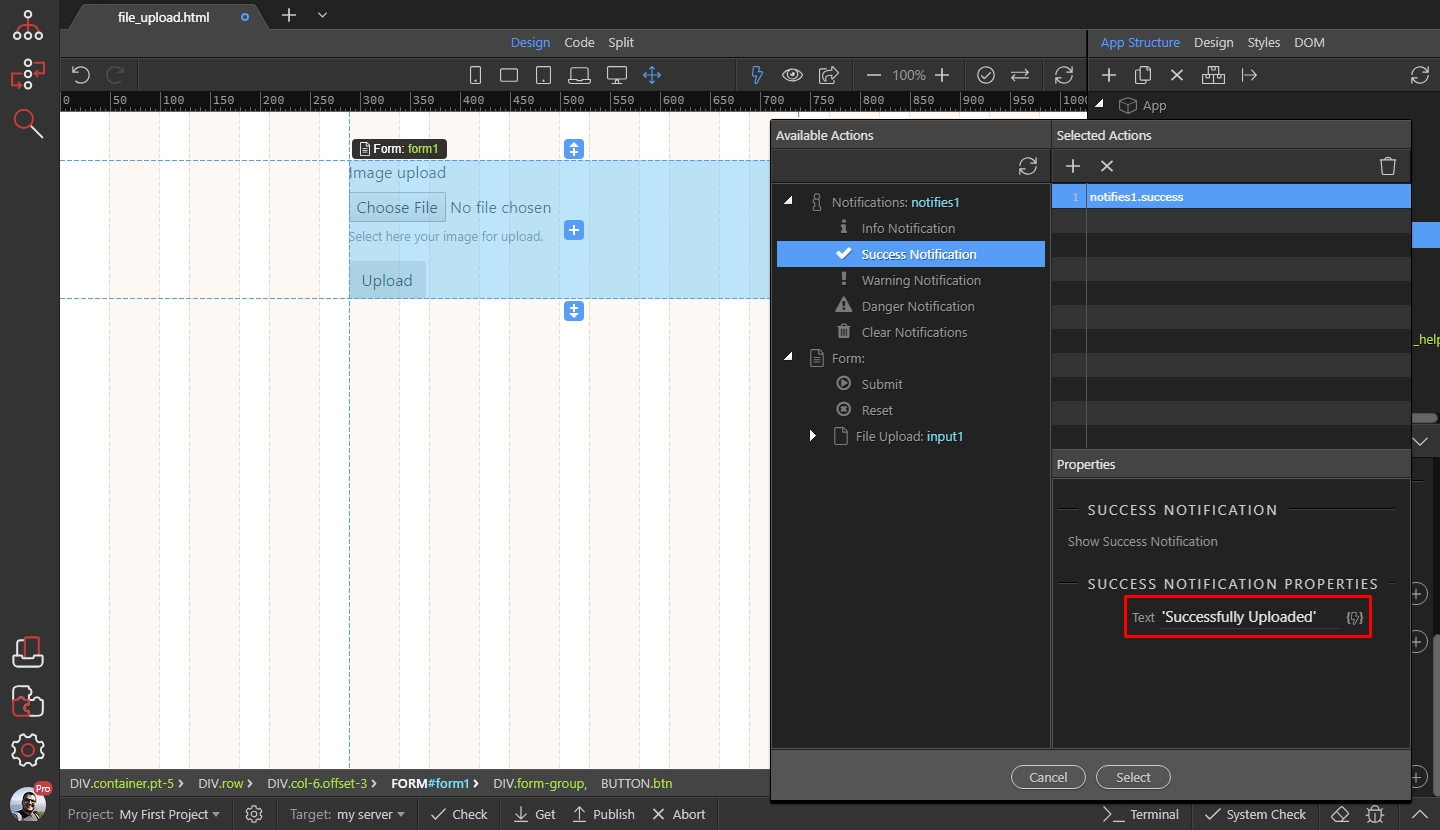
Then select the Form Reset action add it also:
Section titled “Then select the Form Reset action add it also:”
Click Select and you are done:
Section titled “Click Select and you are done:”
Step 36
Section titled “Step 36”When the selected file is successfully uploaded, the form fields will be reset and the notification will appear.