Using Capacitor Camera Plugin
Intro The Camera Plugin provides the ability to take a photo with the camera or choose an existing one from the photo album for your mobile and desktop apps. In
The Camera Plugin provides the ability to take a photo with the camera or choose an existing one from the photo album for your mobile and desktop apps. In this tutorial we will show you how to use the plugin in order to take a photo and display it on your page.
Page Setup
Section titled “Page Setup”We’ve create a really simple page containing a button and an image element:
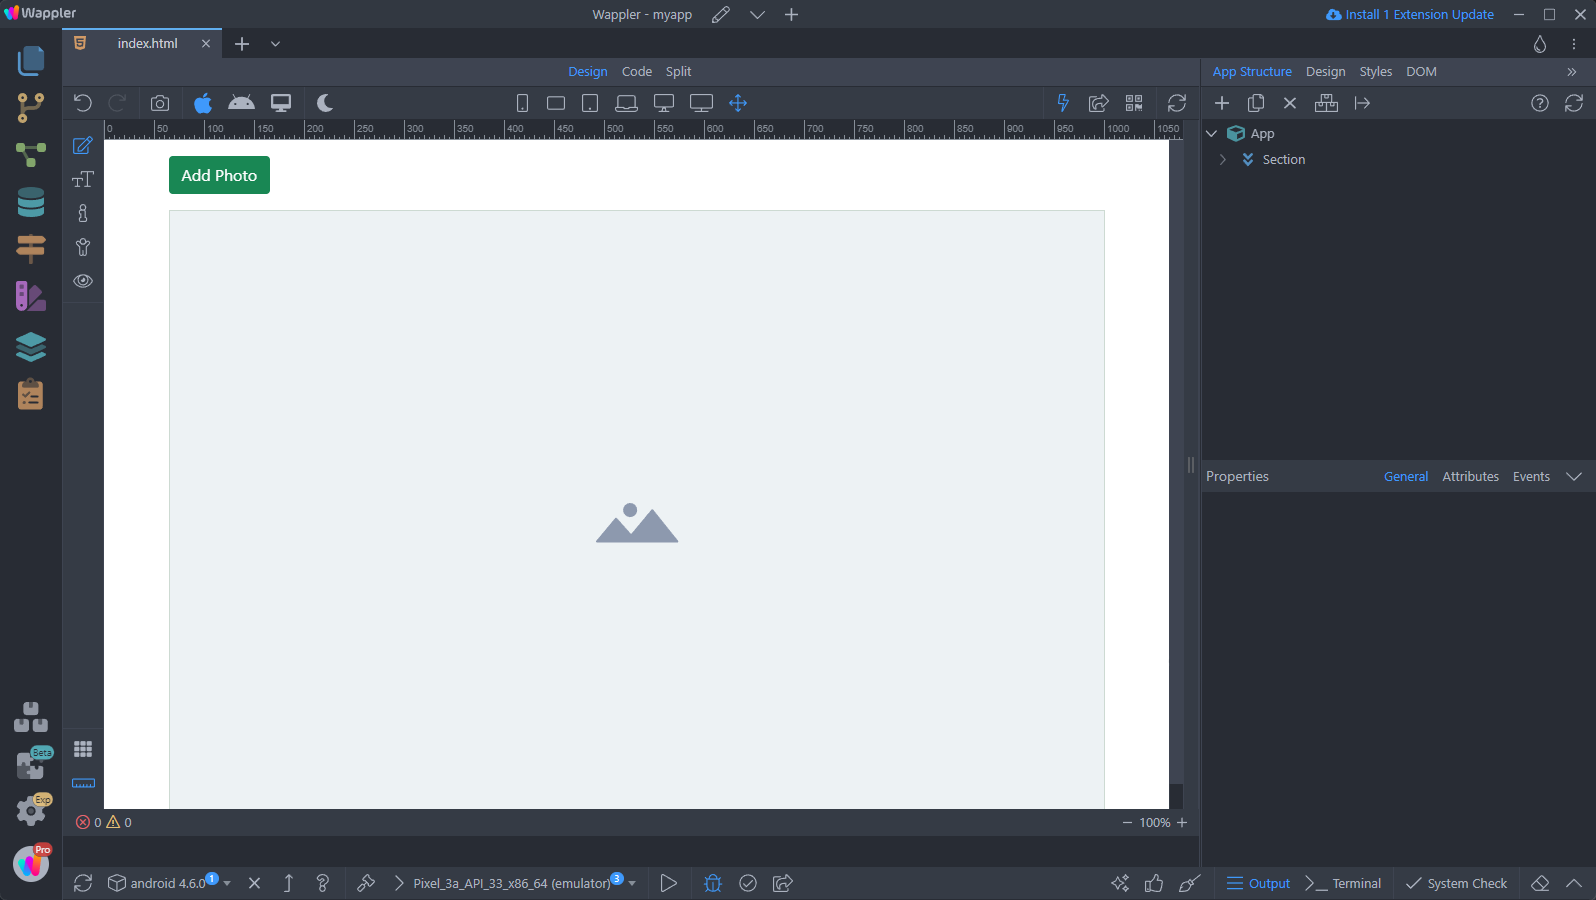
We will use the button to trigger the camera or photo selector.
Adding Camera Plugin
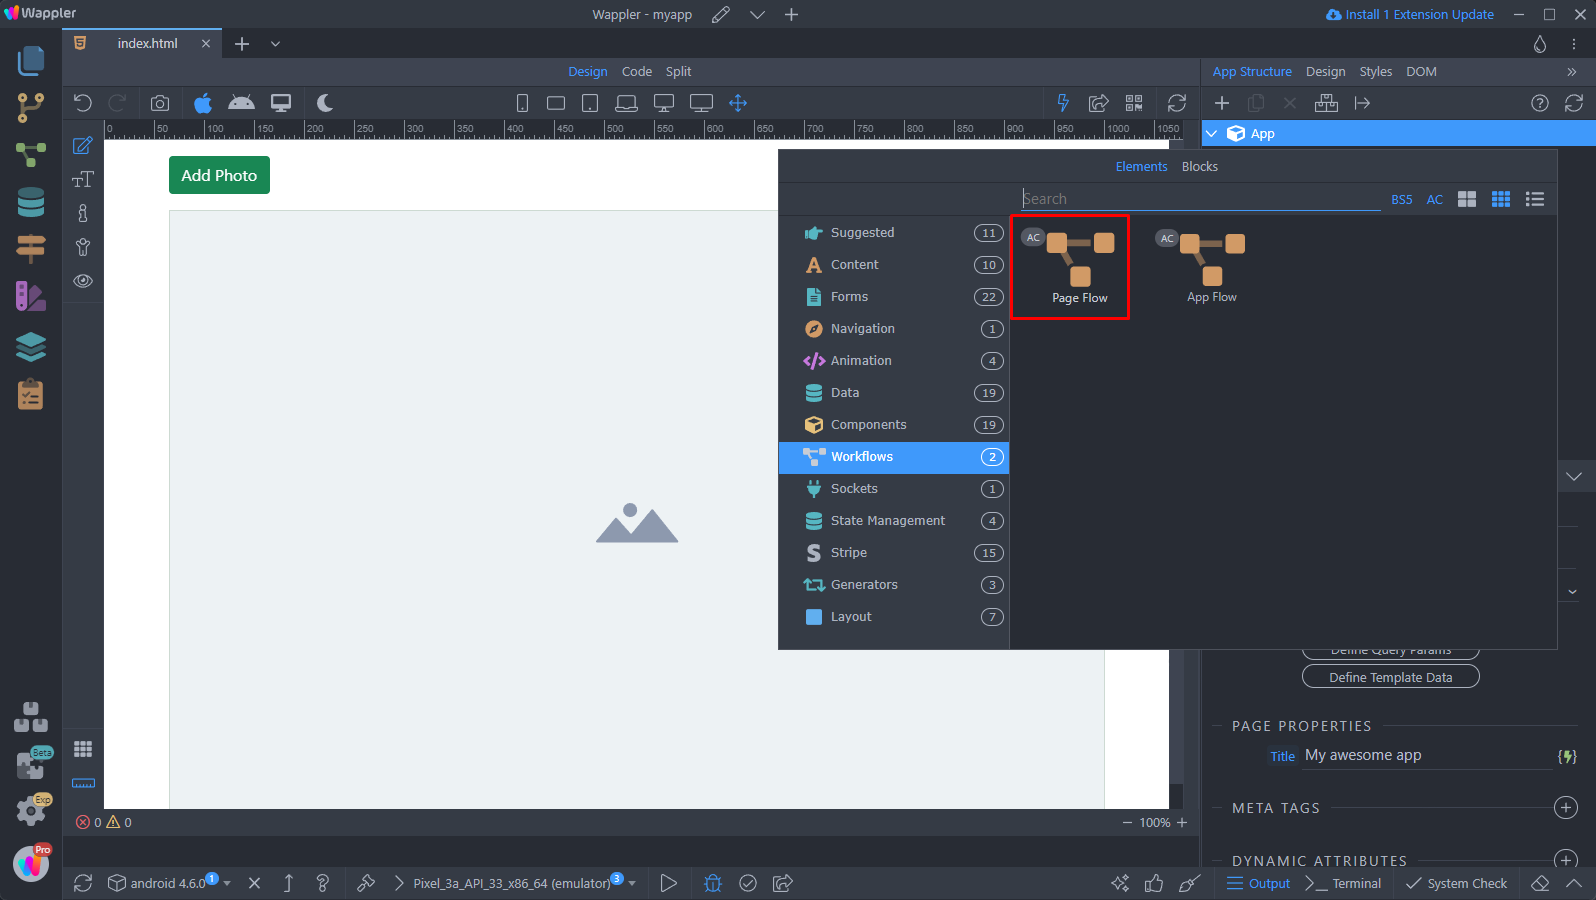
Section titled “Adding Camera Plugin”First we need to add a page flow to our app:
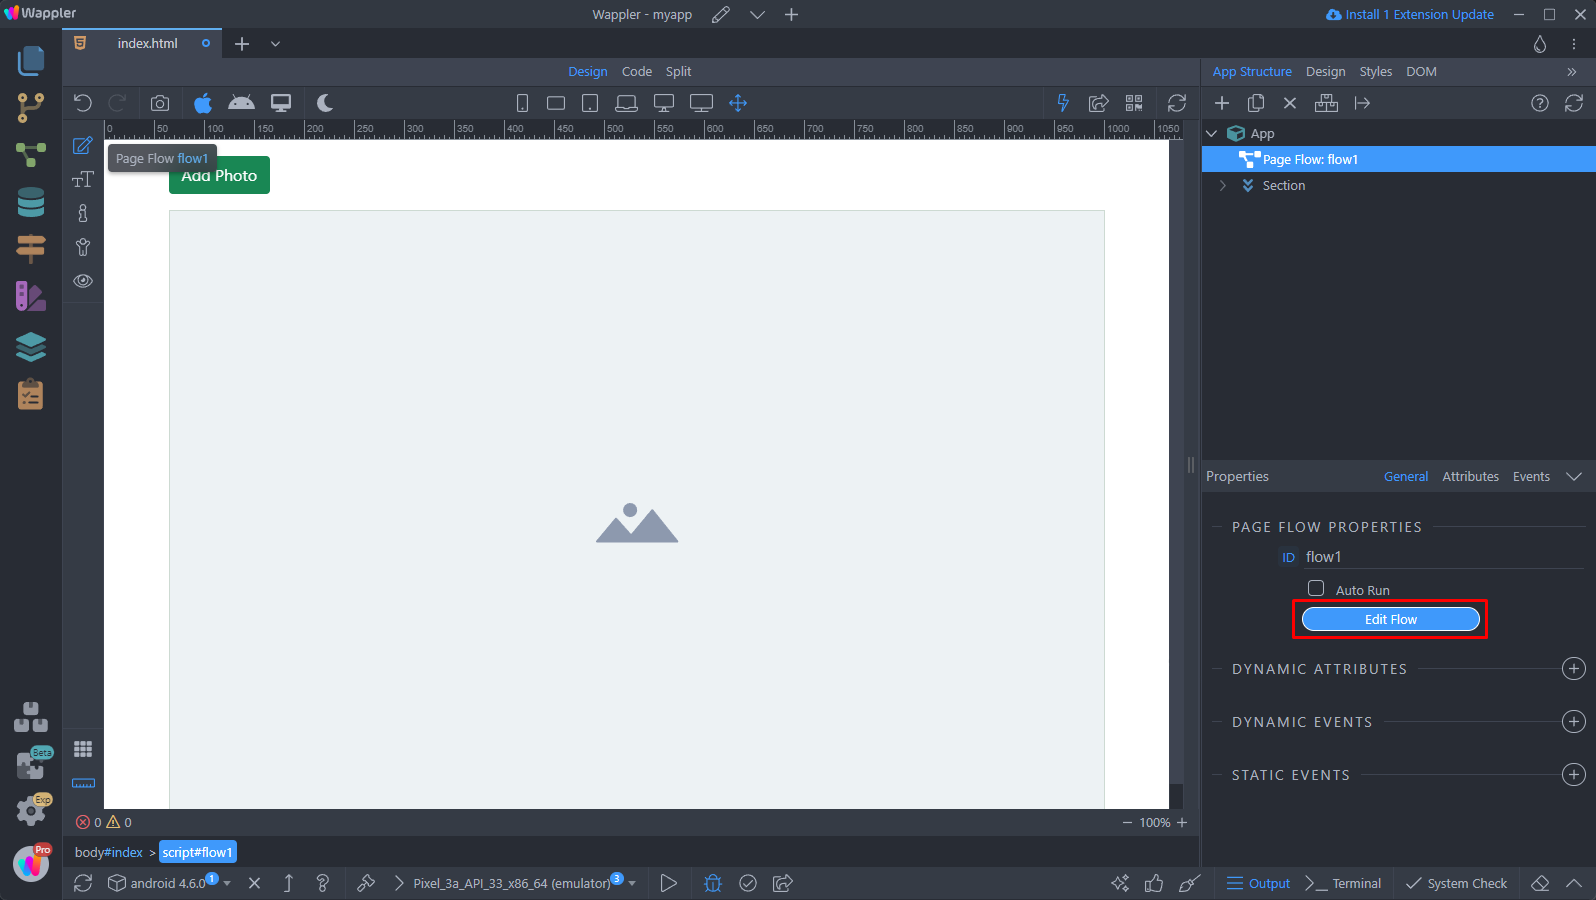
Then edit the flow:
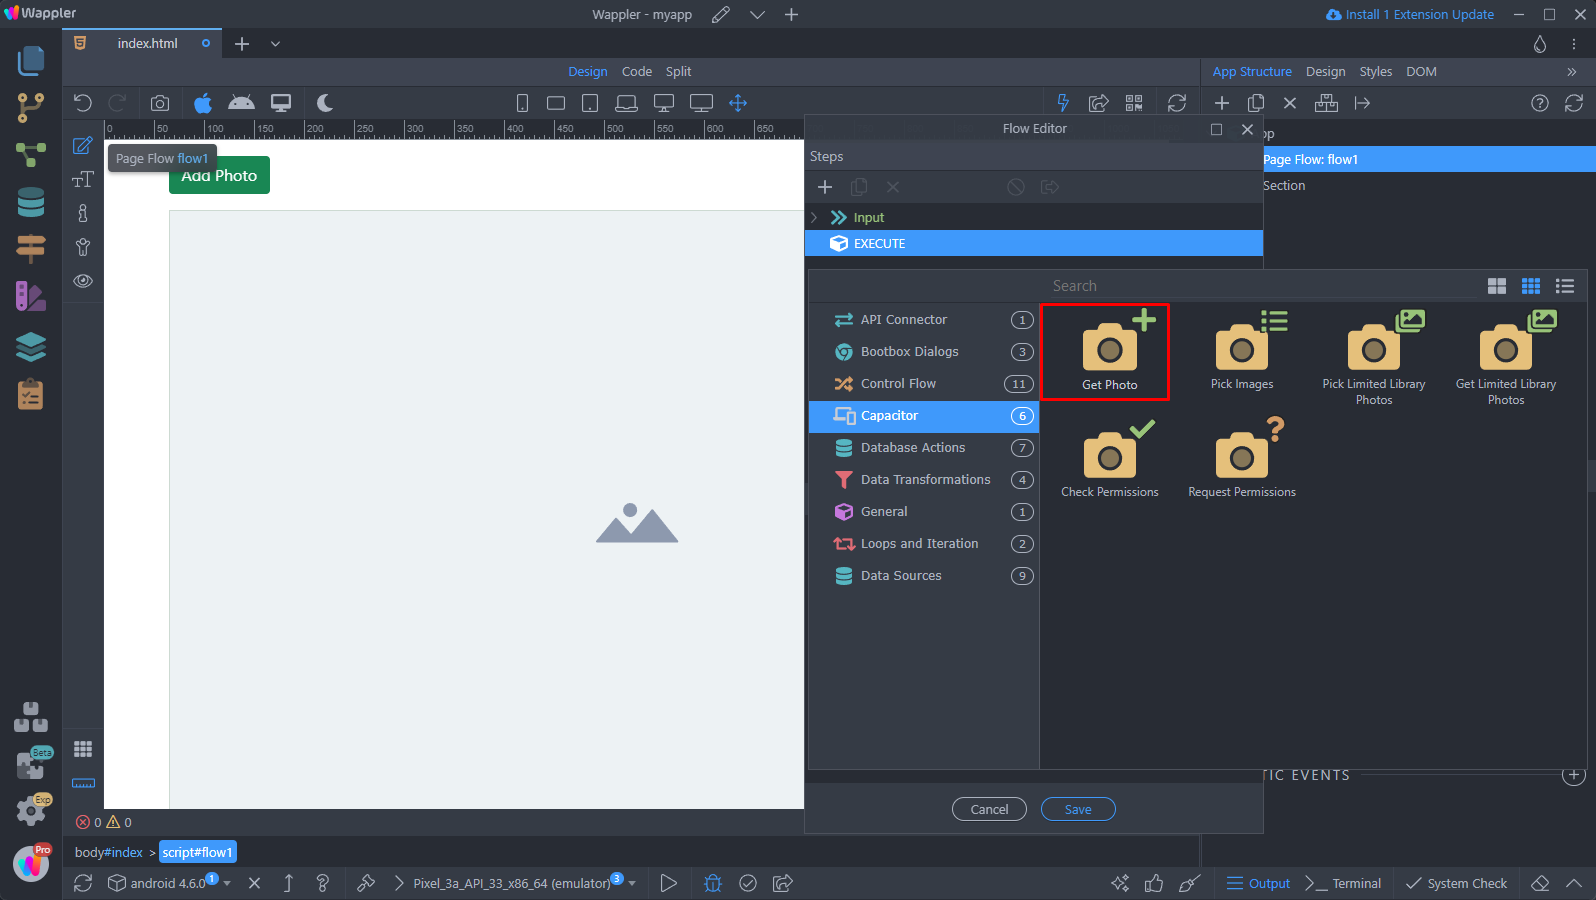
And under Capacitor, you will find the camera plugin. It offers quite a few options:

- Get Photo - Prompt the user to pick a photo from an album, or take a new photo with the camera.
- Pick Images - Allows the user to pick multiple pictures from the photo gallery. On iOS 13 and older it only allows to pick one picture.
- Pick Limited Library Photos - iOS 14+ Only: Allows the user to update their limited photo library selection. On iOS 15+ returns all the limited photos after the picker dismissal. On iOS 14 or if the user gave full access to the photos it returns an empty array.
- Get Limited Library Photos - iOS 14+ Only: Return an array of photos selected from the limited photo library.
- Check Permissions - Check camera and photo album permissions
- Request Permissions - Request camera and photo album permissions
We select Get Photos:
You can find the Get Photos properties here. For more info about each of the properties, check the help texts in the UI:
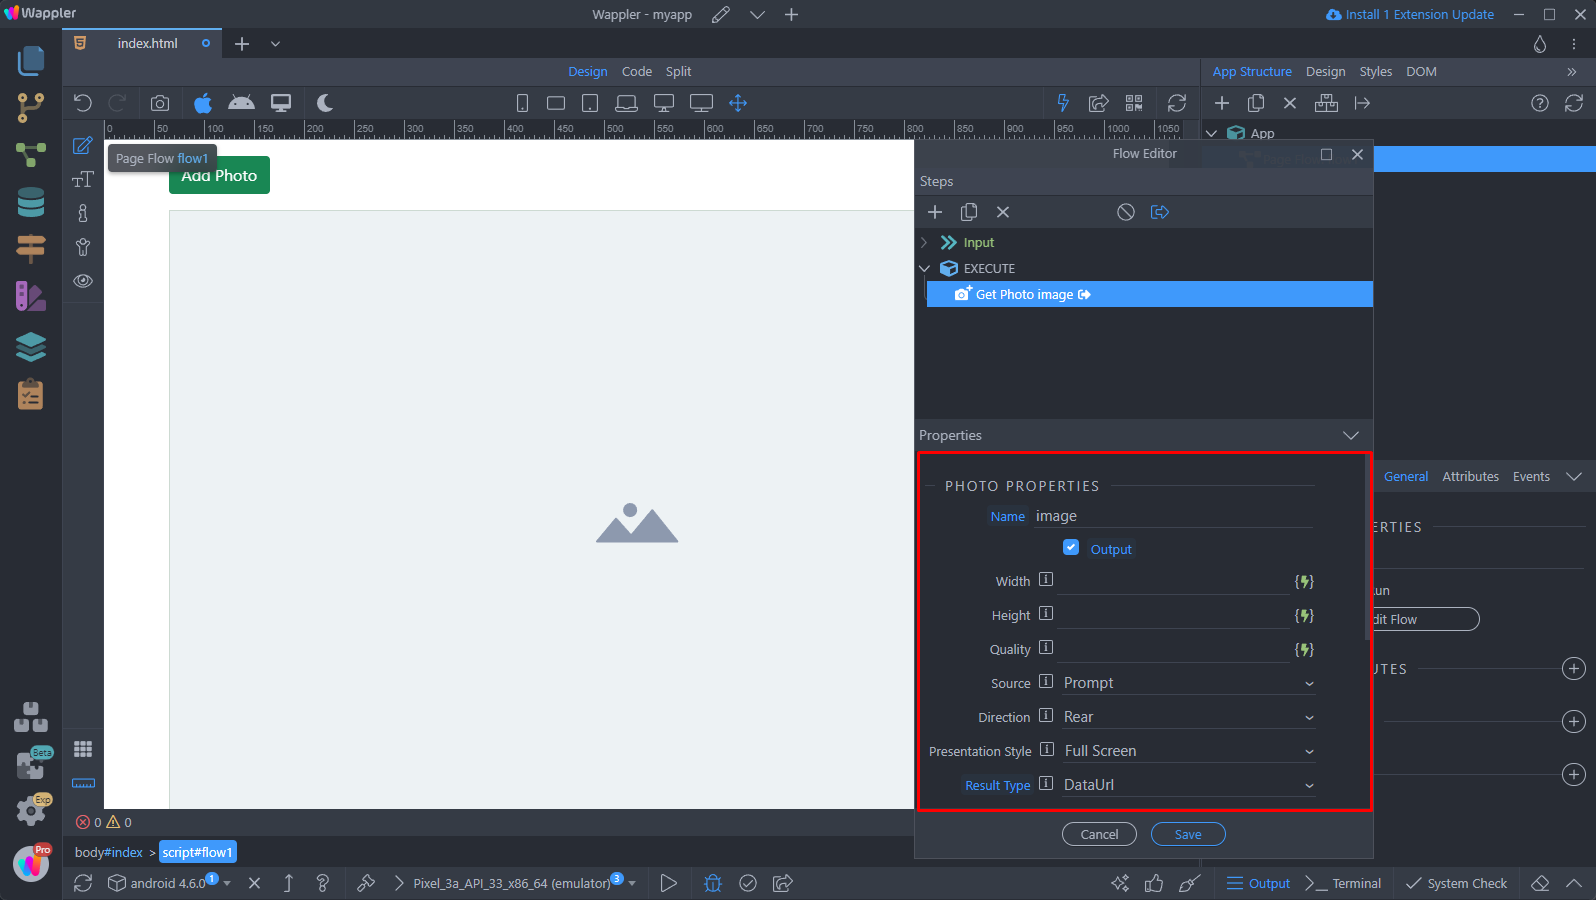
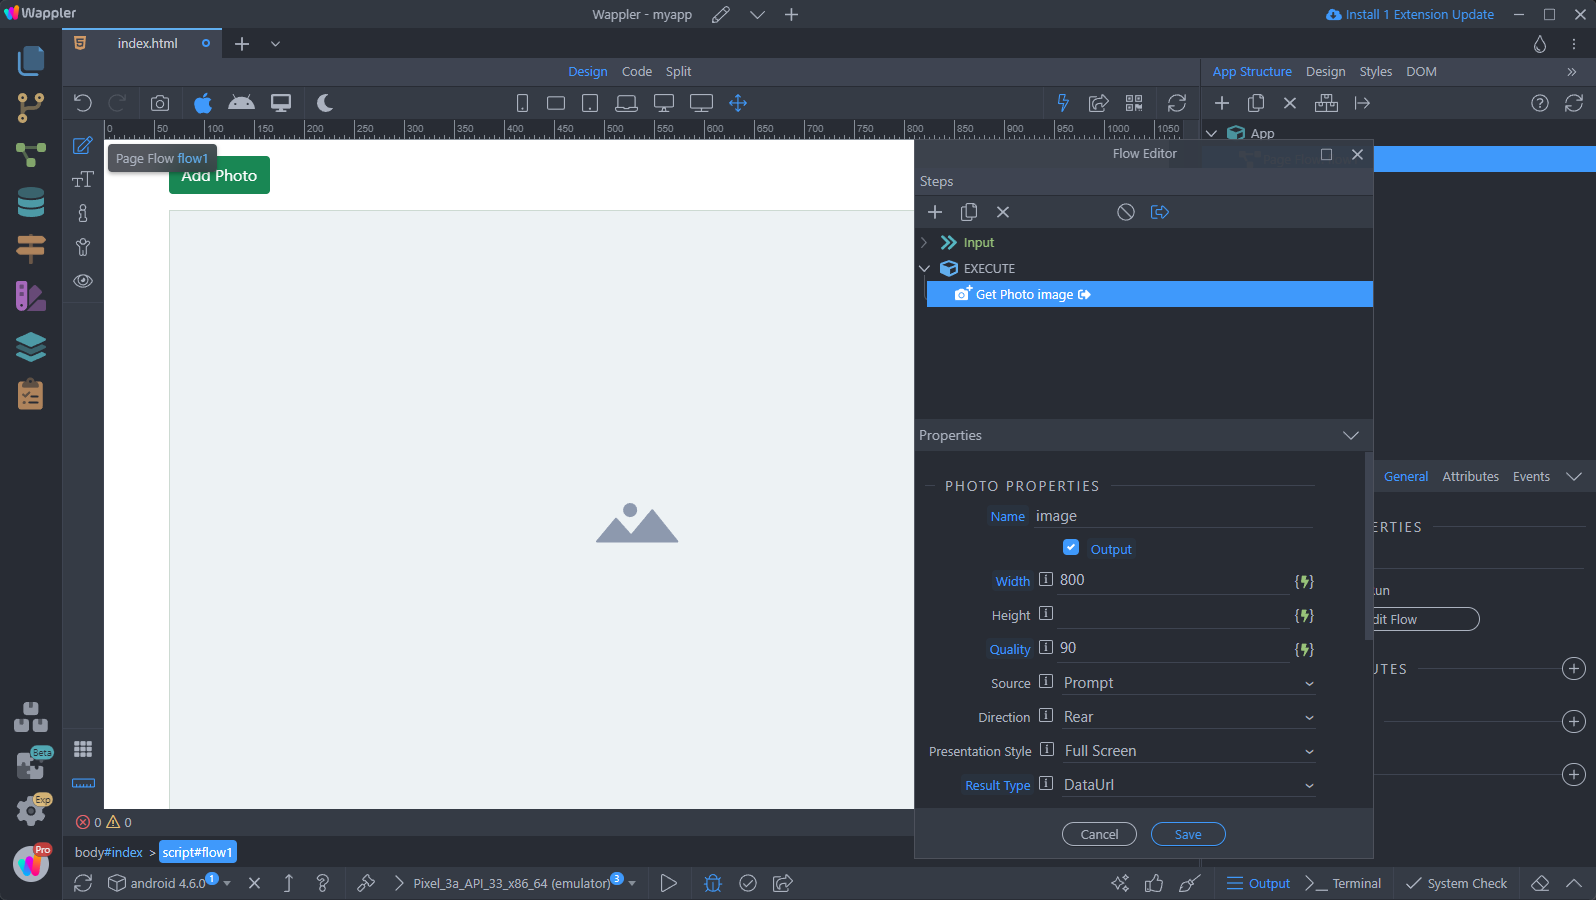
We set the image width to 800px and quality to 90. We also set the Source to prompt, so it asks the users to pick a photo from an album, or take a new photo with the camera.
In the result type option you can select how should the image be returned - as a base64 encoded string, as data URL or as a path. The default is dataUrl - an url starting with ‘data:image/jpeg;base64,’ and the base64 encoded string representation of the image:
You can enable or disable the Editing, Save To Gallery and Automatic Orientation Correction:
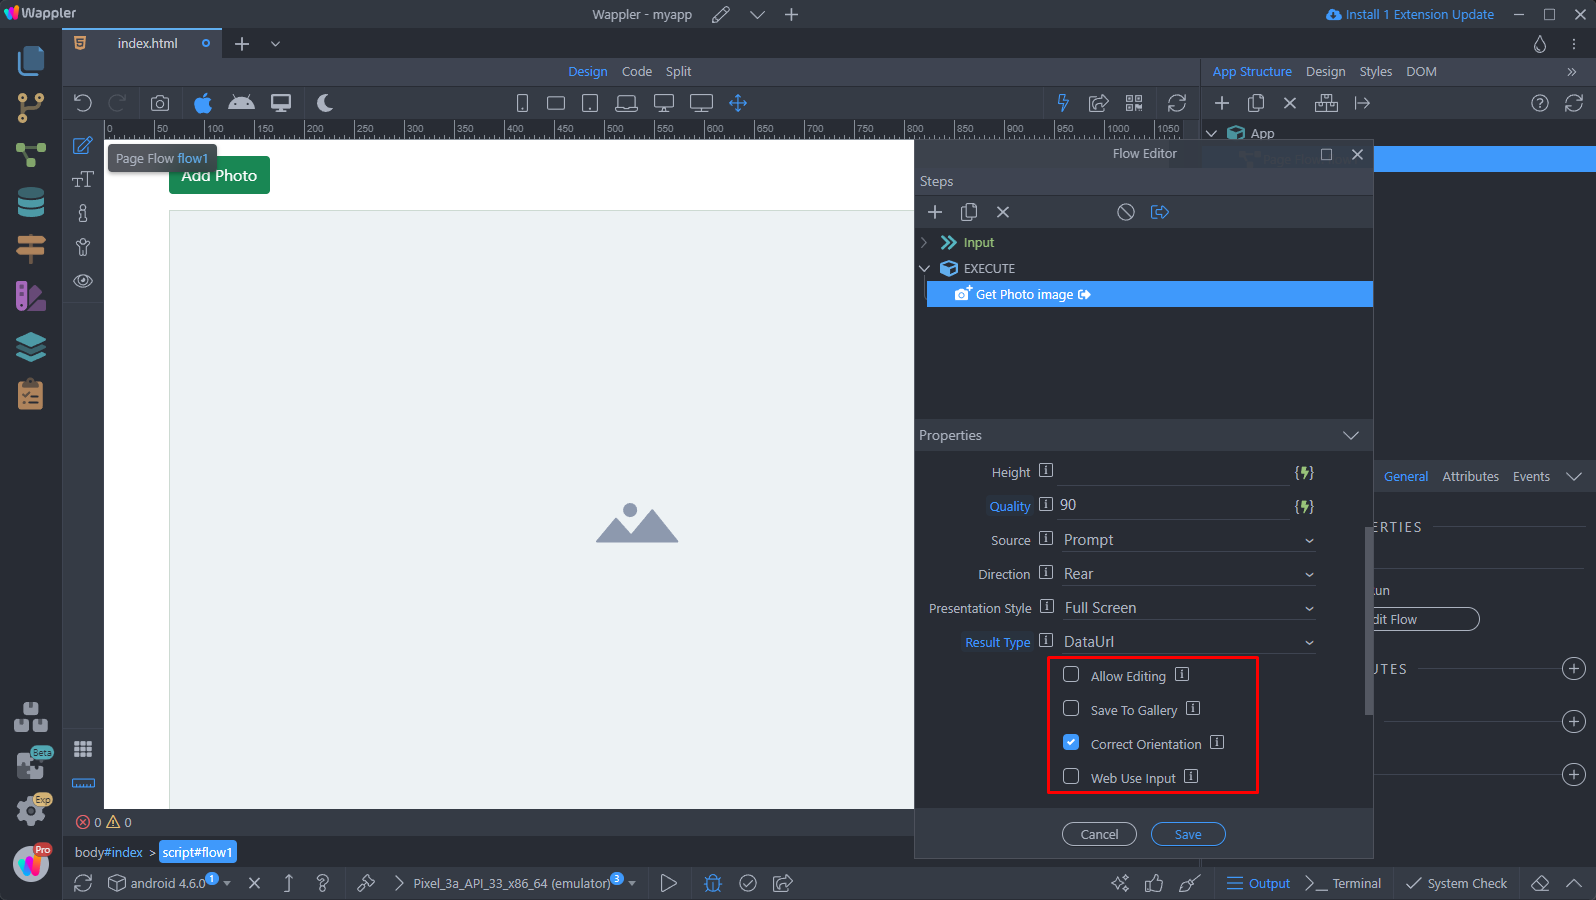
And then you can customize the Prompts texts:

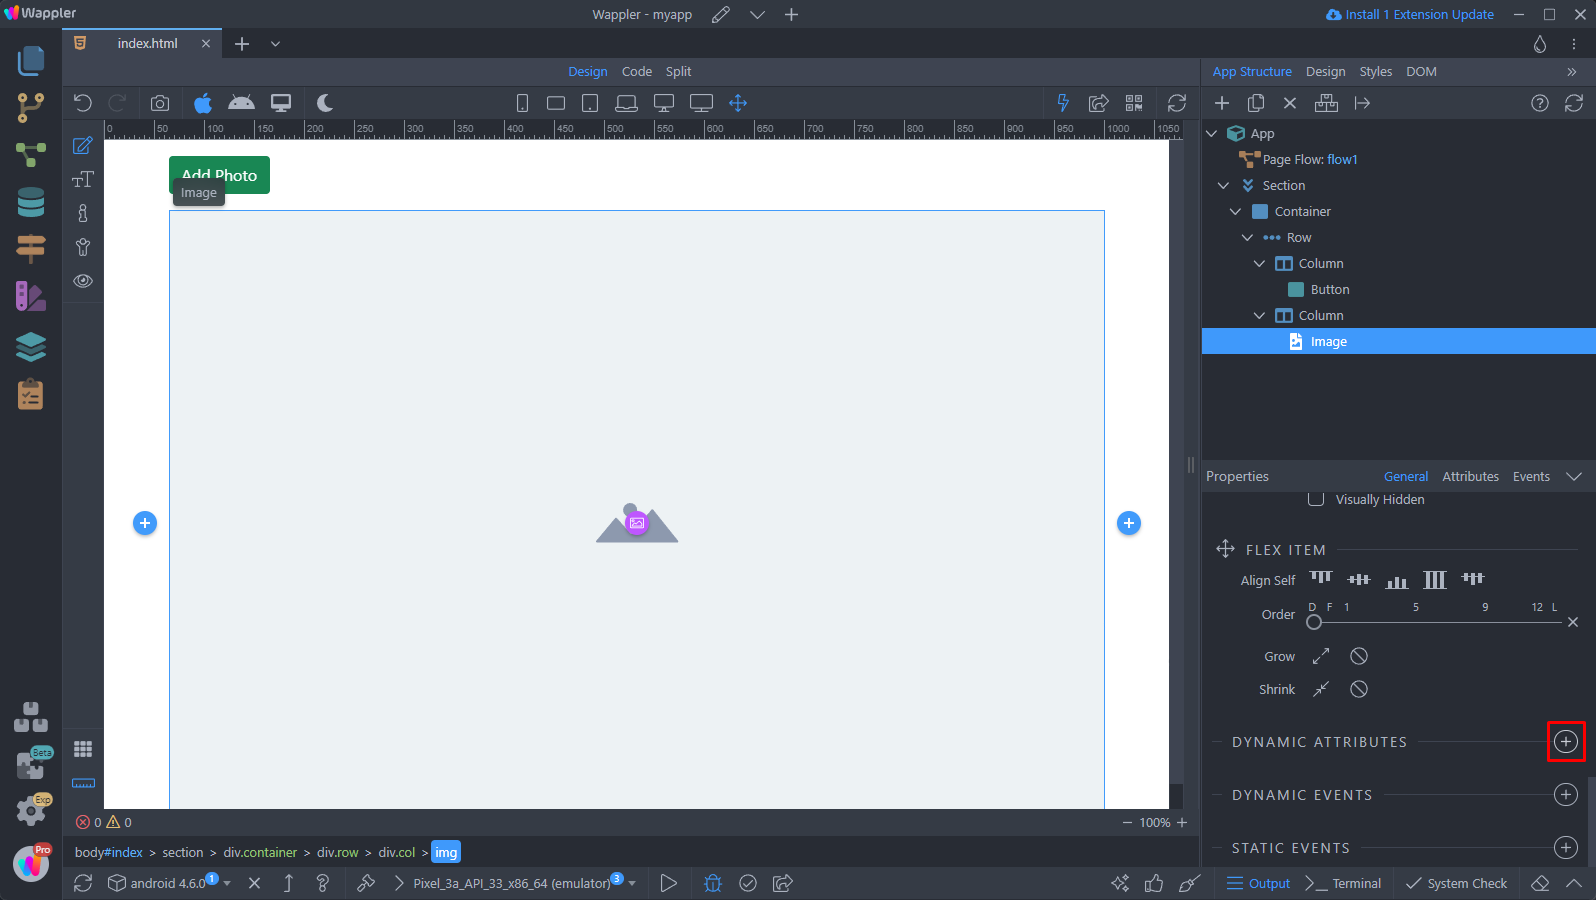
The next step would be to use the selected photo as an image source. Select the image on the page and add a new dynamic attribute:
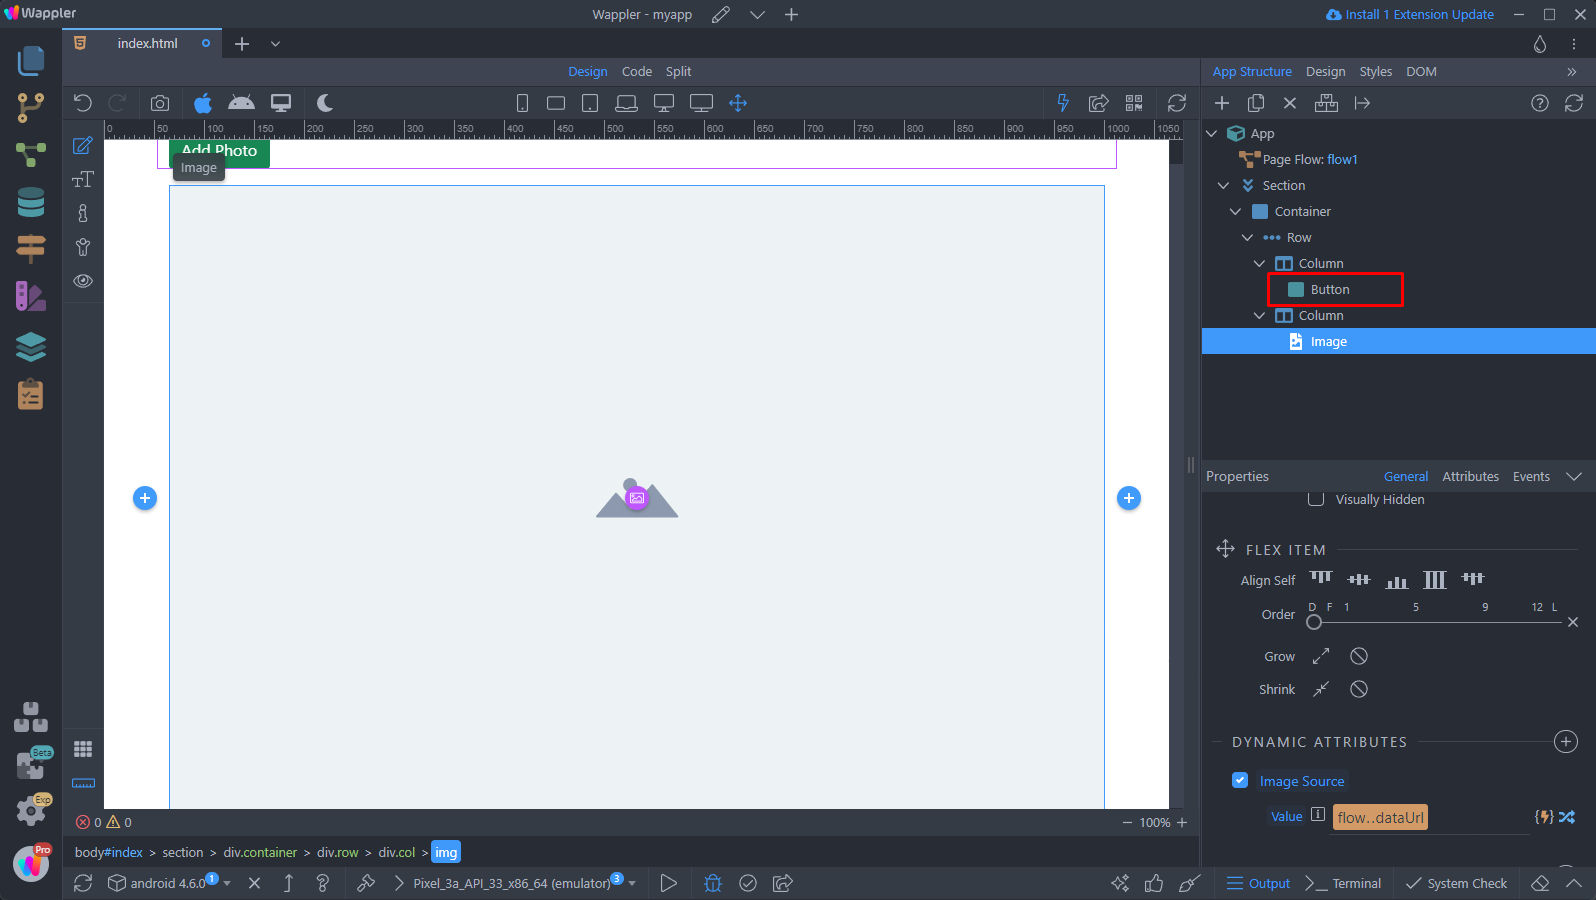
Select Image > Source:

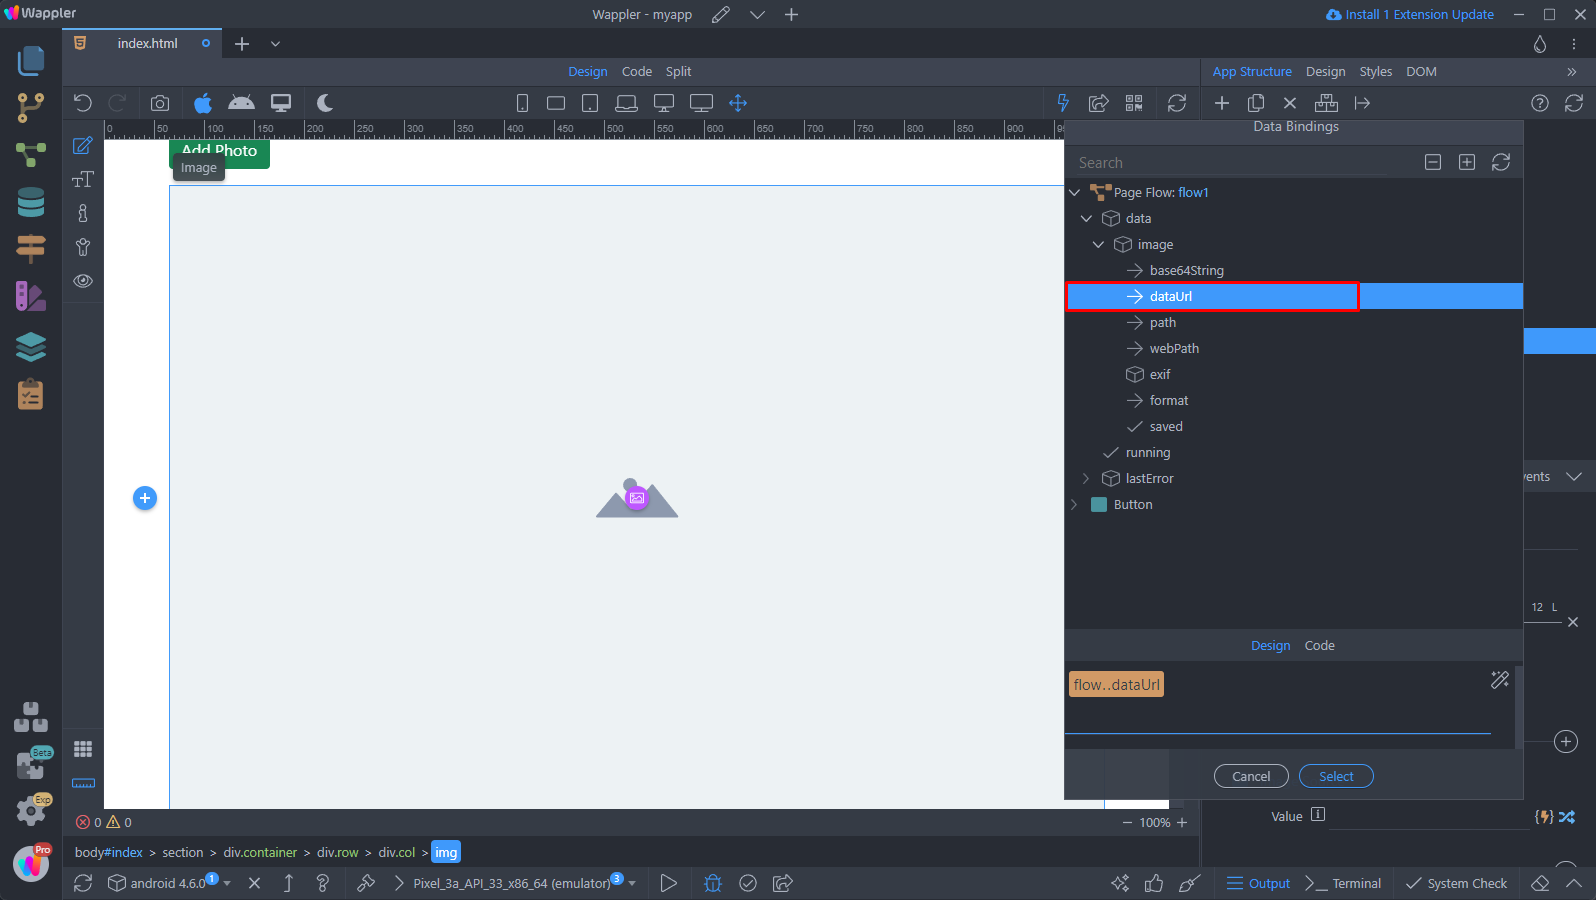
As we selected the dataUrl in the plugin properties, we pick the dataUrl returned by our flow:
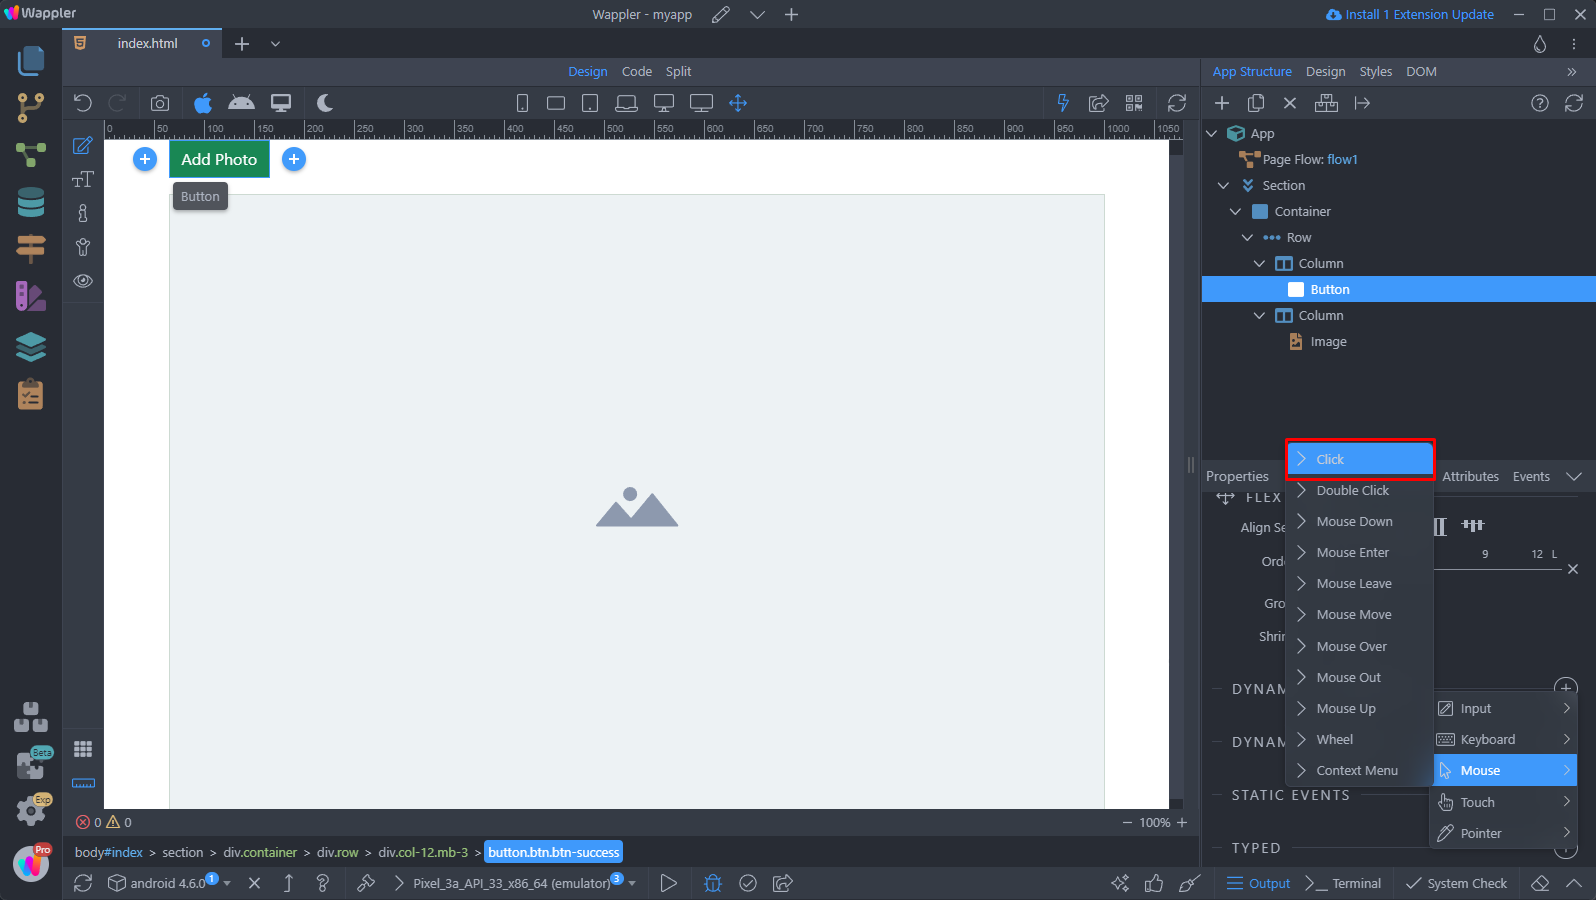
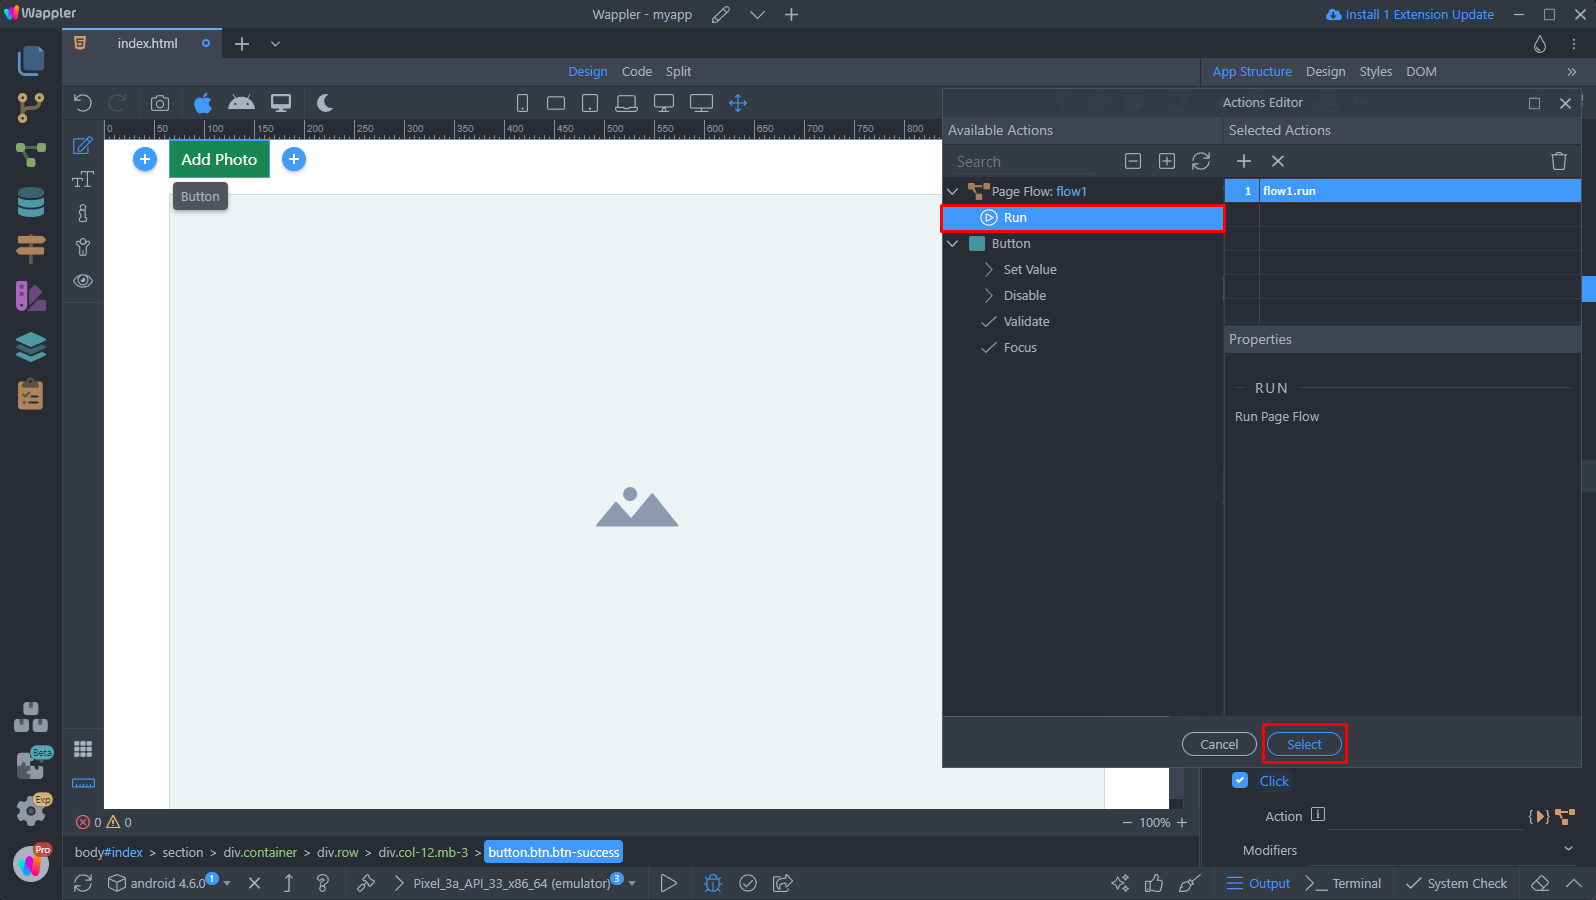
Then we need to run the flow on clicking the button. So we select the button:
And add a new dynamic event:

Select on click:
And then select to run the flow:
You are done! Build your simple app for the selected platform and test it. You can see the results in an Android emulator below: