Creating template based pages and layout in Wappler with NodeJS
When creating a website usually you want to include common elements like header/menu and a footer on all you pages. This was possible until now using SSI (server side includes) but this technique requires you to add your SSI on every page you create.
With the new template based pages you can setup a main layout, which includes all your common elements and use it to create your site pages. This way you don’t have to include SSI on all the pages you create, as they will just use what’s included on the layout page (template).
It’s easy to apply changes across your site, as the changes you make on your layout page will be applied automatically to all your pages.
Creating a Layout Page
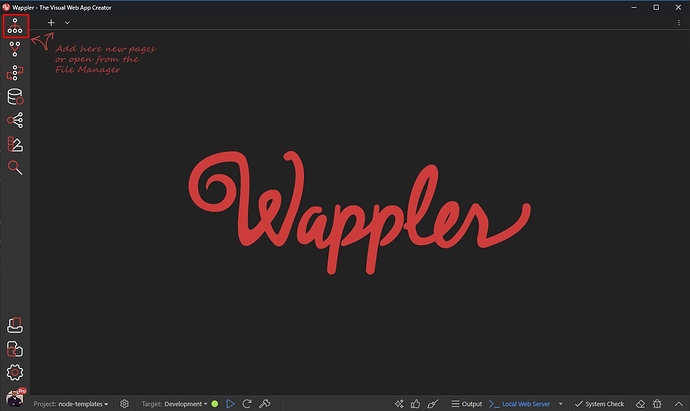
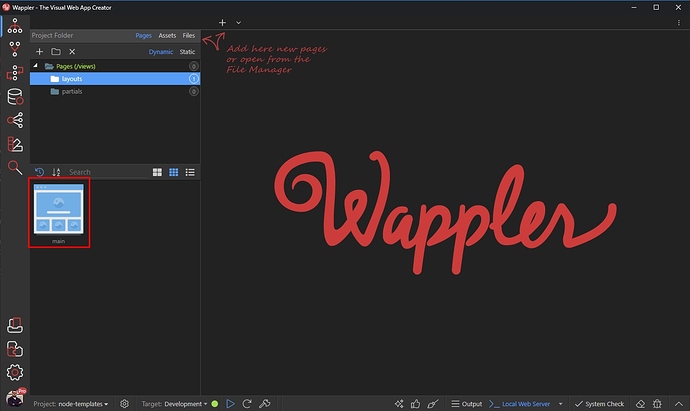
In your NodeJS project, open the Files Menu:
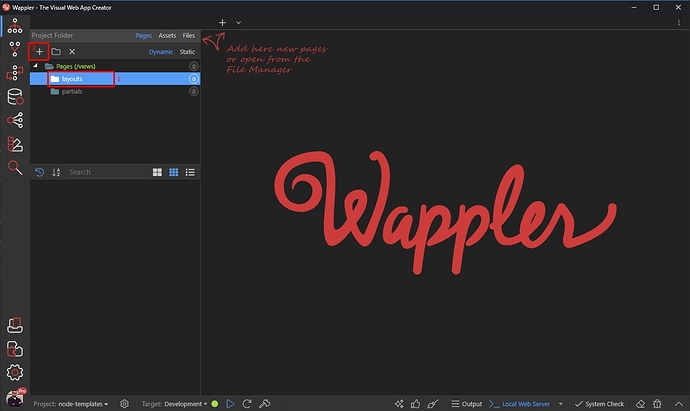
Under Pages, select layouts (1) and click the add new button (2):
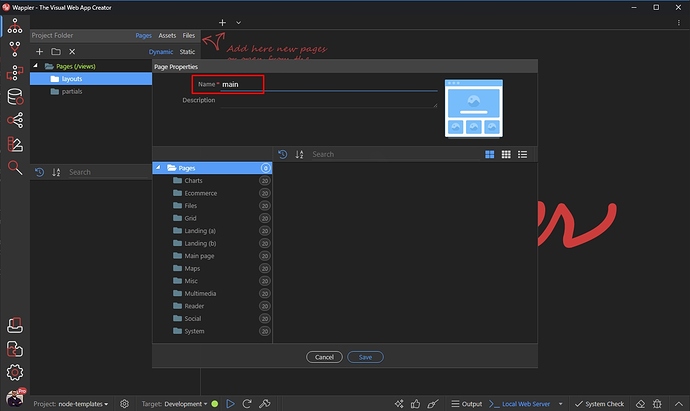
Add a name for this layout page. Note that this name will be used as a file name. We call it main:
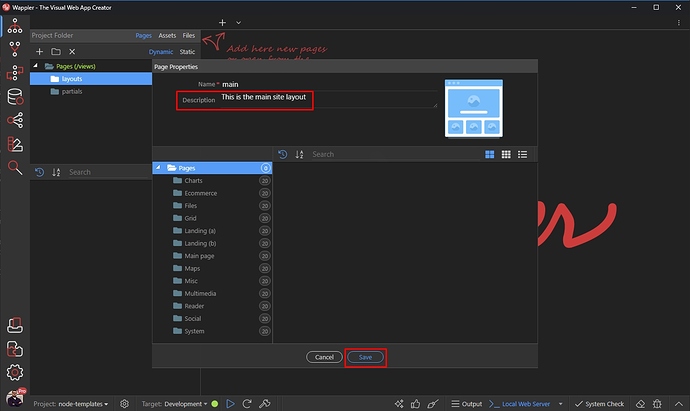
Then, add some description for this layout if you need and click the Save button:
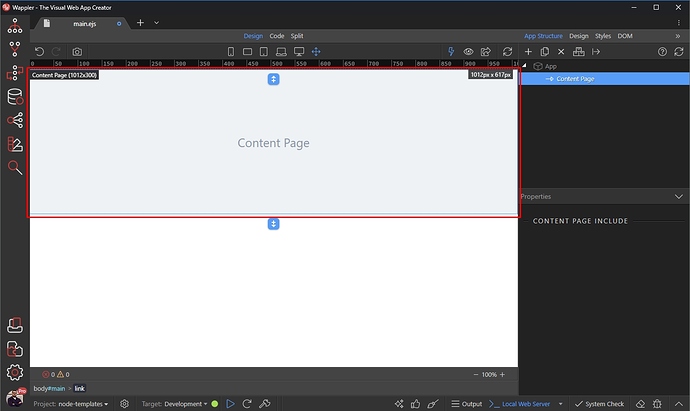
Our Layout Page called main has been created. Click it in order to open it in Design View:
The Layout Page contains an area called Content Page. This area will be used to show the content of the content pages, which you create using this layout:
This area is not editable, you can add content before or after it. So let’s add a Navbar and Footer to our layout. They will be added to all the pages created using this layout.
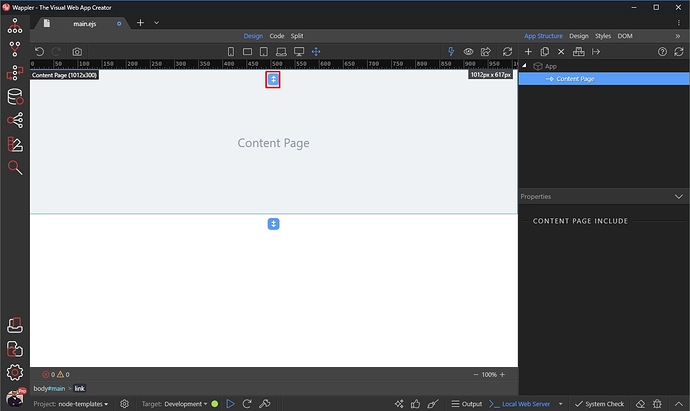
Select the Content Area and click the Add Before button:
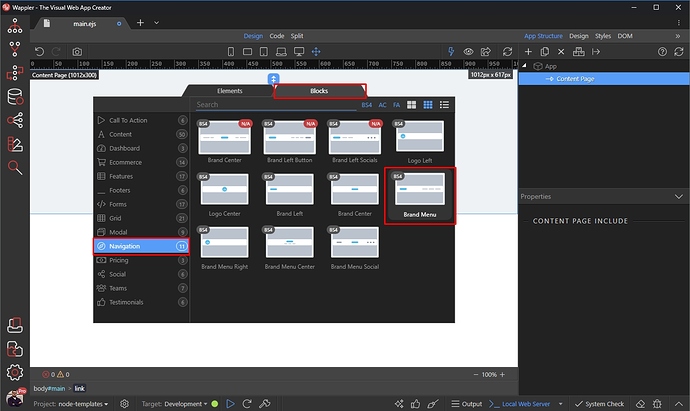
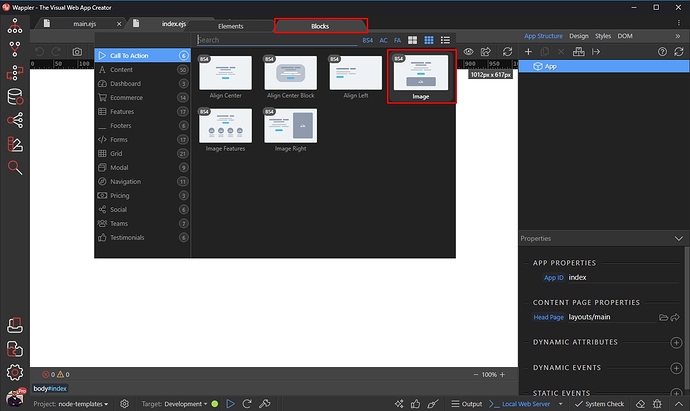
You can either create the navbar yourself or use any of the predefined navbars in the Blocks section:
Our navbar has been added. Now let’s add a footer.
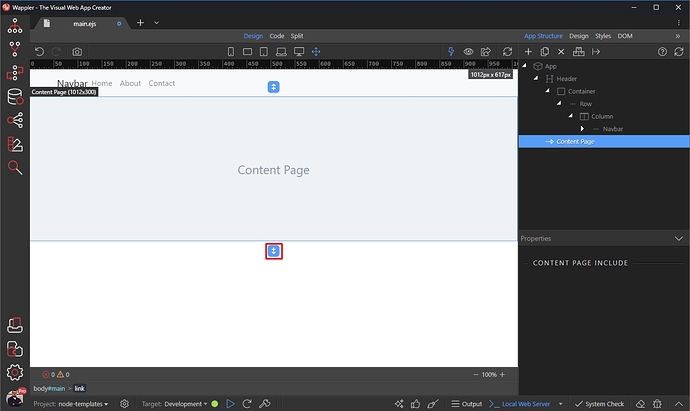
Select the Content Area and click the Add After button:
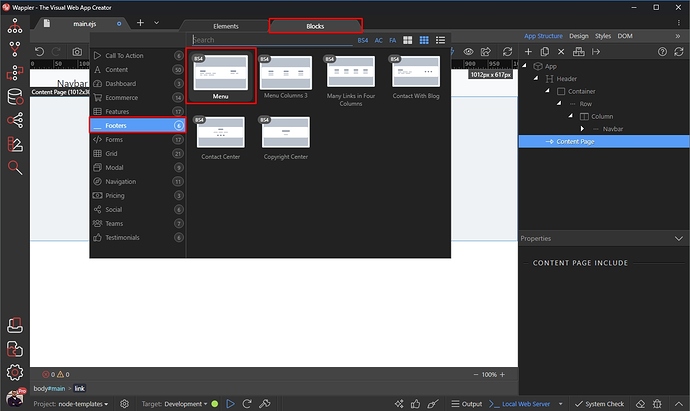
Again we use the predefined blocks for it, but you can add whatever content you need:
Our Layout Page is done. It contains a Header and Footer, which will be added to all the pages we create using it and a content area, where the content of the different pages will be displayed.
Creating a Content Page
Now as we have our main layout created, we can create as many content pages as we need.
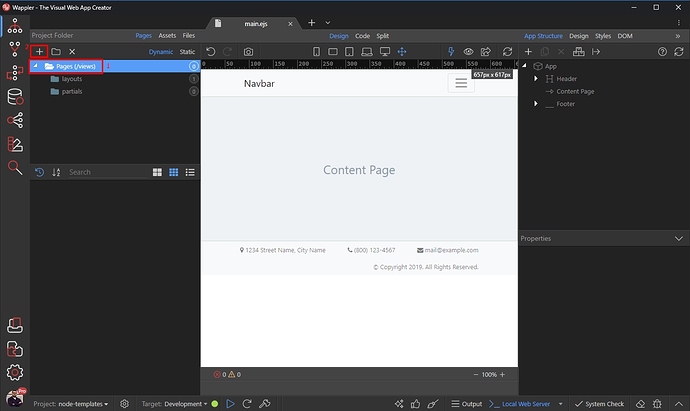
In the Files Panel, under Pages select Pages /views (1) and click the Add New button (2):
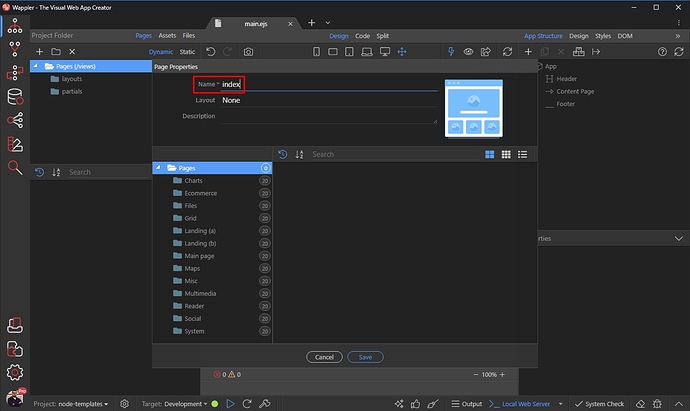
Add a name for your page:
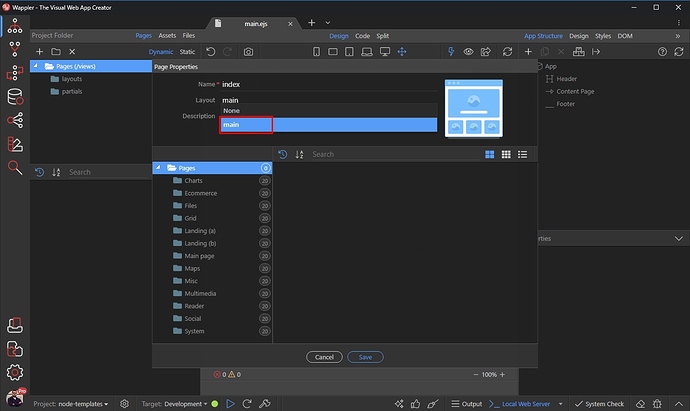
Then open the Layout menu and select the Layout we created earlier:
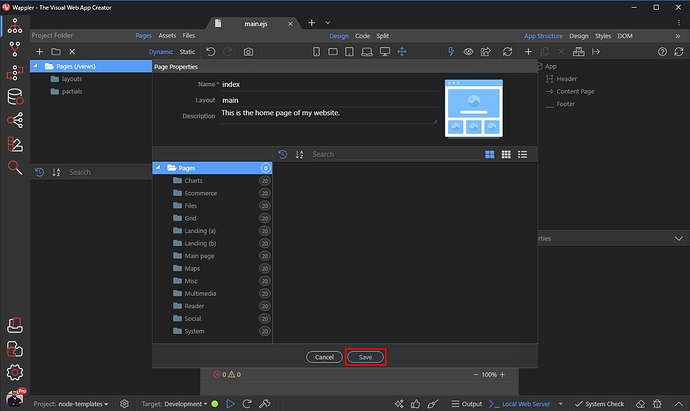
Add some description, if needed and then click Save:
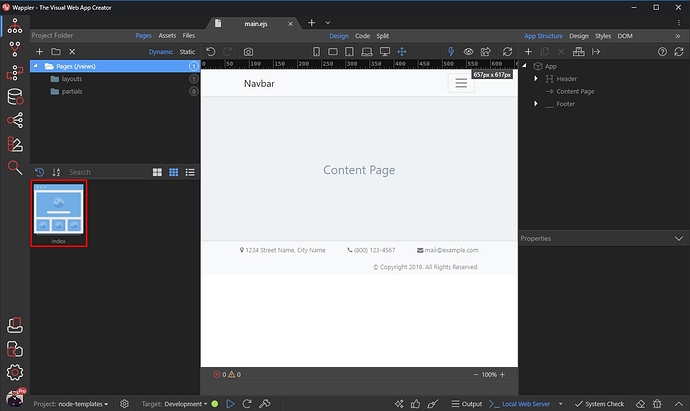
Open the page we just created by clicking it in the Pages list:
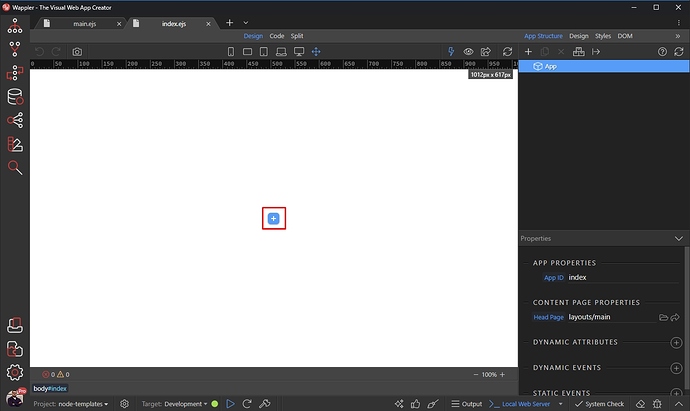
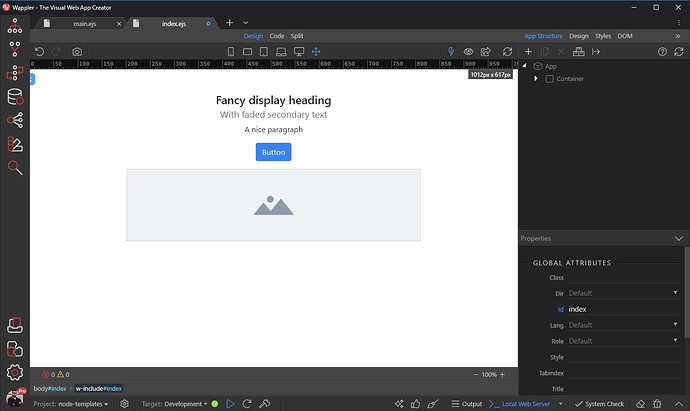
In Design View you will only see your page content. This is what appears inside the Content part of the main layout. Add any content, as you usually do:
We just select one of the available Blocks:
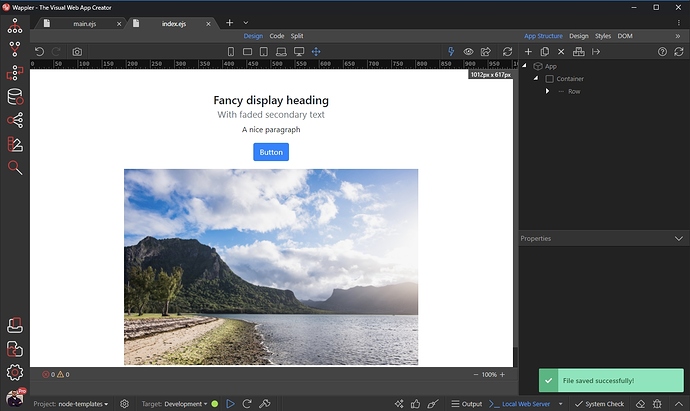
The content has been added:
You can add whatever content you need on your page and customize it as you like and save it:
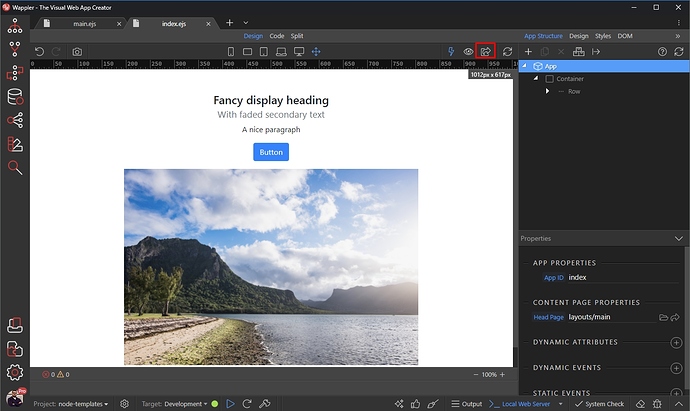
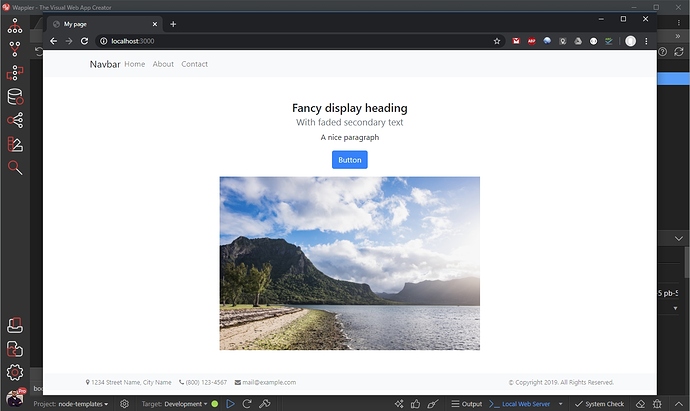
And you are done. You can preview the page in your browser:
And you can see the header and footer we included in our layout page have been added to it:
