
Working with Arrays
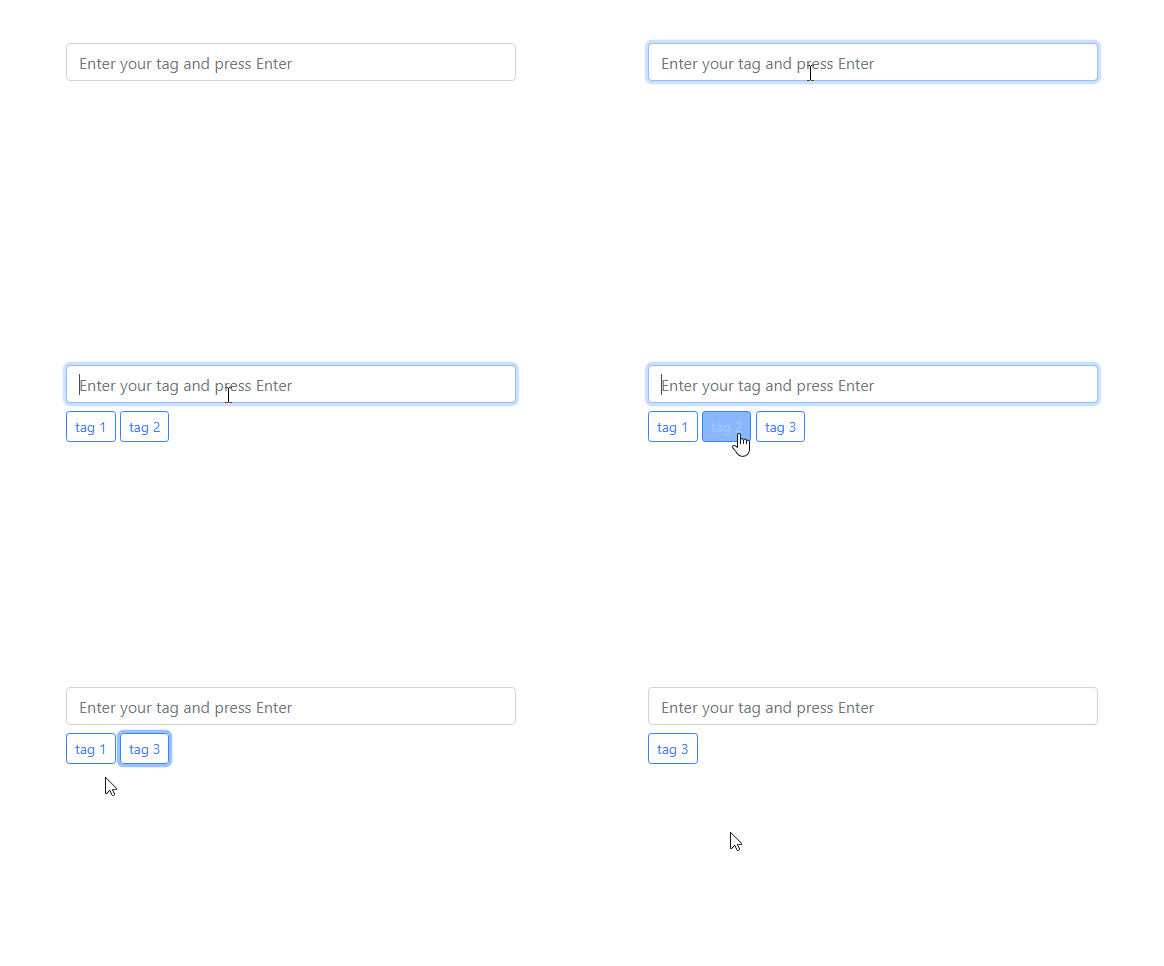
The Array component in Wappler allows you to store items in arrays and manage them. Here we will show you a simple example of how to use an array in order to create a tags input, where you enter tags
Step 1
Section titled “Step 1”The Array component in Wappler allows you to store items in arrays and manage them. Here we will show you a simple example of how to use an array in order to create a tags input, where you enter tags and display them below the input.
Remove tag functionality is also available, so that it removes the selected tag from the array.
Adding Tags List
Section titled “Adding Tags List”We created a simple Bootstrap 4 page, which contains a form input:
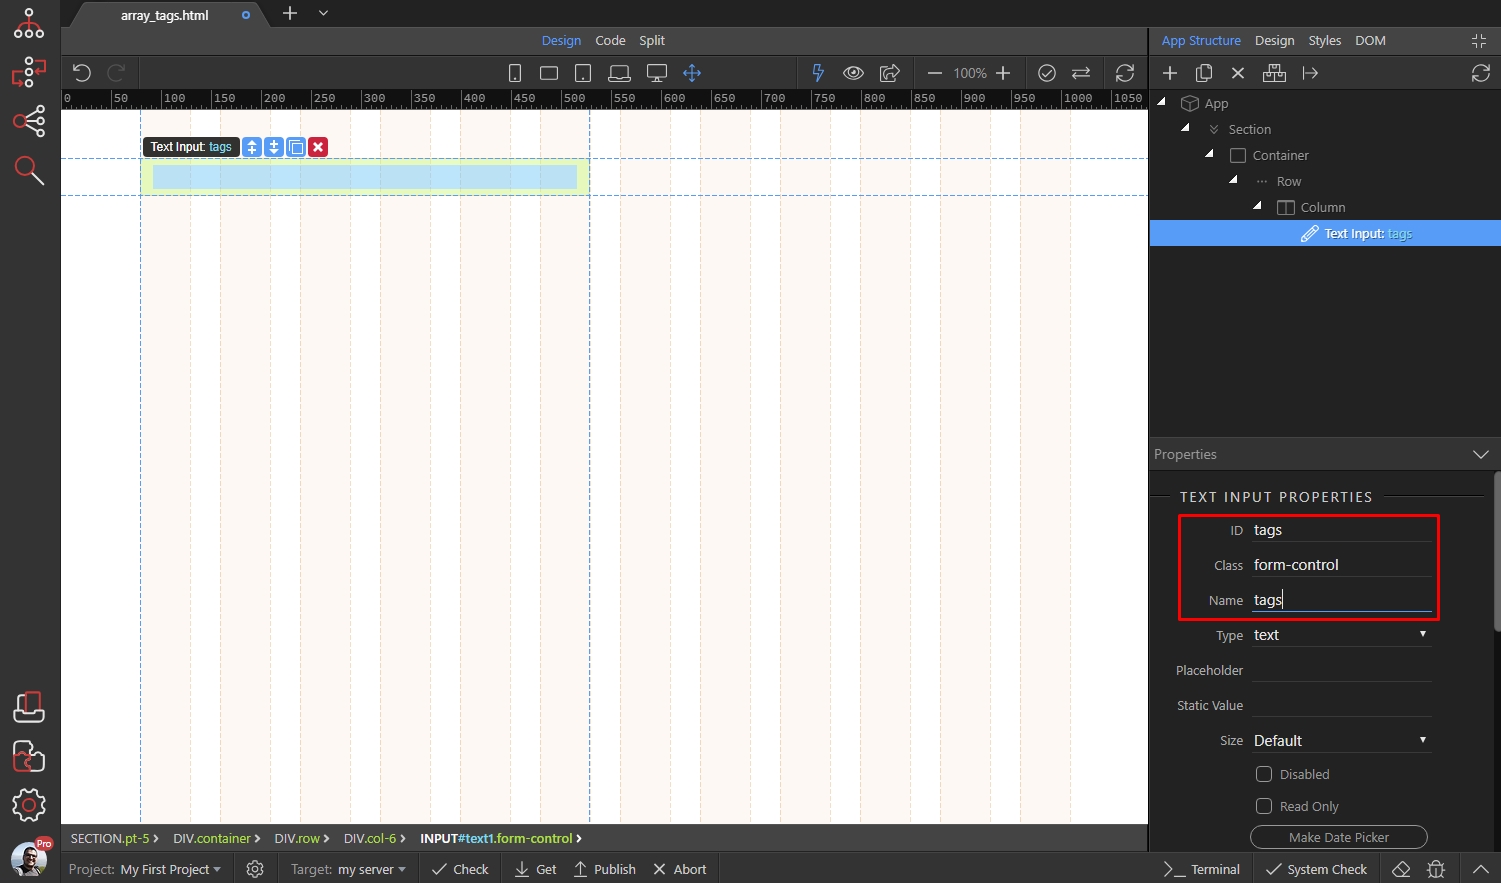
Select the text input and click the insert after button:
Section titled “Select the text input and click the insert after button:”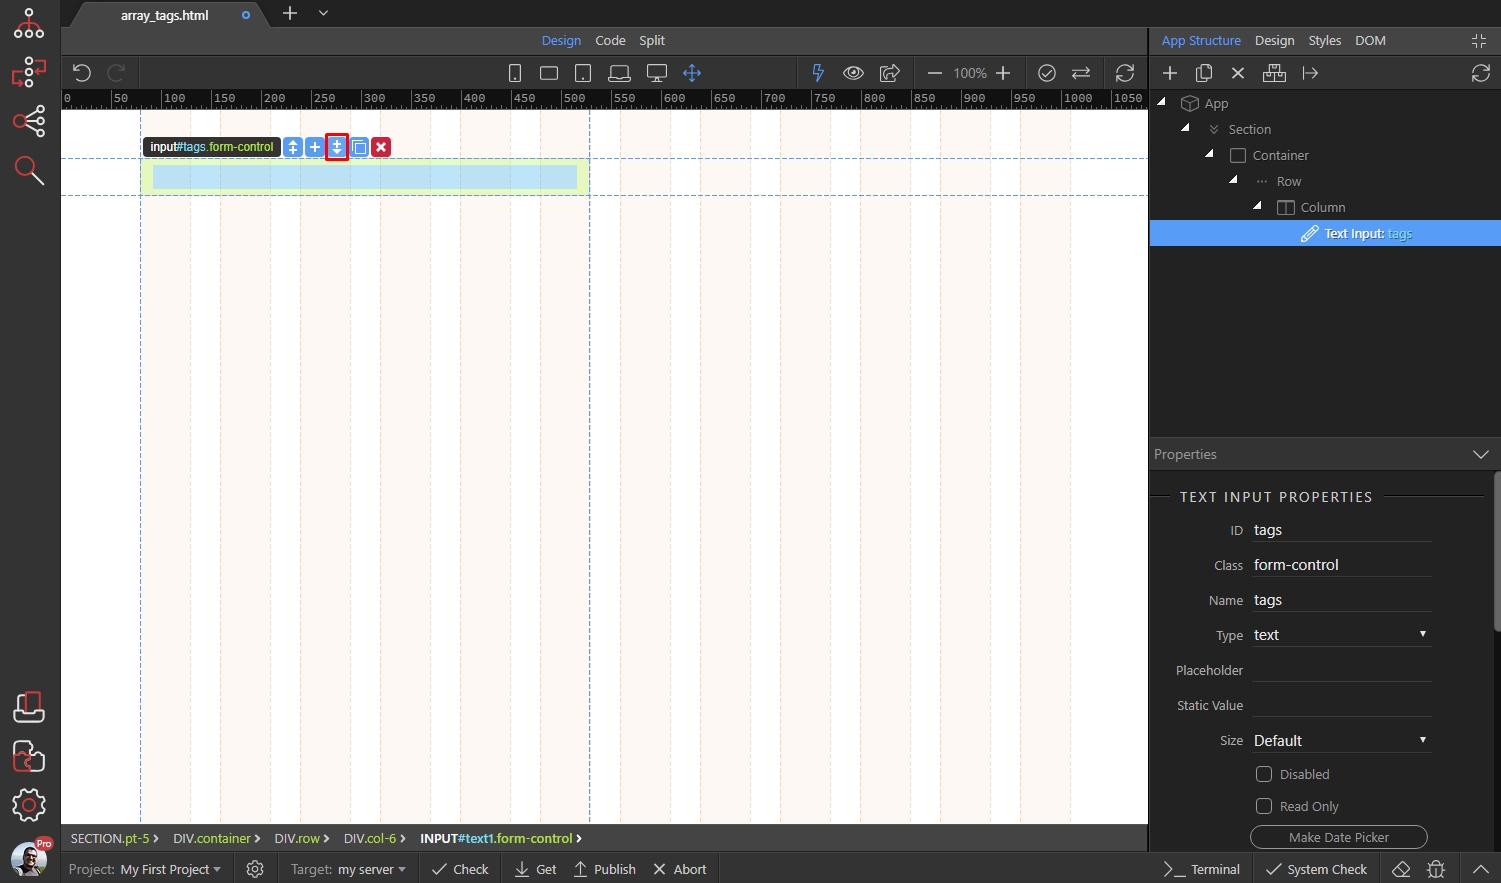
Step 5
Section titled “Step 5”We need to add a repeat region, after the input. It will show the tags as buttons. Open the Data menu and select Repeat Children:
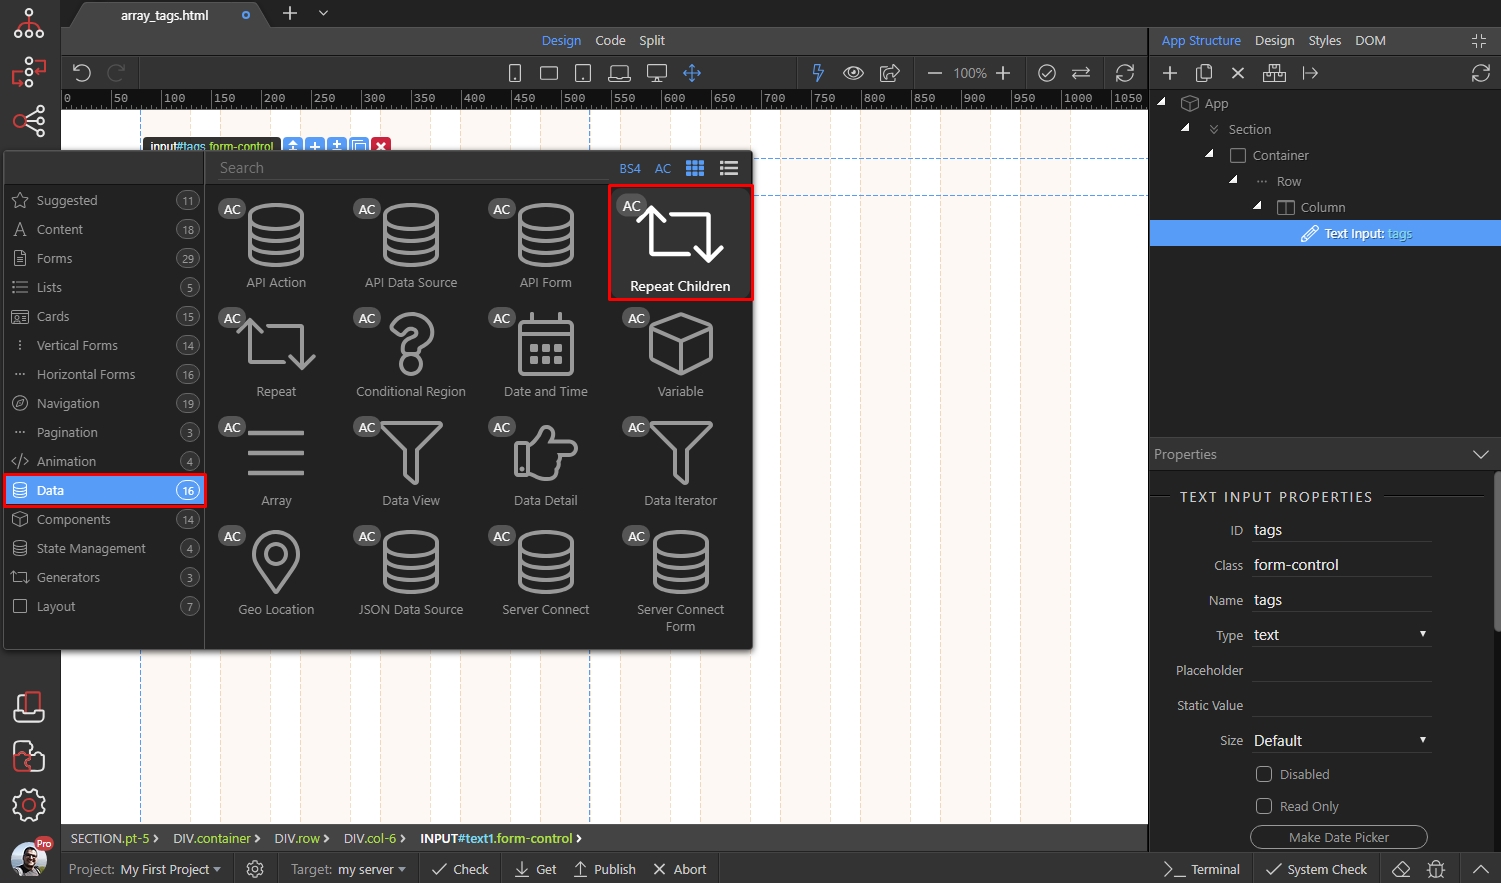
Then with the repeat children region selected, click the Add Inside button:
Section titled “Then with the repeat children region selected, click the Add Inside button:”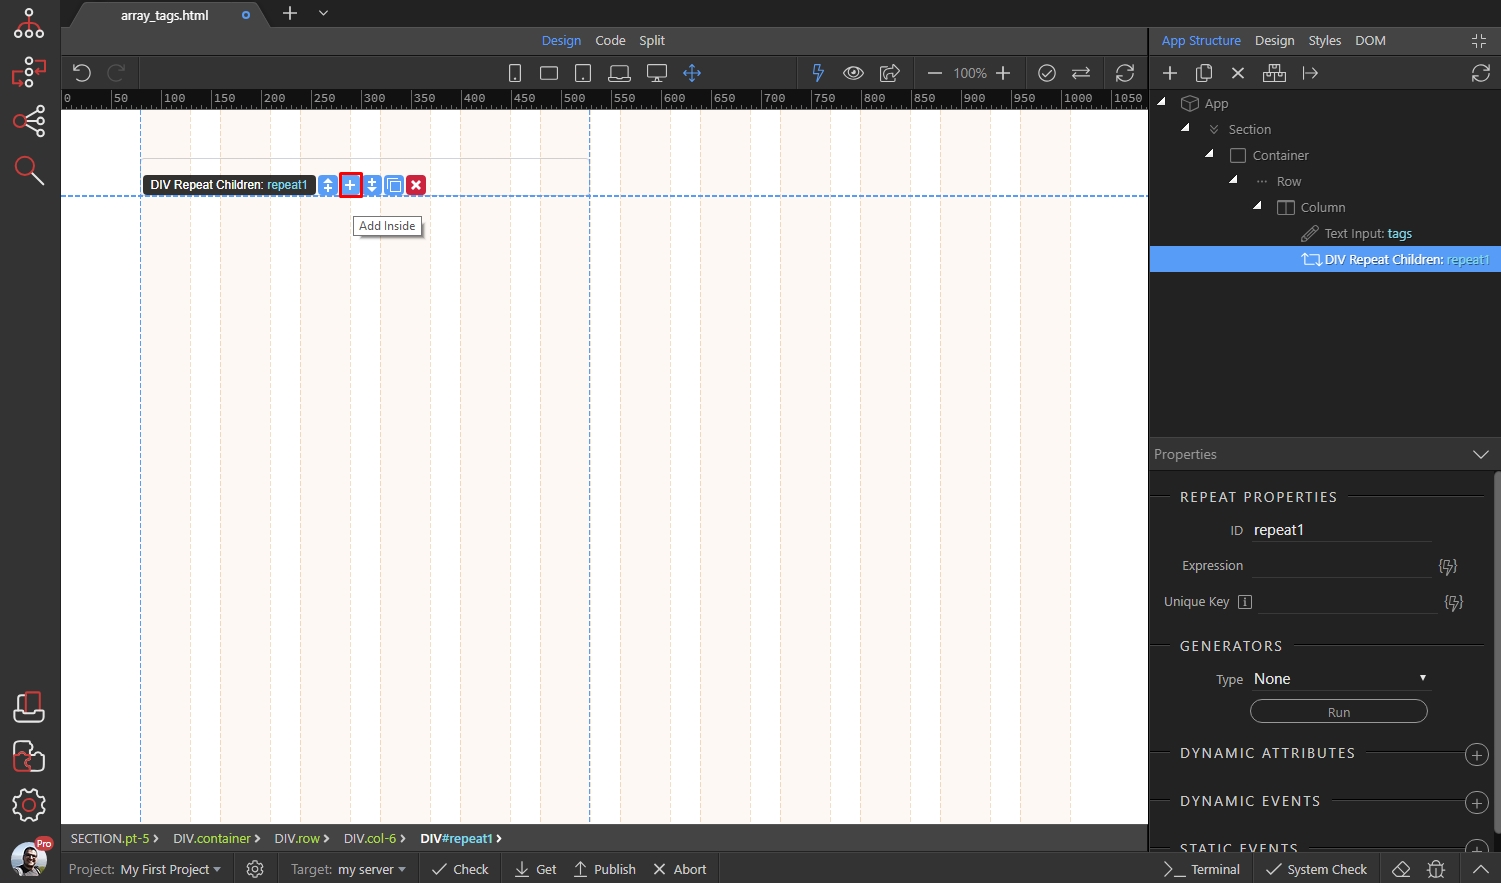
Open Forms and select Button:
Section titled “Open Forms and select Button:”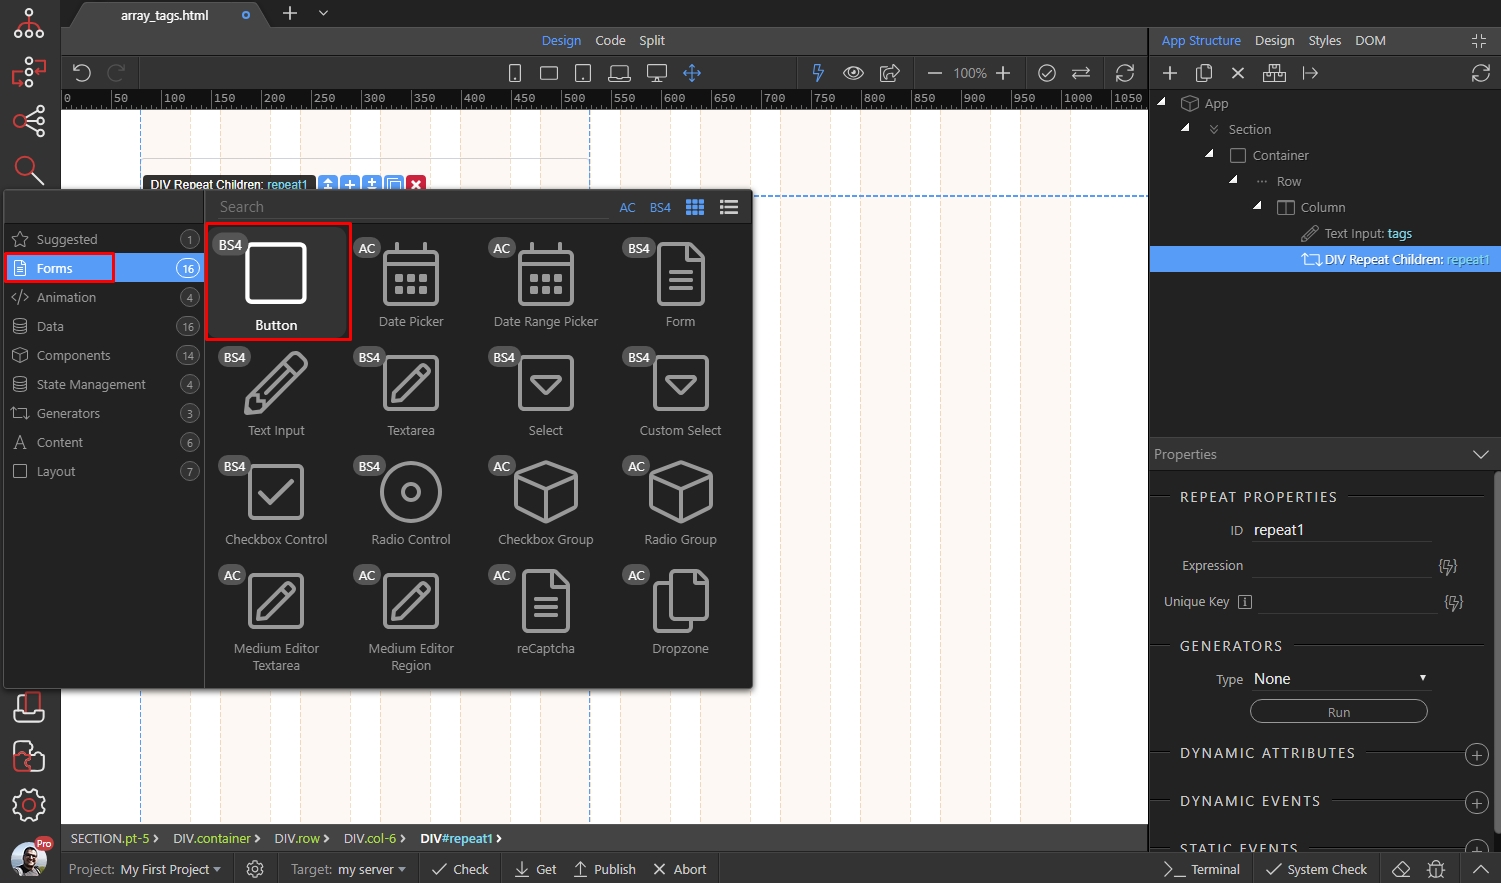
Setup the Button style:
Section titled “Setup the Button style:”
And its size - we select small:
Section titled “And its size - we select small:”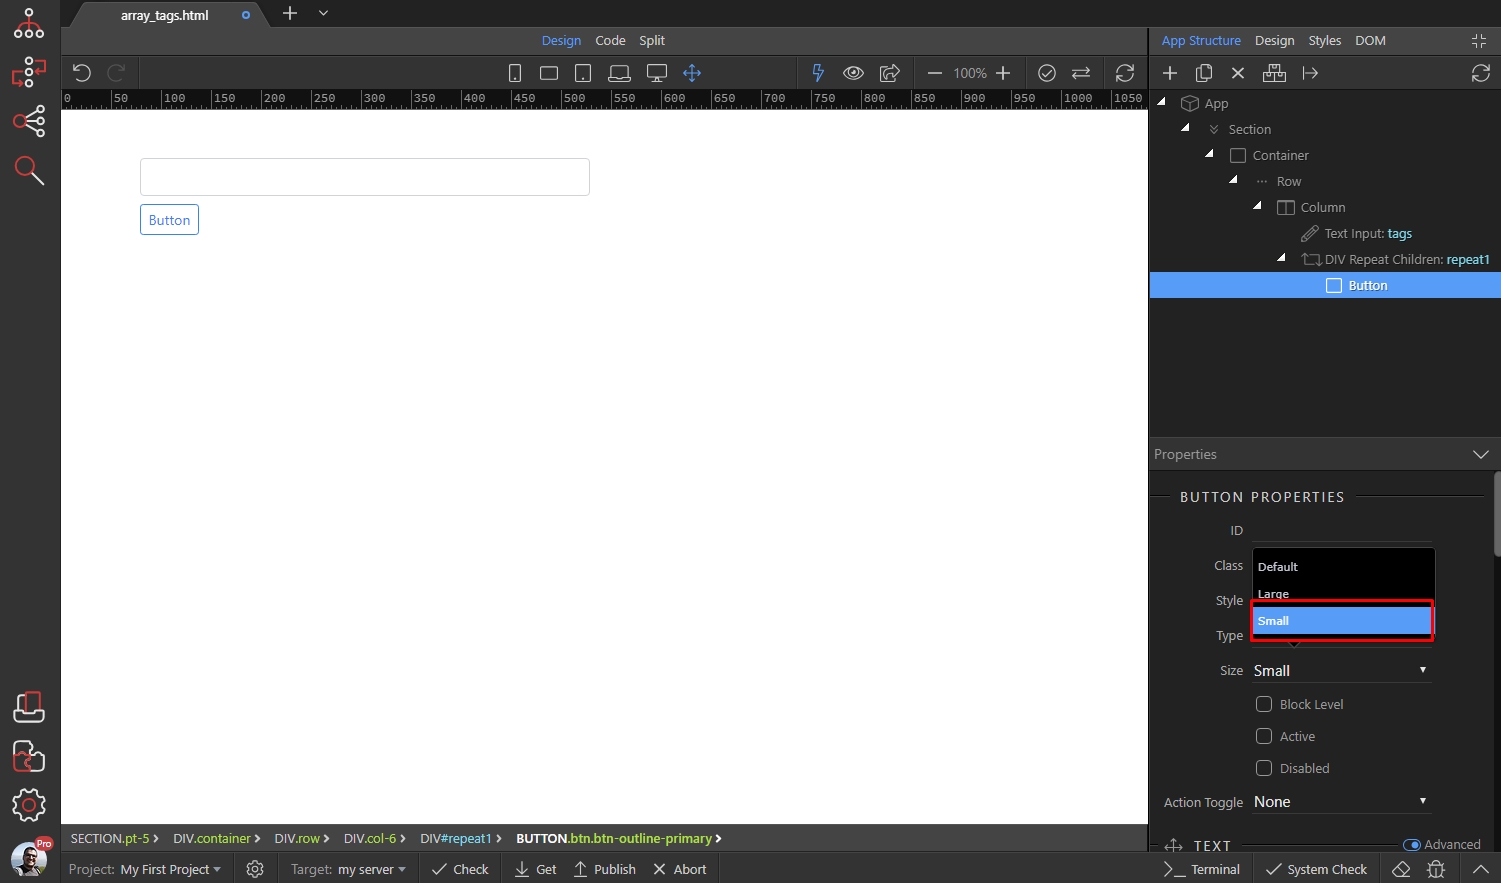
Step 10
Section titled “Step 10”We have the tags repeat region and the button set up, now let’s add the Array Component and add the functionality to the input.
Adding Array Component
Section titled “Adding Array Component”Select App in the App Structure and add a new component:
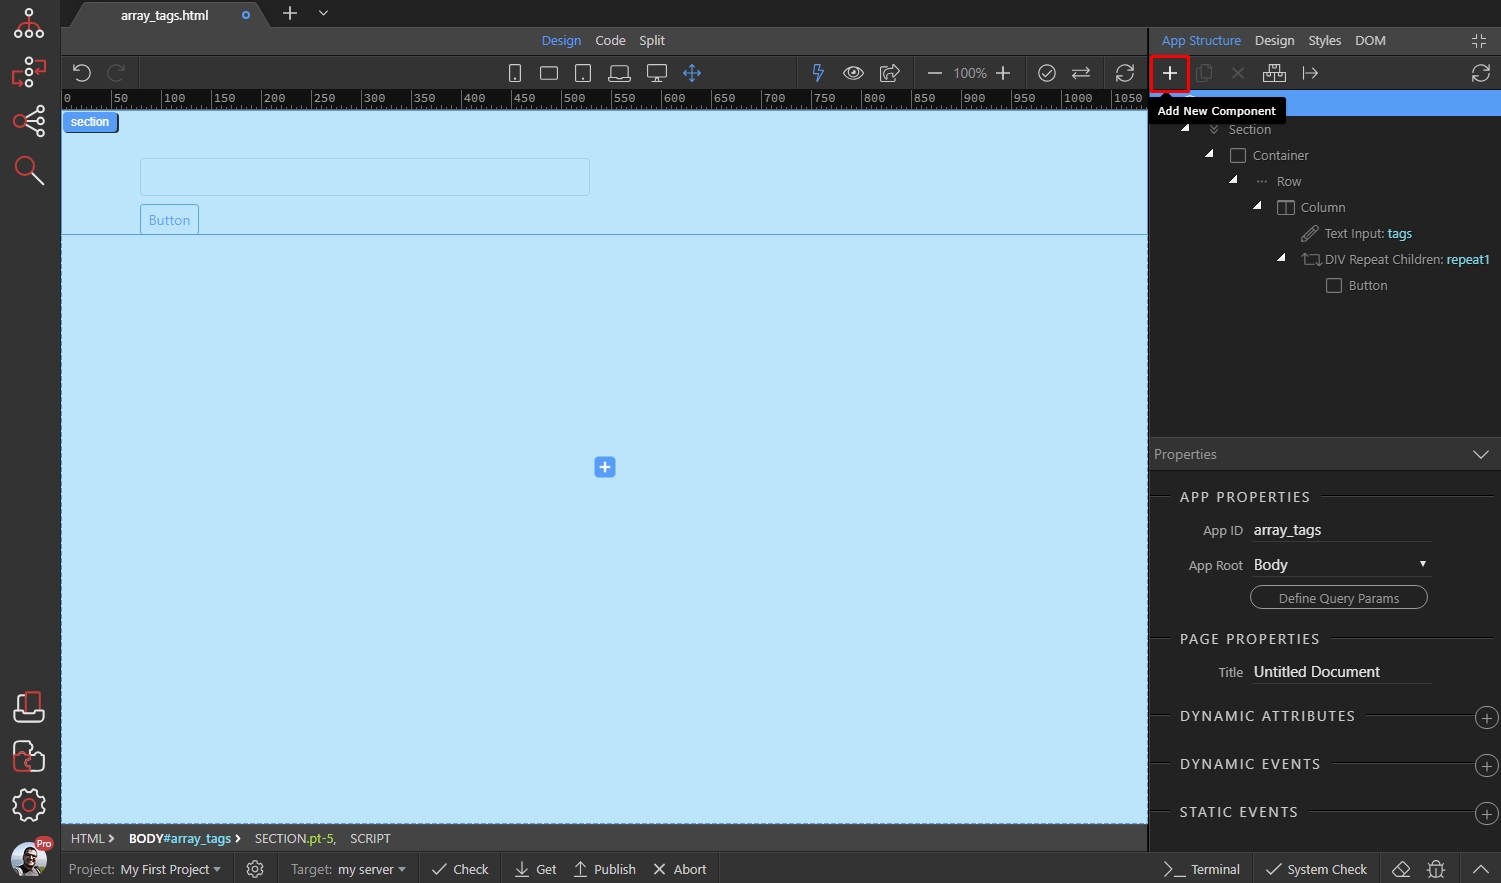
Open the Data menu and select Array:
Section titled “Open the Data menu and select Array:”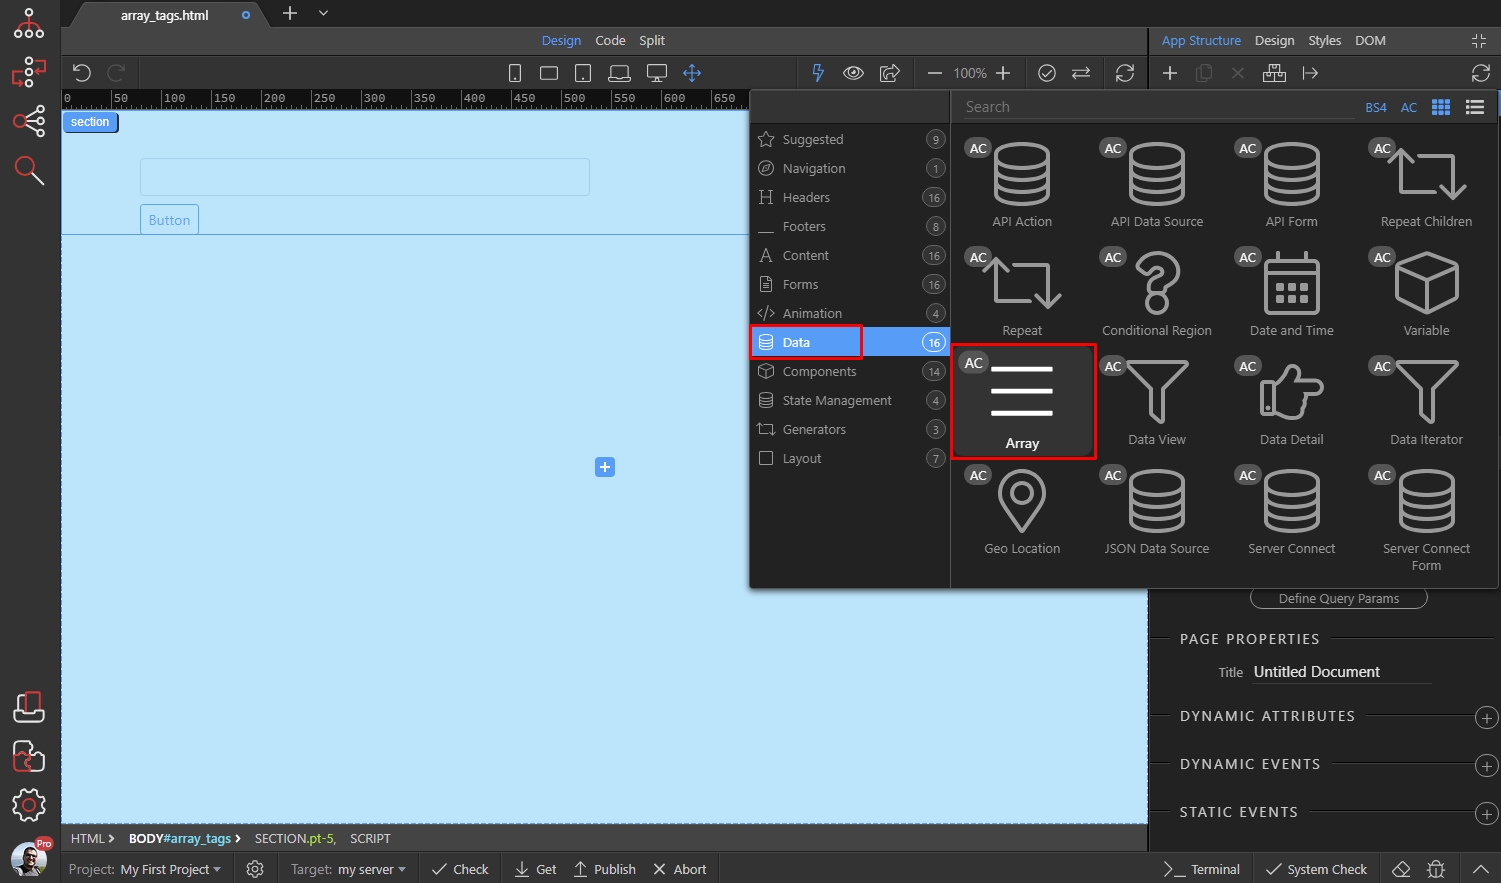
You can see the Array Component options in the properties panel:
Section titled “You can see the Array Component options in the properties panel:”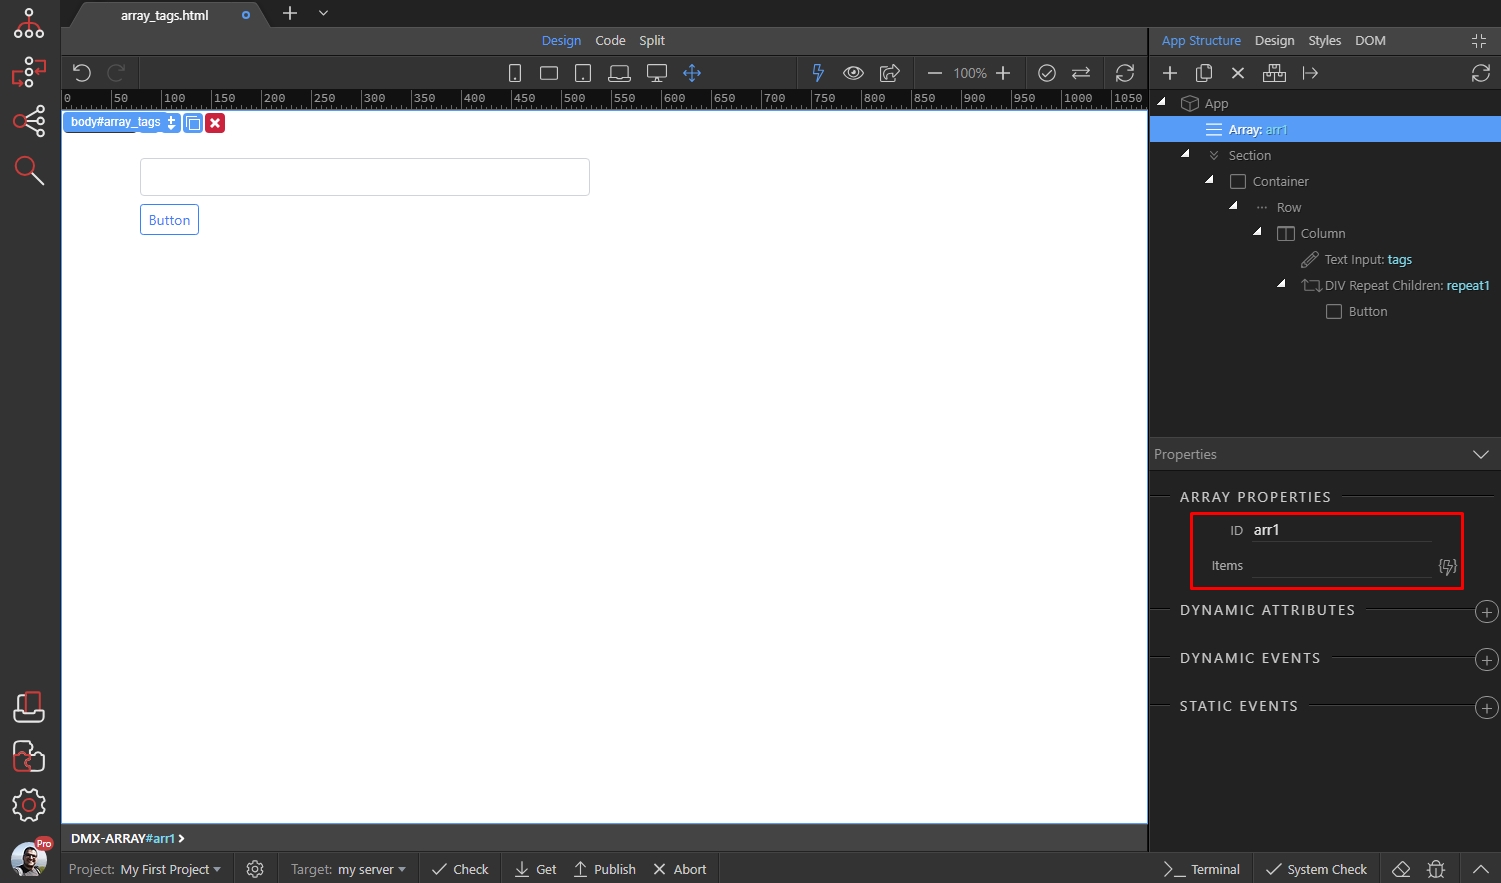
Now as we have the Array Component added on the page, we can setup the text input functionality.
Section titled “Now as we have the Array Component added on the page, we can setup the text input functionality.”Tags Input Setup
Section titled “Tags Input Setup”We want to add the tags in the tags array, when we hit the Enter button. First select the text input, then add new dynamic event:
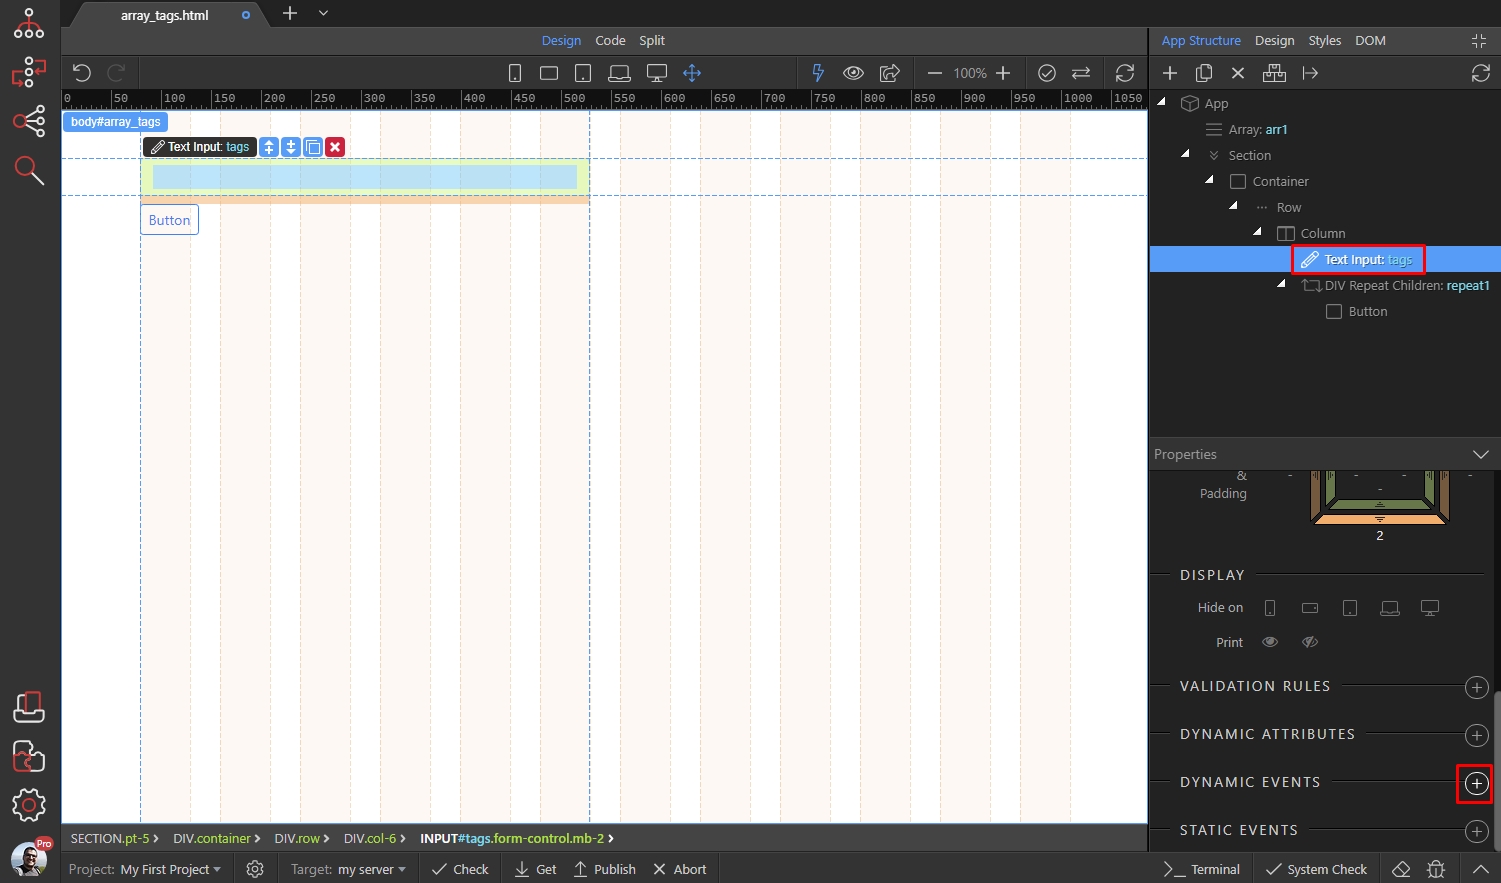
Open the Keyboard category and select Key Press:
Section titled “Open the Keyboard category and select Key Press:”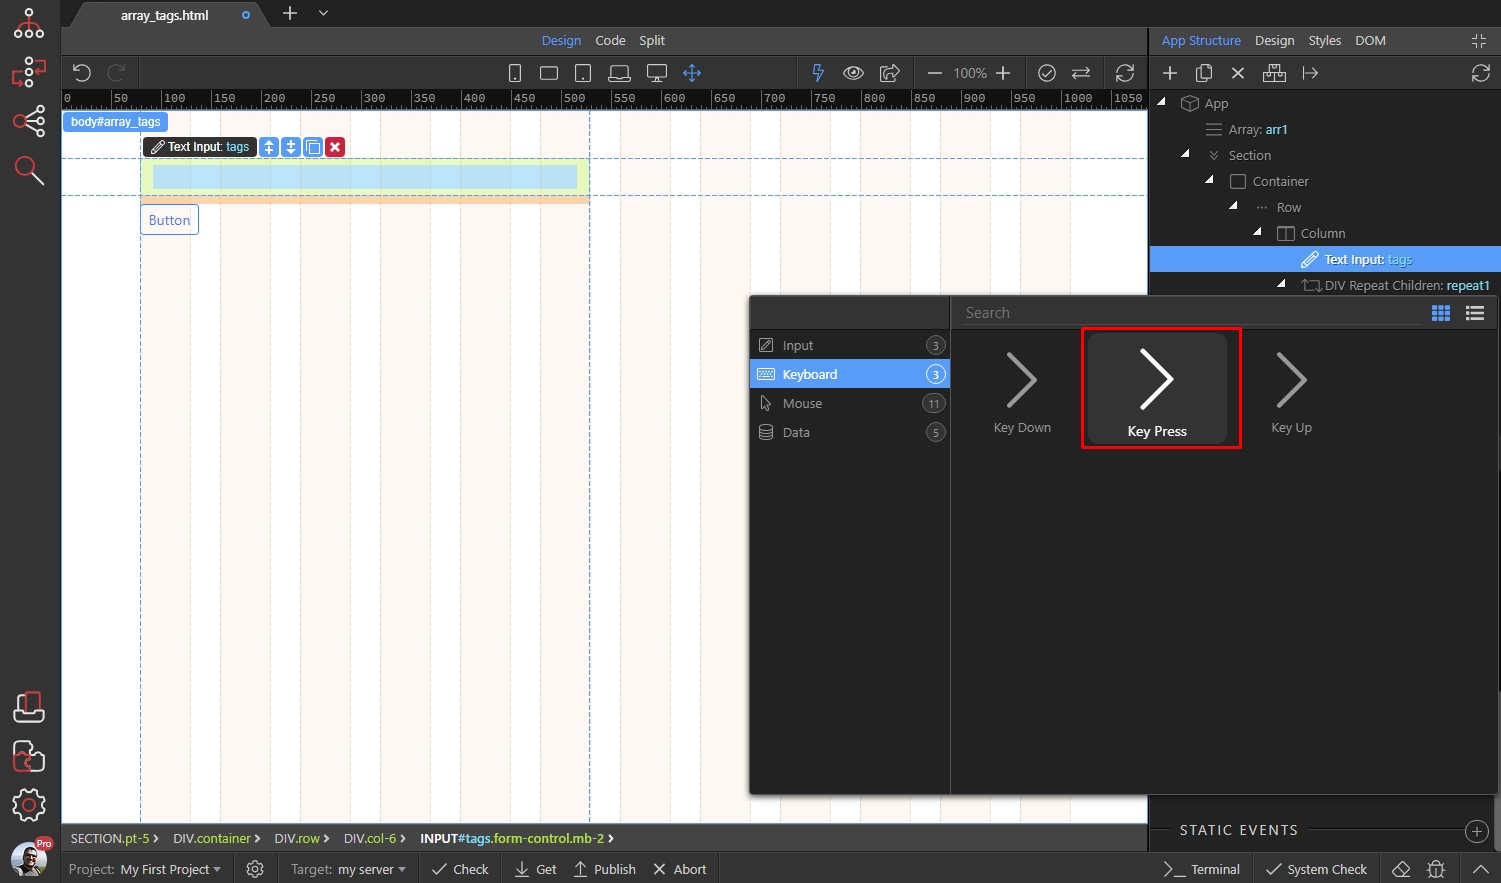
Click the dynamic event picker:
Section titled “Click the dynamic event picker:”
Step 18
Section titled “Step 18”You will see all the dynamic actions available for the Array Component. We select Add Unique Item action - this will add new items to the array, but only if they are unique. If the value already exists it won’t be added:
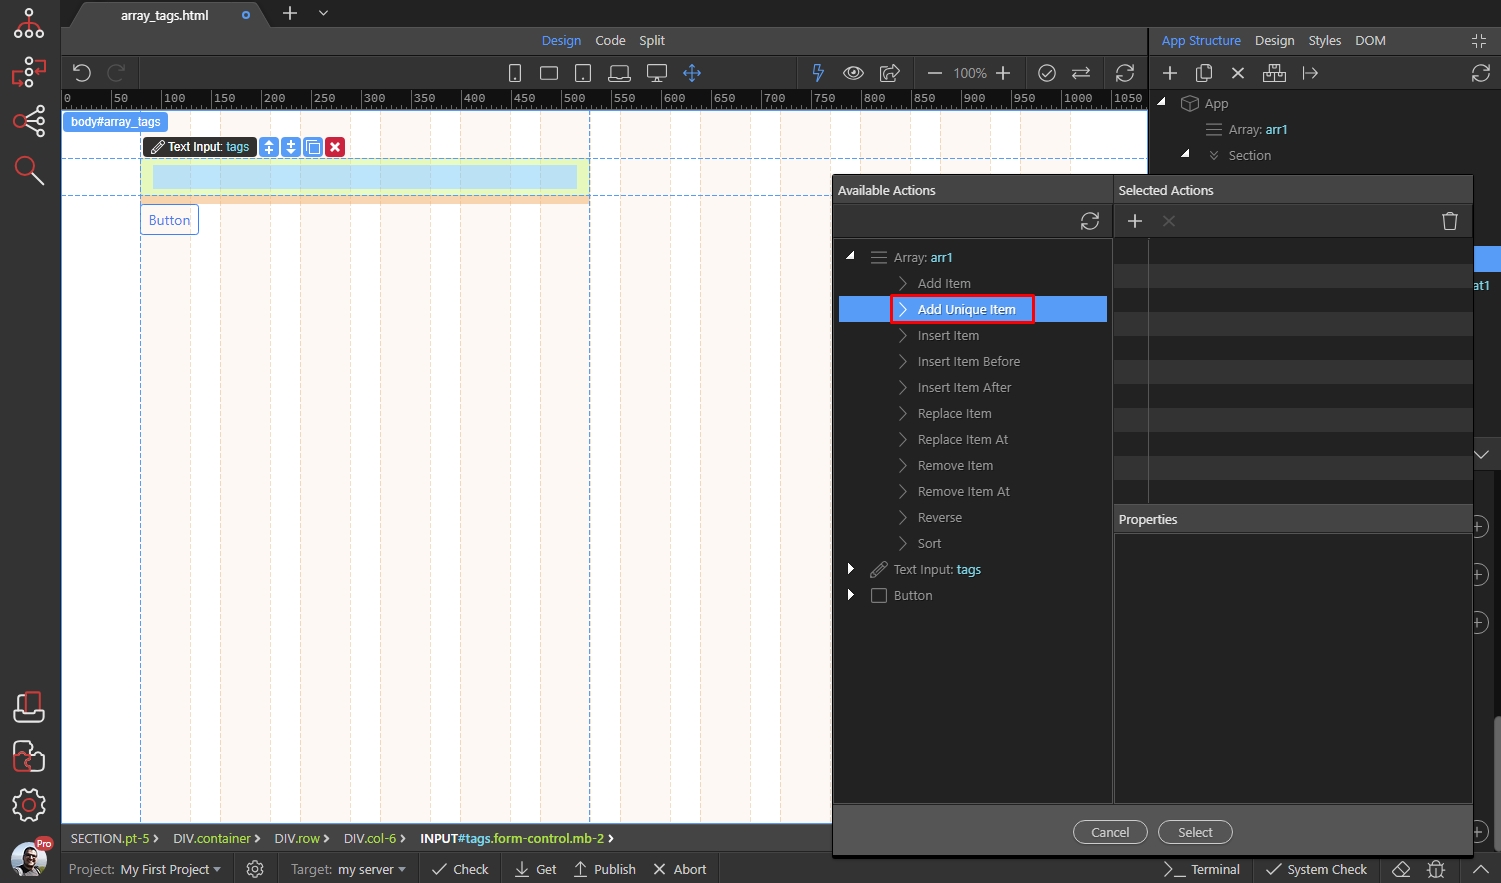
Click the dynamic data picker to select what value to add to the array:
Section titled “Click the dynamic data picker to select what value to add to the array:”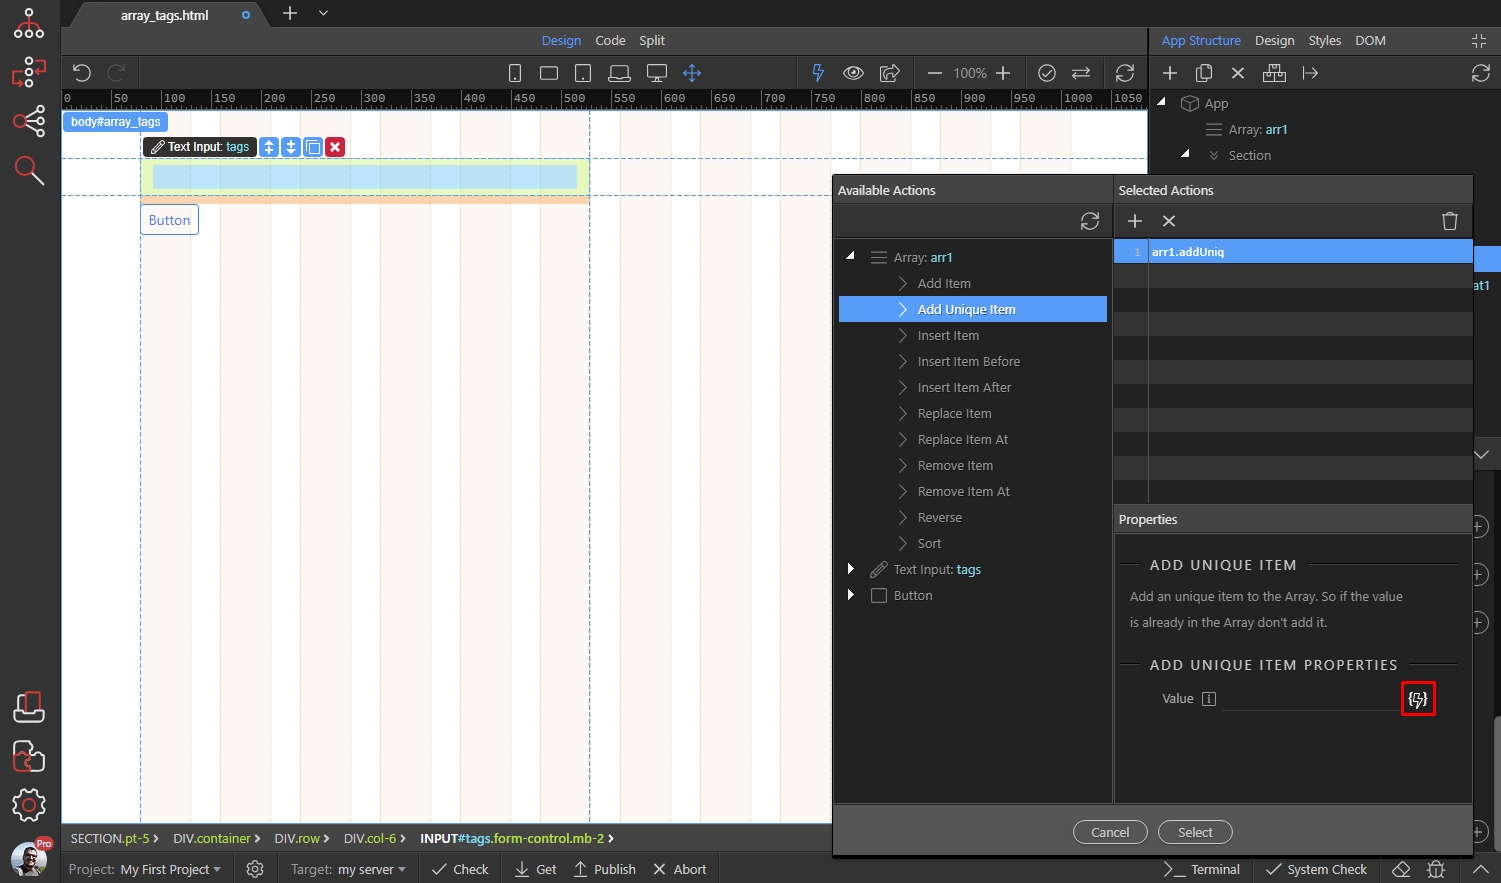
This should be the value of the text input:
Section titled “This should be the value of the text input:”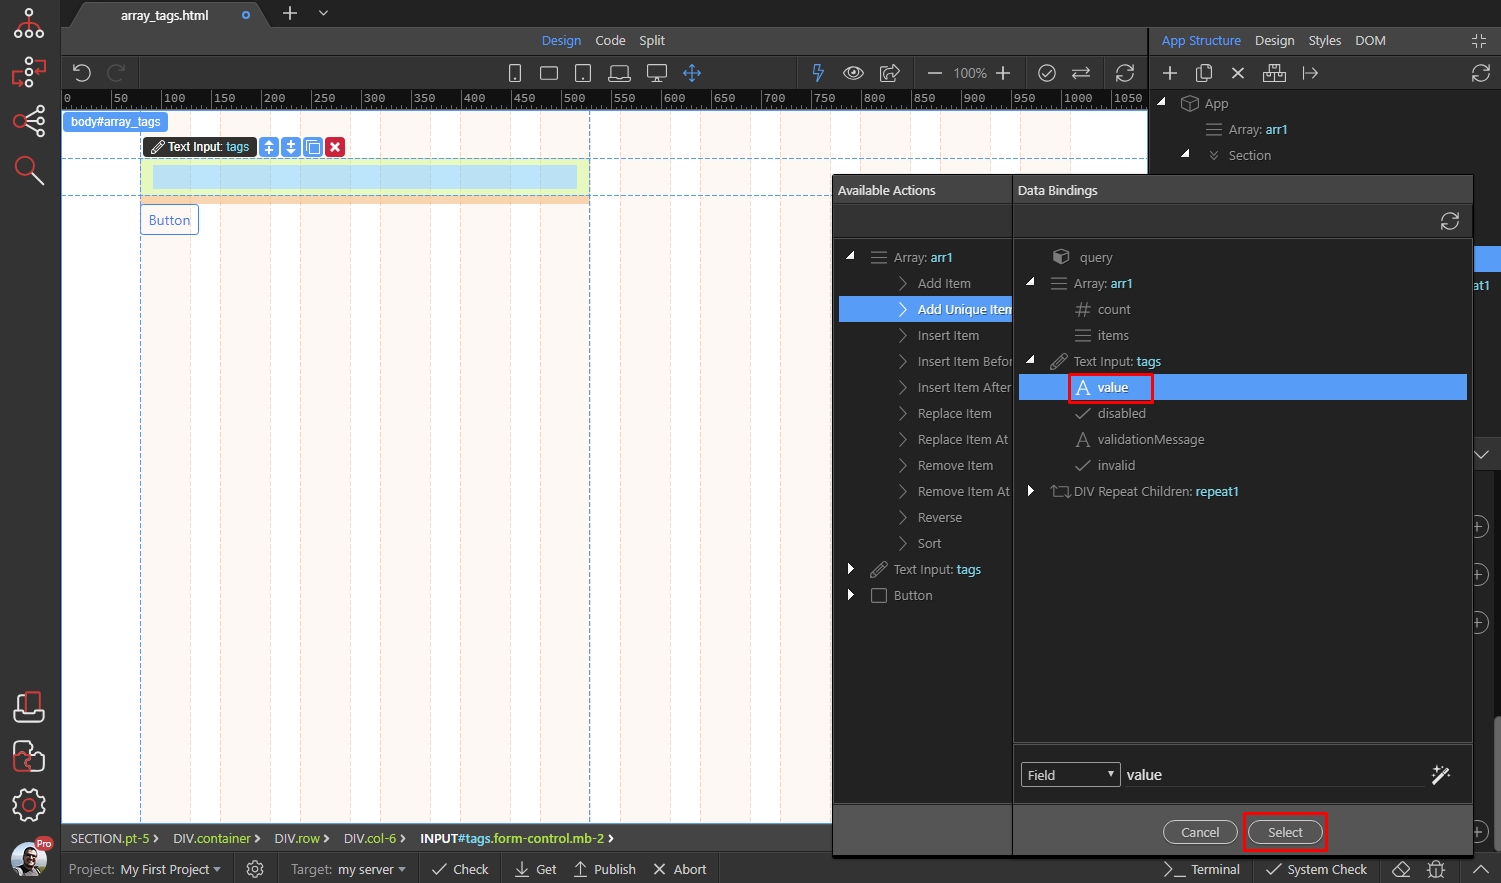
Step 21
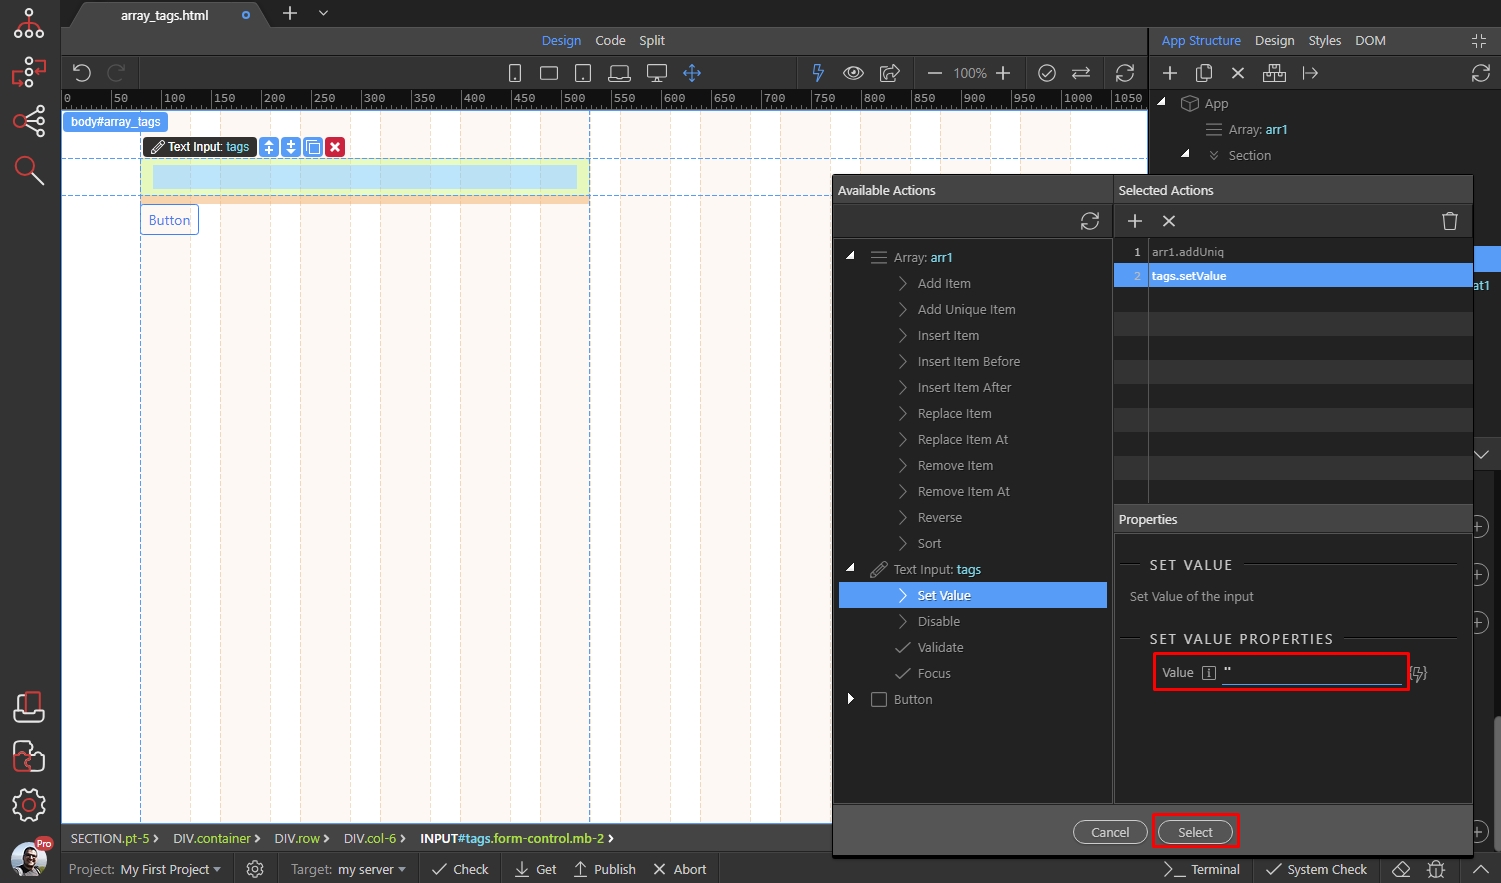
Section titled “Step 21”We also need to clear the text input value, once the tag is added to the array. So we select Set Value action under the text input:
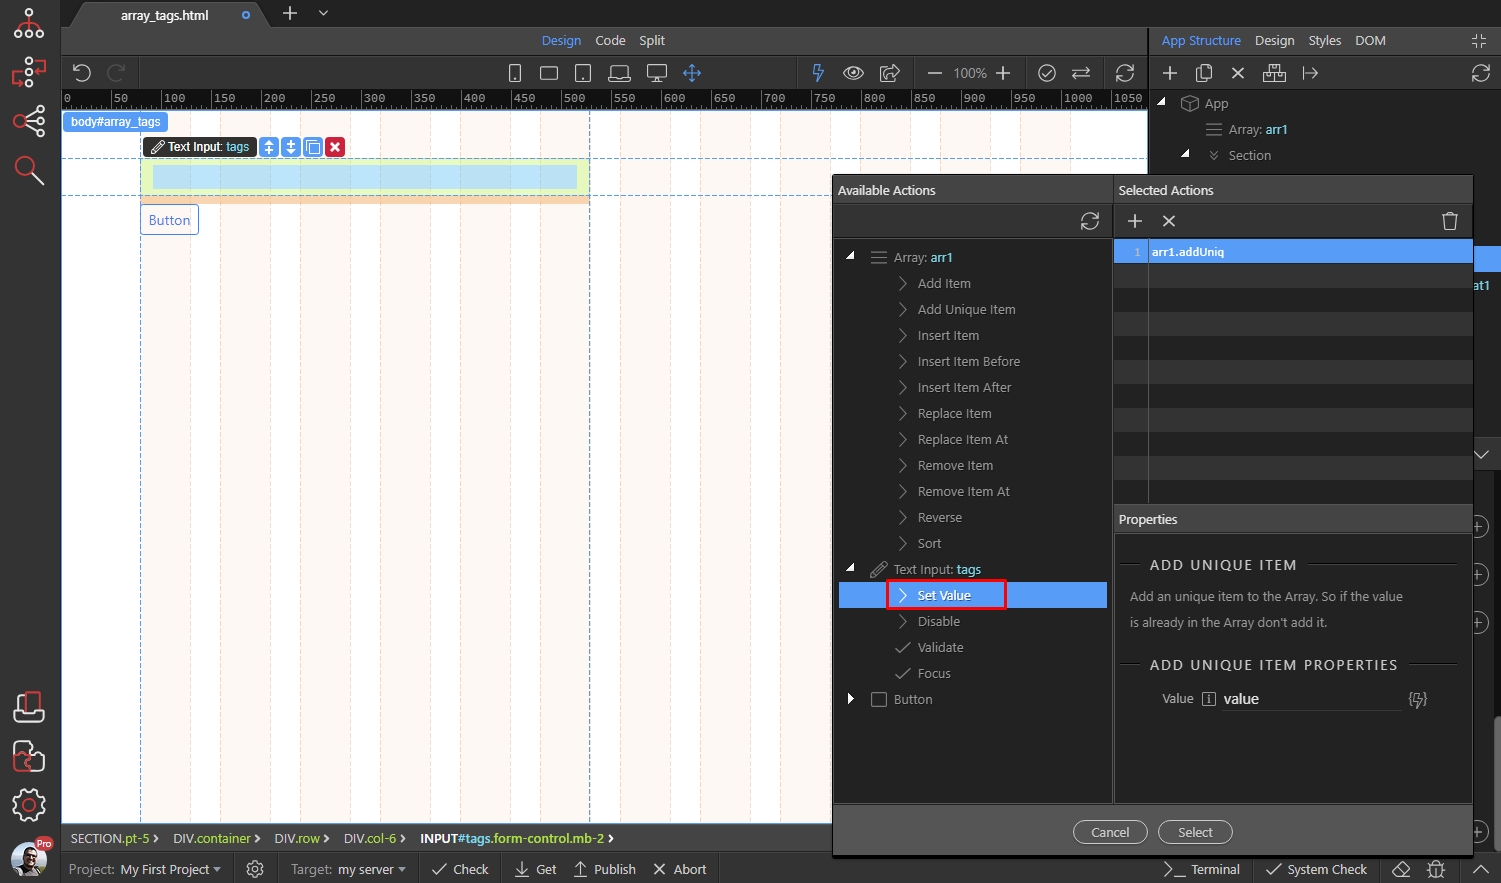
Step 22
Section titled “Step 22”And enter ''(two single quotes) as a value. This will clear the value of the text input, so you can add more tags. Click the select button:
Step 23
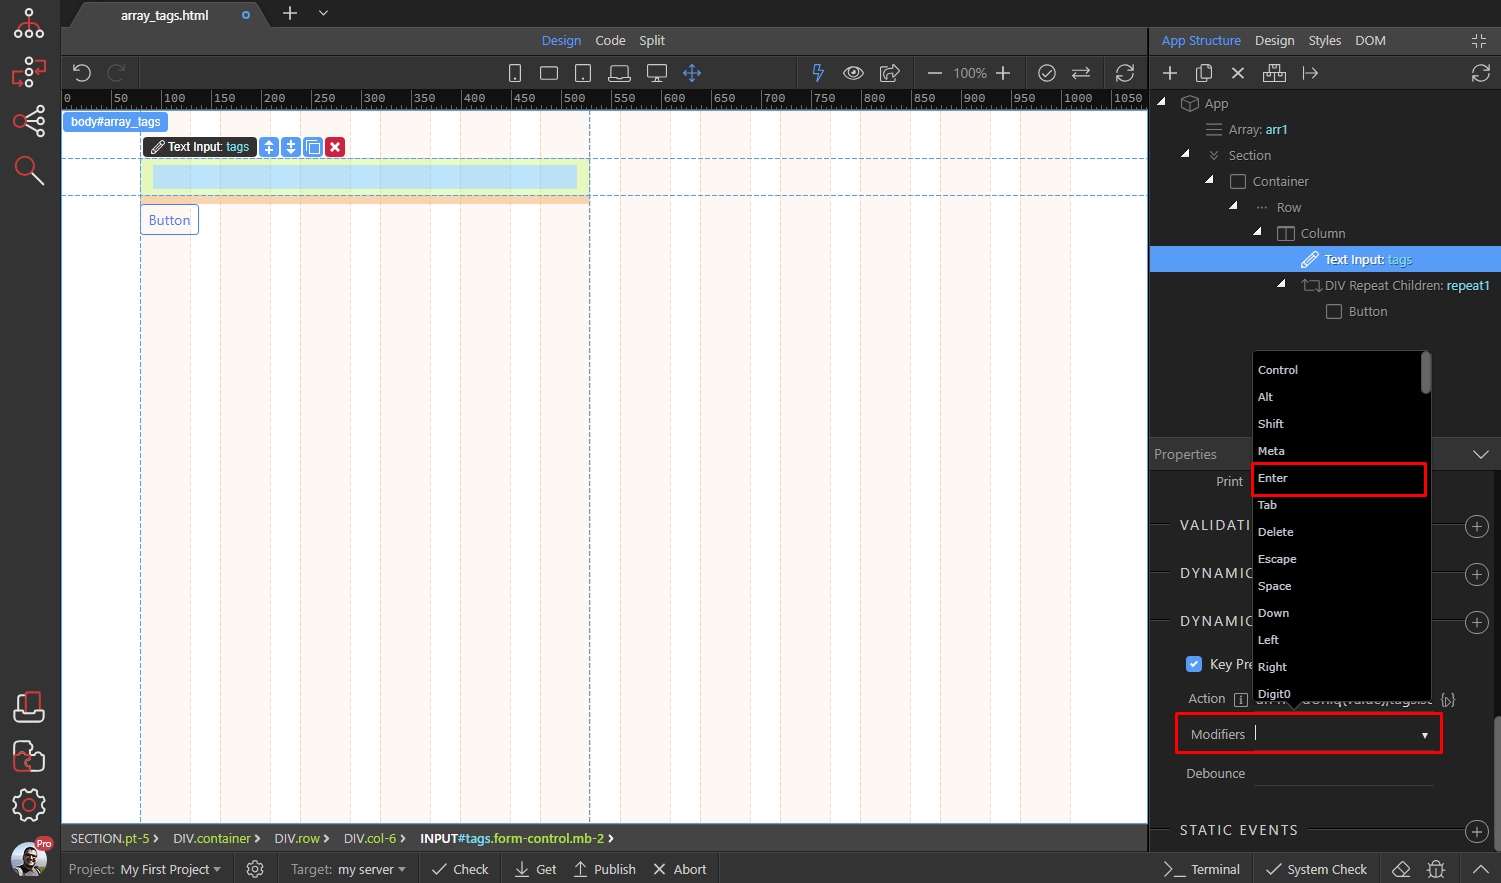
Section titled “Step 23”We only want to add the tag and clear the text input value, when the Enter button is pressed. Open the Modifiers dropdown and select Enter:
We are done setting up the input, now let’s bind the array values to the page.
Section titled “We are done setting up the input, now let’s bind the array values to the page.”Displaying Array Values on the Page
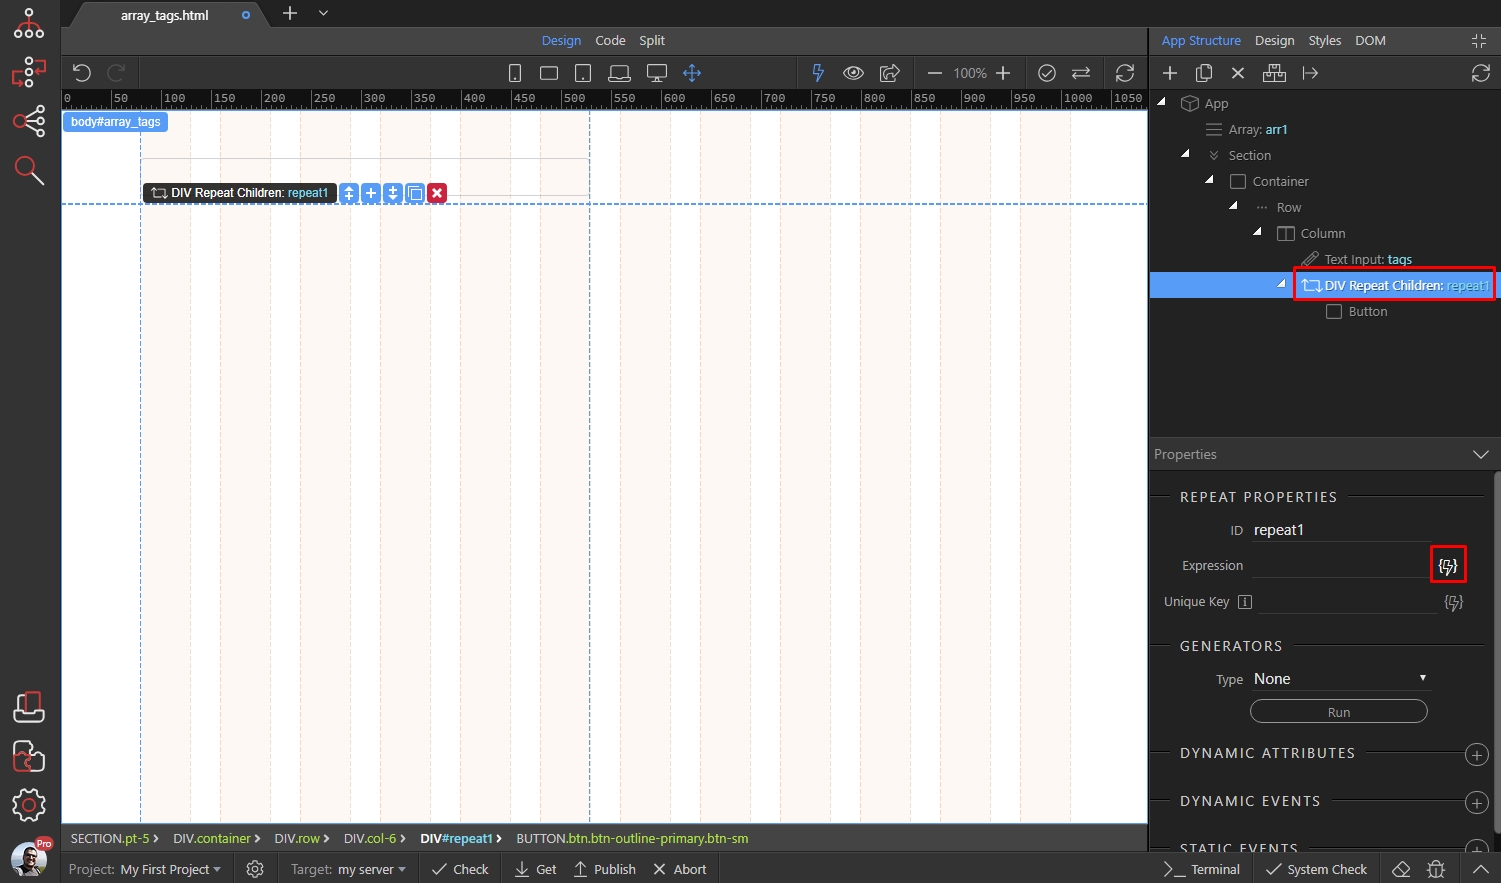
Section titled “Displaying Array Values on the Page”Select the repeat children region, wrapping your tag button and select the dynamic data picker for the expression:
Step 26
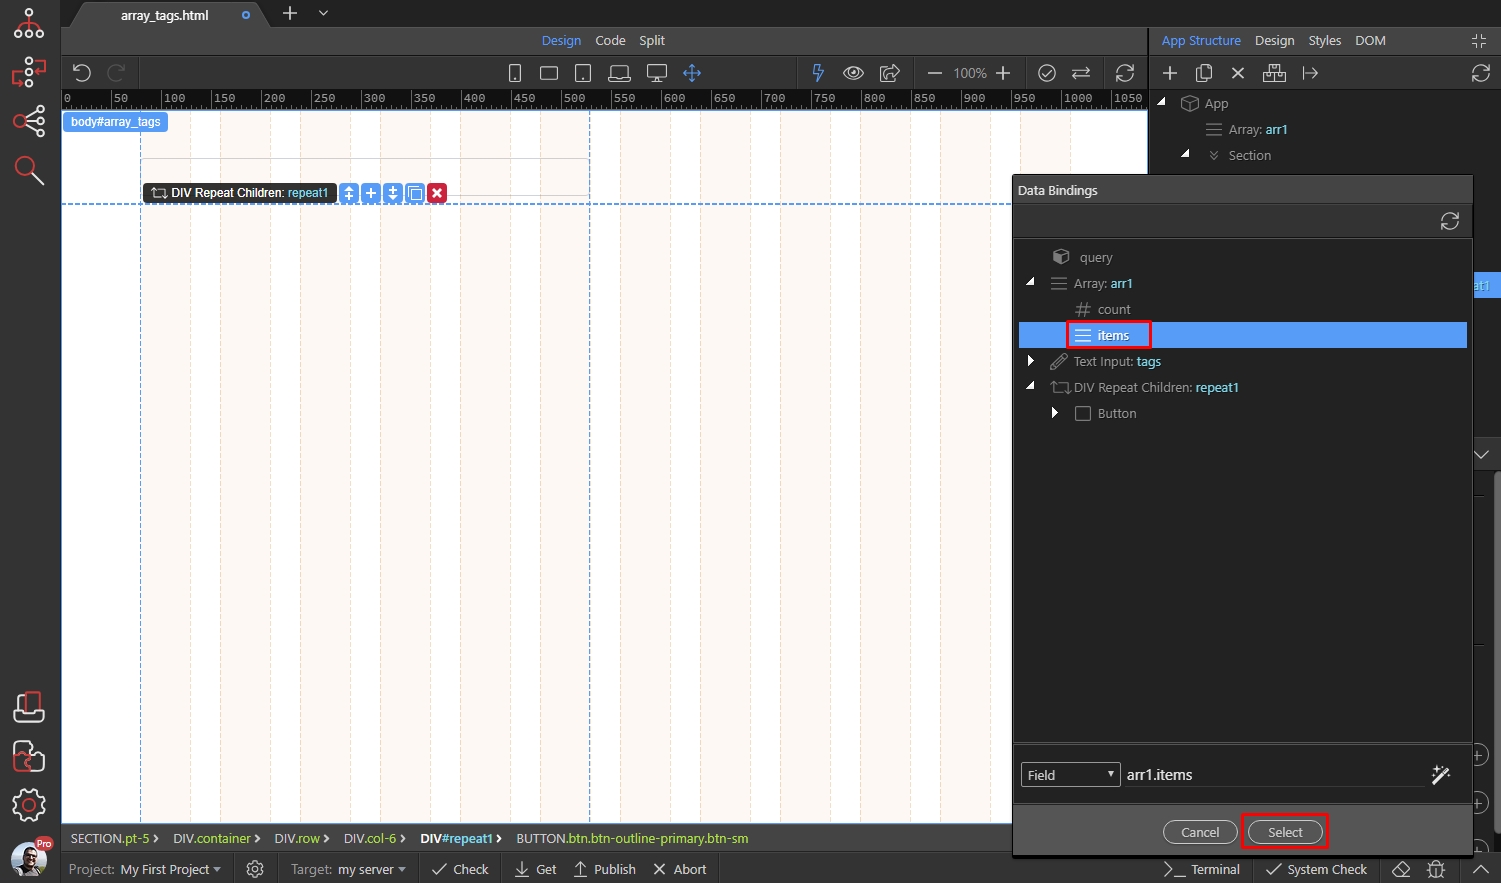
Section titled “Step 26”Select Items under the Array component. This will repeat the button as many times as the items in the array are:
Step 27
Section titled “Step 27”Let’s bind the array values to the button so you can see the entered tags.
Select the button inside the repeat and add new Dynamic Attribute:
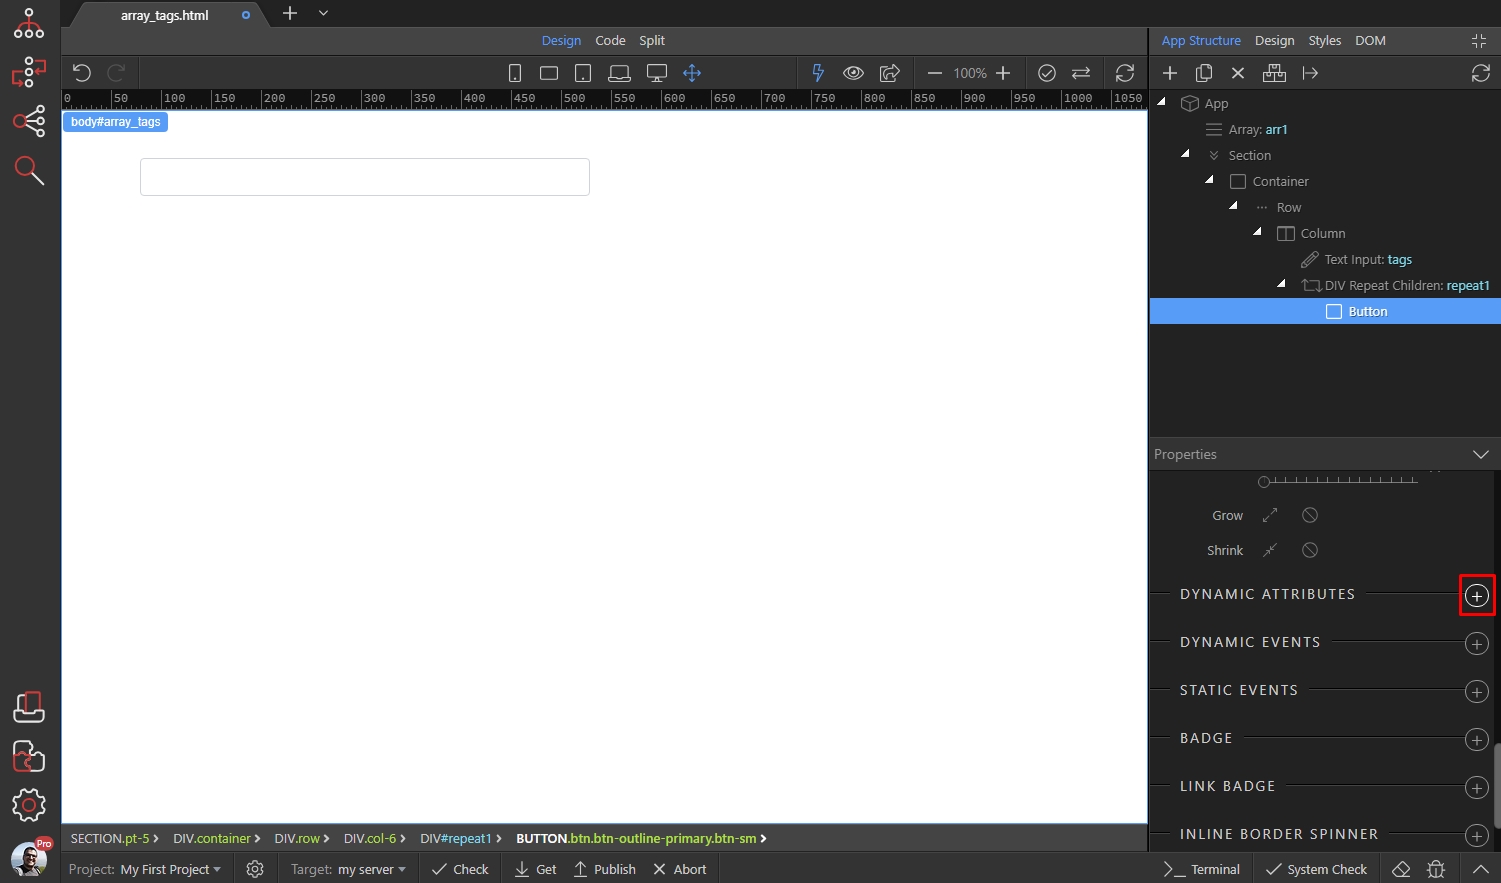
Open the Display category and add Inner Text:
Section titled “Open the Display category and add Inner Text:”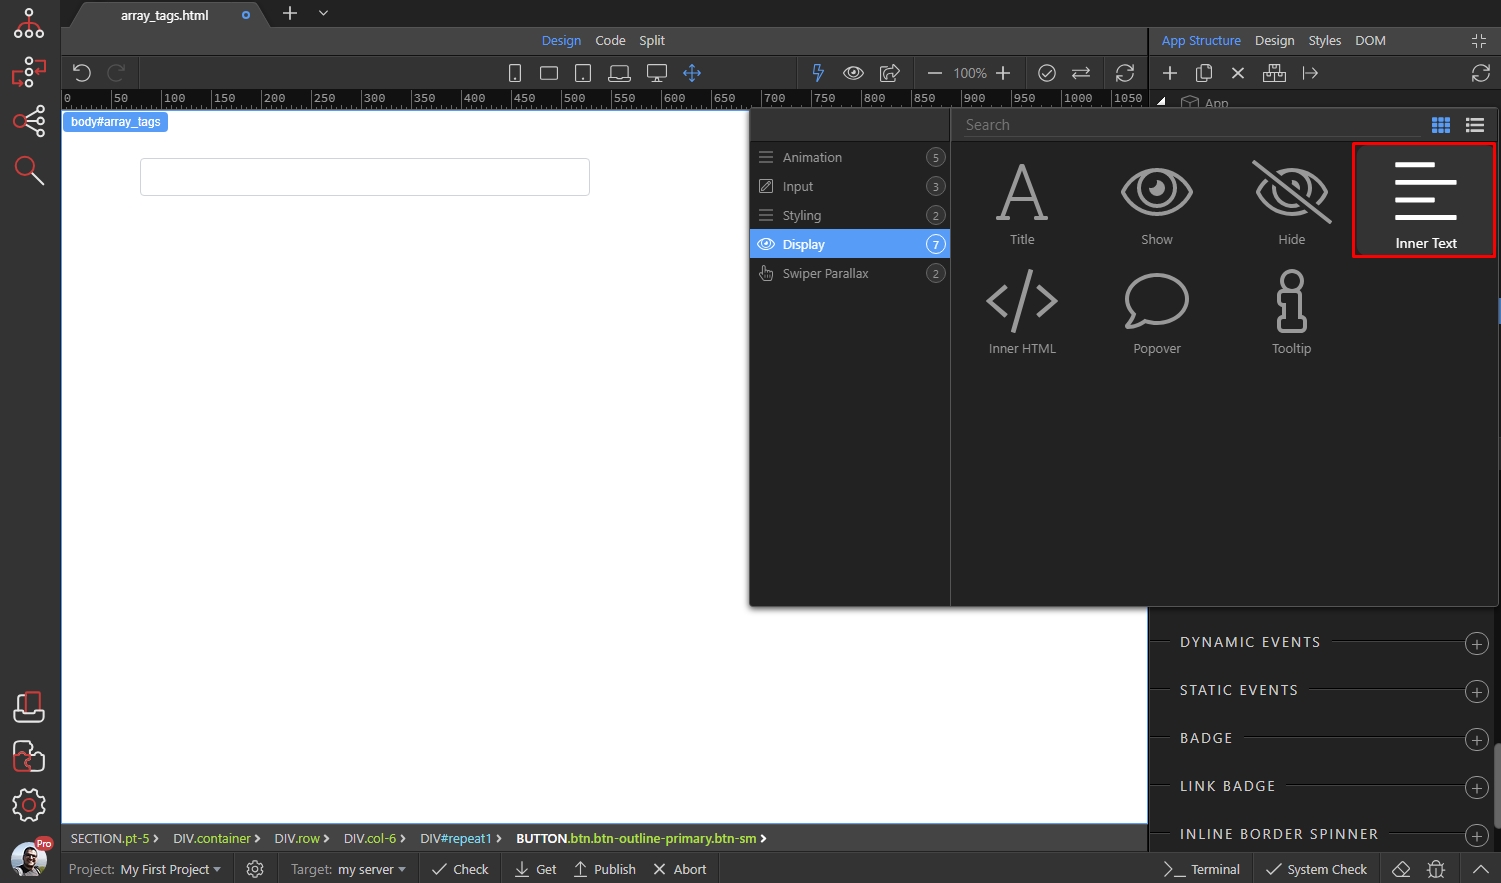
Then click the Dynamic Data picker for the inner text:
Section titled “Then click the Dynamic Data picker for the inner text:”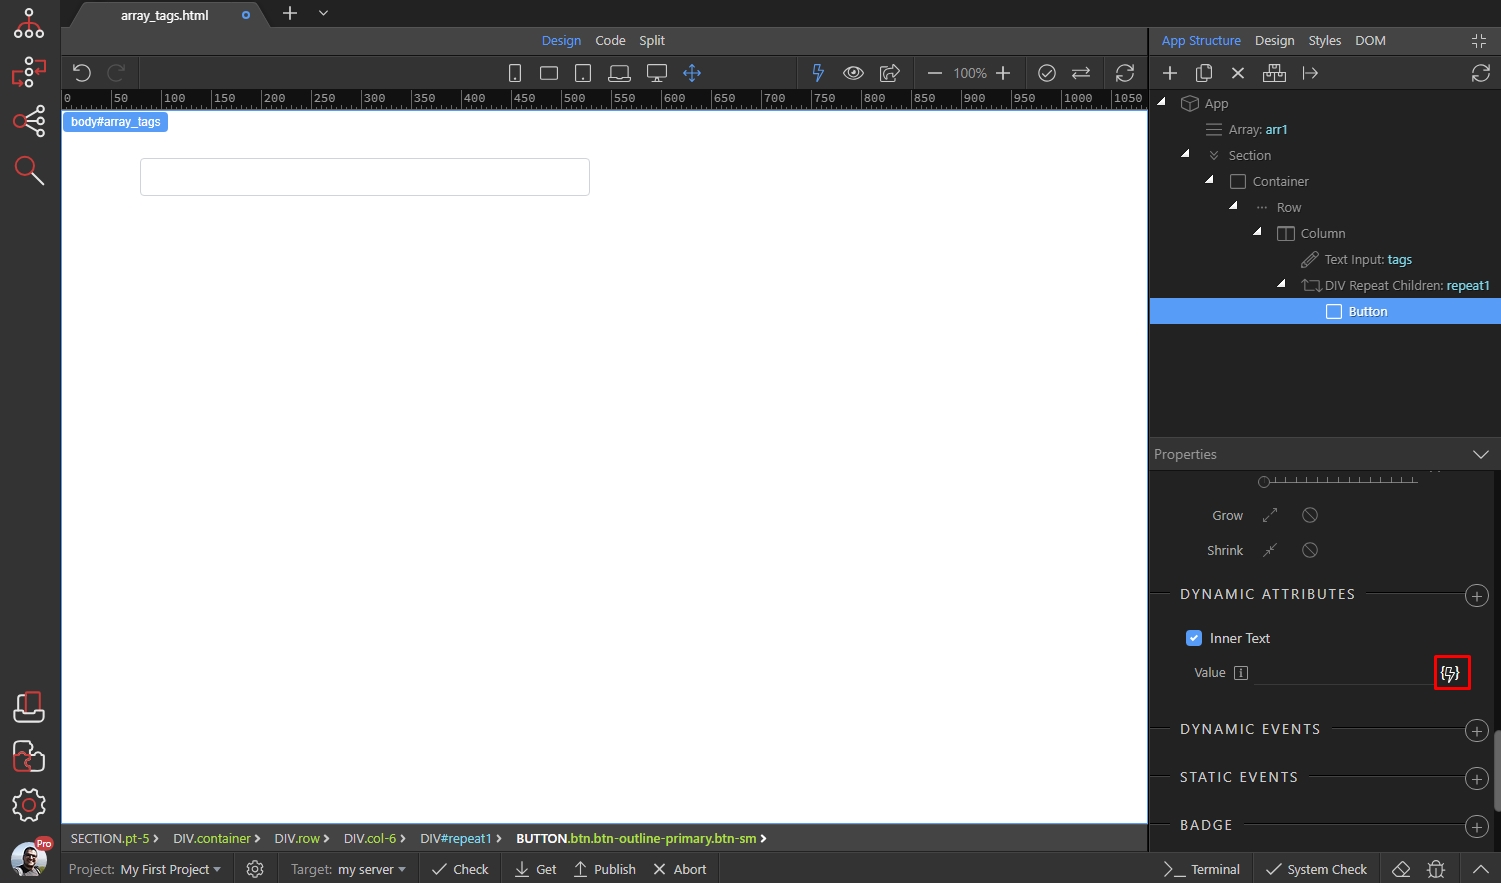
And select $value under the Repeat Children:
Section titled “And select $value under the Repeat Children:”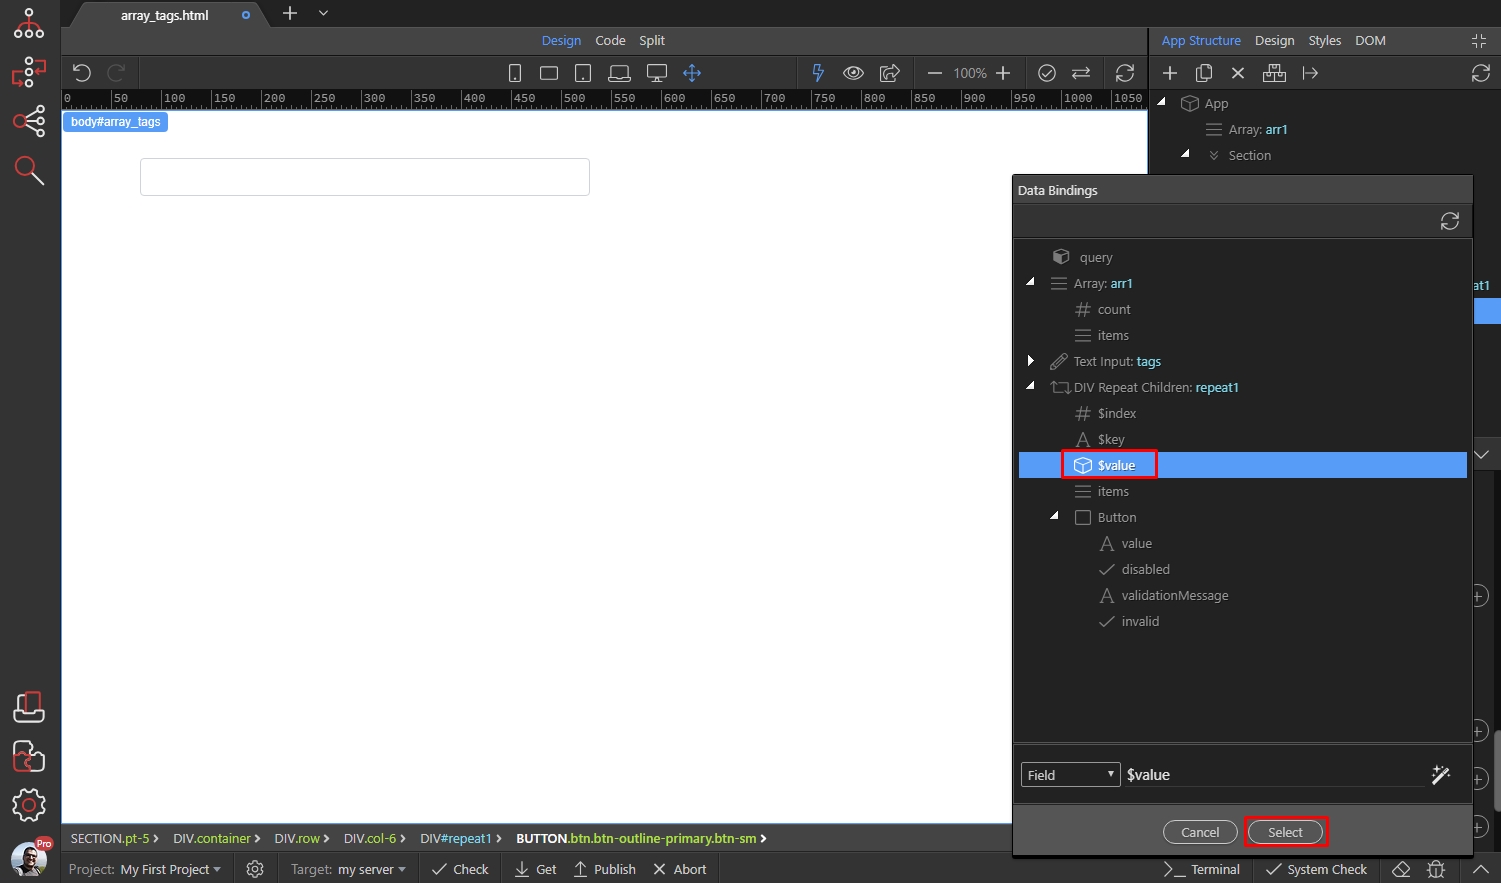
Removing Array Items
Section titled “Removing Array Items”We will setup out buttons to remove the tags from the array when clicked. Select the button and add new Dynamic Event:
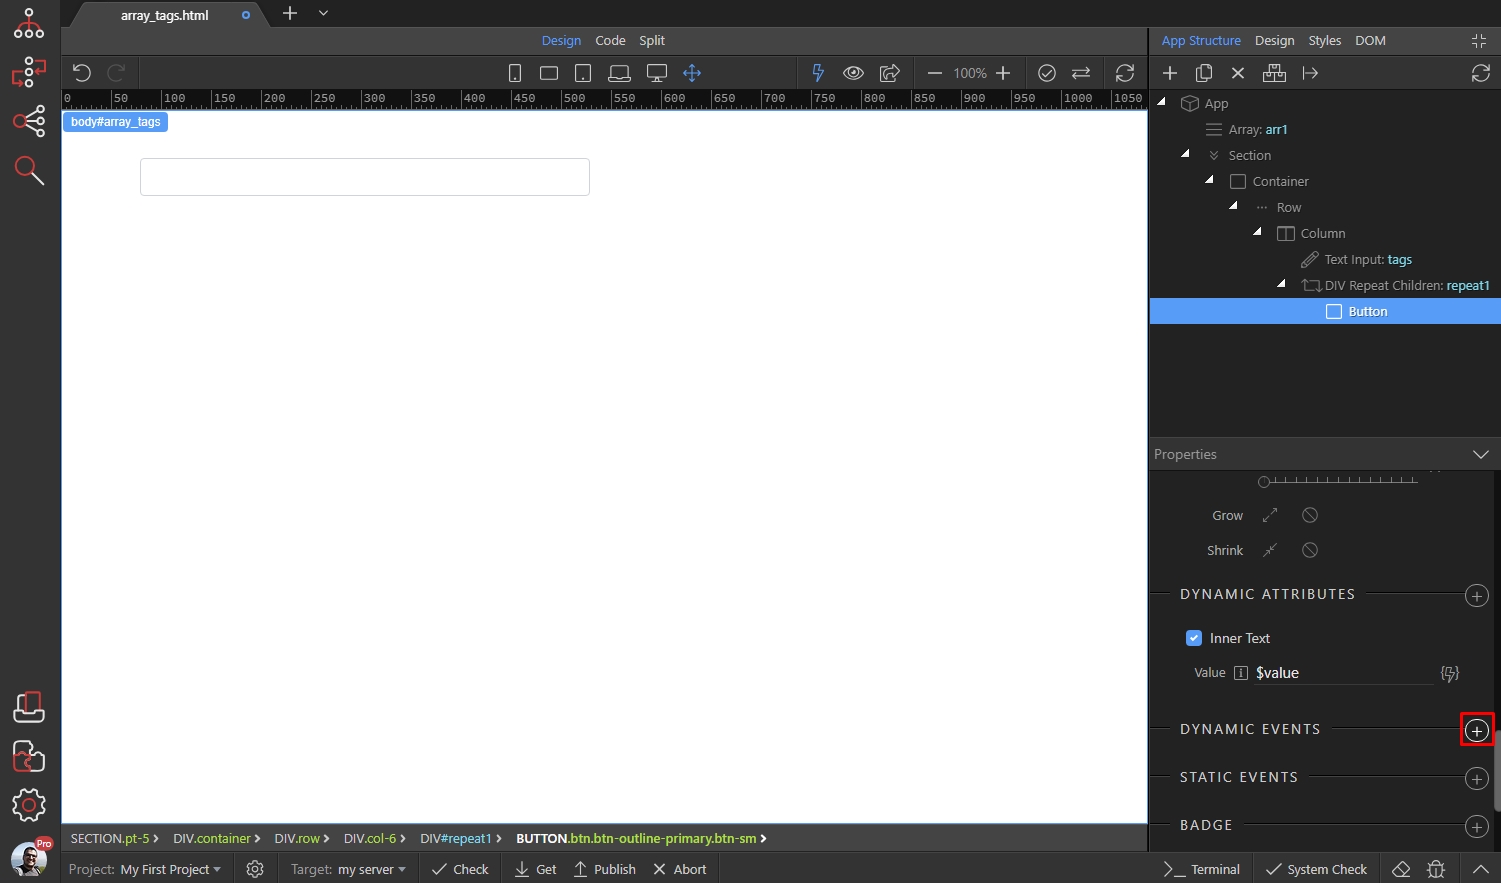
Select Mouse On Click:
Section titled “Select Mouse On Click:”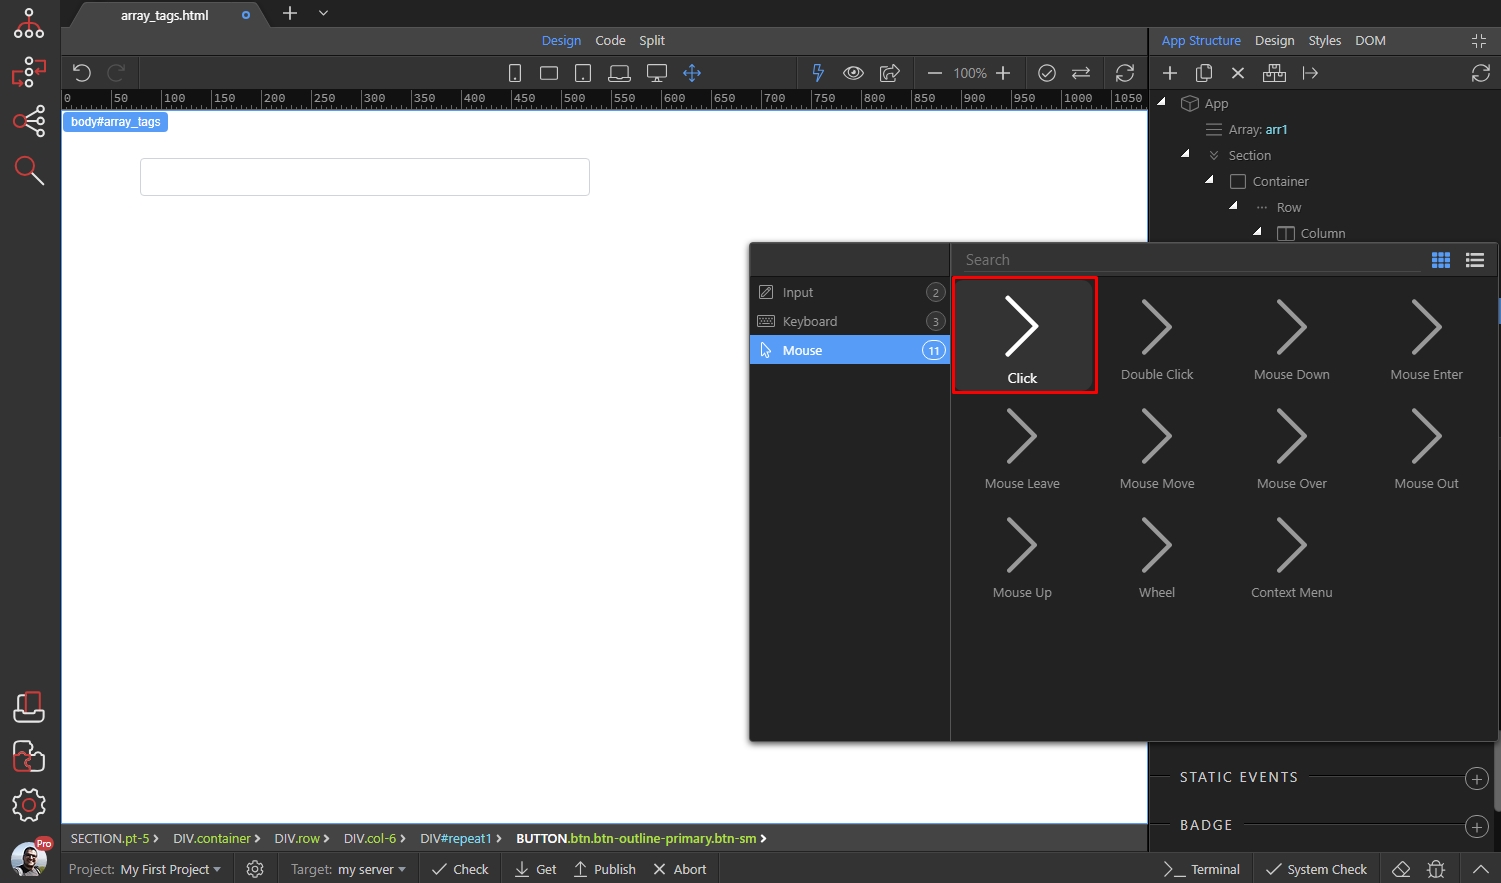
Then click the dynamic action picker button:
Section titled “Then click the dynamic action picker button:”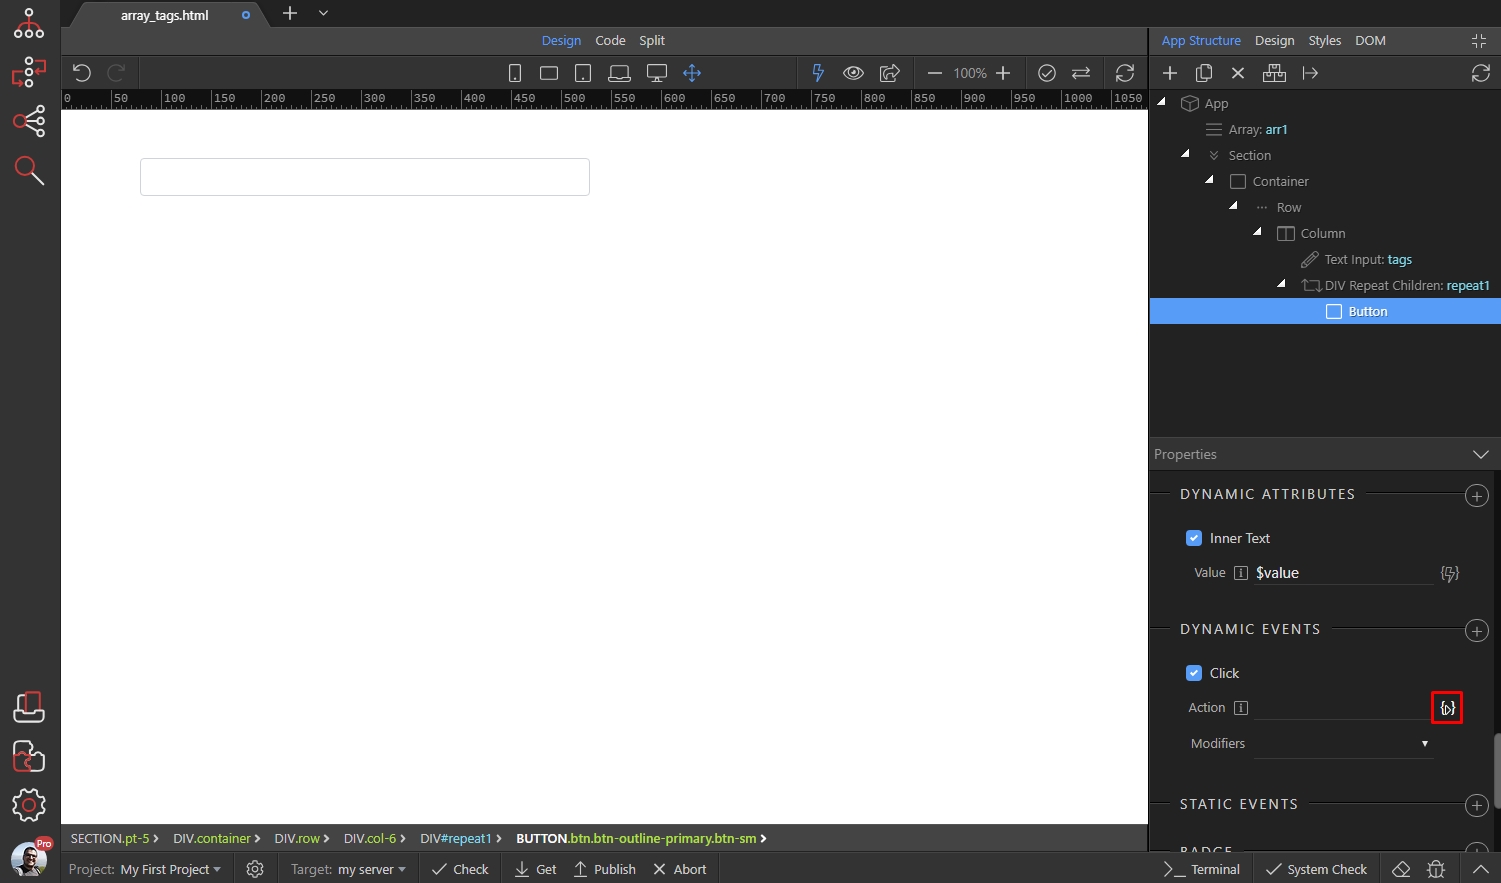
Step 35
Section titled “Step 35”And select the Remove Item At action. This allows you to remove a specific item in the array, by providing its index:
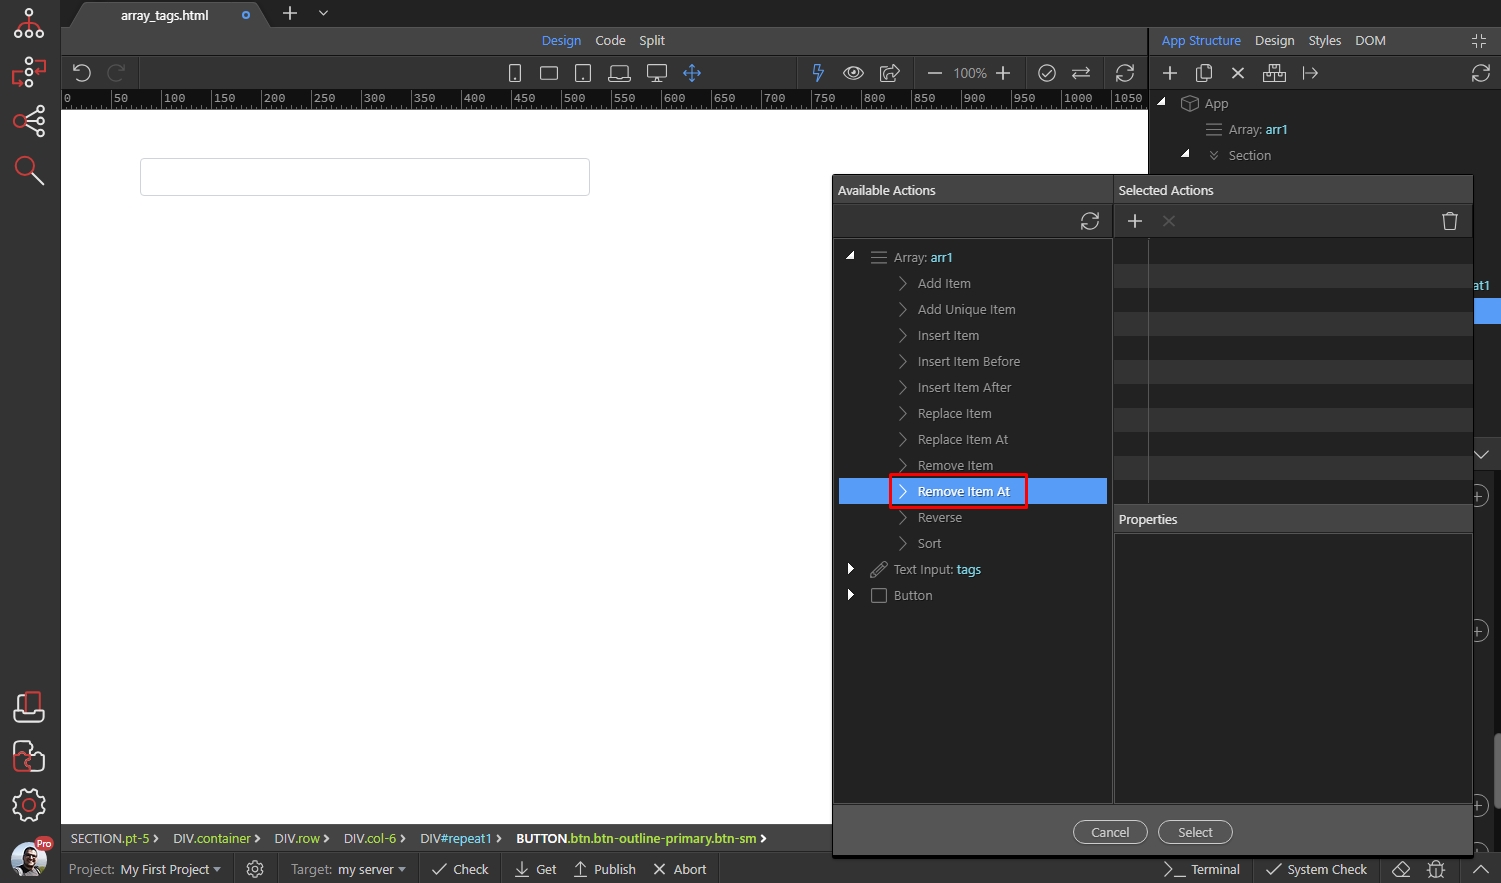
Select the dynamic data picker, to add the index:
Section titled “Select the dynamic data picker, to add the index:”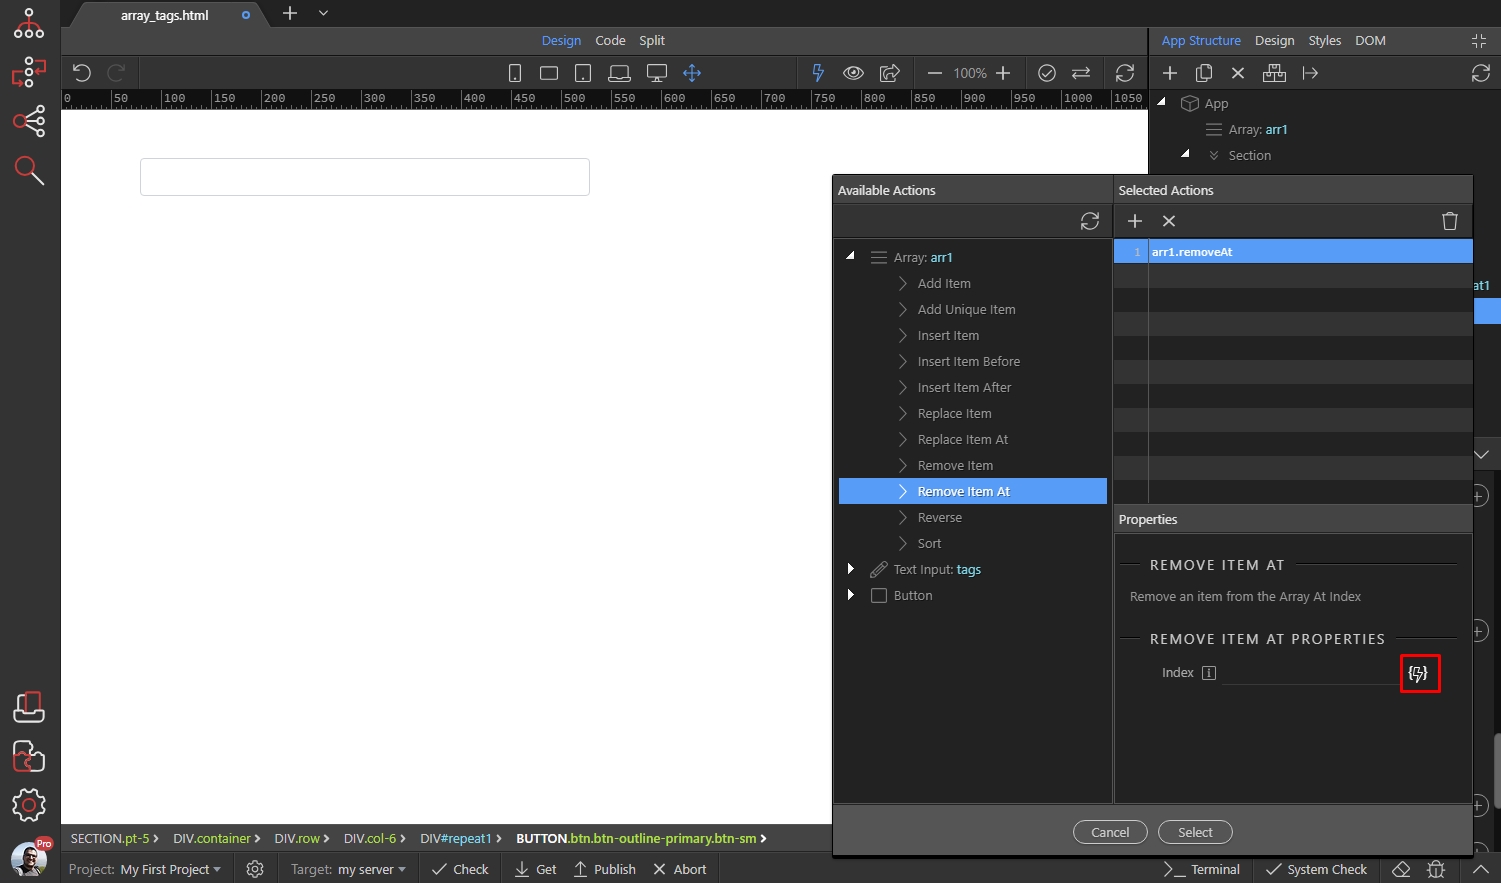
And select the $index returned by the repeat children:
Section titled “And select the $index returned by the repeat children:”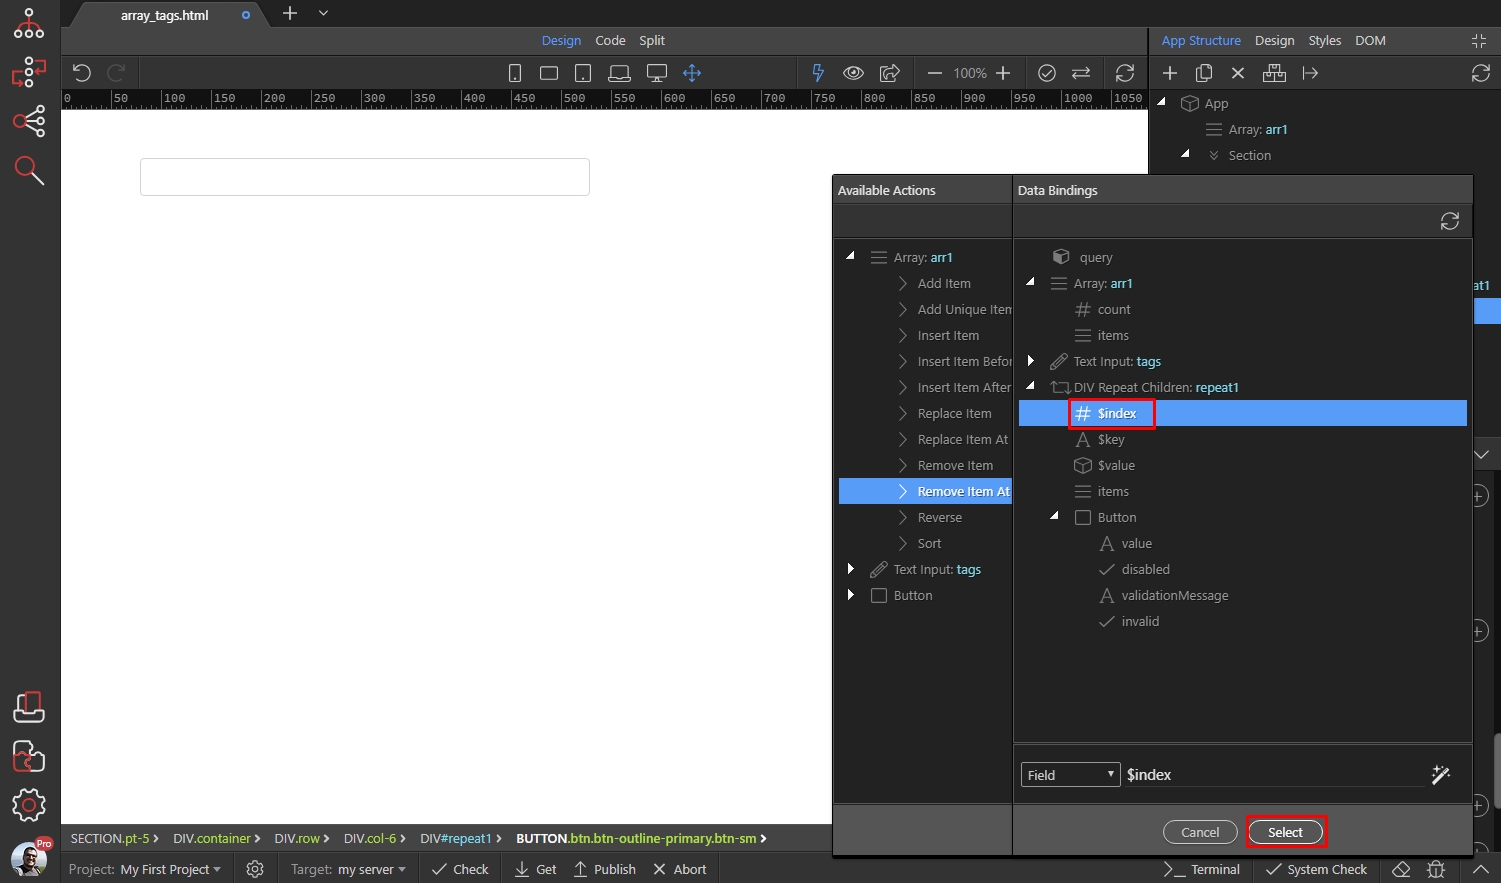
Click Select:
Section titled “Click Select:”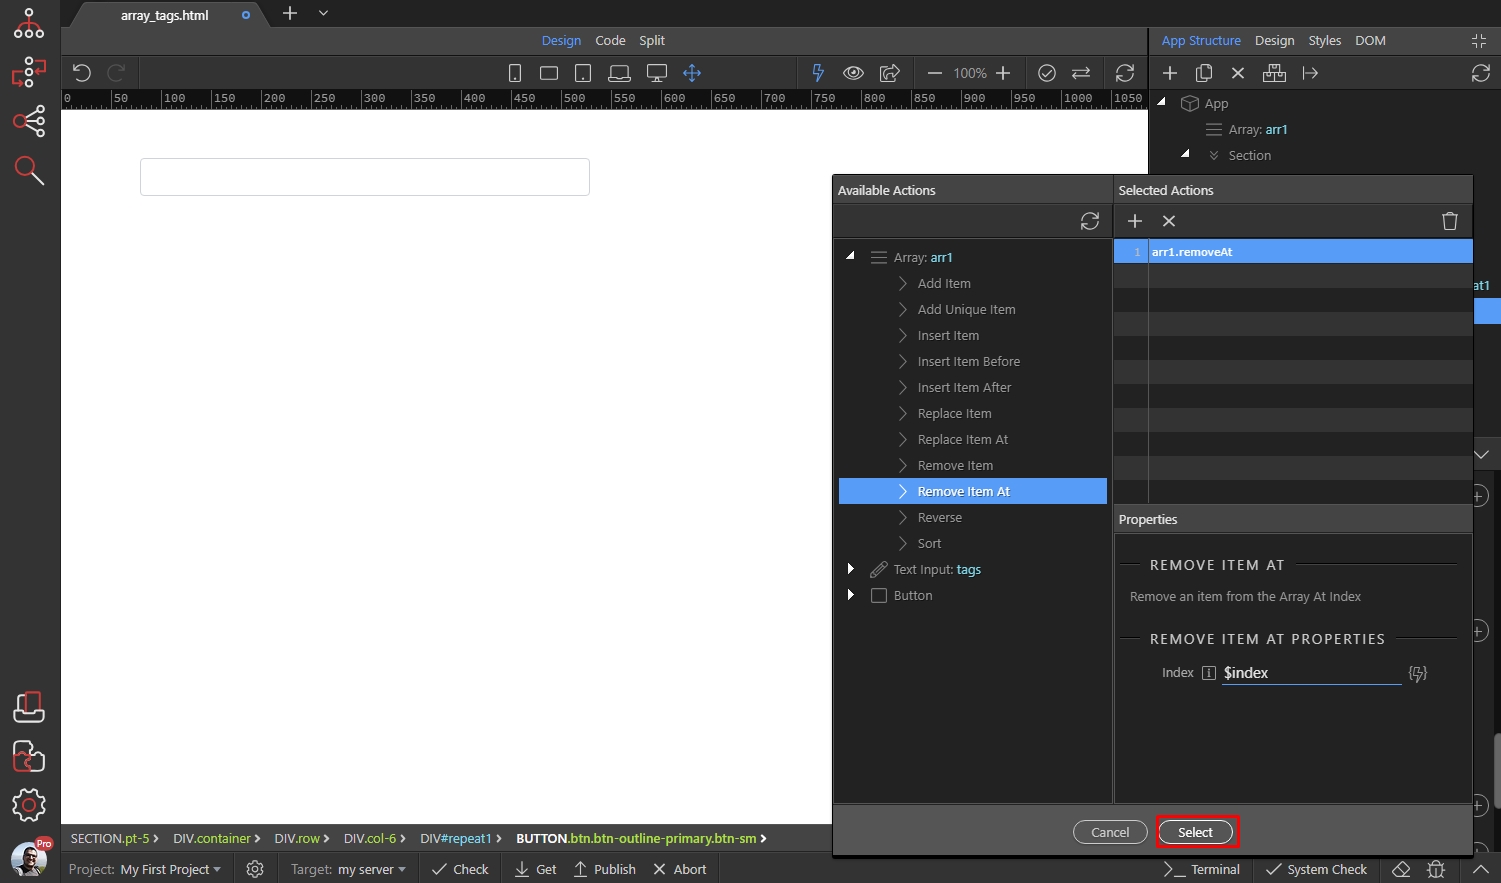
Step 39
Section titled “Step 39”And you are done. Now when you enter some text and hit enter, it’s added in the array and displayed under the text input.
Clicking on any of the tag buttons will remove it: